

Roy B
-
Joined
-
Last visited
-
Days Won
93
Posts posted by Roy B
-
-
Pics in the gallery. Many thanks to Nic for taking them 👍
2 -
Many thanks to you both 👍
0 -
Thank you Nic 👍
0 -
Many thanks Nic 👍
0 -
Pics now in the gallery - Many thanks to Nic for taking them 👍
3 -
-
GN Notes:
295 leads away.
580 gets spun by the pack coming to the green. This causes chaos on the home straight involving many cars ending up scattering in all directions.
Caution
Seven cars do not make the restart.
352 leads off.
548, 120 and 73 tangle in turn 1.
446 hits the fence in turn 1 and ends up stopping on the exit of turn 2 which brings out another caution.
352 leads away once again with 345 behind.
55, 16 and 515 engage in a great bumper fest battle.
Caution for debris.
352 has 515, 16, 5 and 55 behind him for this restart.
515 soon takes the lead.
5 and 166 have the sparks flying as they trade blows.
63 stops in turn 1 which causes 16, 55 and 166 to tangle momentarily.
Caution.
55 retires before the green.
515 leads away and moves ahead of the chasing pack to the win.
16 retires in a cloud of steam.
At race end 5, 166 and 463 are nearly 1/2 a lap behind the Silsden Sizzler 👍
That's it folks. I'll be back from Buxton on 13th April 👍
9 -
Final Focus:
295 leads away but spins it coming to the green.
345, 545, 453 and 554 pile up in a heap at the end of the home straight.
55 and 120 tangle on the home straight slowing both.
268 stops on the exit of turn 2.
446 retires with a flat front right.
5 tangles with the stationary 295 car on the exit of turn 4.
Caution to move stranded cars.
82 heads the restart.
As the reds charge into turn 1 16 fires a big hit in at the back of the train. 55 follows suit but bounces off.
166 and 216 tangle in turn 3 with Bobby remaining there for the remainder.
124 leads.
55 and 175 tangle on the exit of turn 4.
326 goes wide in turn 1 which allows 16 and 515 through.
63 spins in turn 1 under pressure from 55.
In the closing stages 515 suffers another flat right rear.
124 takes the win 👍
1 -
Consolation Catch Up:
404 leads away.
443 spins in turn 1 on lap 1.
82 into the lead.
404 ricochets off 73's nerf rail in turn 3 and hits the fence.
453 goes around on the home straight.
Caution to move 404 to safety.
82 heads the restart.
5 drifts wide through the turns losing time.
515 elbows 166 aside through turn 1.
446 is giving chase to the rapid 82 car.
443 has stopped on the outside of turn 2 with the nose pointing towards the infield. This narrows the racing line which catches out 350, 469 and 375.
515 takes advantage and nips up the inside of 446 in the melee.
Next time around Frankie takes the lead.
At 5 to go 580 gets a tankslapper on the home straight in front of the leader. Frankie has a split second to choose the right side to get through.
446 and 166 engage in battle near race end.
As 515 takes the win 5 and 82 dice for position as they come to the line. Charlie on the outside eases Karl towards the infield as they cross the line.
0 -
Heat Two Happenings:
295 leads away.
73 spins on the home straight on lap 1.
H337 clouts the turn 1 fence and retires with a flat front right.
216 bounces off a marker tyre on the back straight.
191 and 5 clash in turn 3.
381 and 166 both come to a stop on the outside of turn 1.
404 retires to the back straight infield.
346 slows and stops on the exit of turn 4.
95 leads.
191 retires with smoke billowing out of the left side exhausts.
580 spins in turn 1 nearly taking 95 with him.
515 retires with a flat right rear.
At two to go 124 and 55 have edged closer to the flying Mitchell machine.
1 to go sees 55 take 2nd from 124.
95 takes the win.
Post race Rob thanks everyone who has helped over the past 18 months to get the car finished. A great debut for the car 👍
5 -
Welcome to the 2024 season folks.
We kick it off with the W & Y Eric Graveling Race Recap:
548 leads away.
548 half spins in turn 3 with 163 sending him fully round.
469 leads.
163 leads lap 2.
545 spins onto the home straight infield.
82 takes over up front.
163 makes a challenge in turn 2 drifting up the track.
82 spins the lead away in turn 4.
163 leads once more.
268 takes the spot as they come through turn 3 for the last time and gets the win.
0 -
Hi there folks.
Welcome to episode 9.
In this last one of this off season:
Section 1: Pics from the Saloon WF weekend at Taunton and the end of season bash at the same circuit + a few pics from last weekend’s Cowdie.
Section 2: In Out and About we’ll have a look at the abandoned Wharram Chalk Works
Section 3: Odds and Ends: Pics of London’s trolleybuses in wartime, a Leyland Leopard for Abbotts Coaches, Blackpool Transport archives, this week at Rigby Road depot plus East Lancs pics from today (Fri 15th).
Section 1:
Taunton – Saturday September 30th – 61 Saloons & 55 F2s / Sunday October 1st 2023

In the weeks preceding this meeting there had been a degree of controversy following Nick Antwerpen’s (H153) exclusion from the Saloon Stock Car World Final by the promotion. This followed Antwerpen’s extensive criticism of the Saloon Stock Car Association and the Autospeed promotion. After a review of the matter, an apology from Antwerpen, and some constructive dialogue with driver representatives H153 was reinstated. However, there were still some ill-informed outbursts on social media about the situation from other people. The note on the left-hand side relates to this.
The F2 GN Championship was raced for on Saturday.
Memories re-lived
The Saloon WF trophies
Graeme Shevill
661 - There’s no danger of this coming loose
Ministox graduate Harley Soper
Harley was in the ex-Brad McKinstry car
An engine change for the Farrell team
Craig Driscoll was in the Courtney Witts car
The Taunton track is on the wartime Upottery Airfield, hence the concrete surface which used to be a runway
The back of the grid
and the front
A good crowd
Joe Powell beached
An early finish for these two in the GN Championship race
Saloon WF result: 730 720 600 561 120 349 153 618 131 122
F2 GNC result: 783 24 92 127 890 184 390 475 736 895
Sunday pics:
Deane Mayes – The 2023 Saloons World Champ
Ballast arrowed on 560
A front end repair for Joe Grandon
A picture on the notice board on Sunday featuring Billy Smith (161)
Not a good day for the 475 car
Leah and Sam Weston discuss their race retirements
Another trip to the wall for Steven Gilbert
Sam and Leah are joined by Steven and Ben Goddard
475 – New front bumper required
Major damage for Jessica Smith towards the latter part of the meeting after a big fencing from Jon Palmer
Andy and Jess walk the car back to their pit
Plenty of folks willing to lend a hand
Taunton – Sunday October 22nd 2023 – 35 cars
Behind the Paul Moss car is a regular visitor (arrowed) to the Autospeed circuits
Travelling from the north east has obviously taken its toll!
Harley Soper up to yellow
Rear end work on 647
Likewise for Dan Roots
Ben Spence was in the Liam Rennie car
It was a National Points Series round which Guinchy was hoping to score well in
James Matthews was in the Rygor car
Whilst Craig Driscoll was in JP’s
Jon was on tyre delivery duty to the geographical agents
A big stack for Luke Wrench
and for Chris Burgoyne
Timmy Farrell – the car looking great with this paint job
This meeting was for the Ladies Trophy. It serves as a long-standing memory to Marylin Farrell mother of Timmy and former F2 driver Rob
Momentoes were given out to the participants
Two members of the Farrell family parade the trophy through the grid
Adam Pearce uses the 654 car as a launch pad
Rob Farrell (ex-770/870) looks on as Aaron Vaight receives his 2nd place trophy
Gordon with the spoils of victory alongside the Farrell family
Alan McLachlan (Cowdie and Autospeed) commentator interviews Gordon
Guinchy, Julian Coombes and Rob give the Flying Fifer the traditional champagne overcoat
Martin and Stella Farrell join Gordon on his victory lap
A dominant performance
Gordon flanked by Martin Farrell (ex-770) & Rob
A few pics of new/refurbs from Cowdie last Sat (9th):
Reece McIntosh
Ryan McGill
John Hogg
Paul Reid
Jordan Cassie
Nicole Russell
Declan Honeyman
Robbie Bruce
Dale Robertson
Harry Bruce
An 11yr old Merc
Section 2: Out and About – Wharram Chalk Works
We’ve not far to go from last time’s Burdale Tunnel visit as the chalk works were just to the north.
Before we head there here is a wonderful painting depicting the line into Burdale Tunnel with Tunnel Cottage and the hut on the approach to the tunnel entrance:
It was a very rural area indeed. 65849 comes to a stand at Garton Slack so that the guard may climb down to open the level crossing gates on August 7th 1958
He shuts them again after the train has gone across
Settrington Station looking towards Malton in 1926
Station Master Thomas Sleightholme (1883-1983) with porter-signalmen Burton and Webster at Wharram circa 1935
We’ll make our way to the site of the quarry now:
The track bed of the railway is our guide. Notice the old lane crossing over above.
On the lane
Water from the surrounding land was channelled under the bridge
This channel leads to a flight of steps
However, the water has chosen a different route over the years
It enters a covered section
It then makes its way along an open brick-lined channel which is of great length
A tree has grown up against the bridge with the roots causing some major cracks to appear
Quarrying began here in 1919 but it is now a nature reserve, a peaceful place
Decades back it was noisy and dusty. A Ruston & Hornsby steam digger at work in April 1926.
A close up of the digger
The spoil heaps are slowly being reclaimed by nature
The quarry had its own Andrew Barclay 0-4-0 shunting engine
The quarry was operated by a company called Casebourne & Co, who also made concrete, the available chalk nearby being ideal for this purpose. The quarry itself dates from 1916 and closed for a period in the 1930's but production did start again a few years later. At its peak in the 1920's the quarry produced over 100,000 tons a year.
The chalk was also used in making lime (with the lime kilns on site), and as a flux in the iron and steel works in Teeside. The kilns just about survive.
Looking into the kiln from above
Chalk was extracted here and transported via the sidings and railway line close by. A cabin still remains in pretty good condition.
The high-quality chalk extracted was used for agricultural purposes and in cement-making – the railway line took it to the cement works of Casebourne & Co, at Billingham, Leeds and Durham. The railway line closed on the 20th October 1958.
#
Before going on its way it was crushed in the buildings alongside.
The iron window frames have seen better days
The silo comes into view
The 'Stein' brand is believed to have been manufactured in Scotland by J G Stein who had works in the Castlecary / Bonnybridge area, and at Manuel near Linlithgow. In 1967 J G Stein amalgamated with General Refractories of Sheffield and became GR Stein Refractories. This company was then taken over by Hepworth Ceramic Holdings and eventually became known as Hepworth Refractories. Another takeover took place when it became Premier Refractories but this did not last very long because it was bought by Vesuvius and is now part of the Cookson Group.
The engine house
Trucks were moved along the concrete gantry
The large concrete silo. These buildings are perhaps a little easier to see in the winter when the vegetation has died back. There were many interesting features to be seen inside, however there was no way to the upper levels of the silo as the iron staircase had given up the ghost long ago.
This is where the bulk chalk was unloaded
Crushed chalk was dropped down the chutes into the waiting trucks three tons at a time
The hopper mechanism still worked
The remains of a pulley wheel. The wire would have been connected to the chute for open and closing.
The control room for the hoppers
The base for a generator
Inside the tower
Looking down into the chalk crushing house
The trucks were lined up in here and the chalk tipped into the crusher alongside
This grainy photo shows the scene when active
The view today
The operation of the quarry can be seen in this short film:Section 3: Odds and Ends
The London trolleybuses in wartime:
K1 1128 was left in this state after major blast damage in Stoke Newington on 18th September 1940. The vehicle was rebodied in 1942.
Most damage to vehicles was inflicted by blast, and in one such incident, L3 N0.1439 has had all of its windows blown in or broken. It is the subject of much scrutiny as it stands outside the Methodist Chapel in Benledi Street, Poplar on 10th December 1940.
D3 class trolleybus 530 is being used here to demonstrate the virtues of the protective wire netting which was glued to the window glass. The bodywork has not suffered much damage beyond having a number of windows blown in, but there is a dent visible in the rear lower panel.
Bow depot on 26th September 1940. Structural damage has been suffered and N1 1622 has been affected along with a few others. New panels and glass would soon be fitted, and the travelling public would probably not even be aware of the work needed to keep the service running.
K1 class No. 1123 had its body written off after an incident at Dalston on 8th November 1940, the day after Bexleyheath depot was hit. The severity of the blast can be clearly seen here as it stands in Stamford Hill depot awaiting assessment. Its new body was supplied in December 1941.
Abbott's Coaches
Duple Dominant/Leyland Leopard EFR 97W
They were delivered to Cleveleys garage from Duple and had to have the chrome trim covered in Vaseline, for protection, before being driven to the booking office in Albert Road, Blackpool to be parked up for the winter.
From the Blackpool Transport archives:
Brush car 636 at the top of the depot during winter 2003/4. The tram had been repainted into Metro Coastlines line 14 colours but had yet to receive the livery vinyls. Unfortunately, this repaint which involved the panelling over of the curved roof windows (636 being the last of its type to retain these) cost the tram it's "celebrity status", and possibly a place in the retained heritage fleet. It was withdrawn from passenger service less than a year later.
Its final resting place left abandoned in a field
634 being moved around the depot on 22 September 2018
The next five pics are from the 1960s:
Standard 160 on the traverser at Rigby Road depot. The long gone gasometer dominates the background.
The Western Train at Talbot Square
Inside Rigby Road depot
Rigby Road depot this week:
Bolton 66 was brought out for some fresh air on the depot fan
The Western Train was towed from Starr Gate depot by the Unimog
It was heading for the electrical shop with a compressor fault but was able to enter under its own power which it can do using the handbrake.
As a requirement of funding its last overhaul ABC Weekend Television had to remain on the trailer
East Lancs Legends of Steam Gala – Friday 15th March 2024
All pics apart from the last three were taken at Ramsbottom
Sir Nigel Gresley
Leander
Britannia
51456 LYR renumbered from 732
Over the crossing
An awkward reverse for Fagan & Whalley
A good spot for trucks – Pawson Transport
Armstrongs
At Ramsbottom signal box
Gresley heads for Rawtenstall
Leander runs around at Rawtenstall
That’s it for this off season folks.
We’ll return in November to face a big challenge in battling through this lot to find a very remote disused station 👍
11 -
Hi there folks.
Welcome to episode 8.
Last time I mentioned we would have two main features but I have decided to keep the second one for the last episode in two weeks time as they are both in the same area.
In this one:
Section 1: F2 World Final meeting at Nutts Corner.
Section 2: In Out and About we see how far we can get through the disused Burdale Tunnel.
Section 3: Odds and Ends: The 2023 Leyland Gathering at Quainton
Section 1:
Before we cross the Irish Sea here are a few pics from the F2 meetings over here in the three weeks prior:
Taunton – Monday 14th August 2023
Following the damage to his car from the St Day fixture the day before JP raced the Lauren Stack (928) car at this meeting
It proved to be a good’un netting Jon the Final victory
Some aggro in the ORCi Stock Rods with David Philp Jnr being followed in!
Bristol – Sunday 27th August 2023
Spotted in the car park was this 21yr old Vauxhall hearse
A good night’s sleep guaranteed!
Weston-Super-Mare’s Dave Rudall
Winsford’s Mike Kingston Jnr
Josh Walton a long way from his north-east base
Another different one for Jon Palmer to race this week - Justin Albrecht’s car
Paul Moss - The 2023 track champ’s car for sale
Taunton – Monday 28th August 2023
Ryan Croucher made his debut
Ben Borthwick was not seen a lot in 2023 but he did secure the English Open Championship at sister track St Day two weeks previously
A good crowd
Not a good meeting for Charlie Fisher
Nutts Corner – F2 World Final – Saturday 2nd September 2023 – 70 cars
The following words are from the meeting programme:
This is an historic event being the first World Final held outside mainland UK. The promoter Ian Thompson had long campaigned to bring the sport’s major event to Northern Ireland. It was a big ask given the distances, the need for boats, planes and automobiles to carry a considerable number of fans and drivers from all parts of the UK and indeed mainland Europe and further.
The hosting nation have long brought colour and atmosphere to the mainland so it was rightly deserved that they got their own day on the ‘World’ stage.
This part of the UK is ingrained in the DNA fabric of BriSCA F2 for close on 60 years. At one time the list of venues hosting BriSCAF2 stock car racing was impressive. However, it was regrettable a few years ago that Ballymena closed its doors as improvements there for football precluded the continuance of stock car racing. We go back more years to Aghadowey, a venue that still exists, Portadown, Dunmore Park and Bangor to name but some that celebrated the sport at its height and of course Nutts Corner which at one time also experimented with a separate shale track.
In recent years Ian Thompson Junior has joined his father in the promoting reins consistently pushing the awareness sometimes against the tide as Nutts Corner sadly remains the last bastion of BriSCA F2 over here and that in itself is a challenge.
It is a fast track with wide sweeping bends similar to a slightly bigger Newton Abbot
The 1972 World Champ’s car was on display
As was Eddie Finnegan’s 1977 Ballymena winner
The WF grid lined up after receiving their trophy mementos - Gordon up first.
The front row
Charlie Guinchard
Luke Wrench
Liam Rennie
Kay Lenssen
Gavin Fegan
James Rygor
The 880 team bring the car to the grid
Jack Witts
JP comes to the grid
Shea Fegan
One of the Netherlands’ contingent was Bram Leenhouts
The Bekkers’ team had a four-legged tyre warmer present
The defending champ enters the arena
Dave was in a relaxed mood
All was looking good up front
The grid comes to the flag
After a couple of rolling laps the green flag was waved and Moodie set off at a rapid pace from his pursuers. Luke Wrench blocked Charlie Guinchard to stop him moving across in the first turn. A big pile up involving Craig Wallace, Chris Burgoyne and others followed which brought out the red flags.
The restart was a copy of the original start as Gordon shot away. Guinchy was closer this time but could not make contact with the 7’s rear end as they entered turn 1. As the laps went by Moodie eased away a little until a caution closed the pack up.
On this restart Guinchard was quicker away and made contact with the 7 car. Moodie rode out the hit though and pulled clear. This was the tone for the race with the only real change being Matt Stoneman moving through the field into 3rd. He now had Guinchy in his sights
At the halfway stage Gordon was well clear and increasing his lead. However, it was not his just yet. Nearing race end Stoneman fired the 183 car hard into turn 1 with both hitting the fence. Although this was a challenge for position it was also a payback hit from the Taunton Ben Fund race earlier in the year. The 183 car continued along the back straight losing a wheel in turn 3 just as Moodie took the one to go board.
With Gordon entering turn 3 for the last time a yellow flag was called which set up a one lap dash for the 2023 World Final!
The line up was 7 from 3, then NI918, 560 and 24. Gordon made another blinder of a start and he was clear around turns 1 & 2. Into turn 3 Rennie tried for a last bender but was too far back. He had suffered a gear selector problem at the restart so may have made contact without this. He didn’t miss by much though bouncing off the wall in the process.
The Flying Fifer took the flag and a well deserved victory. 3 & NI918 followed him over the line with 24 having a great drive to take 4th from the back of the grid.
Congratulations to Gordon on his fourth world crown. He was by the far the fastest man on the day.
Result: 7 3 NI918 24 560 B96 968 992 801 578 213 100
Sunday pit scene:
Did you know that Micky was also a master baker?
Mick Whittle came over the water with his stunner
Gordon wasted no time in fitting the gold wing
The 2023 World Champ on parade
Saturday’s Final was run on Sunday following a serious road accident outside the stadium the night before which required the track medics and led to the abandonment of the meeting.
Jessica Smith was left stranded mid-turn after a big hit from Shea Fegan
The Irish Championship race saw Craig Wallace have this spectacular crash with Jack Morrow (Pic by Anthony Jenkins)
Jason McDonald was also in the wars
Awaiting the restart
Next time around it would all kick off between these two
As well as taking on the Fegans Guinchy put Wittsy in the fence with a monster of a hit. Jack expresses his views on the matter.
The heavily re-arranged 880 car is carried off
16 damage
Lewis Burgoyne was a fellow Scot with repairs to do
Porta power on NI918
The 880 pit drew a crowd to see if any parts of the car were NOT damaged
The car needed forklifting on to the trailer
It had been a very entertaining weekend for sure!
More pics in the gallery
Andy Smith's weekend report:
WF weekend report part 1.
The dust has now settled on what was a superb F2 stockcar World Final over at Nutts Corner Northern Ireland.
We set off last Wednesday evening for the long 9 ish hour journey to the Port of Cairnryan Scotland. The journey was easy enough as there were 3 of us sharing the driving although I must admit that upon entering Scotland the 99 more miles on a winding A road were a bit tiring.
We sailed over on the Thursday morning and arrived in Belfast to truly awful weather hoping that wasn’t a sign of how the weekend would be. We needn’t have worried as by Friday afternoon all the bad stuff cleared.
Once we got settled on the campsite near the track, around 1/2 hour out of Belfast up a really big mountain, me Lisa and the girls taxied down into Belfast to meet up with Team Fisher 315. Take us to the best pub that sells the best Guinness was the order and it didn’t disappoint. We had a great day drinking, eating and laughing. Just what was needed before the serious stuff.
Friday was practice day so we headed to the track arriving early afternoon.
Upon arrival the pits were already filling up with the many visiting drivers, most of whom like us had never seen the place before.
The stadium although basic was well presented and the track looked a good stockcar track. It looked a bit rough but fast and not so wide with an unforgiving concrete wall. I sensed there was going to be some damage!
Practice didn’t start well. Both girls last time out in Holland had experienced steering problems and we had bought a lot of new stuff and spent considerable time to try and cure it but Jessica’s was still playing up. Ok in pits but when under load was kicking out. We spent a while swapping even more stuff but to no avail and it was spoiling her runs.
Just as we are seriously head scratching Rebecca came off with the same problem developing. FFS!
Anyhow, we eventually found something and finally cured Jessica’s. What do they say about the simple things first . We altered the exact same thing on Rebecca’s and bingo both seemed cured but we’d wasted a lot of time.
The rest of the practice went “just OK”. Although the girls were getting used to the track neither were fully happy.
Jess was quick enough but the car was loose mid turn and despite trying quite a few things we never quite cured it.
Rebecca’s car seemed inconsistent in the brake department. We messed around a bit with pads and stuff but the balance still seemed to shift throughout a run and was off putting.
So come the end we’d had plenty of time tbh but we weren’t quite there so we’d have to give it some thought and adjust some things overnight. Luckily both girls would have further practice sessions on Saturday.
Jess wouldn’t have long though as her timed session was for World Final qualifiers only and with the pre-race scrutineering being much more in depth than usual all the cars had to be done quite early in the day as they were going to form a dummy grid on the track before the meeting started.
This is a nice idea and has become a regular feature of the WF in recent years. They open the track to the fans for the “Grid Walk “ where they can chat to the drivers and have photos taken, collect autographs etc. It makes the qualified drivers feel that bit more special as well as being great for the fans especially the kids .
Incidentally it’s not a new thing. I remember back in 2008 at the Ipswich WF (which I won by the way ) they did similar although as I remember the promoter of the event squeezed the pips shall we say by charging the fans extra for the privilege!
After a few changes Saturday morning Jess went out and yet again the car wasn’t too great and we were running out of time as we were being called to scrutineering. We made a big swing at a change and she would have to hope for the best in the WF.
We had done some bracket alterations on Rebecca’s in the hope it would solve her re- occurring brake issues and it seemed to make it a lot better and by the end of the practice she was happy enough.
Once the Grid Walk was over the WF cars inc. Jessica’s were pushed off the track into “Parc Ferme” where they couldn’t be touched until they rolled out for the Big Race parade which was scheduled for Race 5.
It was now time for the meeting to start with the “Last Chance” race where all of the unsuccessful semi-finalists, along with the local Irish drivers who weren’t directly seeded in would go bunched grid to fight for 6 spots on the back of the WF grid.
Rebecca was 3rd row outside. Not the best position in a bunched grid where a big push was inevitable.
Could she do it and create history by having both sisters on the WF grid for the first time. This had been hyped quite a bit by the promotional arms of the sport and did put added pressure on her.
We would see and find out in Part 2
Part 2
You didn’t have to wait too long .
So 1st race up of the evening was The Last Chance. Unfortunately this couldn’t have gone much worse. As the green dropped Rebecca was totally boxed in on the outside down the home straight. As they came into turn 1 she saw a slight gap and gunned it around the outside. She so nearly got away with it just getting tagged on the back corner, turning her round and she got battered by the pack, ending up stranded in the middle of the track. A huge disappointment for her as she really couldn’t have done anything else. She was all OK but will have to try again next year.
As this was an extra race we had to get to it to mend it as she was in the supporting heat. There was suspension damage to both front corners (a theme that would continue) and the rear bumper was wrapped around into the wheel. With some help from several other teams we just managed to get her out and we were thankful they held the gate. Our next door neighbour’s, the Bradford Ministox team were kind enough to let us use their welder but we were so rushed I made the call to send her out without a back bumper stay which was risky but better than straight to what would be a very busy consolation.
She came in a steady 7th. The car was a bit lame but she was straight through to the meeting final
Back in the pits I set to finishing mending the damage and adjusting all the hastily repaired front end bits back to summat like correct.
I just managed to get trackside to see our Jess enter the arena with her introduction getting a huge cheer from the big crowd followed by an equally appreciative parade lap. I believe people really commended her efforts to get on the grid. There’s a reason it’s been a full 30 years since Sarah Bowden was the last female driver to do this, that’s because it’s a seriously hard task.
I’ve always told my girls they are the same weight in a stockcar as any man so go out there and do it.
However, it’s not the same. The physical challenges are much greater to overcome for the females and all the current girls out there holding their own in stockcar racing deserve immense respect and credit .
So that reception was enough for me .
I have to say at this point what a great atmosphere I thought there was about the place. The announcer was on point and the sound system really good. The flame throwers on the middle were great and the whole choreography of the intros with all the cars lined up opposite the entrance herring bone style was brilliant (take a bow Mr Blackwell).
It must have been cool for Dave Polley to come out last in front of that!
Onto the race then and Sarah had travelled over to watch and came up to Jess to give her a pep talk (class that, thanks Sarah )
Her advice was just keep going and finish!
Well I think she listened because after the green dropped all hell broke loose into turn 1 just behind the first 2 rows who had gotten away clean. They all piled in and Jess backed off early and managed to weave her way through undamaged and a complete restart was called. I think around 8 cars were out so on the restart she was bumped up to row 10 inside from 13.
The next restart they got away clean and Jess was too cautious really and dropped a couple of places as it was busy but got up to speed eventually. A few laps in and she couldn’t avoid a spinning car but made sure she hit it correctly and not on the wheels so it didn’t slow her massively. She got going again but by then Gordon 7 was coming around to lap her so she backed off and moved over so as not to hold him up. She finally then found some rhythm and spent the next probably 4 laps circulating between Gordon and Guinch 183 in 2nd place. He was hitting everything he came across hard maybe to get a yellow I dunno but as he slowly caught Jess I hoped she wasn’t going to cop it. She didn’t and she let the lead pack through and carried on an untroubled race to the finish but finish she did.
She was outside the top 10 but half the field didn’t make it and she did thus becoming the first female driver ever to do so in the 60 year history of the sport. I was so proud of her especially as the car hasn’t been great lately and the rubbish she’s had to put up with this year meaning her confidence and morale wasn’t exactly high.
So this meant she was in the consolation and from the word go I could see she had gained confidence. By now it was dark and the floodlights although sufficient weren’t great but boy did it make the cars look fast. I know she’s dropped to yellow and she should be winning from there but she had local yellow grader Declan McFerran on her tail the whole race and she never put a foot wrong to eventually ease away to victory.
The crowd loved it and just to win a race on WF night is special
So both girls lined up together for the first time for the feature final of the night.
At this point the night took a down turn when as the cars were on the track it became apparent a serious incident had occurred outside the stadium. The track paramedics were in attendance so unfortunately the meeting was abandoned. Such a shame but unavoidable.
The decision was made to run the final first race up on the Sunday as an extra race.
Onto Sunday then and what a race for us the final turned out to be. Talk about it all come crashing down!
Both girls set off clean and it wasn’t long before they were in 1st and 2nd with Rebecca leading the way and going along nicely. As the laps ticked on Rebecca was getting faster and began pulling away from her sister. After more spring changes overnight her car was really fast.
2 weeks ago in Holland she was in the same position but lost it through being to cautious with back markers.
Well she learned from it because this time she leathered them out of the way at every opportunity wasting no time. It was great to watch and as the boards were out she was away and it was as good as in the bag. Her sister was hanging on well in 3rd when with 3 to go just as some oil went down 4th place hit Jess sending her hard into the wall, bouncing straight out into the middle of the track with no steering. She tried to move but couldn’t. She didn’t want the yellow but rightly they threw it as she was in a bad place.
I couldn’t believe it. 2 to go when one of my girls had it in the bag only for it to be stopped for the other!
So 2 lap restart it was and all the back markers removed so she had a train of blues and reds behind her. Chances are she’d be shoved out and drop like a stone but she did great. She got dropped down to 4th but got herself back up to 2nd just being pipped over the line and finishing on the podium in 3rd.
Boy was she going to be fuming back in the pits!
So that was technically WF night over and all in all it was a great night for our team. History was made but i couldn’t help but rue Rebecca’s luck in that final.
It was an excellent meeting spoilt a little by it not being completed on the night but big credit to Ian Thompson and his team for putting a show on.
A superb World Champion in Gordon Moodie 7. As I’ve said before the way the guy races oozes class and yet again he beats all before him. A massive well done from us.
Also, I have to give a mention to the guy who finished 3rd. The young Irishman Shea Fegan 918. Now in the run up to this World Final people were disrespecting the Irish drivers saying they weren’t good enough, they can’t race when there is loads of cars as their scene is a little down right now.
Now I don’t like disrespect to drivers in anyway so I was so pleased for him to shut the critics up and put it on the podium. He also won the meeting final sticking Jess in along the way to get the yellow but I know he didn’t mean it to turn out that way. He’s good pals with the girls.
He was driver of the day for me
So I’m gonna leave it there for now. I will try and give a run down soon on the Sunday’s events but we are all off to Northampton tomorrow for the F1 world where we will be cheering on The Wild Child to retain his title.
Might see you there
Section 2: Out and About – Burdale Tunnel
We’re heading to North Yorkshire for our main event folks.
Our location
Burdale Tunnel
A railway between Malton & Driffield was first proposed in 1845 as the Newcastle-upon-Tyne and Hull Direct Railway but within days it became the less cumbersome Malton & Driffield Junction Railway.
The line of the railway
It was clear from the outset that the line would only prove successful if it opened after the completion of the Thirsk – Malton line which was being promoted by George Hudson’s York & North Midland Railway (YNMR). John Birkinshaw and Alfred Dickens (younger brother of Charles Dickens) were appointed to build the line; Birkinshaw had previous experience in railway engineering and was a pupil of Robert Stephenson.
The 20 mile Malton & Driffield Junction Railway received its Act on 26th June 1846 and although the route was quickly surveyed it was decided to delay construction until work had started on the Thirsk line. By 1847 there was no progress on the Thirsk line so work started at the southern end of the M&DR and on the Burdale Tunnel which was just under a mile in length and the only major engineering feature on the line.
The company quickly ran into financial difficulty as the ‘railway mania’ that had been gripping the country was in decline and share capital proved difficult to find with predicted costs already exceeded. Construction was suspended once sufficient work had been done on the tunnel to prevent flooding. By 1849, the M&DR were verging on bankruptcy and the company approached YNMR Chairman George Hudson for finance. Hudson had previously bought £40,000 worth of unauthorised M&DR shares but was in financial difficulty himself by this time and was unable to help; he was soon forced to resign as chairman of the YNMR.
Work on the line restarted in 1850 with savings being made on the construction by shortening the route by running at a higher level with steeper gradients and downgrading the line to single track throughout (the southern portal of the tunnel had been built for two tracks but the northern portal was only wide enough for one) which meant that the original plan to use the line as a trunk route between Hull and Newcastle would have to be abandoned.
Work on the Thirsk to Malton line had still not started despite promises to build the line and it was suggested that the M&DR should take over construction but, instead, a writ was served on the Newcastle & Berwick Railway, now responsible for building the line to force them to start work. A new Thirsk & Malton Railway Bill was put before parliament and on 18th October 1851 construction finally started.
Progress on the two lines was now rapid and they were both completed in 1853 and officially opened on 19th May. The first train carrying shareholders and invited guests covered both lines running from Pilmoor (the junction with the York – Darlington main line) through Malton to Driffield and then back to Malton. Following the official opening there was a Board of Trade inspection that required some changes which were quickly made with the line opening to passenger traffic on 1st June 1853 with intermediate stations at Settrington, North Grimston, Wharram, Burdale, Fimber (later Sledmere & Fimber) Wetwang and Garton. It was planned that the T & M line should open on the same day but this was delayed following objections by the Board of Trade and the line opened on 7th June or shortly after that date.
From the outset, the line was worked by the York & North Midland Railway who amalgamated with the York, Newcastle & Berwick Railway and the Leeds Northern Railway on 31st July 1854 to form the North Eastern Railway. The M&DR also applied to join the new company which it did on 28th October 1854 with one director out of a total of 17 NER board members.
The new line left the Scarborough line 1/4 east of Malton running parallel on double tracks for a further 1/4 of a mile before branching to the east to reach Scarborough Junction, the junction with the Thirsk & Malton line. From this point the line was single track, with a rarely used passing place at Wharram, to a junction with the Hull – Bridlington branch of the YNMR 1/4 mile south of Driffield station. All the stations were provided with single short low platforms which were raised in the c. mid 1890s.
The passenger service, known locally as the ‘Malton Dodger’, remained much the same throughout the line’s life with three daily return trips from Malton with a fourth train being added during some seasons, and additional trains to cater for market days at Malton and Driffield; there was also a daily pick-up goods train from Malton. The journey time was between 50 – 60 minutes with most trains consisting of two carriages hauled by a small tank engine from the Malton shed. Occasionally horse boxes and carriage trucks (flat trucks for the conveyance of carriages for the local gentry) were attached to passenger trains. Between the wars there were some additional scenic excursions where the trains stopped longer at some of the stations for passengers to view the station gardens. In later years the line was sometimes used by holiday specials from Scotland and the North East serving Scarborough (requiring a double reversal at Malton) and Butlin’s Filey Holiday Camp.
Regular coal trains served coal drops located at each of the stations and livestock trains ran when required, usually on market days. Initially most of the freight traffic was agricultural including manure and fertilisers inbound, arable crops outbound. Sometime in the 1800s a small limestone quarry at Settrington generated business, this quarry closed around the turn of the century. Later the quarry trade became important, the first big quarry to ship limestone was at North Grimston; by the mid 1920s this quarry was shipping about 28,000 tons of limestone per annum. The owners of North Grimston later moved their operation to Burdale. The next quarry to open was at Wharram and this generated a significant output of chalk during the 1920s. Wharram quarry closed in the early 1930s but a little later re-opened under new management but at a greatly reduced output. The final big quarry, and the largest of them all, was at Burdale. This opened in 1925 but the operation was much less mechanised than Wharram. The output of Burdale peaked in the late 40s/early 50s with annual shipments of about 50,000 tons.
Burdale Quarry
Passenger traffic was at its peak just before WW1 but the M&DR always remained one of the less profitable lines on the NER. After WW1 the line came under the control of the London & North Eastern Railway under the general grouping on 1st January 1923. Fares immediately rose and passenger numbers began to suffer as buses reached the Yorkshire Wolds in 1924. Buses ran right into village centres while many of the stations were sited some distance from the villages they served.
The General Strike of 1926 and the coal shortage that followed further damaged the railway with an emergency service of two daily trains running between Driffield and Malton and it wasn’t long before local station closures were announced due to increasing road competition. Intermediate stations between Scarborough and York were closed on 22nd September 1930 leaving only Malton and Seamer open. The Malton – Gilling service was next to go, closing to passengers on 1st January 1931. Surprisingly the Malton & Driffield line survived these early cuts, perhaps because there was no suitable parallel road. Road competition also affected agricultural freight traffic although all the stations closed to passenger traffic remained open for freight and the Malton & Driffield was actually at its busiest between the wars carrying stone from the local quarries.
During WW2, the line was regularly used by troop trains and for transporting munitions to the many airfields in the East Riding and at one time sentries were posted at both ends of the Burdale tunnel to prevent sabotage. All station signage was removed in 1940.
The railways were nationalised on 1st January 1948 with the M&DR coming under the control of British Railways North Eastern Region. Initially the pre-war service of three daily passenger trains and a pick-up goods train was reinstated. For the first time the line was used regularly by long distance passenger trains with the resumption of the summer Saturday holiday trains from the north east and Scotland but with the ever increasing popularity of road transport this was to be short lived and the passenger service was withdrawn from 5th June 1950 with the last train running on 3rd June; this train was packed. The line was temporarily reopened to passengers between 12-16th February 1953 due to bad weather. Potential customers were informed of the opening on the previous evening’s news. It is not known if all the stations were used.
The line remained open for freight and passenger excursions but the pick-up goods service was reduced to Tuesdays and Thursdays with a short running to Sledmere & Fimber on Saturdays. The platforms at some of the stations were shortened to serve the goods trains. Despite Burdale quarry reaching its peak after the war, it closed in 1955 with the loss of the last regular freight traffic on the line. With the quarry closure it was no longer necessary to keep the line open although in the hard winter of 1957/8 when much of the Wolds were cut off by snow a special passenger and goods service was again introduced over the line. Two enthusiasts’ specials ran in 1957, the first on 02/06/57 and organised by the Branch Line Society, and the second being organised by the RCTS and running on 23/06/57. Final closure came on 20th October 1958 although the last goods train ran on 16th October, the very last train along the line running on 18th October.
Most of the track was lifted shortly after closure and sold for scrap with the exception of a short stub left at Malton to provide access to the bacon factory at Norton and to serve the Thirsk & Malton line until 10th August 1964. At the Driffield end, the double track section from Driffield West was still in use for trains to/from the Market Weighton direction until 14th June 1965.
This tunnel through the Wolds is 140 yards longer than originally planned, falling short of a mile by just 16 yards. In 1845 it was anticipated that the tunnel would be through dry chalk; in the event 2/3rds of it where through severely unstable shale.
Work started in 1847 from its southern end and working faces either side of four construction shafts but in a little over a year only 150 yards had been cut. Difficulties were experienced with flooding and rockfalls.
The southern end was constructed as an elaborate (and huge) double track portal with magnificent stone work. The width for double track continues for around 30 yards. The northern end is of a much plainer (although practical) red brick construction and built only for single track.
The tunnel bore shrinks 30 yards beyond the entrance but opens out again at several locations. Eight 9-foot diameter shafts were eventually dug to aid construction, three being retained for ventilation purposes.
The tunnel’s operational history was chequered. On 21st August 1866, a labourer fell from a carriage as it headed south through the bore. He survived, albeit with serious injuries to his face, head and elbow. After receiving pain relief in Malton, he was taken to Driffield Cottage Hospital where doctors amputated his arm. A guard smashed his head on a bridge at the northern end whilst riding on the tender.
Soon after closure, several stories exist of people driving, biking and even walking through the tunnel. There are even stories of tiddlywinks being played half-way through. The game being lit by the headlights of cars. To prevent this kind of activity the tunnel was bricked up at both ends to prevent people entering in July 1961.
In the late Seventies, a collapse occurred just north of the tunnel’s second ventilation shaft – around half-a-mile in. The mid-80s saw another fall block the tunnel towards its southern end, creating a sealed section in the middle.
Flooding and landslips were commonplace, and even today, the entire area around the Wharram end is totally waterlogged.
After long periods of rainfall, water levels in the tunnel can reach depths of 12 feet.
(Credit to Nick Catford for the above information)
The pics:
The track bed can be seen heading past Burdale Quarry to the tunnel which is in the left corner. The green expanse curving to the right is Fairy Dale. Notice the two platelayers huts on the hillside.
On a 1914 map Tunnel Cottage is shown
A number of years ago - A family walking along the track bed. Burdale tunnel is in the distance with Tunnel Cottage visible in the middle of the picture. The plate layers huts can also be seen on the hillside to the right. Burdale quarry is to the right behind the camera.
Still there today
Fairy Dale
A chalk spoil tip
The tunnel comes into view
The tunnel had a hut just outside of each of its portals. This one is on the southern side and has long since disappeared
The remains of the hut today
A RCTS Railtour special leaves the southern portal of the tunnel
Disused but with the rails still in situ
The southern portal is finally bricked up
In 2023
Built to last
We’re in
The last bit of natural light for a while
An open tunnel drain has a good flow of water through it
The tunnel roof castings have survived
Stone and brick construction. Notice how the tunnel bore decreases further in.
Blue engineering brick and the remains of two porcelain insulators
Looking up one of the ventilation shafts
Further along another work of art
Unfortunately it is not long before we come to the start of the collapse
Massive pieces of the tunnel lining have broken away
We are soon left with a total separation of the brick lining
Moving further through there are numerous fractures in the tunnel roof
This is the limit of our pass through. It is only a crawl from here and if this lot comes down we are all done for!
Back outside now looking south from the portal
We’ll make our way north through Tunnel Plantation which is over the top of the tunnel. There are the air shafts to see here.
The first has a grille over the top of the small tower
This lower one has been capped with concrete
The next one is fenced off for good reason
The vent shaft has dropped into the void below as we are above the collapsed section at this point. A thin covering of overgrowth and tree cover conceals a drop into the abyss.
At the north portal. After heavy rain water rises to the height of the yellow label on the door and pours into the tunnel through the missing brick.
A tender first 64947 on a goods run on the final approach to the north portal of Burdale Tunnel
In 1954, three J39s, numbered 64867, 64928 and 64947 were allocated to Malton Shed. These were chiefly employed on the Burdale to Malton, and Malton to Thirsk goods trains conveying stone for use at various blast furnaces in the Middlesbrough area.
The west end of Malton engine shed in 1955, with BR J39 64867 outside and 64928 inside
The track bed curves away to the north. This resembles a canal in winter with water up to the top of the banks.
The northern portal and hut can be clearly seen in this superb photo
With the railway gone it was up to the local bus service to move people around. Seen heading for Malton in NBC days, 1973 Bristol LH6L United 1558 is near the end of its life. It was withdrawn and scrapped in September 1982, just nine years old.
We leave the tunnel behind now and head for our second location which is only minutes away. We’ll have a look at that next time.
Odds and Ends
The Leyland Gathering 2023
The annual gathering of all things Leyland took place at the Buckingham Railway Centre, Quainton.
Here are the photos from a great day:
Leyland Tiger PS1 new in April 1949
London Transport
1936
Leyland Cub SKPZ2
Park Royal RC18FNew to London Transport for interstation use with fleet number C111 in what used to be called an ‘observation coach’ style.
UOU 419H
Leyland Panther
Fleet Number: 419
Year: 1970
Chassis: Leyland Panther PSUR1A/1R
Engine: Leyland 0.680
Body: Plaxton Derwent B52F
The last of the three Leyland Panthers bought by King Alfred Motor Services in 1970 for £7,300 each. It operated with Hants and Dorset following the demise of King Alfred Motor Services in April 1973 until withdrawal in 1980. Sold to Rees and Williams of Tycroes, south Wales, 419 was eventually bought by the Friends of King Alfred Buses in 1988 and returned to King Alfred livery.
RTW185 was delivered new in 1949 to London Transport's Putney Bridge Garage. In May 1950 it took part in the Nottinghill Gate Test to establish whether RTWs, due to their 6 inch extra width would be suitable for use in Central London. In 1965 it ceased passenger service and became a driver training vehicle at Holloway, Muswell Hill, and finally Clapton. It covered at least one million miles whilst in service. It was the last RTW to be owned by LT.
South Notts 82 (82 SVO), a Leyland-badged Albion Lowlander.
The first of five Northern Counties-bodied Lowlander LR3s that the Gotham-based independent — part owned by Barton — bought for its services into Nottingham city centre, it was built in 1963. They marked a stepping stone between its purchase of lowbridge side sunken gangway doubledeckers and its first rear-engined Atlanteans.
The Lowlander was a lowheight version of the Leyland Titan PD3, built at the Albion Motors works in Glasgow mainly but not exclusively for the Scottish Bus Group. The LR3 combined a synchromesh gearbox with leaf suspension.
The immaculate Knowles fleet
The livery now
1984 Leyland Atlantean/Northern Counties
1989 Leyland Olympian ECW
Leyland Titan
H44/24D - 9/1982
New to London Transport (T567)
1929 Leyland Lioness coach was new to White Rose Motor Company of Rhyl North Wales . In 1939 it was bricked up in a tunnel in Jersey to prevent it being used during the German Occupation . It has never been fully restored, only repainted and a few new parts added such as the fold down roof and seating.
Leyland Leopard / Marshall
Maidstone & District
New to Maidstone & District 7/1972 as 3456
East Kent
1948
Leyland Tiger PS1/1
Park Royal C32R
South African Express Locomotive 'Janice'. Built in 1954 by the North British Locomotive Company in Glasgow. They were amongst the most technically advanced and powerful steam locomotives ever built in this country. 'Janice' regularly hauled the luxurious Blue Train across South Africa until the late 1970s.
CO/CP Stock - This unit consists of converted O stock car 53028 (originally 13028), trailer 013063 and converted P motor car 54233 (originally 14233) that had the most varied life, having been famously rebuilt from two war-damaged cars. These cars would have served the Metropolitan, Hammersmith & City and District Lines during the type’s 43-year service on London Underground.
Class 115 DMU
Egyptian National Railway Steam Rail car run on Bunker Oil rather than coal - It is one of only ten units built by Sentinel and Metro-Cammell in Birmingham in 1951
Built by Hunslet in 1964 this was the last standard gauge locomotive built in this country for the home market. The loco was part of the South Yorkshire NCB fleet and was sent to Cadeby Main Colliery, Conisborough.
The track bed heading north
The Brill Tramway Locomotive - One of two built in 1872 by Aveling & Porter of Rochester. It was used on the Wotton Tramway between Quainton Road and Brill. It was adapted from a road traction engine and had a chain drive and flywheel.
This 'accident crane' as it was known originally was built by Cowans Sheldon of Carlisle in 1914 and spent most of its life in Harrow goods yard.
'Beattie' was built in 1874 by Beyer Peacock and was one of 85 locos built to serve suburban trains out of Waterloo.
'Hilsea' - The locomotive was built in 1961, one of the last made by Ruston & Hornby of Lincoln. It is fitted with a Ruston 4VPH engine which is started by compressed air from a donkey engine. It spent its life working for British Gas at Hilsea Gasworks near Portsmouth. It is a standard 20ton locomotive and was used to move, separate and unload tanks of naphtha gas. Gas would arrive in 20 ton trucks from the Esso plant at Fawley on the edge of the New Forest.
Hibberd diesel shunter
A 1961 built Ruston & Hornsby diesel shunter. It was originally ordered by the MOD and was based at Bramley
A 1959 Ruston & Hornsby shunter. It worked at a cement works shunting wagons of coal brought in from the Nottinghamshire collieries via the exchange sidings on the branch line between Luton and Dunstable. It would also have marshalled wagons of Presflo Cement ready to be hauled away by British Railways.
Homeward bound
There were some quality vehicles on display at this event 👍
In the last one for this off season next time we will be definitely going here:
4 -
Hi there folks.
Welcome to episode 7.
In this one:
Section 1: F2s at Posterholt, the Semi’s from Bristol, and damage at St Day.
Section 2: In Out and About we take a look at Jumbles Quarry.
Section 3: Odds and Ends: Blackpool Transport Spot and Riverside.
Section 1:
Posterholt – Sunday 30th July 2023 – 16 cars
A few pics from Posterholt which is in the Dutch province of Limburg:
The view from turn 4
and from turn 1
Wide corners
A very neat and tidy venue
She was singing Wim’s song. He was getting his car set up to win the Golden Helmet Final later that day.
Jan Bekkers
Giel Kubben
Laura Vervuurt
A mint Freightliner
Peter Tegelbeckers
Johan Ots
Stan Coenen
Bram Leenhouts
Justin Albrecht
The next race gridded up whilst the current one was running. It made for a speedy turnaround.
Bjorn Donkers
Rik Maessen won Heats 1 & 2
Laura alongside the Peeters' bus
Luc Ottenheym
Johan Swinkels
Toon Schut
The track is in a very rural area
F2 Semi-Finals at Bristol – Sunday August 6th 2023 – 71 cars
Whilst some withdrawals were to be expected owing to an unfamiliar surface, disciplinary suspensions, and no interest in funding a trip over to the WF in Ireland this was still a good turn out.
It was a warm and dry day which was a plus up in the Mendip Hills.
Two young guns in the Smith pit
An engine change for JP after practice:
Before the first semi there was a heat for non-qualifiers which white top Jamie Cocks (856) led from start to finish.
Ht 1: 856 605 925 676 121 976 97 762 746 22
Following the drafting in of the reserves Semi-Final 1 lined up as below:
7 968
560 578
915 16
647 24
184 324
210 387
501 890
419 674
127 390
47 315
454 12
795 9
100 542
475 926
The 7 car made a good start but behind a huge pile up took Micky Brennan and others out before the race had got going:
Following the caution period Gordon was away and led from Luke Wrench. These two settled into a good pace up front with Craig Wallace and Chris Burgoyne in the next two spots.
Further back Jessica Smith was attempting to become the first lady for 30 years to qualify for a WF. She made it into the top 10 and then out again. She continued to battle to the end and was rewarded with an eventual 9th place finish.
The top four finished in the same positions as earlier followed over the line by Matt Stoneman, Jamie Jones, Paul Rice and Jon Palmer.
Result:
7 560 16 647 127 915 890 24 390 100
The top 3 wait for post-race checks
Semi 2
183 3
880 903
776 801
992 226
844 213
980 461
783 618
979 931
588 464
975 736
191 435
482 325
547 895
285 728
This second race was a lot closer. Charlie Guinchard led away from Liam Rennie who kept the 183 car in his sights. At around halfway Liam made it past but Charlie retaliated with a hard hit and set sail to the victory.
Jack Witts and Dan Roots were behind these two with James Rygor making rapid inroads to pass them both within a few laps.
Guinchy reeled off the remaining laps to take the victory from Rennie and Rygor. A great drive from young Caiden Morrison from the back of the grid netted him 10th place.
Result: 183 3 783 880 992 776 980 801 226 285
Following this were two Consolations. The first was won by Rebecca Smith. This was her first win at the Bristol track and went some way to help her disappointment and not joining her sister on the WF grid.
Gary Walker led the second race for most of the way until being overhauled by Craig Driscoll towards the end.
34 of the 38 qualifiers lined up for the Final and as tradition dictates the first WF qualifier home would win the inside line for their semi. Lots of hard hitting actioned followed with Chris Burgoyne making a rapid start and continuing to the victory. The win put Gordon Moodie on pole for the WF. Another class drive from Caiden Morrison saw him finish 2nd from the back of the grid.
A 20 car grid formed up for the GN which Matt Stoneman dominated to take the win from Caiden Morrison who rounded out his day in fine style.
It had been a great afternoon and with plenty of cars and nice weather Bristol is always a delight to visit.
Remaining results:
Consolation 1: 931 979 9 578 844 736 547 235 746 325
Consolation 2: 12 821 542 213 97 47 184 315 501 895
Final: 647 285 127 560 880 3 979 7 801 183
GN: 127 285 390 783 3 926 801 184 880 47
More pics in the gallery.
Andy Smith’s report:
“Well the Semi Finals for the BriSCA F2s are done and dusted and we arrived back home close to midnight last night after a rubbish journey back from Bristol. Chris Rea wasn’t wrong when he referred to the M25 as the “Road to Hell”!
As a bit of a backdrop to the semis I can say that as a team we weren’t exactly brimming with confidence. As already stated both girls were well back on the grid on row 9 outside.
As is usual lately we travelled down to Bristol the night before as to go on race day would have meant leaving at 5am so we find it better to set off the night before.
We were there early in the queue which gave us ample time to get both cars unloaded and beat the rush to get scrutineered and all ready for the start of practice.
Rebecca:
Last time out at Bristol a fortnight ago we were very disappointed with the car. We had been to Taunton the night before and changed tons of stuff to try and get it round in the wet so tbh we lost the car a bit for Bristol. We tried all day to cure understeer but never got the right balance. Although disappointed Rebecca was mature and her attitude was as we spent all day learning what not to do we will go back home and make it better.
And so she did. She has been in the garage almost every night and with my guidance she had done lots of work on the car with regards maintenance and adjustment.
It was time well spent as she got right up to speed by the end of practice. I’m told she was 13th quickest overall and just 1/10th off the fastest which considering her equipment isn’t “premier league” was excellent tbh.
Jessica:
Her build up to the semis hasn’t been good at all. She has had damage upon damage and her last 3 meetings has seen her car and body take a right pounding so this coupled with being on the receiving end of let’s diplomatically say some “unsavoury” behaviour at the tracks left her at a real low ebb. She decided to have a week or two away from the stockcar to clear her head and heal her body a bit but got back in the garage to prep the car in time for the weekend.
She also was happy with the car but I will be honest I did wonder how she would drive in the semi considering where her confidence levels were. I would soon find out as her semi was first up. I needn’t have worried as after probably the toughest run for various reasons she’s had since stepping into a race car some 12 years ago she totally smashed it and showed them what she is made of
After a cracking start she avoided the carnage brilliantly to get up to 10th after just one lap but a pile up led to a total restart.
Next time around she was just as good pulling herself into the top ten again in the first few laps before she got pushed out and dropped back a few. By this time every car in the top ten transfer spots was fast and she needed to push on and make up a couple of places. In what was around 15 laps of high speed racing she was head down and clawed herself back in eventually finishing 9th and into her first WF. Also being the first female to achieve qualification for 30 years. Magic
Next up it was Rebecca’s turn and I suppose her sister’s result in a way put even more pressure on her to match it. But she has always coped really well in the Minis with big race pressure so I had no worries in that department.
Because she knew she now had the pace I reckon the strategy was to keep the wheels on early on, avoid the inevitable crashes and race her way in after that. Similar to Jess really.
Well it didn’t quite pan out. Unbelievably the race ran completely clean with just one retirement which meant getting a top ten from so far back on the grid with such fast cars throughout the field was not possible. She raced well after a bad start where she simply couldn’t get to the inside, she passed quite a few cars but couldn’t make it into the 10. She was hugely disappointed.
So the Consolation for Rebecca where she dusted off her disappointment well and won reasonably comfortably. Her first win at Bristol which is an achievement in itself.
Come the Final and Rebecca was at the rear of the yellows and was coming through nice. However, she spun a car out which actually cost her as it caused a major pile up so when they yellowed it she had the red top train right on her back bumper. Jess got caught up in it so on the restart she was right at the back. Rebecca got shoved out and they all came through so in no time she was toward the rear racing her sister.
For 3 or 4 laps they were trading paint and I did think we were going to have a hard journey home at one point but they settled down and raced well with good speed but both finished outside the top ten.
Come the last race Jess had the bit between her teeth and made a very good start. She had a really good race coming home an excellent 3rd getting the better of a few really good drivers and ending what had been an excellent day for her.
Rebecca was going well just behind Jess but picked up suspension damage in a tussle and had to retire so ending a day with a winners trophy but overall a bit disappointed. But if there’s one thing to come out of it she worked hard to get her car on the pace and that she was. Her car is considerably behind Jessica’s in terms of cost and therefore potential performance and because of this she sometimes suffers with reliability which frustrates her, but she bounces back well and one day hopefully she can get together a bit better equipment to show what she can do more.
So I suppose we have to try and put together an Ireland trip now. Geographically it’s a fair old run for us. There’s the Venray weekend in a couple of weeks that the girls were really keen to do but we decided to see what happened yesterday. Tbh to do both overseas weekends so close would be too much of a strain on their racing budget unless they could raise some additional sponsorship to go towards the travel costs.
As things stand at the minute it looks like we will be choosing the Ireland trip which is as it’s a lot further away. Jess is on the grid and she has to take her place. It’s a tough one as it sells Rebecca a bit short as she’d probably rather do Holland but if she goes to Ireland she has at least got one more chance to get in as there’s a last chance race on the night which she is eligible to enter.
We will see, not 100% sure where the girls will be racing next but on the whole as a family a good day yesterday
Bye for now and thankyou from Lisa and myself to all who back the girls to continue going out showing the boys what they are made of ”
At Taunton the next evening I spent a very enjoyable meeting chatting with these three F2 stars of the past: Kevin Stack (628), Ian King (804) and Rod Avon (600).
13th Aug was unlucky for some at a very damaging St Day meeting:
A stuck throttle on the 24 car sent Jon into the turn 3 fence hard
Jon felt that one!
"Is that your mate over there Tom?"
It's Bad Boy Chiller Crew
Section 2: Out and About to Jumbles Quarry
We are in the Forest of Bowland folks to have a look at the remarkable resident that remains in Jumbles Quarry.
Just below the red arrow you can see a body of water known as Stocks Reservoir. The reservoir for fresh drinking water was built by the Fylde water company and is the only reservoir lying within the Forest of Bowland Area of Outstanding Natural Beauty. The quarry owes its existence to this reservoir which is near Slaidburn in Lancashire.
Later we’ll explore from the Cross of Greet Bridge to the quarry but first let’s take a look back at the origins of the reservoir:
The Dalehead Valley in the Forest of Bowland was once homing to a thriving community and village.
Now the luscious greenery is flooded with water, making up the Stocks Reservoir at the head of the Hodder Valley.
The reservoir that is today home to fly fishing clubs, mountain bikers and weekend ramblers, is all that is left of Stocks-in-Bowland, the village that was abandoned during the 1920s and 1930s as the Fylde Water Board began construction of a dam across the upper Hodder.
The construction of the dam on the Stocks embankment
Stocks began its life in the high Medieval period when it was just a small hamlet to the north of Slaidburn, first recorded in 1246. It was comprised of little more than two farmsteads and would not grow until the explosion of commerce and European-wide trade in the 1600s.
It was in this century that the scattered farms grew into more of a settlement, with an inn, a post office, a blacksmith and a general store added to the valley. The Inn, called The New Inn became a central focus to Stocks. It was a rarity to have a settlement anywhere in England that was first serviced by a pub before anyone thought of building a church.
Some would say that the people of Stocks just had their priorities right.
St James’ Church was finally added to the settlement in 1852 before a school was constructed in 1873, followed by a vicarage two years later.
These new additions were set 262yds to the north of the original settlement along the line of the road towards the dispersed farms which sprang up in the 19th Century. If the village had been allowed to develop then these separate centres may have merged into a strong settlement but that dream never became reality.
Stocks-in-Bowland in the 1920s
By the 1900s the hamlet was at the centre of the Dalehead community. The scattered farms and hamlets across the region came to Stocks using the inn (now called The Travellers Rest), praying in the church, and sending their children to the school.
The water board began surveying the area in 1910. By 1912 an act was passed in Parliament empowering the board to compulsorily purchase the land in the proposed water catchment area changing the future of Stocks forever.
The Travellers Rest
In 1915 the board began to purchase buildings in the village including the wheelwright’s shop before taking over the Traveller's Rest. In 1919 they completed the purchase of the whole village.
Without enough cash to fight the case legally the villagers were forced to move abandoning their farms and settling elsewhere.
The Dalehead schoolmaster with his children
Construction work did not begin until 1921 and took another 11 years to complete. It completely changed the face of the entire region. These works included the reconstruction of over five miles of road from Long Preston which could carry heavy traffic. Before work could start on the dam, a village to house 300 - 400 men and their families had to be built, which when complete had its own water supply, sewerage scheme, electricity supply, hospital, canteen, cinema and a recreation hall. Other necessary buildings included offices, joiner’s shops, engine sheds, blacksmith’s and fitter’s shops, and a power house. At the peak of the building over 500 men worked there with the standard wage being £2.25 a week. After board and lodging most of the workmen spent their money on beer, though spirts were banned. If anybody got too drunk they were put in the 'cooler' for the night which was a covered railway wagon. Graham Johnson said in 1976,'The town that grew up at Hollins.....may have been the last word in industrial relations in the 20's,but by todays counterparts...would have mistaken it for a Siberian work camp....The men of Stocks thought themselves lucky to have a cinema showing silent films, a canteen selling anything from a packet of pins to a side of beef, a recreation room with billiards, and limited cottage accommodation for wives and families.'
Sadly, the construction village is now long gone, all that remains to be seen are the derelict hospital, dam and the causeway.
The following ten photos were kindly forwarded to me by Duck:
Three pics of the hospital
An aerial shot showing the hospital and Hollins village remains. The road that runs from top to bottom is the old road that ran through Hollins. The hospital is bottom right in the trees, the foundations are on the right of the picture. There are more on the left of the road but they are not clearly seen.
The reservoir in drought conditions:
A brick from the Claughton Manor Brick Company. This was one of a number of brickworks near Lancaster. The works is operated by Forterra and is also served by the last aerial ropeway in Britain.
For moving men and materials, a 3 foot gauge railway was constructed. Steam engines hauled building material between the railhead and the water board depot adjacent to Long Preston railway station.
This five mile long 'main line' threw off numerous branches to quarries and borrow pits for fill totalling another thirteen miles and cost the Fylde Water Board £90,000. Upon completion, the railway was dismantled and forgotten.
Two views of the Stocks Reservoir Railway with Jumbles Quarry arrowed
The Dalehead smithy
St James’ Church was dismantled and re-erected half a mile away with the graveyard exhumed and the inhabitants reburied.
The church and the vicarage in Dalehead
Some 344 acres of the valley were flooded in total giving us the lush green valley today with little sign that the thriving Stocks-in-Bowland ever existed.
Speeches from the inauguration ceremony attended by HRH Prince George
Stocks Reservoir Opening
First water passes through the compensation pipe. 1932
Annual rainfall here is about 5 feet and when full the reservoir covers an area of about 475 acres, the equivalent of 500 football pitches. Full, the reservoir holds up to 2.5 billion gallons of water, collected continuously from the 9300 acres of surrounding land. After treatment, the water from Stocks goes mainly to the Fylde area of Lancashire.
Now let’s see what remains today:
We start at Cross of Greet Bridge:
It is in a very remote area
In the opposite direction
This location above is the highest point from Tatham Fells to Slaidburn and is known as “Cross of Greet” or “Top of t’Cross”. There is no cross, just a large boulder with a shallow square hole in its top. It stands on the Lune-Ribble watershed and marked the county boundary with Yorkshire’s West Riding until 1974, when the Slaidburn area became part of Lancashire. This view shows Stocks reservoir and Pendle Hill in the distance.
It is usually asserted that a stone cross once stood here and fitted into the square hole in the boulder. However, the hole looks too shallow to have supported a cross. But was it once deeper, and might the top of the base have been broken off? Could it be that the stone had nothing to do with the cross? The latter view is held by some, who suggest that the boulder is a “Plague Stone”, and its hole a basin. In times past, there was a superstition that washing money in a Plague Stone would protect the traveller against catching disease in the new territory beyond.
The bridge crosses the River Hodder of which the upper reaches of the river feed the reservoir.
The Hodder also flows under the Cromwell Bridge sixteen miles south
Although built in 1561-2, it is named after the great general as his 8000 strong army crossed it in 1648 on his way from Skipton to meet the royalist Scots at Preston. It is a narrow bridge and the cavalry would pass no more than two abreast at a push and infantry no more than three. Legend says that Oliver dismantled the parapets which so hindered the troops' movement.
We’ll be walking from the Cross of Greet Bridge following the trackbed of the old 3ft gauge mineral railway across the moors north-west to the quarry. At the bottom of the map is a watercourse called Near Costy Clough which the line crossed over.
A photo from 1977 showing the rails over Near Costy Clough
The same scene today
Looking back to Cross of Greet with Catlow Farm in the far distance
Approaching an old fox bield
This was an old fox trap, or fox bield. It has partially collapsed and been filled in. A bait of food was suspended on a plank over the hole and when the fox walked out to reach it, he would overbalance and fall in. The nature of the enclosure implied that he couldn't escape so suffered his demise after one final meal!
It is all uphill to the quarry
A solitary piece of rail stands sentinel to what once was
In 1977
In 2023
A point frog
Back in 1977 the runround loop track was visible. This is on the approach to Far Costy Clough. There was a trestle bridge to cross over here but even back then it had long gone.
This branch line became one of the busiest sections of railway during the Stocks construction. It was certainly the stiffest section to work in view of its gradients which were mostly in favour of loads but with two or three short steep pitches against the load. A typical train comprised a steam locomotive and eight or ten wagons of stone. The 40hp Simplex internal combustion locomotive from the dam works was occasionally pressed into service on the branch when dry weather created an excessive fire hazard on this fell section.
A covered wagon was run daily over the line to convey men to and from the quarry. After the Stocks and District Farmers’ Ball held in the cinema at Hollins village usually on the Friday night in January nearest the full moon a train was run part way to Jumbles for participants from outlying farms. However, in a particularly harsh winter it was quicker to walk as the rails were iced up.
Arrowed is our location at Far Costy Clough
Hanging rails
It is amazing how nature has completely buried the rails in the years since 1977
The track curves towards the old quarry. The majority from Cross of Greet was removed for scrap in the 1980s. Some lengths as here remain where they weren't easily accessible.
The trackbed has turned into a small stream
Part of the runround loop comes into view
Complete with sleepers. Nature is slowly encroaching however.
Still hanging on against the march of time.
Climbing away from the trackbed to a high position the quarry and the jewel in its crown come into view.
Stone for culvert arches and elsewhere in the works was obtained from the quarry which was opened out high up above the reservoir site. The quarry also provided stone for the construction of the dam and was connected to it by the three foot narrow gauge railway. This transported aggregate and facing stone four and a half miles to the Stocks reservoir construction site. Stone for aggregate was first exposed here in September 1925 and larger stones were being quarried by March 1926.
The Jumbles quarry steam crane has sat hidden away in this valley in the Forest of Bowland for 100 years
It is a Smiths of Rodley steam crane and is a wonderful piece of Edwardian engineering
Thomas Smith & Sons (Rodley) Ltd were formed in 1918. The firm originating in the village of Rodley, Leeds in Yorkshire. They were a builder of steam cranes for railways and quarries before going on to build diesel engined excavators and cranes, and eventually lorry mounted lattice jib cranes.
The company history started in 1820 when a firm of millwrights was started by Jeremiah Balmforth, David Smith, and Jeremiah Booth in the village of Rodley. The company progressed to making stone cutting machinery & winches. By 1840 most of the equipment being made was cranes. These being of various capacities from 1/2 ton to 10 ton hand operated machines. They built their first steam crane in 1860. By 1861 David Smith’s son Thomas had taken control. The company was run as a partnership with his sons till he died in 1902, with the sons incorporating the company in 1918, as Thomas Smith & Sons (Rodley) Ltd.
Early Developments:
1887 Built their first ever excavator, a steam crane fitted with a shovel attachment.
1887-1893 Contract to supply 5 & 10 ton steam cranes to the Manchester Ship Canal builders.
1894 Built their first ever electric crane.
1900 Built a trencher machine designed by Jubb from Manchester which was added on to a 3 ton steam crane.
The company built several truck mounted cranes based on cranecarriers from Atkinson, AWD, Foden and Leyland.
In 1978 they were taken over by the NEI group who owned a number of related engineering and construction machinery businesses. The 1980s recession forced the closure and disposal of a number of them.
This ran on a short length of standard gauge track and was used for loading trains of eight to ten wagons with gritstone
Leftovers of stone show the scars of blasting apart. This has the drill hole where explosives would have been inserted.
A piece that has been split with the drill holes visible
Hardly any photos of the quarry being worked exist. This shows a steam navvy getting earthfill from the reservoir bed. The loco is OGDEN which was used extensively at Jumbles.
OGDEN
An 0-4-0 side tank by W G Bagnall of 1905. After Stocks it was sold to Derby Corporation in Sept 1932. Two years later passed to William Twigg of Matlock for £90.
The other loco used was FYLDE. This 0-4-0 side tank was by Peckett of 1924. It was ordered in May 1924, and delivered in August 1924 at a cost of £920. Sold to Derby in Sept 1932, and after various owners was left lying beside G.W.R works at Caerphilly. It left South Wales in 1943 and worked for the Consett Iron Company at Butsfield quarry in County Durham until broken up on site in 1951.
An incident of interest occurred on the 28th April 1927 when the Andrew Barclay four-coupled locomotive BICKERSTAFFE was derailed and finished half-submerged in water. The loco was at the head of a full complement of loaded tip wagons and was on a descending gradient on the dam wall. The rearmost wagon derailed, tilted, and progressively dragged the others into the water along with the locomotive. The driver and his mate jumped clear as the whole lot fell down the 25ft drop. The loco’s fall was cushioned to some degree by its own wagons going down before it!
A rare burst of sunlight illuminates its magnificence:
On completion of the reservoir the quarry was abandoned. Apart from the cylinders which have been removed, the crane is remarkably intact, probably due to the remote and inaccessible location.That completes our look at this industrial gem.
Section 3
Odds and Ends:
Blackpool Transport Spot:
Blackpool Tramway Extension & Holiday Inn
Both are well on the way to completion and scheduled to open in 2024.
The £22m extension forms part of the Talbot Gateway regeneration project around Blackpool North railway station.
The new tramway leaves the promenade at North Pier to travel along Talbot Road to Blackpool North Station.
A new sign has now gone up for the North Station Tram Stop. The new hotel and italian restaurant are hoping to open next month. The tramway will need a bit of "testing" and training, and as yet there is no definite day for starting service operation. There has been some rail cleaning/grinding done very recently effectively to remove surface corrosion of the tracks to ensure return electrical flow.
When complete, the new Holiday Inn hotel will stand where Wilko once used to be. The tramway extension will run from the promenade to the tram stop sited at the side of the new underpass to Blackpool North Station. Connections from tram to train with a bright, modern entrance into the station.
Tramlines being laid in Talbot Road
And this is the ‘turnout’ created from the promenade lines when they were laid 6 years ago.
Blackpool Tramway extension on 31.10.18
On Monday 4 July 2022 - test trams
Heading towards central Blackpool now:
Rigby road depot is still closed off to the public at the present time
Work has now been completed on Balloon 700 and Bolton 66 so the engineering team have now moved onto the next tram which is Railcoach 631:
Old advertising boards on the paint shop wall
A Peep into the Past:
Balloon 700 at Tower in March 1997 on its first test run following overhaul and restoration to an approximation of its wartime appearance. Jubilee 762 passes by on a scheduled service to Fleetwood.
681+671 pull up at Warley Road on 30/10/10. This set was probably the hardest pair of trams to travel on during 2010. Always last resort after a reactivation during September for the illuminations. Sadly, that evening the set had an electrical fault that sent the set in. 673+683 were also out that day and it was the ultimate day of service for both twin sets in Blackpool.
Thankfully the motor car is displayed in the attractive all over cream livery at the St Helens "North West Museum of Road Transport"
The Blackpool team worked their magic on 706 to create the stunner below:
706 - Princess Alice at Bispham
The official launch of repainted Twin car set 672+682, now once again carrying the original (pre 1968) numbers 272+T2, took place at the Pleasure Beach on 14th September 2012:
Representatives of Blackpool Council and Blackpool Transport do the honours
Twin car set 272+T2 depart Starr Gate depot on an "empty stock" move back to Rigby Road depot on 14th March 2014
The two currently remaining operational Balloon cars, 700 and 717, are seen together at the Pleasure Beach over 30 years ago in May 1993.
Coronation car 304 Pleasure Beach 6-11-2010
North Pier 27-6-2010
Preston Riverside
Progress is the sister loco to Enterprise and has worked on the docks since her arrival in 1968.
The loco was purchased in 2002 and since that point has become one of the main shunters being used on a regular basis for moving items in and around the shed. In addition running the regular works trains that have been required to maintain the railway.
Here at Ribble Steam Railway they’re well known for celebrating the large collection of industrial steam and heritage diesel locomotives but have three extremely important locomotives which work tirelessly to keep Preston’s Dockside traditions alive.
These locomotives arrived in the North-West 50 years ago in a period of great social and economic change. Brought in to replace some nine steam locomotives, one of which survives in the form of the Lakeside & Haverthwaite’s ‘Princess’, these stalwart like characters are responsible for keeping bitumen trains rolling and the employment of four full-time operational employees. These characters, of course, are Ribble Rail’s three diesel shunters, built by Sentinel, and aptly named ‘PROGRESS, ENTERPRISE & ENERGY’.
Sentinel, with their Rolls Royce engine suppliers turned out diesels for dying industries in the 1960s and are now represented in higher quantities by heritage railways than their industrial counterparts.
Bitumen Trains
The Story So Far:
The 6M32 (loaded) and 6E32 (empty) bitumen trains between Lindsey Oil Refinery and Preston Docks always attract attention as they cross the country from coast to coast – not least because it is one of the few regular freight workings over the Copy Pit line.
Just two days before Christmas 2004 the mothballed Preston Docks branch saw the return of regular rail freight operations after a nine year absence in the form of a 10 year contract to move 110,000 tonnes of bitumen a year from Total’s Lindsey Oil Refinery in North Lincolnshire to Preston’s (ex-Lanfina) facility for tar production. Damage to an overbridge on the branch in 1995 initially looked like it had brought the curtain down on the 149-year-old rail service to the docks with the bitumen tankers diverted to the Total (ex-Kelbit) site on the Haydock branch, near Ashton-in-Makerfield. Happily, 1999 saw trains head back to the redeveloped remains of the once extensive Preston Docks rail system in the form of the Ribble Steam Railway (RSR), which was formed from the ashes of the Steamport Southport group.
Significant repairs to the line followed over the next few years, including replacement of the busy level crossing on Strand Road with automatic half barriers, a new pipeline gantry over Leeward Road, and unloading equipment to connect the Total refinery after it had been severed from the railway. Four years later, in 2003, the first of two trials ran on September 29 as EWS machine No. 66084 brought a loaded set of TEAs from Lindsey. This test train was not without its problems, with the GM Type 5 struggling on the infamous 1-in-29 incline from the exchange sidings up to Preston station resulting in Class 60s being diagrammed to power the heavy 1400 tonne trains when services restarted the following year. The load had proved difficult in BR days, with double-headed Class 31s and 37s mixing it with Class 47s in the 1980s on the heavier workings. The much more capable Class 56s took over in the early 1990s and continued after the changeover on Ashton services right up to the end of operations on the Haydock branch. A second trial took place on October 1, 2003, with No. 60012 providing the power for a set of the VTG-owned bogie bitumen tankers between Wigan Springs Branch and Preston Docks.
Final approval to run freight trains was provided in August 2004. A series of route learning locos then visited the branch, and who could forget the surprising visit of Ian Riley ‘Tractor’ No. 37197 with fire-damaged Corradia No.175008 to the docks for onward road movement in November 2004. However, it was the turn of Brush heavy hauler No.60026 to kick-start Preston Docks’ rail-freight renaissance on December 23. Unfortunately, things did not go quite to plan, with malfunctioning discharge equipment resulting in the diversion of the loaded tanks to Ashton-in-Makerfield after Nos. 60088 (Mainline Freight grey) and 60091 (Trainload Coal) were sent to recover the motley collection of TEAs six days later. The return of bitumen trains to the docks had been intended to replace the services to Ashton, which was closed the following year and taken over by Hanson Aggregates. The service from North Lincolnshire quickly settled down to a two or three times weekly operation, operating as a loaded 6M32 westbound train and a corresponding 6E32 return, the latter powering its way over the Copy Pit route during daylight hours with a photographer-friendly departure in the morning. On the Preston Docks branch, Ribble Rail, a subsidiary of the RSR, worked the loaded set of 14 TEAs in two portions over the 1.5 miles
A trip is made from the small bank of exchange sidings to the refinery (the siding can only accommodate seven wagons), having left the discharged vehicles for the Colas (previously DB Schenker and EWS) locomotive to collect. This approach ensures a fast turnaround time for the main line engine of less than an hour.
Ribble Steam Railway-based Bagnall 0-6-0ST No. 2680 Courageous made its first ‘light engine’ test runs in the yard at Preston Riverside on 29th Jan 2014, becoming the first locomotive to return to steam in that year. The locomotive is now in regular service on the line. It has undergone a lengthy restoration by its current owner from near-derelict condition.
The locomotive was built by W G Bagnall at its works in Stafford, emerging in 1942 as the first member of the Company’s standard 16” class of 0-6-0STs, it was immediately shipped to the Birchenwood Gas and Coke Co works near Stoke-on-Trent and put to work, being named Birchenwood No. 4 upon its arrival. In fact, such was the speed of its despatch from the Bagnall site that there was no time for official works photographs of the locomotive to be taken. Works photographs in fact show locomotive No. 2682 ‘Princess’ helping to perpetuate the myth that the latter was the class prototype.
No. 2680 worked at Birchenwood until its closure in May 1973, becoming the last locomotive to work at the site. It was initially purchased for preservation by Sir William McAlpine and moved to Market Overton, but little work was done and it was sold once more, moving to the North Norfolk Railway, where it was dismantled for an overhaul that never took place. Several more changes of ownership took place and the locomotive’s condition gradually deteriorated, with many parts being lost in the intervening years.
When the current owner acquired the locomotive in February 2009 most of the cab fittings were missing, together with almost all the external pipework and a myriad of other components. Many of these have had to be manufactured from scratch or acquired from other sources, adding significantly to the workload. Nevertheless, a small but dedicated team, led by No. 2680’s owner rebuilt the locomotive from a condition akin to that of an ex-Barry wreck to a pristine working machine within five years.
Seven examples of the Bagnall standard 16” class were based on the Preston Corporation system at the Albert Edward Dock, which at the height of operations in the 1950s comprised some 26 miles of track. The locomotives include the aforementioned No. 2682 Princess, delivered in 1942, along with Nos. 2838 Energy, 2839 Perseverance, 2840 Enterprise, 2891 Progress, 2892 Courageous and 2893 Conqueror, all of which arrived on the system between 1946 and 1948. Steam ended on the dock in 1968, and three new Rolls Royce powered Sentinel 4wDM shunters, Nos. 10281, 10282 and 10283, arrived to replace the seven Bagnalls. The Sentinels were given the names of some of the withdrawn steam locomotives, becoming Energy, Enterprise and Progress respectively.
With No. 2680 now having a long-term home at the Ribble Steam Railway, which operates on the last surviving part of the former Preston Dock system, a decision was taken to finish the locomotive in the guise of one of the six lost Preston Bagnalls, and when it emerged from the workshops it bore a pair of newly-cast Courageous nameplates, together with a pair of tank-side ladders identical to those fitted to its namesake. Soon to follow was the chimney-top ‘halo’ type spark arrestor, while the correct pattern of steam-heat equipment has also been fitted. A boon to heritage passenger operation, steam heating apparatus was originally employed on the locomotives to heat Geest banana vans to assist with the ripening process after the crop had been unloaded at the dock.
Another great YouTube channel is WELDERFABBER.
3 years ago a crack welder escaped from the steel fabrication game to the underground Leyland based Hurt plant hire company! Today still wanted by every firm in the UK he survives in the Fox Group as WELDERFABBER! If you have a problem, if no-one else can help & if you can find him maybe you can hire the Baz team !!
Next time:
There is a double main feature where we visit two abandoned sites within a short distance of each other:
8 -
Hi there folks.
Welcome to episode 6. In this one:
Section 1: The F2 Bill Batten Tribute Weekend from Taunton
Section 2: In Out and About we visit Aldwych Underground Station
Section 3: Odds and Ends: Blackpool Transport Spot, Keep on Truckin' from Gaydon.
Section 1:
Taunton – Saturday 15th July 2023 - 68 cars & Sunday 16th July 2023 - 59 cars
The 500th BriSCA F2 stock car meeting at Smeatharpe in July 2022 was staged in honour of the late Bill Batten who had been taken from us in the June. A promise was made that in 2023 there would be a full tribute weekend. Here we are, we have arrived at Remembering The Master.
A superb programme for the weekend full of articles and photos in honour of Bill
Included with the programme was this fabulous photo booklet. It is a collection of pictures from a lifetime of stock car racing. Here are a selection with credits at the end:
4
Over the course of the weekend there was a whole host of prizes, bonuses, and outstanding trophies to be raced for.
Despite the conditions looking favourable before the meeting the heavy rain forecasted duly arrived later on
New gates and fencing have been installed around the pits
Saturday began with a pre-meeting Master’s Champions Challenge. This featured the following eight drivers: 183, NI467, 560, 647, 667, 783, NI918 & NI998.
They were split into two groups of four to race in two Semi-Finals. Each driver drew their grid position. The races were a four lap shoot-out with a clutch start. The winner and runner up advanced to the Final with third and fourth placed finishers eliminated. The Semi winners did a coin toss to determine the front row grid positions for the Final with the runners up doing likewise for row two. Again, the race was a clutch start of four laps with a £500 winner takes all prize.
Semi Final 1 had NI467, 647, 183 and 783 on the grid. Rygor got to the front first with Guinchy pushing past Burgoyne to finish in the 2nd qualifying place.
The second Semi Final had some hard-hitting action right from the start. As Graham Fegan moved ahead Luke Wrench was fenced hard by Shea Fegan leaving the 560 car out of the race.
Timmy Farrell had also helped with Wrench’s exit and he took advantage to claim the runner’s up spot.
Rygor made a fast start in the big money showdown as the remaining contenders fought amongst themselves even though there was nothing on the line for the runner’s up spot. With the trio delaying each other Guinchard cue balled Fegan into Farrell whose race ended against the turn four plating. The unchallenged 783 car hot-footed it to the cash prize. Farrell hitched a lift on the back of the 183 machine. The Champions Challenge had been a hugely entertaining event.
Richard Kaleta interviews Timmy after the Final.
In the pits were a display of Bill’s cars:
Mike James was racing the Dave Sansom car
The Master’s Parade preceded the meeting proper and featured four cars with each reflecting a different stage of Batten’s career. The cars were followed on foot by family, friends and the F2 drivers in attendance.
The racing got underway with the annual Ben Fund Ladies Charity Trophy race won by Maddison Gilmour (3) after early leader Charlotte Bate (161) had tangled with Chelsea Flegg (572).
The main programme format followed an unusual pattern based on roof grades. Heat one featured all white graders with 18 gridding. Lewis Burgoyne (547) spun the leader out to claim the victory on his track debut.
Heat two for the yellow graders came to an early stop with Jack Prosser (844) hanging off the fence.
A 475/454 tangle
Julian Coombes (828) led but was disqualified after the rear wheel guard came astray. Ritchie Andrews (605) took the win.
Heat three for the blues included Justin Fisher (35) making his first appearance of the season, and Mike James (717) who was racing for the first time since 2006. Both drivers were making a rare appearance in tribute to their racing friend of old. Jessica Smith (390) and Dan Fallows (581) collided on the pit bend as Kieran Bradford (27) lapped all the runners up to ninth place to take a dominant win.
The fourth heat doubled up as the Benevolent Fund Trophy and for the first time in many years featured an all star and superstar line up with the exception of the defending champ Paul Rice (890).
The race set off at a rapid pace until an incident on the pit bend resulted in Northern Irish father and son duo Graham and Shea Fegan becoming locked together. The damage to Shea’s car was such that he did not race again over the weekend.
Paul Rice pulled off with front and rear punctures after also becoming mixed up in the incident. Aaron Vaight (184) led the restart but was hampered by tailenders with Sam Weston (468) lurking in second. Vaight was pushed wide by back-marking Steven Gilbert (542) which allowed Weston to attack the rear bumper of the 184 car at the next corner. Vaight fought back to retake the lead but with Gilbert, Farrell, Paul Moss (979) and Tristan Claydon (210) surrounding them they fell back into the range of Guinchard and Liam Rennie (3). Vaight dived at Weston into turn 1 and both slid sideways towards the fence. 183 dived up the inside of both to take the lead and the victory.
The damaged Fegan cars
Three further heats followed to the more traditional mixed grid line up. The points from these would be combined with the previous four races to set the qualifiers for the Final. The forecasted heavy rain was falling by the time the fifth heat gridded. Jack Bunter (728) led for the majority of the race until passed by Rennie and Luke Johnson (194) in the closing stages.
The amount of water on the track saw Dale Moon literally cruise to victory in heat six.
Fallows took the seventh and last heat. Dan Roots (776) and Aidan McFerran (467) tangled in the pit corner during the race.
Jamie Jones (915) won the Consolation which saw Weston and Ryan Gardiner (454) hit the fence hard in turn 3.
The Final was for the 641 Ray Tyldesley Trophy and the action commenced right from the off with Jamie Cocks (856) bouncing off the pit bend fence, and Matt Stoneman (127) being pushed sideways down the home straight. Neil Hooper (676) rammed the marker tyres at the end of the home straight. Fallows drove extremely well on the wet track to move into a race winning lead finishing ahead of Rennie.
Results:
Ht 1: 547 303 728 259 856 762 53 359 141 222
Ht 2: 605 931 194 460 736 903 232 533 525 97
Ht 3: 27 676 975 315 895 960 35 161 717 NOF
Ht 4/Ben Fund: 183 3 N1924 647 560 302 776 24 127 NI467
Ht 5: 3 194 728 127 53 35 844 390 460 915
Ht 6: 302 783 960 359 542 232 NI924 856 667 736
Ht 7: 581 605 980 931 895 533 303 24 184 828
Consolation: 915 776 161 667 NI998 184 First 6 to the Final
641 Trophy Final: 581 3 728 302 895 183 127 194 980 783
Day two of this Speedweekend saw the weather conditions still unfavourable although the majority of the racing was in the dry.
Porta power pre-meeting on the 717 car
The Music Man enjoyed the weekend
No racing for Shea today
Sponsorship money resulted in £167 to every race winner.
In heat one Dayne Pritlove (540) made a quick getaway and was soon lapping the tail enders. Fallows and Moon looked as though they were going to reel him in until backmarkers slowed their progress. Dayne took a popular win.
Heat two was in a similar vein with another white top making great strides at the front. This time it was Phil Mann’s turn (53) to lap the field which included such as Jon Palmer (24). Jack Prosser (844) eventually caught and passed Mann with both lapping Palmer for a second time. Palmer became aggravated with James Lindsay (572) and pushed him towards and around the fence into turn one. Prosser took the win.
Another white grader in the shape of Jack Bunter (728 led heat three for many laps until Liam Rennie (3) swept past for the victory as in yesterday’s heat 5.
The Consolation had Weston and Graham Fegan tangle on the exit of turn two. As the 998 car was dragging itself to the infield a further collision followed with Kieran Cocks (290) who then cannoned into the marker tyres at the end of the home straight. Julian Coombes (828) moved into the lead as Jessica Smith (390) spun in turn four. She rejoined behind the race leader and they both traded hits and position with Coombes unaware that the 390 car was a lap down. A closing stage yellow flag period allowed Leah Sealy (475) to close up into second place behind Coombes. At the restart Julian held off the last-bender from Leah to take the victory.
The Final gridded 34 cars and ‘Hey Jude’ was played in readiness for the Master’s Trophy.
Jack Morrow (NI924) was an early retirement hitting the fence hard in turn 1.
Continuing the white top leading theme of the afternoon Daz Purdy (259) held on up front until Luke Johnson (194) took over. Fallows gave chase and moved past Johnson only for the 194 car to retake the lead. Over a number of laps the pair continued to swap places while third placed Adam Pearce (460) kept them within range. Fallows hit the front to lead the last lap and with Johnson and Pearce line astern the three stormed into the last bend. Dan rode out the hit and took the victory winning the £667 first prize and stunning trophy. Fallows was overjoyed with his weekend and the presentation that followed. There was a gathering of F2 greats from the West Country as support to Bill’s family and friends.
Dan savours the congratulations
Richard interviews Dan with Crispen alongside
The second and third placemen join the Batten family, friends, and a who’s who of West Country F2 drivers on the victory lap. How many can you name?
The GN featured a first prize of £167, plus £152 from Mick Sworder. The race brought the curtain down on a very busy and enjoyable weekend. The start saw crashes at both ends of the track with most of the star men piling in. Weston, Stoneman and Rennie were three who all tangled as a result. Jamie Ward-Scott (881) shot off into the lead at the restart and it was a couple of laps to go before Neil Hooper (676) began to close in. Ward-Scott could not hold off the flying Hooper and it was a nostalgic winner that capped the weekend off.
The Saloons had a new driver on Sunday. In the beer-tent the previous evening Kevin Stack (ex-F2 628) was celebrating his 73rd birthday. Ian Govier (28) decided that he would book Kevin in for the next day’s meeting and he could use his car. Stack joined the 32 car grid for the Bill Batten Tribute Trophy with some drivers less than a third of his age! He was also due to go on holiday the next day so his family members were hoping he kept out of trouble! Kevin had a spin in one of his races but enjoyed himself no end.
All smiles from the Smeatharpe Stadium legend after the Saloon experience
The hardest part was getting in and out. Family members are on hand to watch him do it.
A smiling Garry Hooper (ex-686) had witnessed Kevin successfully exit the car!
A great weekend for Dan to share with his son
Goodbye from Bill
Results:
Ht 1: 540 581 302 194 183 960 560 359 525 NI924
Ht 2: 844 53 980 776 325 460 533 141 390 184
Ht 3: 3 728 895 605 127 161 35 315 542 979
Consolation: 828 475 667 467 881 First 5 to the Final
The Master’s Trophy Final: 581 194 460 736 259 183 3 960 667 728
GN: 676 881 126 24 980 127 27 540 161 776
This year’s tribute weekend
More pics in the gallery.
From Facebook here is Andy Smith’s report of the weekend:
Well, the cricket highlights are boring so think I will take time now to fill you all in with our exploits of the weekend just gone to get it all bang up to date
After a late finishing Skegness last Thursday with Rebecca we arrived back home at going on for 3am.
Friday was going to be a very busy day for me as both girls were at work all day and we wanted to leave Friday evening as the long journey down to Taunton involves several traffic black spots and it’s much easier at night.
So, I had to unload Rebecca’s car, check her over, change the diff, and change a bit of set up to suit the little Taunton track which is very different to Skeggy.
Then I had to finish mending Jessica’s car from the big crashes the previous weekend at the Skegness UK which meant finishing welding up the back bumper, remove the gearbox change ratios and refit/repair the wing, change the springs, set up and scale, sort all the weekends wheels and tyres out (24 in total for both cars covering all conditions)and make up a spare bumper section.
Then swap the single trailer to the double trailer and load up both cars, all the wheels and tyres, and spares and tools in the van!!
The girls got home from work around 6 and by 8 we were on the road fully loaded eventually arriving at the track at 1am quite tired.
We were one of the first in the pits Saturday morning. It makes the day a lot easier as we can get a parking spot much nearer the track. Easier on my dodgy knees lol.
With it being the Bill Batten celebration weekend as the day went on it seemed quite a special atmosphere. The car count was very high with many drivers making the extra special effort to be there.
It was especially nice to see Bill’s great friend and ex F1 and F2 superstar Mike James back behind the wheel for a one off at the ripe old age of 69. Good on you Jamesy
There were also 4 of Bill’s old cars on display, each one of them restored to perfection and a real credit to those involved.
Practice was wet throughout and both girls seemed reasonably happy. The final run was the only dry one and they were both happy enough wet or dry.
The meeting began with a special champions challenge event which was a series of knockout short 4 car sprint races for ex champions from England, Scotland and Northern Ireland. It was quite an entertaining affair with plenty of bumper work.
Next up was the ladies race. We were due to have Adam Rubery 700’s wife Lauren out in Jessica’s car but after Adams unfortunate accident at Skegness weekend he wasn’t well enough to travel. Such a shame for Lauren as she was really excited about it. Maybe next year and Get Well Soon Adam
Right onto the meeting proper and the format was different as every heat was for each grade followed by more heats with all grades, then a consolation and feature final.
Rebecca was in the yellows only heat and after an awkward first few laps from a bad starting spot she settled down and looked the fastest on the track to me, eventually coming home 2nd.
Jessica in her heat struggled with a badly locking RF brake which was a puzzle. It was snatching randomly and sending her wide. She just got used to driving around it when she got taken out and into the wall by a driver who I think thought it was her who’d whacked him wide the corner before when it was actually someone else. Our Jess just snuck up the inside. Ah well happens quite a lot does that.
After their first 2 heats the heavens well and truly opened and from then on it was a wet night.
Rebecca did quite well in her 2nd heat although the car wasn’t great she was driving the outside line well coming in I think in 4th.
It’s quite comical watching them in the wet at Taunton. The nature of the flat concrete surface creates 2 totally different lines. One following tight to the kerb even down the straights, the other basically running the wall all the way round. The latter is probably 30% longer in distance but equally as fast. Strange to watch!
Jessica chose the lower line in her wet heat but wasn’t making great speed. The car was lazy on the front end and she didn’t place so had to run the consolation. The track was greasy rather than wet and tbh she was really struggling for grip. Our wet tyres are on very skinny wheels which weren’t seeming to work without standing water. Ideally you need to have more of an intermediate option. We know this but with us having to carry double everything we simply don’t have the number of rims nor the room to carry this option so both girls are compromised in these conditions.
We know it but it is what it is and we have to run with what we have.
So just Rebecca in the final and she did OK but as explained I don’t feel we were able to run the ideal wheel/tyre combo and she finished still on the lead lap but just outside the top 10.
So that was the end of the racing so it was time for another ace BBQ.
This time Lisa and Jamie 915’s mum Helen had joined forces and we had a right old feed. Spot on
Onto Sunday and it chucked it down so the heats were on a very wet track.
Jessica got a steady 9th which didn’t transfer her so yet another consolation.
Rebecca’s car was awful. We’d tried something a bit different from the night before with it being wet again but she went backwards. Not a happy bunny when she came off! But as all places from both days counted she was straight into the final anyway.
By the time of the consolation the track had dried sufficiently for a dry set up. Jess was going well in the early traffic when someone cue balled another car into her just as she was rotating the centre of the bend thus turning her around. Just wrong place wrong time. She can’t cut a break lately. She got going again and she had the speed and passed plenty of cars but didn’t manage to qualify. She was pretty fed up to say the least.
Onto the final for the Batten Memorial trophy and a cool £667 to win which was Billy’s racing number.
It was bone dry by now and Rebecca fancied her chances. She set off OK but lost too much time the first 5 laps with another yellow slowing her down by whacking her every corner. I could tell she was getting fed up and she let him by and stuck him in. She should have done this 2 laps earlier as the leading 2 yellows had gone by then. Anyhow she then got her head down and set about reeling them in. She was very quick and was up to 4th and catching with the top 3 slowing each other down . With 4 to go just as I thought she was going to get a top 3 and maybe a shot at the win if they kept battling up front she dived onto the centre. The engine had stopped. Back in the pits she was gutted. The top end of the engine had broken. Probably due to overrevving as she was fairly motoring.
So just the GN left for Jess which lasted all of 1/2 lap. She was on the back of the blues, the reds again jumped it and she got piled into the fence by all the reds pushing like idiots into the first bend.
She was tractored off with minor damage but hurt her leg. She has taken more damage and injury in the last few months than I can remember and it’s not nice to see.
So as I write this myself and Rebecca have come in from the garage. We’ve done every night so far on her car. For the first time I’ve left her to strip the engine. She’s got the cylinder head off herself, I’ve mended it and she’s put it all back together. We’ve had it running tonight so all seems good and all being well me and Rebecca will be back down to Taunton this Saturday followed by Bristol Sunday. Let’s see if we can get car and driver dialled in there for the semis in a few weeks time.
Well I’ve given you enough reading this week but we are now bang up to date.
Let’s see how this weekend goes.
Thanks as always to all the sponsors without whose financial help the girls simply couldn’t do all these meetings doing their very best to keep the Smith name alive
Take care All
Section 2:
Before we have a look at this week’s we just need to go back to Threlkeld’s Askham Hall:
Here is a pic of the loco in service. Avonside 1772 at William Pit, Whitehaven in August 1971 (Pic credit to Gordon Elgar)
Going Underground at Aldwych – The end of the line
The disused Tube stations of London have often been thought of as mysterious places, holding secrets and memories of London’s forgotten life and work underground. It is rare for the public to enter these shadowy spaces. Many people do not know they exist, and others are left imagining what goes on in the dark and deserted tunnels and platforms of Tube stations past. Aldwych is a place of mystery and is known as ‘the secret station’.
The station was closed to passengers in 1994 but was already something of a museum piece. Throughout its existence, Aldwych has been a Tube curiosity, a twig at the end of a branch off the Piccadilly line. Since first opening in 1907 it has never been heavily used as originally intended yet the station and tunnels have been extraordinarily useful to London in exceptional circumstances. Aldwych station has provided shelter for Londoners during the Blitz, secure wartime storage for valuable artworks, an ideal space for emergency planning and practice on the Tube and a unique backdrop for film and TV productions. None of this was envisaged a century ago, but here at Aldwych these aspects turned out to be as important and significant as running the underground railway.
The Piccadilly line was one of three new Tube railways under central London completed in 1906/7 by the Underground Electric Railways Company of London (UERL). The UERL was a holding company created by American entrepreneur Charles Tyson Yerkes, who had made a fortune building and electrifying urban rail and tram lines in Chicago. His business methods were dubious but Yerkes succeeded where others had failed to give London an impressive, modern rapid transit system.
Construction started on 21 October 1905 with demolition of the Royal Strand Theatre which occupied the site. Opened as Strand station on 30 November 1907.
The Piccadilly line was created by the merger of two separate Tube projects. They were linked at Holborn to create the Great Northern, Piccadilly & Brompton Railway (GNP&BR), which was opened between Hammersmith and Finsbury Park in 1906. This left a short spur from Holborn to Aldwych, the southern terminus of one of the Tubes as originally planned, which was opened in 1907.
The station was called Strand at that time but was renamed Aldwych in 1915 when the nearest station on the Northern line (then the Charing Cross Euston & Hampstead Railway) at Charing Cross became Strand (later renamed Charing Cross in 1979).
The external entrances of the station are still very visible. The station was built on a block of land between the Strand and Surrey Street with an entrance in each.
Both entrances had ‘Piccadilly Tube’ on their facades when the station opened. Not long afterwards, these were changed to ‘Piccadilly RLY’ as the UERL disliked the word ‘Tube’.
The station exit in Surrey Street shortly before opening with the Piccadilly Tube tiles – 1907
The old name still survives to this day on a blocked up entrance
A small piece of tiling can be seen from outside the closed off entrance
Part of the original name can still be seen in the tiling on the disused eastern platform
You can also see a short section of original track which has wooden sleepers and an early design of insulators under the two conductor rails
Fearing that the station would be little used economy was sought during construction. Only one set of stairs and passages to the platforms were completed.
4
Only about half the platform area (at the south end where the short trains would stop) were tiled
The remaining passages were left incomplete and never opened, all passengers using what would have been the exit passages to access platforms or lifts
The completed sections of platform tilework included a number of rendered lower panels, in common with several of the later stations. These would be used for posters and the lack of tiling would not show. Some of the surviving tilework has been covered up by experimental finishes. You can still see examples of Edwardian tilework at several stations on the Underground, such as Covent Garden and Russell Square, which have been modernised in recent years but retain the original decoration.
Timber poster boards around the station are the original ones from 1907
The UERL Tube stations of 1906/7 are very distinctive and all follow the same basic design. Architect Leslie Green came up with a standard look which made his stations easy to recognise in the street. Each building is on a load-bearing steel frame which made it strong enough to take the weight of the lift-winding equipment on the mezzanine floor, and potential office development above. This was an American innovation found in only a few London buildings at the time, such as the Ritz Hotel in Piccadilly, and was the structural basis for high rise skyscraper development first pioneered in Chicago. Other stations designed by Leslie Green include Covent Garden, Leicester Square, Camden Town, Hampstead, Oxford Circus and Elephant & Castle. They have street frontages in dark red glazed brick and terracotta supplied by the Leeds Fireclay Company
The Leeds Fireclay Company, headquartered in Wortley, Leeds, had several divisions making various related products including bricks, glazed bricks, sanitary ware, faience and even, at one time, art pottery.
The company was founded in 1889 as an amalgamation of several concerns - including the Burmantofts Fireclay Company who had been responsible for the external elevations of most London tube stations built in 1906/7 to the designs of Leslie Green, architect, and the ox-blood colour faience used is still a trademark feature of the Underground. Many Edwardian and mid-twentieth century buildings used Leeds products, including their 'Marmo' artificial marble finishes. The company petered out in post-WW2 years, formally closing in c1957.
Although the branch always had two tunnels and twin platforms at either end, it was normally operated with a single two-car train as a shuttle service using the western tunnel only. It was never very crowded, even in rush hours. The eastern platform at Aldwych was not used at all for train services from about 1914. Soon afterwards, when German bombing raids on London began during the First World War this disused platform was converted into an emergency store for 300 paintings from the National Gallery. Tube stations were not official civilian shelters at this time but thousands of people did take temporary shelter at Aldwych and other deep stations when raids were at their heaviest in 1917. Low weekend usage gave Aldwych the doubtful privilege of being the first station to be closed every Sunday from 8 April 1917. Tube services returned to normal when the war ended in 1918 but by 1922 the light use of Aldwych led to the closure of the station booking office.
Miniature ticket booths were then built into both lift cars, which meant a liftman could issue and collect tickets as well as operating the lift. Staffing was kept to a bare minimum and the Aldwych shuttle continued to run uneventfully.
By the late 1930s another war with Germany looked increasingly likely as Hitler’s Nazi regime adopted an aggressive foreign policy. Official estimates suggested that this time thousands of Londoners would be killed by air raids in the opening days of a full-scale European war, when long range modern bomber aircraft could be used. The threat of poison gas attacks heightened public fears, as did newsreel footage of German and Italian air raids on urban centres in Spain in 1937–1938. The British government and the London County Council introduced a series of Air Raid Precaution (ARP) measures as war threatened, but these preparations did not include building suitable deep shelters for the civilian population. There were official concerns that if Londoners were encouraged to use Tube stations as public air raid shelters in time of war, they might refuse to come up again. Morale would collapse and the city’s transport system could be paralysed.
Britain declared war on Germany in September 1939, but the strategy of systematic air attacks on British cities did not begin until a year later on 7th September 1940. Tube sheltering was still officially discouraged but working-class Londoners who had been bombed out of their homes in the East End took matters into their own hands. They effectively invaded the Tubes and forced a change of policy on the Government. After a month of devastating air raids Churchill’s newly appointed Home Secretary, Herbert Morrison, announced in October 1940 that Tube stations would be organised as shelters ‘insofar as it does not interfere with the transport of London’s workers. By this time well over 100,000 Londoners were flooding into the deep Tube stations for shelter every night. Aldwych had already been proposed as a suitable Tube shelter because the station could be closed to passengers without affecting the rest of the Underground. The disused platform and tunnel were allocated to the V&A and British Museum as deep storage under pre-war air raid precaution (ARP) plans in 1938. Both museums moved thousands of valuable artworks and artefacts into storage at Aldwych in 1939/40, including the Elgin Marbles.
The museum store was full by March 1940, six months before the Blitz began, but at this stage no underground space at Aldwych was allocated to shelter people. On 21st September 1940 the Tube service on the Aldwych branch was suspended. The rest of Aldwych station and the second rail tunnel were hurriedly converted into a public shelter. This opened on 22nd October managed by wardens on behalf of Westminster City Council. There were worries that as the Strand area was mainly an office and theatre district with few local residents the shelter might not be needed. In fact, it was heavily used straight away and often became overcrowded as the bombing raids continued every night that autumn.
Signs like this were placed at the station entrance to let people know the shelter was full so only those with valid tickets could enter - 1941
The Strand entrance in 1925 showing its prewar appearance
Strand entrance to Aldwych in 1943 with wartime baffle wall as added protection for the shelter against bomb blast
At first conditions were very basic. Shelterers bedded down wherever they could and few, if any, toilet facilities were provided at platform level where there was no water supply or mains drainage. Eyewitness accounts vividly recall the stench and discomfort in those early weeks. Up to 300 people were sleeping on the platform or between the rails. Gradually conditions improved, with the installation of proper three-tier metal bunks by November, chemical toilets, and a ticketing system to control numbers.
By early 1941 the Aldwych shelter could accommodate 1,500 people. There was soon a first aid post, a canteen, and even a library service below ground.
Entertainments were introduced, beginning with a special show featuring popular music stars George Formby and Geraldo and his band, which was broadcast by the BBC
Many people went to work every day but spent their nights in the Tube. Regular shelterers also organised their own leisure activities, which at Aldwych included a religious service every Sunday evening. Life below ground in the Tube shelters became better organised, though it was never comfortable. Mass Observation, the social study organisation, reported that ‘for the first time in many hundreds of years civilised families conducted the whole of their leisure and domestic lives in full view of each other...most of these people were not merely sheltering in the Tubes; they were living there.’
This went on for weeks and months. Despite, or perhaps because of these intimate circumstances, a real community spirit developed between many of the people forced to live together in the shelters. One pregnant woman became so attached to her subterranean home that she had to be ordered out of the shelter and to hospital by doctors. She had hoped to give birth underground and name her baby ‘Aldwych’! Although you could not hear bombs dropping above from a Tube station platform, even the deep tunnels were not entirely safe. Aldwych was never damaged by high explosives, but elsewhere shelterers were killed and injured in nine separate bomb incidents when Tube stations received direct hits. There were several fatalities below ground at Balham and Bounds Green stations in October 1940, and at Bank in January 1941. At Aldwych, as at most of the other stations, the number of regular shelterers was much smaller by 1943, when the Blitz had ended. It rose again when the V1 ‘doodlebug’ flying bombs and later V2 rockets hit London in 1944/5. The public shelter was closed when the war in Europe ended in May 1945, though train services on the Aldwych branch were not restored until July 1946.
The museum store in the disused tunnel was maintained for many years after the war and was apparently still one quarter full in 1955.
The Elgin Marbles had been moved back to the British Museum in 1948, but were not put on public display until 1962.
Part of the rope and pulley system used to lower and raise the Elgin Marbles onto and off the escalator platform
The second platform at Aldwych found a new post-war use when London Transport created full scale mock-ups of future station designs, starting with proposals for the new Victoria line in the 1960s
There are still some posters on the eastern platform from the early 1970s, including one advertising BEA, which must pre-date the merger of BOAC and BEA in 1974 to create British Airways (BA)
Further along the platform is some experimental tiling in a design used to refurbish Piccadilly Circus station in the 1980s
The Aldwych shuttle in 1958, a two-car unit of standard Tube stock
From June 1958 the line began operating only in rush hours as off-peak traffic was almost non-existent. The line was considered for extension to Waterloo on many occasions throughout its history but due to financial limitations and lack of demand this extension never came to anything.
The Aldwych branch was never well patronised. Before the time of its closure only 450 people were using the branch each day. It was eventually closed in 1994 when the original 1907 lifts at Aldwych needed urgent replacement and the cost could not be justified. By this time the loss-making service was costing London Underground £150,000 a year, which represented a subsidy of £2.73 on every passenger journey.
The single line to the western platform is still operational and connected to the rest of the system at Holborn. Even before closure the Aldwych branch had been used for filming work, which could be undertaken without disrupting passengers during the lengthy periods when the station was closed. Since closure this activity was made even easier and Aldwych has been used for many film and TV productions, often disguised as other stations on the Tube. Its other function is as a training facility for the Underground’s Emergency Response Unit.
Western platform of Strand/Aldwych station. The train is 1970s Northern Line stock, used for London Underground training exercises.
Films featuring Aldwych Underground station include: Superman 4 (1986), Atonement (2007), V for Vendetta (2005), The Edge of Love (2008), 28 Weeks Later (2007), The Deep Blue Sea (2011), The Imitation Game (2014). Darkest Hour (2017). TV programmes featuring Aldwych Underground station include: Sherlock, Mr Selfridge.
The station will however always be most remembered for making everyone want to be that Firestarter, that twisted Firestarter.
In 1996, the late Keith Flint proclaimed that he was a trouble starter and a punkin' instigator as he was beamed onto our TVs in black and white. He went on to tell you how he was a Firestarter, and not just any Firestarter, no, he was a twisted Firestarter.
The Prodigy's 1996 Firestarter is one of the band's biggest songs, with one of the most iconic music videos the world has ever seen. Anyone who hears the guitar riffs at the beginning is undeniably transported into the video headbanging away in the disused London Underground tunnel.
The tunnel used in the video
The base of this lift shaft was also in the video
One of three lift shafts dug by hand. Three shafts were dug for six trapezium-shaped lifts, but only this one was fitted out. The lifts were secured at the top of the shaft after the station closed in 1994.
The remaining lifts
An interconnecting door between the two compartments
Stylish columns and pillars
Posters remain:
Future extensions to the underground
The ticket office
It’s time to make your way out folks
Section 3 - Odds and Ends
Blackpool Transport Spot
Sunday 26th November: We had the Illuminated Frigate 736 out for a Private Hire for the Branch Line Society, a complete system tour including rare moves over track not normally available to the public and reverse running! The car, sadly, did not last long and broke down at Bispham, only 15 minutes into the tour. This saw the main running line blocked and LRT trams take the centre track, heading northbound, for a short while. Balloon 700 replaced 736 for most of the day, until itself gave up the ghost towards the end of the day. 717 was used to take tour passengers from Starr Gate to Manchester Square, before the car went on to Illuminations tour duty.
Thursday 21st - Saturday 23rd December: The LRT tram service was suspended on the Thursday evening, due to extreme weather. This continued through to Saturday, until end of service.
We had a booking for an annual Christmas tram tour on Saturday 30th December 2023. It featured Illuminated Frigate 736 and Balloon 700. A limited choice, this year, owing to the circumstances surrounding Rigby Road depot. With 736 and 700 being housed at Starr Gate depot, these were the only options! The Western Train 733+734 was initially requested, but due to a fault with the tram, 'HMS Blackpool' took its place. With trams starting and finishing their duties at Starr Gate, this gave the opportunity to begin and end the tour on South Promenade. 736 arrived at Harrow Place, on a rather rainy day, at 11:33 approx., and picked up passengers just south of the LRT platform, to meet with the safety regulations. Once all were on board, the tram set off for Little Bispham. A rotation of the loop and the tour headed for Starr Gate, taking in the wash road and compound, at the depot. From here we headed for Fleetwood, calling at Cabin for photos. Once at the Ferry, passengers disembarked for a short break, and the tram sat on the outer loop. After this break, the tram moved round to Pharos Street stop and loaded passengers for the run to Harrow Place, and for 736 to run empty back to depot before commencing Tours of The Illuminations later! Light refreshments of hot Sausage and Cheese & Onion rolls, Mince pies and biscuits were served on board.
Frigate 736 stopped at Cabin for photos. It had stopped raining by then but was still very windy.
Arriving at Bold St, Fleetwood
The second half of the tour picked up at Harrow Place at approx. 16:05 with Balloon 700. This time, loading passengers on the platform, with 700 having the modified doorways, allowing platform loading. Once all were on board the tram set off for Bispham reversing here and heading for Starr Gate as part of a tour of the Illuminations. Once at Starr Gate 700 entered the compound via the wash road, and then traversed Road 4, as an on-the-day surprise! Once out of the depot the tour made its way to Foxhall to turn. It was on this journey that chocolates were given out to passengers! It's not a Christmas tour without chocolates! Unfortunately, owing to problem with the points at Foxhall, 700 had to continue to North Pier, to turn, as did Balloon 717 in front of us, whilst it was on its way to commence Illuminations tours! Once back at Pleasure Beach 700 overtook 717, via the outer loop, and then made its way to Bispham. A run to Cleveleys was curtailed, due to late running, from the earlier issues at Foxhall. Once at Bispham, 700 reversed and headed for Harrow Place to conclude the tour, before running empty back to depot.
Last stop Pleasure Beach
Balloon 717 passing Sandhurst Avenue on a glorious late autumn evening
A Peep into the Past with Blackpool Transport
Let’s delve into the archives here at Blackpool:
F.A. Cup 1st Round – FLEETWOOD TOWN v BLACKPOOL – Saturday November 22nd 1980. After several weeks of negotiations between the Football Association, the Police (not the well-known trio of musicians!) and Blackpool Football Club, Fleetwood Town agreed to play this match at Bloomfield Road, Blackpool. Naturally the tramway system was to play a major part in transporting the Fleetwood supporters to the match. The Transport Department offered to lower the tram fares and special souvenir tickets were issued – 1500 adult returns at 80p, and 1000 half fare tickets for juveniles. These were to be distributed by the Evening Gazette through their outlets in the Fleetwood and Cleveleys area. For publicity, Fleetwood Town F.C. hired the ‘Dreadnought’ and the team were photographed on the twin staircases with the destination showing FOOTBALL GROUND.
Unfortunately, when the great day arrived, few of the special tickets had been sold and only four of the intended ten double deck balloon trams ran as ‘football specials’ (Nos.701, 702, 712, 713). Another two (Nos.710 & 711) were on stand-by in the depot. At 13:00 hours the first ‘football specials’ since October 1961 left Fleetwood Ferry with ‘PLEASURE BEACH’ on the indicator with many heads and scarves out of the windows, heading for Blackpool. It seemed quite a strange sight – a line of double deck trams on a deserted Central Promenade in the middle of November. After unloading passengers at St. Chads Road, the trams returned to Rigby Road Depot for a short break. For the return journey, the same four trams lined up on the outer loop at the Pleasure Beach, and after the Fleetwood service car had departed at 16-45, they left, headed by 701, then 713, 702 and 712 bringing up the rear. Sadly, one of the trams had a bottle thrown through an upper deck window by rival supporters walking near the track at Central Pier. Two buses, 324 and 514, on service 14 also had missiles thrown through several windows as they travelled along Talbot Road. Three youths who had been drinking spirits were taken off a service 14 bus when it passed Thornton Police Station. There had been disturbances on the upper deck resulting in £48 worth of damage.
Final Score: Fleetwood Town 0 Blackpool 4
Damaged Trams 1 Damaged Buses 3
By 1990, OMO car 10 had carried its Bispham & Cleveleys Kitchens livery for six seasons and was starting to look a little faded. The advert remained on Car 10 until its withdrawal from service in November 1992. 10 is stabled on the middle line at Bispham whilst employed on specials, which by this time had become the usual work for the remaining OMO cars when not required for Fleetwood service.
Having looked increasingly tatty since their last repaints in the early 1970s, 1990 marked something of a turning point for the Boats as several cars received welcome repaints over the course of the previous winter. Other workshop attention included the fitting of toughened glass windscreens in place of the plastic examples which had become badly scratched and discoloured since being fitted in the late 1950s. Looking superb in the same red and white livery applied to BT’s Routemaster buses, 604 awaits custom at Fleetwood Ferry on a busy market day in July 1990.
623 returned to use in the spring of 1990 upon the completion of a major overhaul wearing this bland looking all over advert livery for ICI. 623’s season and its ICI advert were cut short when the car suffered major fire damage in the autumn of 1990. 623 leaves the Pleasure Beach for Bispham in April 1990 on the day it returned to use.
Repainted Twin Car set 671/681 made a welcome appearance on the Promenade looking immaculate on Good Friday. However, it was the 13th April and unfortunately the set split in two at Talbot Square whilst heading for the Cabin due to a fractured Willison coupling and had to be towed to the depot.
In the early part of 1990, Balloon car 707 passed through the Paint Shop where it received this bright advert for Pontins, around the same time a similar scheme was also applied to one of BT’s Routemaster buses. The tram retained this livery until being sidelined at the end of the 1993 season to undergo what turned out to be a protracted major overhaul, only returning to use on the promenade in July 1998 complete with its controversial restyled flat ends.
The plain dark blue ends of Embassy advert liveried Centenary cars 642 & 642 were soon relieved by the addition of white paint in an effort to make both cars more noticeable. There had been some concerns as to just how visible both cars were when operating at night, especially along the Tramroad and the street track adjacent to Metropole Hotel. Shortly after being released from the Paint Shop, 643 with unrelieved blue ends passes 1980s liveried Balloon 704 at Bispham.
The remarkable, perhaps unique sight of seven OMO cars bunched together at Thornton Gate. Prominent in this view is Car 2, its twisted body is clearly showing the rigours of intensive use. It was amongst the first of its type to be withdrawn after last seeing service early in 1985.
The derailment of Engineering car 753 at the entrance points to Thornton Gate Yard resulted in the remarkable assembly of seven OMO cars pictured in the earlier view. Once the disgraced works car had been returned to the rails OMO car 3 squeezes past whilst heading for the Cabin where it will return north to slot back into its correct place in the timetable.
Brush car 622’s livery for Blackpool Zoo which was applied in 1975 is one of the more memorable adverts applied to a Blackpool tram. 622 is seen on South Promenade near Alexander Road.
Traditionally, driving training was undertaken in the winter months, and for several years Brush car 637 was invariably deployed on such duties, it is seen here in Hopton Road.
Another Brush car seeing winter use in 1980 was 632 which was loaned to the Permanent Way department to tow the rail crane whilst usual Permanent Way car 624 was temporarily out of use. 632 is seen here at the Cabin.
Ribble 704 (BRN 853), a 1948 Leyland PS1/1, fitted with a 31-seat coach body constructed by H.V. Burlingham Ltd. No. 704 is pictured on Lytham Road, Blackpool, having left the Coliseum Omnibus Station on service J7 bound for Huddersfield. The J7 was a ‘Yorkshire Pool’ service, operated jointly by Ribble, West Yorkshire Road Car Company, Yorkshire Traction, Yorkshire Woollen and Hebble. Listed as a Blackpool to Doncaster through service, no. 704 may be operating as a ‘duplicate’ or just as a short working.
Two views that demonstrate the level of work undertaken by the Fylde Transport Trust to restore derelict works car 753 to its former glory as Standard 143:
As a works (engineering/department) car it had a diesel engine fitted in 1958 so it could run independently of the overhead line. This engine caught fire in 1990, forcing the withdrawal of the tram.
The work included a new underframe and replacement top deck cover. The overhaul of the bogies and motors was undertaken by Blackpool Transport as our contribution towards the project. Sadly, despite the relaunch of the restored 143 almost five years ago, it has yet to run in Heritage service as it requires attention to a failed motor. It is hoped that this work can be prioritised during 2024, so that this beautiful tram can finally be seen out and about on the tramway.
Keep on Truckin’
Some stunners and beauties on show at the Retro Truck Show at Gaydon – Sunday 10th September 2023:
Next time:
Desolate moorland
With an industrial secret
4 -
Hi there folks.
Welcome to episode 5. In this one:
Section 1: A visit to the Burgoyne garage.
Section 2: In Out and About we visit Threlkeld Quarry
Section 3: Odds and Ends: A few pics of the London trolleybuses, plus a derailment on the Blackpool Tramway.
Section 1:
The Burgoyne Garage
Last October on a trip to Cowdenbeath for the Saloon Stock Car Superbowl weekend i called in to see Ernie Burgoyne at the garage in Airth, Falkirk.
The site is split between Ernie with the car recovery, breakdown and MOTs, and by Harry and Jock on accident repair and car sales.
Ernie is a workaholic and is in the garage most of the week from early to late unless away racing of course. The day began in the break-room with a nice warming Scottish brew and a chat with the lads.
On the wall were the garage rules
Steven has bought this Sierra Cosworth as a restoration project
There are a number of vehicles awaiting restoration by Ernie when he “gets around to it” as he says.
ERF with a Gardner 150
Albion
Another ERF
This cab was originally fitted to Steven’s transporter
After Ernie had worked his magic this beauty was created
A 2008 MAN recovery truck
….and a 2005 version
Chris’ 2002 World Championship winning car. This is on Ernie’s list for bringing back to life.
A twenty-year-old crew-cabbed Renault 42ACA14 with some bumpers requiring repairs
The race shop
Lewis’ (son of Chris) old ORCi Mini
Lewis preps his F2 for that evening’s Cowdie
The ex-Laura Dawson (54) car
Chris’ tar car. He had already left early for the National Series round at Northampton.
Chassis jig
A panel display from an earlier car
The World Champ’s laurel
Chris’ diff bench
The previous tar car
Another fleet member in the shape of a MAN TGL 12.180
Steven’s car is in the vehicle workshop. This car debuted in May 2023.
A new ORCi Mini in build for Charlie Burgoyne
A busy workshop
Another project for Ernie is the restoration of this sixty-four year old Rover 3 Litre:
Into the office next
There are many trophies on display
…and press cuttings:
A very proud Ernie in front of a full trophy cabinet
Ernie has plenty of trophies from his Saloon days
The 2021 F2 World Championship Trophy
The site as it was. Ernie has gained a big increase in area by expanding into the field on the left.
Industry awards
Ernie took time out to show me around the area. This local landmark is the Airth Pineapple.
The magnificent pineapple is an extremely realistic representation in stone of the fruit and was erected by John Murray, 4th Earl of Dunmore in the second half of the 18th century. He acquired the lands of Elphinstone in 1754 and the name Dunmore was transferred from his family estates in Perthshire. Sometime after this the walled garden was constructed and in 1761 the Italian style portico on which the pineapple now sits was constructed. The pineapple was added after the Earl returned from a spell in America as Governor of New York and Virginia, around 1777. Pineapples were certainly grown here, and the sustained heat required for the process was obtained by cavity wall heating, organic heat from tanners bark and manure, and through south facing, sloping glass panels which were still there in photographs from the early 20th century. By the 1950s the whole area was much neglected but was restored by the Landmark Trust.
It was a great few hours spent with such welcoming and friendly folk 👍
At Cowdie over the weekend the rebuilt Saloon Stock Car of Bob Jones (151) was unveiled:
Bob was one of the all-time greats of the sport and brought the car out part way through 1991 and in 1992 he went on to win the Scottish National Points title and the Scottish Championship before being sold after that year’s Superbowl. The car went to Northern Ireland in 1993 and had a couple of owners before disappearing. The car was spotted lying in an apple orchard and was probably going to be scrapped. It was purchased in 2014 by Brian Houston for restoration. The car had to be lengthened back and front as it had been shortened but the rest of the work was mainly bodywork.
The car still has Bob’s seat in it and everything else is pretty much original.
Section 2:
Out and About at Threlkeld Quarry
Within the Northern Lake District there is an old micro-granite quarry which is home to a unique collection of excavators and quarry machinery. There is also a narrow gauge mineral railway which runs into an inner quarry.
The quarry was opened in the 1860s and by the 1870s was supplying railway ballast to the Penrith-Keswick line. Initial output was a few hundred tons a year but by 1894 this had risen to 80,000 tons to satisfy demand. The stone was used by the Manchester Corporation Waterworks for their Thirlmere scheme, for railway ballast for the Crewe-Carlisle line, for roadstone, kerbing, and for facing buildings with dressed stone. The Threlkeld concrete flagstones were used in many Northern towns.
To keep up with demand more quarry faces had to be opened up. The railway now operated by steam locomotives was extended first to Spion Kop quarry, and then to Bram Crag quarry further along St. John’s in the Vale, and down to the main line at the adjoining Threlkeld railway station.
The quarry was closed in 1937. However, it re-opened in 1949 after complete modernisation to begin its second lease of life. The quarry closed again in 1982 and lay dormant until 1992 when the Lakeland Mines and Quarries Trust negotiated a lease on the site.
Across the Lake District there are many small ancient quarries. These represent a time when the extraction of stone was for dry-stone wall building.
Three granite quarries in the area included Shap Pink Quarry started in 1868. Its building blocks were highly prized for engineering works such as Waterloo Bridge in London and Southampton Docks.
Sandstone extraction at Grange Quarry supplied stone to build Liverpool Cathedral, with Stoneraise providing stone blocks for bridges over the M6.
Graphite from Seathwaite was very pure, the best in the world, and during the reign of George the 3rd was more valuable than lead, copper, or iron.
Tungsten from the Carrock Mine was in great demand during the two World Wars for armour plating, steel, and munitions.
Many Cumbrian mines contained barium sulphate which became highly desirable in paint, and a filler for cloth and paper. More recently its characteristic of being opaque to x-rays and other harmful rays means it is added to concrete for radiation shields and hospital installations.
Nowadays this industrial past has given way to the tourism industry with the Lake District receiving over 18 million visitors a year.
Onto the pics:
The view from the quarry edge
The old access road
The Blencathra fell top forms the backdrop to this photo
This beauty is our guide for the day and came to meet me
The old weighbridge
One of Pooley’s
There were a number of well-known names of weighing machines and apparatus throughout Britain. One English maker was Henry Pooley & Son of Albion Foundry, Liverpool.
The company was founded around 1790 to make scale beams and continued in business into the second half of the twentieth century. It became the biggest manufacturer of weighing machines in its time. Their range and diversity was extensive. In 1877 the company described itself as “patentees and manufacturers of every description of weighing apparatus for railways, ironworks, collieries, etc. A few years later in 1880 this description was “patentees and manufacturers of every description of weighing apparatus for agricultural purposes &c”. By 1884 the wide range of sectors which the company made weighing machines for was: “every description of weighing apparatus for railways, iron works, engineers, collieries, mills, warehouses, farms &c”. In later years by 1913 it was a maker of “every description of weighing machines and scales”.
An Advance roller
Wallis and Steevens Ltd., agricultural implement makers and dealers, was founded by Arthur Wallis, grandson of Richard Wallis of Richard Wallis and Sons, a Basingstoke merchant company.
Two views of their premises
Arthur Wallis opened his first ironworks at Station Hill, Basingstoke in 1847 and entered the steam engineering business, producing portable engines, small stationary engines and threshing machines. Subsequently the company specialised in self-moving engines: traction engines, steam tractors, steam wagons and road rollers. From the 1920s onwards the company increasingly concentrated on the manufacture of its Advance series of road rollers, and shifted away from steam to the production of diesel and petrol motor rollers. The company also acted as an agent for other agricultural manufacturers including David Brown Tractors until 1953 and Massey Ferguson until 1976 and had showrooms on Reading Road, Station Hill, Basingstoke where it displayed and sold a range of agricultural machinery. During 1966-1967 Wallis and Steevens Ltd. moved to a new works at the Daneshill Industrial Estate, Reading Road, Basingstoke. Although the mid 1970s saw a brief return to profit, the company ceased trading in 1981 after incurring considerable losses, compounded by a sharp decline in new orders. Its wholly-owned subsidiary AJB Engineers was sold in the same year to Belcher Brothers Investments Ltd and its road roller and sprayer business was taken over by BSP International Foundations Ltd., part of the Tex Holdings PLC group of companies.
A 1962 Ruston-Bucyrus 10-RB Pile-Driver
This was used to drive piles for St. Mary’s Tunnel near Waverley Station in Edinburgh.
Fordson
A Broadbent's Blake Stonebreaker
Broadbent’s were based at the Phoenix Ironworks on Tame Street Stalybridge. Their main product was stonebreakers for the quarry industry.
The photos from the mid-50s show their one and only "Mobile" stone breaker being prepared for delivery. When the trailer reached Woolley Bridge one of the wheels fell off!! A major job to get the trailer moving again:
An Edwards Truefold folding machine
Ruston Bucyrus 17RB
Made in Lincoln in 1938. 1/2 cu.ft bucket dragline fitted with a Ruston Hornsby 4cyl V.R.O oil engine. Worked for the River Board in South Wales. Purchased by Gibbons Sand & Gravel in the late 40s to work at a gravel pit near Boston, Lincs. Parked up when the crankshaft broke in 1978.
The water tower and coal pile
One of the engine sheds
The shed is in this old photo
Looking down the incline which is to the right of the chimney in the above pic
The line ends at the buffer stops at the far end
The second shed
The line heads to the inner quarry
A section of narrow gauge line underground
Aveling Barford
The Brown Glutton stonebreaker – What a great name!
A portal to another world
An old lime kiln
Avonside Engine Co Works No 1772- Askham Hall 0-4-0ST
This locomotive was built by Avonside Engine Company in 1917 and was originally named Sella Park. It was renamed Askham Hall after being rebuilt by Hawthorn Leslie in 1935.
Its working life was based in West Cumbria at the Solway Colliery at Workington, Whitehaven Harbour, and William Pit.
In 1971 it moved from Workington to Whitehaven over BR track.
It worked for a few more months at Whitehaven until a landslide severed the Howgill Brake incline from Haig Colliery. It became spare to diesel traction as one locomotive was able to handle the harbour lines.
Askham Hall was steamed again in 1975 when it was donated to Copeland Borough Council. After spending time at the Lakeside & Haverthwaite Railway, and the Haig Colliery Museum it was then moved to Threlkeld although in unrestored condition.
R.H. Neal & Co Limited were an early crane manufacturer as well as other original machinery based in Grantham, Lincolnshire and were taken over by Coles Cranes in 1959. The company's most famous product to most people was the Pelican Loader used in coal yards. A common machine that was seen on street works & sewers before modern hydraulic excavators became common place for lifting was the portable crane.
Company history
RH NEAL & COMPANY LIMITED, its original full name, were designers and manufacturers of early machinery that originally started in a small factory based at Ealing in London starting around 1926. Their machines were basic models aimed for the agriculture and construction industries as well as railway wagons. The original NEAL models were little more than early patented petrol-engined trenchers and site dumpers mostly based on 1930s tractors parts. Later, Neal developed an early new model that resembled a four wheeled platform with a driver’s cab and a pair of winches attached to a long steel jib that was an instant success for many firms that worked in pipes and sewer cleaning/maintenance services across the UK. It was light, very easy to operate and was towable by a small tractor or truck. This new model was one of their biggest-selling machines of the early days during the 1930s-1940s. The firm purchased larger premises in Dysart Road at Grantham in 1937 for the manufacture of cranes.
Soon after came their first entirely developed yard cranes for lightwork, and heavier mobile cranes still using petrol driven car engines of which they all became a very common site in factories, stockyards, warehouses and construction sites. From the 1950s their famous new model was probably the well known Pelican Loader used in coal yards. This could be bought with a choice of both an improved Ford petrol car engine or a more common Fordson Diesel tractor running gear. By this time all the agricultural side of the business was abandoned in favour of the new Neal Pelican Loader that was selling like hotcakes and the entire production was carried alongside the new Neal mobile crane and yard crane models. The firm was very active for the next 20 years with a small original yard crane model range before more modern hydraulic excavators arrived after the 1970s.
After Coles Cranes Limited acquired the RH Neal & Co Ltd only standard mobile cranes and crawler cranes were developed and manufactured under a NEAL reduced model range.
The Neal name was used up until 1970 when it was re-named under the Coles Cranes brand.
RH Neal & Co Limited closed in 1985 but the premises, some selected models, and the factory were gradually taken over by Coles Cranes Limited.
This Aveling was well buried
Photo-bomber 😄
The loco is named after Sir Thomas Callender whose British Insulated Callender Cables (BICC) had a huge works where the saddle tank loco moved goods. Near to Threlkeld is Broughton Moor which was a NATO munitions dump where a 3 feet gauge railway moved huge battleship shells and other explosives around “The Dump” as it was known. When The Dump was decommissioned Ian Hartland bought the 3ft gauge track for use at Threlkeld because in its working life the quarry had an extensive narrow gauge railway. The loco Sir Tom was 3ft 6in so Ian cut the axle to reduce the gauge – no small matter. Fortunately, Ian had also collected the heavy-duty machinery that was required to do the job. A lot of the big machines were belt driven.
A proper workshop. The industrial smell in here was magnificent!
The name ‘Herbert’ is woven into the fabric of modern Coventry. As well as being a key player in the development of the industrial city Sir Alfred Herbert was at the forefront of Coventry’s war effort in both world wars and became one of its greatest and most loved philanthropists during a difficult time for the city.
Alfred Herbert was born in Leicester in 1866. To start his career he became an apprentice at Joseph Jessop’s Engineering Company before becoming the manager of machine tools manufacturer Coles & Matthews in Coventry three years later. After Matthews retired the following year Alfred Herbert and William Hubbard a school friend and fellow apprentice at Jessops bought the company. In 1894 Herbert bought out Hubbard and Alfred Herbert Ltd was incorporated. By 1914 Herbert’s machine tools manufacturing company had 2000 employees, one of the biggest employers and most successful businesses in Coventry.
An aerial view of the Edgwick works
Alfred Herbert Limited had grown to become one of the world’s leading manufacturers of machine tools by the outbreak of the First World War. Due to its well-developed industries the city of Coventry was well placed to play a central role in the country’s war effort. Coventry companies such as Maudslay, Daimler and Standard made vehicles and aircraft, and Riley and Humber also produced shells and bombs. Alfred was made controller of machine tools for the Ministry of Munitions in 1915, work for which he was knighted.
Above Sir Alfred’s great talent as an engineer he was probably an even greater manager and leader of men, and treated every man as an equal. He would go down onto the works floor at all hours and especially on the night shift, cigarette in hand, chat to whoever was there.
The interior of the works
Sir Alfred never formally retired working up until the end of his life. He died at the age of 90 in May 1957.
1911 - Fredrick Parker established his business inside a single railway arch located in Leicester, UK
1926 - The business relocated to an 18 acre site
1950-70 – Parker employed over 1400 to meet demand
This 12 ton ‘Full Circle’ Crane Navvy was built in 1909 and was rescued from a flooded chalk pit
The firm started as Burton & Proctor, who were founded in Lincoln as millwrights and implement manufacturers in 1840. Robert Ruston became a partner in 1857 and the firm changed name to Ruston, Proctor & Co. and grew rapidly to become a major agricultural engineering firm.
They merged with the established firm of Richard Hornsby & Sons from Grantham in 1918 to form Ruston Hornsby Ltd.
Ruston's were primarily steam engineers. Portable, stationary and traction engines, boilers, and associated engineering products, such as winding gear, shafts and pulleys. Threshing machines, clover hullers, corn mills, maize shellers and pumps for steam power were also made. As well as engines for agriculture Ruston's made railway locomotives and equipment for mining and industry. These interests led the firm to expand into electrical and diesel engineering (which the successor business of Ruston Gas Turbines grew from before being taken over).
They were one of the first to manufacture steam powered excavating machinery – in the 1880s producing the Dunbar & Ruston’s steam navvy Excavator.
In 1930 after building machines under licence for several years the Excavator Division was merged with Bucyrus-Erie in the UK to form Ruston-Bucyrus based in Lincoln.
The firm later became RB Lincoln in 1985 after Bucyrus-Erie's UK operations were separated out to form Bucyrus Europe which became Bucyrus International in 1996 following restructuring. RB Lincoln became RB International which later collapsed.
A Euclid dump truck
EUCLID, INC., was one of the world's leading firms in the manufacture of off-highway, earthmoving, and hauling equipment. The company began in 1926 as part of the Euclid Crane & Hoist Co., a firm founded by Geo. Armington in 1909. In 1931 Armington's son Arthur took over a small shop adjoining Euclid Crane at 1368 Chardon Rd in EUCLID and incorporated Euclid Crane & Hoist's off-highway division as a separate firm, the Euclid Rd Machinery Co. Beginning with 300 employees the company produced as many as 20 15-ton trucks per month for the construction and mining industries. Euclid tripled its production during World War II and continued to prosper in the postwar period. In 1946 it built a new plant at E. 222nd St. and St. Clair; bought another nearby plant 3 years later; and gained an international reputation for quality equipment. When General Motors acquired the firm for $20 million in 1953, Euclid Rd was a $33 million business with 1,600 employees turning out 170 trucks per month—over half the nation's off-highway dump trucks.
As a GM division Euclid continued to develop larger types of equipment. However, GM was forced to dispose of its Euclid plant as the result of an antitrust suit and sold it to the WHITE MOTOR CO. in 1968. Reorganized as Euclid, Inc., the firm remained profitable under White but suffered from the financial difficulties of its parent company in the 1970s. In 1977 White Motor Corp. sold the company to Daimler-Benz of West Germany giving Euclid a new source of capital and a means to continue its expansion into new markets. Despite gaining some new plants in several foreign markets, Euclid's business faltered during the recession of the early 1980s and Daimler-Benz sold Euclid, Inc. to a construction equipment firm, Clark Michigan Co., a subsidiary of Clark Equipment Co. in 1984. Clark closed the St. Clair Ave. plant at the beginning of 1985, selling it to LINCOLN ELECTRIC CO. in 1988. Despite the sale of the St. Clair Ave plant Euclid then part of VME Industries North America (a joint venture of Volvo and Clark Michigan) maintained offices in the newly refurbished technical center across the street from its former plant.
The next decade brought still further change to Euclid's operations as the company became known as Euclid-Hitachi Heavy Equipment Inc in Jan 1994. Although Euclid-Hitachi would continue to employ nearly 120 engineers and administrators in Cleveland it was clear that decisions would continue to be made elsewhere. In 2001 Euclid-Hitachi became a wholly owned subsidiary of Hitachi Construction Machinery Co. At the end of 2003 company officials announced that the company's name would be changed to the Hitachi Construction Truck Manufacturing Co. and that over the next two years all North American operations would be consolidated to its facility in Guelph, Ontario, Canada.
A Muir Hill 10B dump truck
Muir Hill (Engineers) Ltd was a general engineering company based at Old Trafford, Manchester. It was established in the early 1920s and specialised in products to expand the use of the Fordson tractor which in the pre-war days included sprung road wheels, bucket loaders, simple rail locomotives, and in particular in the 1930s they developed the dumper truck. Later they built high horse power tractors.
The Consolidated Pneumatic Tool Company was a successful engineering works in Scotland, exporting widely internationally.
The works were established in Fraserburgh through the encouragement of the MP for East Aberdeenshire. A decline in the fishing industry in the late 19th century led to an abundance of labour for the works. The original works occupied 25,000 sq ft and manufactured pneumatic riveting hammers and drills. The company exported internationally and provided the hammers for the construction of the Sydney Harbour Bridge, and the rock-drills widely used in South African minefields. The company rapidly expanded in the inter-war years by diversifying into work for the munitions industry. It played a significant role in WW2 in the manufacturing of military equipment including the fuel pumps and booster controls for the Rolls Royce Merlin engines used in Spitfires.
The spare parts area
Some abandoned open wagons
A Pioneer road roller
A Ruston-Bucyrus 38-RB face shovel and 22-RB dragline
....and a 54-RB
A belt driven stone breaker
Our guide adds scale of size to the Ruston-Bucyrus 110RB Face shovel:
The 110RB is a 154 ton electric face shovel running off a large 3.3 Kv supply from a generator set. It was moved to the site in May 2006 from Castle Cements Ribblesdale quarry by Heanor Haulage Ltd a firm that specialises in moving oversize loads such as excavators.
Set of points at the bottom of the incline. This is taken from the location of the arrow in the pic below.
Derelict rock processing structure. The chute at the top still visible.
Some more disused wagons
A small battery powered loco
Bucyrus Erie 'Transit Crane' comprising of a Harnischfeger Corporation (P&H) Model 150 6 x 4 crane truck chassis with Bucyrus Erie Crane - Ex Royal Navy 7835RN Mobile Crane
A good example of a mobile stone breaker
Another area of the workshops
Hunslet 50hp 0-4-0 DM 1945
This is one of only two known 2 foot gauge survivors of this type of locomotive. It is powered by a 50 horse power Gardner 4L2 engine. It was owned by the National Coal Board and came from the South Yorkshire area. It was retrieved from underground prior to the colliery closing having stood while it had acquired a foot of coal dust on the bonnet! This loco has been altered to make it more suitable for passenger trains. This included a larger cab with better visibility.
A secondary quarry known as Hilltop was linked to Threlkeld (both arrowed).
It was connected by a narrow gauge industrial railway (arrowed)
The track bed of the railway as it is now
The abandoned Hilltop quarry
Some long disused gear remains
That completes our look around this unique site set amongst the stunning Lakeland landscape.
Odds and Ends
A few photos of the London Trolley Buses
The trolleybus played a vital, although short-lived role in the story of London’s transport system. From its introduction in the 1930s as a new and exciting form of transport to Londoners the trolleybus served the capital well until the early 1960s. They had replaced the north London trams before the war and but for the hostilities would have prevailed south of the river too.
The tram and trolleybus department had been a separate entity until it was merged with Central Buses in 1950. The trolleybus fleet retained livery differences from the bus fleet with the extra cream band and black lining out.
The road beneath the railway at Kingston Station was always susceptible to flooding. An extreme case is depicted here on 13th April 1937 when the water was deep enough for swimmers to brave it!
Two of the B2 class are crossing Beresford Square in Woolwich making their way to the terminus at the Free Ferry. The blinds of both 100 and 103 have already been turned for the return journeys. These short-wheelbase 60 seaters were already proving inadequate for these routes and would soon be replaced by newer 70-seat vehicles. The date is 28th February 1936.
The twenty-five vehicles of the E3 class were AECs with Park Royal bodywork. Numerically the first, No.629, was also the first to be delivered in February 1937. It has been moved into the open by the Park Royal tractor and stands behind East Kent JG 8237 which was a Leyland TD4. The trolleybus has yet to have its poles, number plates and wheel trims added. The body was destroyed in a raid at West Ham in 1944 and the vehicle was subsequently rebodied. Apart from the rebodied examples all of the class were withdrawn by the end of 1956.
The London Passenger Transport Board was always keen to experiment and in 1963 work began on a new trolleybus with a front exit which would have been controlled by the driver. It was to be of a chassisless construction and the body was to be built at Charlton Works. The vehicle became X4 class No.754. This view shows the vehicle after it had been partly panelled. The work was completed and the vehicle handed over on 1st March 1937. It worked its whole life from Finchley Depot.
It is 6th June 1937 and trolleybus 622 has been chosen to make a ceremonial run from the West Ham depot to the Greengate. It was driven on batteries but with the poles up on the wires.
As first constructed for trolleybuses overhead provision was additionally made at Greengate Junction, West Ham for tram operation and accounts for the additional east/west running wires. Of particular interest is the centre wire arrangement whereby trolleybuses running to and from the depot were required to swing trolley poles. The tram wires were removed with the conversion of the London to Barking route in 1940.
Hackney depot is well on the way to becoming a trolleybus depot. The assembled workers remove the tram lines in preparation for the new intake of K class trolleybuses one of which can be seen in the background.
Blackpool Transport Spot
We had a derailment on the tramway on January 11th after a car left the road and collided with a Flexity heading south to Starr Gate:
As far as we can gather the car driver had a medical situation occur at the wheel.
This short video shows the re-railing. A reverse move was enough to drop one wheel-set back into place but the other was resting on top of the rail-head. A half-moon wedge was placed on the track and the tram was edged forward up and over the wedge which dropped the wheel back in place. The wedge was not as easy to get back out though!
In the bus garage:
A Chinesium electric bus on trial - Yutong ZK6128BEVG-E12. Other than this interloper it is a great line up!
More crash damage caused by an inattentive car driver
Next time:
In the main feature we're back in London Transport territory as we go below the streets once again:
14 -
Hi there folks. Happy New Year!
Welcome to episode 4. In this one we have:
Section 1: F2s from Taunton & Aldershot.
Section 2: In Out and About we visit Camp Vught in the Netherlands. This is the only concentration camp the SS created outside of Nazi-Germany.
Section 3: Odds and Ends: the Brunel Tunnel a.k.a the 8th Wonder of the World, the Chester & Wrexham Bus Running Day.
Section 1:
Taunton – Monday June 19th 2023 - QR - 48 cars
The golden trail for BriSCA F2 continued here at Smeatharpe’s QR on a hot summer evening. An excellent turnout of 48 cars were split into three qualifying heats.
Long distance visitor Colin Stewart all the way from Mintlaw near Crimond
Craig Driscoll with a Superstox style wing
Kurt Selway was 'Just Married'
Oldham's Jon Hodgson was another who had travelled
Tom Davison in the ex-Euan Millar (629) car
Matt Stoneman's Fiat
Jon Palmer's new one
Joe Powell's Volvo badged Saloon
Sam Weston (468) was the previous day’s top points scorer at St Day and he continued in the same vein today. He scythed through the field in Heat 1 to second place behind Mark Gibbs (578) before halfway, then passed him for the lead with several laps remaining. Gibbs kept up his pace though, and Jon Palmer (24), who had nudged Charlie Lobb (980) wide for third was unable to mount a challenge. A last bender from Luke Wrench (560) moved both Lobb and Jessica Smith (390) wide to net himself the 4th place finish.
Former Rebels racer Tom Davison (461) led the bulk of Heat 2. He was eventually pushed wide by Jack Prosser (844) with 2 to go. Davison tried for a comeback on the final bend but ran wide allowing Matt Stoneman (127) to snatch second. After pushing and delaying many of the star men early on Paul Rice (890) finished 4th.
After track debutant Josh Wilson (926) had hit the turn 3 bend fence hard Heat 3 was brought under an early suspension. John Vickery (777) led on the restart and chased by Charlie Knight (525) the pair pulled clear. Behind these two a terrific battle was waging between Harley Burns (992) and Ben Lockwood (618) who traded places on almost every corner. After sending Vickery into a turn 3 spin Knight took a comfortable victory from Dan Roots (776) who had benefitted from the Burns/Lockwood scrap.
22 for the Consolation which required three stoppages – two of which were for Scottish visitors Graeme Leckie (975) and Colin Stewart (191). The first came when Ryan Gardiner (454), Leckie and Adam Pearce (460) finished up in the fence after running out of room as they charged three-wide down the home straight. A back straight spin for Jon Hodgson (73) brought out the second, and the third was called for Martin Smith (705) who mistook Stewart’s spun car for a launch ramp! A bump from Mike Cocks (762) sent Smith even higher up on to Stewart’s roof. Vickery led until the third caution before James Rygor (783) went by followed by Aaron Vaight (184). Rebecca Smith (930) lost 3rd place to Julian Coombes (828) who pushed her wide in the closing stages.
All but one of the 32 qualifiers took the green for the Final. A good start for Richard Andrews (605) allowed him to move ahead of Davison and into the lead. Knight, Pearce and Coombes all tangled losing spots. Gibbs shoved Davison wide for second with Weston again flying as he followed into third with less than a quarter of the race run. At halfway Andrews had a good gap to his pursuers but was having a hard time negotiating the backmarkers and they were to cost him the race in the pits bend. Weston reeled the delayed 605 car in and swept past only to face the same problems with the tailenders. However, he dealt with them promptly and found himself with a clear track ahead for the last couple of laps. He took a dominant win and celebrated with donuts at both ends of the circuit. Gibbs held on for second ahead of leading star man Jamie Jones (915), and a charging Wrench. Jessica Smith lost out to a last bend sort-out involving Jon Palmer (24), Andrew Palmer (606) and Prosser.
A tremendous 37 cars returned for the GN and went the whole distance without a caution. Vickery led the way and was fighting over the top spot with Andrews and Leah Sealy (475) when all three piled into the infield marker tyres. Davison then moved ahead with Rice and Jon Palmer, making good use of the front bumper, coming on strong. Rice made a successful bid for the lead and just held off Palmer who got past Davison up the inside of turn 4 on the last lap. From the lap handicap Weston’s race was ended early with a spin in the pits bend.
Results:
Ht.1: 468 578 24 560 980 390 475 210 184 454
Ht.2: 844 127 461 890 915 325 606 12 259 528
Ht.3: 525 776 992 618 315 126 542 605 460 777
Consolation: 783 184 828 931 460 777 222 762 435 NOF
Final: 468 578 915 560 992 184 606 844 24 980
GN: 890 24 461 992 210 783 560 980 325 259
Aldershot – Sunday 25th June 2023 - QR & Challenge Trophy - 36 cars
Following the successful meeting in 2022 the F2s made another Aldershot appearance. It was a scorcher of a day and 36 cars had made the trip south.
First though how about this beauty in the car park:
Ross Watters' new one
Billy Smith
Danielle Scriven out in the V8s
The top 3 in the V8 Final
Ben Spence (903) took the Heat 1 win, with Mark Gibbs (578) putting in a strong performance in Heat 2. Charlie Lobb (980) a long way from his Cornish home caught Mark towards the end for the win.
Stu Moss (876) made a rare appearance to take the Consi victory.
Twenty-six qualifiers came out for the Final and Spence took off into a good lead. Luke Wrench (560) came through from the back however and claimed the Challenge Trophy.
The GN drew the biggest grid of the day with twenty-seven cars. Jason Ward (501) took the win from the ‘B’ grade to go with his fine fourth place finish in the Final. Spence and Leah Sealy (975) made it a ‘yellow’ top 3.
Results:
Ht.1: 903 461 183 890 560 992 501 776 588 12
Ht.2: 980 578 7 24 777 564 184 783 97 475
Consolation: 876 127 454 915 97 325 390 315 475 12
Final: 560 903 890 501 24 183 915 783 992 776
GN: 501 903 475 578 783 980 390 183 315 454
More pics in the gallery.
Section 2:
Out and About in the Netherlands – Camp Vught – Between Heaven and Hell
The following text and black and white photos are with thanks to Go2War2.nl, Oorlogsmusea.nl, WW2Awards.com and WO2Actueel.nl. My own pics of my visit are interspersed throughout.
During the occupation of the Netherlands the Germans built various types of concentration camps. The three most important camps were located in Amersfoort, Westerbork and Vught. Camp Vught took up a special position, because it was in fact the only official concentration camp in the Netherlands. The camps in Westerbork and Amersfoort were so-called Durchgangslager (transit camps), while Camp Vught was a Konzentrationslager (concentration camp).
What was the function of this concentration camp, who were the people that were imprisoned here, and what role did the camp play within the Endlösung (final solution), the extermination of European Judaism?
The creation
Camp Vught was built and organised according to the German model. Just as the concentration camps in Dachau, Buchenwald and Mauthausen, the camp was under command of the SS.
Camp Vught was built because the German occupier needed more prison space. The transit camps in Amersfoort and Westerbork were no longer sufficient. The camp had to serve as a Schutzhaftlager, a prison camp for various groups of prisoners who were dangerous to the state, such as political opponents and resistance fighters. Part of the camp functioned as a refugee camp and later as a transit camp for Jews. The heath where the Germans built the concentration camp was the property of the Dutch government and could therefore easily be confiscated. The camp site was well shielded off from the outside world and was located near a rail road and highways.
A scale model of the camp
Structure
The construction of Camp Vught started in 1942. People living in the neighbourhood thought that a military barracks was being built, but this suspicion proved wrong, when on 13 January 1943 the first prisoners arrived in Vught. It was a group of 250 starved and exhausted prisoners that were being transferred from Camp Amersfoort. The majority of them were non-Jewish. When they arrived the camp had not yet been completed. The prisoners had to complete the build themselves under abominable conditions. Meanwhile, more prisoners arrived in the camp. The terrible conditions already resulted in hundreds of deaths in the first few months of the existence of the camp.
The camp site was over a kilometre long and 350 metres wide.
The site was surrounded by a ditch which was dug by prisoners and was fenced off with barbed wire on both sides. A watchtower was positioned every 100 metres, manned by guards with machine guns and searchlights. The territory around the camp was off-limits.
To keep unwanted visitors away sign boards were placed in the surroundings of the camp with the threatening text: "It is strictly forbidden to stay in the vicinity of the camp or to take photographs. Live ammunition will be used without warning."
However, the people living in the neighbourhood of the camp soon understood that it was being used as a prison camp, because prisoners were being transported from station Vught on foot, under heavy guarding by the SS and the Dutch police.
Prisoners and guards outside the camp. (Source: STIWOT Archives)
When prisoners were released or being deported, they had to take the same route in reversed direction, again by foot.
Prisoners and guards at Hotel de Hut in Vught.
Because the people of Vught became more hostile against this procedure, the SS later used buses to transport the prisoners. At the end of 1943, a bypass from the railroad to the camp was built, which later was also used for the transport of goods.
These Oppeln-type goods wagons stand in the exact spot where a branch line once ran from the ‘s-Hertogenbosch – Tilburg railway line to Camp Vught.
This branch was used to transport wrecked aircraft, which were dismantled by prisoners in another part of the camp.
However, in the final months before the liberation four prisoner transports also left the camp via this line. On the 24th May 1944 a transport carrying political prisoners set off for Dachau and a little over a week later, on 3rd June, the last group of Jews (from the Philips work unit) departed for Auschwitz-Birkenau. On the 5th and 6th September 1944 thousands of political prisoners left from here on their way to Sachsenhausen (the men) and Ravenbruck (the women).
In the camp 29 barracks were used as living barracks. The construction of the hutted camp was financed with stolen Jewish capital. The first barracks were made out of wood, but later they used stone. A stone barrack would house 240 prisoners, but during busy periods, the capacity was often exceeded. Each barrack consisted of two wings which mirrored each other.
Each wing had a washing area
with toilets
and a dining room
The barracks were densely populated and there was no privacy. Even between the toilets and the washing room there was no enclosure.
In the sleeping quarters the prisoners slept in 3-storey bunkbeds. Each prisoner received one blanket that often wasn’t cleaned and most blankets had already been used by several people.
The straw mattresses were also unhygienic
At the end of 1943, a crematorium and a prison called The Bunker were put into use in Camp Vught.
Although the first victim – an 80-year old Jewish man who could not keep up with the marching pace from station Vught to the camp – was buried at the Jewish cemetery in Vught, all the later victims were buried or cremated in one of the three ovens in the camp.
The first oven that was used, was mobile and was used until the crematorium building with two fixed ovens was built.
These two ovens were manufactured by the company Topf & Söhne. This company also built the ovens for the other concentration and extermination camps.
The crematorium building was located on a closed off terrain of the camp. This site was off-limits to prisoners that did not work there.
In the Crematorium at Camp Vught the bodies of the prisoners who perished in the camp, or were slain, were cremated.
All the dead, who had already been buried before the crematorium was put into use, were exhumed and their burial remains were cremated subsequently. Initially the ashes were collected on the crematorium site in pits, but later, two ash pits behind the crematorium were created for this purpose. There is a memorial at this exact spot.
In the crematorium building among other things were a medical room and an administration room.
The medical room was used by the Lagerarzt, the camp doctor. The first camp doctor in Vught was the 23-year old SS-Untersturmführer Neier. After a couple of months, he was succeeded by the more experienced doctor Wolter. The doctors in Vught did not carry out medical experiments, like they did in the concentration camps in Germany and Poland. The medical treatment in the sickbay was performed by the prisoners themselves.
In the administration room the personal details of prisoners who had died, were being kept in a Sterbebuch (death book). This was also the place where autopsy reports were drawn up and filed. According to official regulations an autopsy had to be performed on all deceased prisoners.
If during the autopsy any abnormalities were discovered to tissue or organs it could immediately be further investigated in the laboratory, which was also located in the crematorium building
Gallows which were set up outside of the crematorium. In September and October 1943 twenty-seven Belgian resistance fighters who were sentenced to death, were hanged here.
Living conditions
Although everyday life in Camp Vught was comparable to that in the concentration camps in Poland and Germany, there was one major difference: Camp Vught was set up as a model camp and in some ways it was just that, because the regime was less hard than was the case in other concentration camps. This certainly did not mean that life in Camp Vught was enjoyable, but chances of survival were relatively large. There were no gas chambers in Vught and there was no case of ‘Vernichtung durch Arbeit’ (extermination through labour). The death rate was therefore not even 1%, while in some concentration camps the death rate exceeded 50%.
They chose to treat prisoners less hard in Camp Vught, because they did not want to encourage the Dutch population to resist. The Nazis were not afraid of that in their own country, because the majority of the Germans supported National Socialism. Moreover, they had become used to the existence of concentration camps since 1933. Also in Poland they were not afraid that the concentration camps would cause the people to offer resistance, because the German administration in Poland would use strong-arm tactics. Polish citizens were viewed as Untermenschen (inferior people), while they regarded the Dutch as friendly folk that was racially equivalent to the Germans.
Despite the fact that Camp Vught belonged to the concentration camps with the highest chance of survival, the prisoners led a miserable life. The camp had to have a terrifying effect. Just as in every other concentration camp they stripped the prisoners from their identity by giving them a number and each prisoner had to wear the same striped uniform (now known as striped pyjamas). They had to do hard labour with the exemption of Sunday afternoon. Workdays were long, but the work they had to perform was less hard than in other concentration camps. Each workday started with a roll call in the designated roll call area. Despite rain or cold: the prisoners would stand there in their striped pyjamas waiting until everybody had been counted and the Arbeitskommandos (work commandos) had been put together. Some prisoners worked outside the camp and had to travel great distances to their work site on wooden shoes that were too small.
Especially during the first winter the living conditions in the camp were very tough. The construction was not yet completed: the glass had not yet been placed in the windows of the barracks, hygiene was bad and drinking water was polluted. Every day prisoners died. The food situation was also bad, but got better as of 1943, partly thanks to aid parcels which were allowed to be distributed in the camp. These food parcels were put together by private individuals or by the Red Cross and were a welcome and often necessary change to the never changing menu of soup. Sometimes pea or pearl barley soup, but usually the prisoners ate watery cabbage soup. That’s why the street along the kitchen was nicknamed the Koolsingel (cabbage avenue). The prisoners could also buy extra food to complement their ration with special camp money.
As was the case in other concentration camps, the lack of privacy in Camp Vught was an important means to oppress the prisoners. Ex-policeman Wim Vlijm was imprisoned from 12 March 1943 up to 8 August 1944 in camp Vught. He was arrested because together with ten colleagues he had refused to arrest Jews and to transport them to Westerbork. According to Vlijm there was no privacy whatsoever: "You were never alone, always in the company of others. Everything you did, even breathing, did not go unnoticed. The barracks I stayed in, had a sort of room with long tables and benches. There was something of a washing room where you would all sit next to each other. Everyone could see each other’s buttocks. At first that was kind of weird, but you get used to it."
Not only the lack of privacy, but also the constant presence of guards made the living conditions in Camp Vught very difficult. The prisoners were regularly faced with humiliation and abuse by camp guards. Wim Vlijm explains "(...) if the SS-ers were at it, they would come in at midnight, when we were just asleep and then we had to jump out of bed and lie underneath it. If you were not fast enough you would get kicked under it." But mostly such harassment and humiliation did not go any further. Gruesome abuse followed by death, as frequently took place in most concentration camps in Germany and Poland, did not happen in Camp Vught. One incident though is the exception: the so-called Bunker Tragedy.
The Bunker
The Bunker Tragedy took place in the night of 15 to 16 January 1944. The victims in this tragedy were women from the women camp that was part of Camp Vught since 1943. After one of the women from barrack 23 B was locked up in the camp prison - the Bunker - several women protested against this. In retaliation, camp commander Grünewald decided to lock up as many women as possible in once cell. 74 women were packed together in cell 115 – a space of only 9 square metres. There was hardly any ventilation in the cell. Tineke Wibaut was one of the women locked up in cell 115. She explains that when the lights went out, panic broke loose: "It was a strange sound that slowly build up, would then fade away again and would then build up again. The sound was produced by praying, screaming and screaming women. Some women tried to rise above the noise to try and calm down everyone so that no oxygen would be wasted. Sometimes this would help, but then it would start all over again. It did not stop and continued all night, but the noise became less loud. The heat became suffocating."
When the doors were opened the next day, ten women had suffocated. The tragedy soon became known outside the camp and was extensively written about by the illegal press. Of course this was a thorn in the flesh of the Nazi command in the Netherlands, because they wanted to prevent such abuse from taking place in the model Camp Vught. Such incidents could increase resistance in the Netherlands. To prevent further negative publicity, action was taken: camp commander SS-Sturmbannführer Adam Grünewald and contributories were court-martialled for their part in the Bunker Tragedy. Grünewald was degraded to the position of soldier and was replaced by SS-Sturmbannführer Hans Hüttig.
Prisoners
In total about 31,000 prisoners stayed in Camp Vught between January 1943 and September 1944. Only ninety of them managed to escape. Mainly Dutch citizens, but also Belgian and French citizens were imprisoned. About 12,000 camp prisoners were Jewish. Many of them had a temporary exemption from transport to Germany or Poland. They had to perform hard labour in the camp. Besides Jews, also political prisoners, resistance fighters, Sinti and Roma (gipsies), Jehovah witnesses, homosexuals, vagabonds and criminals were imprisoned. Also people who had helped Jews to go into hiding, people who had distributed illegal documents and people who refused Arbeitseinsatz (work effort) were imprisoned in Camp Vught for a short or longer period of time. However, the largest group of non-Jewish prisoners was imprisoned in Camp Vught because of economical offences. Among them, black marketeers, but also people who had illegally slaughtered animals or had stolen goods from the Wehrmacht.
From February 1943 onwards, part of the camp functioned as Geisellager (hostage camp). Here around 600 hostages were accommodated. They were for example detained as a retribution for resistance actions. Amongst them were ‘family hostages’, people who were arrested by the Sicherheitspolizei (security police) because a relative of them was a fugitive. In May 1943 a separate camp was set up for arrested women, Jewish women and wives and children of hostages.
Just like in all other official concentration camps, the prisoners in Camp Vught had to perform hard labour. That’s why in most concentration camps mainly adult prisoners stayed who were suitable for work and therefore no children. Camp Vught, however, was an exemption. Here hundreds of Jewish children were locked up. A few weeks after the arrival of the first children, a separate part of the camp was especially allocated for them. Children were separated from their parents and housed in special barracks. A couple of adults took care of them. Every now and then they were allowed to see their own parents. Each children’s barracks housed 240 children in the ages of four to sixteen. Mothers with babies and children up to four years were put up in special barracks. Children older than sixteen were spread out among the different adult barracks.
Koos Valk was nine years old when he was detained in Camp Vught. Ultimately he was transported to the camp-ghetto Theresienstadt, but survived the war. He described his first night in Vught as follows: "I was put up in a red brick barrack number 3 together with all nine year olds. I had to find a bed which was not yet occupied. I cried. A boy saw me and said: ‘you can stay in my bedbunk.’ The bed under him was still free. I still hadn’t eaten and softly crying I pulled the cover over my head. The mattress from the boy above me was broken. Each time he moved, stuff fell down, so I buried my face in the blanket. From the cloths I had been given I had to make a pile to put under my head. It was an awful affair. That was my first night in Vught."
To keep the children busy, a school was set up for them in March 1943. The continued existence of the school was constantly under pressure because several times a teacher had been deported. When on 7 April 1943, the prisoners were put up in the school barracks the teachers tried to continue with the lessons in the living barracks.
The children in Camp Vught were treated with indifference by the camp leaders and they were not even spared the exhausting roll call. Camp prisoner David Koker wrote on 6 March 1943 that a festive afternoon for the children was interrupted by the roll call. He wrote: "It is more unheard of to military drill imprisoned children than to mistreat them. When I saw the children stand there this afternoon, saw them standing there for so long, on their spoiled social afternoon at which they had looked forward too, I saw for the first time what so many others had seen for a long time: how low we have fallen." Normally there was never a roll call on Saturday afternoon. The next day about 32 of the 150 children had fallen ill.
On 30 April 1943, 1,800 Jewish children were staying in the camp. The hygiene of the children’s barracks was bad and there was a shortage of food. Many children were ill and some died, for instance due to the measles. The high child mortality rate became known outside the camp and again the Nazi command tried to end the negative publicity. The solution was extremely rigid and awful: all children were deported to the extermination camps in the east. All children died there.
In Camp Vught itself, at least 421 children, women and men died due to hunger, illness and ill-treatment. Especially in the first months, many prisoners died because of bad living conditions. This changed when in the course of 1943, large scale relief actions were started on the outside. Jewish prisoners, however, depended solely on friends and relatives, because the Red Cross was not allowed to give them food parcels. Jews were starving massively, until the Jewish Council was given permission to provide food parcels. This consent was later revoked again.
Since the camp opened, a German Standesbeamte (civil servant) worked there. He would draw up a certificate for every prisoner who died in Camp Vught. The certificate included personal details and the cause of death. The certificates were incorporated in the Sterbebuch (death book).
Besides the 421 prisoners who died due to hunger, illness and ill-treatment, 329 prisoners were executed at a sight just outside Camp Vught.
The prisoners would be marched along this track
The gated entrance to the execution site
In 1947 Princess Juliana revealed this monument
The names of the victims
In 1995 and 1997 the monument was defaced. These smudged panels have been removed.
The firing squad was mainly made up of Dutch SS who were charged with the outside surveillance. The first execution took place in June 1944. The victim was a prisoner who was found guilty of sabotage at the Philips-Kommando. In August and September 1944 executions took place one after the other. After the war, one of the prisoners said that the shots from the shooting range could be heard more and more often during those two months: " Even during morning roll call. This morning two salvos. After the first salvo, I count nineteen shots and shiver all over my body. Out of anger, I bite my lower lip to suppress my tears for these horrible bloodbaths, which never seems to end."
The massive executions in August and September 1944 were the result of the situation at the front. The Allies were ever more successful and advanced towards Germany. To prevent civilians in the occupied areas from offering resistance under the influence of the Allies, Adolf Hitler ordered the Niedermachungsbefehl (put down) on 30 July 1944. On the basis of this order the judgment against ‘saboteurs’ expired. Everyone who was suspected of sabotage or other acts of resistance could be sentenced to death without any form of jurisdiction. It was meant as a deterrent. In the Netherlands, prisoners were transferred to Camp Vught from various different prisons, but mainly from ‘the Oranje hotel’ - the convict prison in Scheveningen - to be executed.
Hard labour
At the time that Camp Vught was taken into use, there was a shortage of workmen, especially in Germany, because many men were fighting at the front. That’s why companies could deploy camp prisoners to keep up the war production. These companies had to pay a remuneration to the SS for the prisoners that were assigned to them as workmen. In Camp Vught adult prisoners also had to do hard labour for companies such as Philips and Continental. They were assigned to so-called Arbeitskommandos, work groups that had to perform work inside and outside the camp. Not all Arbeitskommandos worked for companies, because daily work also had to be done in the camp. An overview of important workplaces in the camp and the immediate vicinity:
Kitchen and Laundry room
Camp Administration
Farm in the camp where 150 prisoners worked.
Camp printer. Here arrested illegal printers were forced to copy illegal magazines and flyers. However, the text was adjusted so that the contents were no longer true.
Workplace of Philips where about 1,200 Jewish and non-Jewish prisoners made radio equipment, radio tubes, flashlights with manual dynamo and electric shavers.
Production of clothing and fur. Angora rabbits are even kept for their fur, just as they are at Ravensbruck in North Germany. This soft fur is ideal for padding the jackets worn by pilots. A few prisoners look after the rabbits and harvest their fur.
Sorting company of old clothes.
Production of gas masks. This was being done by female prisoners.
At the back of the camp around 500 prisoners dismantle crashed German, British and American aircraft with their bare hands. The aircraft demolition was supposedly the harshest Arbeitskommando of Camp Vught.
This work is gruelling and many get hurt unloading and loading.
An oxygen tank from an American B-17 Flying Fortress from the aircraft scrapyard
Any usable parts are sorted and stored. Many prisoners take his chance to steal metal and plexiglass which they later use in camp to make jewellery and other objects.
What is missing is a railway line to transport the heavier and larger scrap pieces. The 2.3 mile line is constructed in winter conditions by the prisoners. This was a particularly heavy Kommando. At its height 350 to 400 wagons arrive and depart each month with carriages filled with scrap.
The history of the Philips-Kommando is remarkable, because Philips did not have the intention to profit from cheap prisoners, but to provide as many prisoners as possible with a roof over their head to safeguard them from being deported to Germany or Poland. There was never any aspiration of making a profit. A workspot in the Philips-Kommando was of vital importance to Jews, because in this way they could postpone deportation to extermination camps.
During the 18 months that the special Philips workplace B 677 existed – from February 1943 to September 1944 – over 3,100 prisoners, around 2,200 men and 900 women, worked here for a short or longer period of time. Amongst them were 469 Jewish prisoners, mostly women. About 10% of all prisoners in Vught worked in the Philips workplace.
The management of Philips, led by 37-year old Frits Philips, only agreed to create a workplace in Camp Vught after a long while. The decision was taken after the resistance had been consulted. Moreover, Philips stipulated a couple of demands. During a radio interview in 1986, Frits Philips said that he had declined an initial request. He then wondered if it could be "that I had stipulated so many demands that people would be better off, without improving the German war efforts." His conditions were that prisoners "would not have to work more than a certain number of hours; that they would work there under the guidance of Philips staff; could enter and exit the camp freely; that Philips would determine how many products they had to make; what they had to do and who had to do what; that Philips could determine which people would work where and who couldn’t; that Philips would provide for warm meals in the camp and that they would be paid extra if Philips would determine so." To his surprise, all demands that he had stated, were accepted, except the demand for extra pay.
Because the SS generally stuck to the agreements made with Philips, the working conditions for the prisoners who worked at the Philips workplace were not heavy compared to other Arbeitskommandos. The Philips prisoners received better food, the so-called ‘Phili-mash’ and the management of Philips continued with their efforts of trying to obtain permission for certain measures that would improve the lives of the prisoners. This resulted in extra work breaks, the absence of SS guards on the work floor, music during work and medical care. The Philips management trod on dangerous ground by asking for permission for such benefits, but because they stated that this would benefit production, the SS gave in to these requests. Besides this, the SS benefited from a good collaboration with Philips, because for every prisoner that worked for Philips, it received a daily remuneration of 4.50 guilders for a trained worker and 3 guilders for a non-trained worker. Women were considered non-trained workers.
In May 1944 camp commander SS-Sturmbannführer Hans Hüttig ended the special position held by the Philips-Kommando. He had become aware of the fact that sabotage had taken place in the Philips workplace. Various products from the workplace had been manufactured to such a poor degree that they would break down after a short period of time. All Jewish workers were deported to Auschwitz and over 250 non-Jewish men were transferred to Dachau. Also, some Philips-Zivilisten were arrested, some of which went into hiding. The Kommando was continued under German command and 750 new prisoners, but the Philips-Kommando came to a definite end when Camp Vught was evacuated in September 1944.
From the 469 Jewish prisoners who had worked in the Philips-Kommando, 382 survived the war. In 1996 Frits Philips received the Yad Vashem decoration as gratitude for helping the Jews by founding the Philips-Kommando.
Camp personnel
As was the case in each concentration camp, the inside and outside surveillance in Camp Vught consisted of two separate components. The outside surveillance was performed by the fourth and fifth company of the SS-Wachbataillon Nordwest. This Wachbataillon fell under command of the Waffen-SS and consisted of Dutch and Ukrainian men. From 26 July to 6 September 1944, this unit took part in hundreds of executions at the execution site of Camp Vught.
The inside surveillance was mainly in the hands of German SS-men. They were under command of the Amtsgruppe D (Konzentrationslager) of the SS-Wirtschafts- und Verwaltungshauptamt. The camp commander was in charge of the inside surveillance. Camp Vught had three camp commanders: SS-Hauptsturmführer Karl Walter Chmielewski, SS-Sturmbannführer Adam Grünewald and SS-Sturmbannführer Hans Hüttig.
SS-Hauptsturmführer Karl Walter Chmielewski was the first camp commander of Camp Vught
When he was appointed he was 39 years old. Before his appointment to camp commander in Vught he had already worked in several concentration camps. From 1935 to 1936 he worked at Columbia Haus, one of the first concentration camps (frühe Konzentrationslager), in the neighbourhood Tempelhof in Berlin. Subsequently he worked in Sachsenhausen from 1937 to 1940 and in Mauthausen from 1940 to 1943. In his early career he committed several crimes as camp guard. Chmielewski was in command of Camp Vught in the chaotic and especially for many prisoners, fatal early months of the camp. Nevertheless, he succeeded to structure in a disciplined manner the abominable conditions of the ever-growing incoming stream of prisoners in a relatively short period of time. Chmielewski was involved in the establishment of the Philips-Kommando. His position as camp commander came to an end when he was discharged in October 1943 because of embezzlement. He supposedly seized diamonds from prisoners, which he then sent to his own family. Other sources claim that he had sold products from the Philips workplace on the black market. Having disappeared in Austria after the war, Karl Chmielewski was not tried until 1961, although he would receive a life sentence of hard labour when he was. The trial pronounced him a sadist who took pleasure in killing prisoners, whom he did not see as human, by scalding them with boiling water. He was ultimately found guilty of causing the deaths of prisoners through his brutality. He was eventually released in March 1979 on mental health grounds and spent his last years in a care institution at Bernau at the Chiemsee, He died of old age 88 on 01-12-1991.
Chmielewski was succeeded by the 40-year old SS-Sturmbannführer Adam Grünewald
Originally he was a baker, but had been working in concentration camps since 1934. His career started in the frühe Konzentrationslager Lichtenburg where he worked until 1937. In 1938 he worked in Buchenwald and from 1938 to 1939 he was appointed as Schutzhaftlagerführer in Dachau. Before he became camp commander in Vught in 1943, he worked in Sachsenhausen in 1942. Grünewald had a bad reputation and had been convicted by the SS once to three years imprisonment. In Camp Vught he introduced a strict regime. Grunewald was a brutal commandant and he was removed for successive ill-treatment of the prisoners.
After only three months he was fired as camp commander and degraded to the position of soldier because of his part in the Bunker Tragedy in January 1944.
In January 1944 he was tried and found guilty of causing the deaths of prisoners by excess cruelty, in his case for the Bunker Tragedy. He was sentenced to 15 years imprisonment but was then pardoned. He finished the war with the 3rd SS Panzer Division Totenkopf and died, age 42 on 22-01-1945, during a German counteroffensive in the siege of Budapest. His final rank was SS Sturmbannführer. Huettig too had followed a similar path with concentration camp service in Lichtenburg, Sachenhausen, Buchenwald, Flossenberg, Natzweiler. After the war Hüttig was in Allied internment. He was sentenced to death on July 2, 1954 by a French military court in Metz, but the death sentence was not enforced. In 1956, he was released from detention after eleven years and led a discreet life at home, until his death on 23-02-1980, old age 85 in Wachenheim.
The last camp commander of camp Vught was the 50-year-old First World War veteran SS-Sturmbannführer Hans Hüttig.
Just like his predecessors Chmielewski and Grünewald he had worked in several concentration camps before he started working in Vught. In 1936, he worked in the frühe Konzentrationslager (early concentration camp) Lichtenburg. He then worked in Sachsenhausen in 1937 and in Buchenwald in 1938. From 1939 to 1942 he worked in Flossenbürg and before his appointment in Vught he was camp commander in Natzweiler in 1942. In Camp Vught he set things right and took some drastic measures. He ended the independence of the Philips workplace and made the camp Judenrein (free from Jews). Not only was he responsible for the deportation of Jews from the camp, he also ordered the execution of at least 329 persons in the summer of 1944. After Camp Vught was closed down, Hüttig served in the 34. SS-Freiwilligen-Grenadier-Division Landstorm Nederland in the last months of war. After the war, he was sentenced to life imprisonment, however, he was released early in 1956.
The camp surveillance were assisted by Kapos, prisoners who were deployed to instil ‘order and discipline’ into their fellow prisoners. They started with 80 Kapos in Camp Vught. Some of them were German political prisoners, but most of them were German criminals, who often had committed murder. Especially the criminals who were deployed as Kapo took a hard line against prisoners.
Deportations
Within the organisation of the Endlösung (final solution) – the plan of the Nazis to exterminate European Jews – Camp Vught played a minor roll when compared to Judendurchgangslager Westerbork, the Dutch transition station between the extermination camps. From Camp Vught no direct deportations took place to the extermination camps. Nevertheless, about 12,000 Jews were imprisoned in Vught for a short or longer period of time. Almost all of them were subsequently deported to extermination camps in Poland via Camp Westerbork.
The Jewish prisoners in Vught were divided into two groups: the Schutzhaft-Jews and the civil Jews. Schutzhaft-Jews were Jews who were punished for a particular offence. They would first be put up with other Schutzhaft-prisoners in the Schutzhaftlager. Later they were accommodated in separate barracks, called Block 15. As of 16 January 1943, the civil Jews stayed in a separate part of the camp that was arranged as Judenauffanglager (Jew shelter camp). There were two groups of civil Jews. The first group of civil Jews, mainly consisted of workers from the textile and diamond industry who enjoyed exemption from deportation on the basis of their work expertise. The second group was made up of Jews from the Dutch provinces of Friesland, Groningen, Drenthe, Overijssel, Gelderland, Limburg, North-Brabant and Zeeland. They had to report themselves in Camp Vught, because these provinces had to be Judenrein as of 10 April 1943. In February 1943 the part of the camp for Jews was no longer designated as Judenauffanglager, but as Judendurchgangslager (JDL, transition station), although the Jewish prisoners were not informed of this.
Jewish self-government was allowed in the Judendurchgangslager. The Jewish prisoners had their own officials responsible for order and SS guards hardly interfered with daily camp management.
The first Jews transport to Vught took place on 15 January 1943. The Germans had brought together a couple of hundred Jews in the Dutch Theatre in Amsterdam. In the night of 15 to 16 January, 453 Jews were transported via tram to Amsterdam Central Station. From there, the Jews were transported to Vught, where they arrived in the early morning of 16 January. In the following months, many more transports would take place.
With the exception of two transports which went directly from Vught to Auschwitz, all transports from Vught were routed via Westerbork. The first of these transports to concentration camp Westerbork, where Anne Frank and her family were interred later, left at the end of January 1943, shortly after the transit camp at Vught had been established.
The photos also show how two Dutch policemen escort people to the train. An employee of the Jewish Council is also present on the platform. The seriously ill are lying on stretchers. Bystanders watch behind a wooden fence.
On the basis of this knowledge, it could then be established via the transport lists that the photos were taken on May 23, 1943, when about 1.250 people were deported to Westerbork. From there, most of them went almost immediately to the Sobibor extermination camp, where they were murdered upon arrival in the gas chambers.
A proclamation was issued by the Vught Kampleidung on 5 June 1943, two transports were to be sent to a “special children’s camp.”
In accordance with the terms of the proclamation, all children up to the age of three were to be accompanied by their mothers and those aged between three and sixteen by one of their parents. The “special children’s camp” was Sobibor extermination camp in Poland. The first train containing 1,750 Jewish people many of them unaccompanied sick children arrived at another transit camp for Jews in Holland – Westerbork on 7 June 1943. The second transport arrived a day later – 1,300 tired, filthy people were transferred amid much snarling, shouting and beatings from the freight cars that had taken them from Vught, to another set of dirty freight cars that would transport them to Sobibor extermination camp. All 3,050 were gassed almost immediately upon arrival.
The last transport from Vught departed on 2 June 1944 to Auschwitz. It concerned the group of Jewish workers of the Philips workplace, the company having failed to save them. Even in Auschwitz this group received preferential treatment, being employed by Telefunken, under an agreement reached between Telefunken and Philips.
Of this group of about 500 people, 382 of them survived the war, while of the other deported Jews only a small part returned home. Non-Jewish prisoners were also deported from Camp Vught. They were not deported to extermination camps, but to other camps, prisons or detention centres. The total numbers involved are unknown.
Liberation and after the war
On Dolle Dinsdag (Mad Tuesday) on 5 September 1944, the SS-men in Camp Vught did not want to await the approaching allied troops. They evacuated the camp in a hurry. After the last Jews transport on 2 June 1944, the remaining male prisoners were deported to Sachsenhausen from 5 June onwards. The still remaining women were relocated to Ravensbrück on 5 September 1944. A district nurse from Vught took over the daily management of the camp on 12 September 1944 on behalf of the Red Cross.
On 26 October 1944, Camp Vught was freed by the Allies, but by then all prisoners had been put on transport, so all they found was an empty camp. The camp site was put into use by the Canadians. Thousands of people were temporarily put up in the camp, including Germans who were evacuated from the border region.
After the war, the former concentration Camp Vught served as an internment camp for a while for Dutch citizens who were suspected of collaboration and war crimes. A total of 7,000 collaborators were accommodated here, including 300 Dutch SS-men. The SS-men had to wear the striped uniforms that used to be worn by the camp prisoners.
After the last prisoners had left, the barracks were temporarily vacant. In 1951, the vacant camp complex was used to accommodate southern Moluccan militaries and their families. They had fought alongside the Dutch army in the battle against the proclaimed Republic of Indonesia. After the Dutch had retreated, it was no longer safe for them to stay in Indonesia. It was the intention that they would only stay there for a short period of time, but this was a miscalculation.
Thanks to the efforts of the Foundation National Monument Camp Vught, which was founded in 1986, the National Monument was realised on a small part of the former camp site. On 18 April 1990 the National Monument was opened to the public by Queen Beatrix. In 2002, a new commemoration centre was built and the camp site was restored as much as possible to its original state. The National Monument Camp Vught keeps "the memory to the history of the camp and the victims alive. Even in these days – personal choices of individuals can lead to suppression and the shutting out of other people in society."
Never take your freedom for granted.
Odds and Ends
The Brunel Tunnel
For one weekend only in November there was a rare chance to walk through the Brunel Tunnel between Rotherhithe and Wapping. The tunnel is part of the Overground network and all rail traffic was suspended owing to essential maintenance and engineering work across multiple sites. It was nicknamed ‘the eighth wonder of the world’ when it opened 180 years ago and was the first tunnel to be built under a river anywhere in the world. It remains a unique part of engineering history and is often hailed as Marc Brunel’s masterpiece. This was the first time public access to the tunnel by foot had been permitted since 2014.
Here is some background history to the tunnel:
In 1820, the only crossing of the River Thames in London was the narrow London Bridge, and another crossing point was desperately needed to relieve the traffic congestion in the capital (Tower Bridge was not built until 1894). Building a second bridge further downstream would have blocked access by shipping and so the obvious if seemingly impossible alternative was a tunnel. Large tunnels had been built in various parts of Britain's canal network, but the idea to tunnel under a major river was a first. The greatest problem the project faced was how to prevent the tunnel from flooding during the construction stage. Three attempts were made to build a tunnel, including one by the noted engineer Richard Trevithick (1771-1833) in 1807, but all three projects ended in floods and disaster.
The inventor and engineer Marc Isambard Brunel was the genius behind the successful Thames Tunnel, but it would prove to be an extraordinarily difficult project to complete, not least because of the scale of the construction and the terrain, an unhelpful mixture of clay, gravel, mud, and quicksand. Brunel had already designed a tunnel for a proposed project in St. Petersburg in Russia, but the idea was not taken up by the authorities there. Brunel believed he could make the Thames Tunnel a reality, and in 1818, he joined forces with Thomas Cochrane, Earl of Dundonald (1775-1860) to patent a device that would prove essential to the project: a tunnelling shield. The device may have been inspired by the shipworm (Teredo navalis) which burrows into the wooden hulls of ships. The shipworm's soft interior is protected while it bores by a hard outer shell around its gnawing jaws and head. Brunel's idea was that a shield would act as a temporary support for a stretch of the excavated area until a more solid covering of the tunnel could be put in place. This was an essential precaution in soft or waterlogged ground, which might easily collapse while men were excavating the tunnel.
Meanwhile, the failure of one of Brunel's companies in 1821 meant that he spent some time in a debtor's prison in Southwark, but by 1822, he was a free man and ready to once again take up the challenge of the Thames Tunnel project. In 1823, Brunel was made the chief engineer of the project, and he tweaked his tunnel shield design to specially cater for the challenges of tunnelling under the Thames. It was the famed Maudslay factory in Lambeth, London, that made Brunel's tunnel shield into a physical reality. Run by Henry Maudslay (1771-1831), the Lambeth factory was, in many instances, the crucible where engineering ideas of the British Industrial Revolution were forged into reality. Maudslay completed the 80-ton tunnel shield in 1825. It was a large rectangle of iron scaffolding. The shield measured around 11 metres (36 ft) across and had a height of 6.5 metres (21 ft 4 in). The idea was that workmen on three levels would remove a wooden board in front of them, excavate 10 cm (4 in) of the earth, and then replace the board. The platform allowed 36 men to work simultaneously. The whole iron structure would be inched forward using screw jacks as every four inches of progress was made.
Construction Problems
The Company charged with building the tunnel, the Thames Tunnel Company, was formed in February 1824, and work began that same year. The project was funded by private investors who hoped to receive dividends once the tunnel was opened and users started to pay the passage toll for the convenience of using it. On 2 March 1825, the first stone was laid at the Rotherhithe shaft entrance.
Another innovation for the project was the tower used to create the large vertical entrance shafts at either end. The hollow tower had workmen inside, and it descended under its own weight (100 tons), with its bottom iron cutting edges cutting into the ground as the men dug down into the soil. Excavated material was taken to the top of the tower using a chain of buckets which was powered by a steam engine. Each entrance shaft measured around 15.2 metres (50 ft) in diameter and went down about 21.3 metres (70 ft). The shafts were then lined with bricks before being faced with stone.
Steps were to be made for pedestrians to descend while wheeled vehicles would use great spiral ramps, which Brunel called "Great descents". The mark on the wall shows where the steps were.
A vaulted ceiling
Once the vertical shaft had been dug, the tunnel shield could be brought in, and work started on moving horizontally under the river on 28 November 1825. As the shield inched forward, men lined the tunnel with bricks to create two parallel passageways. Light was provided by gas lamps. It was a complex but well-thought-out arrangement of men and materials. The project was estimated to take three years, which turned out to be optimistic, mostly due to the soil not being as consistent as the exploratory shafts had shown it might be. Still, the numbers involved were impressive: In all, 500 men typically worked the tunnel at any one time, their shifts 16 hours one day and 8 the next, comprising not merely miners and bricklayers but blacksmiths, carpenters, riggers, millwrights and labourers ... They would get through 70,000 bricks a week, 350 casts of cement, 300 lbs of candles and would cart 750 tons of spoil from the works.
Despite the men working in the shield doing well, there were some serious setbacks to be faced. The first problem was the long history of the Thames River. The river had been used as a refuse dump and sewer for at least a millennium, and the accumulated gunge the excavators came across was overpowering. "Men fainted at the Shield face, and were carried off suffering from dizziness, chest pains, impaired vision and pus oozing from cuts on their arms"
The tunnel flooded twice. The first flooding came on 17 May 1827 when the excavators reached a particularly thin patch between themselves and the river bed. The proximity of the mass of water above was confirmed when Brunel's son Isambard descended in a diving bell into the murky depths of the Thames. The gap was plugged by sinking a wooden raft onto that part of the river bed and then around 150 tons of clay sacks were dropped on top.
The tunnel shield and the tunnel had been badly damaged in the flooding, and it took four months to get the excavations going again. In November, with that bravura and showmanship typical of grand Victorian engineering projects, Brunel organised a banquet in one of the half-complete tunnels, which was festooned with red drapery. The diners could see themselves thanks to a plethora of silver candelabras but probably struggled to hear each other over the din of a Coldstream Guards band. The celebrations proved to be premature.
The second flood occurred on 12 January 1828. This was more serious than last time, with six workers losing their lives. Once again the blocked-up tunnel had to be redug, and the tunnel shield repaired. Accidents were not limited to the labourers. Isambard Brunel, who had been appointed the resident engineer of the project the year before and who was somewhat accident-prone, suffered serious injuries when he fell into an uncovered water tank in October 1827. Isambard recovered but was caught in the massive wall of water that crashed into the tunnel in the January flooding; the engineer was only just saved from drowning.
A new improved version of the shield was built and tunnelling finally resumed in August 1828. The project was certainly a challenging one, and there were many more periods of delays over the next decade. In July 1834, the government gave a much-needed cash injection of £270,000. The money was only a loan, but it permitted Brunel to perfect a more efficient design of his tunnel shield, and work resumed in March 1836. The tunnel had become a prestige project of national importance; work had to go on, whatever the cost.
There were four more episodes of serious flooding and several damaging fires. Another problem was the build-up of dangerous gases like methane. The project was taking so long to complete, the press labelled the tunnel the 'Great Bore'. The tunnelling stage continued, nonetheless, and was eventually completed in November 1840. Brunel was awarded a knighthood for his efforts by Queen Victoria on 24 March 1841. The Queen was impressed by the engineering feat but less so by the conditions she was subjected to, as she noted in her diary after her visit: "One goes down a long way and then enters the tunnel, which was lit by gas ... It was excessively hot both going and returning". The final construction stage was completed by 1842. The many delays over the years meant that the costs of the project rocketed to over £630,000 (£88 million today).
Completion & Uses
The Thames Tunnel was officially opened on 25 March 1843. It measured 433 yds in length and was 19.5 ft high and 36 ft wide. The greatest depth was over 75 ft below the surface of the River Thames. The interior of the tunnel, typical of the times, was rather more splendid than it need be to complete its function, with plenty of decorative elements of Roman architecture in the Neoclassical style. A silver medal was struck to commemorate the opening of the tunnel, and it showed on one side the twin tunnels of the Wapping entrance and a profile portrait of Marc Isambard Brunel on the other.
The tunnel had gone so over budget that the original plan to permit horse-drawn vehicles to use it was never realised since it was too expensive to build the necessary access ramps. For now, the tunnel was limited to use by pedestrians, who paid one penny for the experience. It was a popular attraction and, for some, a shortcut to the opposite bank of the Thames.
Another reason to see the tunnel was the 63 stalls set in the brick arches, which made it a sort of entertainment pier below ground. One could buy various goods and souvenirs, take refreshments, see information displays, and listen to a steam-powered organ. "Some 50,000 people queued up to walk through on the first day; more than a million sightseers visited within 15 weeks of its opening, and 2 million over the first nine months. Revenues from this foot traffic amounted to nearly ten thousand pounds a year". This was not, however, enough to cover the tremendous construction costs, pay back the initial capital investors, or refund the government for its 1834 loan.
To squeeze yet more pennies from the public, an annual fair was organised in the tunnel, which lasted three days and attracted over 65,000 visitors from Britain and abroad. Inevitably, perhaps, the novelty of the tunnel wore off, especially for Londoners, and the tunnel became less frequented by passing pedestrians and more the haunt of prostitutes and pickpockets.
It was not until 1865, when it was bought by the East London Railway Company for a third of the cost to build it, that the tunnel was finally to be used by trains. Even then it took four more years before the first train ran through the Thames Tunnel on 7 December 1869. The London Underground used the tunnel from 1913.
The Thames Tunnel is still used by trains today as part of the London Overground network. Brunel's idea of the tunnel shield was probably much more influential than the tunnel itself and is still widely used in cylindrical form (as Brunel himself had originally designed it, in fact) on modern underground construction projects worldwide.
At the Rotherhithe end in a small engine house, there is now a museum dedicated to the history of the tunnel once described as the wonder of the Industrial Revolution.
The pics:
Starting at the Rotherhithe end
We’re heading up the left (north) tunnel and returning down the right
In the initial section of the tunnel are these LVT sleepers which have a concrete block in a rubber boot and a block pad embedded in slab concrete
Looking back to the station
Two bolt BBRE rail chairs further in the tunnel
The north tunnel identification marker
The brick arches have been spraycreted to prevent decay
Looking through an arch to the southbound tunnel
The arches have been filled in towards the Wapping end
Redundant porcelain insulators
We have reached Wapping
The twin bores from the northern end
Heading south back to Rotherhithe. Note the arches once again.
As it was at the same spot back in 1843
The valve set at the midway point
These pics show the brick structure under the spraycrete
A mysterious cylinder buried in the wall
Disused cable carriers
Back at Rotherhithe
It is a rare occasion that the platforms are completely devoid of passengers
The annual Chester and Wrexham Bus Running Day – Monday January 1st 2024
This first bus event of the year is a great way to start 2024. As in 2023 the unnecessary bureaucracy and restrictions put in place by Chester Council made the use of the park and ride facility a non-starter. Wrexham Borough Council could not be more supportive however and allowed the event to run from Wrexham Bus Station once again.
This year the range of vehicles went right through from the Bristol Lodekka to some of the more modern low-floor service buses. In previous years the day had been quite London heavy whereas this time around it was more of a provincial selection of vehicles.
Two routes could be enjoyed. A 30 mins circular around Wrexham, or the Wrexham-Chester run which took 45 mins each way.
Here are a selection of buses which were in service on the day:
Bristol VR – VVV 952W (952)
952 was new to United Counties in April 1981 and was based for most of its life at Bedford Depot on Flitwick services. It was withdrawn in June 1999 and has passed around independent operators for use on school services. 952 was preserved in 2005 and is presented in NBC Green with United Counties lettering.
Dennis Arrow – R765 XSW
R765 XSW was new to London Traveller in 1998 and was mainly used on Private Charters and Rail/Tube replacement services. It then passed to Rogers of Corby in 2000 and stayed with them until its purchase into preservation in 2021.
Leyland Olympian, ECW – EEH 902Y (1902)
1902 was delivered to Midland Red (North) in July 1983 and operated from Tamworth Garage. Transferred to Macclesfield in July 1993 and remained within the Cheshire area until withdrawal by Midland Red in December 1994. In January 1995 the Macclesfield operations were transferred to Stevenson’s of Uttoxeter and it remained with them until December 2000. 1902 was sold to Bennetts of Gloucester and then to Marchants of Cheltenham. It was restored and repainted in 2008/09 and has been with its current owner since 2020.
Volvo B10M, Alexander PS – M202 LHP (202)
202 was new to Stagecoach Midland Red’s Rugby Depot in 1995. In 2004 it gained the Midland Red Centenary livery and toured various bus rallies and museums. In 2007 202 transferred to Northampton Depot where it stayed until 2010 before sale to Springfield Bus and Coach, Warrington. A spell with Howards Travel followed before being sold for preservation.
Bristol RE, Alexander – BXI 2584 (2584)
2584 was one of the last batch of twenty such vehicles (2581-2600) built in 1982/83 for Ulsterbus by Alexander (Belfast) at its Mallusk plant. The first six of the batch (2581 -2586), were allocated new to Oxford Street Depot. Withdrawn in September 2003 it went to Sullivan, Potters Bar by August 2004, and then into preservation.
It is interesting to note that the Translink REs in preservation now amount to no less than thirty-one, of which eleven are in Northern Ireland, nine in the Republic and eleven on the mainland. In addition, one chassis has been preserved with the possibility of a further three or four vehicles to follow into preservation.
Bristol LH – OJD 93R (BL88)
BL88 was new to London Transport in April 1977. It was allocated to various garages including Hounslow, Kingston and Croydon. The vehicle stayed with LT for only a short period of time being retired from London in November 1981. BL88 was purchased by OK Motor Services where it remained until January 1997 and was sold to North East Bus Breakers. It was saved by two preservationists and resided in the south until October 2018 when it was bought by the current owner and moved to North Wales.
Leyland National – JTU 588T (SNG588)
SNG588 was new to Crosville in May 1997 and operated as part of the Wales & South Cambrian fleet. It was then sold to Glasgow Airport and was converted to double door. Later sold again as a Training bus, and then finally a café before being recued by preservationists in Scotland. It returned to Crosville territory in 2013 with its current owner.
Leyland Atlantean – FHF 451 (Wallasey 1)
Wallasey 1 was the first Leyland Atlantean that was delivered new to Seaview Road Garage, Wallasey in 1958. It remained there in regular use until withdrawn from Merseyside PTE in 1977 and went straight into preservation with the 201 Bus Group.
Bristol VR – AAP 651T (651)
651 was new to Southdown Motor Services in December 1978. It then passed to Brighton & Hove in January 1986 where it was branded for Route 729 between Tunbridge Wells & Brighton. In October 1995 it passed to City of Oxford Motor Services. After working for a couple of independent operators it was sold to the Brighton Bus Preservation Society and has recently moved north with its current owner.
Vlovo B10M, Alexander PS – R928 VXM (928)
928 was new to Stagecoach Greater Manchester South in September 1997. It was re-numbered to 20928 and transferred to Stagecoach Yorkshire and Stagecoach Cook’s Coaches by 2010. It was the withdrawn and sold to Quantock Motor Services by March 2013. 928 was converted to part open top and passed around multiple operators before ending its service life in Scotland, It then passed into preservation with the 572 Group which is part of the Barrow Transport Museum Trust in September 2020.
Leyland Atlantean – DKC 365L (1365)
1365 was new to Laird Street Garage, Birkenhead to help speed up OMO conversion of services. 1365 stayed at Laird Street until 1984 when it moved to Green Lane Garage in Liverpool. After transfer to Merseybus in October 1986 it was allocated to Garston, Walton and Gillmoss Garages until withdrawn in July 1995 at Green Lane. 1365 was the bought by a dance group in Garston the following month. It entered preservation in the summer of 2001 and was finally repainted blue and cream for the MPTE 40th Gathering on St George’s Plateau in November 2009
Bristol Lodekka – 4227 FM (DFG 157)
DFG 157 was new to Crosville in 1964 and was based at Wrexham Depot. It was originally bought to operate service D1 between Llangollen, Wrexham and Chester making this bus a very appropriate visitor to the event. It was withdrawn and entered preservation in 1981.
Lisbon Trams
Stanton Ben has sent me these three pics of the Lisbon trams.
There is a fleet of 65 covering commercial routes and tourist rides. A glass of port and pastries on board were served! That may be an idea for Blackpool to try, or maybe not 😀
To finish this time here is another great video from the Professional Struggler. Chris visits Jim, an ex-engineer & farmer, and one of the nicest people you could ever wish to meet! He shows us around his farm talking about the vehicles he has from a camper truck to a Hilux, and a lot of old tractors and equipment!
Next time:
In F2s we pay a visit here:
In the main feature:
A look around the final resting place of some abandoned heavy plant equipment.
5 -
Hi there folks.
Welcome to episode 3. In this one we have:
Section 1: F2s from the Crimond & Cowdenbeath QRs.
Section2: In Out and About we visit the abandoned Pen yr Orsedd quarry
Section 3: Odds and Ends: Blackpool Transport’s Starr Gate depot, the Flying Scotsman at Shildon, and Keep on truckin’.
Section 1:
Crimond – Saturday 3rd June 2023 – 28 cars
Welcome to part one of the Scottish World Championship Qualifying weekend. This meeting was also the BriSCA F2 Supreme Championship. The next day was part two at Cowdenbeath. This joint weekend was tried in 2022 and was a tremendous success attracting quite a few visiting drivers. With one week to go there were 25 cars booked which is a good turnout for Crimond. Visitors included: Ben Spence (903), Jamie Jones (915), Aaron Vaight (184), Tom Bennett (213), Dan Roots (776) and Luke Wrench (560).
The pace car, and the sponsor's Scania
Gordon and Chris line up
Two of the smartest transporters in BriSCA – 647's
and 674's
A good-looker from Graham Kelly
The weather was dull but dry with a good crowd on hand in the land where the sun does not set until after 10pm at this time of the year.
A blue roofed Craig Wallace (16) took an early lead in Heat 1 only to lose out to Gordon Moodie (7) at race end.
Spence led from start to finish in Heat 2 with Robbie Dawson (854) some way behind in 2nd place.
Ryan Farquhar (419) claimed the Consolation win leading all but the two opening laps.
The grid for the BriSCA Supreme Final was made by public draw:
Jack Bunter (728) Ben Spence (903)
Dale Seneschall (482)
Graeme Leckie (975) Jason Blacklock (512)
Josh Walton (555) Mika Millar (402)
Ryan Farquhar (419) Craig Wallace (16)
Paul Moss (979) Jason McDonald (387)
Robbie Dawson (854) Chris Burgoyne (647)
Luke Wrench (560) Colin Stewart (191)
Pete Watt (280) Graham Kelly (721)
Aaron Vaight (184) Jamie Jones (915)
Steven Burgoyne (674) George MacMillan Jnr (100)
Dan Roots (776)
John Hogg (92) Gordon Moodie (7)
Liam Rennie (3)
Spence made a good start to head the field away from Bunter. McDonald was ahead of Wallace as Dawson made good progress and picked off all those ahead of him to take the top spot approaching halfway. Both 387 and 16 increased their gap to the rest of the field to follow 854 over the line.
The GN went to McDonald from Wallace and Farquhar.
Results:
Ht 1: 7 16 387 3 728 560 402 184
Ht 2: 903 854 915 647 721 776 92 975
Consolation: 419 979 280 100 555 512 674 191 482
Final: 854 387 16 7 721 560 647 903 3 674
GN: 387 16 419 7 560 3 184 100 647 92
Cowdenbeath – Sunday 4th June 2023 – 34 cars
The Scottish Championship Trophy was on offer today in addition to it being the second WCQR of the weekend. It was a very hot afternoon which was an added bonus.
Ben Spence (903) was last year’s surprise winner, and he was in attendance to defend his title. Most of Crimond’s visitors were here with Gary Walker (821), Adam Paling (435), Colin Forbes (202), Lewis Burgoyne (547), Reece McIntosh (514), Paul Reid (17), Craig Reid (217) and Kieran Howie (679) the added extras.
Lewis Burgoyne
The 547 transporter
George MacMillan Jnr pre-meeting
Ryan McGill
Anthony Riley was out in a brand new Griefy Saloon
In the early stages of Heat 1 Reid (217) spun and stopped on the racing line. Spence was the leader at the time but lost out to blue graded Craig Wallace (16) who went on to the victory.
Mika Millar (402) and Paling tangled in turn 4 during Heat 2 just as Josh Weare (736) had taken the lead. He now had the field lined up behind him for the restart. Chris Burgoyne (647) soon moved ahead and took the win.
The Consolation saw Forbes and Walker lock together and stop against the pit gate. In the melee that followed Howie was clipped and gained a puncture. Millar pushed his way to the lead on the restart.
As at Crimond the grid for the main event was by a public draw:
Reece McIntosh (514) Lewis Burgoyne (547)
Josh Weare (736) Adam Paling (435)
Ben Spence (903)
Craig Wallace (16) Paul Moss (979)
Graeme Leckie (975) Paul Reid (17)
Mika Millar (402) Stevie Forster (652)
Ryan Farquhar (419) Ryan McGill (463)
Steven Burgoyne (674) Dan Roots (776)
Chris Burgoyne (6470 Aaron Vaight (1840
Jamie Jones (915) George Mac Millan Jnr (100)
Colin Stewart (191) Luke Wrench (560)
Gordon Moodie (7) Tom Bennett (213)
Liam Rennie (3) John Hogg (92)
Lewis Burgoyne (547)
McIntosh led the pack away with defending champ Spence soon taking the lead. The race was brought to a stop however as McGill was sent into the pit bend wall. Wallace put the pressure on Spence at the restart with Burgoyne (674) leading the red top charge. Moodie and C. Burgoyne were trading places behind this group but still advanced their positions.
Spence’s defence of the title came to an end when the diff locked up and he was spun out of the lead. Wallace took over at the head of the field but he was being caught by S. Burgoyne who in turn had Moodie closing in.
In the closing stages Moodie was now up to 2nd and reeled in Wallace. With 4 to go the Flying Fifer was through to the lead and took his tenth Scottish Championship. The cheers from the grandstand could be heard above the engines. Rennie snatched 3rd spot from S. Burgoyne.
Liam at post-race checks
Geo Mac won the GN from Wallace with Moodie up to 10th from the lap handicap.
Results:
Ht 1: 16 100 7 3 674 903 776 184
Ht 2: 647 560 915 213 191 652 736 17
Consolation: 402 419 979 463 512 975 435 92 482 514
Final : 7 16 3 674 647 100 560 776 915 419
GN: 100 16 674 560 419 3 647 776 184 74
More pics in the gallery.
Section 2:
Out and About - Pen yr Orsedd Quarry
For the past couple of years a good mate and fellow Stoxnetter Stanton Ben and i have made a number of trips to North Wales to explore the disused slate mines and quarries that are in abundance here. Ben is a guru of the slate and plans the day with military precision. These places are not for solo exploring if you intend going underground. If you get into difficulties here you could find yourself in your final resting place! There is virtually no phone signal and very few people to hear you shouting for help.
This one that we are having a look around is relatively safe though and can be explored in a day. Some of the larger sites require multi-day visits with one in particular having a multitude of underground levels.
The Nantlle Valley is an area in Gwynedd, North Wales. The Pen-yr-Orsedd Slate Quarry is located to the north of Nantlle village. An open working, it began in 1816 as hillside galleries. Mills were built on three successive levels, the first in 1860 and the next, their first integrated mill, in 1870. The upper mill followed in 1898. Output in 1882 was 8251 tons with 230 men employed. Output was far higher in the 1890s with 613 men employed in 1898.
It provided high-quality slate for use in construction, roofing, and other applications and was renowned for producing some of the finest slate in the world. Its slate was used in a number of prominent buildings and structures, including the Houses of Parliament in London, and the United Nations headquarters in New York.
In 1862 the quarry was connected to the Nantlle Railway, with 3 ft 6 in (1,067 mm) narrow gauge lines extended to all but the highest levels of the quarry. Most levels of the quarry had both 3 ft 6 in (1,067 mm) narrow gauge and 2 ft (610 mm) narrow gauge trackwork, many with mixed gauge tracks. It would be used to carry slate from Nantlle to the ports of Caernarfon where its station was not too far from the modern day Welsh Highland Railway. The engines were manufactured by De Winton and one survives from the quarry, a 0-4-0 loco at the Leighton Buzzard Light railway in Bedfordshire.
The Nantlle Railway connection was used up until 1963, while the internal 2 ft lines continued in limited use until the end of quarrying.
The quarry was made up of a series of pits and its most notable feature in the later years was the complex series of four aerial ropeways known as 'Blondins'. These were a type of aerial ropeway developed to connect remote terraces in open pits in Welsh slate quarries. They would transport railway wagons slung from cradles to the slate mills where the rock was processed. They were named after the famous tightrope walker Charles Blondin.
Four were set up in Pen-yr-Orsedd, run by 'Bruce Peebles' electrical equipment of 1906. The use of the Blondins gradually ceased, with a lorry road being built down into one pit still in use in the 1970s. There is also a surviving engine house on the site.This was one of the quarries supplied with power in the early 20th C by North Wales Power & Traction Co. as they tried to create a market for their hydro power by converting the quarries from steam.
Workshops, drum houses, engine houses, offices, a hospital, accommodation and other related buildings remain, some are grade II listed.
The quarry finally closed in 1979.
The pictures:
1913
A – Lower levels including the old slate mill
B – Mid levels including the admin block and wagon workshops
C – Top levels including the Blondins and main cutting shed
The site from above
The access road from the village
The loading area at the lower level
Weighbridge
Avery - Birmingham, England
The remains of the lower level buildings
The slate industry would not have been able to develop without the humble tramway, it provided cheap and efficient transport when the only alternative was horse drawn carts - often over appalling roads. Likewise to enable the tramways to function in the mountainous areas a system was required to rapidly overcome the sudden changes in height. The inclined plane was the means of achieving this. At its simplest it was a steeply sloped double tracked formation with two ropes around a drum at the top. One of the ropes was attached to a rake of loaded wagons at the top of the plane and the other rope fastened to a line of empty wagons at the bottom. By skilful use of the brake on the drum the loaded wagons going down hauled up the empty wagons - the two rakes passing halfway. However this method was only practicable for descending loaded wagons.
An example of an inclined plane on the route of the Croesor Tramway in Gwynedd
Lower-level winding drum house here at Orsedd
Part of a conveyor system
The original mill from 1860
The spoked drive-wheels are superb
The long driveshaft powered the machinery
At the mid-level now
Looking down at the lower-level
Spare drive belts
Porcelain insulators
Slate cutting table
There are extensive buildings here
The slate cladding is subject to extremes of weather
A mid-level winding house
Into the workshop
The rail lines are over an inspection pit in the workshop
The turntable
In close up
A discarded grinding wheel
A belt drive wheel
Slate cutter made by T. Robinson of Rochdale
Thomas Robinson & Son was established in Rochdale, Lancashire, in 1838 as timber merchants, joiners and carpenters. They became a private limited company in 1880, changing the name to Thomas Robinson & Son Limited. The firm became a respected maker of gas engines, saw mills, woodworking machinery, flour milling machinery, and railway locomotives & carriages. Complete sets of machinery designed and arranged for contractors, ship builders, carriage and wagon works, saw mills, planing and moulding mills, railway companies, Government arsenals and dock yards.
The Great War of 1914-18 enlisted Robinson's in national services and enormous quantities of war material of very varied nature were produced. Missiles, from hand grenades in the highest class, through a range of bombs on 18 lb., 33 lb., and 60 lb. weight up to 112 lb. aerial bombs and 8 in. high explosive shells were prominent in the production program.
Parts for anti-aircraft guns, control gear for 6 in. guns, mine sinkers, mine firing mechanism and gear cases for the “Tanks”, heavy machine tools, such as milling machines, lathes with 12 and a quarter centers, gun-boring lathes, 23 ft. 3 in. long, besides a great number of lathe beds for other engineering establishments poured out in a steady stream.
Explosives machinery destined for the filling factories was being loaded on lorries in one part of the yard simultaneously with milling machinery for the Foodstuffs Department in another part, and even their own woodworking department hummed day and night with the noise of machines turning out by the hundreds such items as wood boxes for packing hand grenades and Newton bombs, etc.
Another Robinson product
The buttressed wall to the workshop
Approaching the weigh-house
A truck still remains
An Avery scale inside
The engine maintenance shed
The stockroom
Steel stock still present in this photo from 2014 (Credit Steambod)
Climbing the incline plane to the upper-level. Mid-level below.
The top-level mill comes into view
Upper winding house
A conveyor runs from the top mill to the upper incline
Stone weight support for the wall
Inside the mill
The conveyor inside
Internal rail lines
The only remaining Blondin and pylon tower still standing
The mechanism in close up
A surviving Blondin carriage
As they were (Pic credit to J.Hobbs)
The following is a recollection of a crane inspector in 1974 by John Hobbs:
I was a crane inspector with the British Engine Boiler and Electrical Insurance Company and I had to inspect the Blondin cranes at Pen Yr Orsedd quarry near Nantlle in Gwynedd. I went there for the first time about May 1974 when three Blondin cranes were still in use. On the first morning I got soaked just going from the car to the office, it was about three yards, in driving rain and a howling gale. My first company car was a mark one Ford Escort, it was brand new and caused a stir in the quarry. My arrival unannounced caused some confusion as I could not locate a phone number for the Quarry Company so had to go in blind to see them. Although I had a contact name my predecessors paperwork was not all it might have been. The language of the quarry was Welsh, so I was well out of my depth being a non fluent Welshman; the conversation naturally turned to my skills etc. However from somewhere, in my school days, I was able to summon up a comment about the good quality of the tea in Welsh. Whereupon I was advised that they did not know I knew so much Welsh and the the topic for discussion was changed. So it is everywhere where two languages are spoken! You had to learn quickly. I had never seen a "Blondin" before but on this day you could only see 10 yards in the driving rain. I had a walk around one of the engine houses with the quarry Manager, but examination was futile in the driving rain. I arranged to call by phone the following Tuesday morning and if the weather looked favourable arranged to be at the quarry for 10.00 for a cup of tea and some snap.
Tuesday was a much better day, although cold with a view across to Snowdon from the vale. The examination started in the engine house with the cable drums which drove the hoist and travel ropes provided with gearing and clutches, and the motor being provided with a water starter with plates that could be wound in and out to increase/decrease the resistance as required. On the beams of the engine house were photos of beauties which reflected the age of the installation. Betty Grable and Mae West were the only ones I could identify. Outside the engine house was a pylon about 30 ft high to which all the wire ropes ran to the base, each wire being provided with its own sheave. The pylon was itself stayed with four cables each terminated at ground level in appropriate anchorages.
It was possible to examine a large proportion of the travel rope from the pylon, and a smaller proportion of the hoist rope, but the whole of the catenary rope and large sections of hoist rope, and the remainder of the travel rope could only be examined by riding on the "Blondin" carriage!
This was achieved by a bracketed seat being brought out and fitted to the "Blondin" carriage, the carriage being drawn close to the pylon to enable it to be fitted. This required close work between the banksman and the "Blondin" driver in order that the carriage did not foul the pylon. A safety harness was also worn although what use this was in the event of rope failure was never explained. The task now was to climb into this seat and be strapped in to examine the catenary and hoist ropes which were otherwise inaccessible. I agreed hand signals with the quarry foreman as to "stop" and "proceed", "reverse" and the examination commenced.
John up high in the seat! (Pic credit to J.Hobbs)
It became obvious when I was about 50 yards out over the quarry that my hand signals to the quarry Foreman were having little effect on proceedings - the motion out along the wire being quite arbitrary. I examined the ropes as best I could. The weather was wonderful and the sun's heat could be felt as I swung 400 ft above the quarry floor, 200 ft or so from the pylon, in complete silence flying as if like a bird in my own world. Snowdon came into view, a magnificent unique perspective from my position on the "Blondin" carriage. As I dwelt on my unique position there was an enormous explosion beneath me as shards of slate came upwards towards me from the pit below. Nobody had instructed the quarry hands to cease working as I swung above them in the ether; this was the most terrifying experience I have ever had in my life! Not only was I not in control of my movement I was being shelled as well!
When my uncontrolled travel to the remote end of the rope was complete, or somebody thought it was my direction was reversed and I returned to the pylon and dismounted. After complaining about the explosion profuse apologies were offered and cups of tea provided to calm my nerves! During this conversation, I discovered that the banksman had cataracts!! That explained why my hand signals were not being responded to! The final part of the examination required a walk across the mountain to the far side of the "Blondin" to examine the emblockation. This was made of large timbers which had obviously been in place for many years. My screwdriver entered them like they were made of cheese. It was the last occasion that the machine was used as I required it to be immediately withdrawn from service. The owners were not surprised at my stance, the cost of replacing the timbers was too much for the state of finances at the time and the cost of dismantling and re-erecting the machine were too great. It is always sad as a crane inspector to see an interesting machine come to the end of its working life but safety must always be paramount.
Quarry pit winding house
This Blondin assy is laying on its side
The engine house with some serious cracks!
Electricity generating building to power the site
Belt driven pump for the boiler
Quarry hut with central heating!
A second winding house
The cable exits the building at the lower level
and connects to the winding gear close to the quarry edge
The quarry pit
Down the ladder
Stanton Ben gives a sense of scale of the pit
This rockface is huge and has some great colours running through it
That completes our look around this delightful little quarry. So much to see, and well worth spending a few hours here 👍
SECTION 3
Odds and Ends
Blackpool Transport Spot – Starr Gate Tram Depot
Back in early 2012 Blackpool’s daily tram service was taken over by a new fleet of Bombardier Flexity 2 trams. A new depot was constructed to house these, whilst the older fleet remained at the Rigby Road depot.
Technical Info:
Built: 2011
Built by: Bombardier
Seating: 74 seats, fixed
Trucks: Equal Wheel, resilient wheels, track brakes
Motors: 163hp x4
Speed 43.5mph
Braking: Electronic braking and Track Braking
Current Collection: Pantograph
Dimensions: Length 105ft 8 in, width 8 ft, 8 in, height: 11ft 3 inSixteen Flexity 2's were built by Bombadier in Germany in 2011 to take over the main service on the newly upgraded tramway from the Centenary, Balloon and Millennium trams.
Flexity 001 was first to be delivered during the summer of 2011. It was officially revealed to some invited guests on 8th September 2011. Testing and driver training initially took place on the then closed section between Starr Gate and Pleasure Beach. Following the closure of the tramway for the winter, the Flexities began spreading their wings and eventually reached Fleetwood.
February 2012 saw Flexity 001 carrying a special visitor. 001 was carrying Prince Andrew, who was in town to open Festival House, the building housing the tourist information centre and the Wedding Chapel next to North Pier.
On 4th April 2012, 008 officially reopened the system with some invited guests getting a run to Fleetwood and back. Onto 5th April and the new service was launched with only eleven of sixteen trams available. A basic 20 minute headway service using six trams was used. Disaster struck on the very first journey when 006 derailed at Fleetwood due to a build-up of sand in the track grooves.
002 was taken back to Germany for modifications and returned during 2013.
Since they were introduced into service, the Flexities have been really reliable with very few break downs.
An additional two Flexity trams, identical in every way to the previous sixteen were purchased during 2016. They were delivered during December 2017, entering service in March 2018. 017 and 018 were purchased to allow the extension from North Pier to North Station, which at this stage has still not opened.
The Starr Gate Depot was built in 2011 by VolkerFitzpatrick as part of the complete network refurbishment and cost £20M. It officially opened in Easter 2012 and has a maximum capacity of twenty articulated trams.
VolkerFitzpatrick
The works comprised the design and build of a new tram maintenance depot and covered stabling for the purposes of maintaining a fleet of approximately sixteen new low floor trams together with the supply and installation of associated equipment including fixed tram lifting equipment comprising monorail hoist and travelling crane; and a wheel lathe and access platforms/overhead gantries.
Additionally, there was the design and installation of a tram wash and automated sand system. The works also included the construction of 1200m of tram track and overhead line electrification equipment. The trackwork included several hand points as well as signalled motorised points. A new traction substation was also designed and built.
I personally felt the siting of the depot could not have been in a worse place as it gets the full force of the gale force winds and corrosive sea spray at this location.
In 2020 the following report was published in the local paper:
Blackpool Council's £1.1m pay out over Starr Gate tram depot repair bill row.
Blackpool Council said it is facing a repair bill of over £6 million to its Starr Gate tram depot.
Blackpool Council has been awarded more than £1 million following a dispute over damage to, and the lifespan of, its tram depot.
In 2007, the council secured a government grant for a major upgrade to its tramway system, including construction of what is now the Starr Gate depot in Squires Gate Lane, Blackpool.
The depot was built by engineering and construction company VolkerFitzpatrick Limited in 2011 before opening in 2012.
But Blackpool Council has since taken VolkerFitzpatrick to the High Court of Justice, hitting out at the construction of the tram depot after it claims it has been left with a repair bill of more than £6m.
This includes the tram access doors, the depot roof, and wall cladding to the north, east, and south of the building.
The council said 'significant parts' of the depot are no longer meeting its intended lifespan of 50 years.
It also claimed these parts are also not suitable for the 'exposed coastal marine environment' where the Starr Gate depot is located.
VolkerFitzpatrick rubbished the council's 50 year lifespan claims, saying the 'contractual design life' of the tram depot is either 25 years or 20 years depending on which element of the depot is in question.
VolkerFitzpatrick also shot down the council's claims that corrosion had been caused by environmental factors, instead placing blame at the feet of the council for 'failure to maintain the tram depot appropriately, in particular to clean the exterior of the tram depot with sufficient frequency'.
The company claimed Blackpool Council refused to accept offers to undertake work to some of the issues at the depot.
But following a four-week trial in February, the High Court ruled in favour of Blackpool Council.
The council was awarded £1.1m; roughly around 20% of the money it says it would need to fix the depot's issues.
Broken down, the £1.1m payout has been awarded for the following repair work:
Roof components - £150,304.88
Wall cladding panels - £67,342.23
Roof overhanging soffit panels - £107,525
Wave form cladding panels - £122,000
Tram doors - £311,729.91
Other - £246,330.68
Add-on claims at 10.5% - £105,549.40
In the High Court ruling in favour of Blackpool Council, which was published last month, Honour Judge Stephen Davies said that "whilst a substantial sum", the £1.1m figure is "significantly less than was claimed". Judge Davies said the reasons behind this were because he was satisfied that the design life period for the depot is 20 or 25 years rather than the council's 50 year estimate.
He said: "The principal reasons why the claimant has failed to recover a more substantial award are because I am satisfied that the design life obligation period is either 20 or 25 years rather than 50 years; I do not accept the claimant’s case that the cold formed components are inadequate for their design life or otherwise unsuitable nor in any event that they need replacement; [and] in a number of cases I am satisfied that limited replacement or repair rather than full replacement is required."
Right folks it is time to join me for a look around:
We start outside on the depot fan
It is neat how the overhead passes through the doors in the closed position
The inner sanctum awaits
Doors in manual mode today
It is a large area when nearly empty
Not all the fleet is required for the winter timetable
The letters on the left are the route numbers
The tram location board
We now enter the maintenance section of the depot. With no access to Rigby Road depot pending a structural survey four of the Heritage fleet have been transferred here as we saw in the first Off Season report in November. The situation is not ideal as space is at a premium with the Flexity fleet coming up for the half-life (15yr) overhauls, and also being retro-fitted with the COMPAS system (TRAM COLLISION AND OVERSPEED MONITORING AND PREVENTION ASSISTANCE SYSTEM):
Blackpool’s trams operate in a number of shared space areas with buses and road users. These spaces are often crowd in summer and the Illuminations when light levels are lower. During these periods there is a significant risk of collisions, which we attempt to mitigate by increased stewarding and operating at low speeds. Outside of the areas that we steward, there have been two serious collisions with members of the public within 26 months that could have been either avoided or mitigated if a collision avoidance system had been fitted to the vehicle. Tram safety currently relies on a driver’s reactions to hazards that are within their ‘line of sight’ so if there is a misjudgement or distraction then collisions are possible.
Following the overturning of a tram on the Croydon network on 9 November 2016 the RAIB issued a report with a number of recommendations for all tram networks. Recommendation 3 states “UK tram operators, owners and infrastructure managers should work together to review, develop, and provide a programme for installing suitable measures to automatically reduce tram speeds if they approach higher risk locations at speeds which could result in derailment or overturning”.
Bombardier have developed their Collision and Overspeed Monitoring and Prevention Assistance System (COMPAS) which would meet recommendation 3. The COMPAS system has been installed on a Blackpool tram for over two years with information being collected by Bombardier and modifications made to the system. A successful live test of the system was conducted with the Office of Road and Rail (ORR) in attendance.
The overspeed system works by geofencing areas of the tramway into speed areas. The tram uses GPS as well as wheel turn data to know exactly where it is. If a tram approached a geofenced area at a speed in excess of the posted speed, or increases speed within a geofenced area, an alarm would sound in the cab alerting the driver. If the driver does not take the appropriate action to slow the tram the system will brake and the tram will stop. The upper speed limits and the time from alarm to brake can all be adjusted to best suit the needs of our network.
In addition to the overspeed system the COMPAS system will detect objects that are in the path of the tram or moving in such a manner that they will come into the path of the tram. The system uses three cameras mounted on the top of the windscreen to monitor the route ahead. The system will detect the speed and direction of any moving object and will calculate if it will cause a collision. As with the overspeed the tram will sound an alarm for the driver. If the driver does not take any action the tram will brake to ensure a collision does not occur.
This video shows some of the compliant trams in service on a gloriously sunny day:
The quote that BTS have received from Bombardier is £816K. In terms of placing an order, £163k would need to be paid within the current financial year, which can be found from within the existing tramway scheme with two 30% payments in 2023/24 (£490k) and the final payment in 2024/25 which is £163k.
Balloon 717 – A member of the Heritage fleet
Nose to nose with 707 the other Balloon residing here
A contrast in liveries
HMS Blackpool is one of the two illuminated trams temporarily running from here
A motivational message
Pit and gantry. Flexity 002 alongside with the COMPAS system already installed.
The wheel lathe pit
Workshop isolators
The back end of the Western Train, the other illuminated feature car from Rigby Road
Oil and grease station
008 over the pit
Cab view
Another motivator
The local schools colouring competition winners
A non-tram axle set
Slings and lifting equipment
A very useful bit of kit
The CRAB 1500 is a rail/road electric shunter with a compact design. In road mode, it is driven by a ground operator by a steering wheel. On rail mode, the CRAB 1500 is driven only by remote control. Once situated on the rails, the vehicle is positioned under buffers, with a length of only a few centimeters. It is designed to work in tight spaces or to tow one or two cars.
Showing its use at Blackpool towing a new Flexity:
Flexity bogie revealed
Door seal repair
Bogie overhaul:
New and old wheels
Empty tin storage
Another axle in storage
Another couple in front of 005
The Western Train looking resplendent alongside 008
Hako M31 Carrier
Hako is an internationally leading manufacturer and supplier of professional machines and excellent services in the field of Cleaning, Municipal and Waterjet Technology. In addition to the company’s main plant based in Bad Oldesloe near Hamburg, the Hako Group operates production facilities in Germany, Poland and the US. Over 2,200 employees worldwide generate annual sales of some € 440 million in more than 60 countries.
The Mercedes Unimog track sweeper is 32 yrs old
The run-in service bay with automatic sanders
The tramwash
COMPAS compliant 004 is inside the depot boundary, whilst COMPAS 009 awaits departure to Fleetwood Ferry
Boris Johnson paid a visit
A number of awards have been won over the years
That completes our depot visit folks.
HMS Blackpool looking fabulous at the Pleasure Beach loop
With the illuminations extended until January for the second year running the town is alive and kicking on Saturday evenings
Magnificent
Blackpool gets a lot of unwarranted negativity from the media claiming it is ranked as one of the most dangerous places to live and is a dying resort. This was at 11:25pm. What other UK resort would be this busy on the prom at this time of year?
Flying Scotsman at Locomotion
Until Jan 7th the Flying Scotsman is in light steam outside Locomotion at Shildon. There is a rare chance to climb aboard into the cab, see the firebox alight and walk between the engine and tender.
A few pics:
Keep On Truckin’
Many thanks to Bas for this superb Netherlands selection:
Merry Christmas!
Next time:
Main feature:
Pity the poor souls who were crammed into these. When they were unloaded it would either be a transit station….. or their final destination.
10 -
Hi there folks.
A brew, and a packet of biscuits before you start is a good idea 👍
Welcome to episode 2. In this one we have:
Section 1: F2’s from Taunton & Cowdie
Section 2: In pictures - The Amersham & District Motorbus Society’s running day at High Wycombe.
Section 3: Odds and Ends
Section 1:
Taunton – Monday 8th May 2023
There was no sign of any Bank Holiday sun on Coronation Monday
However, this beauty brightened the day
Two notable entrants at this meeting were local racer Shane Hector (528) racing his new car for the first time:
WRC#72
and Jamie Ward-Scott (881)
Although the car was not new it had gone through the most extensive overhaul in the winter and looked a million dollars when it was on display at the NEC in January.
Aaron Vaight’s new car
Alfie Brimble was in WRC#44 as raced previously by Billy Finnegan (NI86)
SDH Transport of Cranbrook were sponsoring the F2 races
Enhanced prize money for the Saloons. A message for those who criticise.
A diff change for Jon Palmer after practice
A 35 car entry following a busy weekend was most welcome.
Adam Pearce (460) took an unchallenged victory in Heat 1 after Dale Moon’s (302) progress was halted after tangling with Leah Sealy (475). Paul Rice (890) also being caught up in the incident.
Heat 2 had a back straight collision between Matt Linfield (464) and Dean Rogers (131) before they took the green. Phil Mann (53) took the lead which he held to the end despite Charlie Fisher’s (315) attempt to reel him in from the 2nd spot. Only 10 cars finished.
Matt Linfield took the Consolation win after setting off at a rapid pace from the front. 881, Alfie Brimble (235) and Kurt Selway (303) all tangled together on the entrance to the back straight which ended the chances for the latter pair.
The Final was run in very murky conditions after the mist had descended further.
An early caution was called when seven cars all piled up in the pit bend fence. The 53 car came off worse taking the brunt of the hit trapped against the fence.
Daz Purdie (259) led the field away but was soon in the fence with Shane Hector. Jon Palmer (24) was making great strides through the pack. He put Sam Weston (468) into stranded cars on the pit bend as he made his move for the race lead. Another caution period followed to remove the cars. Palmer took off on the restart and headed for the win. Behind there was a fight between Matt Stoneman (127) and Kieren Bradford (27) for the runner-up spot with Pearce joining in. All took differing lines on the slippery track which ended with a drag race to the line with Pearce the unlucky one in not making the podium.
The top 3
The GN was run in less misty conditions, but heavy rain had now set in. Ben Goddard (895) and Pearce had cleared the field and started the last lap in 1st and 2nd. Pearce made his move for the lead by slipping through in turn 1. However, the final bend saw 3rd placed Moon attack the leader which let Goddard back through for the victory.
Results:
Heat 1: 460 895 127 876 325 468 980 302 528 890
Heat 2: 53 315 542 828 259 24 509 232 194 525
Consolation: 464 184 303 475 27 126 783 881 762 856
Final: 24 127 27 460 895 302 194 980 542 325
GN: 895 302 460 316 464 542 468 24 184 979
Cowdenbeath – Saturday 13th May 2023 – British Championship
The British Championship came back to Scotland for just the fourth time in its history for the 58th running. This year the Championship held the title of the Dennis Middler Snr British Championship at the request of the sponsors Westfield Motors.
The six previous holders of the event were led by Charlie Guinchard (183). Chris Burgoyne was looking for his third British title, Craig Wallace (16) his second, and Gordon Moodie (7) his fourth.
Visitors included Tom Bennett (213), Dan Roots (776), Steven Gilbert (542), Jon Palmer (24) and Micky Brennan (968). Jessica Smith (390) was one of those having her first outing at the Racewall. Aidan McFerran (NI467) came over from Northern Ireland.
Steven Burgoyne (674) debuted his new car:
The race format:
Heat 1 was led away by Paul Reid (17) who had Kieran Howie (679) in close formation behind. Mika Millar (402) and David Shearing (564) gave chase further back. The 7 car soon reeled the front runners in however and with 2 to go was through into the lead.
Heat 2 saw Stevie Forster (652) shunted wide and bounced off the wall. Chris Burgoyne (647) was making moves towards the front but could not catch the flying Howie who won with ease. Micky Brennan (968) came in 3rd.
Heat 3 came to a stop shortly after the start with Ryan McGill (463) and George MacMillan Jnr (100) locked together in turn 1. Reid led on the restart but the stoppage had given the star men a reduced gap to the front. 647 went on to win from 7.
Howie led off Heat 4 with Shearing in 2nd but he had Millar on his rear bumper within two laps. Ben Bates (161) spun but restarted, and it was Robbie Dawson (854) who led the pursuit from the back. At the flag it was Howie who took his second victory of the evening.
The last heat was led throughout by Reid. On the opening lap Jason McDonald was edged wide and bounced off the wall. Jessica Smith (390) took up the chase with Shearing pushing and MacMillan Jnr closing them down. At the flag it was Reid from Mac and Jess.
The grid was set for the big race:
17 647
7 679
968 854
183 390
3 402
564 419
783 915
16 100
92 213
776 542
975 890
674 463
852 387
467 217
746 24
Dennis Middler’s Dodge Hellcat led the extra pace lap before the drop of the green.
Reid was the first to show but by the end of the home straight Moodie was in front. Shortly after Reid tangled with C. Burgoyne and stopped on the home straight. Smith hit the pair and the race was stopped. On the back straight Ryan Farquhar (419) had hit the wall and he retired.
The race restarted minus Smith and Reid. 7 on pole led away with Brennan and C.Burgoyne close at hand. Wallace, Graham Leckie (975) and McGill spun but restarted. Millar retired. Disaster struck next when Gilbert got caught up with a group of cars down the home straight. The 542 car rolled and damaged the fence above the pit gate. A race suspension followed to allow Gilbert to exit.
Moodie lead the restart and began to pull clear of Brennan who was losing time fending off the 647 challenge. Chris sent Micky wide eventually and was through into 2nd. On consecutive laps the 968 car lost places to Liam Rennie (3), and Dawson. Charlie Guinchard (183) retired followed by Palmer who had glanced off the wall. Further back S.Burgoyne was trying to fend off Howie and MacMillan when oil suddenly appeared on the track. All the drivers had to take it steady for the closing laps. Moodie continued unchallenged up front to take the victory. After a series of donuts he climbed onto the roof to take the cheers form the fans. 647 and 3 completed the podium.
Results:
Heat 1: 7 17 890 402 3 854 183 542 92 24
Heat 2: 679 647 968 915 783 674 975 100 776 213
Heat 3: 647 7 17 183 968 390 213 16 92 674
Heat 4: 679 402 854 419 564 968 16 183 3 92
Heat 5: 17 100 390 647 7 3 564 783 854 776
Final: 7 647 3 854 92 674 16 968 915 217
Cowdenbeath - Sunday 14th May 2023
With a couple of light showers Sunday resumed at the Racewall minus Gilbert, Peter Watts (280), Forster, Julian Coombes (828), Dawson and Gilbert.
The Saloons were racing for the National Championship today.
Repairs to the Cole Atkins car following Sat night
968 pre-meeting
A 2/3rd format was employed today.
Heat 1 saw Reid and Howie tussling over the top spot until Moodie came through to the lead. He was docked two places at race end for too good a start handing the win to Howie with James Rygor (783) in 2nd.
Reid once again took an early lead in Heat 2 until Millar moved ahead at halfway and went on to win. The rear tyre blew after the flag and the car crashed into the wall. 647 and 968 completed the podium.
Howie led Heat 3 from start to finish.
An explosive ending to the Saloons main event left the Watters car battered and bruised
and Stuart Shevill Jnr the victor
The Jim Clark Trophy was on offer for the F2 Final. Reid led with Howie on his back bumper, with Leckie and Millar battling for 3rd spot. Moodie was on a charge and at 4 to go had moved into 2nd place. Although Reid had a defective half shaft he managed to hold on to take the win.
The GN saw some major damage for Jessica Smith after the flag. Rygor got the line wrong entering turn 1 and collected the 390 car at high speed cannoning Jess up the wall.
Results:
Heat 1: 679 783 7 183 968 890 674 100 92 915
Heat 2: 402 647 968 419 17 390 3 16 776 NI467
Heat 3: 679 92 674 647 7 183 3 419 783 564
Final: 17 7 402 679 100 3 183 776 968 92
GN: 679 402 7 92 3 16 463 968 17 NOF
More pics in the gallery.
Section2:
Before we start this new one here are a couple of pics of the Haddon Tunnel in winter conditions:
A lot easier without all the nettles etc
However, the inside is not as dry
Out and About - The Amersham & District Motorbus Society’s running day at High Wycombe – Sunday 2nd April 2023
This event was a local affair with services running over some of the London Transport route networks of the 1960s which operated from High Wycombe Garage. Many of these services were instigated by the Amersham & District Motorbus Company many years earlier. An enjoyable day was had travelling on a good variety of different routes and vehicle types of differing ages.
Join me now with a look back at the day:
GS13 on the stand at High Wycombe Bus Station
At the start of the fifties London Transport's Country Area found itself with a need to replace its ageing fleet of Leyland Cubs. The rear-engined Cubs built just before the war were not deemed to be the required solution, and the new RF class were too large for the little country lanes that were served by these buses. (Later, of course, the natural widening of lanes by increased traffic meant that many such routes could be operated by RFs and RTs.) Another important factor was that the Cubs were the only remaining LT buses that were allowed to be used for one person operation, which was still restricted by regulations to twenty seaters. Replacement by crewed buses would be hopelessly uneconomic on these routes.
The answer was an updated normal-control Cub-style small bus: the Guy Special. In 1952 Guy produced chassis for the 84 buses, which received ECW bodywork with a family likeness to the RF (especially at the rear!). By agreement with the licensing authorities, they seated 26, but were still allowed to be single-manned. Sliding ventilators were fitted to windows rather than the standard wind-down type.
The GSs followed the design idea of the Cubs. The bodies were by Eastern Coach Works - LT was supposed to use this nationally owned company whenever possible, and the small number of GSs required were within the company's capacity. But the design was unmistakably London Transport, despite the sliding window ventilators. They were fitted with longitudinal bench seats over the wheel arches. They were of course designed for one man operation (which is why there were no Central Area examples: the Central Area single-manning agreement had expired when the last Central Cubs retired.)
Power was provided by a Perkins P6 diesel engine, tucked under a bonnet of the same pattern as the contemporary Thames lorries. This opened vertically, like an alligator, requiring a divided grille at the front. This was topped by Guy's Indian figurehead, which was usually suitably embellished.
Most lasted into the sixties, but in 1962 the new coach Routemasters produced a glut of RF's, which displaced the smaller buses. The RFs were also single-manned by now, and standard bus operating lore said that you always used the largest possible vehicle: no minibus policy then! In October 1962 there were mass withdrawals, with Amersham, Chelsham, and Epping losing their entire allocations. However, the need for small buses persisted in pockets, and after a reshuffle some served on, whilst others went for sale.
During the remainder of the sixties the buses were gradually sold off or stored. Some fresh tasks were found for them, as peak extras and staff buses, and some routes reverted to GS operation from RF as patronage declined.
In 1967 they almost got to work for the Central Area. Elmers End Railway Bridge suddenly acquired a stringent weight restriction, necessitating a long diversion on the RT-operated 54 route. Consideration was given to using a pair of GSs to bridge a gap in RT services between Elmers End Garage and Longheath (Long Lane). Two GSs would be required. GS50 was reportedly repainted red. However, the scheme did not materialise, a long diversion being used instead, and by August 1967 GS50 was certainly sitting in store in Abbey Wood Garage wearing dusty green livery, prior to sale.
In 1970 most of the survivors passed to London Country, but not all: five were retained by LT for use as staff buses, carrying workers to and from Chiswick and Aldenham works from south-east London (Abbey Wood and Plumstead) and the Croydon/North Surrey area (Reigate), still in green livery. The last was Abbey Wood's GS52, withdrawn in April 1974.
The last scheduled ordinary public service was by London Country on 29th March 1972, on the 336A from Garston Garage, using regular GS42 plus spare GS33 (followed by an unscheduled 309 journey back to Garston from Rickmansworth).
The type was welcomed by other small bus operators on the London periphery, notably Tillingbourne Valley in the Guildford area, which had taken over the Guildford GS routes in 1962. Southern Motorways was another user with several of the class for services west of Chichester along the coast. West Bromwich Corporation bought a pair, one modified for elderly people transport, and the other as a bus, which later became part of the West Midlands PTE fleet!
They were also popular as company transport, particularly by fruit and poultry farmers, and contractors. British Railways used a couple, London Transport retained one as its Civil Defence training vehicle, replacing an ancient Q, and their St John's Ambulance Brigade converted one to a mobile first aid post. Some were bought privately for use as caravans.
The Long Buses, RML 880-RML903, RML2261-RML2760
A trip out on RML2456 on route 362
The first thirty footers (actually 29ft 10.6 in) were introduced as early as summer 1961, well before the main batch came on stream in 1965. It was a surprise that London Transport had not tried them before. It had used a large fleet of 30ft trolleybuses on routes into London, but motor buses had stuck at 27ft 7in even after the regulations had been relaxed to allow the longer buses. Union resistance did not help of course. Eight extra seats was potentially 12.5% extra work for the conductor, while more seats per bus would probably mean fewer buses per route, and hence fewer conductors and drivers... The Unions and management were already in a bitter row over replacing 56 seat RTs with 64 seat RMs. Introducing 72 seat RMLs was not going to be easy, and at that stage was certainly not diplomatic! However, they did reach agreement on trying them on a trolleybus replacement route, where the capacities would be similar.
LT used the standard modular construction of the RM to full advantage in these buses: they were standard RMs with an extra 2ft 4in bay inserted in the middle and a longer driveshaft! This made them look even longer than they were, as the wheelbase was longer than for most thirty-foot buses.
The original intention was to classify them ER (for Extended Routemaster), and the first four wore the numbers ER880 to ER883 when first delivered. But this was changed to RML, the original RML classification for Routemaster Leyland being abandoned. (RML3 was renumbered to RM3). Their kerbside weight was 7-12-0, 7cwt more than the standard RM and just 2cwt more than an RT.
It was another three years before main production of long Routemasters took over from that of the standard length. It had become clear that operation of the longer buses was both possible in London conditions and also desirable. The rear-engined Fleetlines and Daimlers were being adopted wholesale by fleets around the country, and LT, ever conservative, wanted to try out some in competition with RMs of similar 72 seat capacity. At the same time, the Country Area needed replacements for its ageing fleet of RTs, with many routes on the periphery of the London area that could use large double-deckers.
A major appearance change was that fifty of the first build (RML2306-2355), plus another fifty later (RML2411-2460), were in Country Area green with cream bands. They had semi- rather than fully-automatic gearboxes, reflecting the longer distance between stops in the Country Area. They looked magnificent.
The green RMLs were all transferred from London Transport to London Country when it came into being on 1st January 1970. The RMLs, along with the sizeable fleet of RTs and Country RFs, had their cream bands changed for yellow, had their fleetnames changed, received "flying polo" logos and lost their radiator badges (which featured an LT bullseye). (First priority of all new managers: make sure they know whose it is; whether it works comes second.) For the first two years of London Country the RMLs stayed where they were, doing what they were built for.
During 1972 the RML 7 year examinations would become due, so from early in the year the green RMLs went through overhaul in a steady stream, most under contract at Aldenham, some at Godstone and Garston. All retained their original bodies. Those treated at Aldenham were repainted. The first few were repainted in Lincoln Green, then between April and October Aldenham turned them out in a mid-green with yellow fleetnames. Some dealt with at garages never did get a repaint. By the end of the year they were appearing in corporate NBC green. The new management of the NBC were applying the First Law of Management in their turn.
A severe spares shortage began to cripple the Country Routemasters, and they began to be laid up awaiting the receipt of spares. Some were robbed beyond recovery: RML2306 (EG), RML2319 (GD) and RML2426 (NF) would never work again after 1973. Six more followed into terminal Christmas-tree status during 1974.
The spares/availability situation became even more dire. By summer 1975 nearly half the RML fleet was unroadworthy, recertification for many being out of the question for lack of spares. Buses were being borrowed from anyone who had any spare, to keep the services running. There were Queen Mary PD3s from Southdown, other PD2s from Maidstone and PD3s from Southend, Fleetlines and Roadliners from Bournemouth, Bristol MWs from Royal Blue, AEC Regents from Eastbourne. RMLs were "released" from Hemel Hempstead's 334, 337 and 338, and were officially allocated to Tring and Garston, but nothing happened in practice except that on the routes mentioned the covering one man operated buses were now official. Hemel Hempstead's remaining actual running RMLs were distributed during 1976 to help paper the cracks.
During 1977 London Country's new vehicles started to make a serious dent in their RML requirement. Leyland National buses were taking over all around the edges, and the trunk routes, such as the 409, were falling to new Atlanteans. New work was found for a few good RMLs at garages that had not used them before, such as Dorking, Stevenage and Hatfield.
High Wycombe garage closed in October, with its services being covered by OMO buses from Amersham. In October 29 RMLs were put up for sale toy London Transport, as non-runners (along with 7 RMCs and 2 RCLs). On inspection 17 of the RMLs were deemed to be incapable of resurrection and were sent direct to Wombwell's in Barnsley for component recovery.
RML2456 has close associations with the town. Although not allocated to High Wycombe Garage the vehicle was a familiar sight in the area working from Staines Garage on trunk route 441 (High Wycombe – Beaconsfield – Slough – Windsor – Staines). An April 1966 delivery to Harlow Garage in common with RML2440, it transferred to London Country Bus Services in January 1970. RML2456 remained at Harlow until a driver-only conversion of the Town Service routes in October 1972 saw it transfer to Staines Garage for the conversion of the 441 from RT to RML operation. It remained at Staines until the 441 also relinquished the use of conductors in September 1977 whereupon it saw further service for a few months at Garston Garage before withdrawal and sale back to London Transport. Back with the old firm it was overhauled and initially, along with RML2440 allocated to Hanwell Garage seeing service on route 207 before gravitating to East London with allocations at Upton Park Garage and latterly Bow before withdrawal in August 2004. Over the years RML 2456 has been in the limelight a few times in its life. In 1974 it featured in an episode of the Dick Emery show in a somewhat non-PC sketch involving a coffin. It was hijacked at Piccadilly Circus by the “London Lesbian Avengers” and painted pink!
Latterly, a more welcome repaint was its restoration to Lincoln-Green livery in 2003 whilst under the ownership of Stagecoach East London. Since then the bus has been restored to almost original condition including refitting an AEC engine.
The lower deck front seat view. You don’t get this on the buses of today.
RF673:
London's RF class of single deckers was an outstanding success, taking buses forwards from the front-engined designs of pre-war to a versatile underfloor bus for the fifties and sixties...and seventies. They fulfilled all of London Transport's single decker needs: urban crewed buses, limited - stop "coach" services and rural bus, Here is a bus remembered with fondness by those who used them, and by those who crewed them. They were nice vehicles, perhaps not beautiful, but with a standard of design that did not date quickly, both outside and in. They worked, too, which is more than can be said for many of their successors!
In some ways London Transport was not as desperately short of single-deckers at the end of the war as it was of double-deckers. This was because there had been a major programme of single decker renewal shortly before the war, when the magnificent 10T10 Regals had replaced much of the Green Line fleet. There were also still the 9T9s and the various Q types of reasonable age and condition. On the downside, there were still some of the original 1T1s from 1931 still in service with original bodywork. The 1T1s might have reasonable bodies, but their chassis were much older, comparable to the remaining 7T7s, demoted from coach work, that now trundled around the Kingston area as buses on a weak-bridge route.
Immediate post-war bus replacement needs were met by batches of Regals and Tigers mainly for the Central Area (14T12, 1TD1 and 2TD2), but also for the Country area (15T13). The revitalised Green Line services were once again largely in the capable hands of the 10T10, 6Q6 and TF classes. The 9T9s went mainly onto country bus work, and the 1T1s were rebodied by Marshall to keep them going a little longer.
The area of pre-war operations that was in the weakest position after the war was the private-hire business of Central Area. The fleet of 12 Private Hire TFs had been almost wiped out by a bomb whilst they were in store, leaving just TF9, whilst the 24 short six-wheeler Renowns (LTC class) were over-worked in the new post-war traffic explosion.The grand standardisation plan looked for a replacement that could handle all these types of traffic: private hire, Green Line, country bus and city bus. Experiences with the various Q type single-decker buses had been good, but the offside engine with its anti-clockwise motion had produced lopsided handling and maintenance headaches. The TF with its offset underfloor engine had been a success. The next logical step was a high-floor bus with a centrally mounted engine underneath. AEC produced a Regal IV prototype, UMP 227. London Transport tried it out on the Country Area 355 route from St Albans and was impressed. The RF concept was born!
The first Country buses started to appear alongside the last Central buses, in March 1953. The only substantial differences from the Central version - apart from the green livery - were the provision of a pair of opening doors in the front entrance, and the absence of the route stencil holder over the doorway. Livery was Lincoln green with cream trim. The radiator filler emblem was picked out in cream also, with LONDON TRANSPORT written across the central bar in gold letters. A bullseye transfer completed the rear.
The last active Country bus RF still in Country service was RF684, which somehow had retained Lincoln green. It provided cover at Chelsham, pottering about the North Downs and Kent/Surrey border until withdrawn on 20th May 1978.
RF673 was new in September 1953 in London Transport’s Country Bus Lincoln-Green livery and following introduction worked at East Grinstead, Addlestone, Northfleet and Reigate garages before passing to London Country Bus Services Ltd in January 1970. It subsequently worked at Hertford, Leatherhead and Amersham garages before arriving at High Wycombe in March 1975 primarily to work local route 442 to Hicks Farm Rise as well as occasionally covering for shortfalls on other services. Whilst allocated to Amersham it received a repaint into the then new National Bus Company leaf-green livery before its transfer to High Wycombe in the process becoming the last RF to operate from that garage. Withdrawn in March 1976 it then entered preservation. The bus is seventy years old this year.
A run out on route 305 gave an excellent photo opportunity. It was like turning the clock back when this was a common sight in rural areas.
With no visible evidence of the modern age it was literally a wonderful step back in time
The classic interior
RT1700:
RT1700 – This AEC double-decker was new in April 1950 and painted in red livery for use by London Transport’s Central Road Services. It was brand new when allocated to Hounslow garage and the nearest it then came to High Wycombe was Slough when operating on route 81 from Hounslow. It then transferred to Loughton garage in Essex before its first overhaul in September 1957.
Following overhaul it was repainted green and sent to Guildford garage until its second overhaul which occurred in March 1962. After that overhaul it was sent briefly to Garston garage and then on to High Wycombe garage where it operated from August 1962 to May 1965. It operated on all routes and now some fifty-eight years later it ran on some of those on this running day.
After working elsewhere it passed to London Country Bus Services Ltd on January 1st 1970 until withdrawn from service in January 1975 and stored at Harlow Garage until sold in June that year. It passed through several owners until bought in 2007 to become part of the London Bus Company’s working fleet. It still makes regular appearances and is now approaching seventy-four years of age.
RF600:
RF600 was new into service from Guildford garage in July 1953, moving to Garston in 1957. She had her first overhaul at Aldenham in May 1958, returning to Garston for a month before moving to Hertford. A month later she moved to St Albans, being modified for OMO in September 1958. She returned to Hertford in January 1962, received her second overhaul in June and then returned to St Albans, where she remained until November 1966. She then returned to Hertford, her final operational garage, receiving her third and final overhaul in February 1967. She passed to London Country Bus Services upon the formation of that company in January 1970 and was withdrawn in August 1971.
She was bought by Hall’s Coaches (Silverline) of Hounslow in September 1971 and numbered 106 in its fleet. Withdrawn in December 1974.
Purchased for preservation in 1975 and painted red, despite having been a green bus throughout her life with LT. Traces of red paint were found when she was prepared for her repaint in February 2022! Soon after she was repainted to LT Country Area green, in which livery she has remained ever since. She was purchased by her current owners in 2010.
RF600 follows RML2456 into High Wycombe Bus Station
Both out on the Beaconsfield service
SNB449 YPL 449T:
2/79 RG new to store at Reigate
3/79 GR into service (Garston)
4/83 GR from o/h
4/84 GR to Crawley overhaul
6/84 GR from o/h
6/86 GR to overhaul, Crawley
7/86 GR from o/h
9/86 allocated to LCNW
6/89 GR
9/90 GR LCNW
10/90 GR taken over by Luton & District
1/91 GR
1/96 GR withdrawn into store
2/96 NG ..change store (Norton Green)..
2/96 DB ....reinstated (Dunstable)
4/96 LN transfer (Luton)
5/96 DB return
9/96 LN transfer
3/97 renumbered #3024
c9/97 bought by Theobald's Coaches, Dunstable
10/01 withdrawn into store
2/02 bought for preservation by Eddie Knorn, Melbourne
11/04 bought by Mr.M.Lacey, Leagrave
3/06 bought for preservation: by M.Berg, A Bedford
9/06 active on Dorking Running Day (414, 462)
1/07 active on St.Albans Running Days (361, 341, S1, S6)
4/07 active on East Grinstead Running Day (473)
6/07 active on Hertford Running Day (390)
1/08 active on St.Albans Running Days (361, 341, 343)
5/10 active on Sevenoaks Running Day (483)
9/10 active on Leatherhead Running Day (408, 418, 470)
5/11 active at Sevenoaks Running Day (431A, 421)
5/11 active at Slough & Windsor Running Day
9/11 active at Oxted Running Day (410, 483, 485)
RM848:
RM 848 saw service all over London, totalling around 30 years in two spells. In between these spells, she worked for Blackpool Corporation for 10 years, and then transferred to Reading for 4 years, where she nearly ended her days. Transport for London then decided to buy her back in 2001, and the bus was extensively re-furbished for more service on the streets of London. RM 848 last saw daily London service in October 2005, when route 38 operating from Clapton garage was converted to “bendi-bus” operation.
RML2440 JJD 440D:
An AEC Routemaster delivered new in March 1966 and allocated to Garston Garage near Watford. When new these RMLs in London Transport Country Bus Lincoln-green livery looked absolutely stunning and reflected the standards London Transport strived for at the time. Along with the rest of the country-bus fleet it transferred to the newly formed National Bus Company subsidiary London Country Bus Services in January 1970, the NBC taking over the former country-bus operations of London Transport.
In January 1975 it was transferred to High Wycombe Garage and remained in service until this garage closed in September 1977. It was then stored until sold back to London Transport in June 1979 where it received an overhaul and repaint in red livery before allocation to Hanwell Garage. In July 1987 a move south of the Thames to Camberwell Garage followed and spent much of its future working life on service 12 serving central London.
With the decision made to remove Routemasters from service in London it was withdrawn in April 2004 and sold to Ensignbus of Purfleet in their capacity as dealers.
December 2004 saw it purchased by its current owner. The deal included fitting a replacement engine and a repaint back into Lincoln-green livery. Pre-decimal era advertisements have been added between decks.
At this running day it worked again on former route 326 – back on the route it was working some forty-eight years ago, and fifty-seven years since it was delivered new to London Transport.
GS13 enters High Wycombe Bus Station
The classic ‘Feathers in our Cap’ radiator
UPB 312S:
This Leyland National was new to London Country and following a full-service life was purchased for preservation from County Bus at Harlow by Edwin Knorn, a long standing enthusiast of St Albans based vehicles.
The 442 High Wycombe & Hicks Farm Rise Circular route was followed by MMX 313. This is at the Hatters Lane stop.
Outside the old High Wycombe London Country garage
Here it is in November 1974, a little under three years from closure, it's duties subsequently taken over by Amersham. LNC47 and RF127 sit on the forecourt behind a low wall through which someone appears to have driven a bus through!
Scanned from a Kodachrome slide taken by the late John Hambley.
Back at the bus station
The day came to a close with a not to be missed trip out at 1515hrs on route 305 to West Wycombe and return. This was the exact time it operated 58 years ago. It was a chance to reflect on all the changes since 1965.
Section 3
Odds and Ends
Welwyn Garden City sidings:
The current Up Yard sidings consist of 5 unelectrified roads used for the twice-weekly reversal of empty gypsum wagons returning from Hitchin to Peak Forest. There is also the occasional storage of rail tamper units and departmental wagons. It has been reduced in siding roads because in the early 1970s there was 6-8 roads in the Up yard with an extra 2 roads being located between a concrete roadway next to the Up yard. There was either concrete or wooden sleeper-built coal bunkers situated alongside the concrete roadway.
Then
and now:
The large goods shed has been demolished but the small building remains. The platform canopy dagger boards have either remarkably survived or been replaced like for like which is good to see.
The footbridge was built in the 1920s (around the same time the Welwyn Garden City Station opened). Before the 1990s it would be closed during the night by British Railways and was only accessible during the day. In earlier years pedestrians would also have to pay to cross the bridge. The original footbridge has been extended three times its previous length. It offers an exceptional view of the former Shredded Wheat factory but sadly it is also a terrible view of a vacant abandoned industrial building.
It also used to be covered
A new design has been drawn up to replace the bridge with this hideous creation but finances dictate otherwise at the present time
A return ticket to Shredded Wheat please
Henry Perky invented a shredded wheat cereal in 1893 and by 1901 his Natural Food Company was based at Niagara Falls, New York and became the Shredded Wheat Company in 1904. In the 1920s the company decided to open a UK factory in Welwyn Garden City, Hertfordshire.
The production facility was designed by Welwyn Garden City town architect Louis de Soissons and building was commenced in 1924 by Peter Lind & Company. The distinctive silos that contained the wheat were an early example of slip form concrete building, using a mould which included a honeycomb core, raised vertically after each level of concrete was hardened. The factory with the first 18 storage units opened in 1926 and the product was named "Welgar" Shredded Wheat after the town. The remaining 27 storage units were constructed in 1938 when the company was under the ownership of Nabisco (who had bought the company in 1928).
The factory is a major landmark on the east coast railway line between London and Scotland, indeed it is said that King's Cross booking clerks would be asked for "A return ticket to Shredded Wheat please", and the aroma of the cooking of the malted wheat was familiar to all who lived in the Welwyn Garden City area.
Production ceased in January 2008, after which the Grade II listed building lay unused. In 2012 a supermarket chain applied to build a new premises on the site, incorporating some of the old buildings, but after public protest planning permission was refused. Sadly, the future of the decaying site is uncertain.
The former Shredded Wheat factory at Welwyn Garden City
Nabisco Foods Welwyn Garden City 19.08.74
Fowler industrial shunter No.20337 built in 1934. Now preserved on the Mid Suffolk Light Railway. (Pic credit to Phil)
The factory was operational by the end of 1926 and the rail link was used during construction, so shunting would have been carried out by other means until 1934.
The Fowler worked continuously until the end of the rail-hauled grain era in 1974, when it was locked up in its shed. Originally fitted with a Waukesha 4 cyl gasoline engine, a 2 cyl McLaren diesel was installed by Fowlers engineers in 1952. Reputedly wagons were pushed into / pulled from the headshunt siding by a BR locomotive, so the Fowler simply trundled to-and-fro along the straight rear connecting line and factory sidings. The reported use of an 0-6-0 loco would suggest one on hire (to cover repair work) at some stage. The Nabisco's diesel shunter was re-fuelled inside the Nabisco factory sidings as it was never seen to come out of the sidings. The little Fowler must have been quite shy, because very few pictures of it have surfaced. On the other hand there would have been little opportunity to see it close-up unless visiting the factory.
Adjacent to Shredded Wheat is located the former Polycell Factory which closed approx 10 years ago. Much of this site has had a varied history and the principal section which includes a hanger like structure originated as a film studio, owned by British Instructional Films, and later the Associated British Picture Corporation. ABPC consolidated production to their main studios at Boreham Wood in 1951 and the studios became a warehouse for Ardath tobacco for ten years. Polycell (manufacturers of Polyfilla) then purchased the site which was much extended to the south, the north part, originally Unity Heating, being sold to Suchard Chocolate and extended as a regional distribution unit and offices in 1968. The north part is now owned by a holding company, Chinacorp, whose plans to clear the site for a temporary car park as an interim to redevelopment was recently refused.
The line which served Nabisco also stretched along the rear of these Polycell buildings. The embedded track which served the Nabisco site is still visible.
There were several trains that were booked to arrive and depart the WGC Up yard during the first half of the 1970s:
1. 7B66 departed Kings Cross Goods yard on weekday mornings between 02:30-02:45hrs and was usually worked by a class 31 loco with the train consisting of about 4 or 5 fully fitted vans in the front portion and about 8 or 9 loose coupled coal/coke wagons in the rear portion with a brake van for WGC. 7B66 would arrive at WGC around 03:15-03:30hrs and on arrival crossed into the Up yard. The brake van plus the coal/coke wagons would be 'knocked off' the rear and left on a road in the Up yard while the front portion consisting of about 4 or 5 vans would go forward as 6B66 northwards to Huntingdon calling at Hitchin & St Neots along the way.
2. 8B07 departed Temple Mills (East London) on weekday mornings between 04:30-04:45hrs and was usually worked by a class 31 loco with a train of grain hoppers for the Shredded Wheat factory plus a brake van at the rear arriving at WGC around 05:15-05:30hrs where it was crossed over into the Up yard.
3. The 'Whitemoor Goods' departing WGC Up yard on weekday evenings between 19:00-19:30hrs and usually worked by a class 31 loco (by a Hitchin train crew) heading northwards via Hitchin and across the Cambridge branch and on towards G.E. territory. This train was usually fairly long with a mixture of wagons (which may have included the Shredded Wheat grain hoppers) as well as mineral wagons, box vans and bogie bolster wagons all topped off with a brake van at the rear.
In the sidings at the end of November were two tamping machines – 99 70 9124 001-7 & DR 75303
The following pics were taken when they were delivered new to Volker Rail. They were the latest model from Matisa and they provide a faster and more efficient tamping cycle, as well as being fully equipped with a Caterpillar C18 engine to reduce CO2 emissions and noise:
This photo shows DR 75303 at the plant depot receiving some attention to its wheels, alongside one of the Kirow 250 Cranes, undergoing a six-month maintenance exam.
The only surviving piece from the original Tilburg track in the Netherlands:
Part of the concrete terracing remains
This first track was built on a stretch of disused dual carriageway. Parts of this also remain.
The road to the track, the pits, and the track itself were all located along one section. It is now a cycle path. Note the end of a crash barrier still in situ.
More crash barrier visible through the trees
The second track used the site of this first one as the pits. This closed in 1994.
Blackpool Transport Spot
Over the last few years, 634 has been repainted into the “Terror Tram” advert and was due for final commissioning just as the situation due to the global pandemic took hold in 2020/1. This phase of the return to the rails suffered due to the various restrictions then, and also the recent restrictions on the Rigby Road depot complex in 2023. We have now taken the opportunity to work with our friends at the East Anglia Transport Museum in order for them to complete the final commissioning and mileage accumulation of the tram. Therefore, 634 was loaded aboard a low loader on Mon 13th Nov and taken to East Anglia.
The planned project for 634 which was developed back in 2021 is no longer an active project for various reasons, and therefore the decision has been made to loan 634 to the museum for a fixed period once the final commissioning is complete. This will also ease the situation at Blackpool regarding depot capacity whilst various building works are undertaken over the next few years.
Whilst 634 is away from Blackpool for its loan period, it will be flying the flag for the Blackpool tram system in East Anglia, thus giving the opportunity to people who cannot easily travel to Blackpool more chance to sample the delights of a Brush tram.
The tram left Blackpool at the start of a long journey to the opposite side of the country to the museum which is situated at Carlton Colville near Lowestoft, where it will reside alongside several other expat Blackpool trams. A low loader of Reid Freight Services arrived at Rigby Road depot shortly after midday. The weather couldn't have been worse for the move, as Blackpool was being battered by wind and rain from Storm Debi, which passed right over the resort, bringing gusts of up to 73 mph, driving rain and sea spray in from the Irish Sea.
634 being pulled out of the body shop ready to be loaded for its transport to East Anglia (photo FTT / EATM):
Loading:
After an efficient loading process, the transporter headed off along Rigby Road at 3pm with Brush 634 onboard:
Arrival and unloading at the East Anglian Transport Museum:
Whilst the low-loader was present the opportunity to move Glasgow 488 was taken:
Five days after arrival 634 poses alongside Blackpool 11 (Marton Vambac):
A beautiful interior
Keep On Truckin’
Parked up at Chee Dale in the Peak District was this stunner from Robert Summers. They are based only 20mins from Cowdie so we got chatting about stock cars and it turned out his mate was a Gordon Moodie fan. Much banter followed when he phoned him and we mentioned Robbie Dawson and Speaky’s exploits with Gordon over the years.
Overnighting at Rugeley was this MAN TGX 18.440 from the Czech Republic
Four visions of beauty:
A Scania from the Netherlands
A Belgian R650
The Boss from Norway
A five axle rear steer Volvo FM hard at work outside Eindhoven Railway Station
Get another brew, sit back, and be thankful you don’t have this nightmare job to do. Hub removal on the dreaded SAF axles. Just another day in the life of the Professional Struggler. He does get to have a look at a £15000 Snap-On toolbox though while he’s there!
I’ve met up with Chris a few times at truck shows and I can honestly say he is the most down to earth likeable person i have met. His never give up attitude is a real credit. He is a proper old school mechanic and finds the rules and regs of today very frustrating as you’ll see. He is coming with me to a Skegness or King’s Lynn meeting next year as he would love to see our sport:
The Woodhead Line
For the last ten years of the Woodhead Line’s existence, Mottram Yard was used only as a traction exchange point for Merry-Go-Round coal trains from South Yorkshire to Fiddler’s Ferry power station near Warrington. This view shows a pair of Class ‘76’ electric locomotives coming off an MGR working before a Class ‘47’ diesel takes over for the final leg. The electric locomotives would then either run ‘light engine’ back to shed or move to Godley Junction to take over a returning train of empty MGR wagons. These time-consuming traction changes were one of the main reasons given by British Rail for abandoning the route. (Pic credit to John Tomlinson)
Even in the late 1970s there was still a wide variety of traffic crossing the Woodhead route. Here, No. 76046, an unmodified and therefore ‘vacuum only’ locomotive, leads a partly fitted train westwards over Torside Crossing and past Torside reservoir. (Pic credit to Alan Whitehouse)
Torside Level Crossing and Signal Box
As it is today
Next time:
Main feature:
Join me and take a walk with the ghosts on this abandoned road as they lead us to ‘what once was'
What treasures await us in this place where time has stood still?
In Blackpool Transport Spot we’ll take a look behind closed doors at the Starr Gate depot:
10 -
Hi there folks,
Welcome back to the new series of Off Season Write-Ups. This winter i will be putting each new edition as a separate topic in the Essential Info section. This will save having to trawl through the previous articles to find the start of the new one. They’ll be dated in the title as well.
Onto the first one for this winter then:
Section 1: F2’s from Taunton.
Section 2: In Out and About join me for a walk through the wonderful Haddon Tunnel (a.k.a The Tunnel of Death)
Section 3: Odds and Ends
Section 1:
There are a few pics in the gallery from the Hednesford F2 WCQR on 19th March.
Bristol F2s on 9th April saw a few cars needing repairs through the afternoon:
Matt Stoneman
James Rygor
Steven Gilbert
Jack Cave
Tristan Claydon
A relic from the past - An old speaker in the trees
More in the gallery from Bristol.
Taunton – Monday 10th April 2023
The Autospeed Rosebowl raced for in memory of Paul Oakley returned to its more traditional Easter Monday slot. Paul devoted many years to the Autospeed cause. He had decades of experience, coupled with outstanding enthusiasm to fix, mend, and repair anything that needed attention. Racing wise Paul enjoyed countless years of friendship with the Hooper family, and when Garry Hooper was travelling the nation Paul was rarely missing from the trip.
Following heavy overnight rain, a large crowd had gathered in blustery but bright conditions.
After a busy weekend there was still enough cars for a full format meeting.
Heat 1 saw the track with very little grip after the early morning rain. Vinnie Neath-Rogers (121) clouted the turn 3 fence, with Luke Johnson (194) an early spinner. Ben Goddard (895) took the lead with Steven Gilbert (542) up to 4th from the Superstar grade. Jon Palmer (24) was an early retiree. Goddard claimed the win.
On a drying track Heat 2 saw speeds increasing in addition to harder hits being traded. Dan Roots (776), Jessica Smith (390) and Tristan Claydon (210) were three who were using the bumper on each other. Jess eventually broke clear for an impressive victory with the other two being joined by James Rygor (783) in a last bend sort out which saw Luke Wrench (560) dive through for second on the line.
Palmer was the sole star grader in the Consolation. Johnson’s day didn’t improve after he ended up getting out of shape and became stranded broadside across the home straight. Following the caution Palmer moved rapidly from 4th into the lead. He soon found himself involved in a good tussle with Julian Coombes (828) and Matt Linfield (464) with Johnson also joining in. It all ended in disaster for Johnson once again though as he was spun around by Rebecca Smith (931) on the last bend as Palmer took the flag.
The Final was brought under an early caution after Rebecca clobbered the turn 3 fence. As Charlie Knight (525) took the lead the star graders delayed their own progress as they battled with each other. Rygor was the first red to break clear. Roots had by now taken the top spot and extended his lead as Paul Rice (890) luckily missed getting collected after spinning on the home straight. The flag fell on Roots who claimed his second Final of the weekend. Rygor just pipped Matt Stoneman for 3rd, the latter then being docked two places for jumping the restart.
Ryan Sheahan had some damage to repair after the race
Rebecca’s car needed attention after hitting the fence. Chris Roots helps Andy sort it.
Chris’ son Dan won his second Final of the weekend.
The 27 car GN’s first start was red flagged as Neath-Rogers was hit at speed by Goddard when broadside on the start line. Following the restart a superb jousting match between Wrench, Stoneman and Rygor developed. Wrench then got involved with Rice and Palmer at another entertaining stage of the race. The former silver top was delayed to such an extent that the race leading Knight lapped him! The 525 car eventually slipped back to 6th at race end with Claydon taking the win.
Results:
Heat 1
895
325
460
542
979
315
890
127
258
525
Heat 2
390
560
776
783
210
302
689
980
27
53
Cons
24
464
828
931
121
359
844
232
870
194
Final
776
210
783
302
542
127
315
689
980
828
GN
210
302
454
127
783
525
315
828
542
931
More pics in the gallery.
Section 2
Out and About – Haddon Tunnel
This one had been on my hit list for some time so i was really looking forward to exploring it. It was certainly well worth the wait and ranks as one of my all-time favourite tunnels.
In addition, we’ll also be having a look at the nearby Rowsley Viaduct.
First though some background history concerning Haddon Tunnel:
Part of the construction of High Speed 2 entails navigating the delicate Chiltern Hills via a series of tunnels - some bored, some ‘green’. The latter comprise open-ended concrete boxes, sunk into the landscape, above which the ground is restored to something resembling its original state. When the Midland Railway pushed its Buxton branch through the Peak District in the 1860s, it was obliged to excavate the 1,058-yard Haddon Tunnel so as not to blight the gentry’s views from the adjacent hall. Opened 161 years ago, the structure has lain silent since closure claimed it in 1968.
A map from 1914
The tunnel passes under Haddon Hall in the centre of the map. The yellow line is the route of the disused Midland Railways Buxton branch.
Many thanks to Glynn Waite of the Rowsley Association, Dave Harris from the Midland Railway Study Centre and Graeme Bickerdike for the info and words below:
Those who engineer the green tunnels of HS2 will enjoy many advantages over the workforce at Haddon: laser-driven surveying equipment, high-capacity cranes and earthmovers, welfare facilities, foul weather gear, and not forgetting the restraining harness of health and safety. However much of a national embarrassment this has become in the 21st century through stifling regulation and risk aversion, better that than the havoc that was gruesomely wreaked in the 19th century at many railway construction sites.
In 1845 the depositing of Parliamentary plans were brought for an ambitious new railway connecting Ambergate - north of Derby on today’s Midland Main Line - with Manchester. Guiding the heavy engineering was George Stephenson whose initial proposals identified a route up the Wye Valley until the Duke of Rutland’s opposition prompted a diversion through the Chatsworth Estate, owned by the supportive Duke of Devonshire. Alive to the commercial impact of being bypassed by the railway, the persuasive townsfolk of Bakewell convinced the Duke of Rutland to block the plans in the House of Lords. An alternative alignment was put forward, also through the Chatsworth Estate, with branches serving Buxton and Bakewell. But the delay proved critical. By the time Royal Assent was granted, the unsustainable financial drain of railway mania had caused the flow of money into such schemes to dry up. The line was progressed as far as Rowsley, opening in 1849, but the land beyond remained untouched for more than a decade.
The Midland Railway’s rivalry with the London & North Western manifested itself in a chess-like game whereby the former’s goal of securing a slice of Manchester’s lucrative rail market was thwarted by the latter’s defensive manoeuvring. With no hope of collaboration, the Midland was forced to push forward with an independent route, the first section of which involved a 15-mile extension of the Rowsley line into Buxton, authorised in May 1860.
Towards its western end, the River Wye meanders through its spectacular limestone gorge which was overcome by eight tunnels and a collection of assorted viaducts. Whilst the eastern section presented fewer obstacles, the terms set down by the Duke of Rutland for accommodation through his estate gave rise to the line’s most substantial engineering exploit, that of Haddon Tunnel which would bury the railway behind the hall from which its name was taken.
Initial drawings for the structure survive in the Midland Railway Study Centre, with three signatories. Most notable is that of William Henry Barlow, installed as the Midland’s first Chief Engineer in 1844. By this time he had left to establish a private London practice, albeit retained by his former employer following Stephenson’s retirement. Barlow was later celebrated for the outstanding St Pancras train shed and his design for the replacement Tay Bridge. George Thomson, fulfilling the role of contractor, and his brother Peter also appended their names. This was a prolific and highly respected pair, credited with building a number of lines in South Wales, the North West and Yorkshire.
On paper, Haddon was envisaged as two tunnels, separated by a short cutting. The most southerly would extend for 120 yards, sitting on a ledge cut in the gently-graded hillside and covered to conceal its segmental arch to a depth of just a few inches. Beyond this, a longer structure of 900 yards - punctured by two ventilation shafts - would comprise cut-and-cover sections either side of a bored portion. Towards the southern end, a series of drains were planned to channel ground water beneath the tracks where the land fell to below the height of the arch. Even at its deepest point, the crown was barely 30 feet below the surface.
But anyone visiting the tunnel today would struggle to recognise it from that description. Two shafts became five; the cutting disappeared; substantial changes in section are met; an open box near its centre brings 11 yards of daylight. Engineering contracts generally demand that work is carried out in accordance with the plans and specifications unless unforeseen problems are encountered. The trouble is, with activities below ground, virtually everything is unforeseen. It should come as no surprise that the design evolved in response to prevailing circumstances. Clues to what they were have been left for us by civil engineer John S Allen.
On 12th December 1861, Allen presented a paper on the tunnel’s construction - which by then was just a month from being finished - to the Civil & Mechanical Engineers’ Society. This records that the stratum traversed throughout was shale overlying limestone, with a varying thickness of clay above it. During the course of the work, movement of the clay caused several extensive slips to occur, whilst ground pressure was sufficient to break 18-inch timber crown bars.
As built, the structure rises towards Bakewell on a gradient of 1:102 and comprises three sections: from the south portal, a covered way of around 490 yards, then a 350-yard tunnel, followed by another cut-and-cover section of 220 yards incorporating a curve to the east of 40 chains radius. Ground was broken on 10th September 1860 with the sinking of a shaft close to the main tunnel’s midpoint, from which a heading was driven to meet those already advancing from its ends. April 1861 saw work get underway at two points within the heading to excavate the tunnel to size, allowing four faces to be worked simultaneously. Progress was made in lengths of 12 feet, each requiring 12 crown bars, two miners’ sills and about 30 props of varying dimensions, as well as rakers and poling boards.
Allen described the production line process: “The masons follow and build in the side walls, which are of sandstone grit, excellent in quality. This stone is found in great abundance in neighbouring quarries. The walls are built in block-in-course masonry - one header and two stretchers. These courses are backed up with rubble work, in sandstone or limestone. The thickness of the work is on average 2 feet 3 inches.”
“A profile is erected at the end of each length to guide the masons. The bricklayers follow as soon as the centres are set, which are of great strength and excellent in design. The arch, which is a semicircle, consists of 5 or 6 rings of bricks, as the ground may require it. These bricks are made on the contractor’s premises; good clay fit for the purpose being found adjoining the works.”
Beyond the tunnelled portion, the covered ways took shape. Having opened the ground to the requisite depth, side walls and arching was inserted and the excavation then backfilled. “There are several sections of arch used”, declares Allen. “The principal one is that of a low stone arch, having a rise of 6 feet from the springing line. A semicircular arch of stone is also employed when the cutting is deep. The thickness of the arch is in all cases 2 feet.”
Towards its southern end, it is possible to walk alongside the tunnel at track level, such is the shallowness of the fill and gradient of the slope. As a consequence, the ground could not sufficiently counteract the thrust of the arch, prompting the introduction of “strong counterparts”, in the form of buttresses, to support the west wall, as well as increasing its thickness. Several buttresses are now exposed, the land having slipped off them over the years.
Allen concludes that “The works are of an interesting and instructive character and have been carried on with very slight interruption night and day.” In just 16 months, Haddon Tunnel had been buried seamlessly beneath the Duke of Rutland’s estate. Whilst Allen was right to celebrate it as an engineering success, one unmentioned failure - the cause of that “very slight interruption” - had a human impact that should not be overlooked.
Alfred Plank was a lad of 15. On 7th April 1861, the national census records him as living in one of five ‘sod huts’ erected for the navvies at Great Rowsley, about a mile from the tunnel. Ten souls inhabited it, with Alfred’s father William head of the household. His wife Sarah and five of their eight children were joined by three boarders, also employed on the railway.
It seems likely that the family followed the contractor around the country as work arose. The youngsters were born in towns across South Wales; by 1851, home was north of Newark alongside the East Coast Main Line, then being built by the Great Northern. Now in Derbyshire, Alfred and his 13-year-old brother Charles were both wage earners, working on the Buxton line as horse drivers.
Living conditions would have been basic but comfortable, unlike those at work. More than 250,000 navvies served the railways when construction was at its peak in the mid-1800s; a good one could earn three times that of a farm labourer. Many were skilled - miners, masons, riveters, bricklayers, carpenters. Their welfare however was not a corporate priority.
It’s fair to presume that Tuesday 2nd July 1861 was much like any other. Within the northern section of covered way, a 36-foot length of arch was waiting to be keyed with three courses of stonework. The centring that supported it comprised eight ribs, each with props at both ends and another in the middle. These stood on blocking stones of up to two feet square. Three rakers steadied the structure. The same centres had been deployed in the construction of four other lengths and were deemed fit for purpose again, their assembly overseen by carpenter Edward Sykes who inspected them twice daily.
Seventeen men were busy hereabouts. During the early part of the afternoon, two or three loads of stone arrived, pushed up a wagonway that passed between the props. Each wagon was opened at its end and the contents tipped into the metals. The blocks, some measuring 3 feet in length and weighing 3-5cwt, were then manoeuvred within reach of a derrick, ready for hoisting up to the masons. This was located at the north end of the arch, fastened to the centres by a pair of iron dogs. Operating it was Alfred Plank, with motive power for chain-pulling provided by his horse.
Having just been emptied, six men pushed a wagon away from underneath the stonework. Up top, some of the masons paused for a breather whilst labourers adjusted the wooden boards on which the materials were wheeled, leaving 36-year-old George Buckley, Jacob Rowland, George Twyford and Frederick Bacon still on the centring. Then all hell broke loose. According to Bacon, “I dropped down just as if I had been suspended in the air by a cord, and the cord had been cut. There was not the slightest warning, not the least imaginable.”
The arch had gone. All hands immediately began clawing at the debris. Messengers were sent to Bakewell for medical assistance; surgeons Knox and Evans attended. By six o’clock - two hours after the event - the victims had been extricated. Lost were John Millington, aged 40, James Bird, 36, and 21-year-old James Clarke. Two were found side-by-side, horribly crushed. And just a few feet from safety was the boy Plank, lying alongside his horse. A cart carried the bodies to the Royal Oak in Bakewell to await the inquest. Buckley had survived with the loss of both legs but succumbed in the early hours. A sixth man, Francis Evans, emerged with a broken leg; Twyford also suffered leg injuries.
The affair cast a shadow over the district; the following day, hundreds arrived on site to pay their respects. Thursday saw mourners gather in Rowsley for James Clarke’s funeral; Alfred Plank was buried there on the Sunday.
At the Royal Oak, it fell to Coroner F G Bennett and a jury of 12 gentlemen to seek the accident’s cause, hearing two days of witness testimony. Much attention was paid to the centres, determining their condition and the impact of bolt holes drilled through them. Whilst it was asserted that their strength might have been diminished by as much as 25%, expert opinion concluded that they were still working well within their combined 560 ton capacity, bearing about 120 tons.
It was learned that it had not been general policy to insert a middle prop until George Thomson had insisted upon it about a week earlier, “to make sure”. Edward Sykes revealed that the lone raker at the north end of the centres had been taken away some time before the accident, although this was not unusual. “They were put up to steady the centres and not to support them”, he insisted. A small land slip had occurred, depositing material onto one of the side walls, but the quantity was such that it could in no way account for the collapse.
In the end it was W H Barlow who glued the clues together. “The statements of the witnesses indicate that the [eastern] end of the centres swerved out towards Rowsley, and that all the centres had twisted on their sides, the tie-beams being found towards Rowsley and the upper rib towards Bakewell. The only reasonable mode that occurs to my mind for explaining those appearances is that one or more of the props on the [eastern] extremities of the centres had been knocked away. It is possible that in unloading the stone, if unloaded on that side, or in moving the stone afterwards, the props might have been knocked away… The loss of a single prop…might cause the whole weight, by giving a twisting action to the centre prop, to give way.”
Accidental death became an occupational hazard for the navvy - tight margins and inadequate control measures conspiring against him. Early in September 1861, 22-year-old John Bishop, also a horse driver, was knocked down in the tunnel and then run over by wagons. But such events did little to impede progress. The structural work was concluded on 11th January 1862, the Duke’s agent having authorised the retention of five ventilation shafts rather than three as first agreed; by April, only a section of permanent way was missing. The first public train passed through at 7:20am on 1st August, running to a temporary terminus at Hassop, three miles away. Buxton was connected in May 1863.
Even then, misfortune could strike. On Saturday 24th July 1869, a boy named William Cutts left Derby on an excursion train, heading for Matlock where he intended to sell fruit. As his journey neared its end, drunken railway ganger Henry Southgate took 5lb of plums from him but refused to pay. Threatened with the police, the miscreant attempted to escape feet-first from a window as the train passed through Haddon Tunnel. The boy grabbed him by the hair, shouting “Either leave the plums or money before you go!” Southgate did neither and fell onto the track. The guard, joined by a porter from Bakewell, found his body in the four-foot of the Down line close to the tunnel’s midpoint, minus its head and a leg.
The early hours of Thursday 5th June 1884 saw more tragedy. Francis Irish, a guard from Kentish Town, described how he heard a loud knocking beneath his van as the 11pm mail train from Liverpool passed through the tunnel at 50mph. He thought that some brickwork had come down. On arrival at Derby, the driver took his hand lamp and examined the locomotive, finding “blood and brains” on the front part of the bogie and a piece of cloth wrapped around the feed pipe. Shortly after 2am, goods inspector Matthew Knott and ganger Watson were despatched to the tunnel where they found the dismembered remains of a “working man” scattered over a distance of several hundred yards.
As the 19th century drew to a close, it became apparent that all was not entirely well with the structure. At No.3 shaft, inspections had detected a movement of 1½ inches at one side of the brick arch. Difficulties were also being experienced with ventilation - smoke was accumulating due to increased traffic levels. In July 1900, the Chief Engineer’s Office in Derby drew up plans to remove both the shaft and 33 feet of arch around it, instead constructing a large open box. Work got underway almost immediately, taking eleven months. Appointed as contractor was Chas Baker & Sons of Bradford.
With earth removed from above the brickwork, “a few stalwart masons” gathered on the morning of Sunday 2nd December, waiting for the start signal that would follow the passage of the 10:38am service from Bakewell. Great difficulty was experienced breaking away the crown but, once gone, the remainder fell with little persuasion. A gang of Midland Railway men cleared the debris, allowing services to resume before midday - passenger trains having incurred no delay at all. Inspector Groves took charge of a pilot engine to regulate movements. A second section of arch was similarly dispatched the following Sunday.
Such an intrusive scheme would not have been undertaken lightly, given its complexity and operational impact. The extent of the works offers some insight into the concerns engineers must have had over ground movement. Constructed in a 44’ x 46’ excavation, the enlarged shaft boasts concrete side walls faced with blue brindles, bonded together with ironwork. At no point is their thickness any less than 5’, and at the base exceeds 8’6”. Estimated at £2,000, the scheme’s final cost was £2,904, suggesting perhaps that the scale of the challenge was initially misjudged.
A passing thought should be spared for one member of the workforce who lost some of his false teeth during a dinner break; they became lodged in his throat. Unable to extract them, the unfortunate man made the journey to Bakewell where Dr Fentem had to force them down.
A final substantive step in the tunnel's structural evolution was taken in October 1913 when a project was started to slew the tracks and insert 46 additional refuges in preparation for the introduction of new 9’3” wide stock. Lasting eight months, the work cost £555. 1923 saw the drawing-up of plans to provide a timber lining in No.4 shaft although there is no evidence of the work having subsequently taken place.
Whilst the 1963 Beeching Report prompted the withdrawal of local Matlock-Buxton/Manchester services, the line’s complete closure to through traffic was determined by a confidential 1964 study into ‘duplicate’ trans-Pennine routes and the introduction, in April 1966, of electric haulage for Manchester-Euston services on the West Coast Main Line. From October that year, freight and parcels no longer rattled through the tunnel, diverted instead via the Hope Valley line. The anticipated announcement that passenger expresses would follow was not long in coming, and so on Saturday 29th June 1968 - a day early thanks to a guards’ dispute - 1H18 St Pancras-Manchester Piccadilly became the last train to endure Haddon Tunnel’s darkness at about 7:45pm. The Up line was lifted in June 1969; recovery of the Down took place the following summer.
Perhaps it is testament to those who built the tunnel - now bricked up and ignored for over 40 years - that it has survived the withdrawal of substantive maintenance largely unscathed. The failure of a field drain crossing the bored section has triggered extensive spalling of the brickwork for 100 yards, a function of water penetration and freeze-thaw action. But the decline is sufficiently limited for its reopening to be pursued as part of an extension to Derbyshire’s Monsal Trail, occupying the trackbed northwards towards Buxton and passing through six other tunnels. Landowners are cooperative and surveys have been conducted; planning and financial hurdles are yet to be overcome.
John Millington, George Buckley, James Bird, James Clarke and young Alfred Plank are honoured by a simple memorial in the churchyard at Rowsley. Their efforts, against the odds, were not unique; neither was their sacrifice. But were it not for their like, we would have no railway network. So when you next travel, don’t just gaze at the train - look under it, above it, around it. Celebrate the work of the humble navvy.
Right folks it is time to go and have a look. The tunnel is surrounded by stunning Derbyshire countryside but getting to it is very challenging to say the least!
This deserted road passes by the Bakewell (north) end of the tunnel
The trackbed at this side is underwater and resembles a canal!
Scuba gear would be required to get in at this end!
The exact spot in November 1948 as new rails are being laid.
At the same location in 1953 as 'Black 5' No 44859 heads an excursion from Nottingham to Belle Vue on 9th May (Credit ER Morten)
The trackbed from the Rowsley (south) end is a far better proposition and makes for a decent walk for now
This soon comes to an end however
Head-high stinging nettles
The roof of a platelayers hut comes into view
There is not a lot left of this one
We are closer to the tunnel entrance now and another platelayers hut
Brick built
Complete with fireplace
A great view in the past when the locomotives would be blasting out of the tunnel
At last we come to the entrance
A Class 46 exits the tunnel at this very location
Pictures don’t do the interior justice. It is truly something else. It is free of graffiti which is very rare in any disused place. It is probably owing to its difficult location and access. As the tunnel runs under the Haddon Hall grounds it pays to keep very quiet. The landowner has thrown shotgun cartridges down the vents after a day’s shooting and I’m sure would love to catch someone in there!
A magnificent sight awaits within. The first air vent shaft illuminates the tunnel ahead.
One of many refuges in the tunnel wall
The remains of cabling hooks
We have reached the first air vent. One of the centre drainage channels at the bottom of the pic.
Here we have an unusual combination of a square refuge close to an arched one
The damp atmosphere and sunlight from the vent has allowed these wonderful ferns to take hold on the tunnel wall
One of my favourite pics. The sun passing overhead creates this elliptical disc on the stonework.
It reminds me of a ufo light beam
Looking skywards there are two trees that have amazingly taken root on the vent wall
Further in the tunnel height is stepped
It is so dark in this section. With the light switched off the inky blackness closes in and becomes heavy and suffocating.
Underfoot is another open drain. A shin shredder for sure if you stepped down it in the dark.
Another superb stretch of the tunnel. With the camera shutter open for 90secs and lots of light the colours here are spectacular. The soot-stained brick lined tunnel roof stands out against the stone walls. The large branch had come down one of the air vents and in certain weather conditions the wind speed through here is phenomenal. It had moved the branch a considerable distance from any vents nearby.
Slightly further along and the tunnel can be seen curving to the left. Another air vent comes into view.
This vent is closer to the surface
A tree in this one too
Only a single railway sleeper with rail chairs remains.
There are the odd fishplates lying about
Here the walls are discoloured by a coating of flowstone. It is caused by water rich in calcium carbonate seeping down the walls. The deposits often form thin sheets called "curtains".
The refuge is camouflaged by the flowstone
The remains of a ratchet jack which had many uses on the railways
As it would have looked
The open section is up ahead. The sleeper indentations are very visible here.
The change in tunnel profile is plain to see
Looking towards the next section which is a high arch construction
Looking back
Further in a scene of magnificence awaits. The splendour of nature is revealed. The calcite covers everything and although it looks like water it is bone dry.
The orange tint is due to iron oxide
The soot from the steam engines passing through has leached through cracks in the mortar and turned the flowstone jet black
Just look at the thickness of flowstone around this hole from a missing brick
The view inside resembles a cave in miniature
Notice the small green shoot top right that has grown from a seed blown in. There is no light at all here but the calcitic minerals are so rich it has allowed the seed to germinate. This whole scene is truly magical. Even a length of wood has turned as hard as stone.
Another wonderland in a brick cavity
There is even a mini stalactite and stalagmite formation
At the far end of the tunnel water is pouring through the holes in the blockwork
It is quite unnerving looking through the hole and the water is at eye level!
About turn and we’ll make our way out. That is of course if the door has not been sealed up. There is no phone signal in here so we’ll be done for!
Back outside now, and a look at the closest vent. Even these were constructed to look aesthetically pleasing. Iron railings attached to curved stone blocks which sit atop the brick vent.
The view down to the tunnel underneath
A distant one has been taken over with tree growth. This one is in direct sight of Haddon Hall so it was not worth risking a closer view just in case the owner had his shotgun ready!
That completes our look at this spectacular tunnel. I’m so glad I managed to do it as unfortunately it looks as though any access has now come to an end. The walk up to the south portal has multiple CCTV signs on gates, and one on the tunnel door. Along with the signs is a CCTV camera above the door. This is probably a dud as the camera has no power running to it. In addition, the door is now welded shut.
Let us now head a short distance to the derelict Rowsley Viaduct.
Rowsley Viaduct
The viaduct is arrowed on this map from 1892
Its location to Haddon Tunnel can be seen on this map
Credit to Graeme Bickerdyke & The Rowsley Association for the information below:
In engineering terms, the Midland's Rowsley-Buxton line was one of the country's most spectacular. Built between 1860 and 1863, it featured a series of viaducts, tunnels and cuttings, accommodating the railway as it passed up the often steep-sided and meandering Wye Valley.
The line was an extension of Manchester Buxton Matlock & Midland Junction Railway, the first phase of which opened in 1849 between Ambergate and Rowsley.
Rowsley's original station had been sited for an onwards alignment up the Derwent Valley, northwards towards Chatsworth, but this was altered when the Duke of Rutland made clear his support for a westerly route through the Haddon Estate and into Bakewell. This required the construction of a replacement station on the new line which branched off about 400 yards south of the original terminus.
About 600 yards beyond the junction, the first substantial structure encountered was the four-arch Rowsley Viaduct across the River Derwent, together with a retained embankment and underbridge at its western end. It opened to traffic on 1st August 1862 and carried its last train on the evening of Saturday 29th June 1968.
Immediately beyond the viaduct, a 20-yard section of the approach embankment is faced with a vertical masonry retaining wall on its northern side. Adjacent to this is the single span Duke's Bridge under which passes a track heading to the Duke of Devonshire's Chatsworth Estate. The arched opening is also flanked by buttresses, with a curved wingwall acting as a retainer for the embankment that extends westwards.
Owned by the Derbyshire Dales District Council and leased to Peak Rail, the viaduct is protected by palisaded security fencing at the western end of its deck, erected in the late Nineties. The land beyond was transferred back the Haddon Estate in the mid-1980s.
It is the aspiration of Peak Rail to relay the line across the viaduct and onwards up the valley towards Buxton. An immediate obstruction is presented by the dismantled bridge over the A6 - between the viaduct and the old station site - and the subsequent raising of the road level. The Haddon Estate is also opposed to the railway's reinstatement. Another possible use for the structure would be to carry an extension of the popular Monsal Trail. The Council is currently evaluating options for this.
Rowsley Viaduct is Grade II listed and in need of some work to remove vegetation and saplings. Several pattress plates and tie bars have been inserted just below parapet level to help arrest lateral movement.
Two views of both sides from the banks of the River Derwent
The Duke’s bridge. A wonderfully constructed arch to pass through.
The obligatory fence to hinder the explore
The first part of the viaduct is fairly free of vegetation
The British Railways Board identification number is still visible
The view from both directions further along
It is not possible to continue beyond the end of the viaduct in the Haddon direction as the track bed is a mass of impenetrable overgrowth.
That completes the look around this quiet corner of Derbyshire. I’m sure you will agree it was well worth it too.
Section 3:
Odds and Ends
Spotted at Skegness:
How about these four beauties? Three Ivecos and one Scania:
A 14yr old ML120E18D
GN51NER
Scania G 6X2 from 2012
A real old-timer. A 31yr old Iveco-Ford Cargo80E15
Blackpool Transport Spot
Rigby Road was the original tram depot until 2011 when this new one opened at Starr Gate. This was for the new Flexity fleet.
Rigby Road tram depot in its early days:
This would of been when it was known as Kirkby Hall. The floor marked out for a future exhibition event.
Also of note on the outside front view is the tram road numbers marked just below the roof line above each track. The concertina doors visible in the open position.
Rigby Road when new in 1935 as part of the Blackpool Corporation Transport Department's five-year modernisation plan (1933-1938). It housed most of the fleet of modern streamline trams delivered to Blackpool between 1934 and 1939.
When completed, the shed was capable of housing approximately 120 trams and is now the last operational first-generation tram depot in the United Kingdom. It is also one of only three tram depots in the world that operate double deck trams on a mainline tramway.
The tram shed is a single story building as built, contained eighteen roads/tracks for stabling trams, most of which are still in use. The shed also houses an electrical sub-station, from which the tramway is powered, and a tram maintenance compound on the west side of the building.The tram shed was originally known as Kirby Hall in view of the fact that it was designed as a dual-purpose building, capable of housing exhibitions in the rear half of the building, for which an entrance was provided in Kirby Road. This is the reason why the tram inspection pits only extend halfway into the building. Some trade exhibitions were held in the early days, but this use of the shed was relatively short-lived.
Rigby Road now houses the illuminated trams, the Heritage fleet and a fair number in store that haven’t moved in a long time. In an ideal world it would be great to preserve every vehicle but owing to man-power shortages and financial considerations this is not going to happen. When the new depot opened the managing director in power at the time wanted to scrap the whole lot and build houses on the Rigby Road site. Fortunately, common sense prevailed and with a change of leadership the decision was reversed.
With most of the staff transferring to Starr Gate only a skeleton crew was left here. As of the present time there is only one of each trade (fitter, painter, electrician etc.) to keep the runners in service. As these trams are an average of 90 years old it is a challenge to achieve. Obviously, parts are no longer available off the shelf and must be manufactured on site. The stored trams are slowly deteriorating as there is no spare labour to work on them.
The depot itself is in desperate need of a new roof.
Large panels are missing and each winter more damage is being done to the structure
We have been doing guided tours of the depot for a couple of years which have proved very popular and the money raised has been put towards the roof fund. There has been some funding given to help with this as well. New doors are also required to keep the gale force winds and seagulls out. As of early October the depot has been fenced off to allow a thorough survey to be undertaken of the work required so the tours and public access have been put on hold for the time being.
We moved a couple of the illuminated trams to Starr Gate depot prior to the closure for the forthcoming illuminations season:
HMS Blackpool
The Western Train amongst some 90yr olds prepares for a reverse move out of the depot
At the new depot
In service
Richardson Traction
Owing to the winter gale force winds on this western coast the illuminated displays north of the Cabin must be taken down at the end of the lights season and re-erected in mid-summer ready for the next season. We use a local haulage company for this task:
Richardson Traction
Founded in 1980, by Gary Richardson. Richardson Traction is a road haulage firm based in Thornton, near Blackpool. They have been providing transport services for a range of industry sectors for well over 30 years. They offer a range of services and have recently acquired new, specialist equipment, including extremely heavy duty HIABs, refrigerated trailers, forklifts and low loaders.
With over 20 years experience they provide haulage across Europe for a variety of loads, including:
Industrial equipment
Boats
Helicopters
Mobile cabins
Shipping containers
Planes
Machinery
Pipes
At work on the prom back in April this year:
Volvo FH540
Volvo FH500
Transit Custom 320LMTD EBLUE
Next time:
The main feature is a running day in ‘green’ featuring GS, RF, RM, RML, RT variants
11 -
Pics in the gallery 👍
2 -
Final Focus:
559 leads away.
An explosive start with 180, 318 and 1 putting some class hits in on the opposition.
220 joins in with a hit on 1 in turn 3.
180 demotes Will with a big hit.
After 1 makes an early pass on 180 he catches and repasses with ease and blinding speed.
504 is the next to feel the force of the Wittsy front end and is sent fenceward in turn 1.
H154 takes a wayward line down the home straight which sends 415 on a collision course with an infield tyre.
Caution to remove the stranded 504.
530, 452, 180 and 1 are the top 4 on the restart.
530 and 452 tangle in turn 2 at the drop of the green. 180 takes an evasive move around the outside whilst 1 moves through on the inside to move ahead.
8 spins in turn 3.
415 and 475 tangle in turn 4.
180 fires 1 into turn 3. The 1 car coming to a stop behind 415/475.
Caution for stranded cars at both ends.
180 heads 318 at the restart.
A huge hit from Speaky into turn 3 on the 180 car. Witty's rides the hit.
220 comes on strong and decimates the opposition to move into a race winning lead.
1 has come forward from the back half of the grid.
The last lap sees a magnificent hit from 180 on 1 into turn 1. Wittsy does a Hitman hit on the Hitman. The 1 car is finished with the front wheel off.
A fantastic all action finish 👍👍
That's it for 2023 folks. A big, big thank you to Nic for the all season results. Winter well everyone 👍
6 -
Consolation Catch Up:
524 leads away.
128 and 325 clash on the back straight.
580 spins in turn 2.
51 fires 287 into turn 1 but spins off his back bumper. 580 collides with the stricken 51 car mid-corner.
128 spins and stops in turn 1.
524 and 530 are the lead duo at halfway.
Caution to move 128 to safety.
524, 530 and 8 head the restart.
8 challenges 530 for the 2nd place. Darren fights back down the home straight and edges Catherine towards the infield marker tyres. With the 8 car forced to slow 530 nips up the inside through turn 1. His gain is short-lived however as 8 takes the spot back with a hit in turn 3.
2 to go and 524 can see 8 getting closer. Not to be denied though sees Jason holds on for the win.
1 -
Heat Two Happenings:
161 leads away.
559 spins in turn 2 which brings 191 to a stop broadside in the turn. Caution to move the car to safety.
530 leads the restart.
1 fires 124 and 8 into turn 3 at the drop of the green. 8 spins out as a result.
370 circulates with a collapsed front right.
504 rolls over after jumping over the front end of 530 in turn 2.
Caution to tow the cars clear.
452 leads this restart from 147, 220 and 1.
220 fires 147 into turn 1. Eddie strikes the fence a glancing blow in a shower of sparks.
1 into the lead on the first lap after the green.
Within a lap the 1 car loses some speed which sees 20 and 220 come back past.
At 5 to go the World Champ has got back up to speed and repasses 220.
Liam is too far up the road to be caught however and heads towards his first tarmac win.
452 takes 3rd from 220 on the exit of turn 4 after Will drifts wide.
0


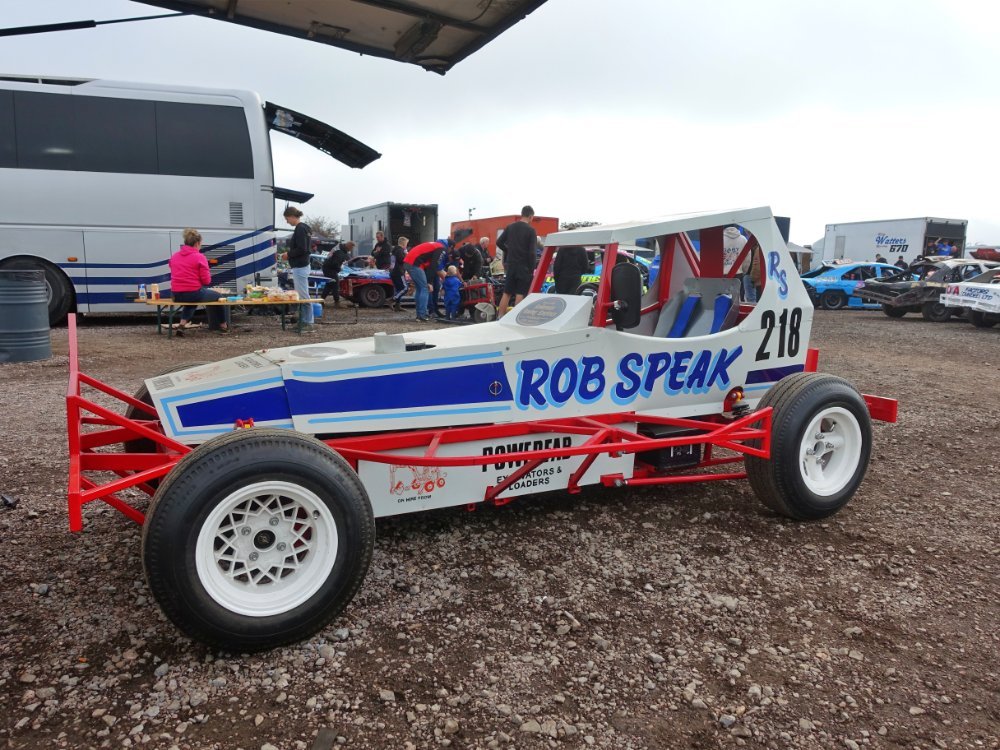


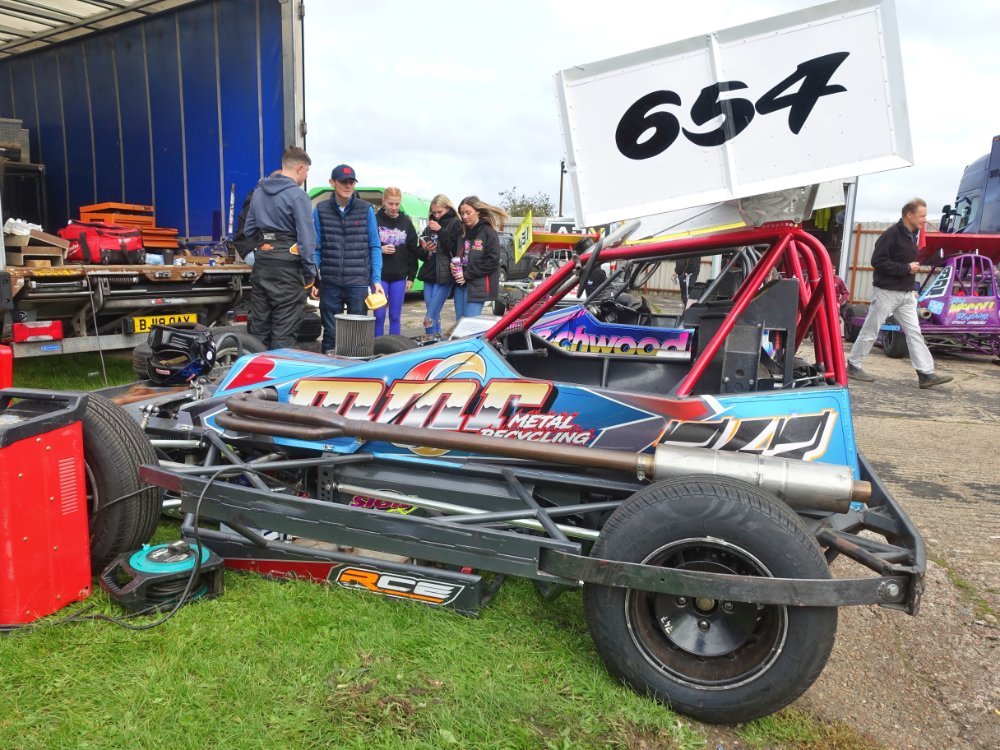
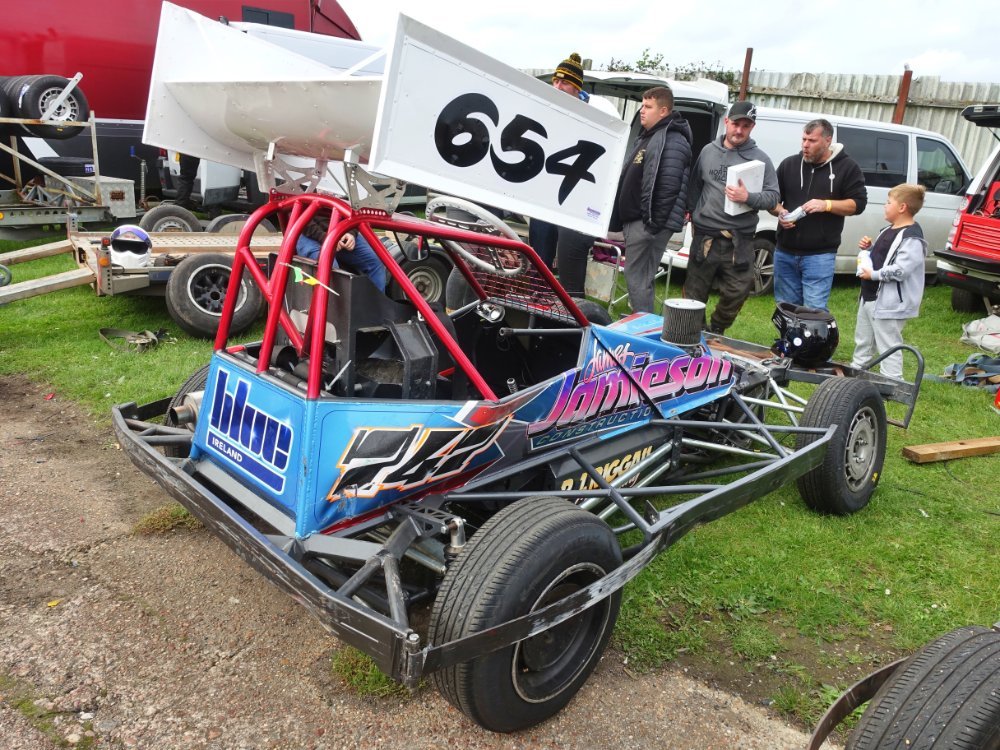


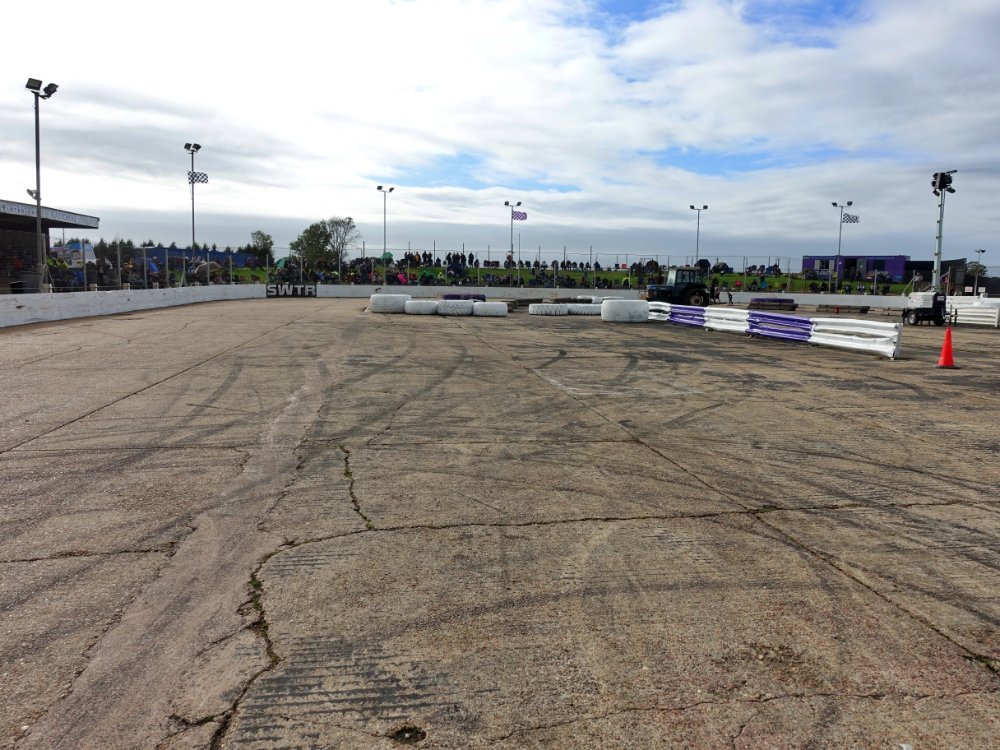
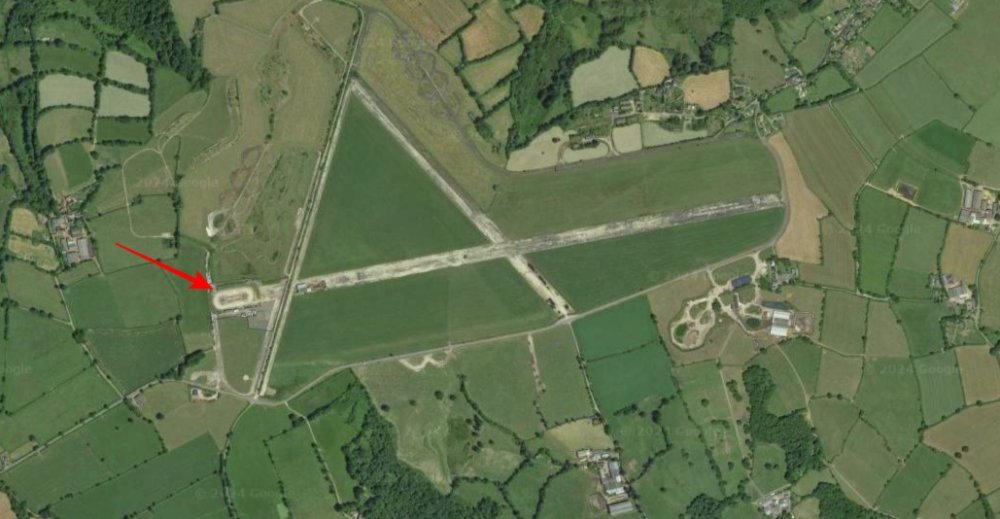
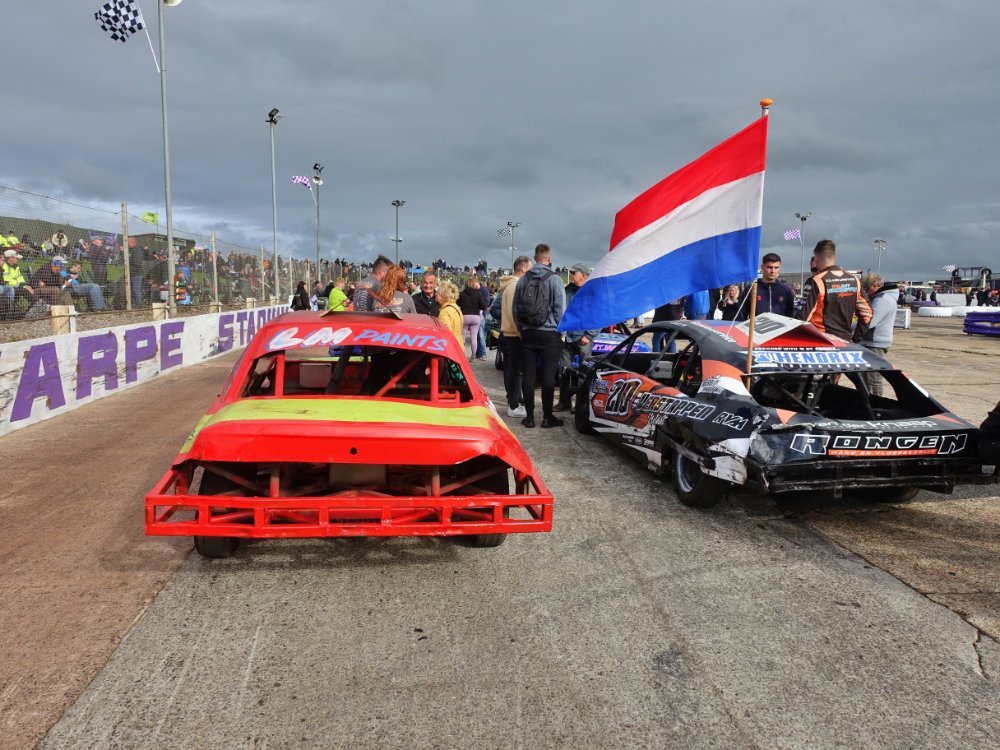
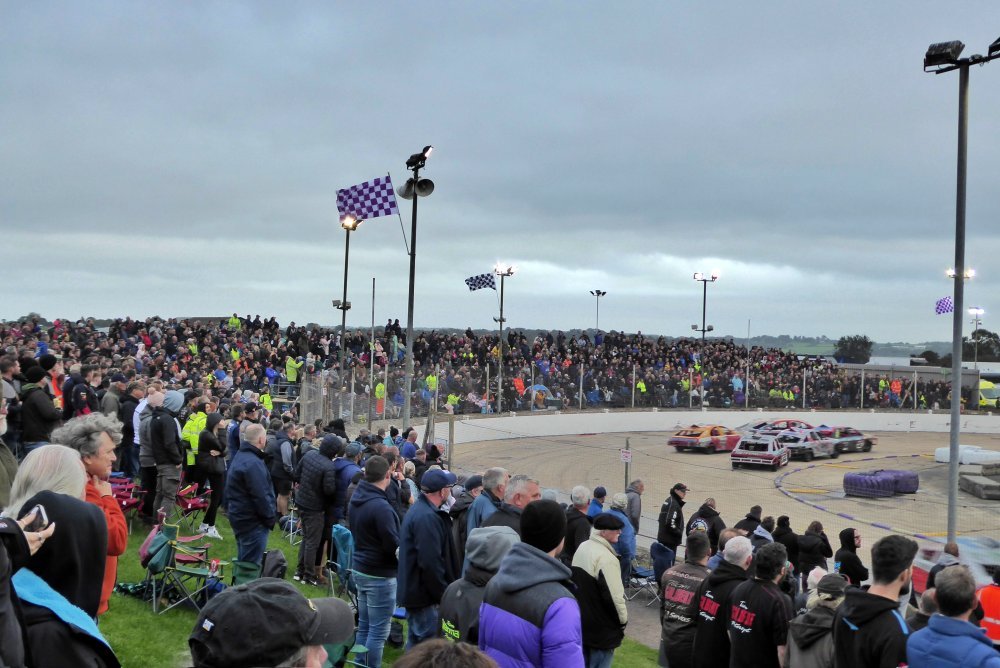
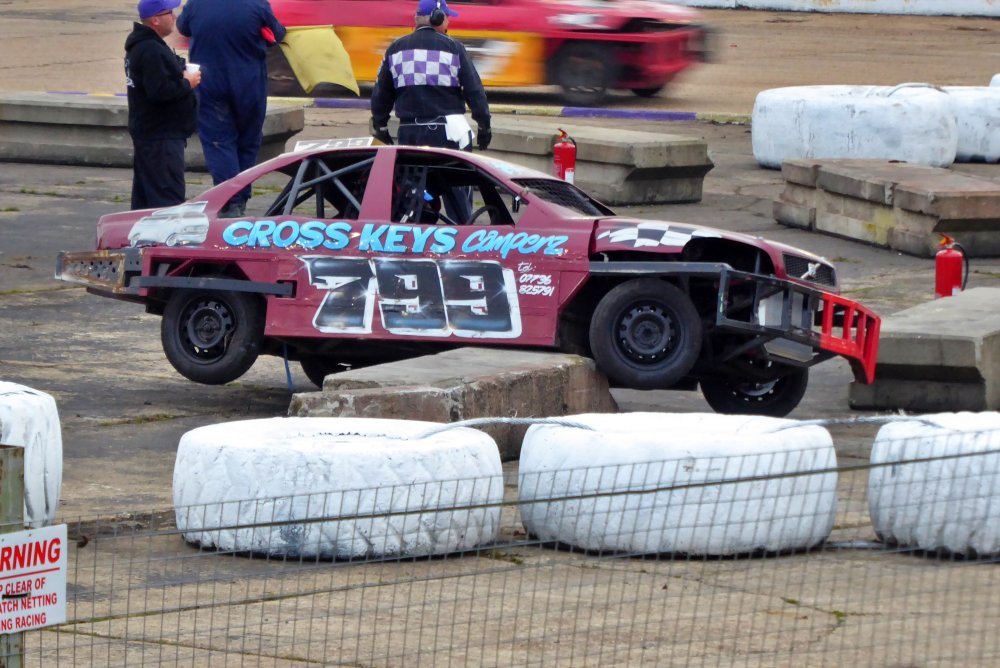


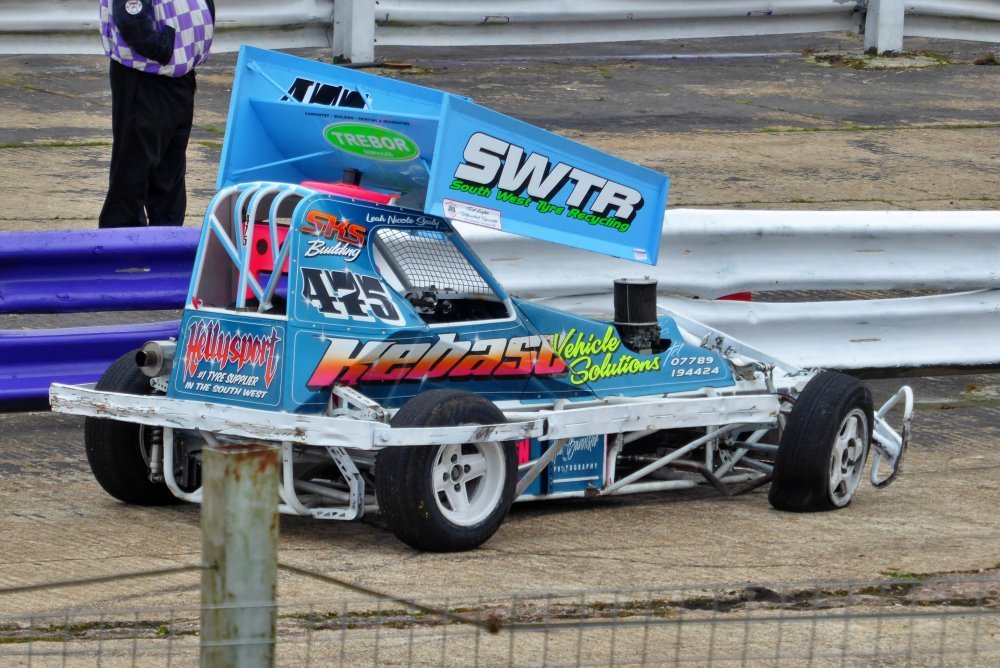
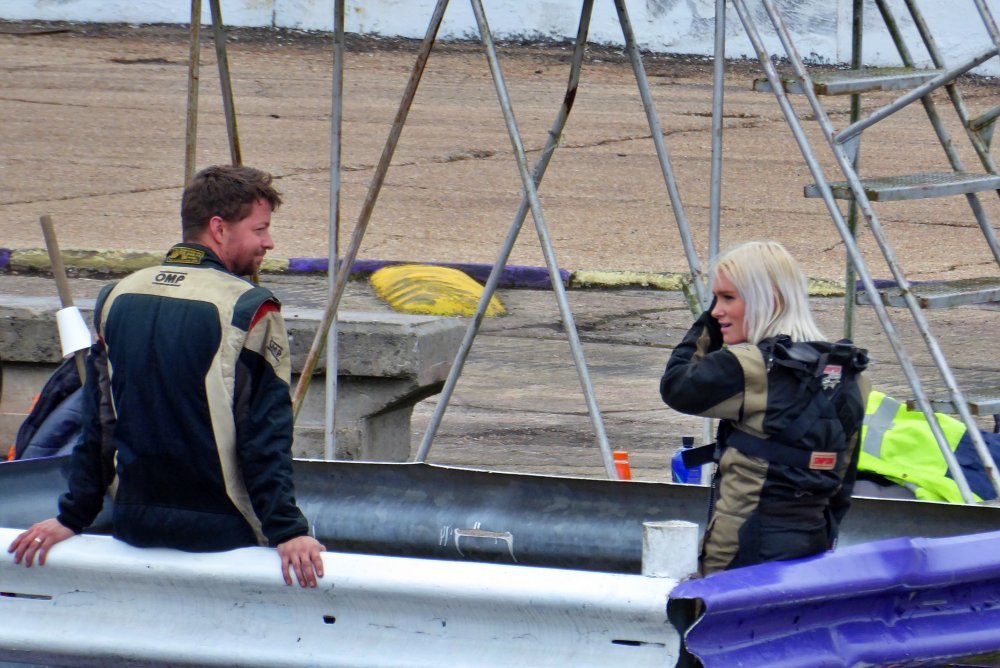


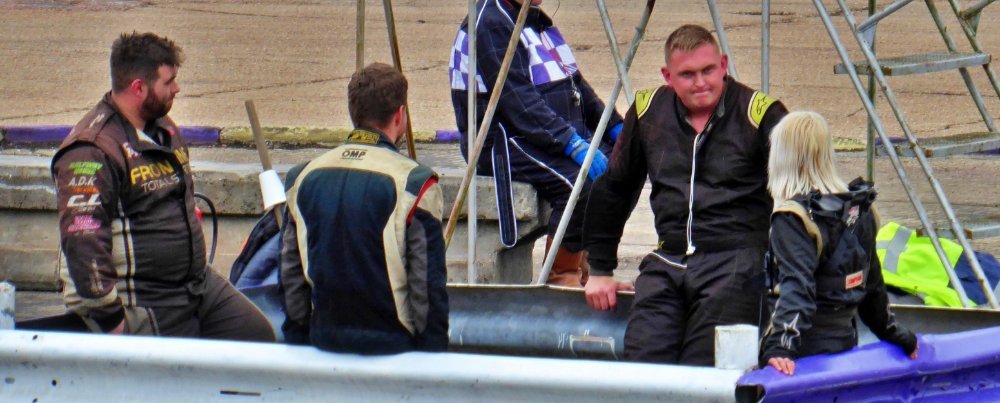
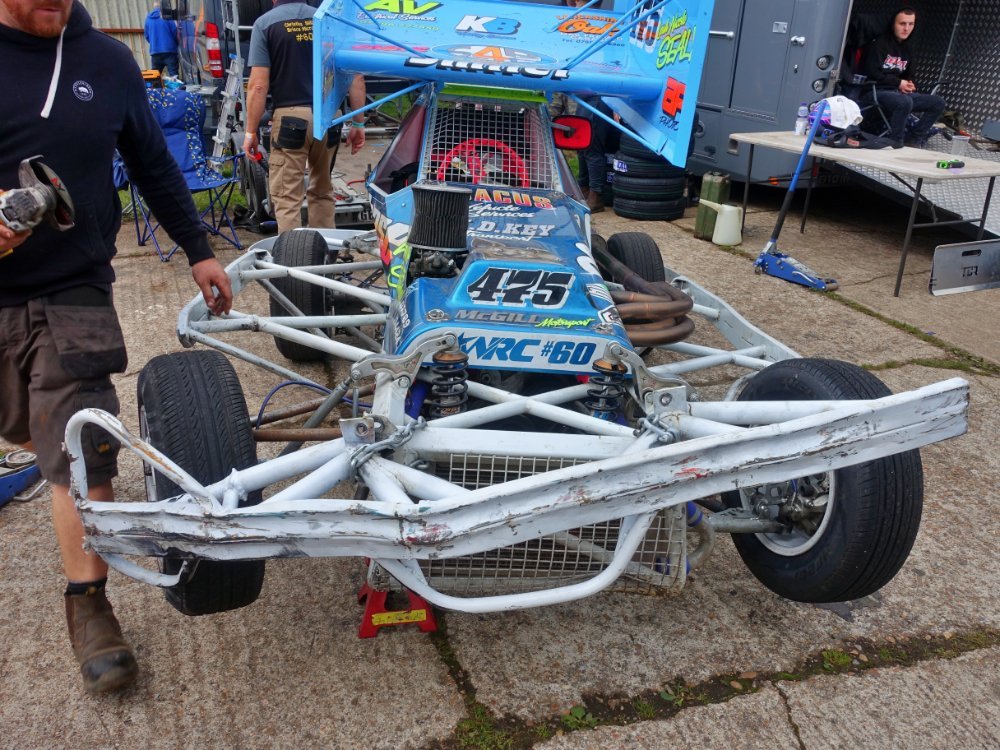

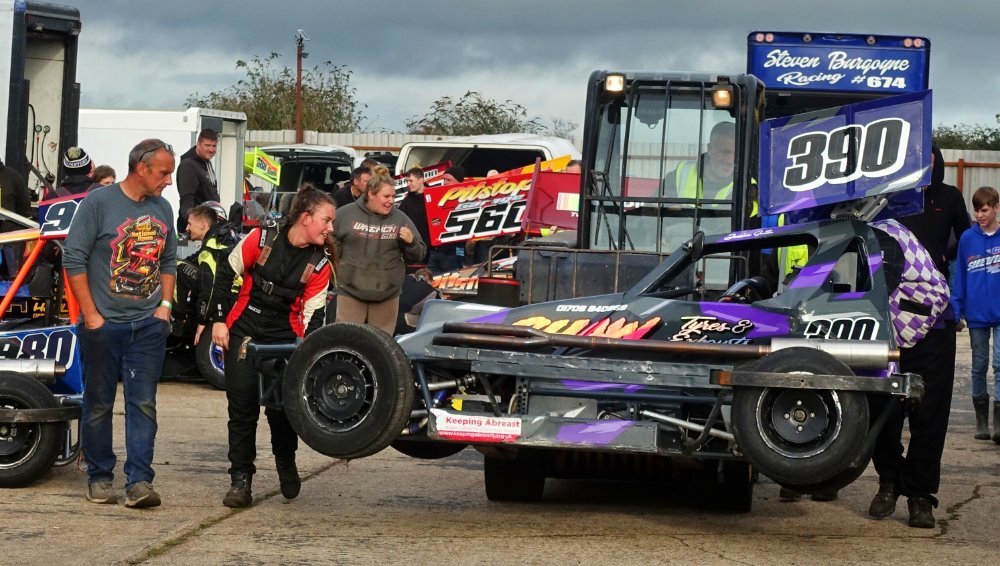
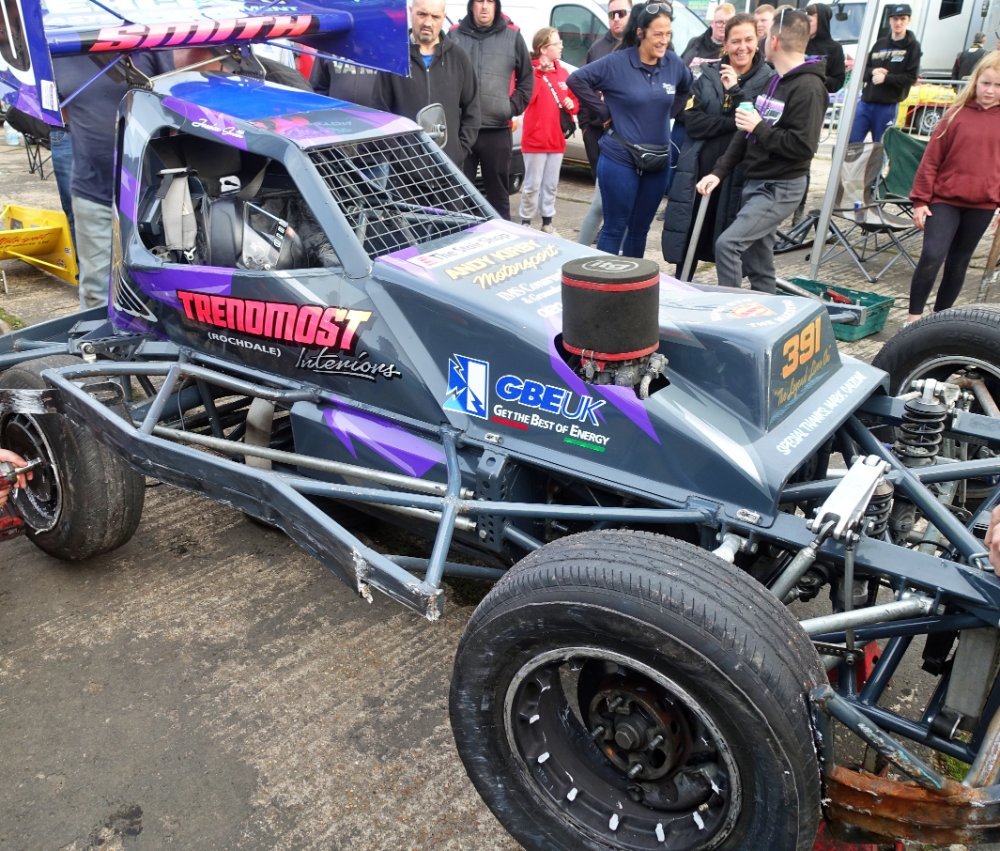

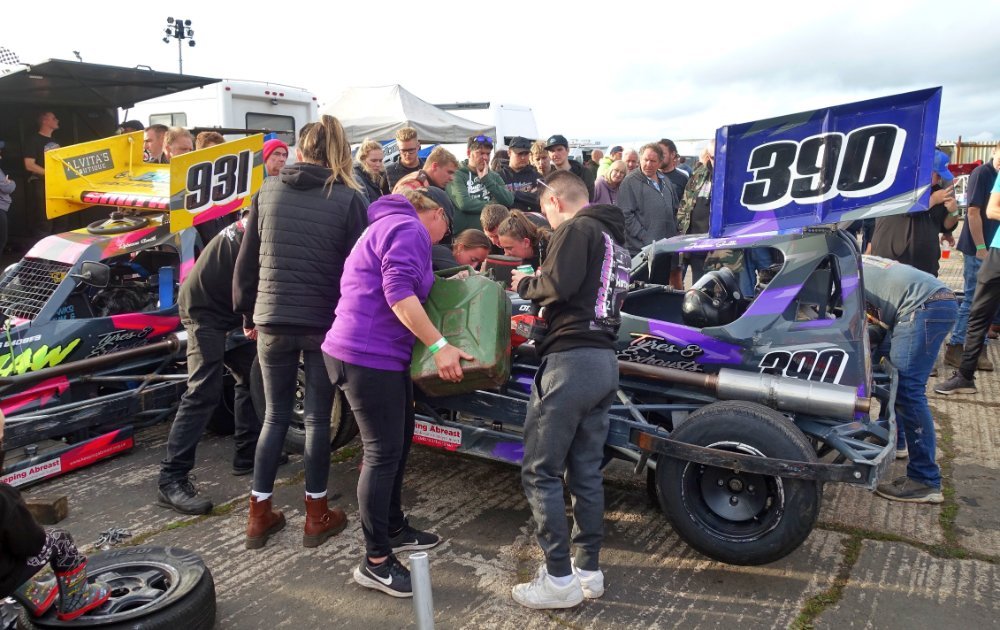


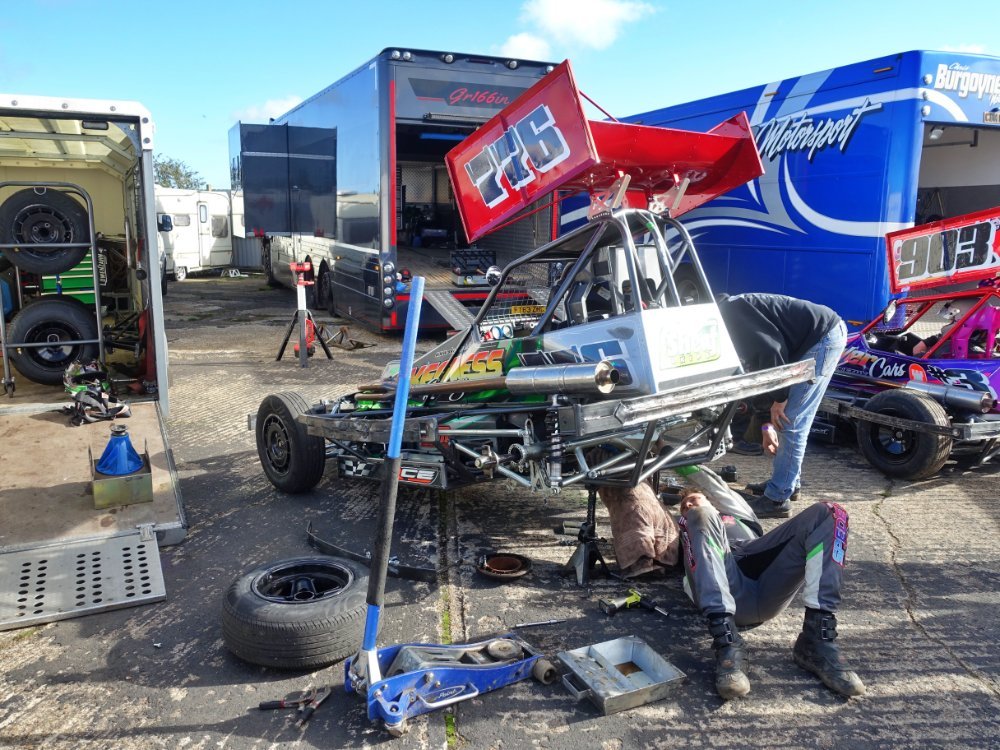
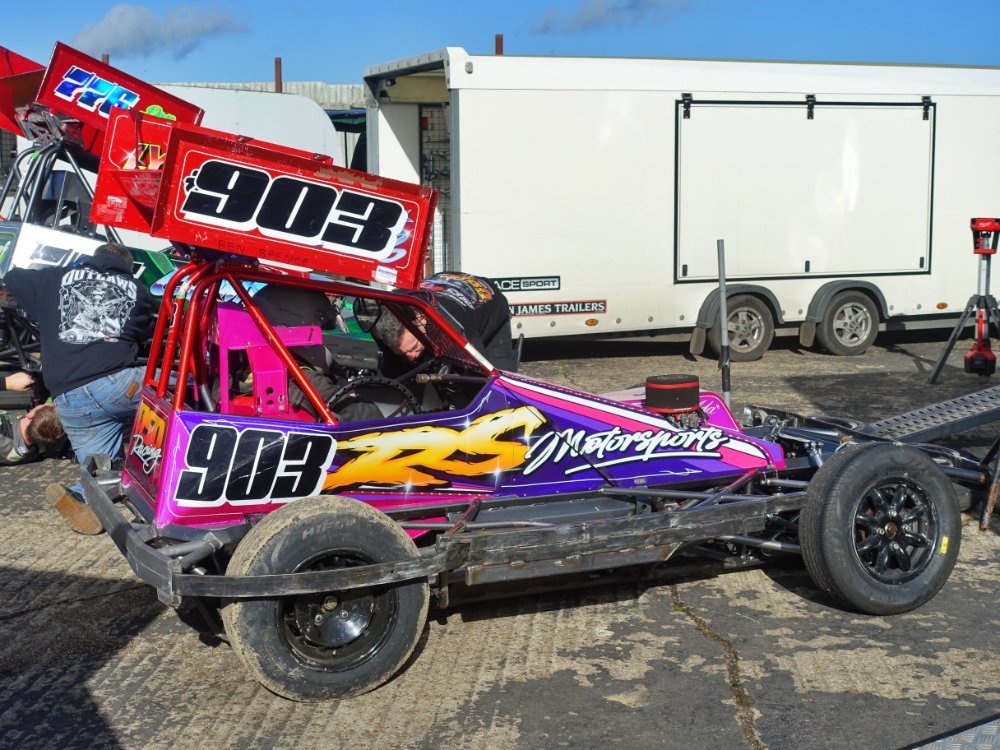

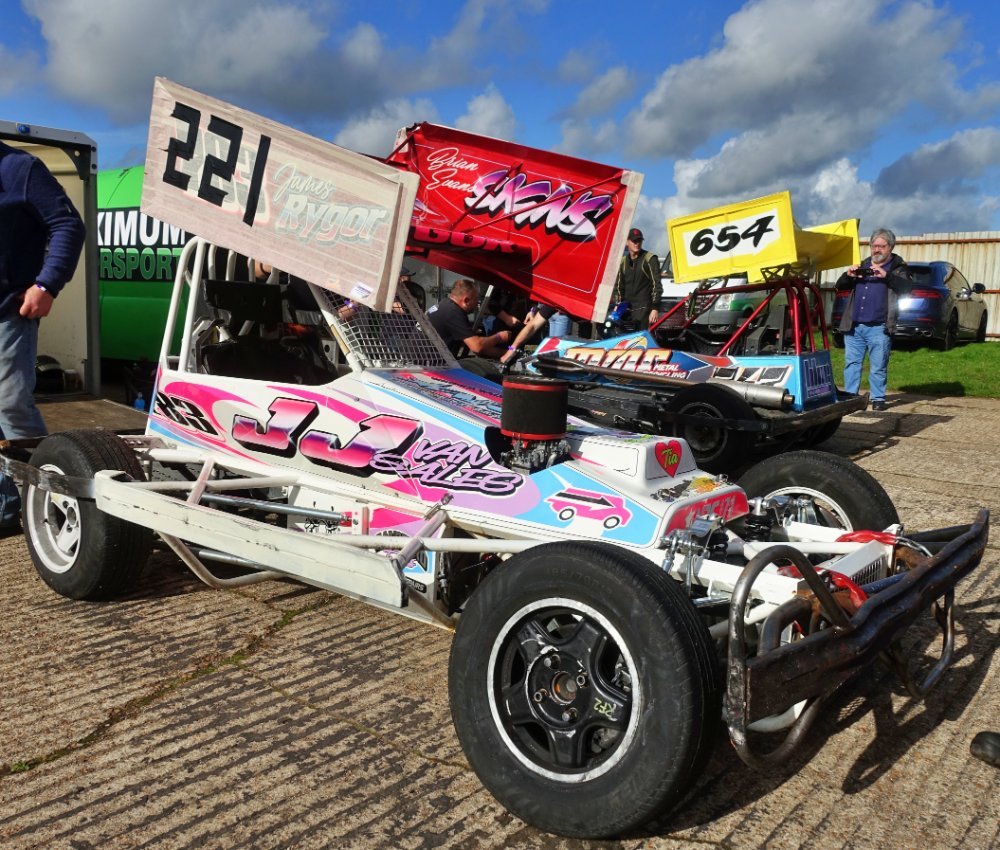
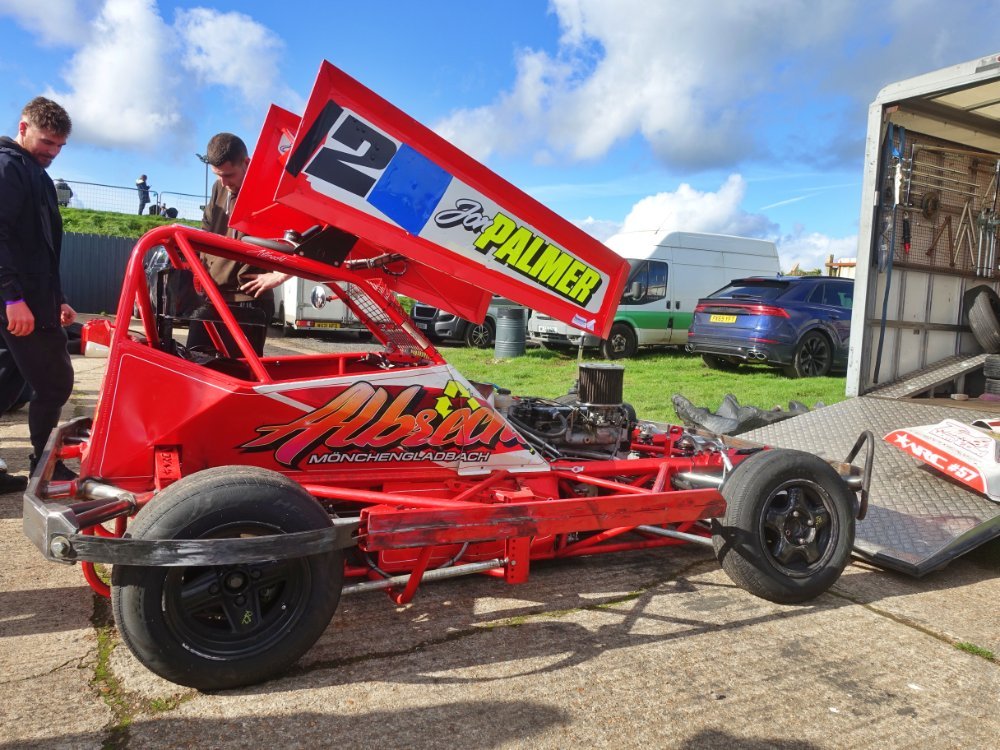
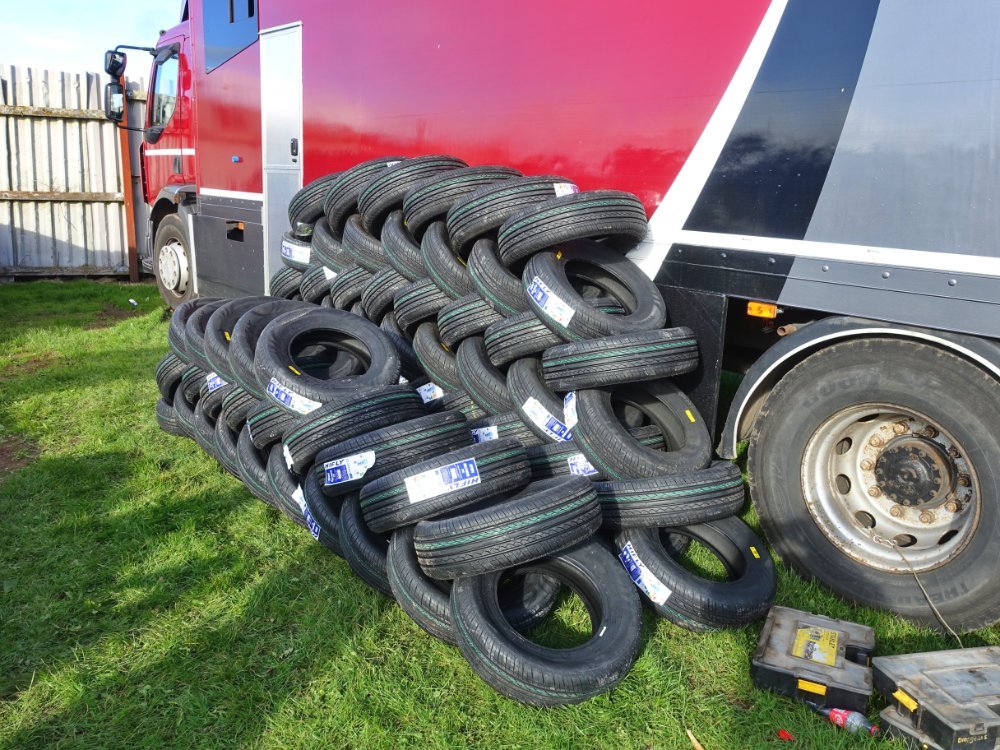
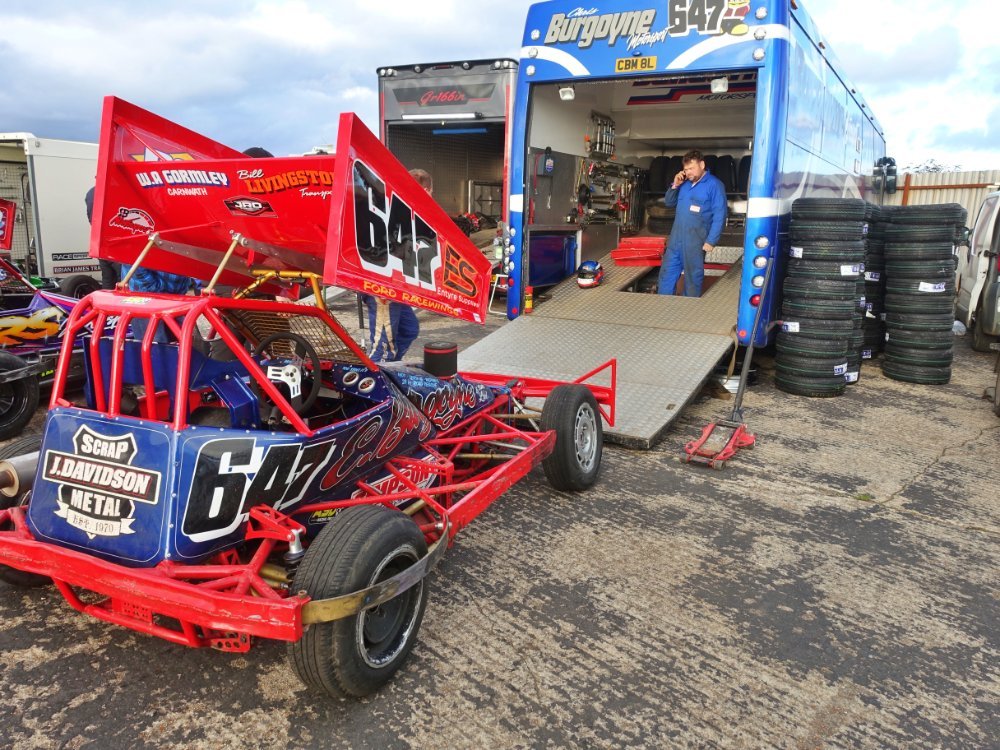
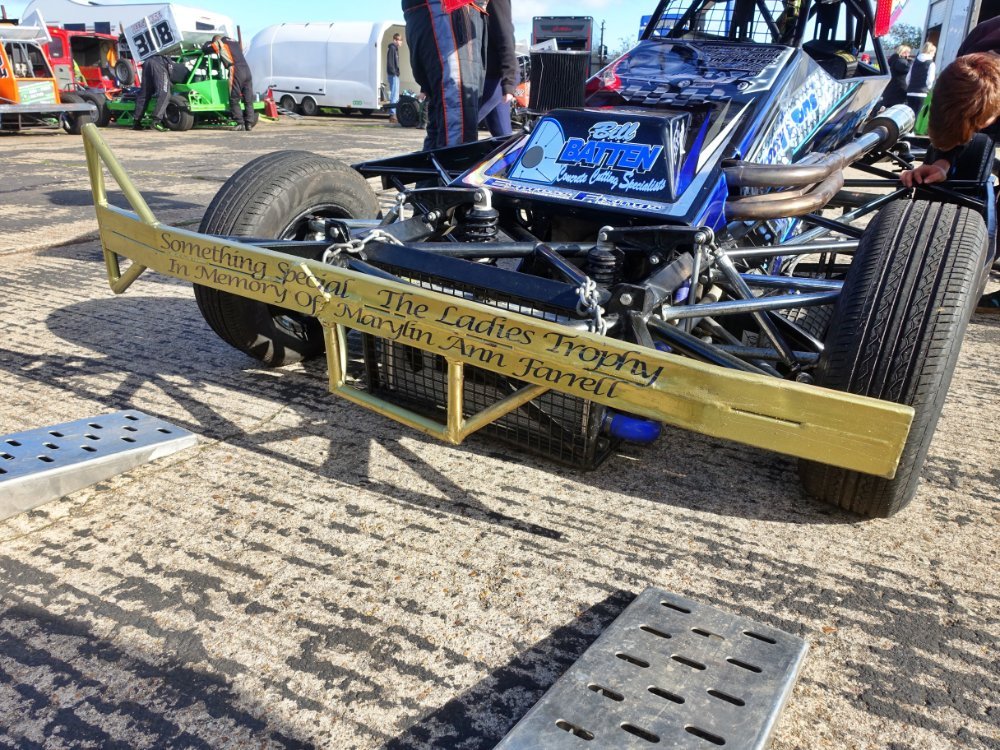


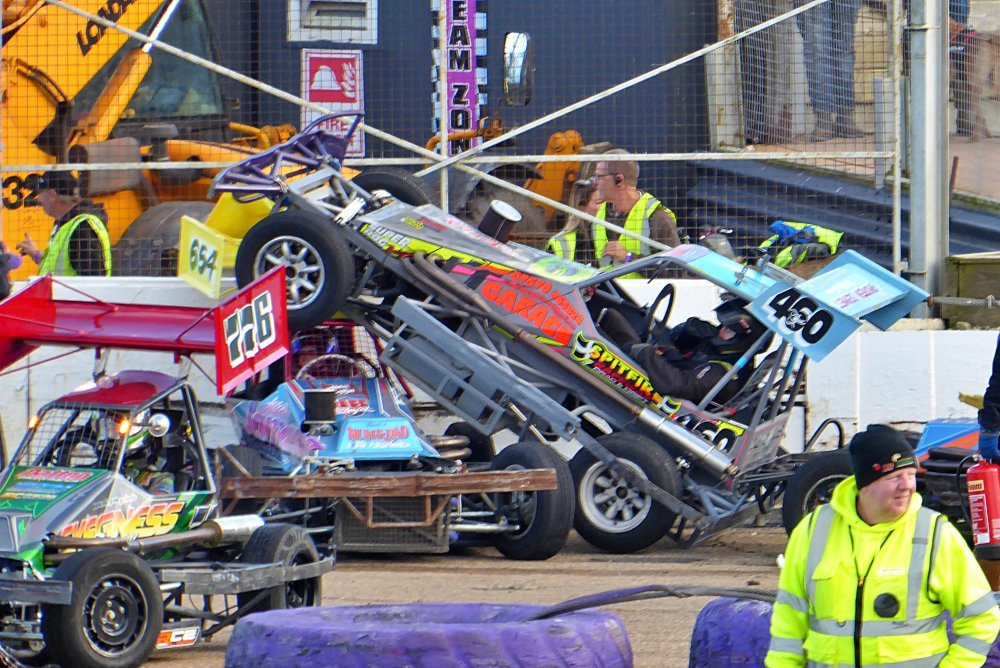
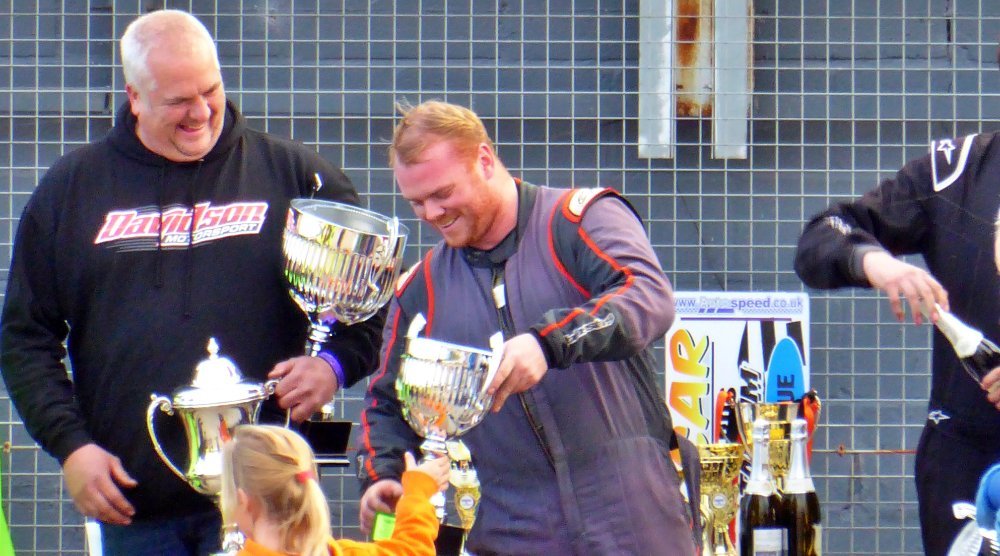
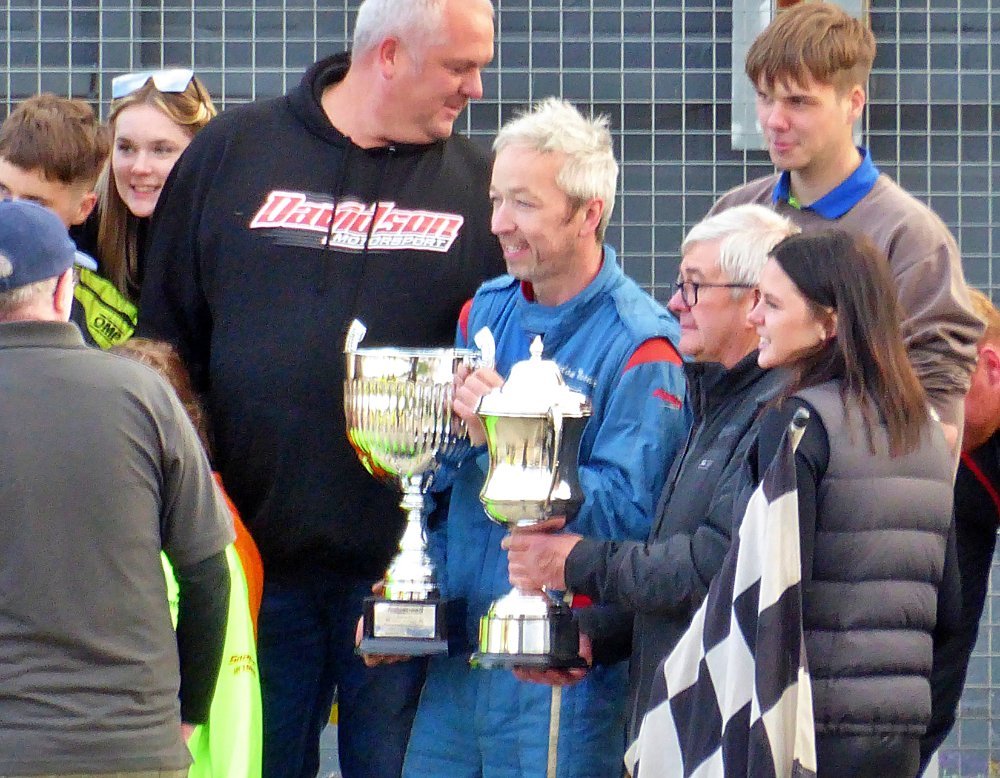
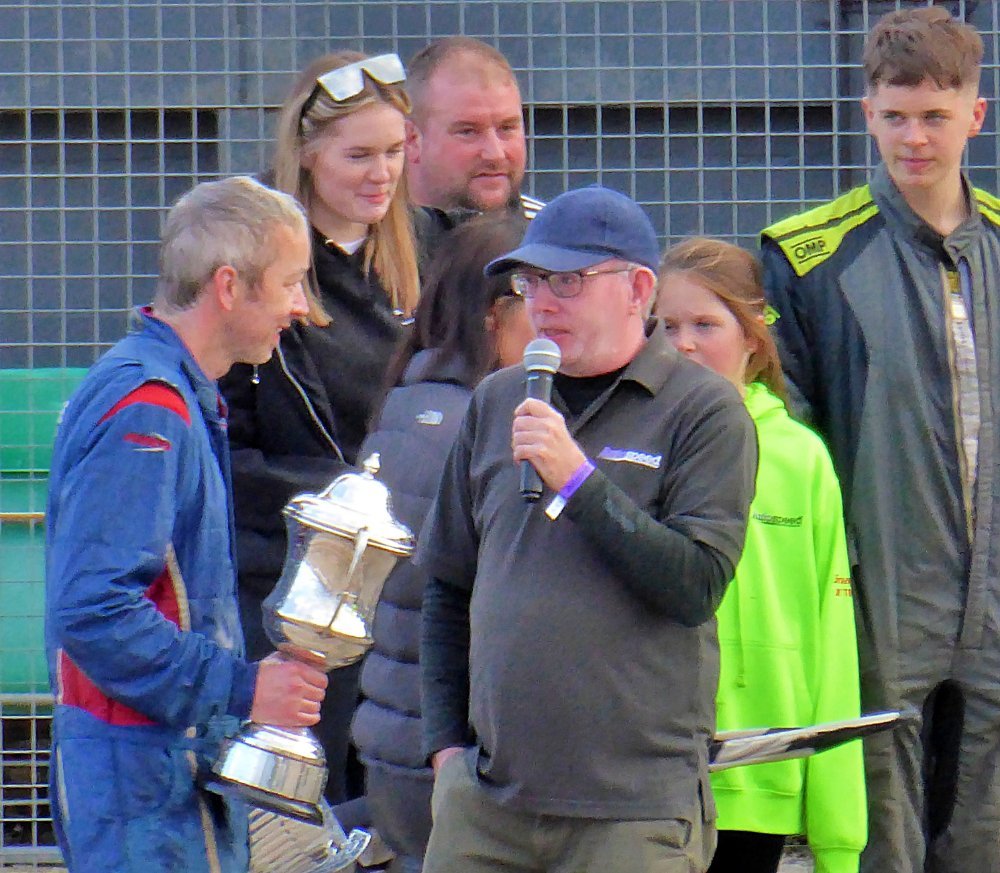
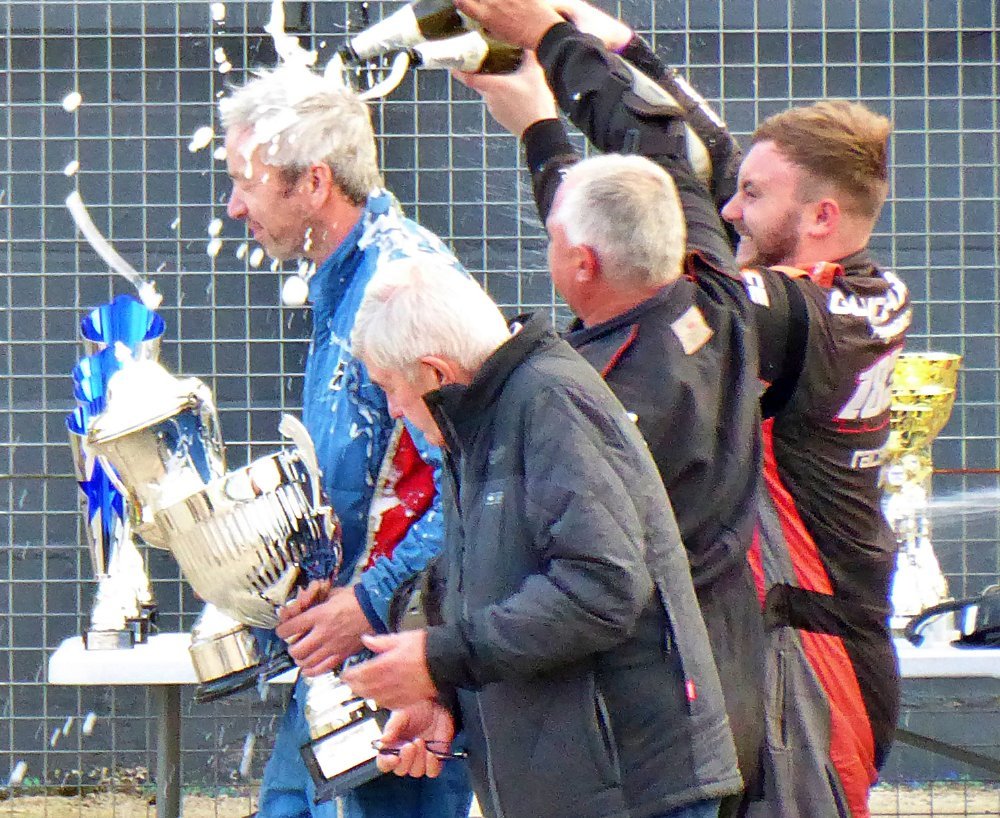

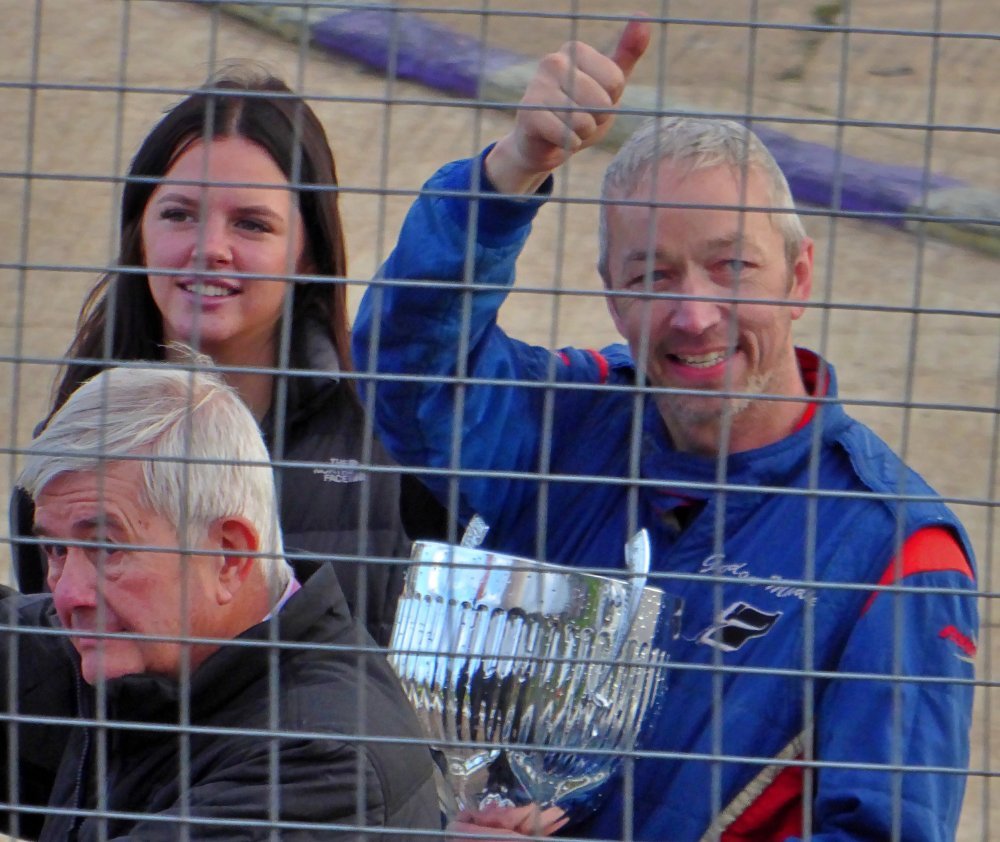
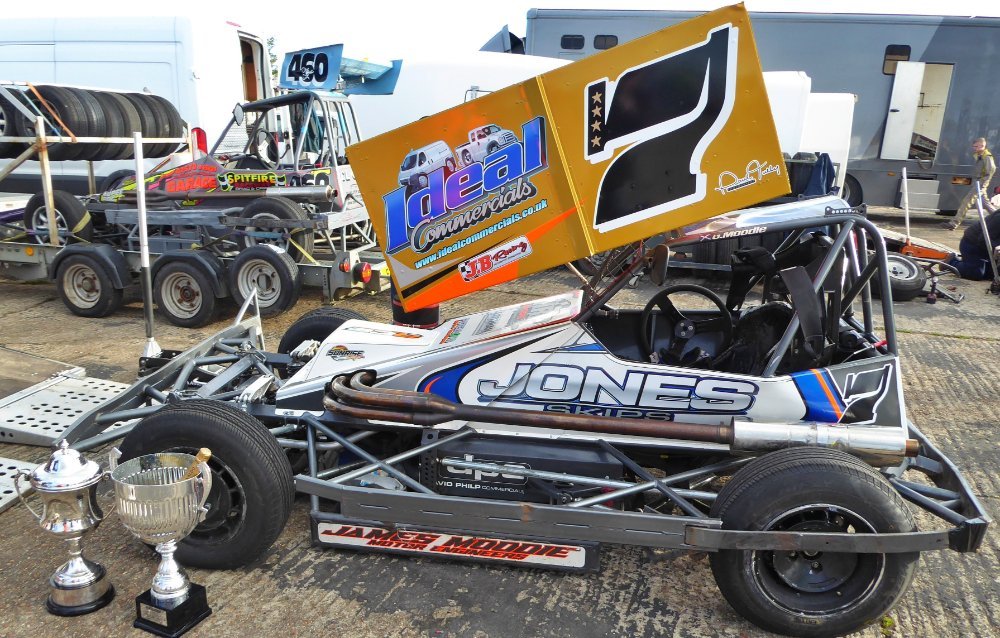
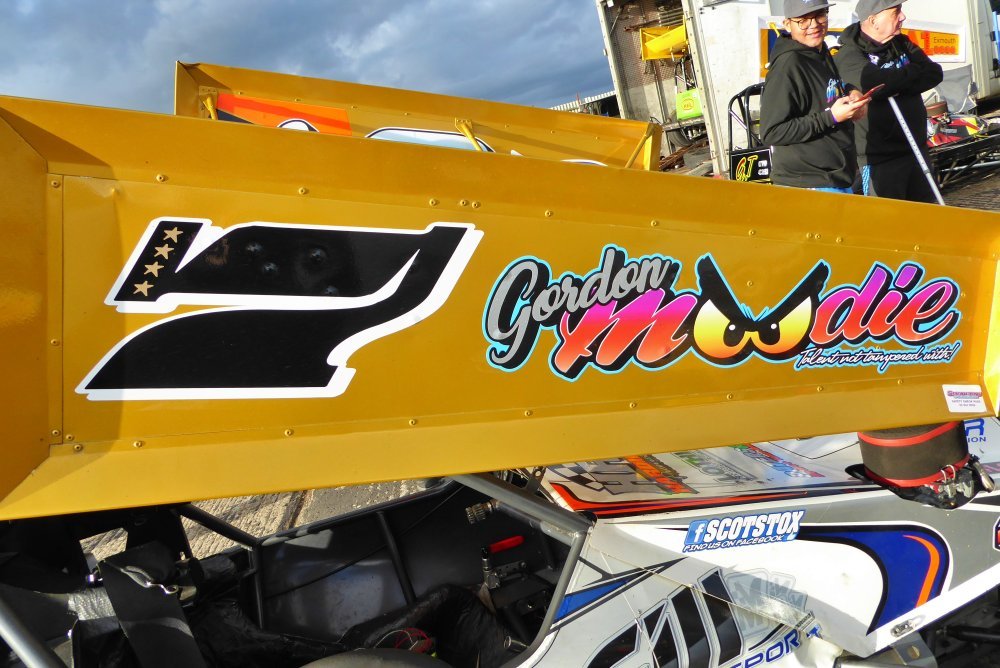
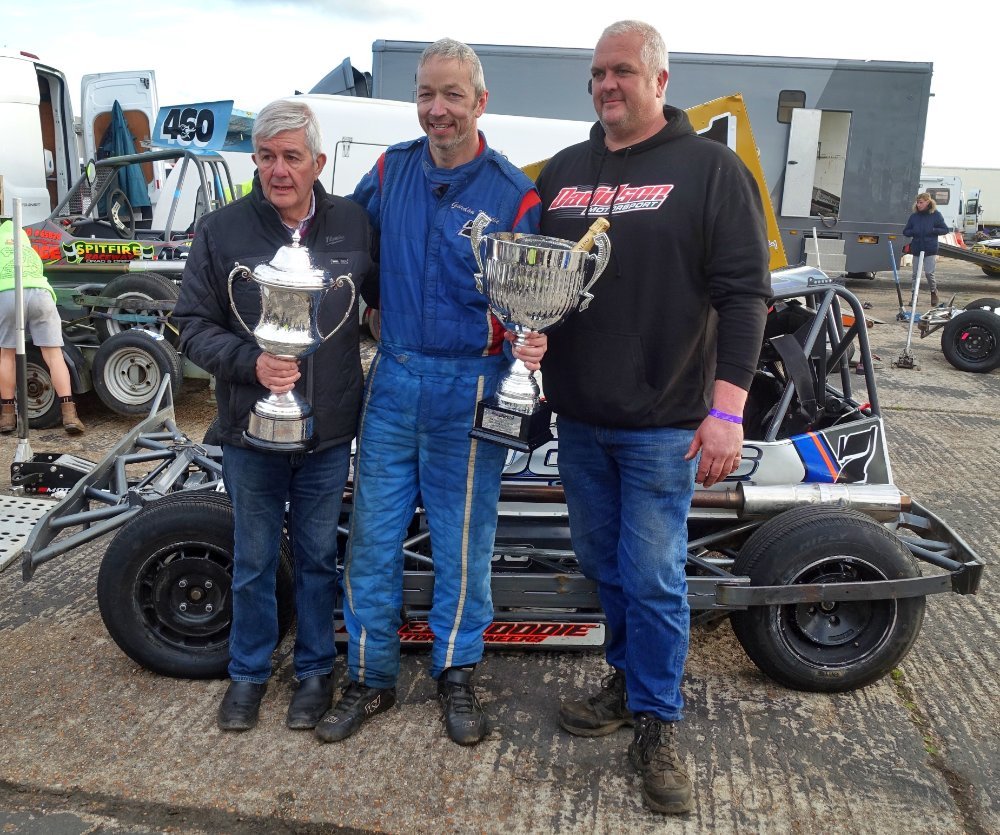

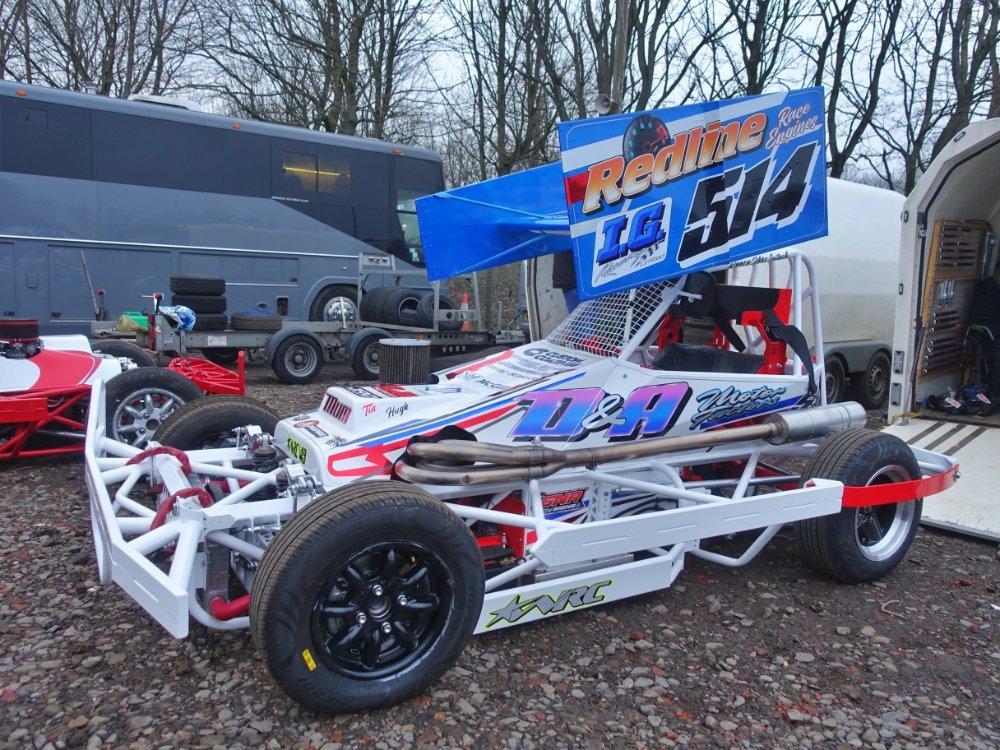
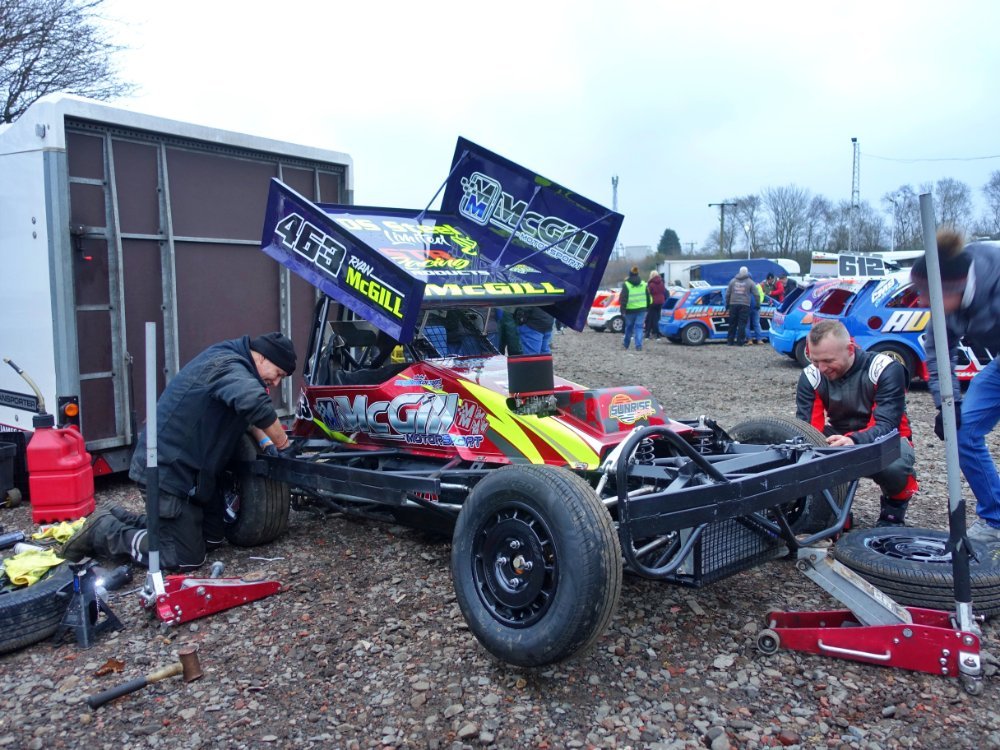
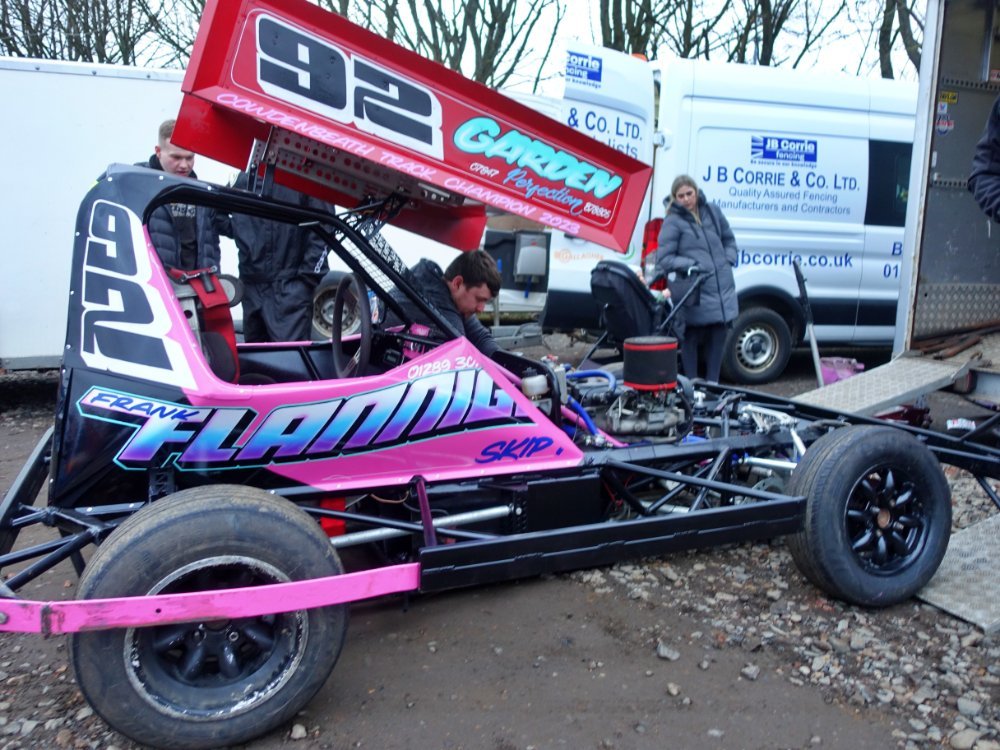
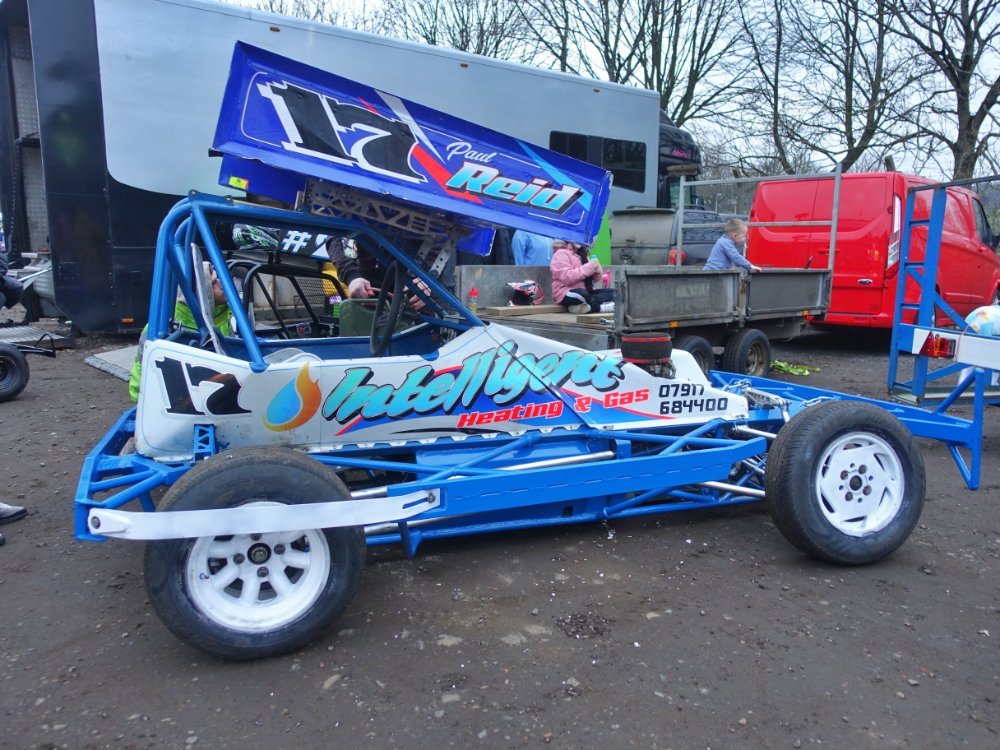
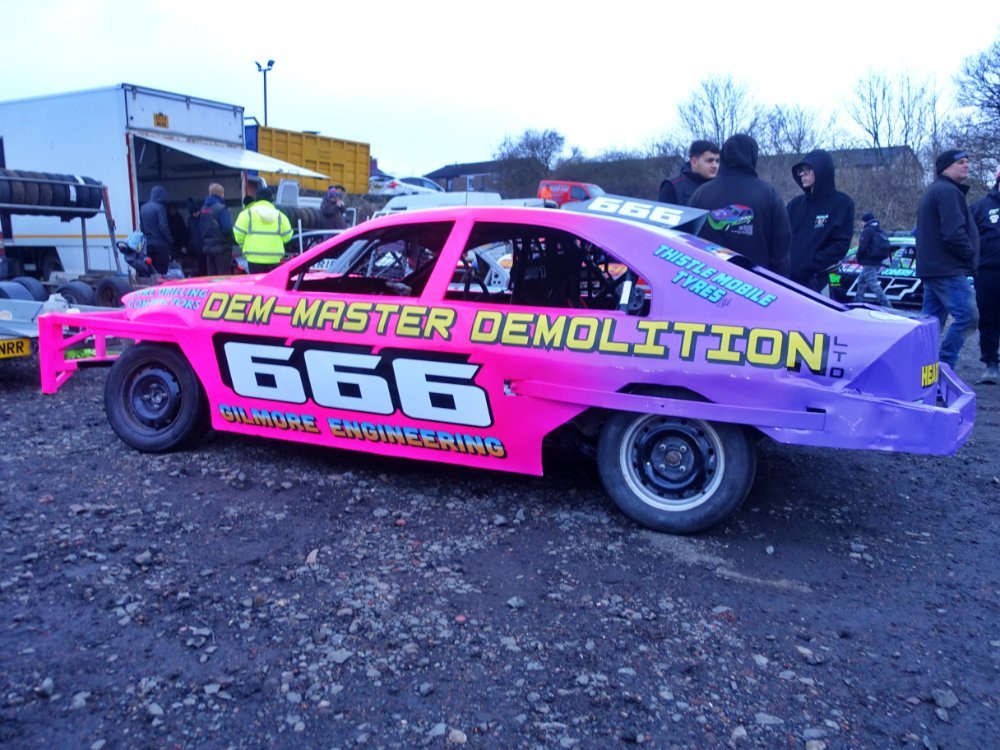
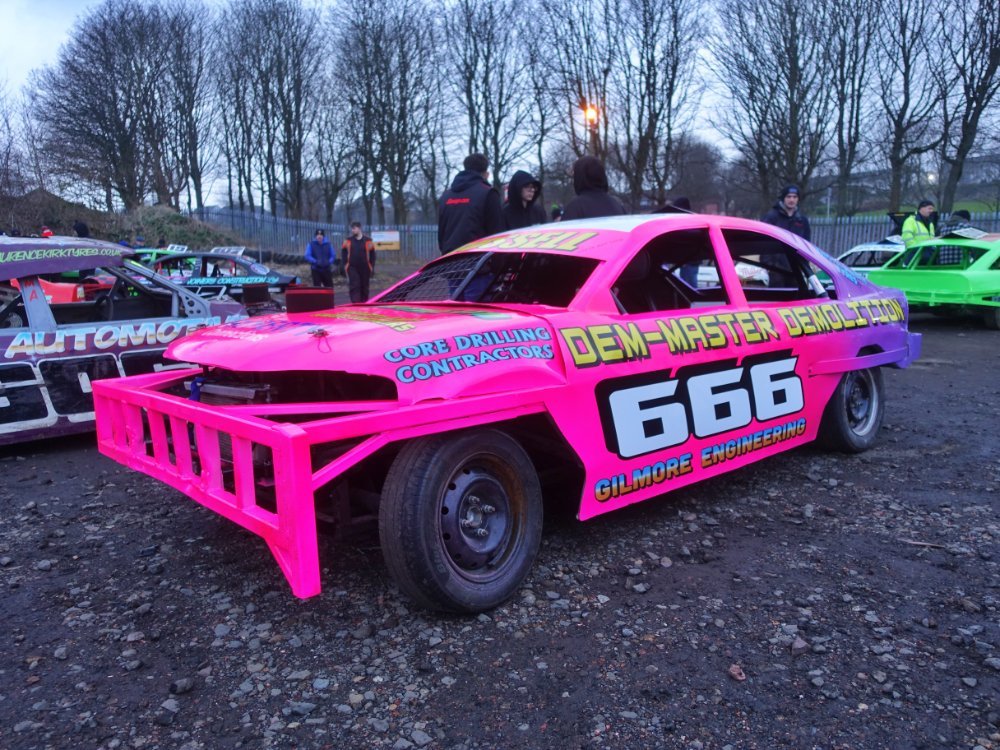


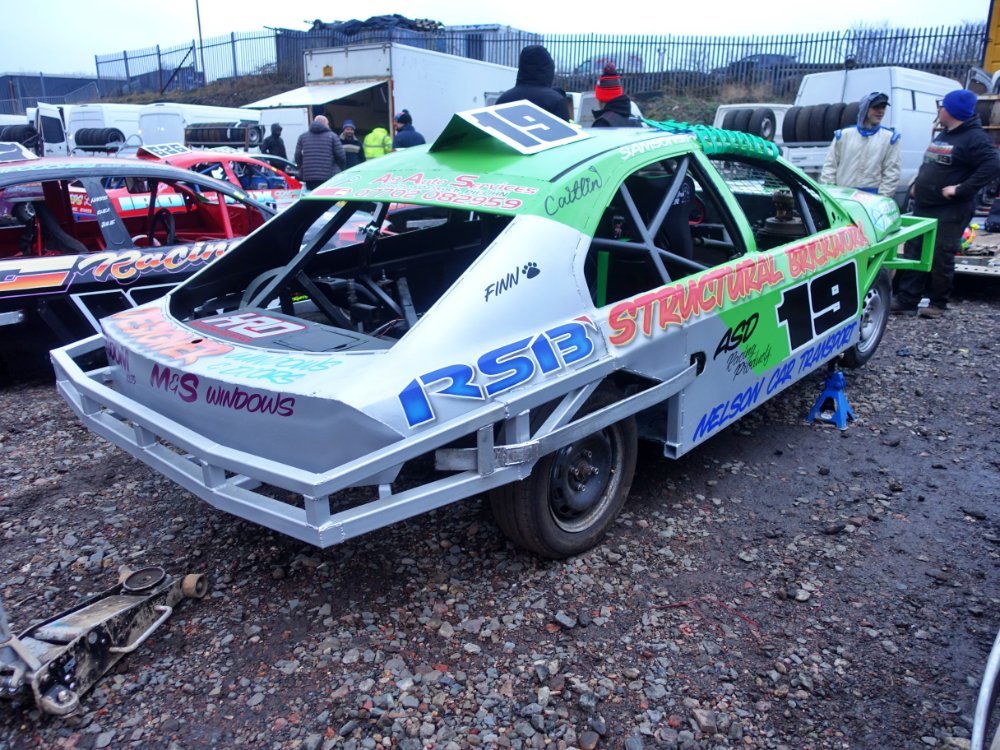
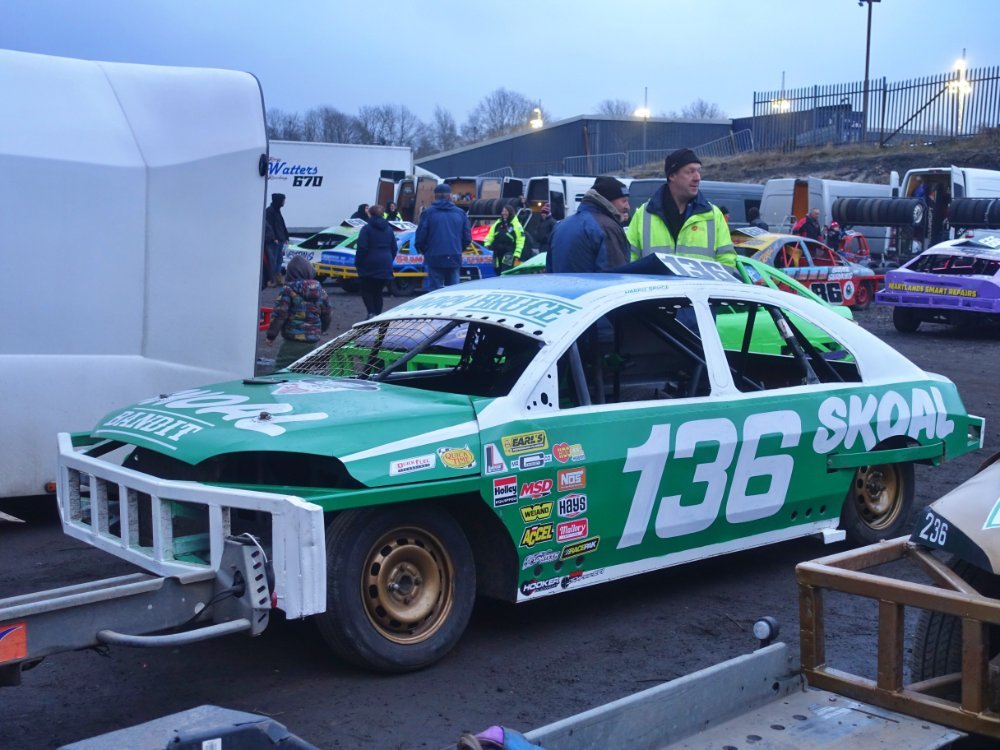
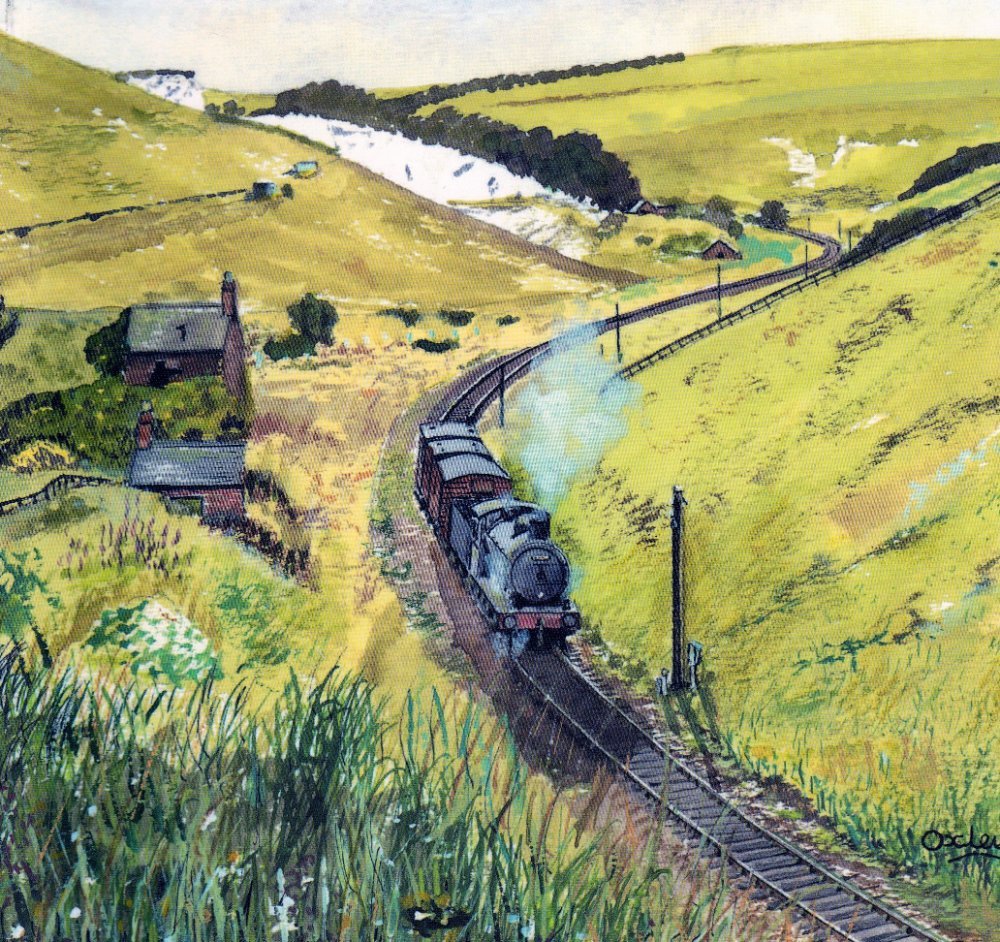
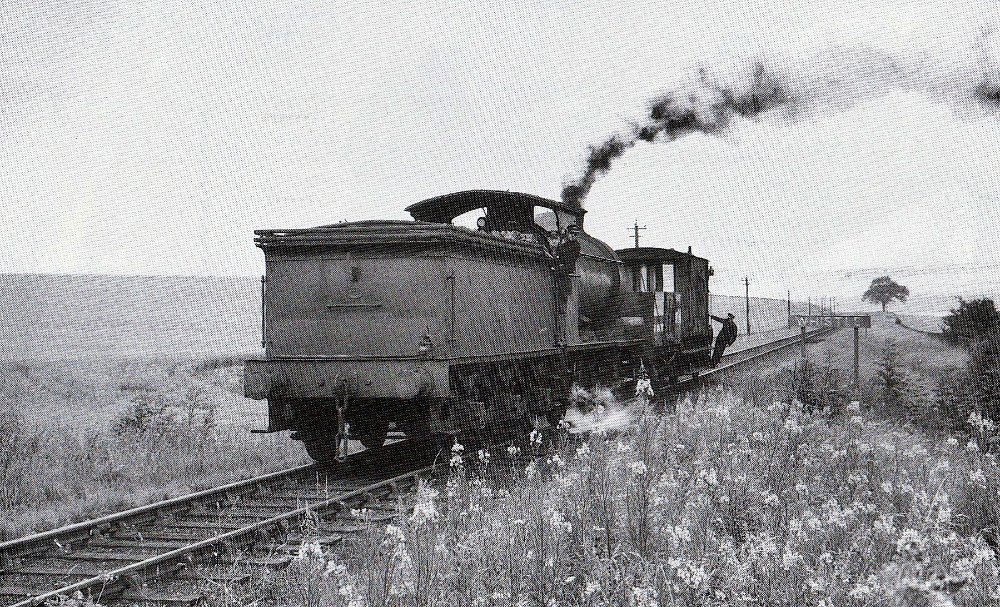
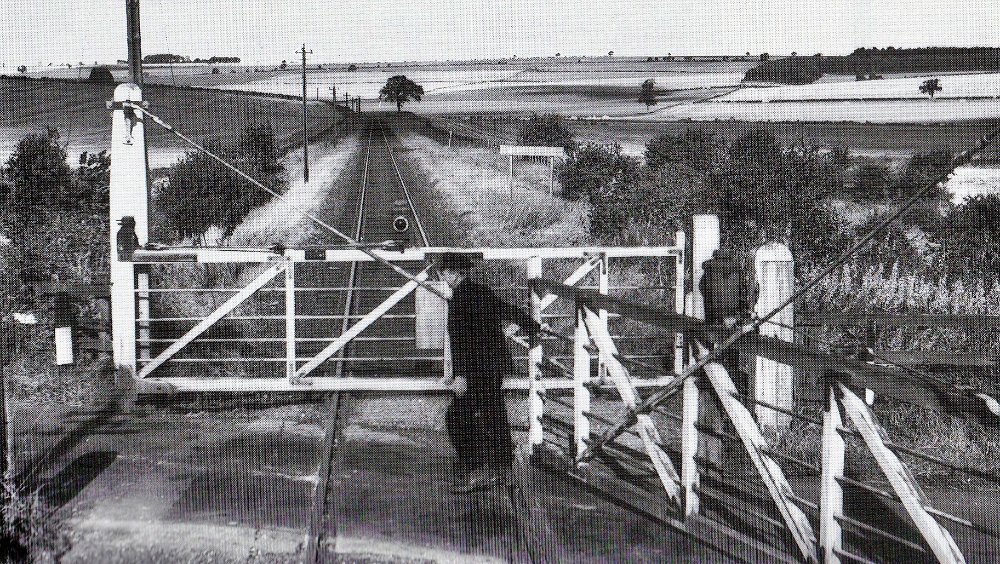
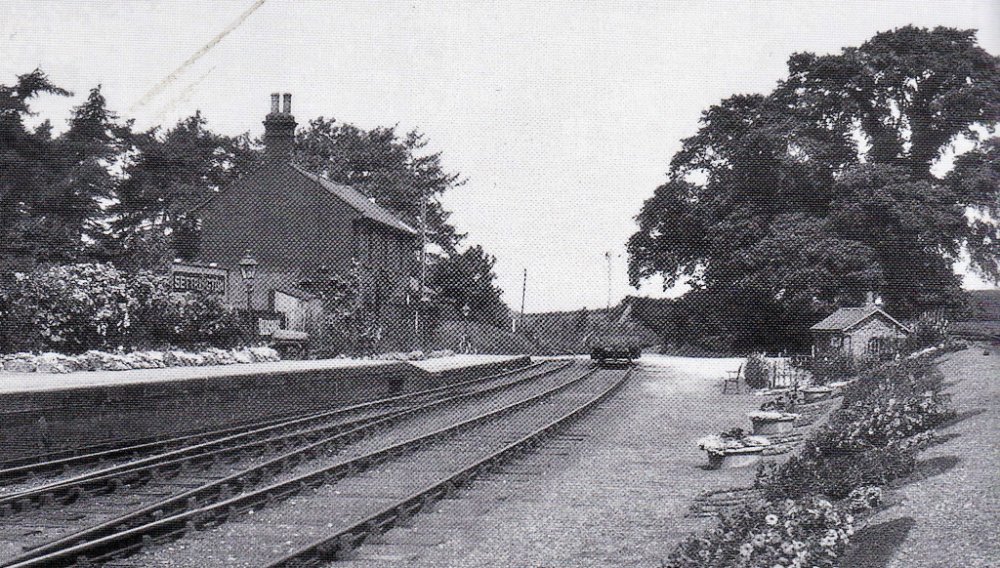

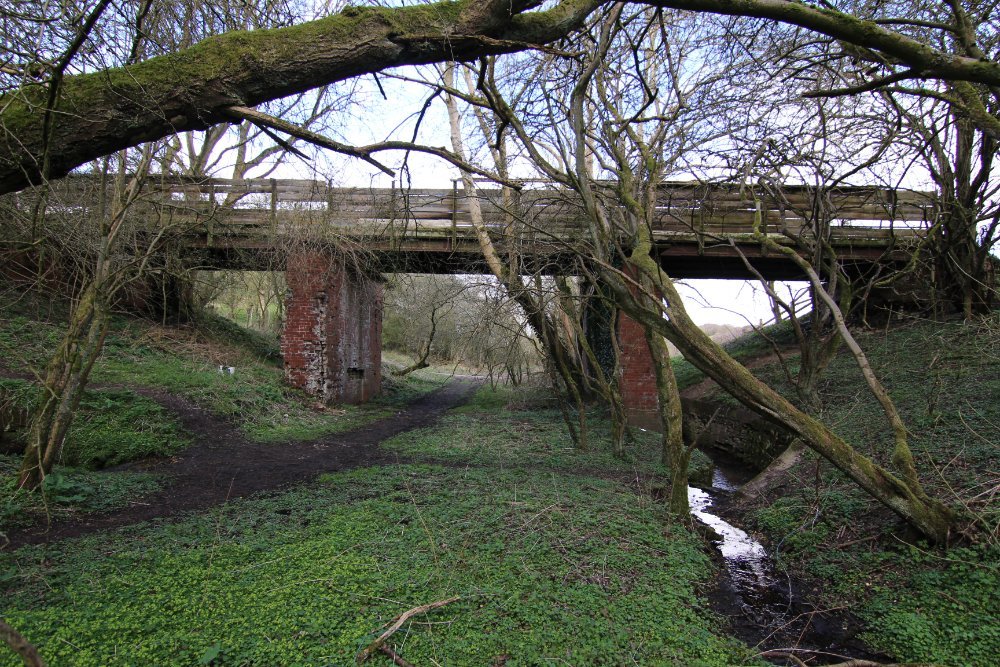


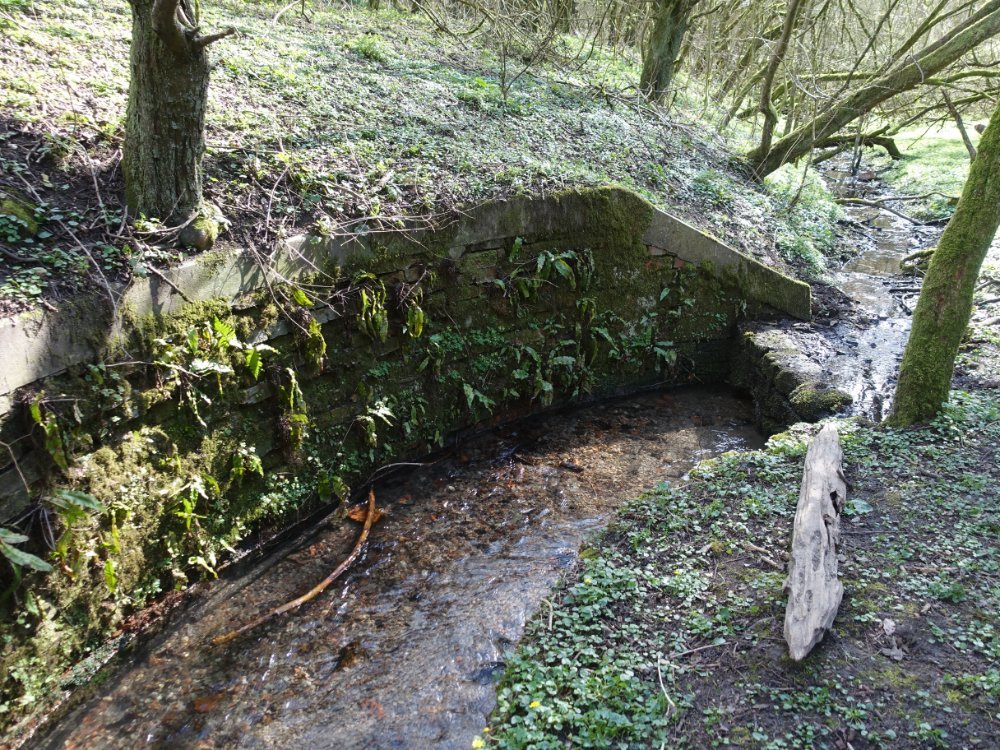


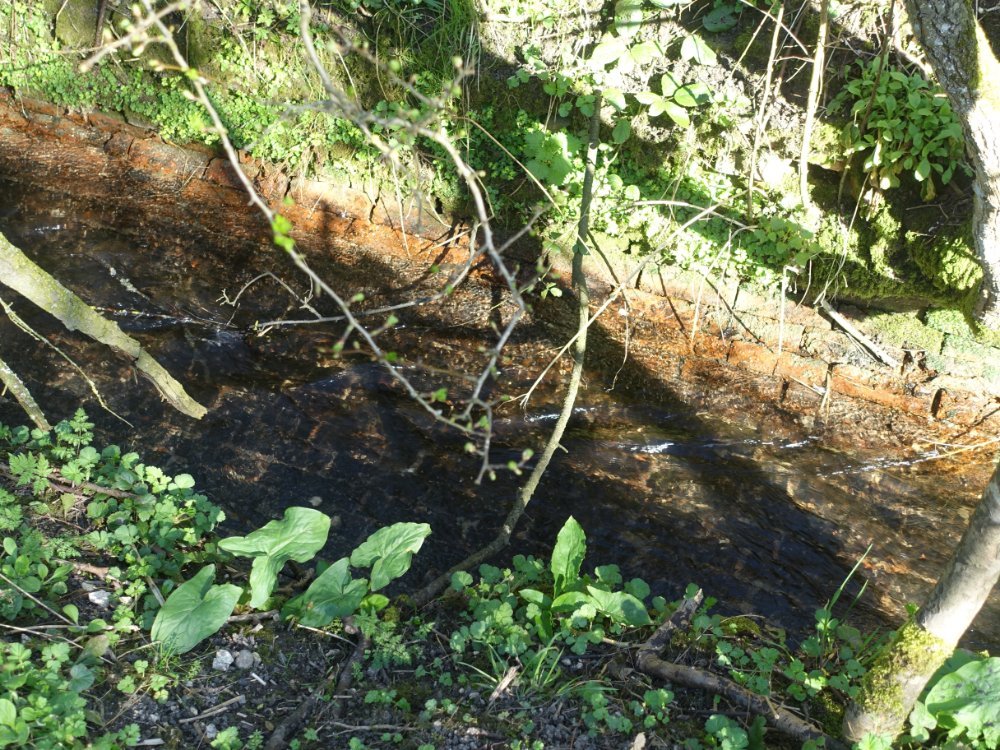
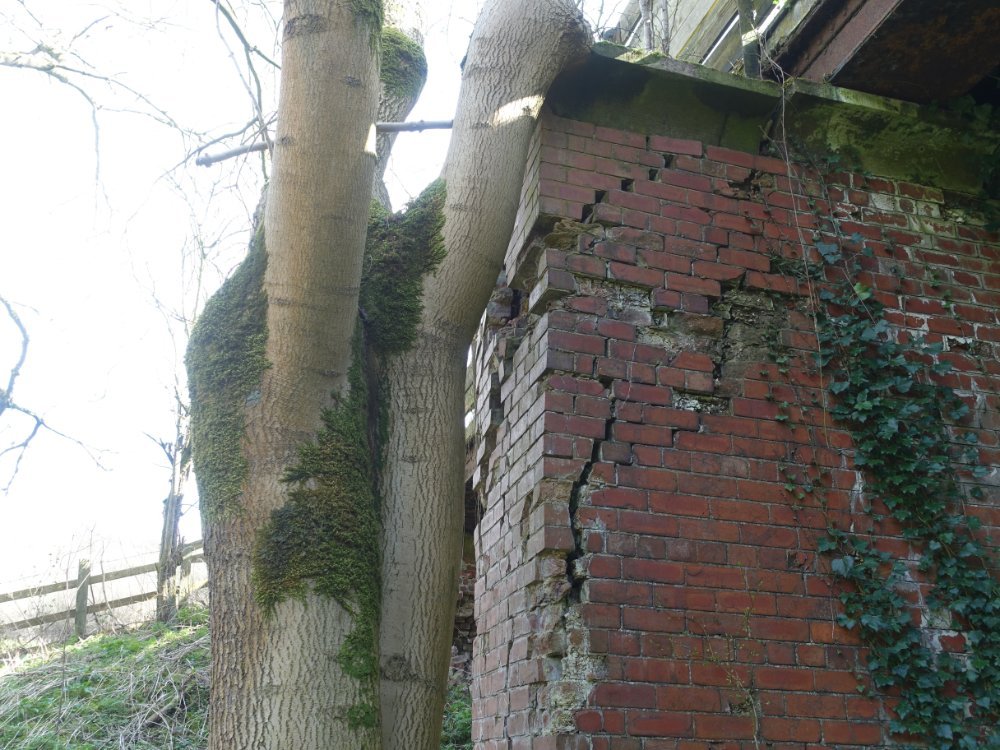
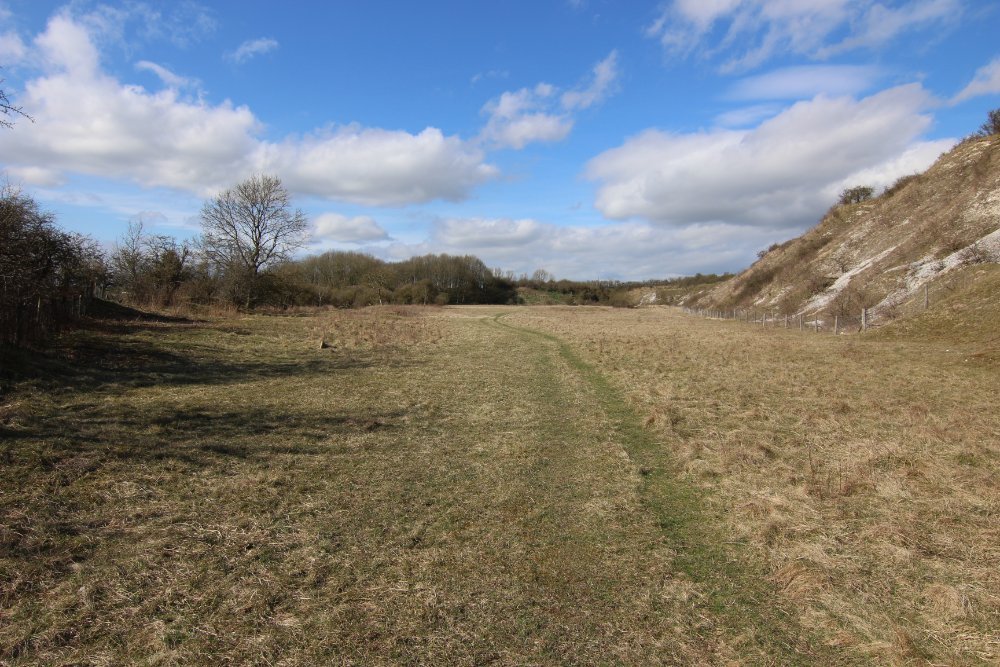
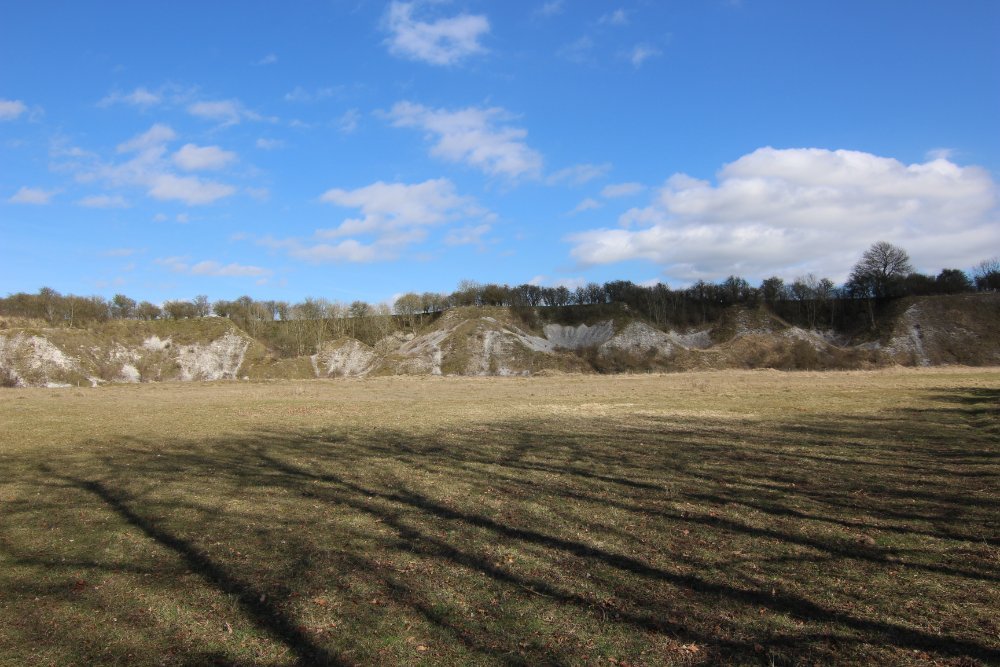
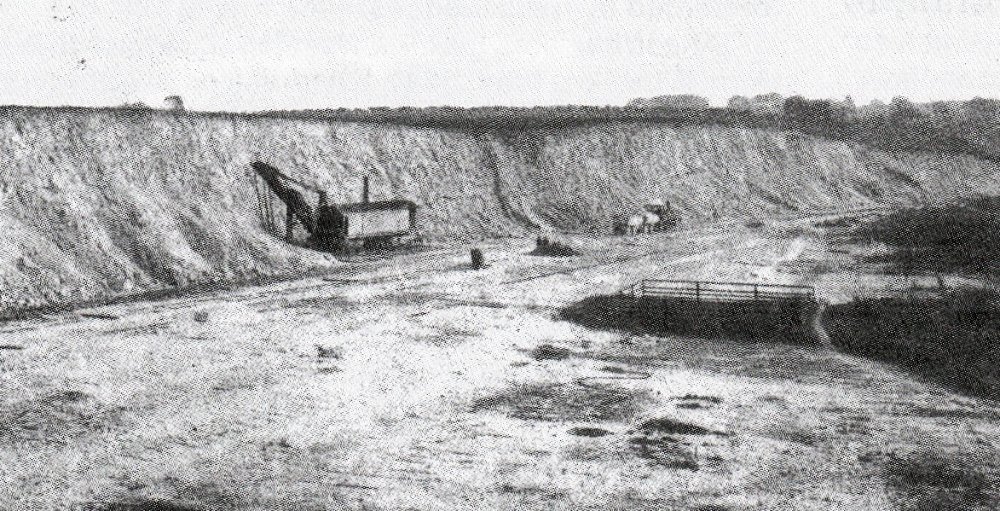
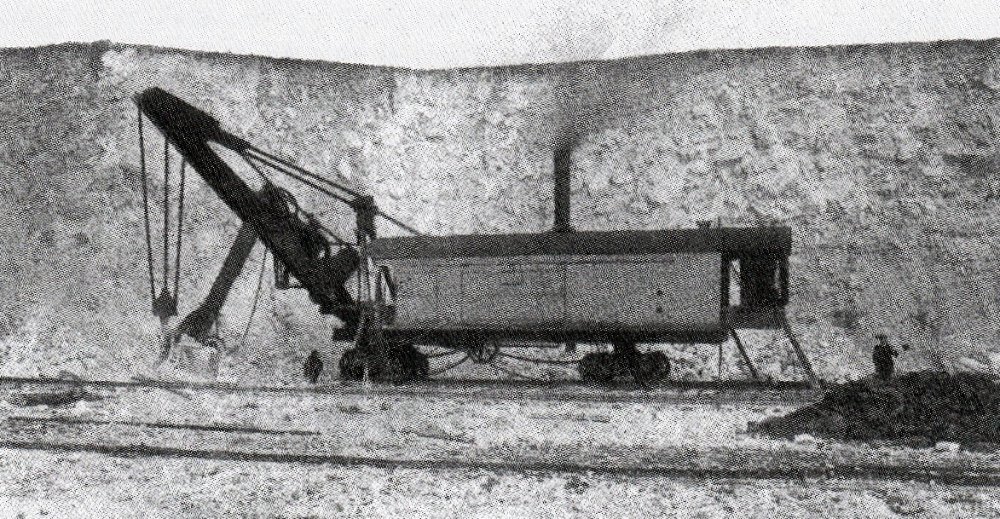
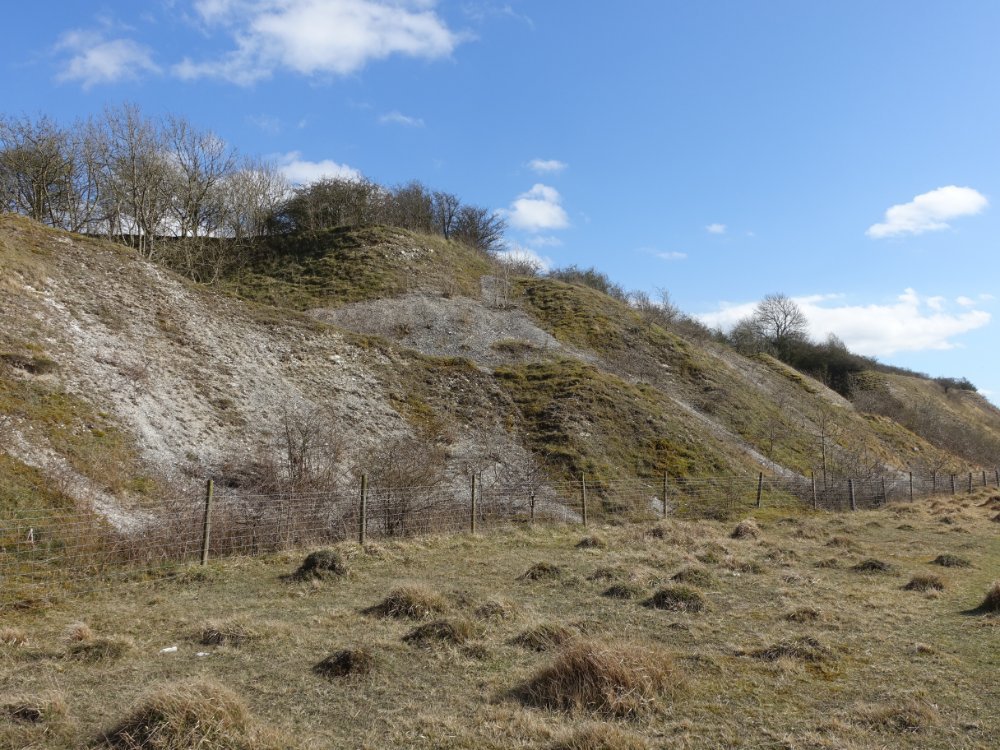
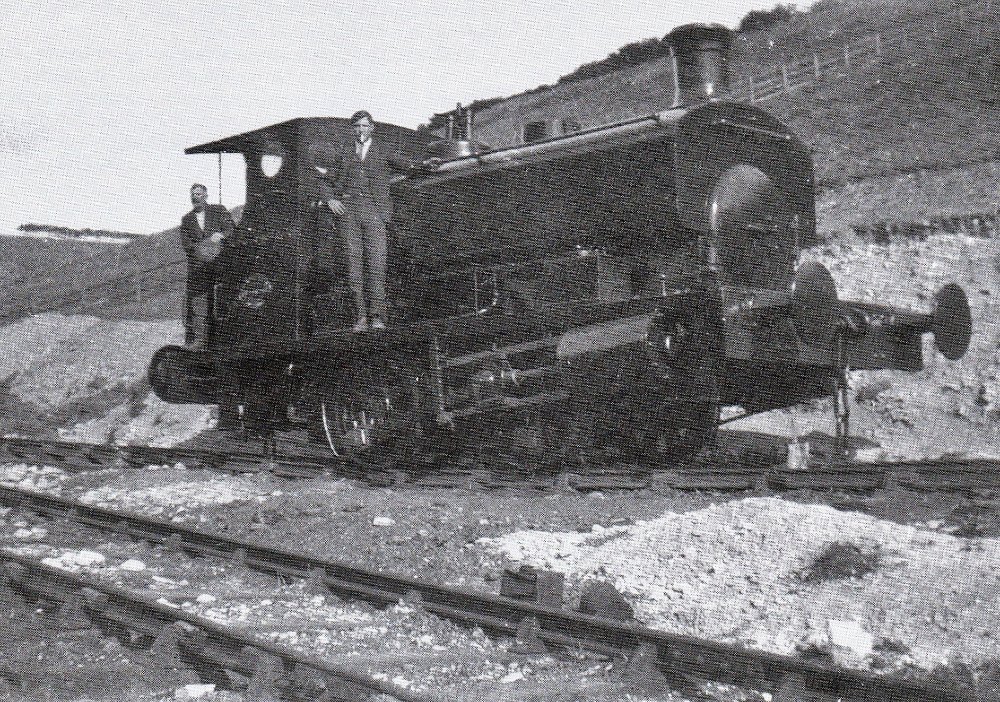
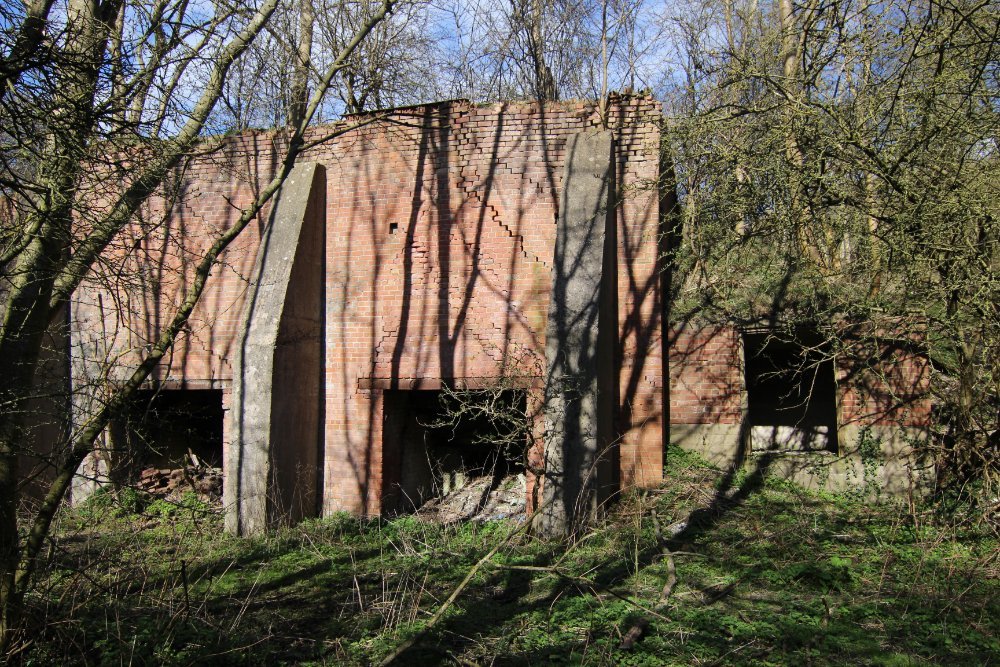
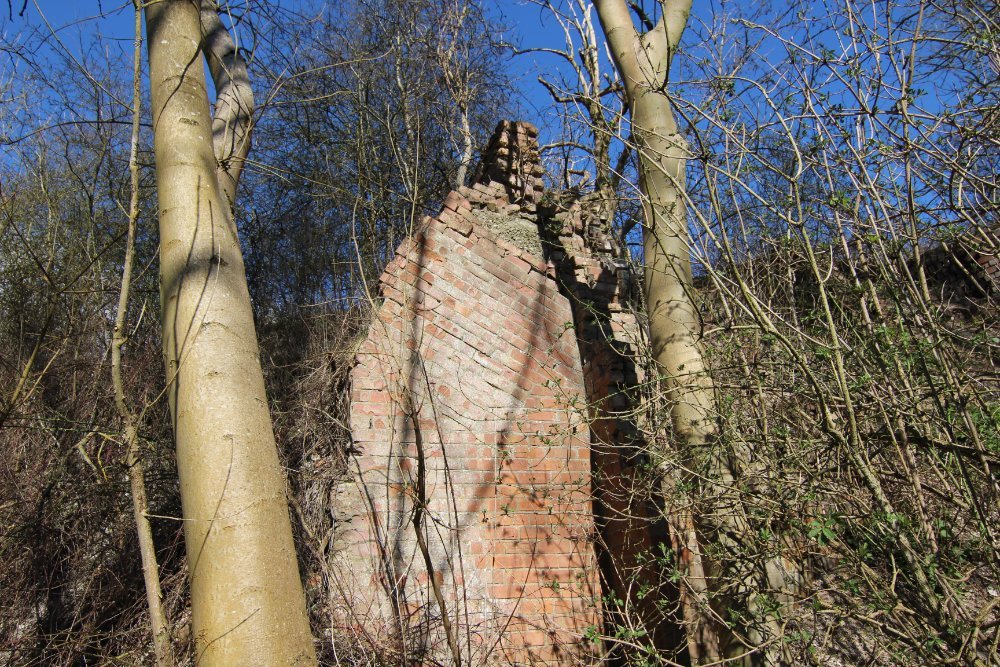
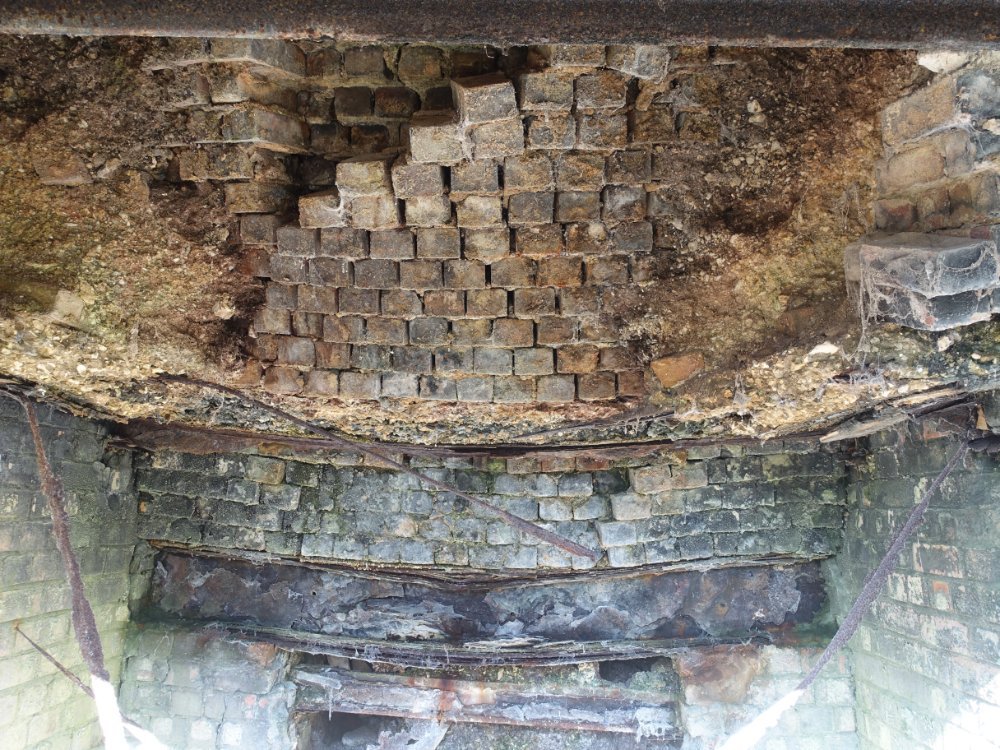

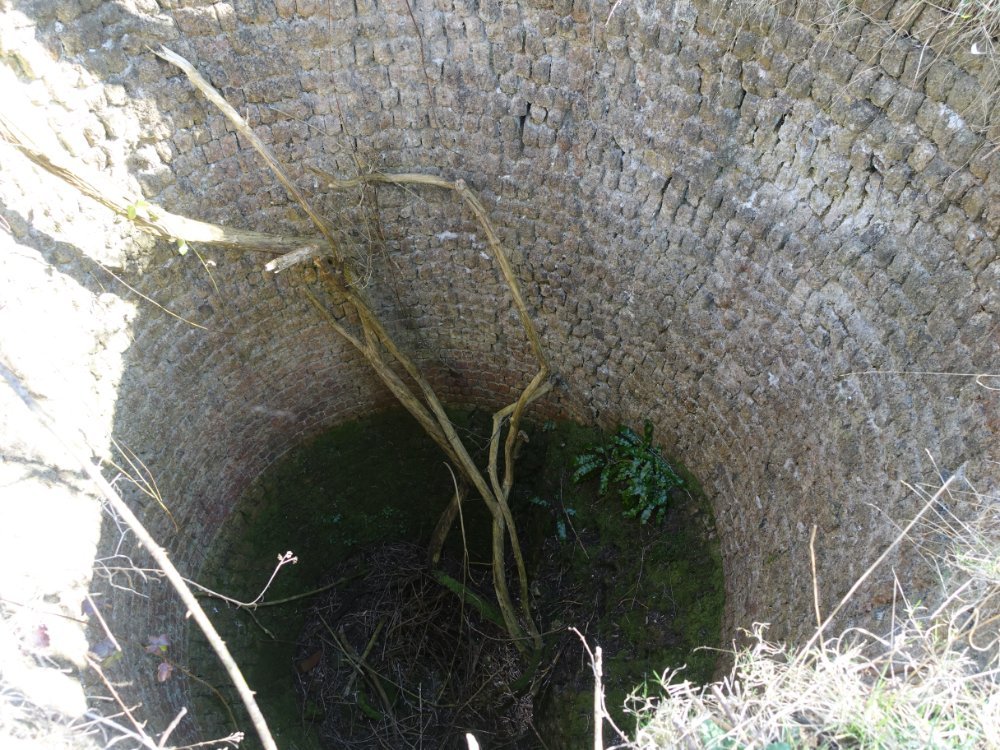
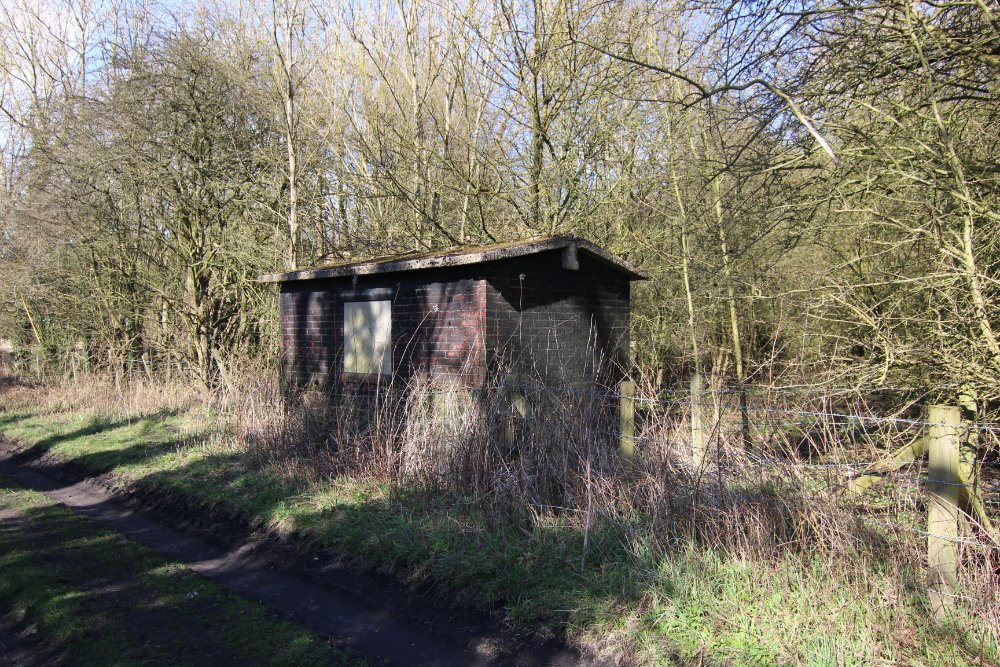
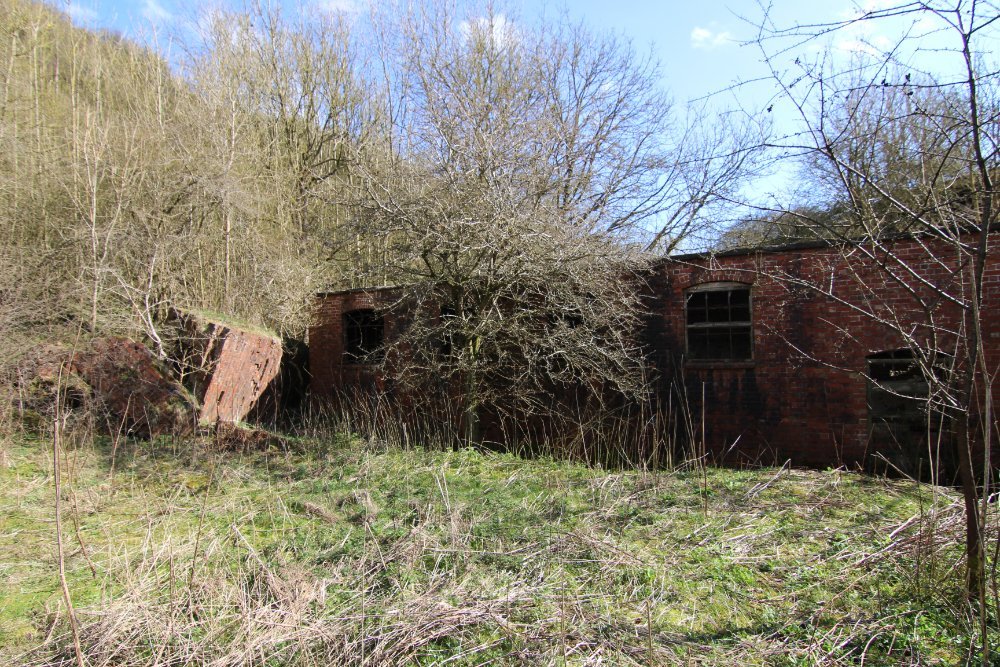


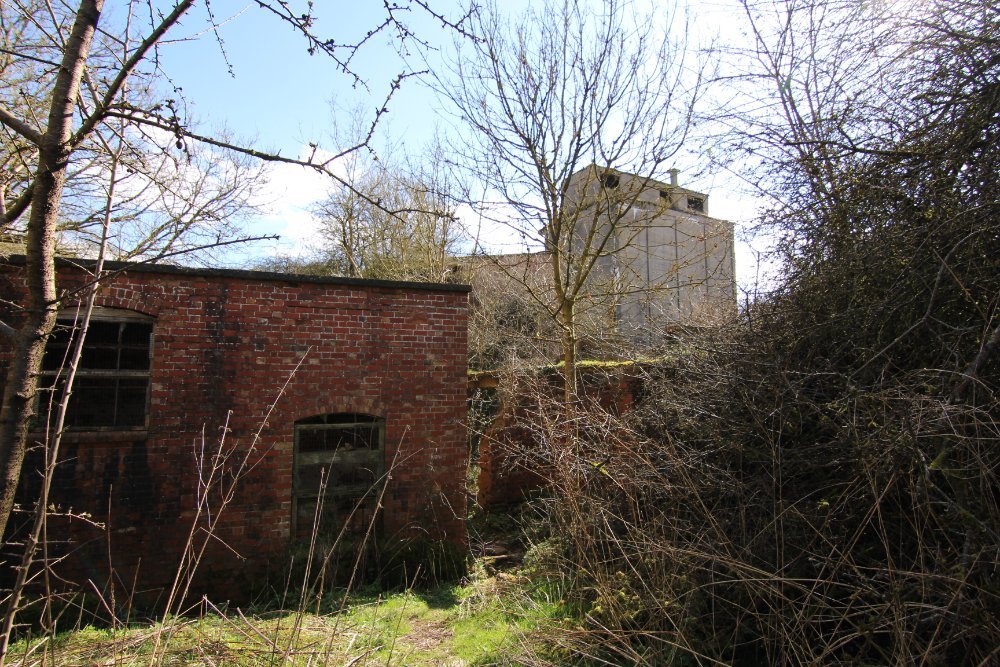
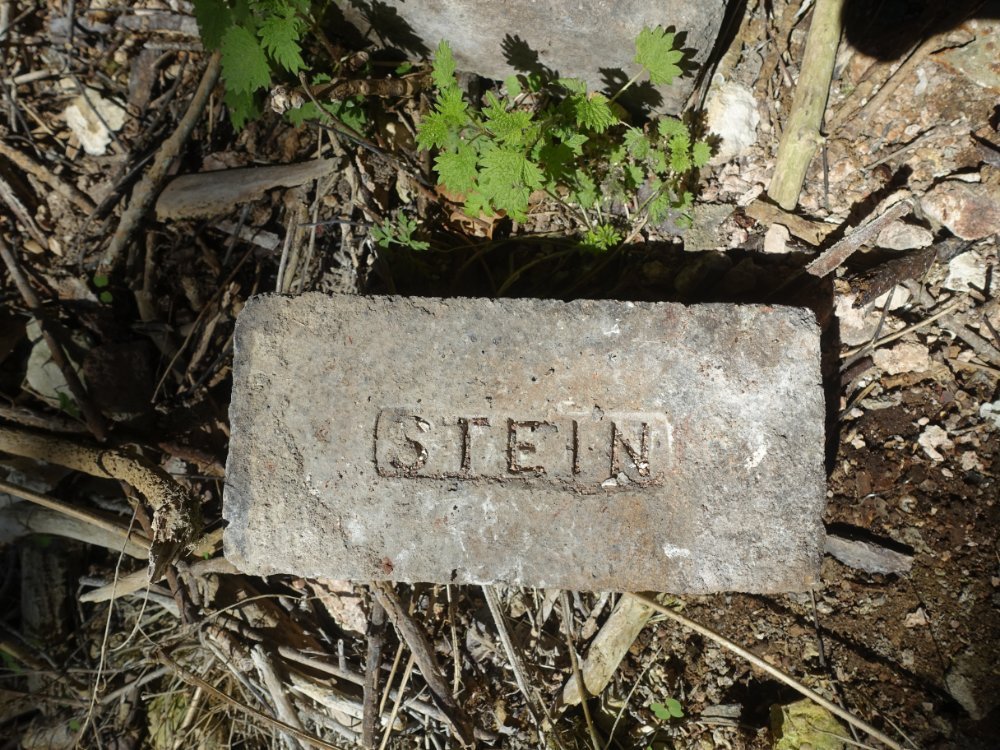
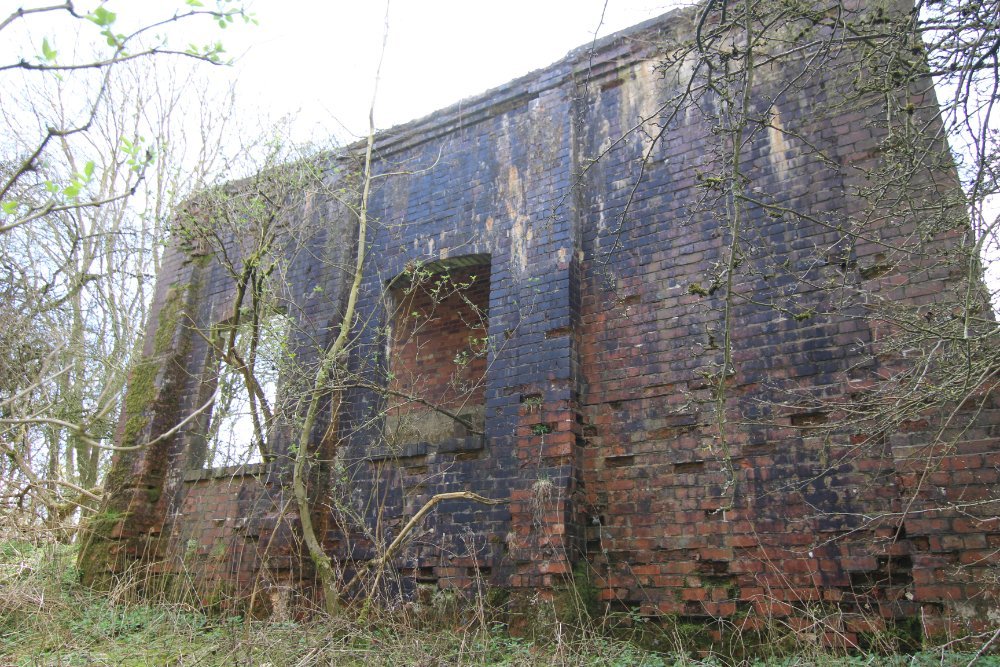


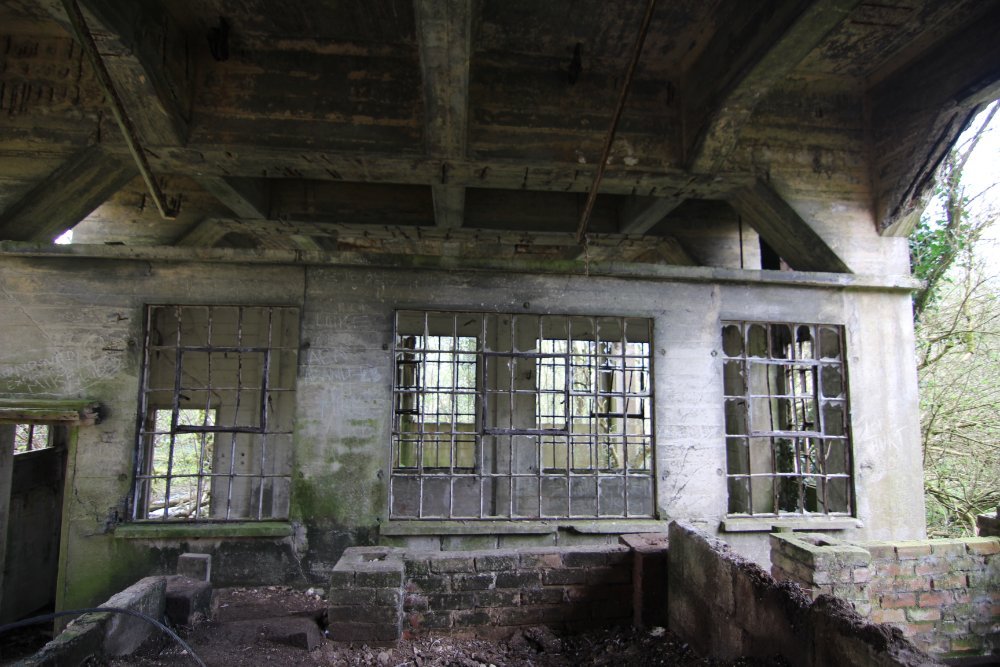
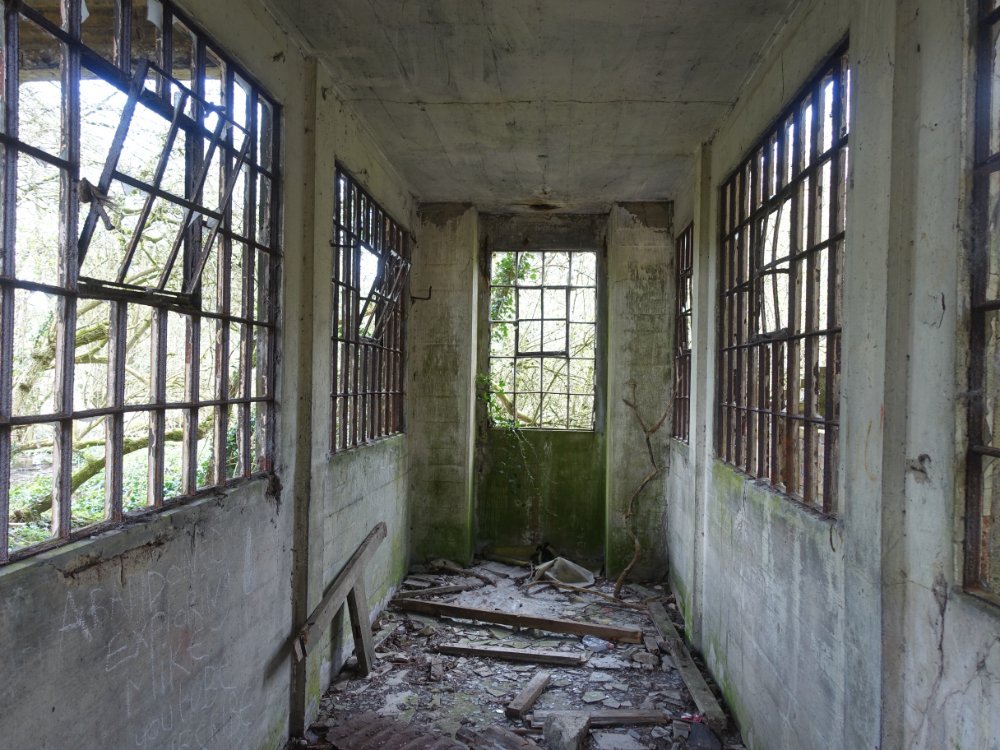
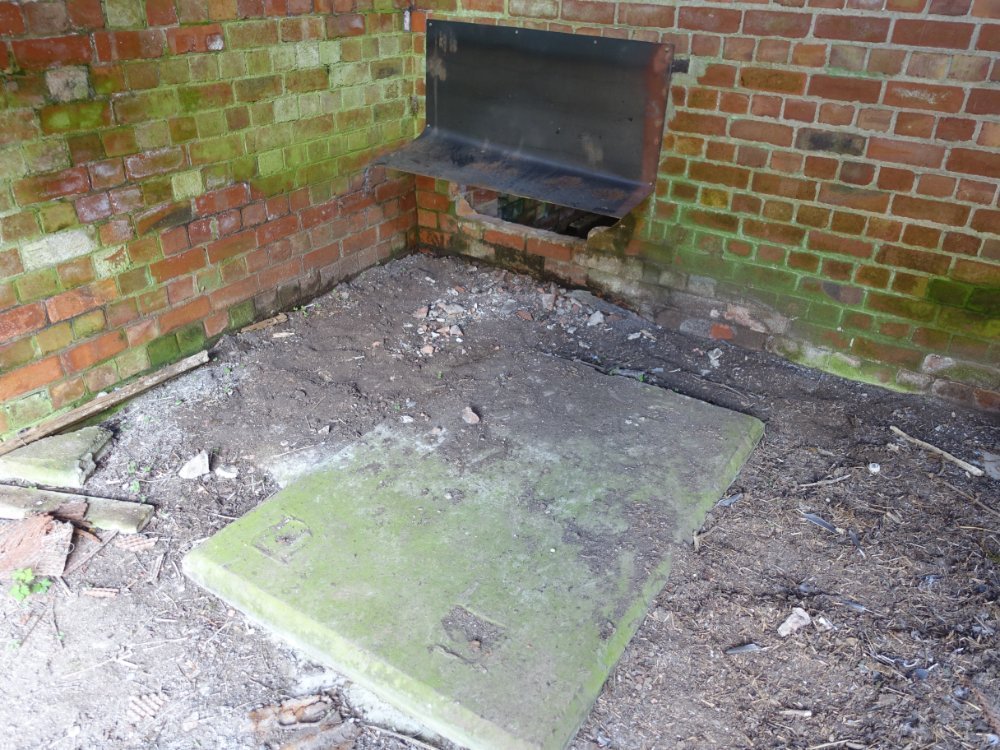


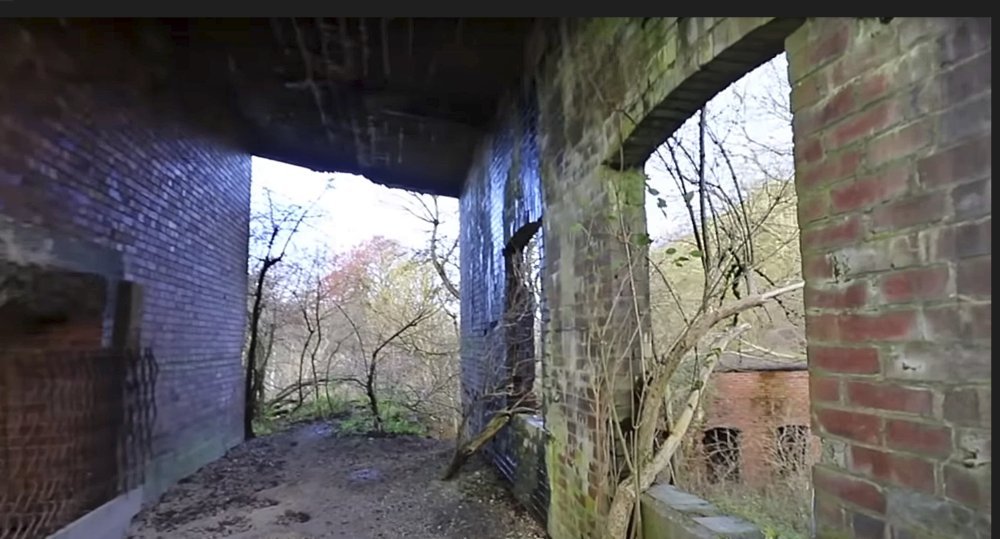
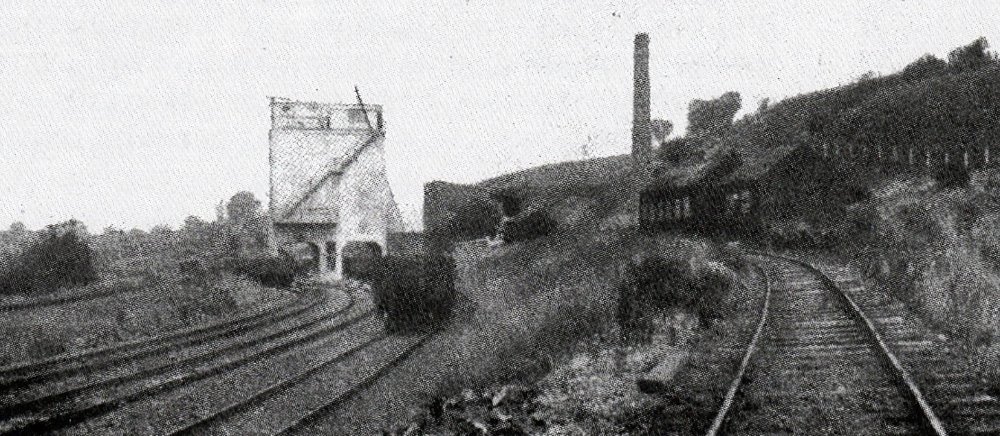
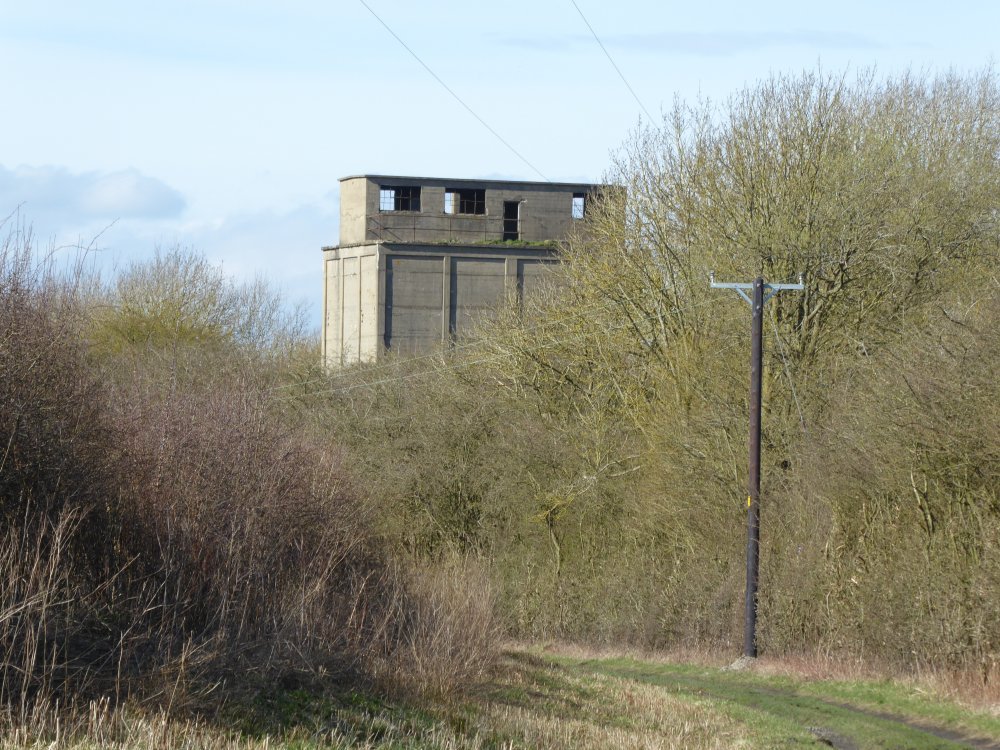


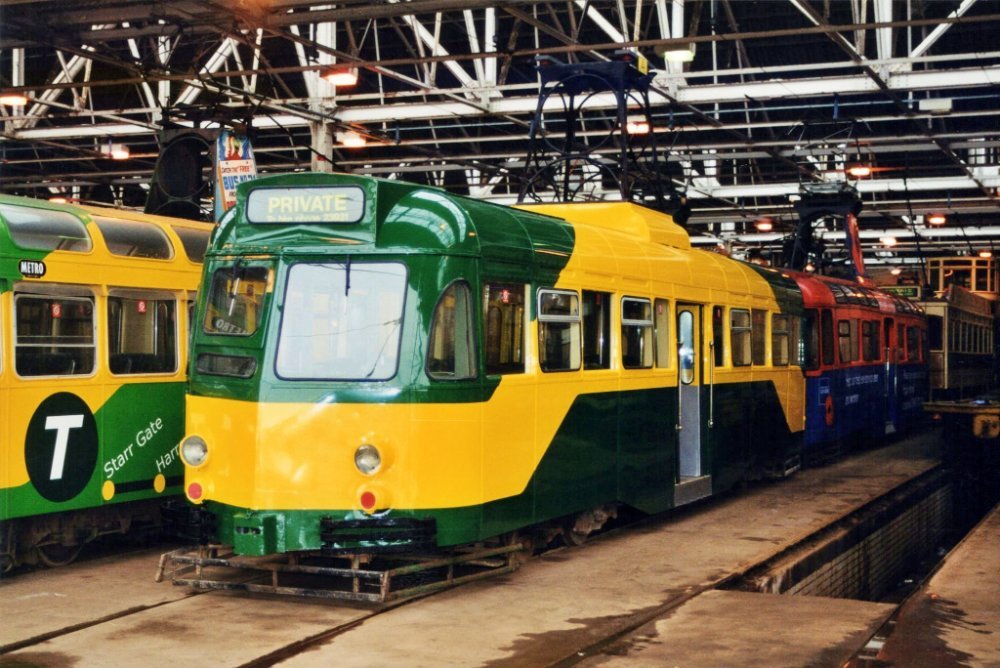

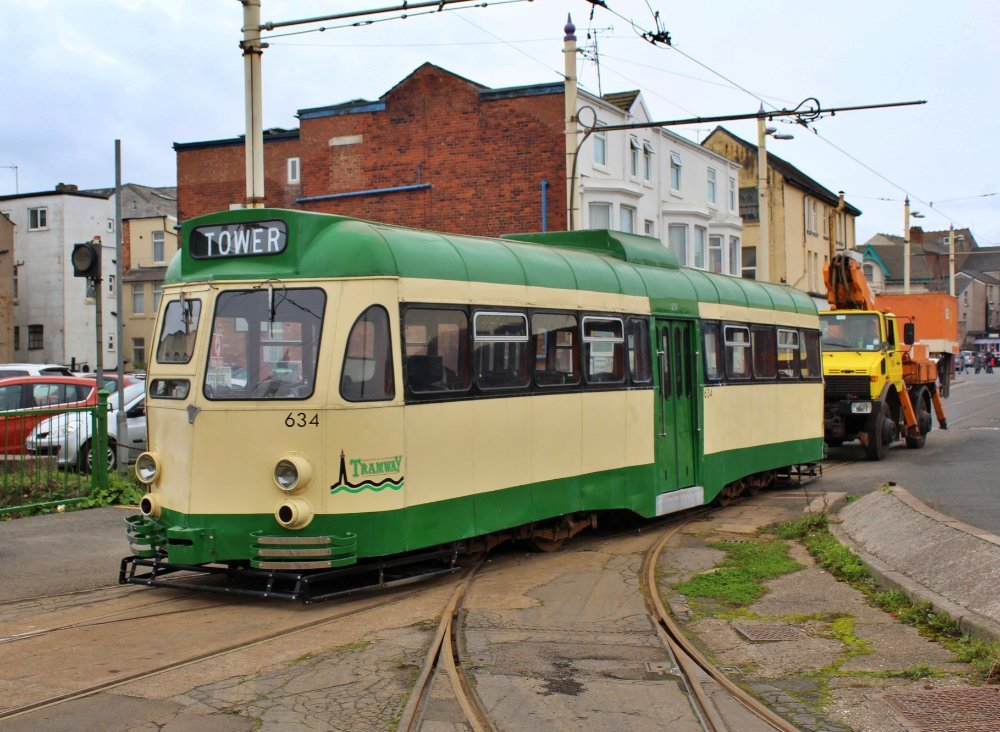
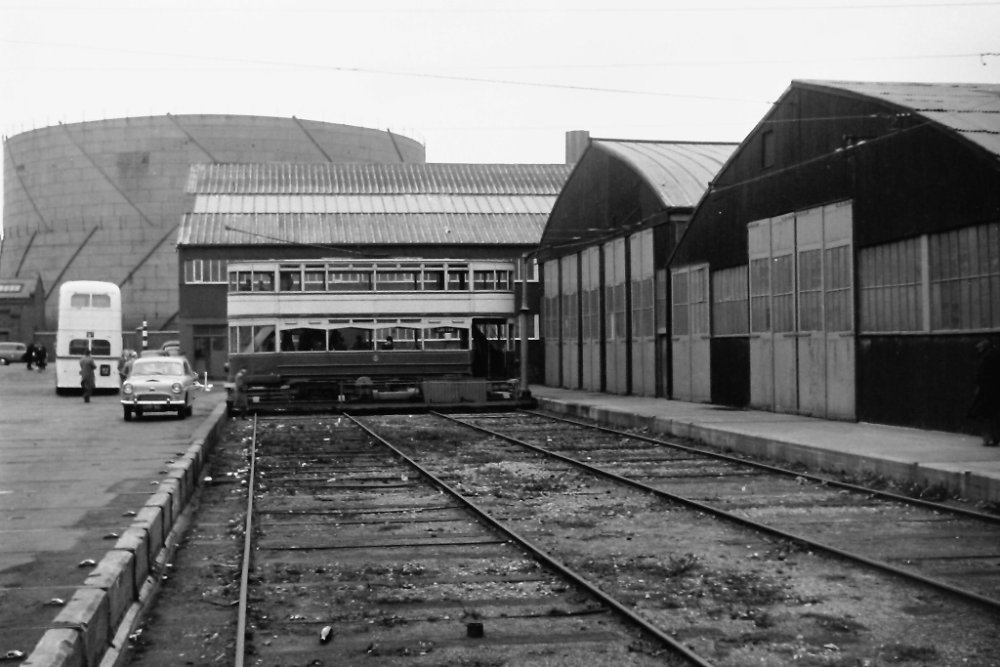
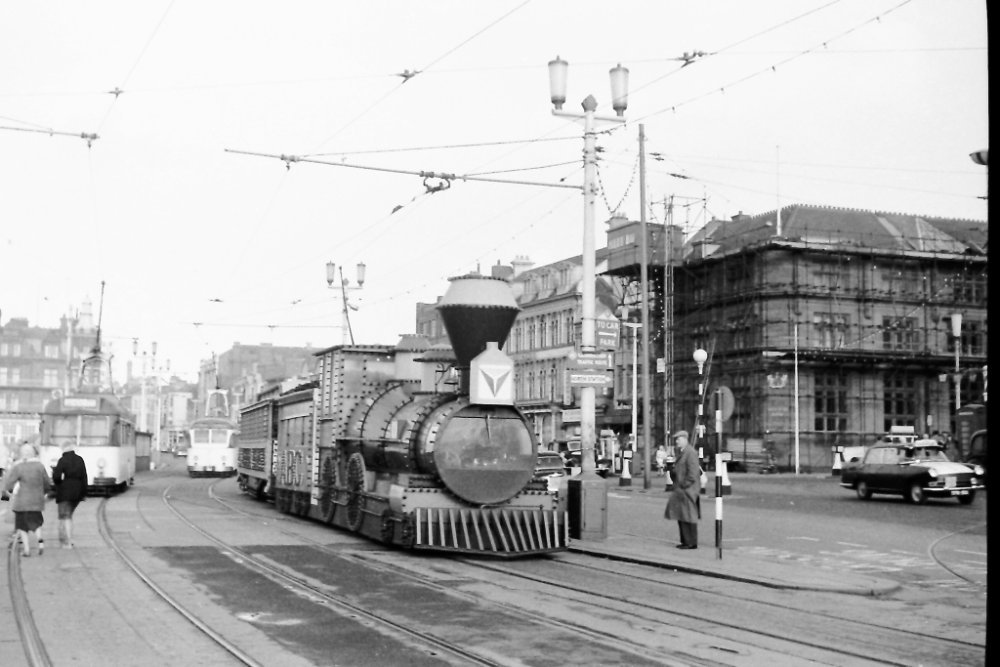

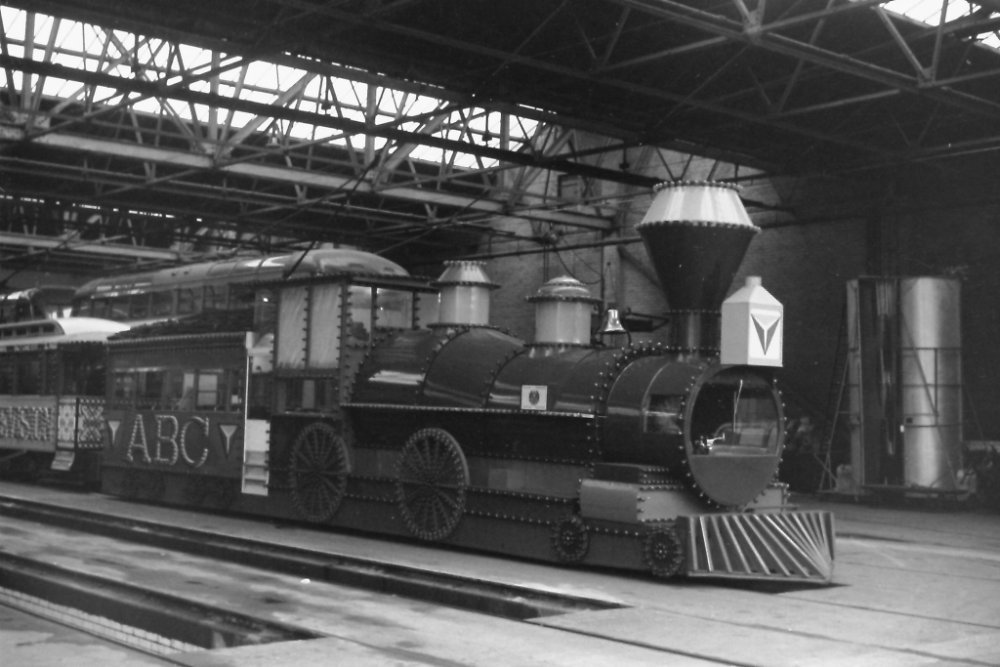
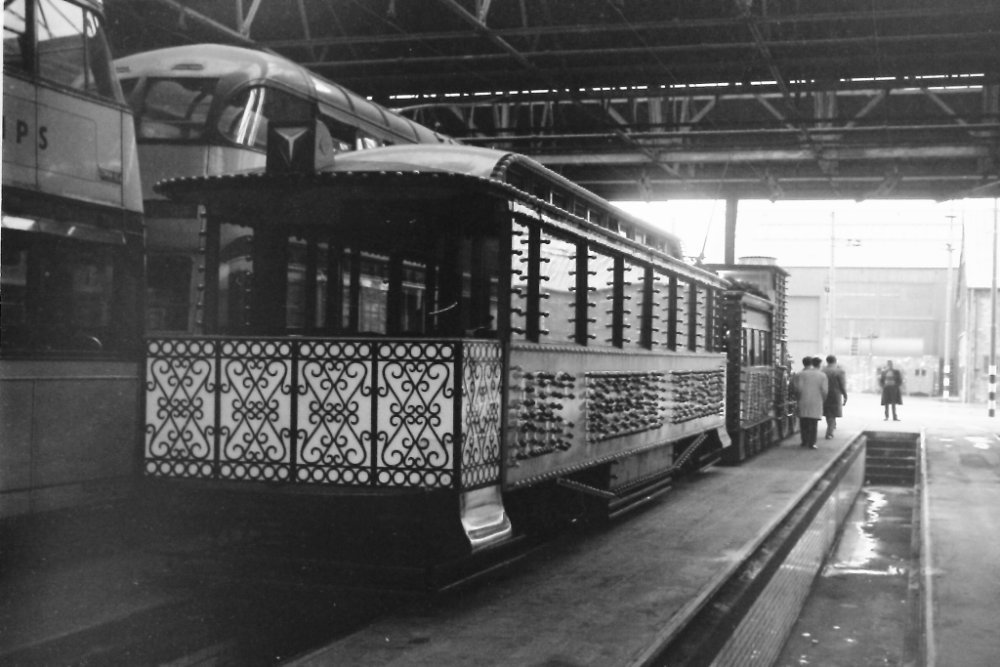
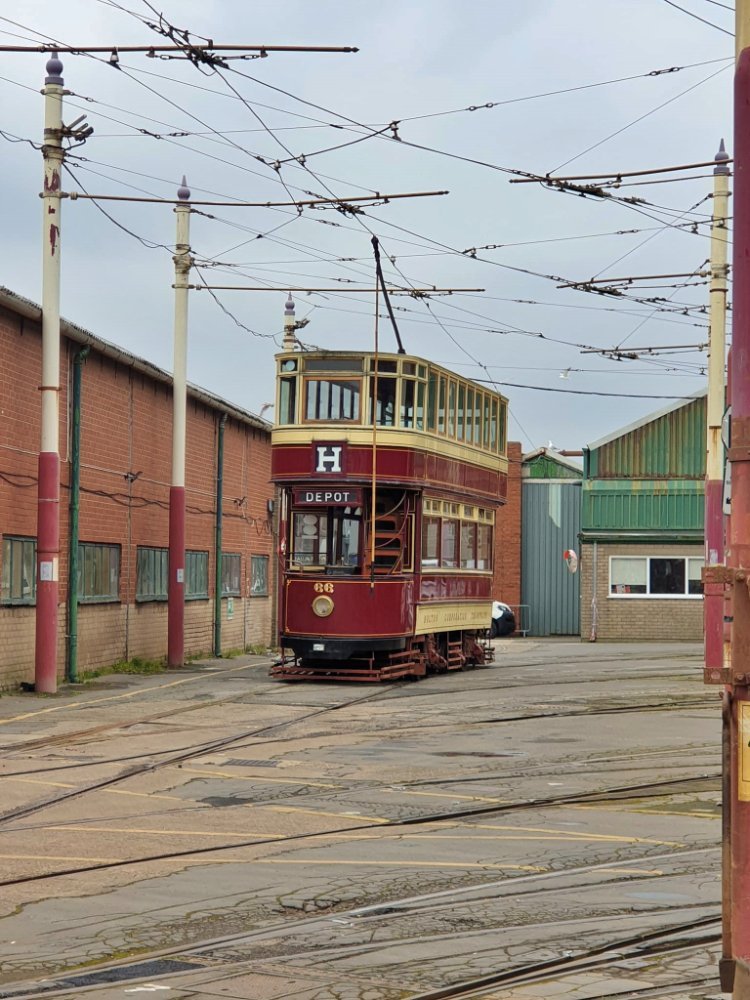
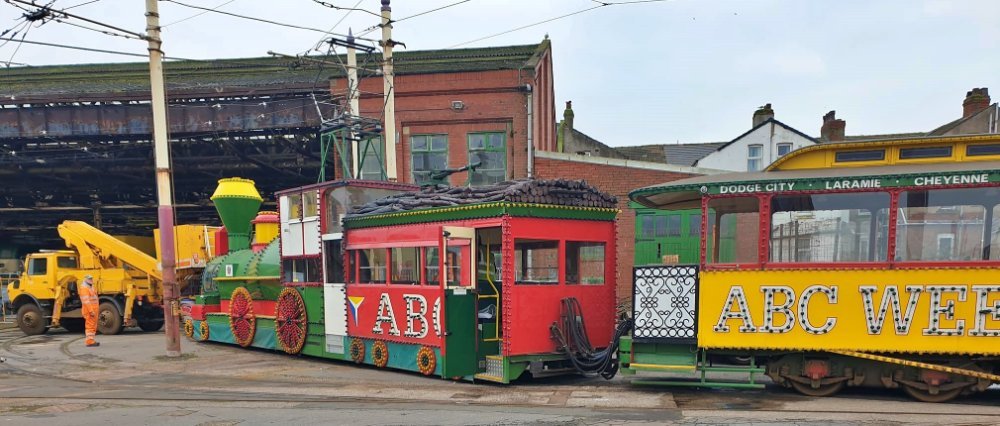
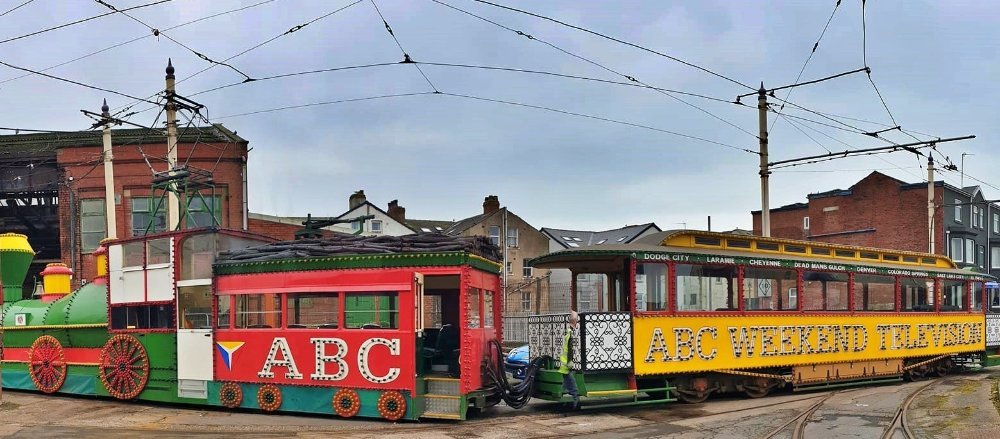
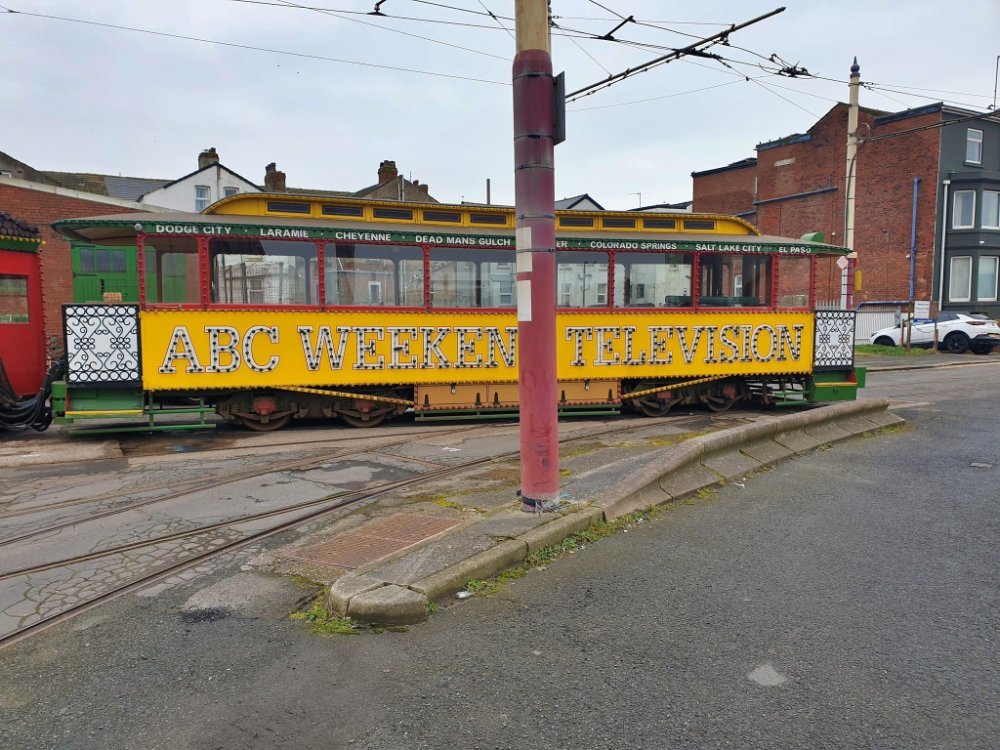
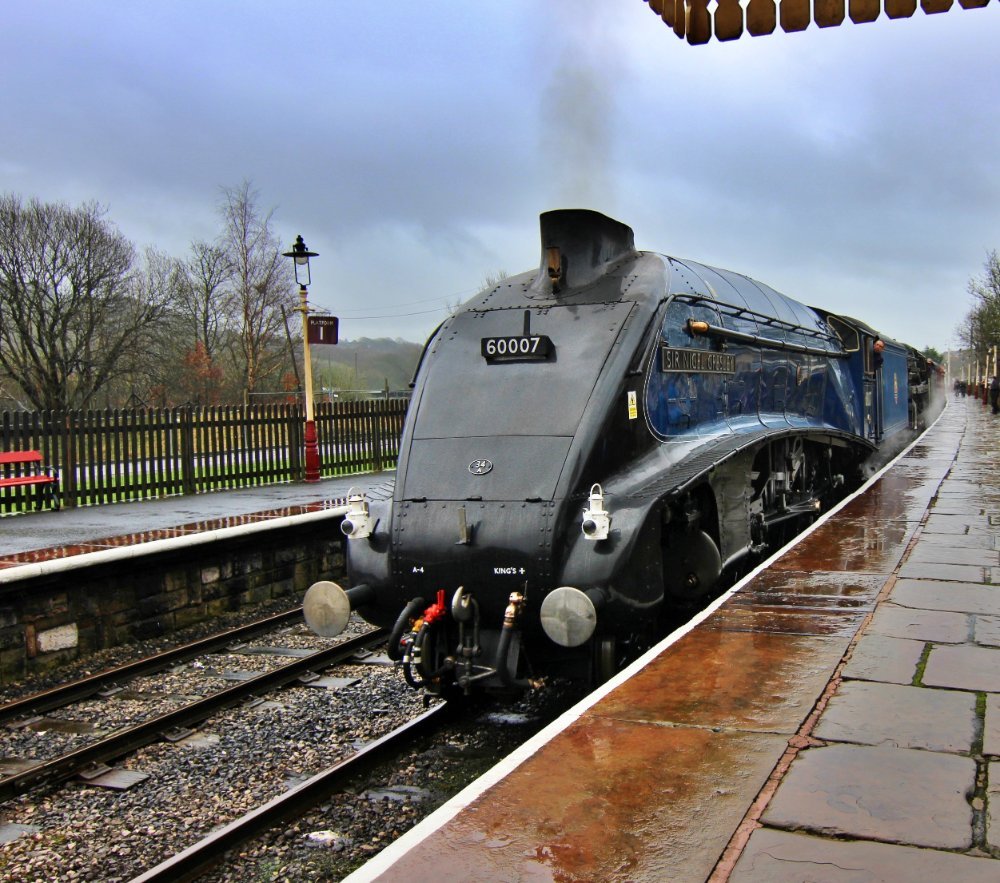
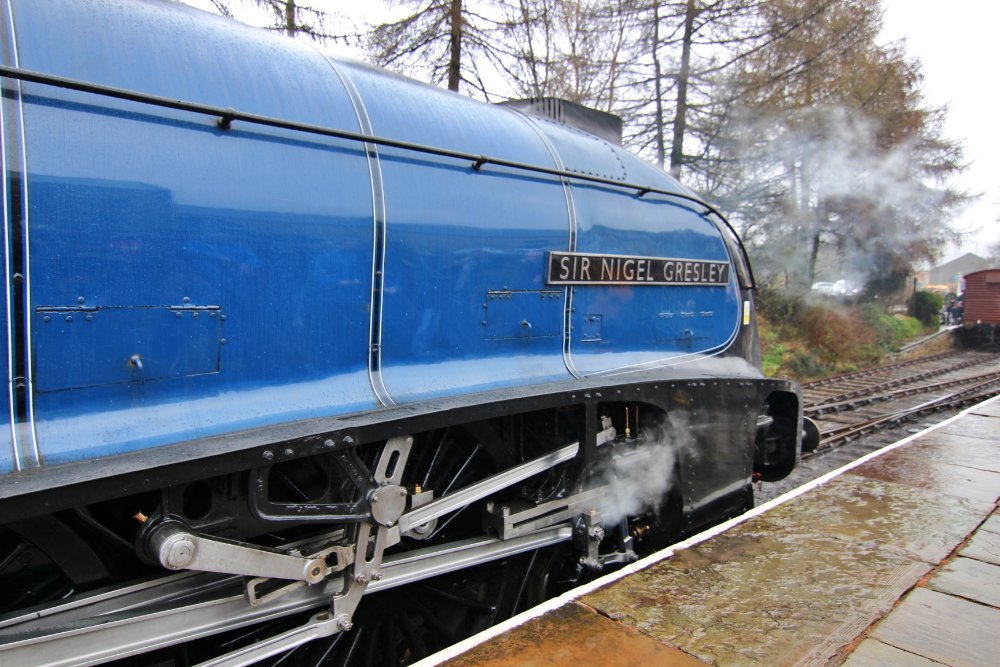

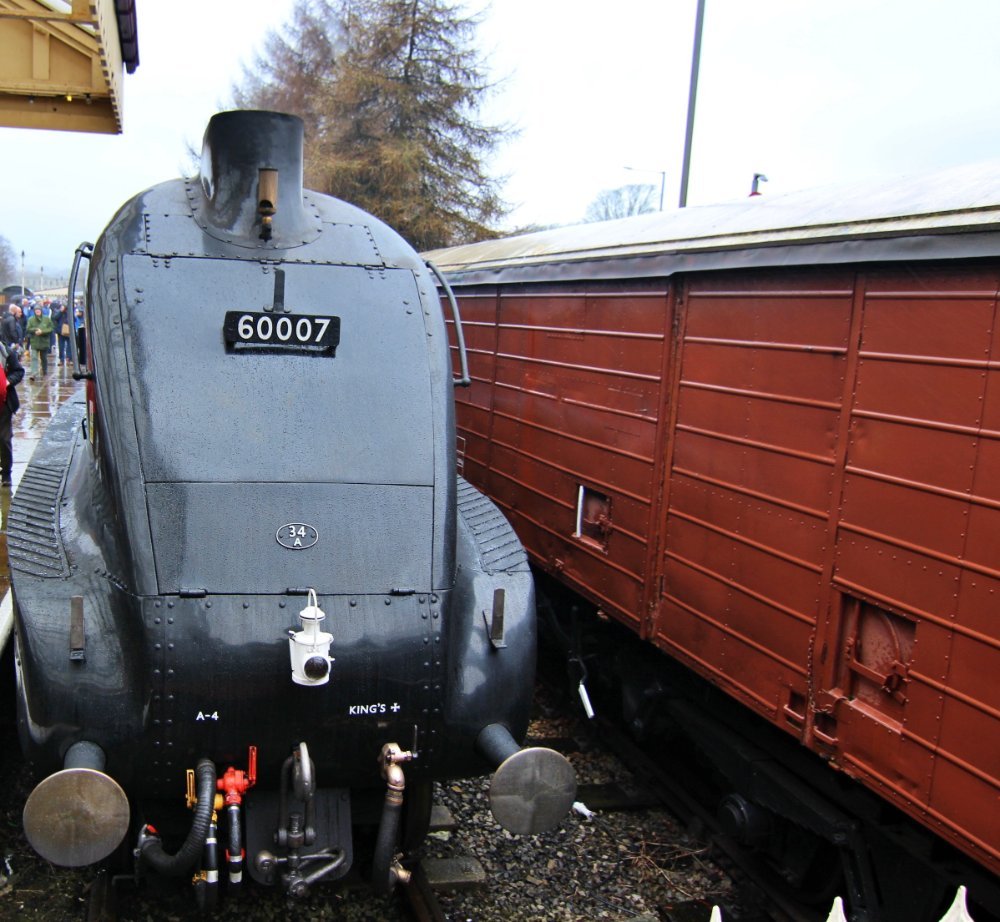

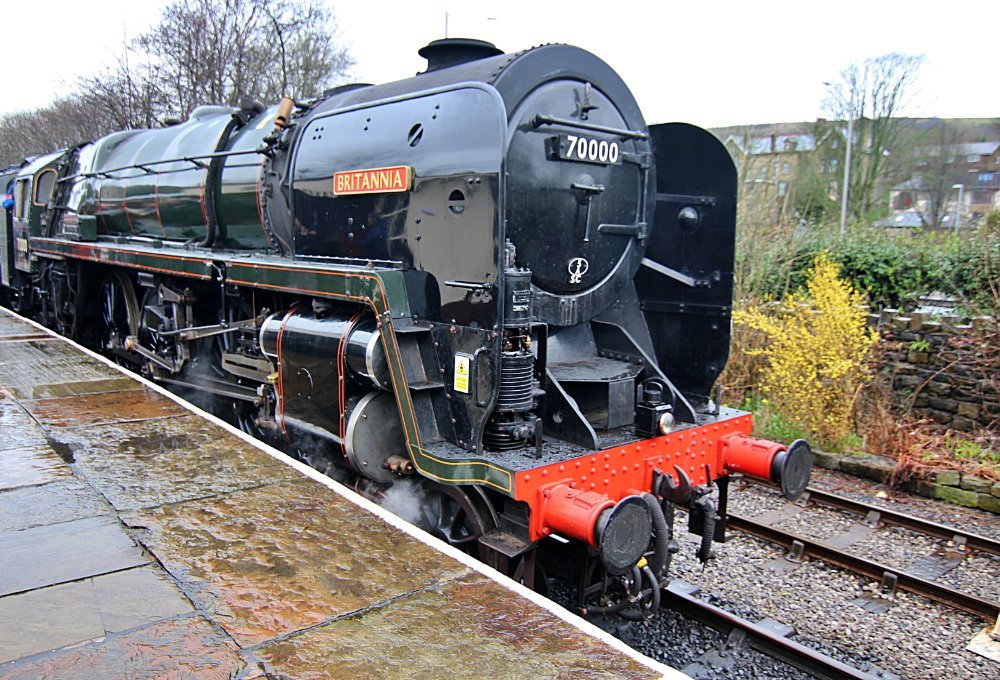
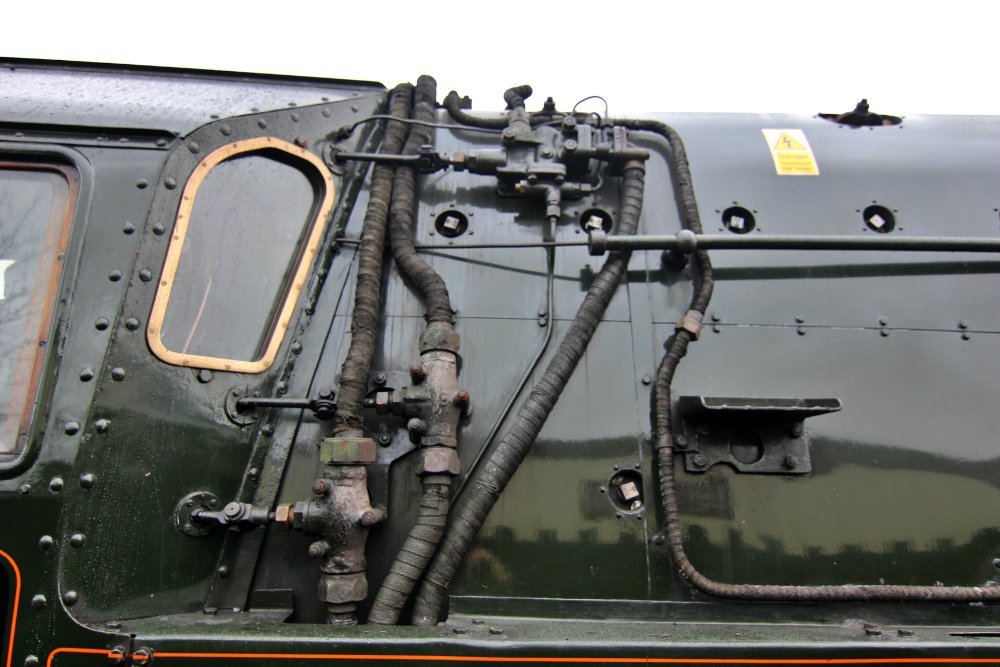
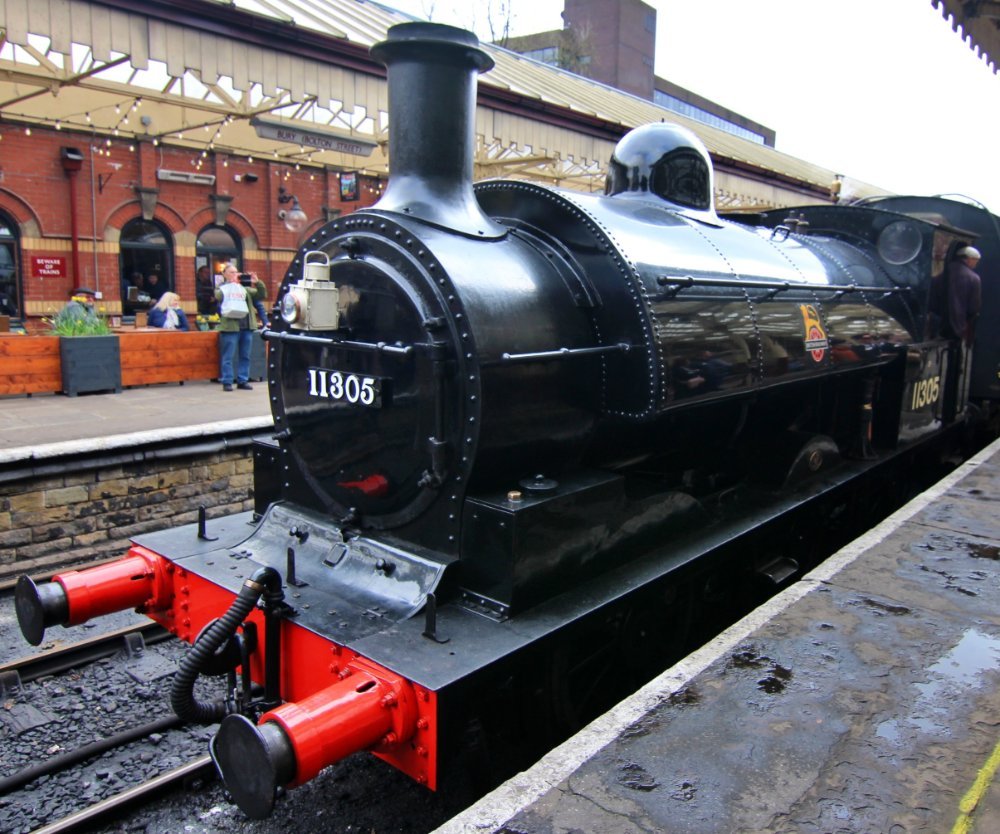

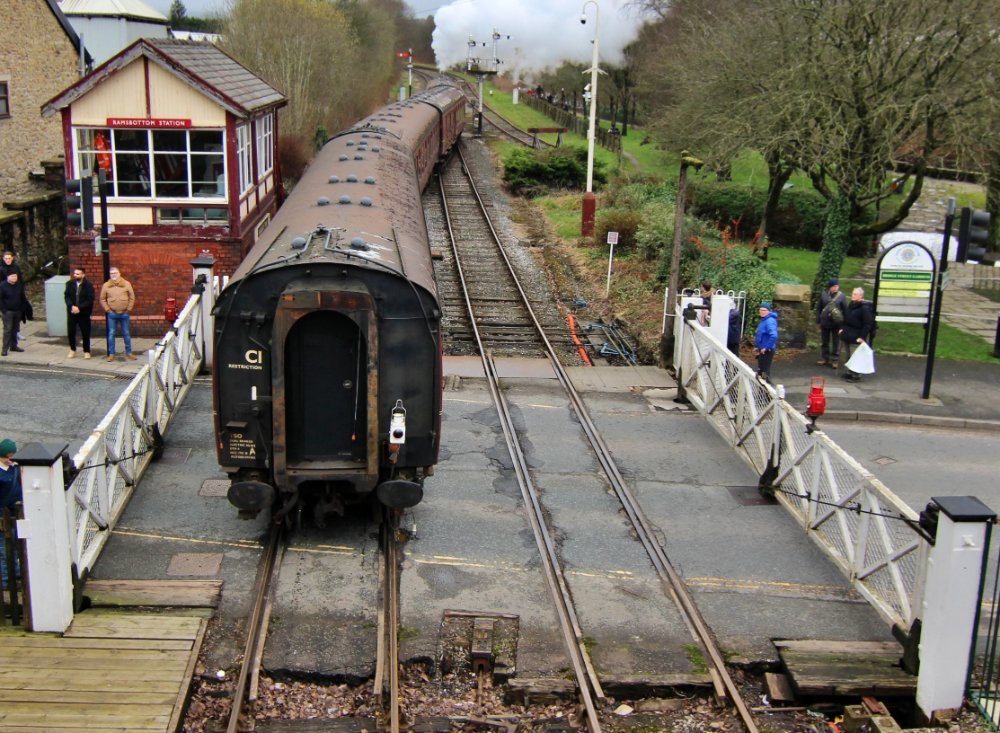
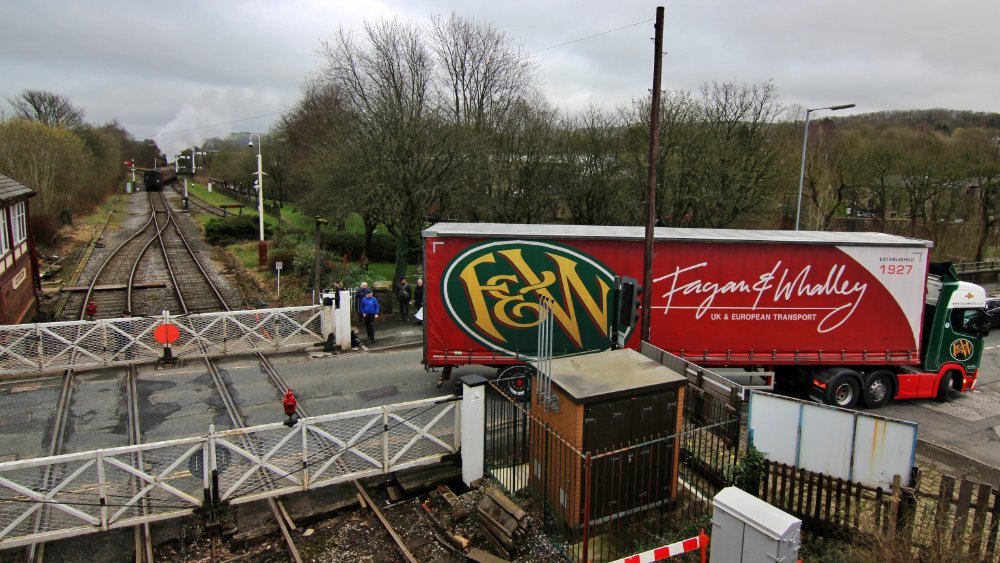
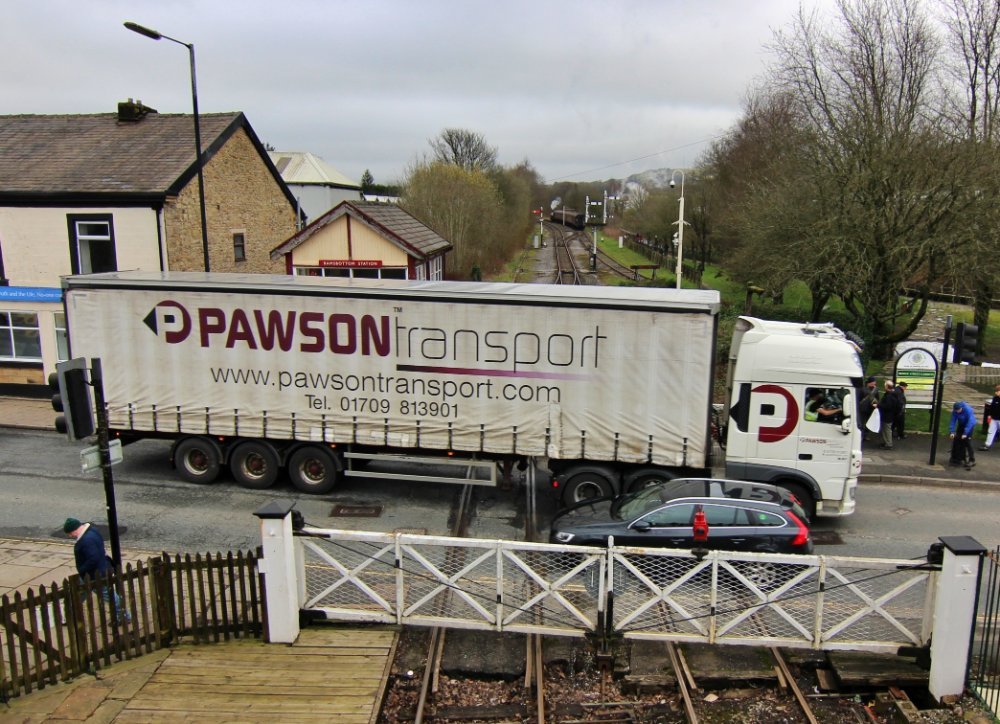
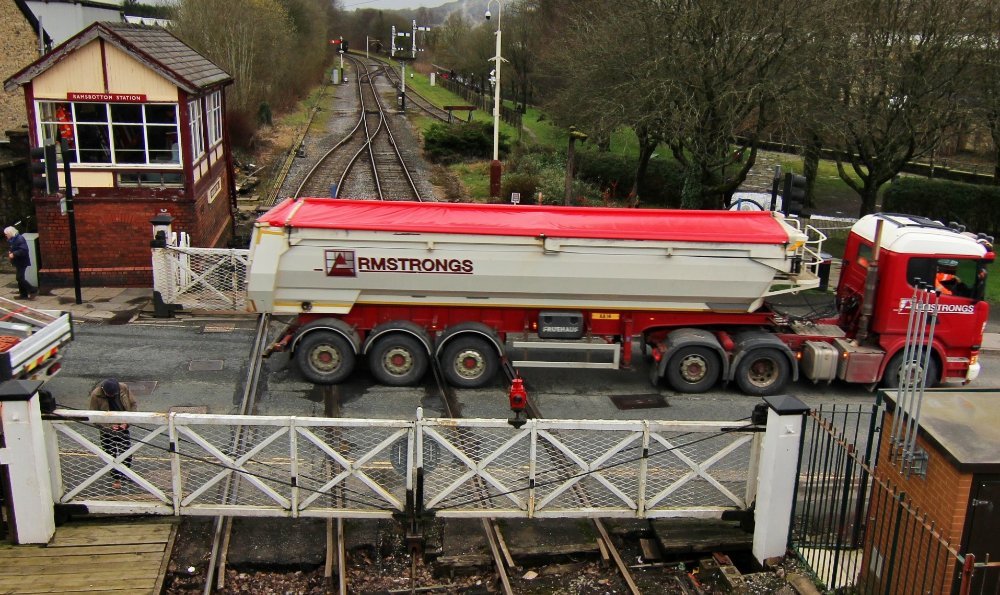
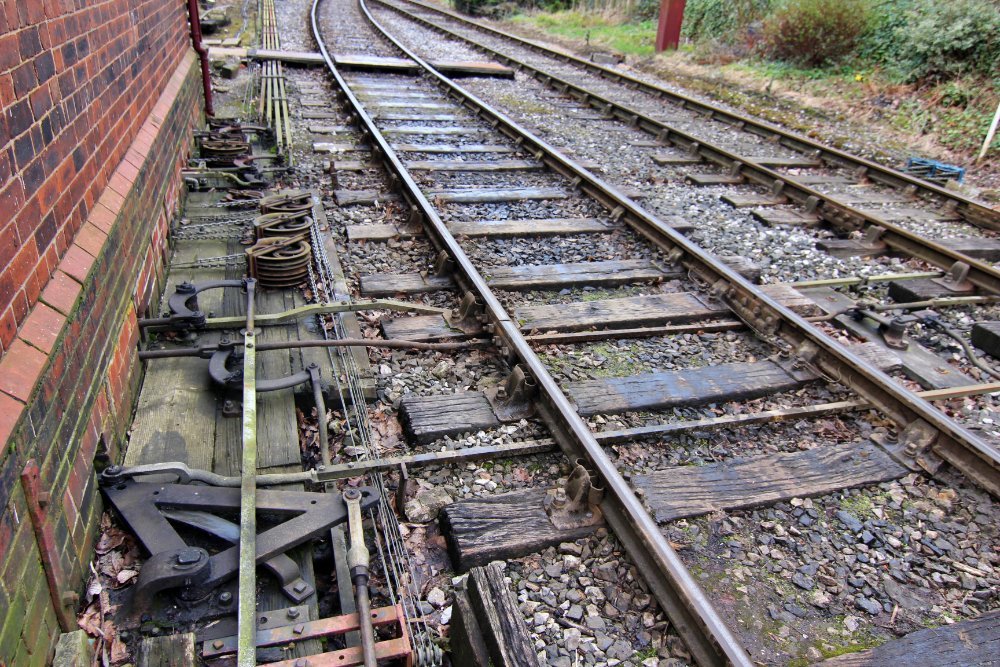
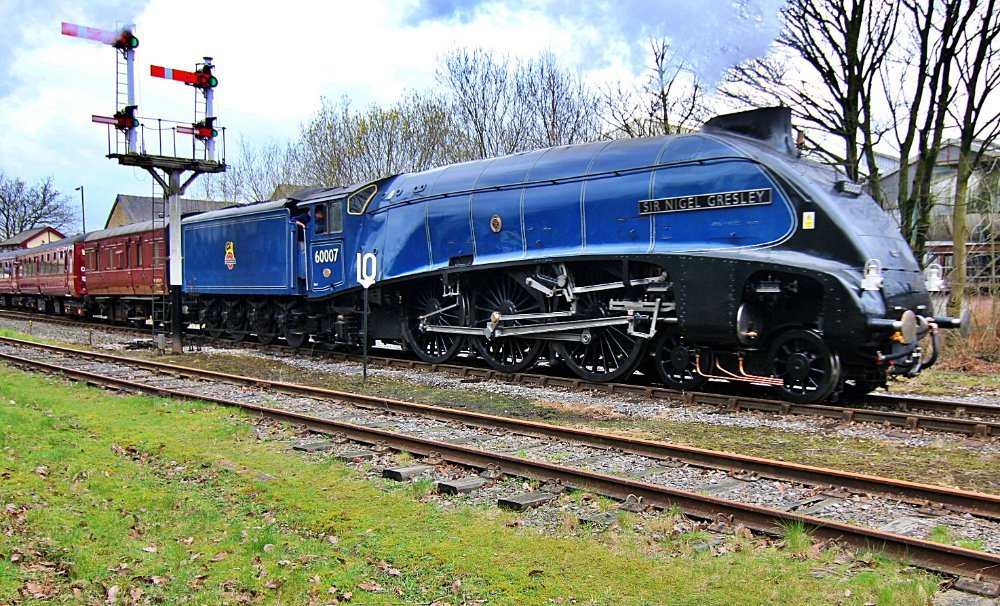
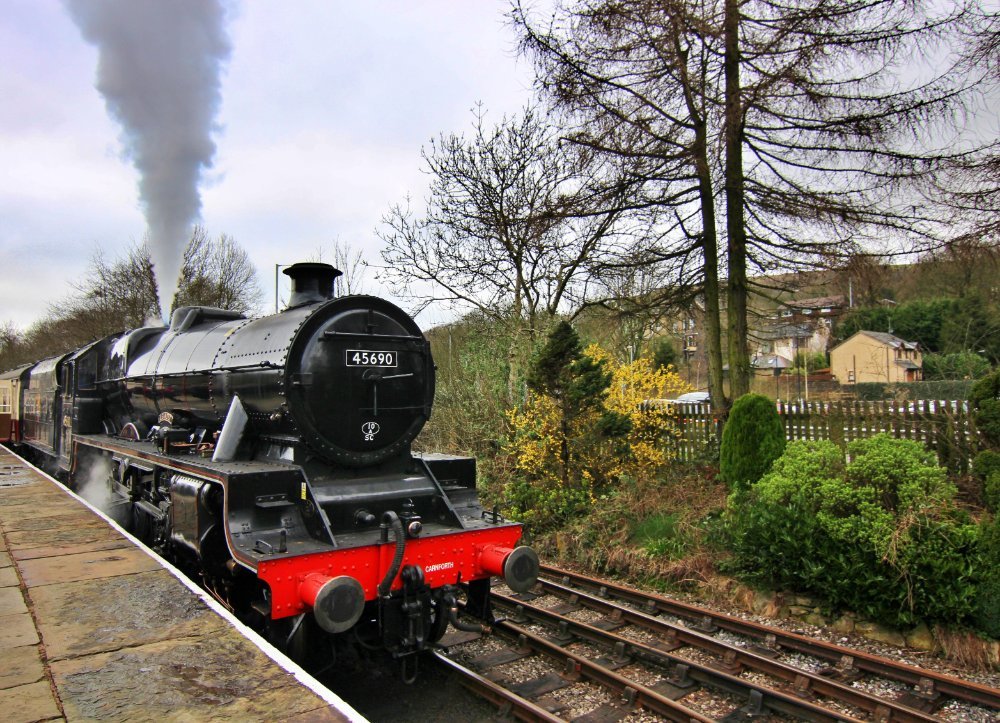
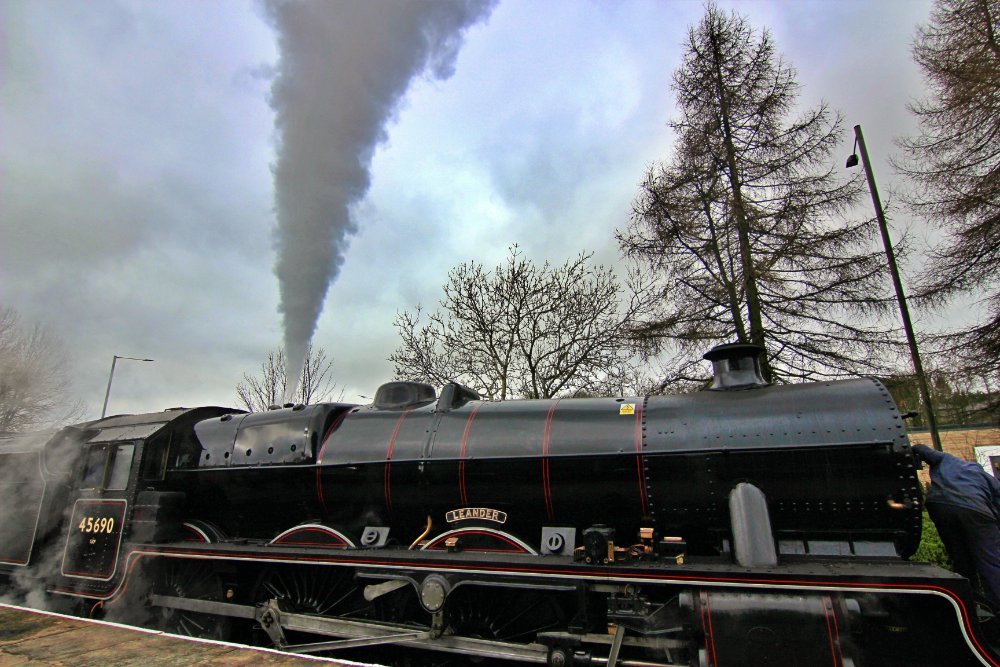

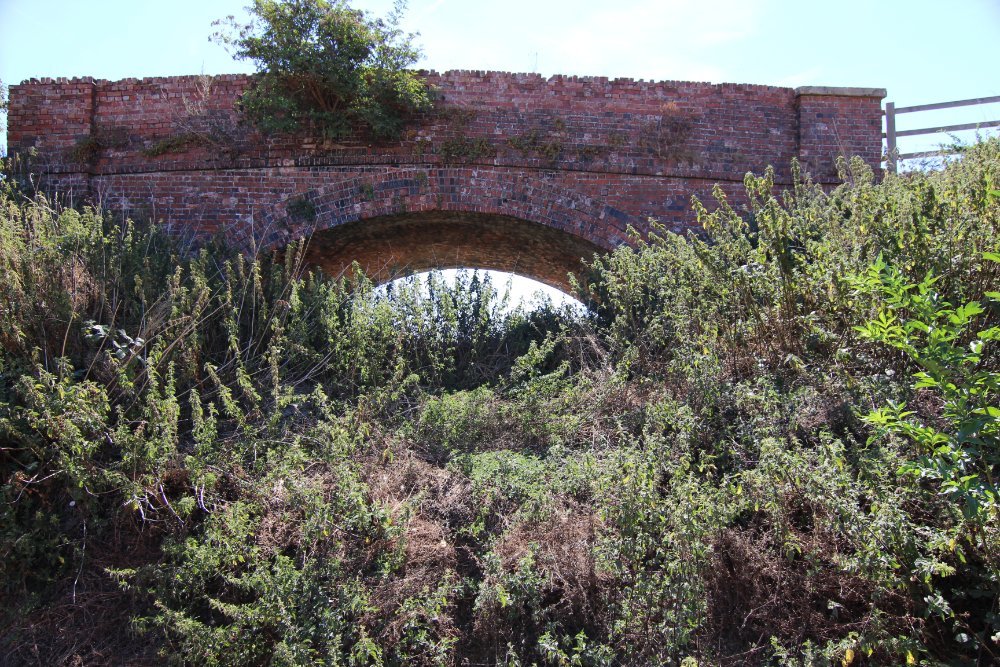
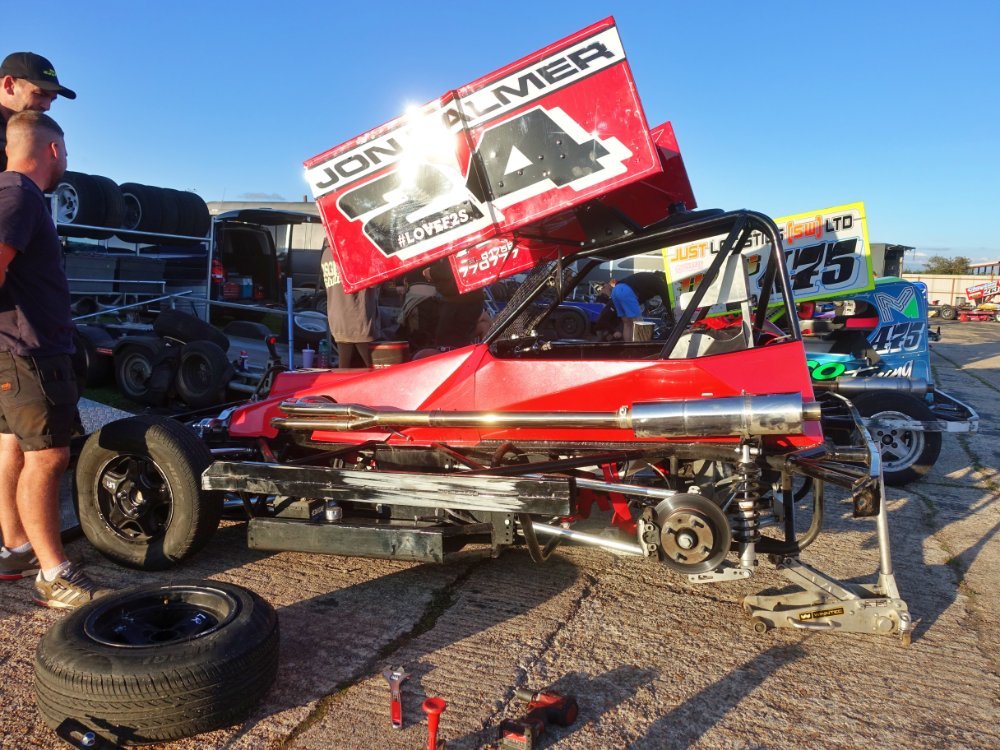
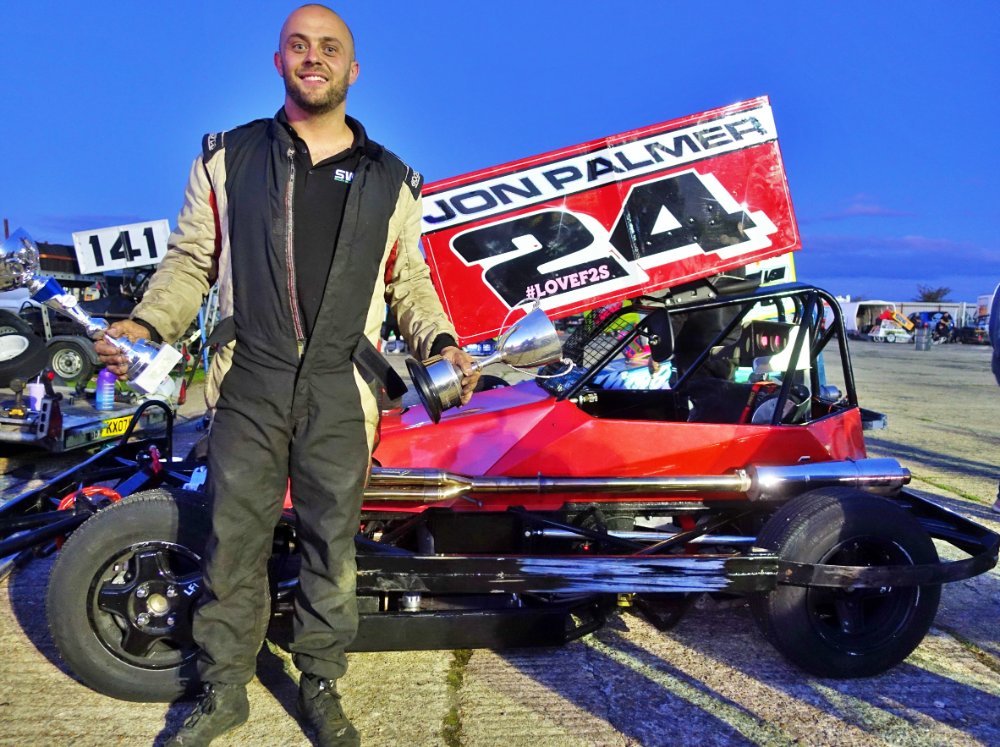

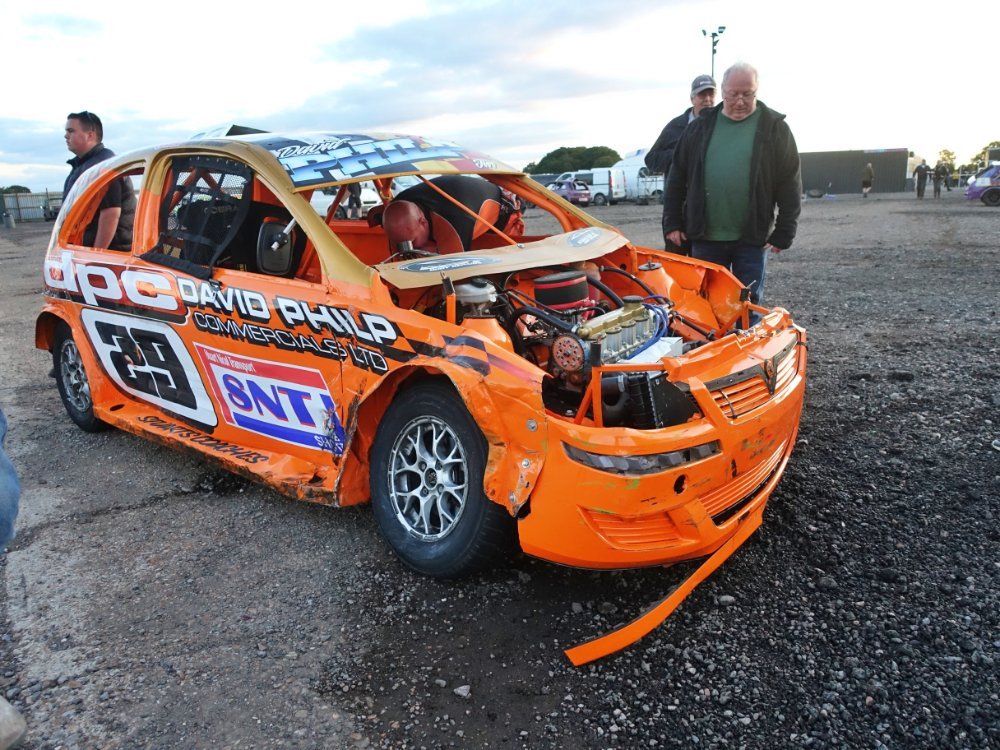
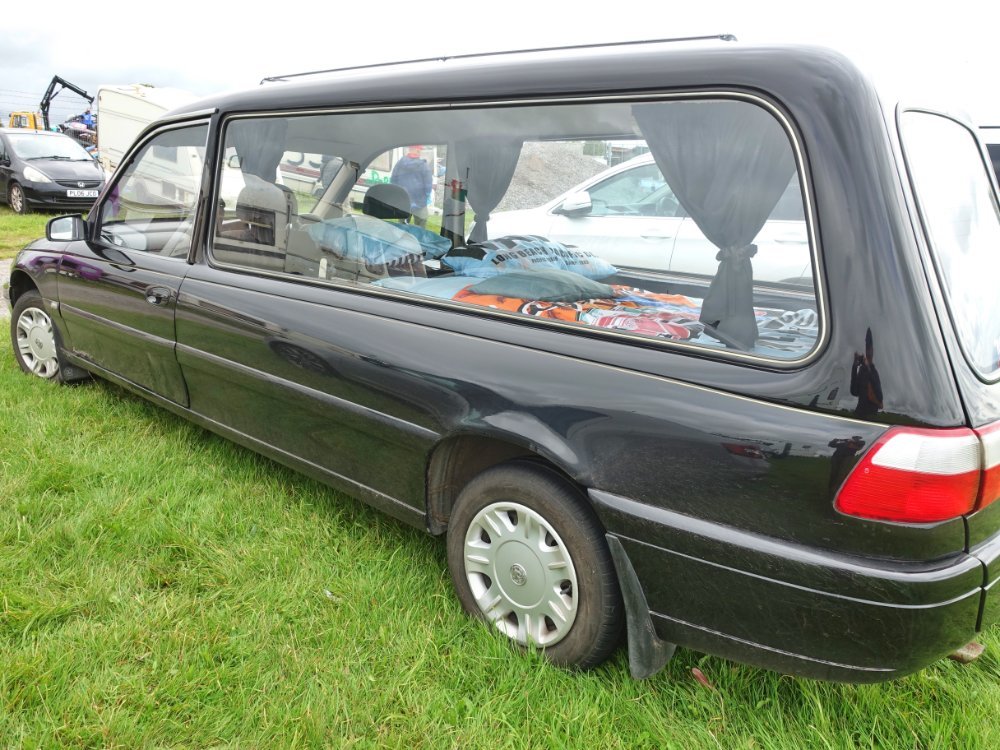
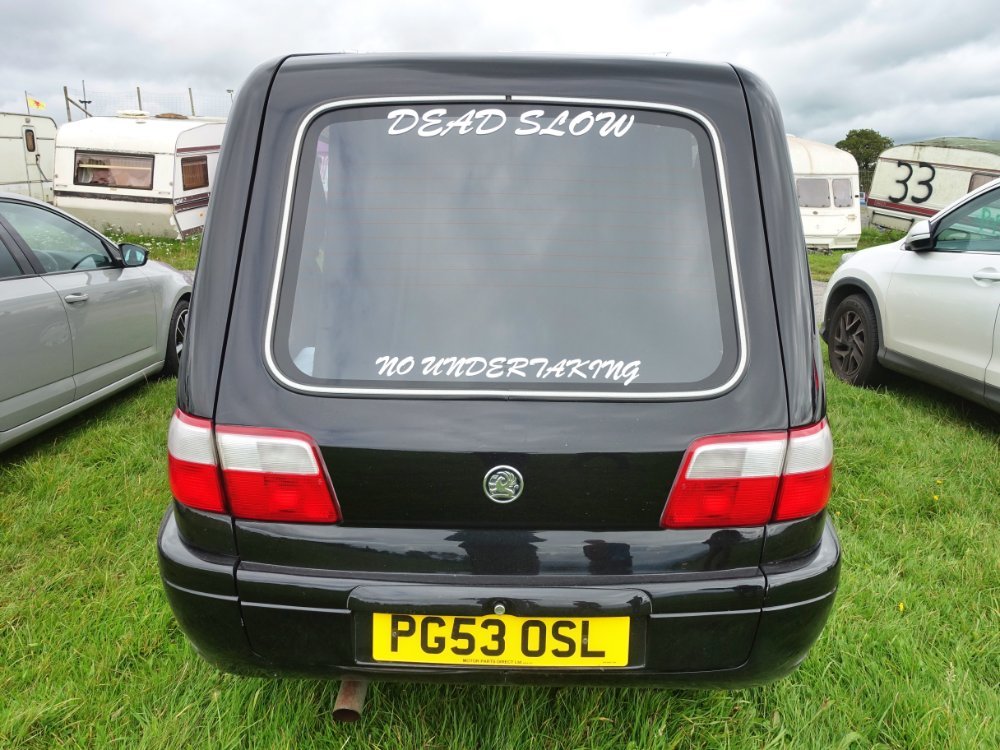


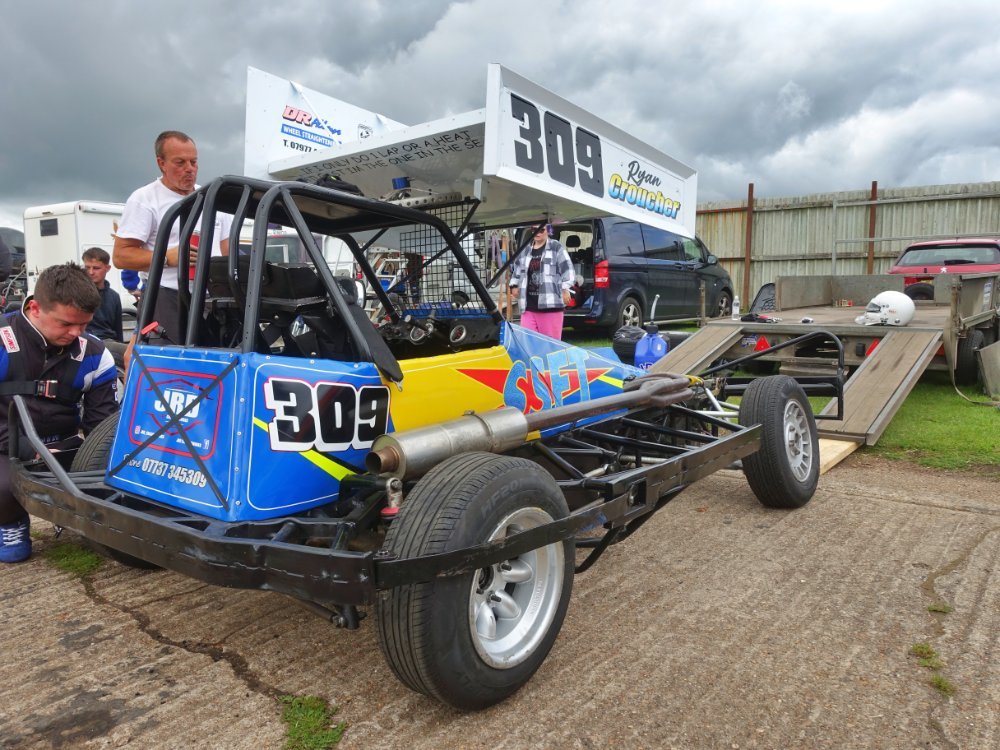
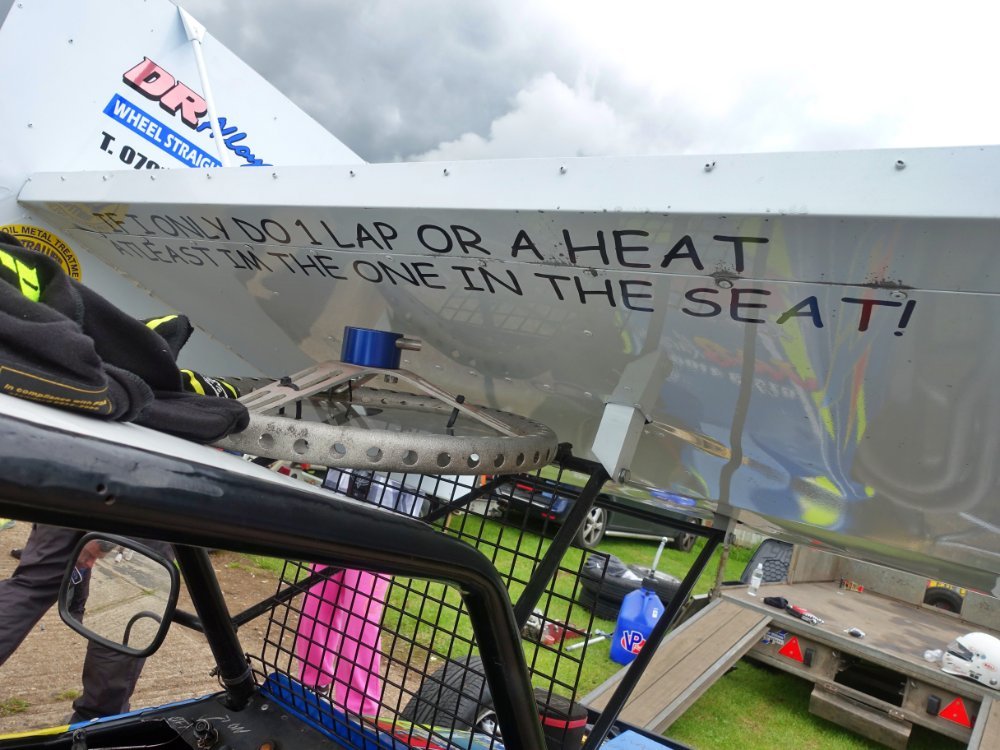
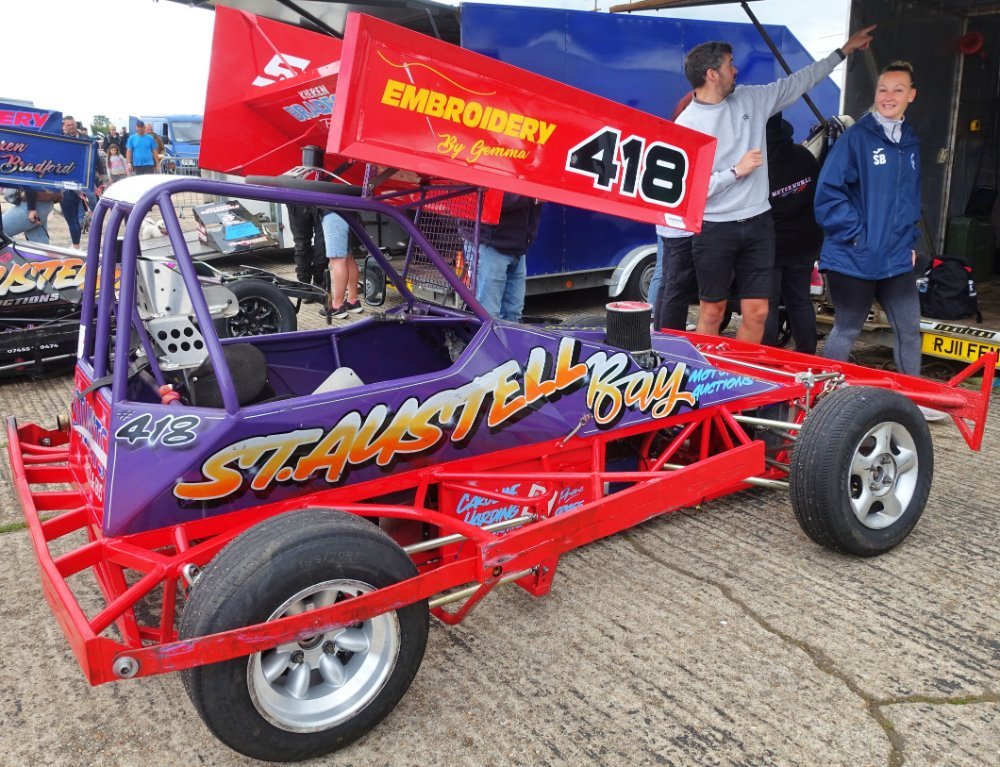
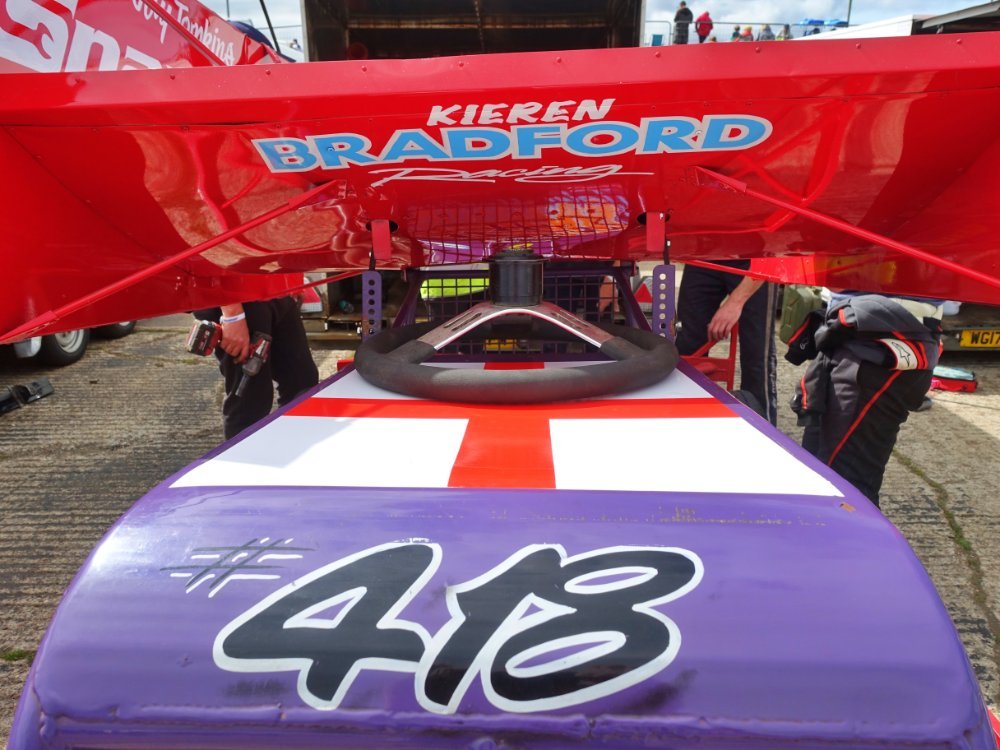

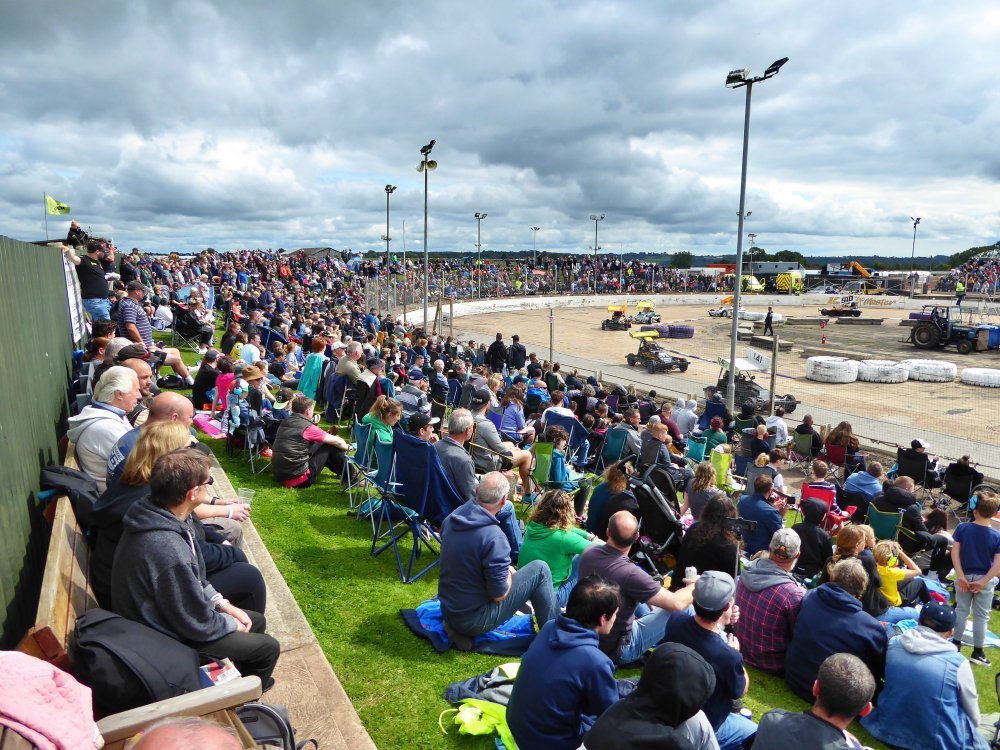


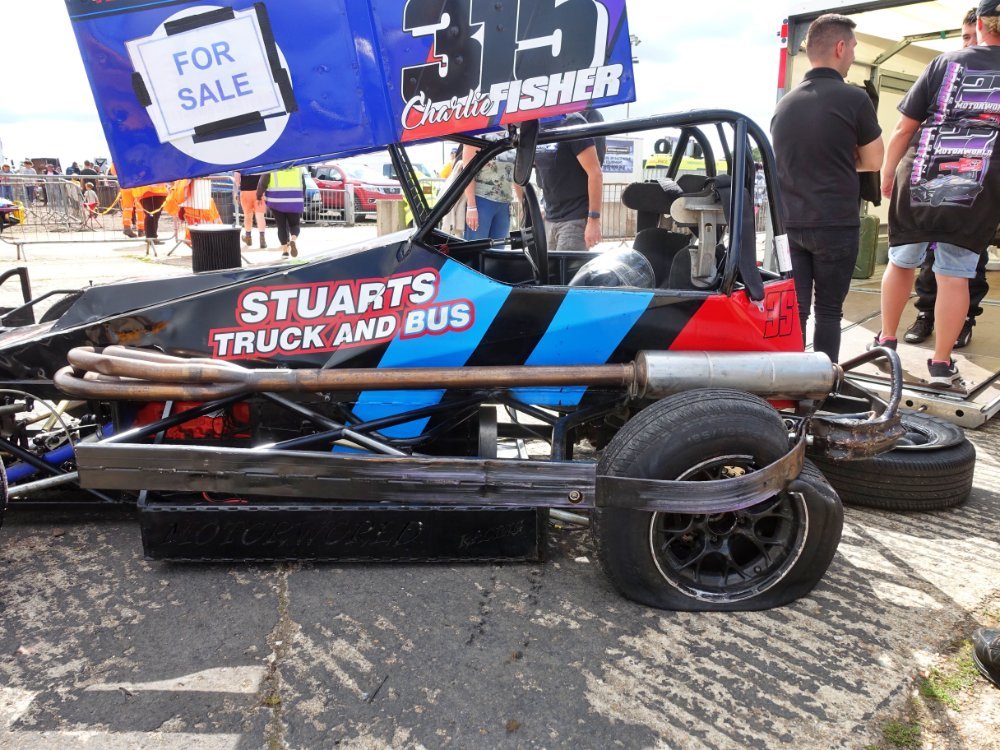


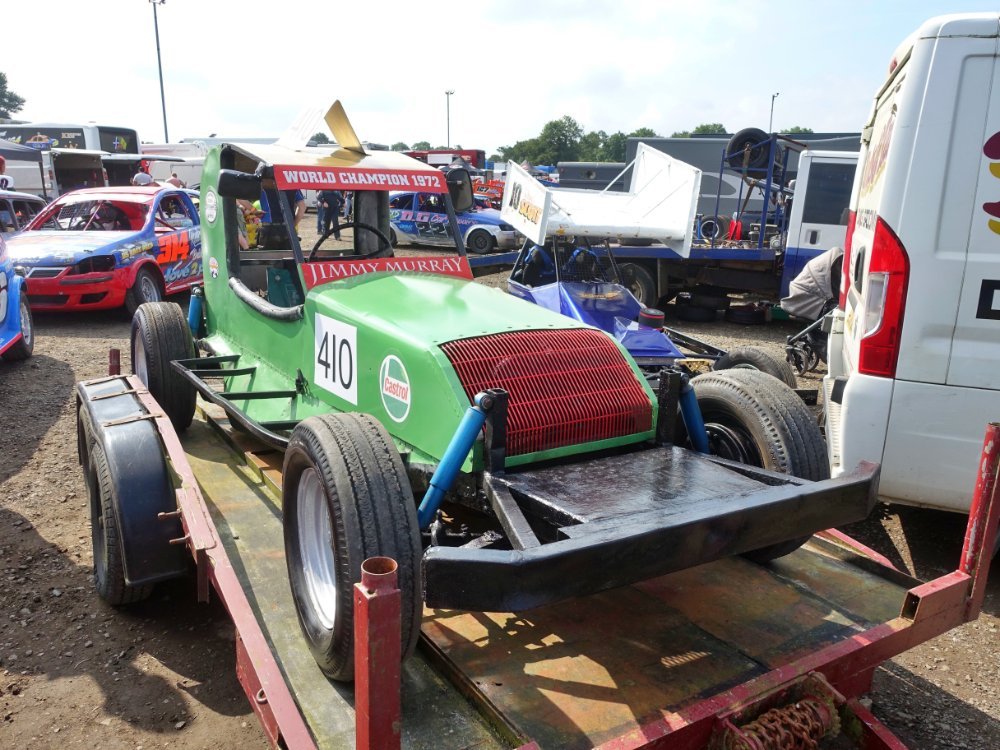

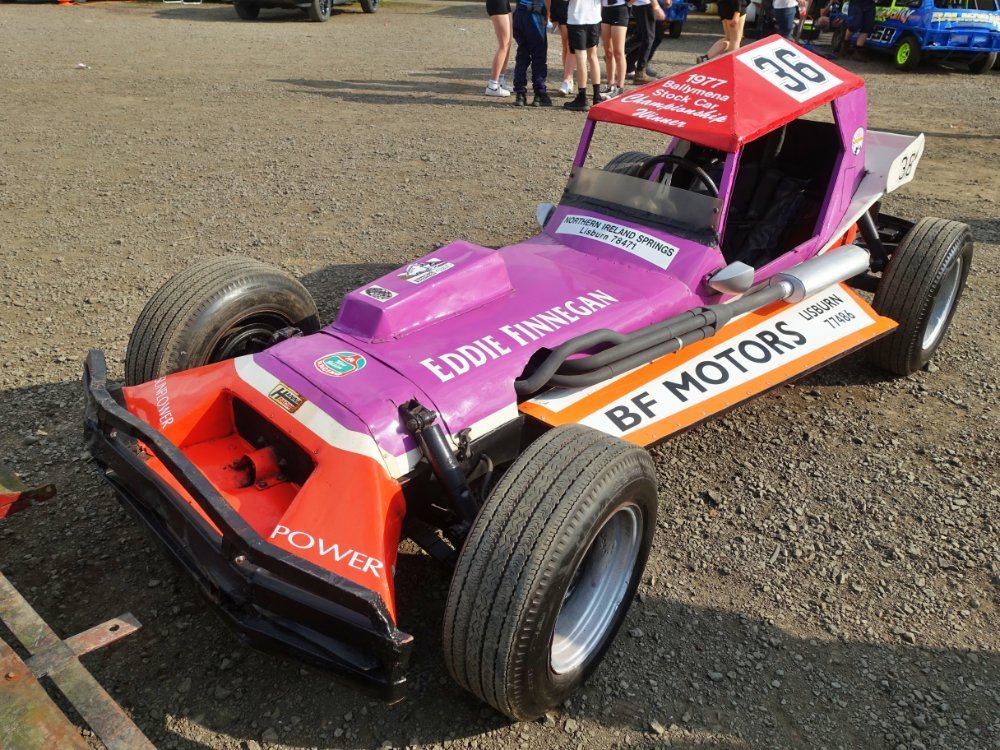


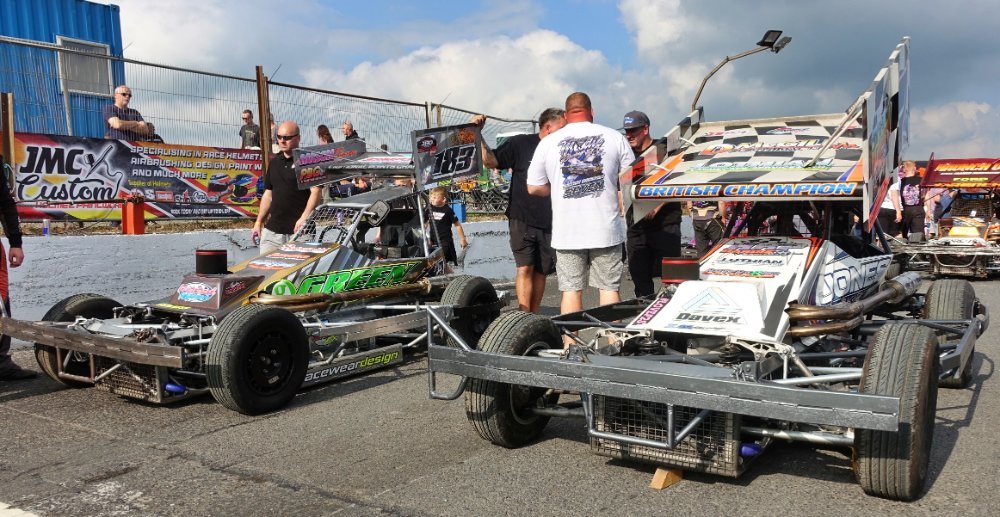

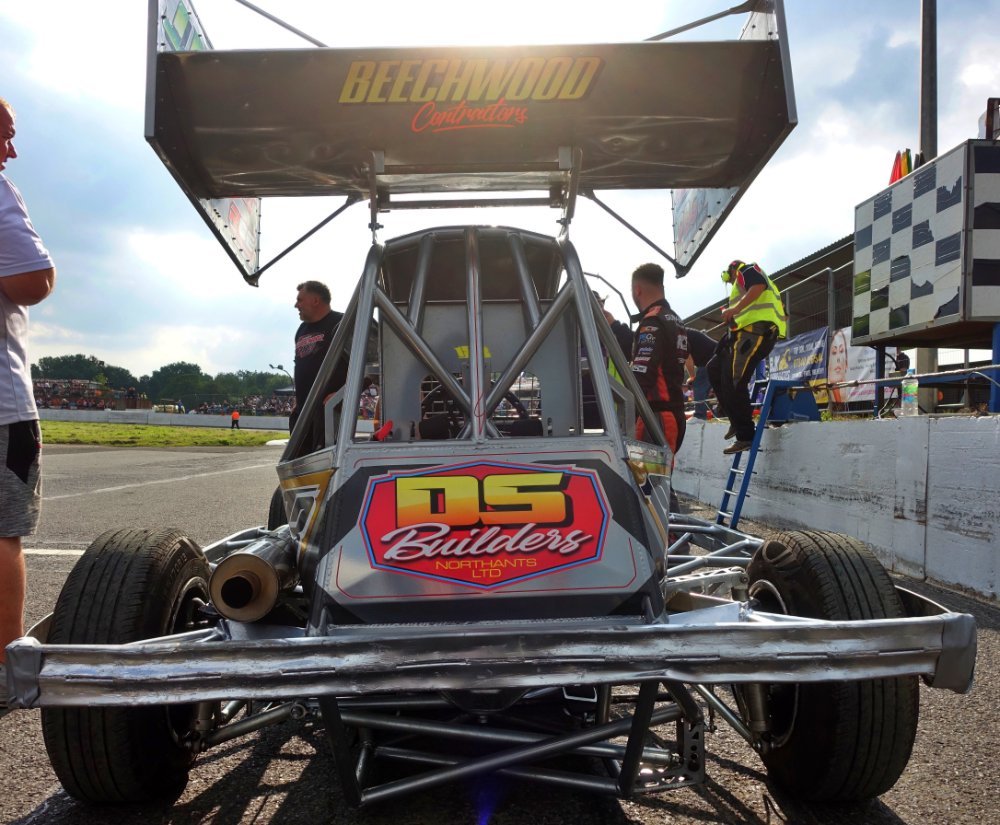


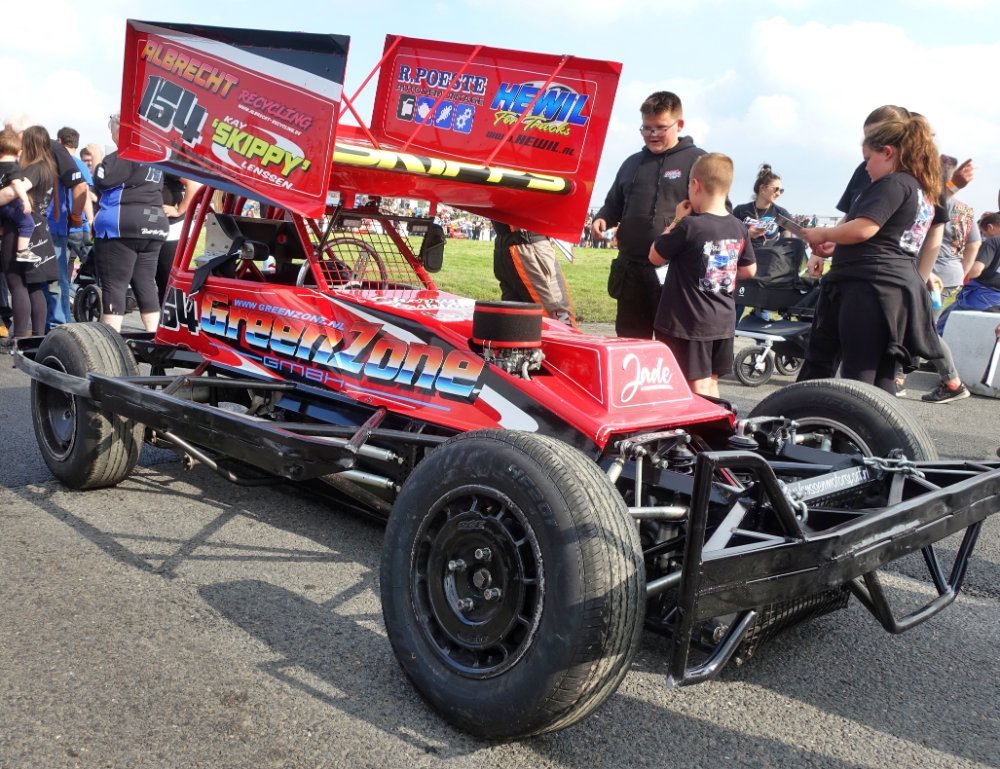

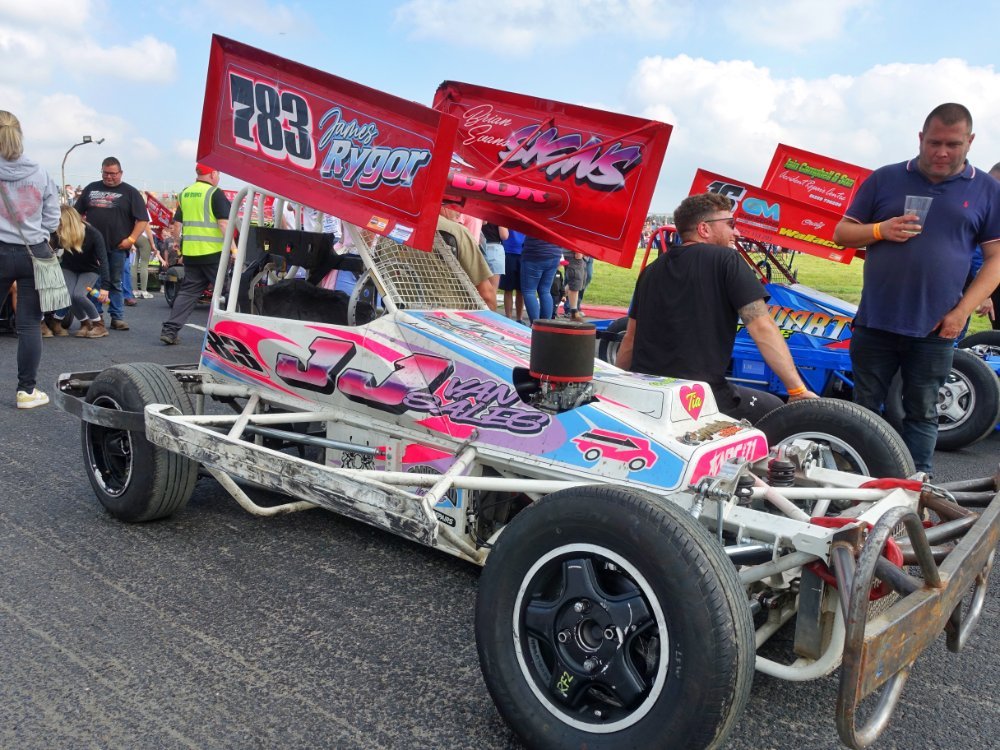

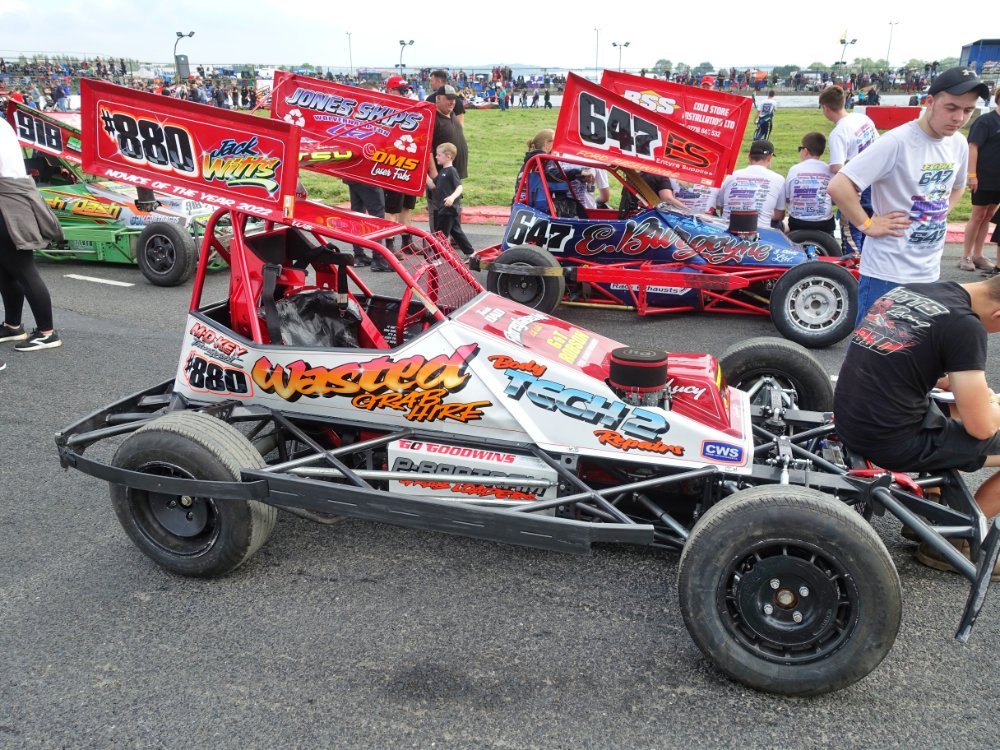

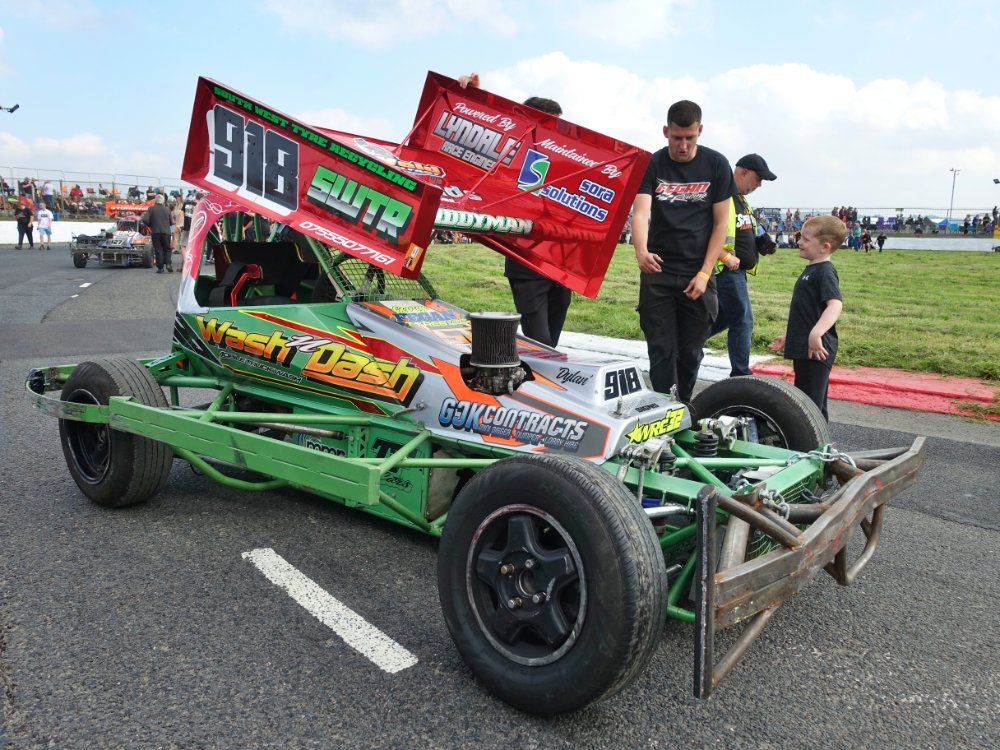

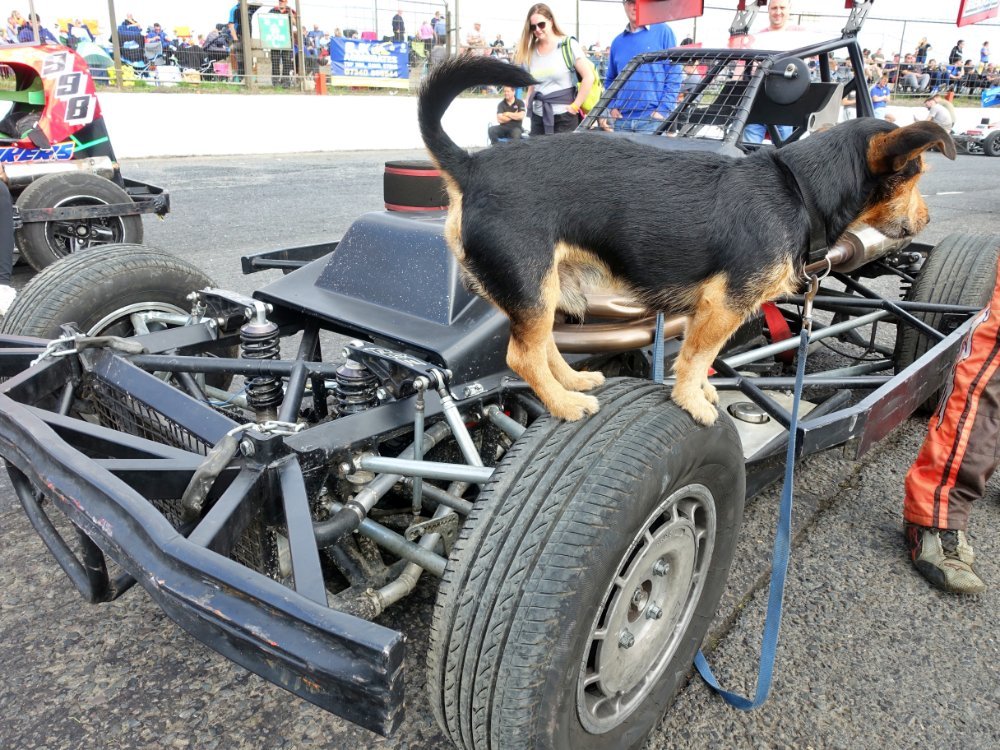
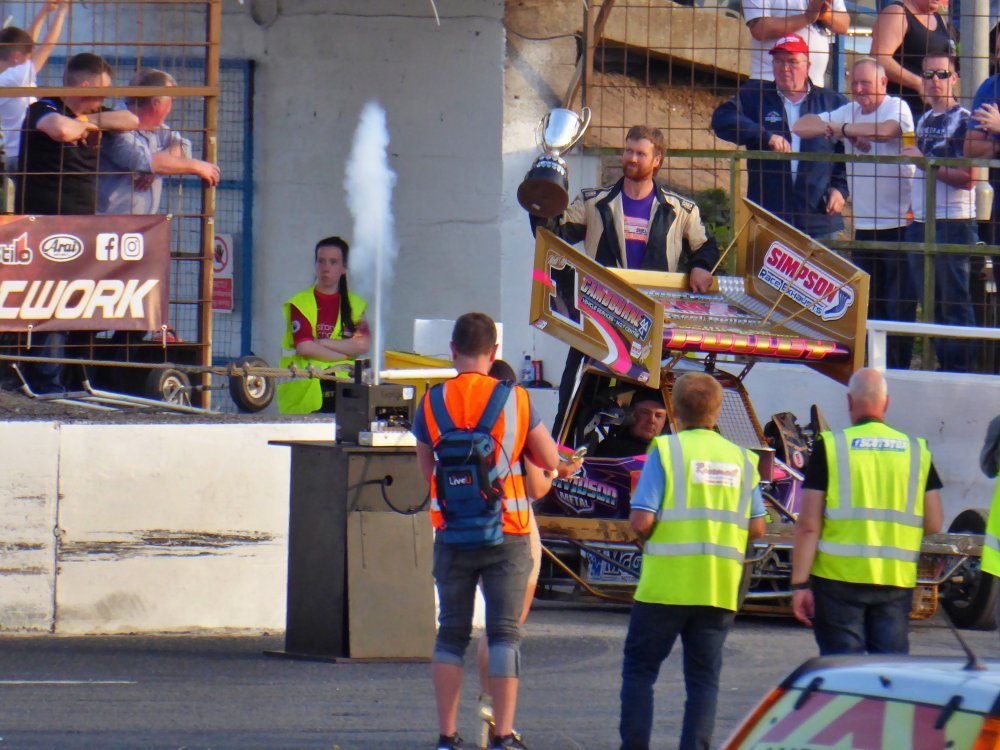

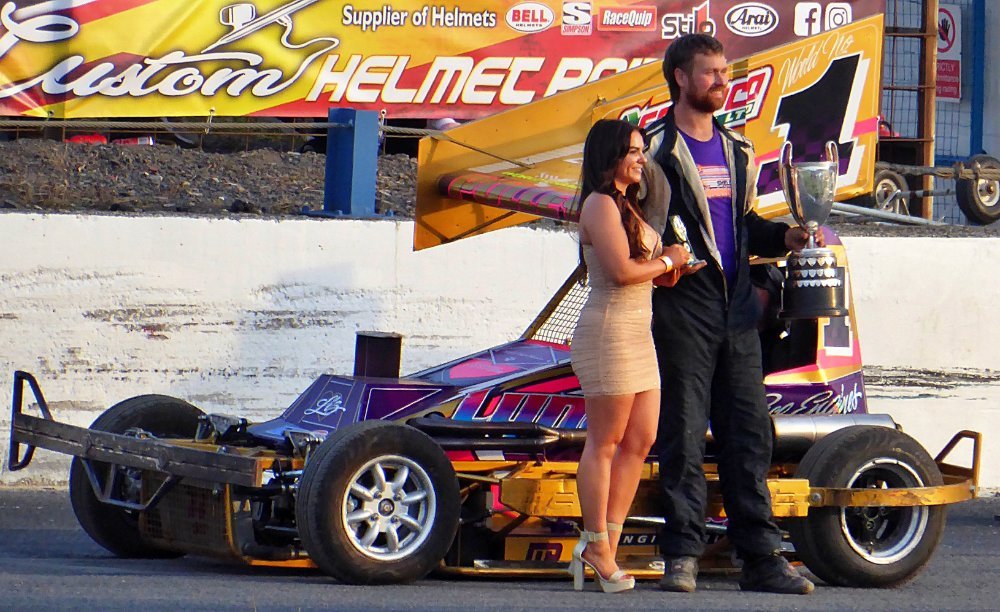
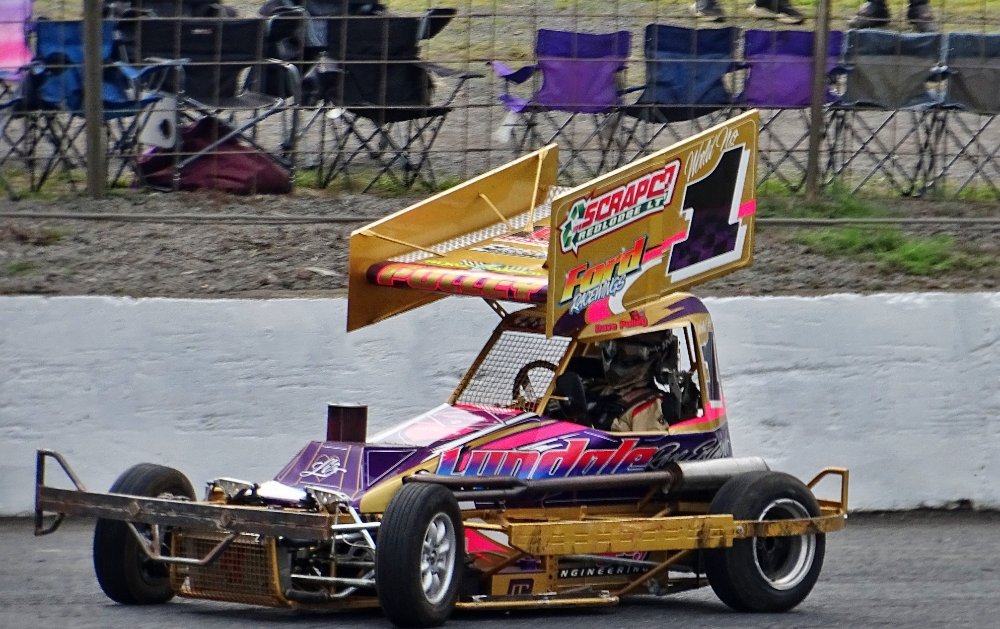

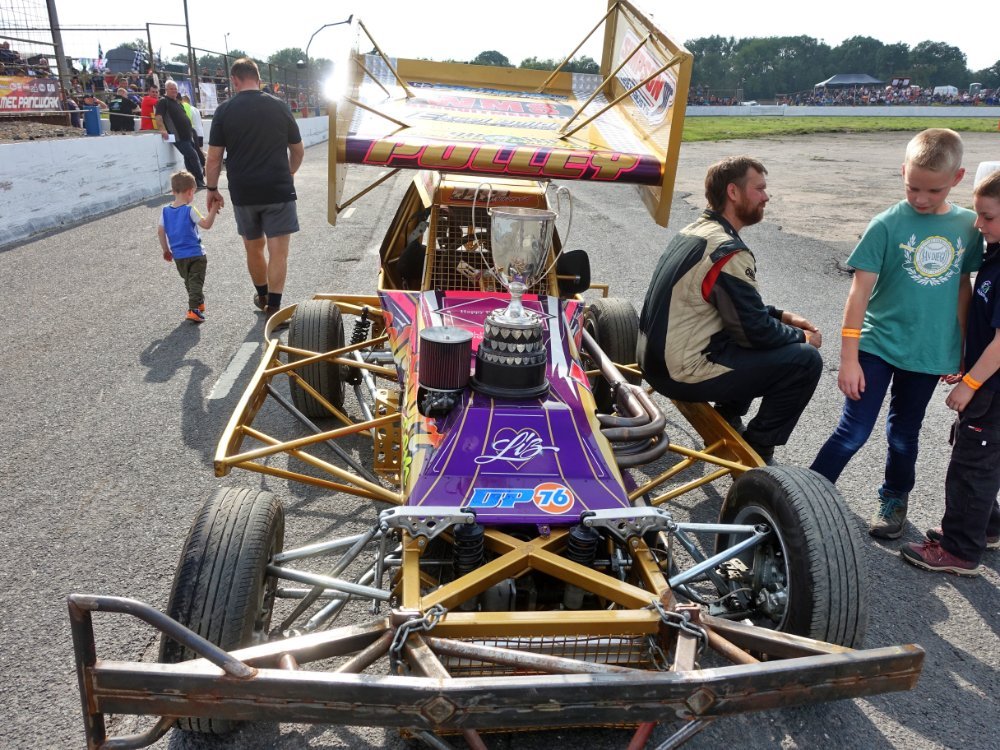

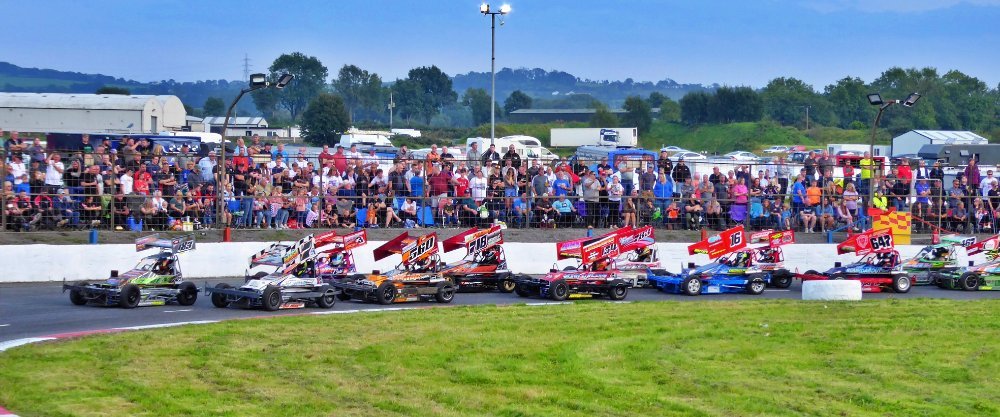

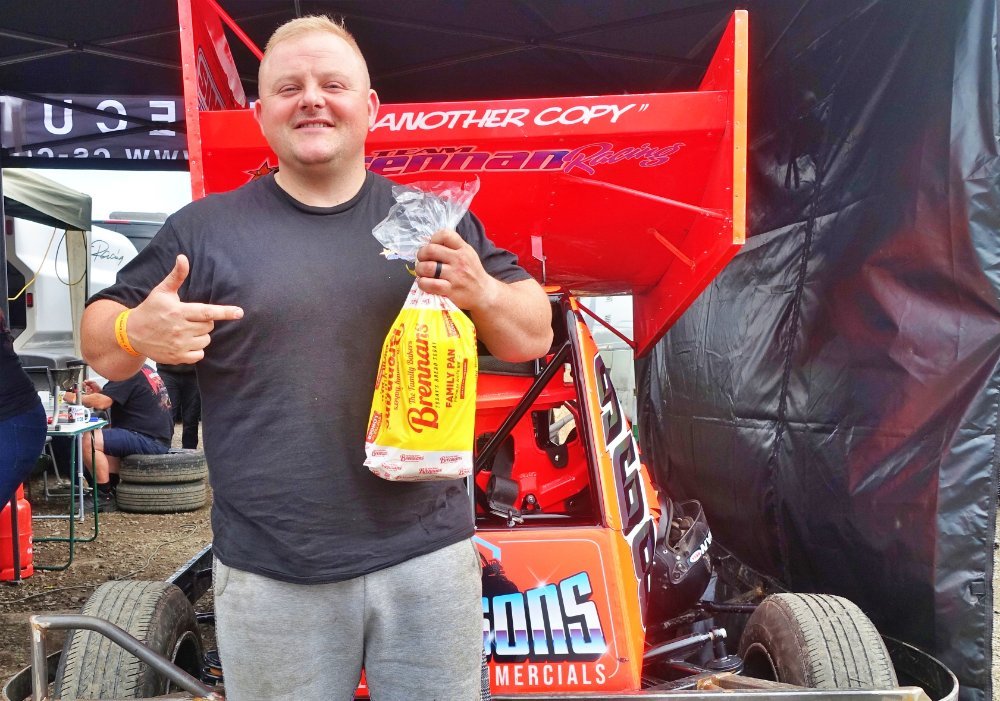
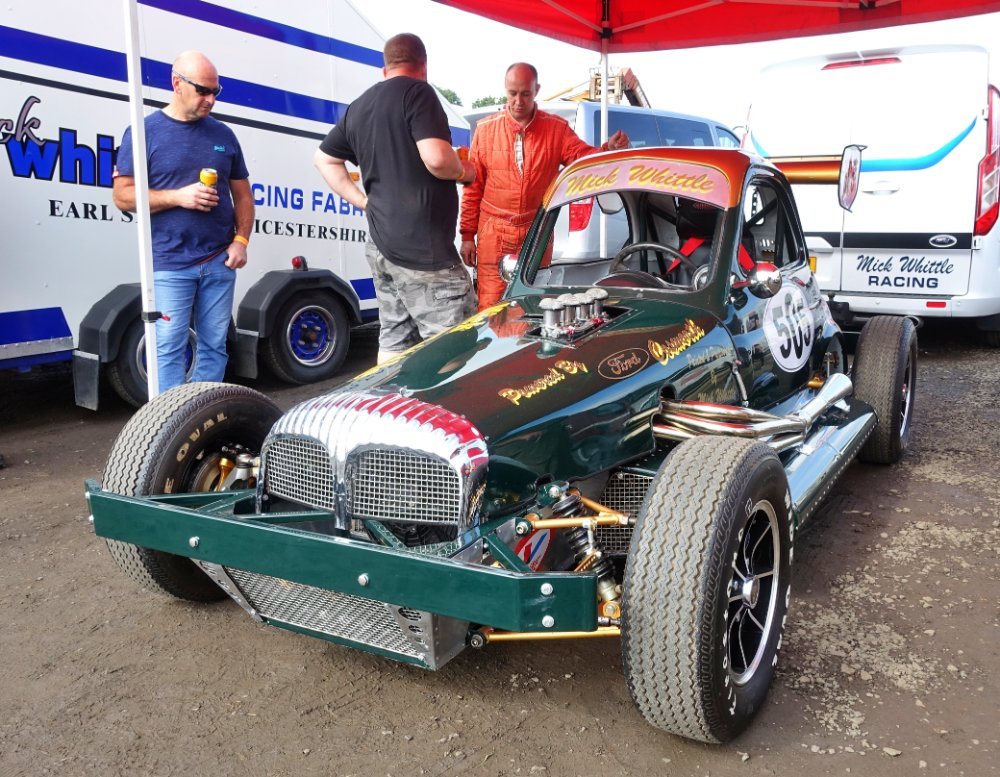
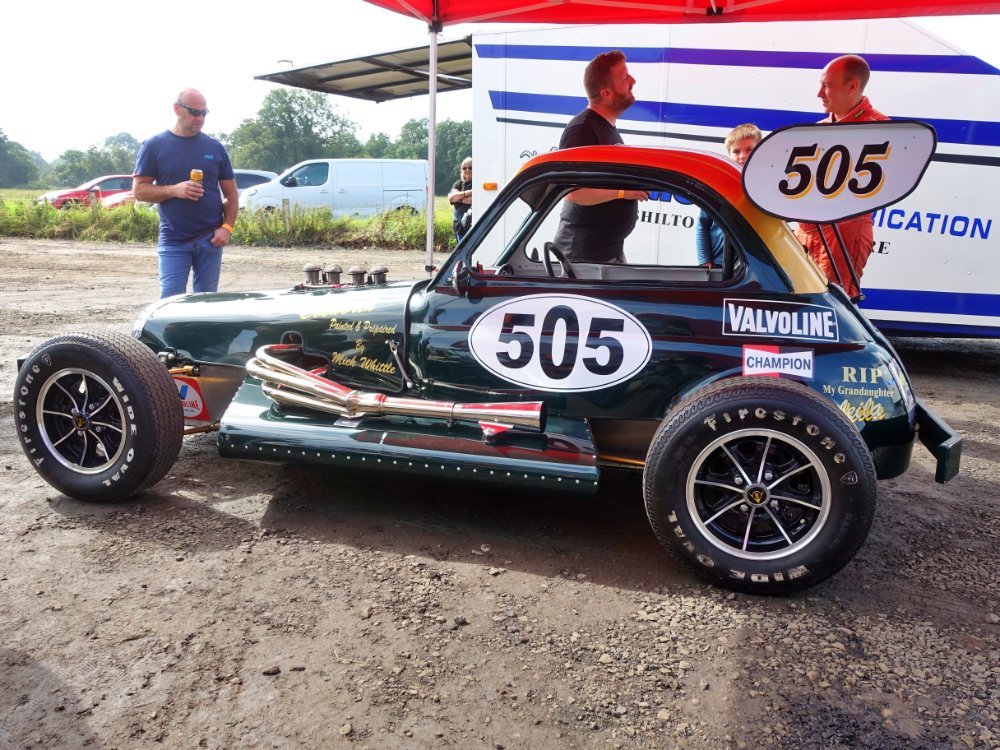


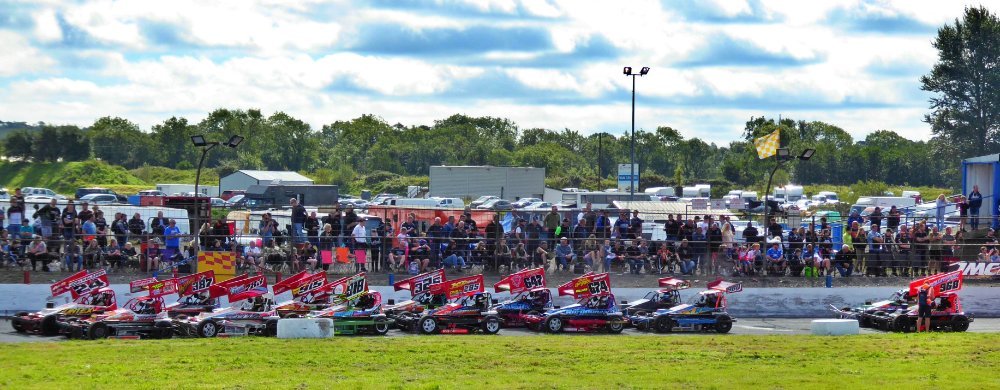
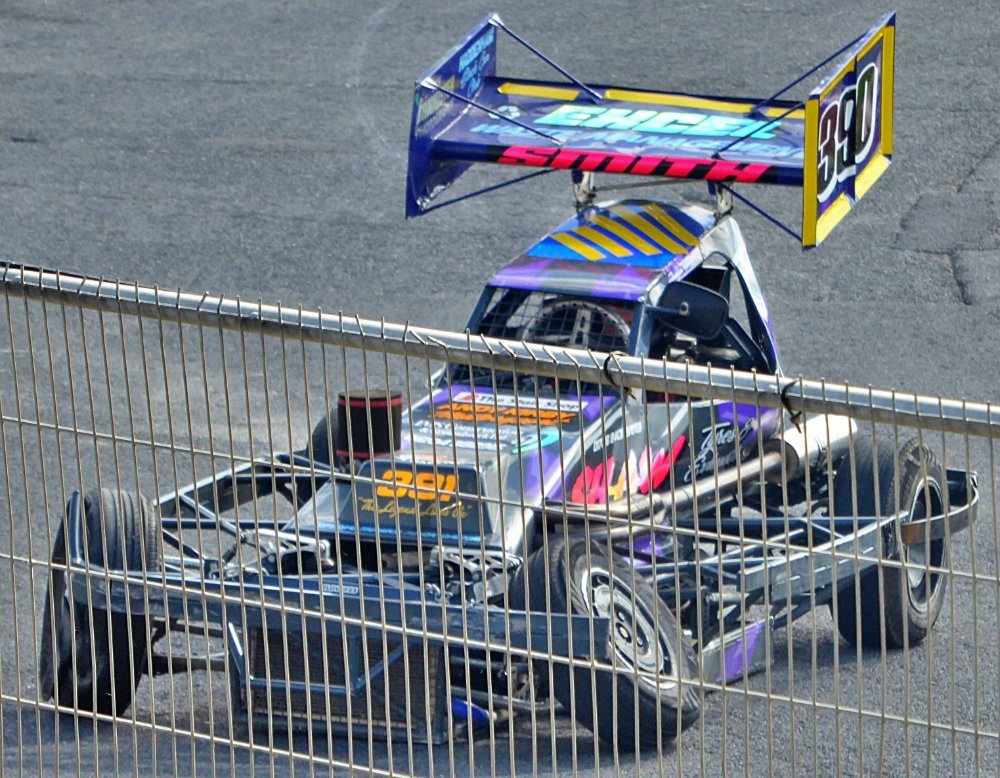
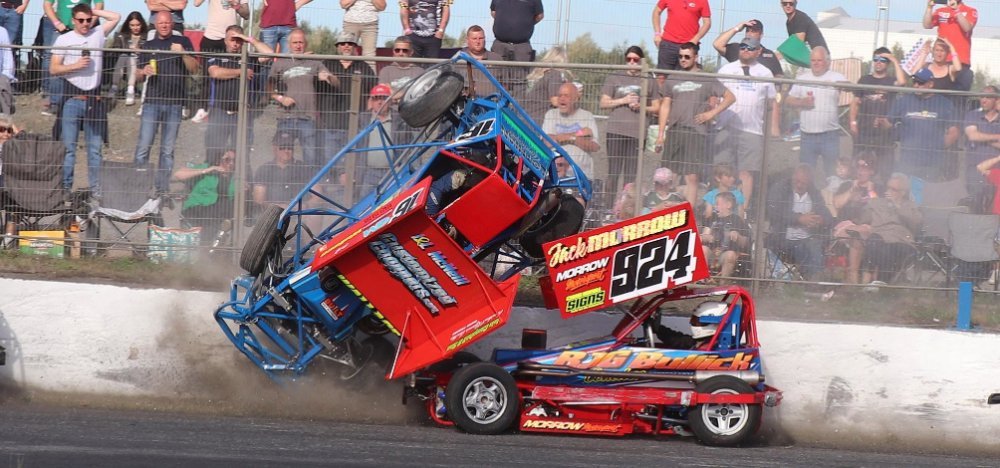

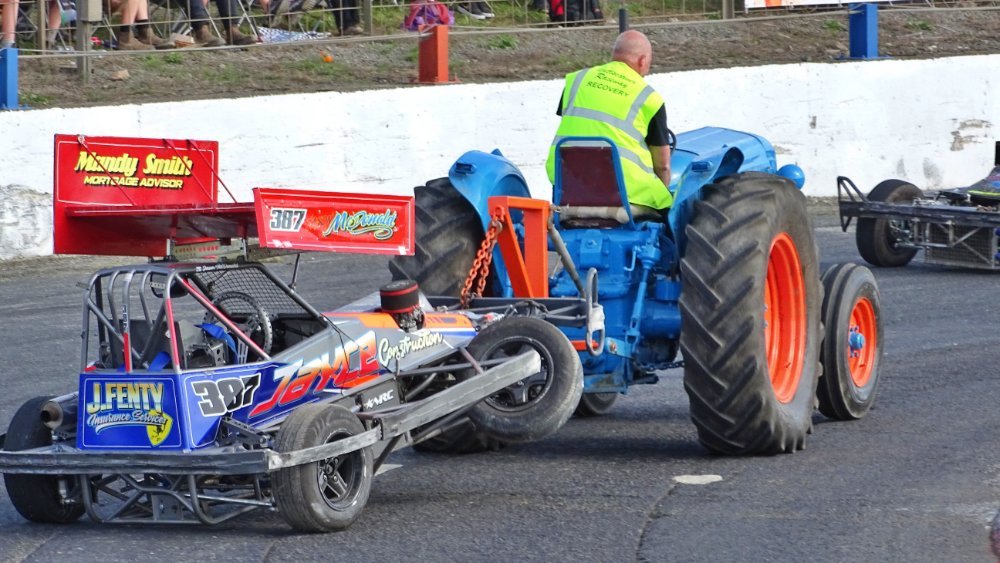
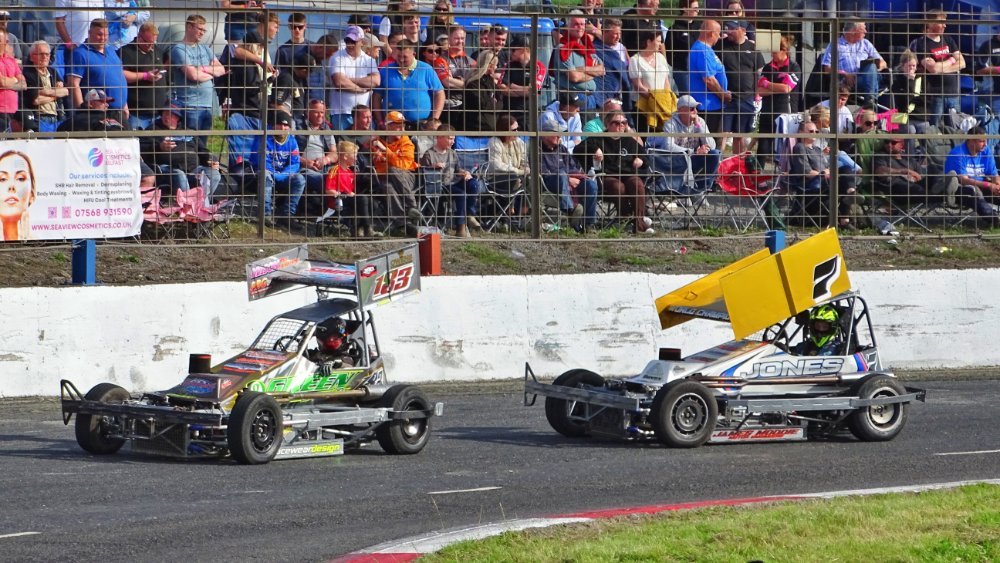
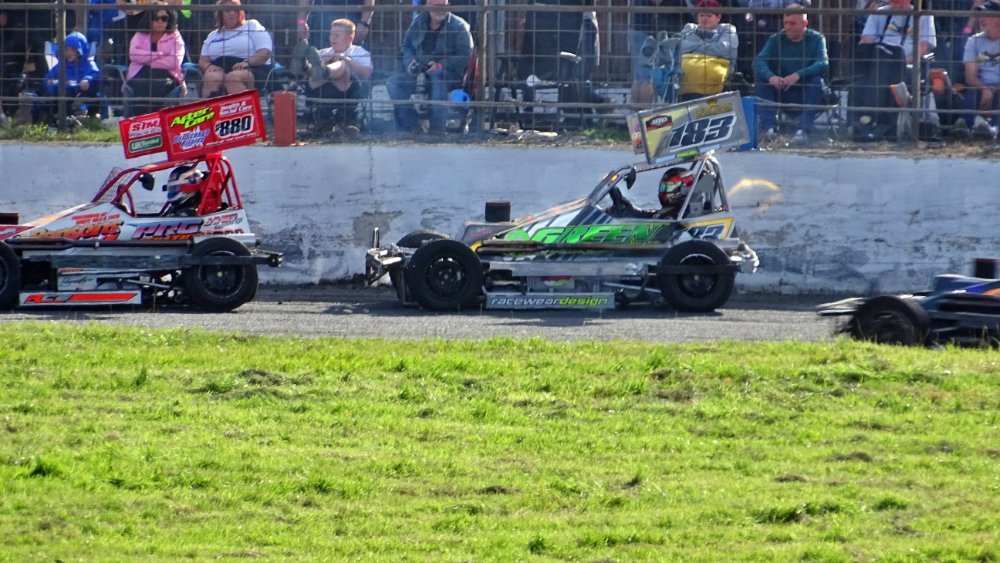


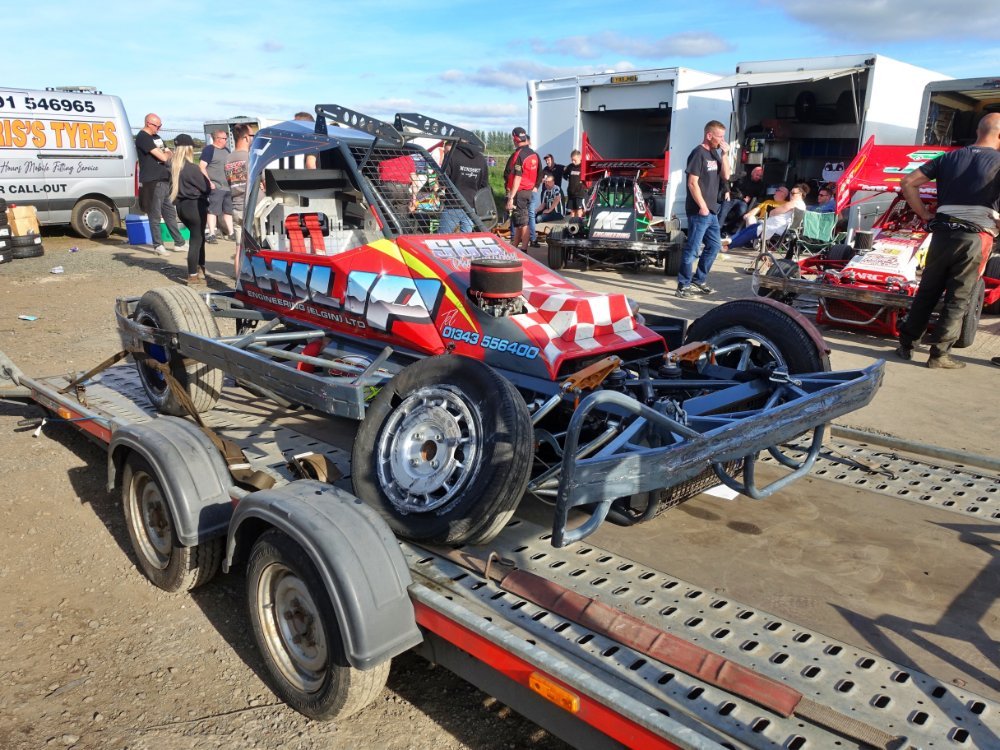

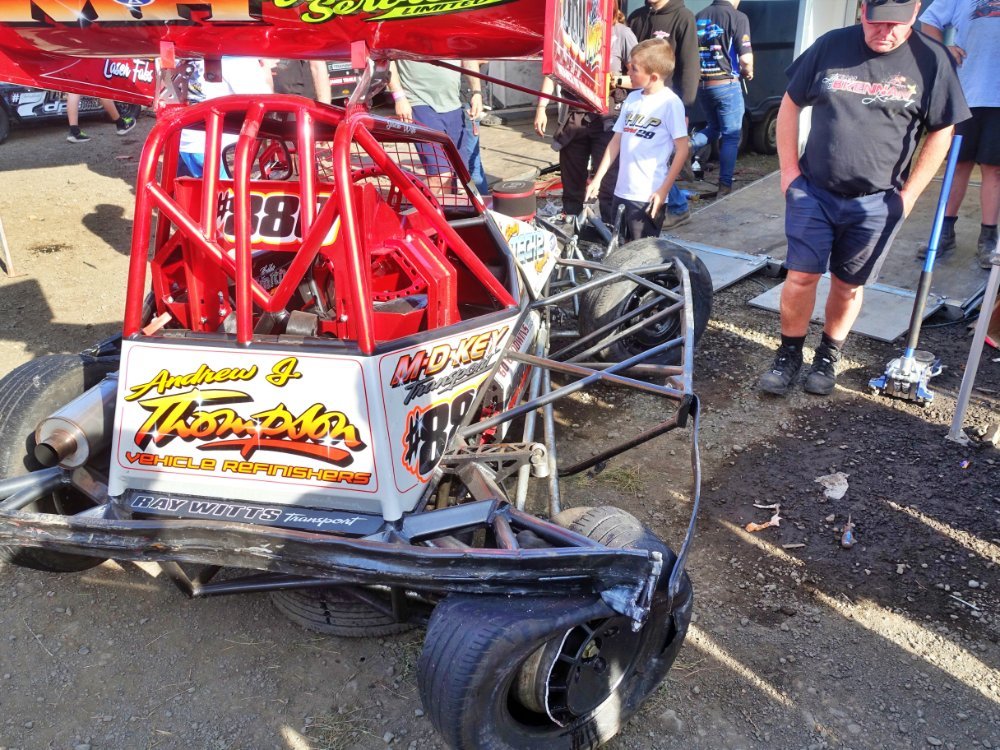
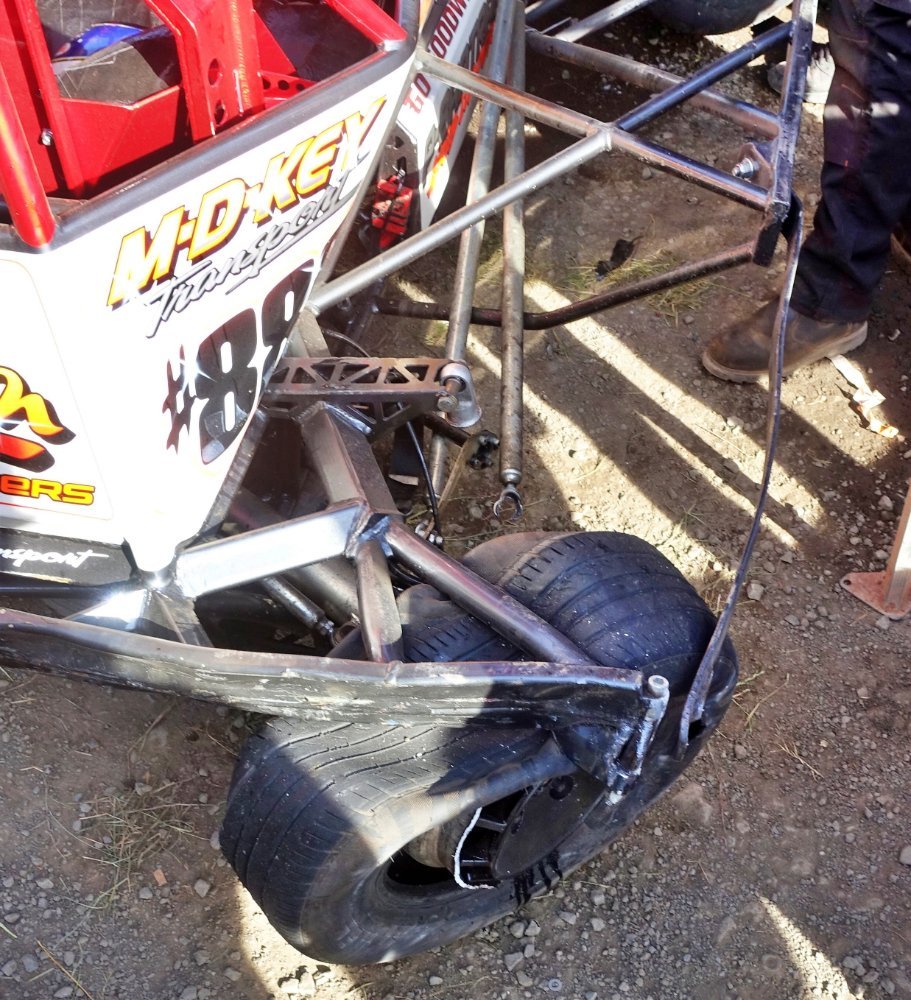
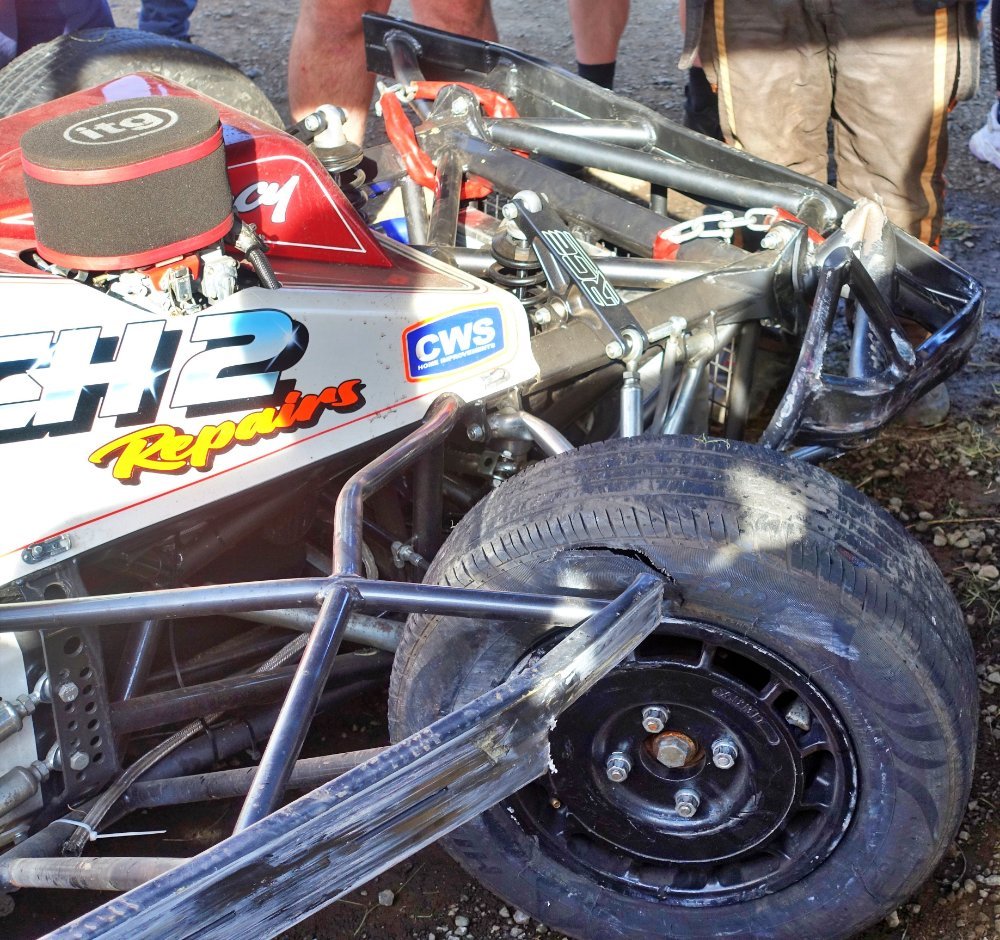


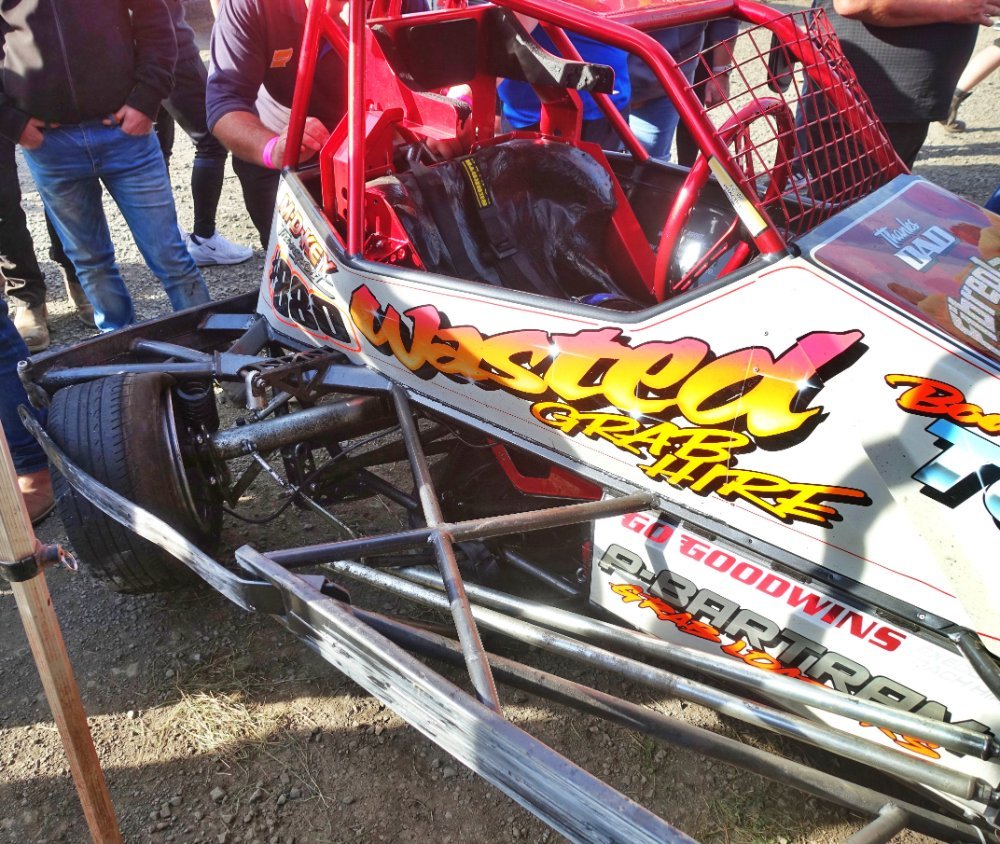
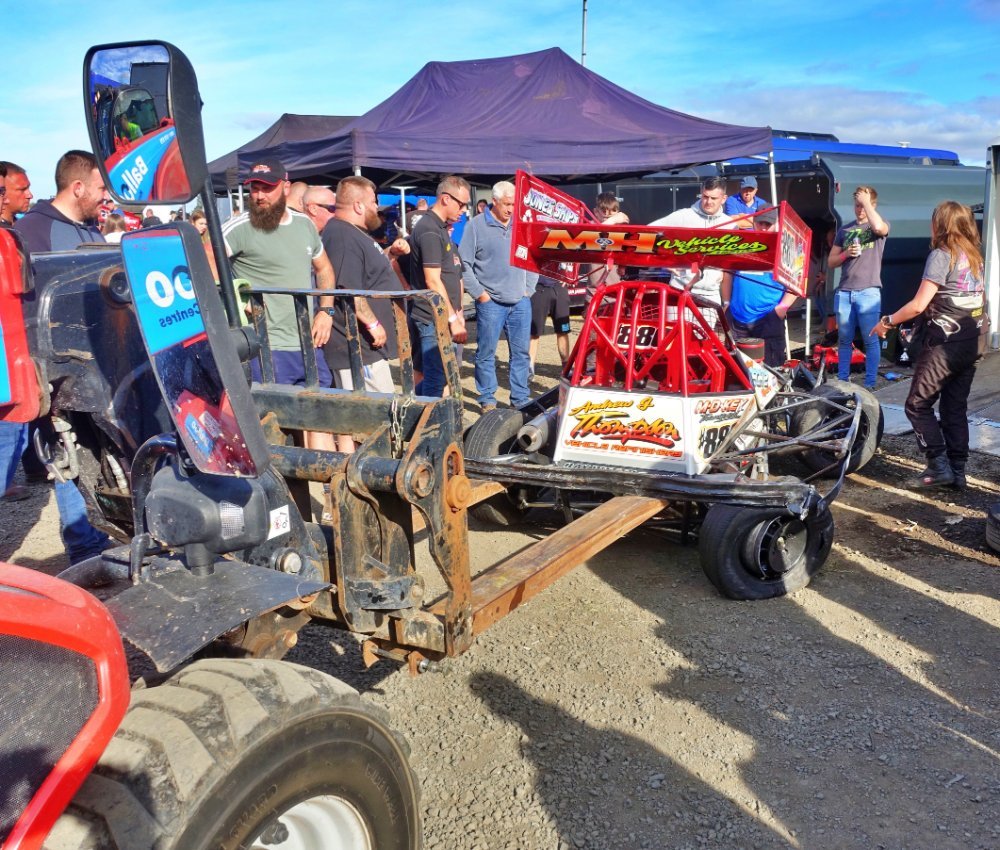
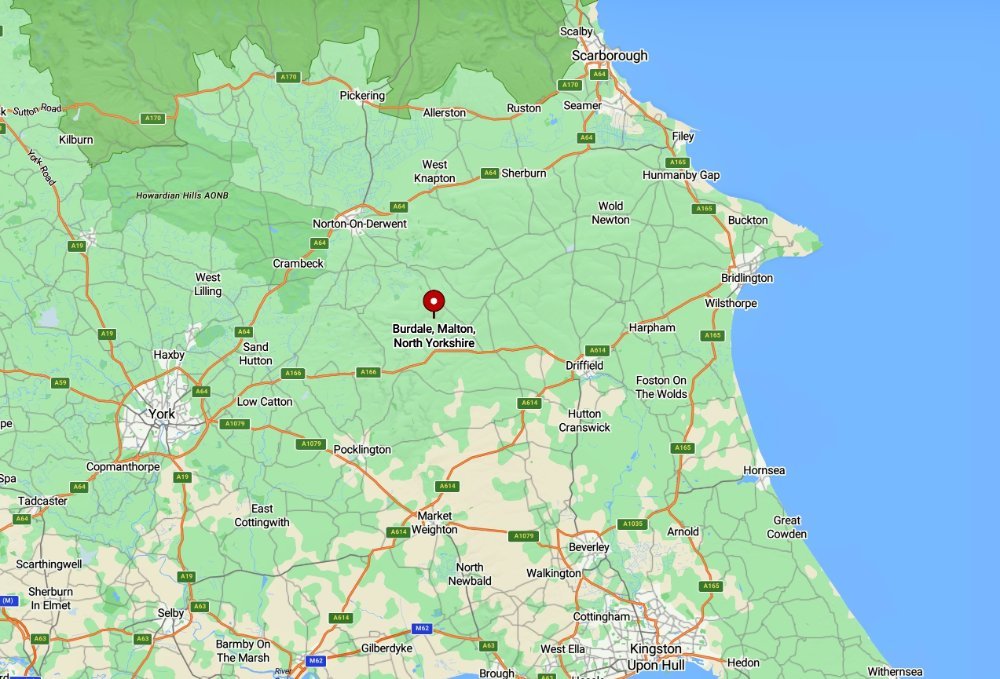

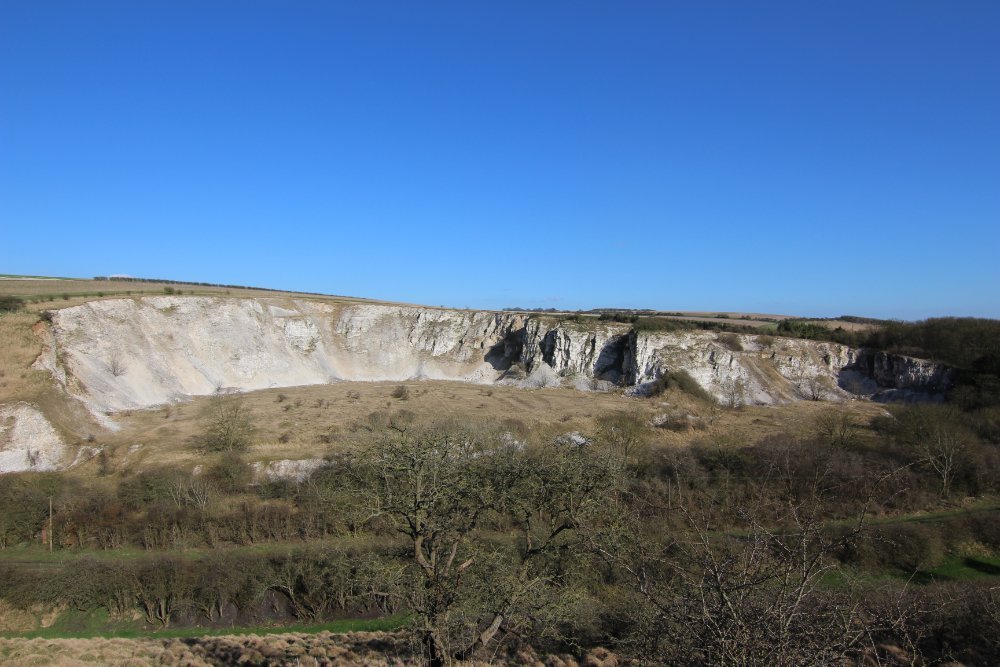
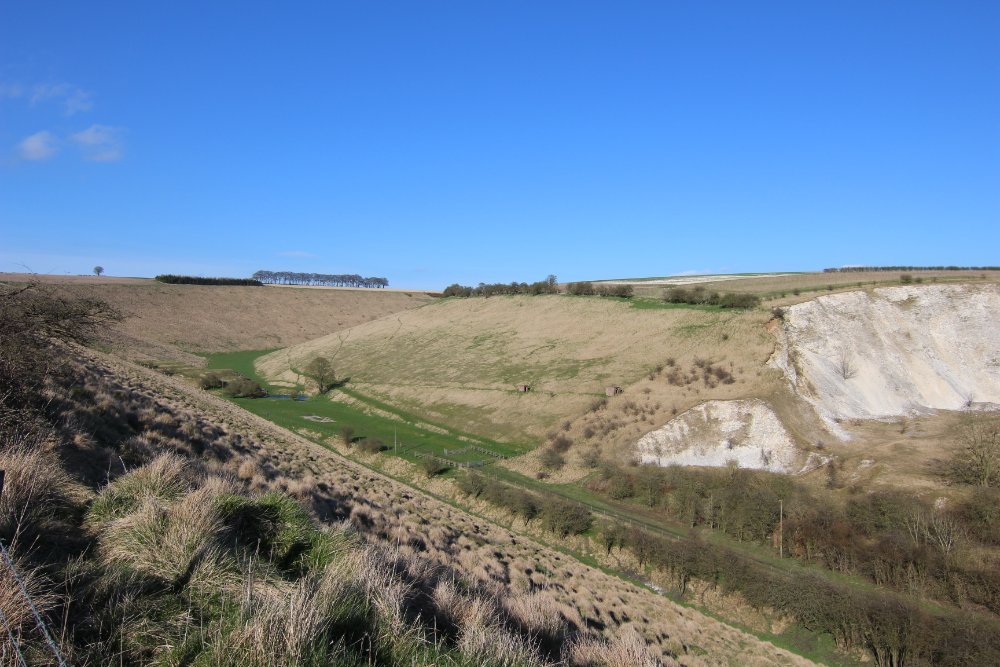
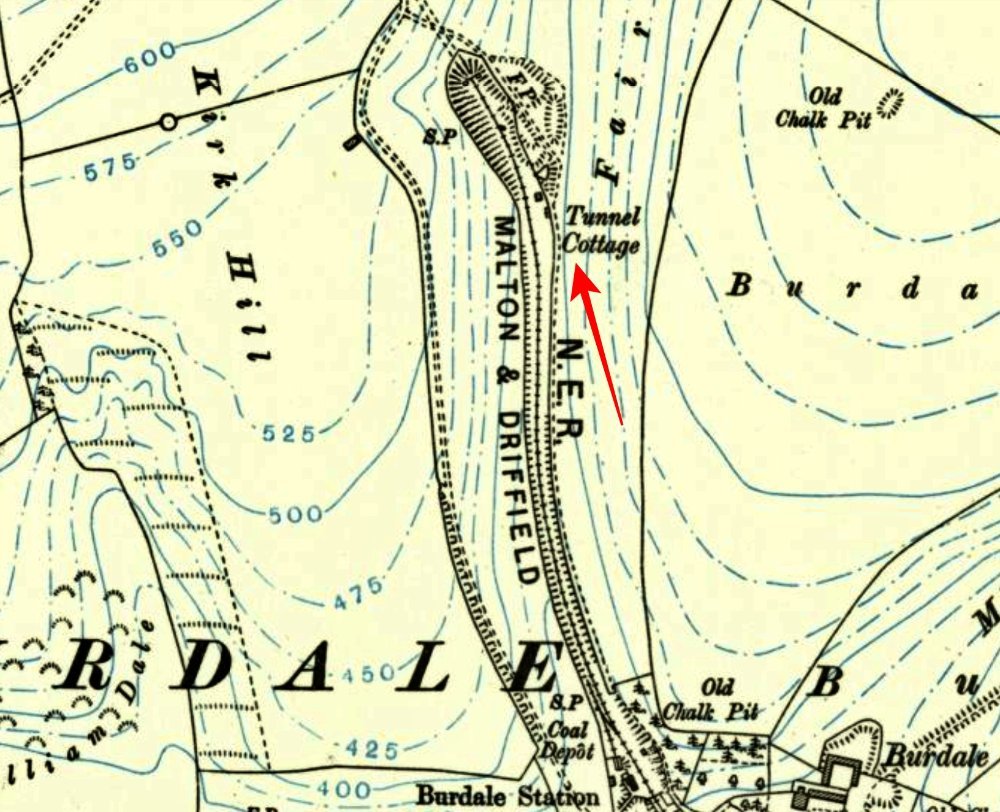
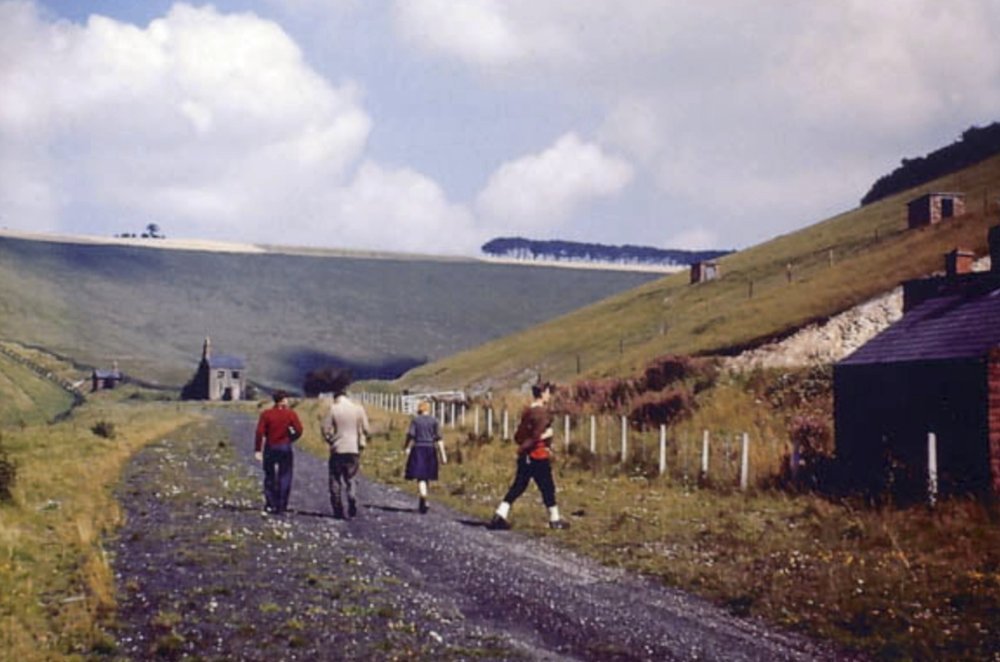

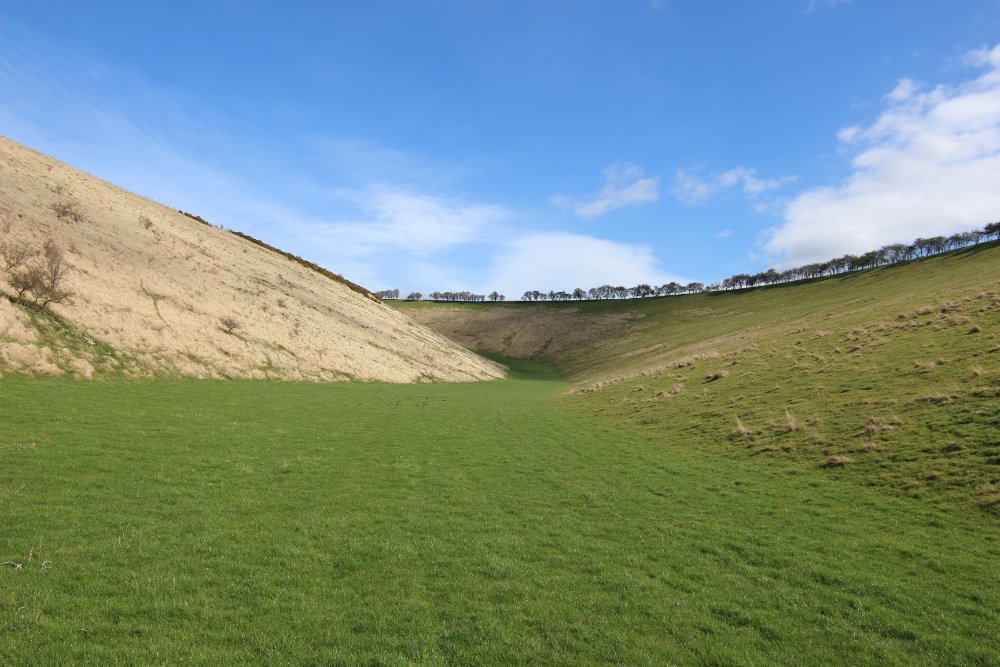
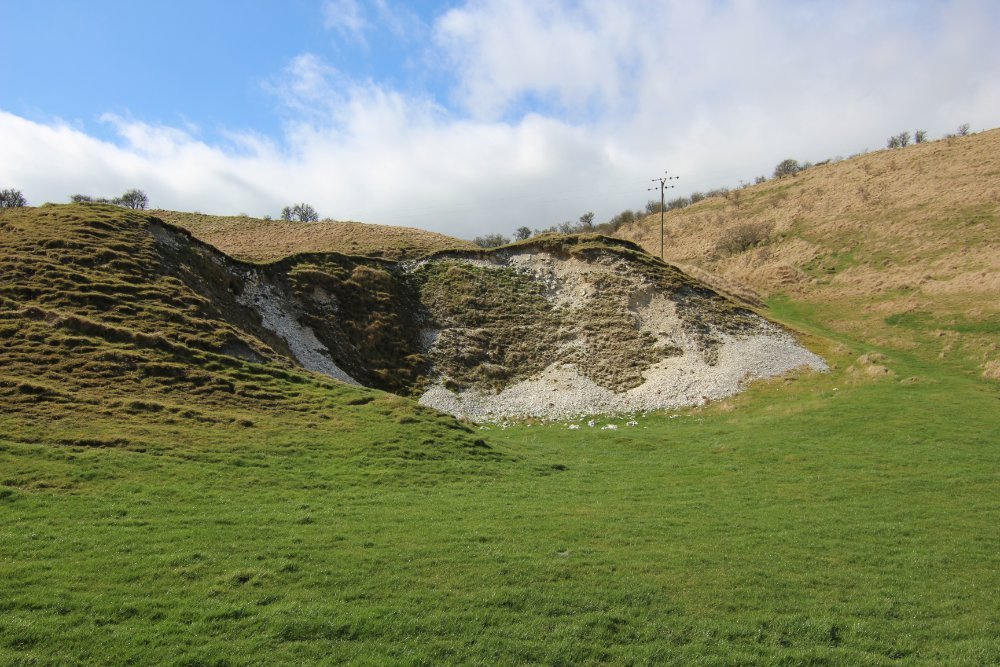


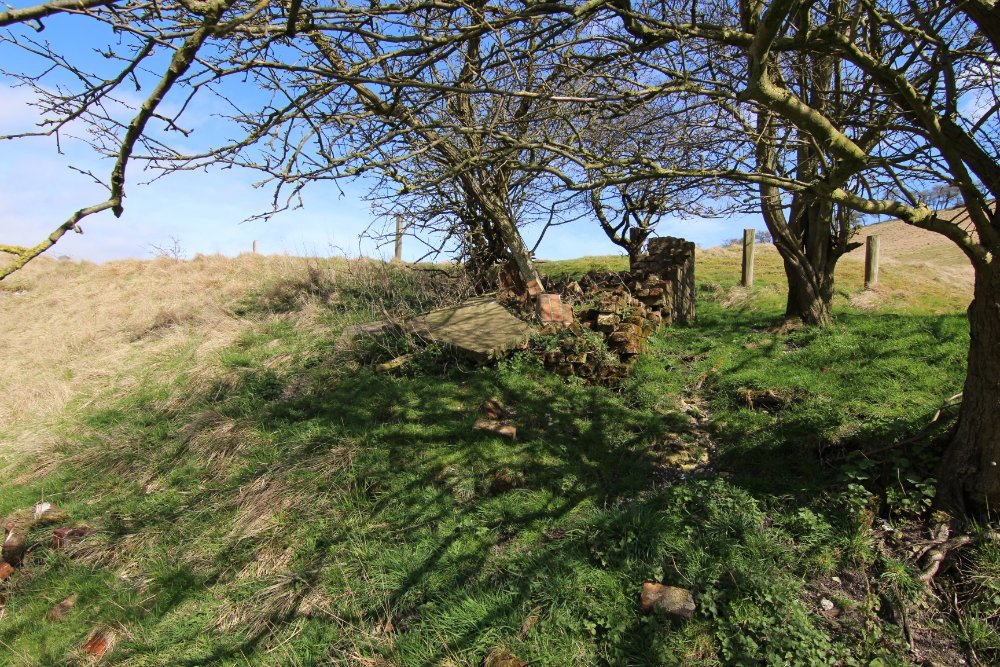
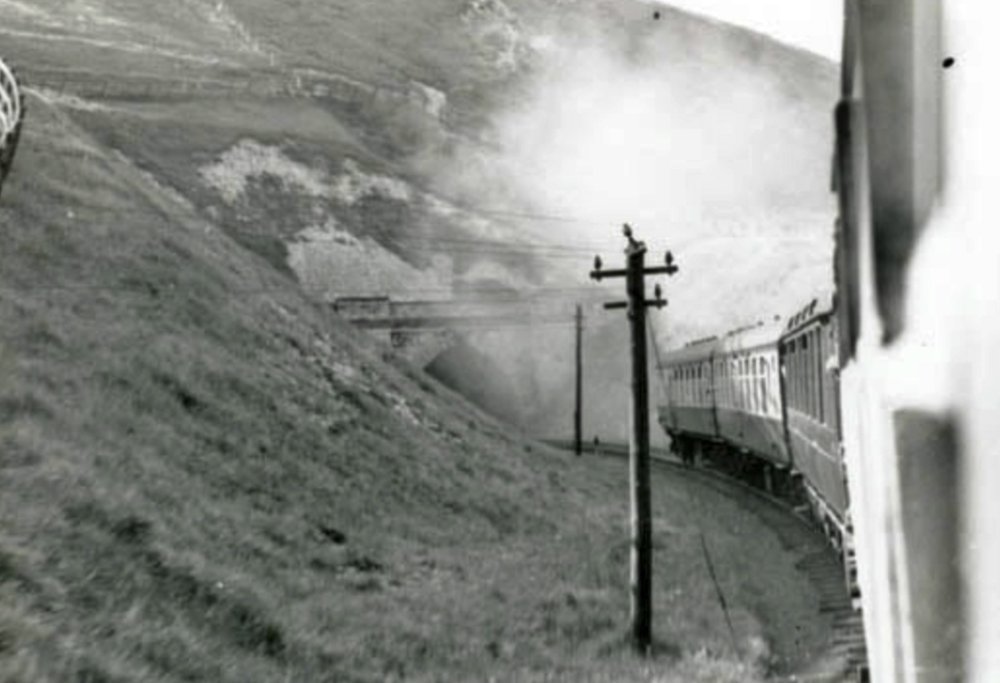


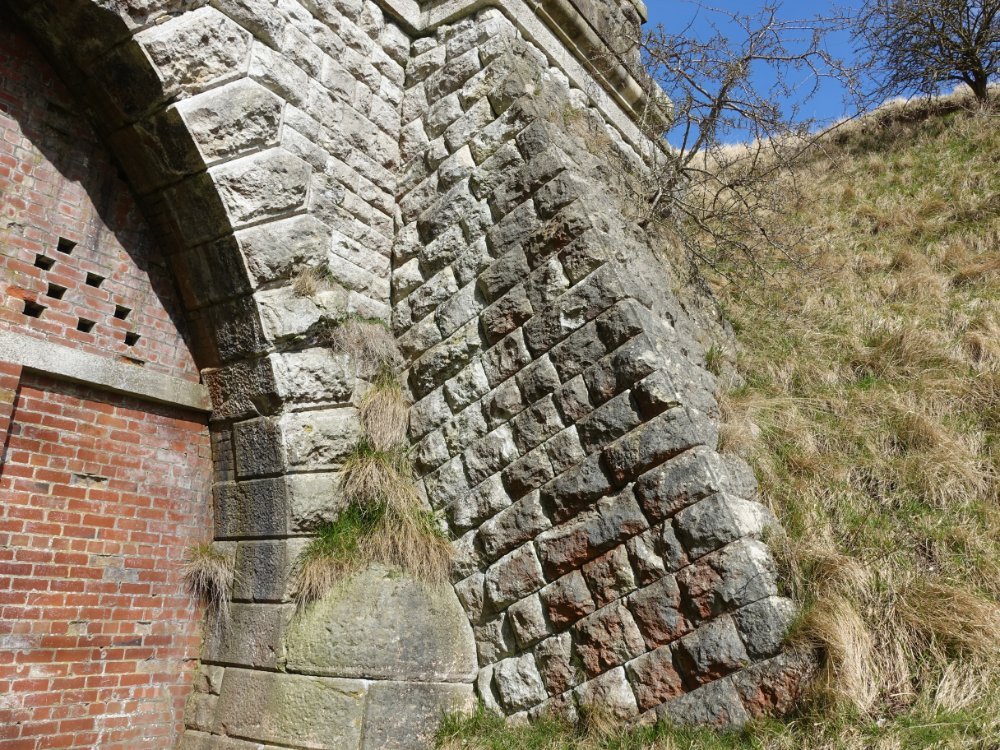

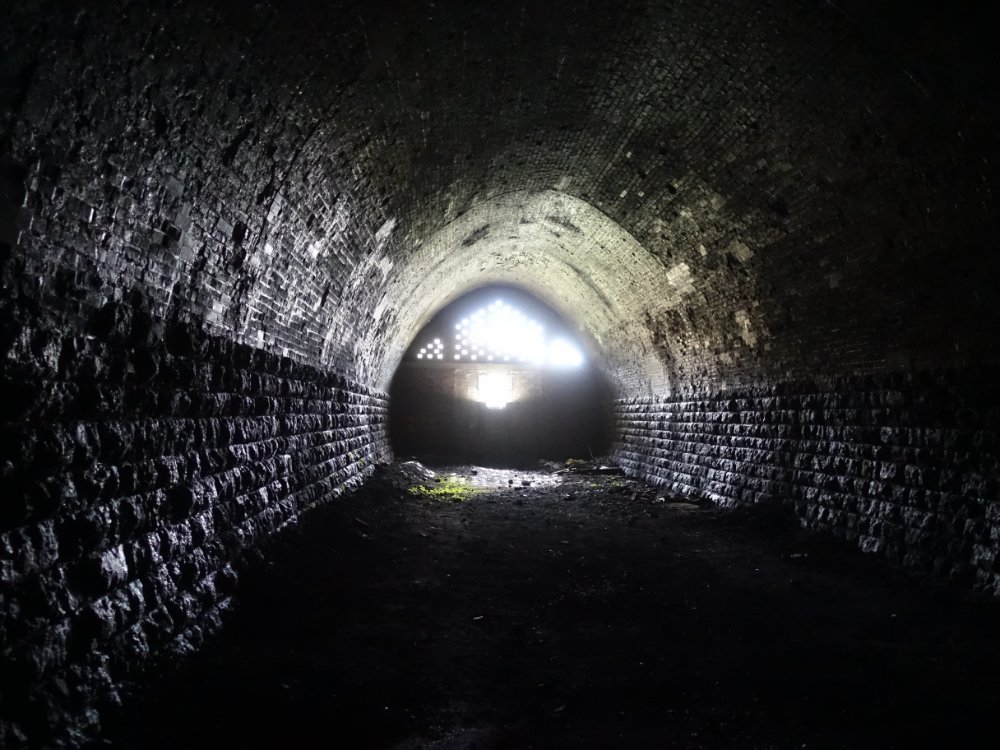
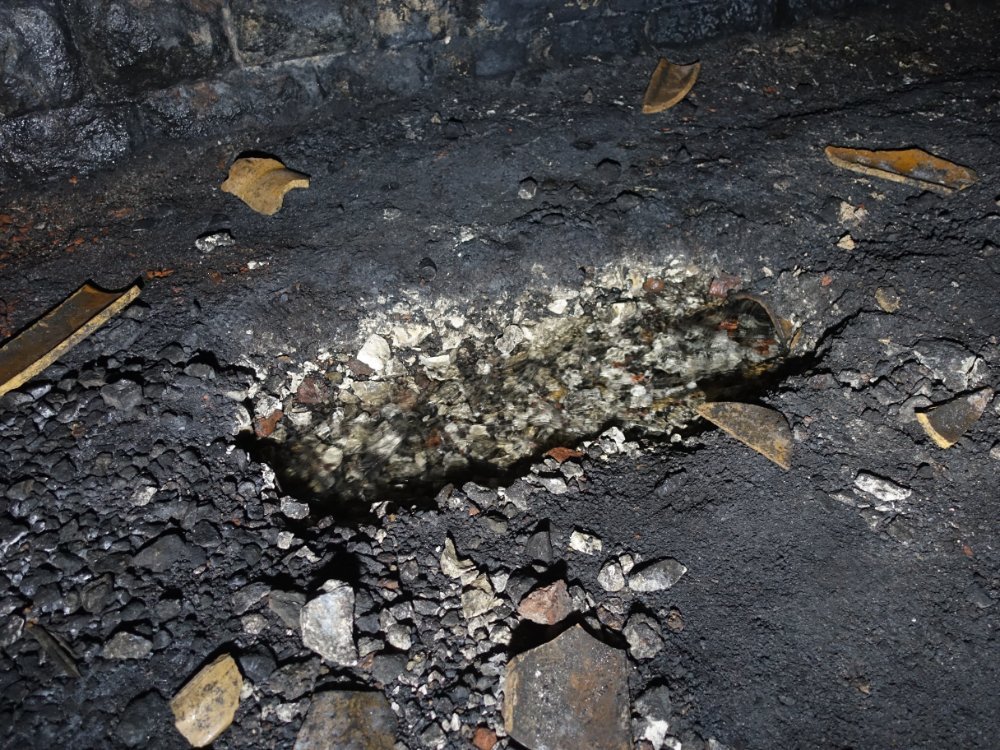
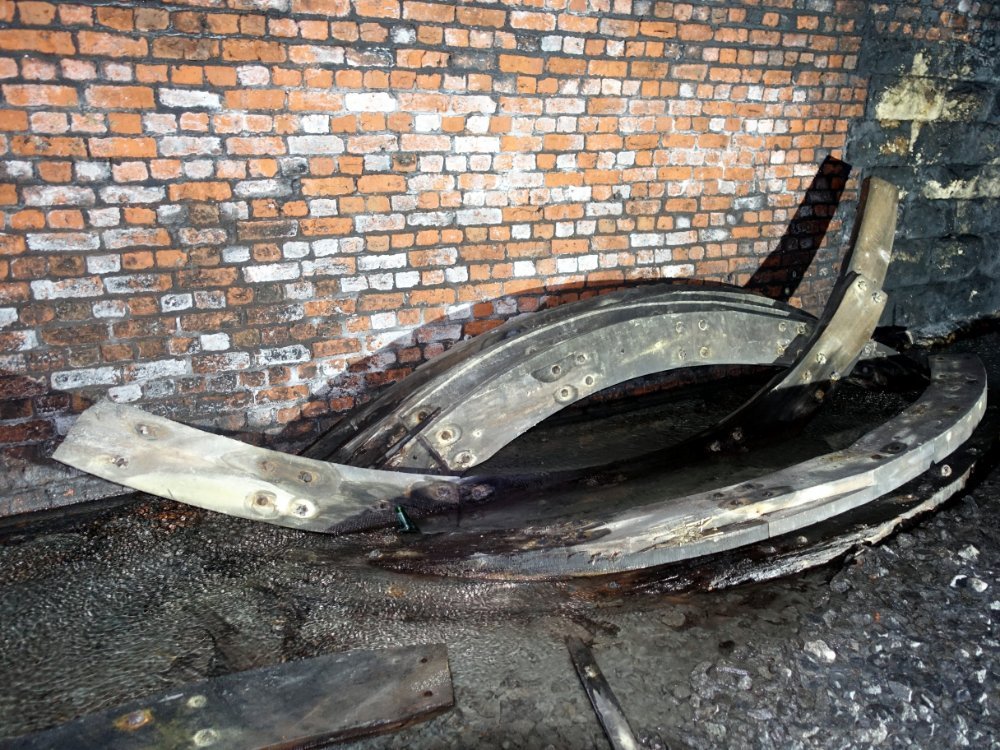
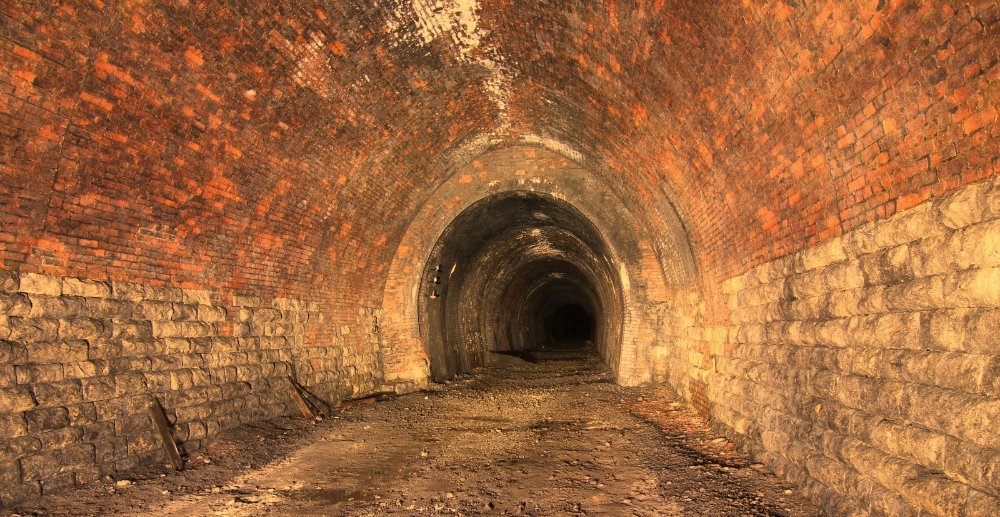
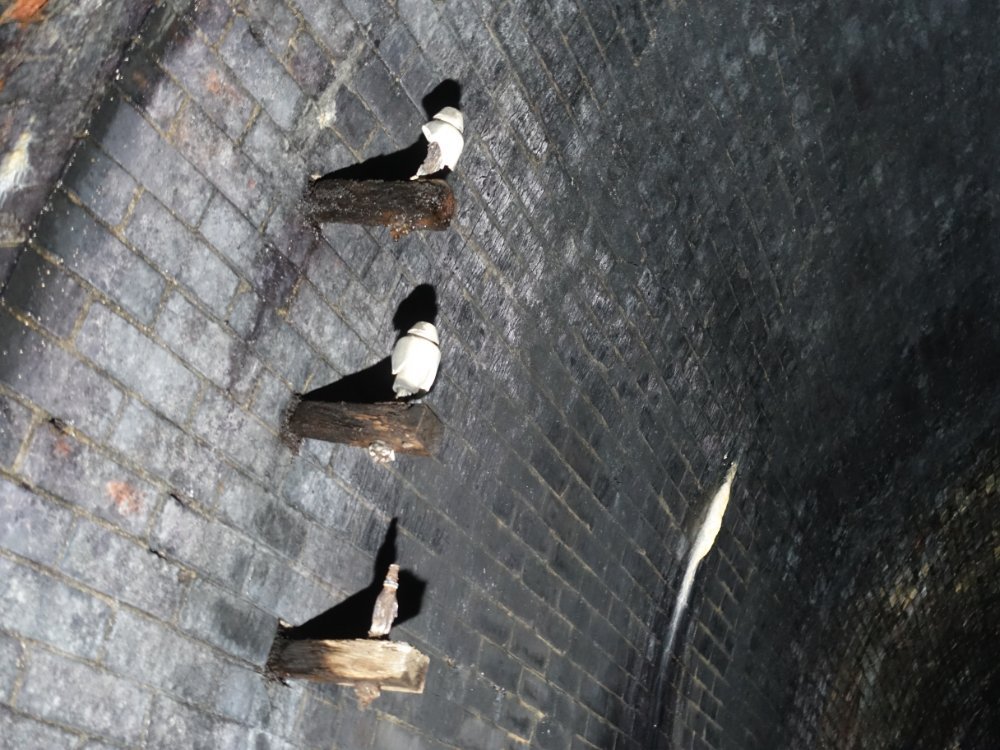


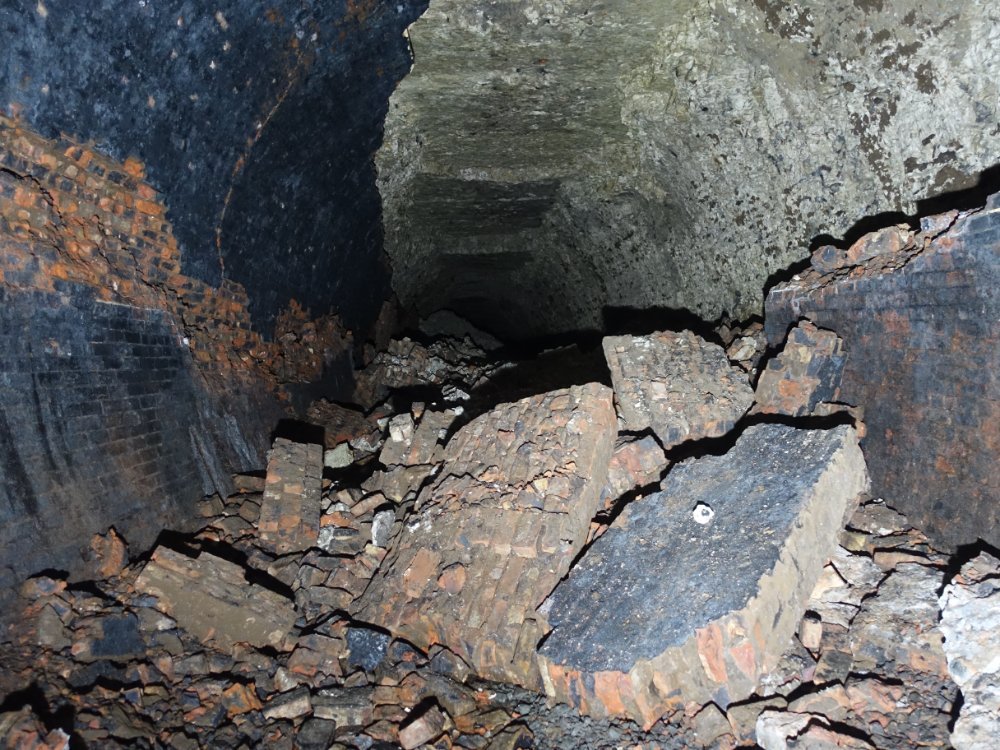
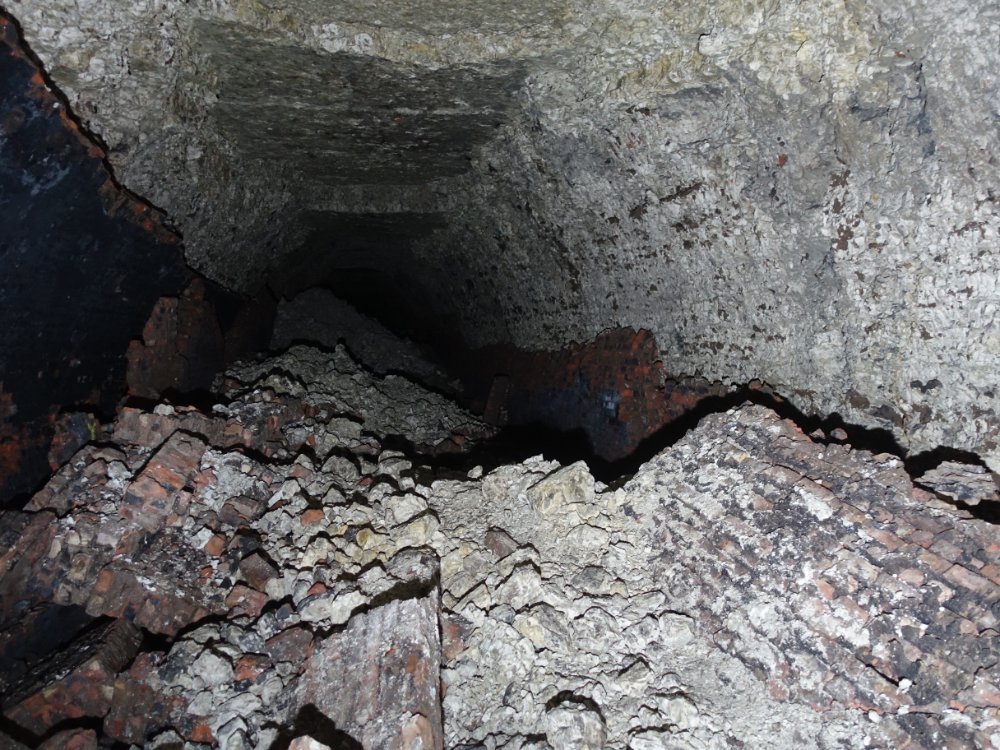
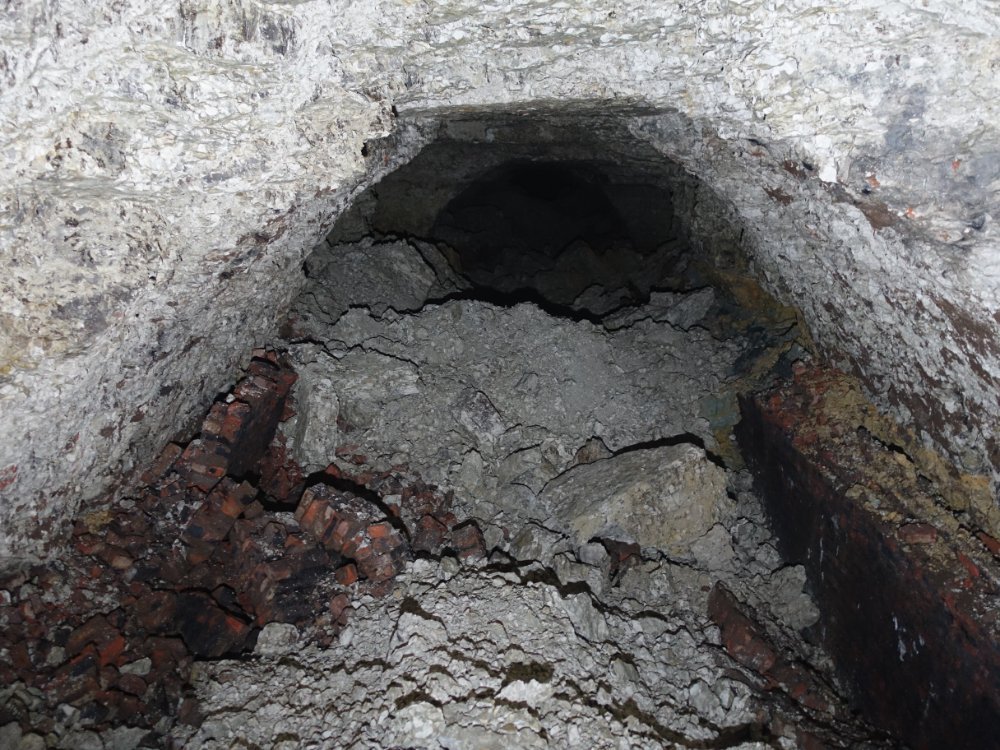


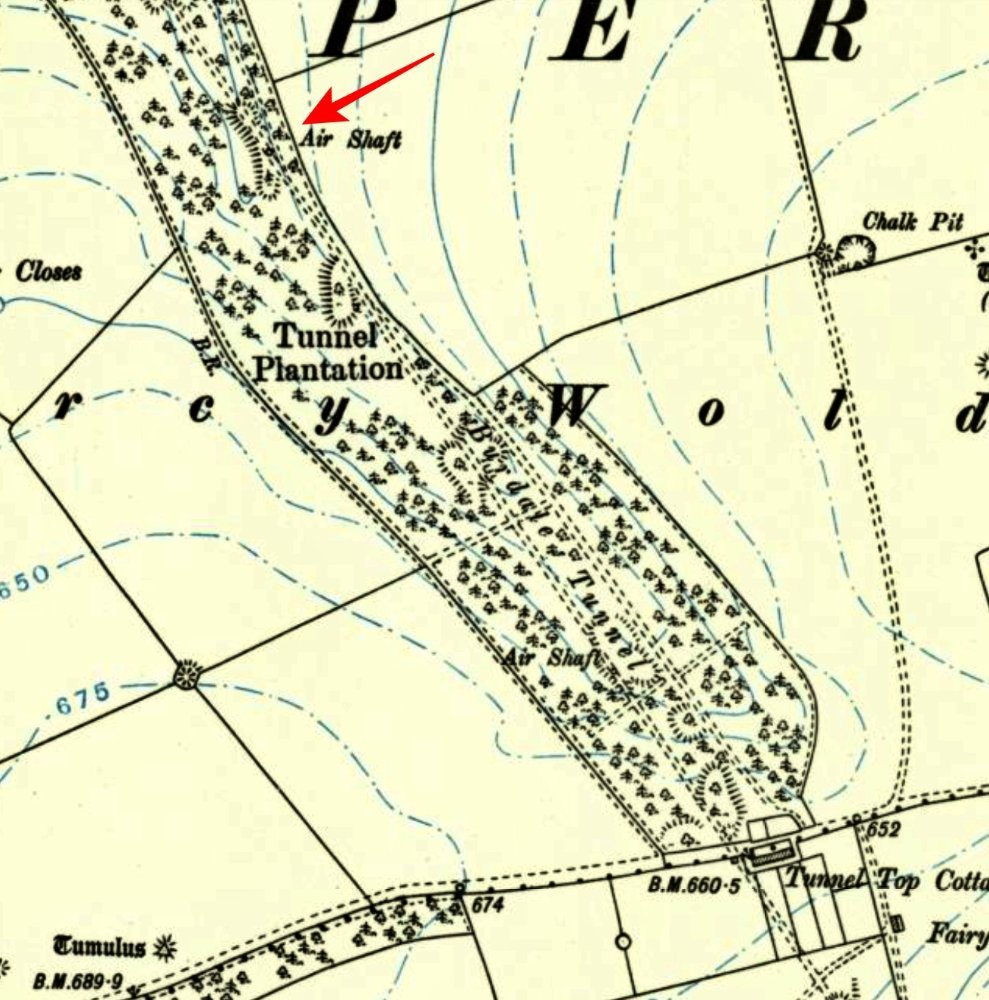
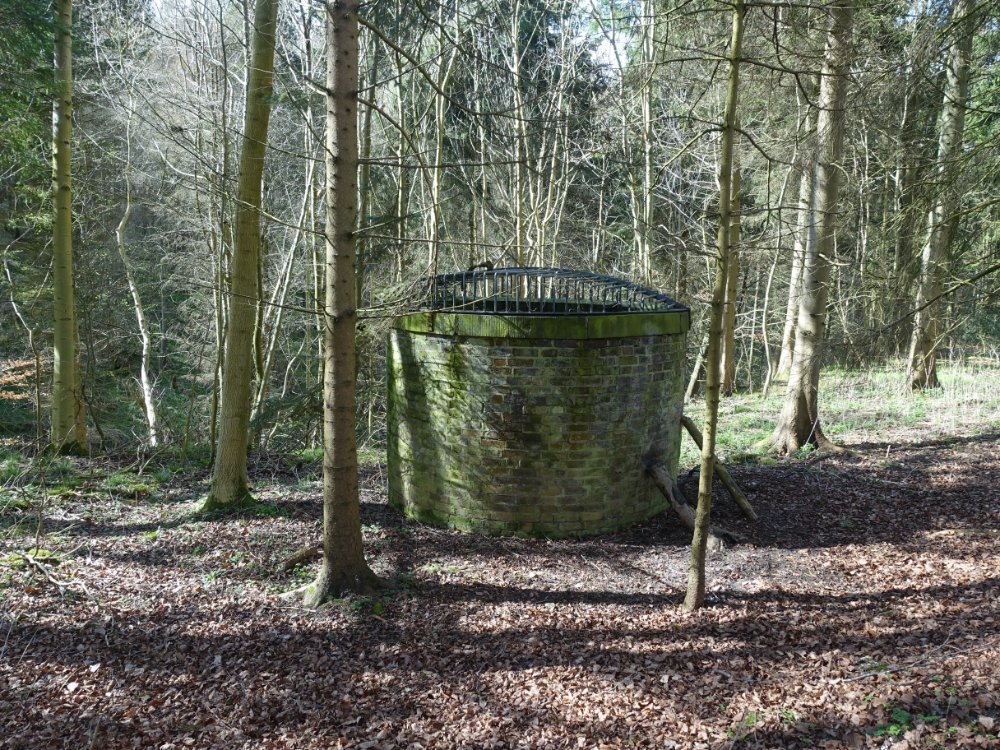
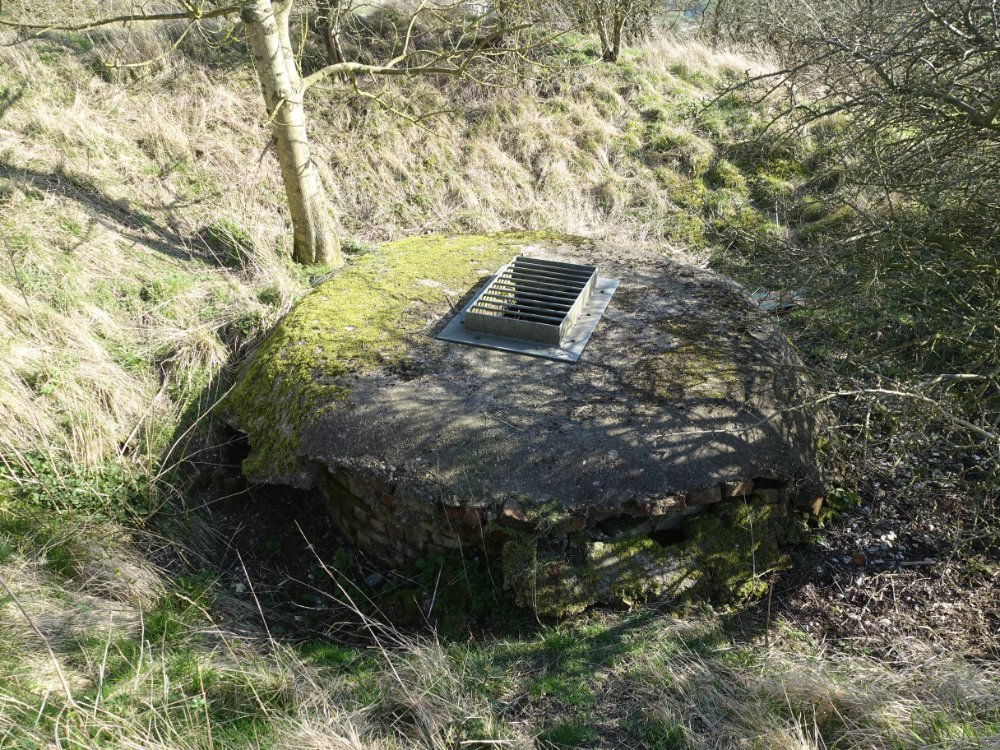

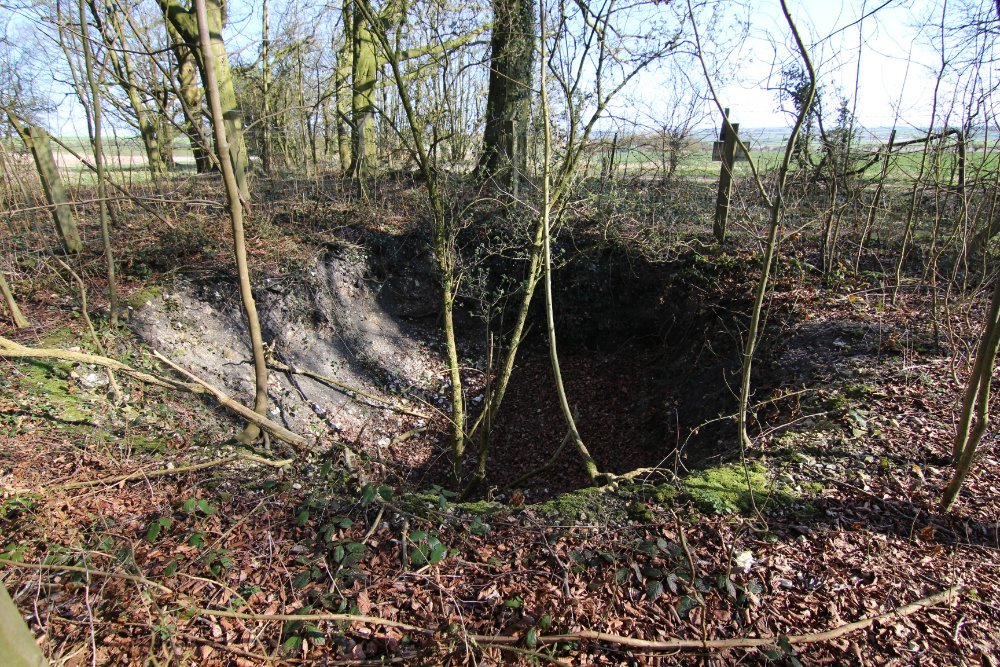

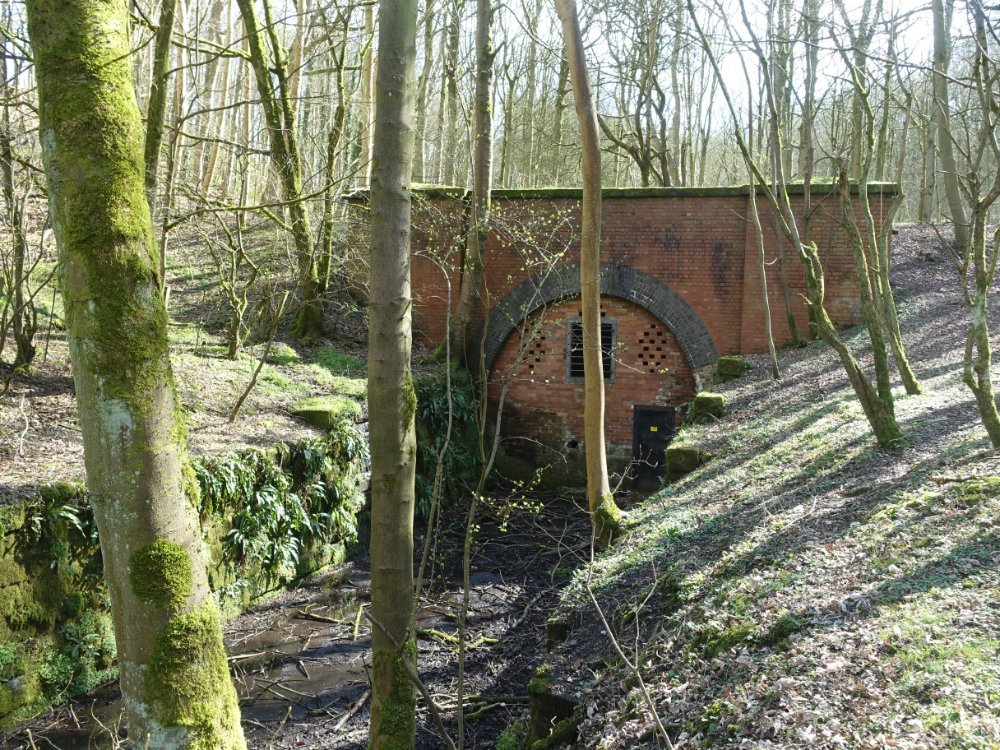

.jpg.72e3a6bc15a8cb546483db92fa70f833.jpg)
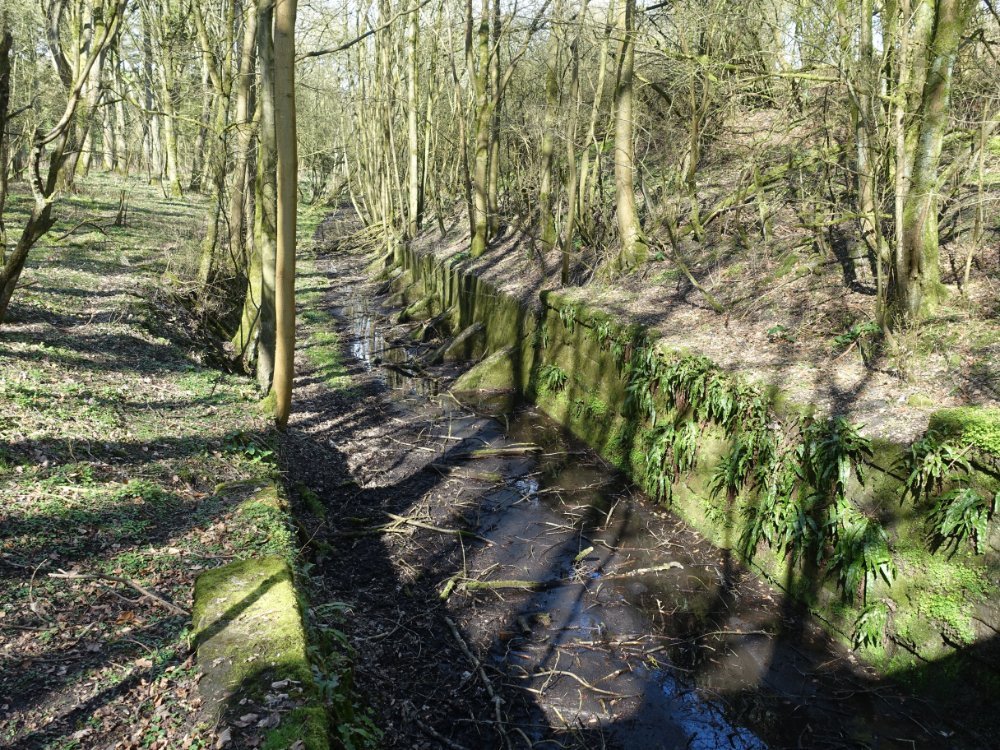
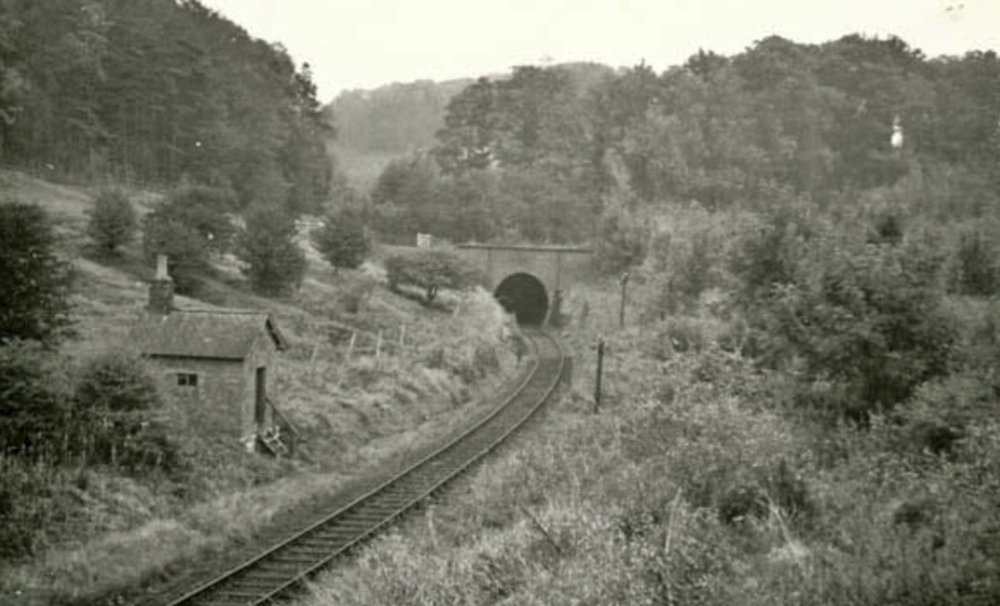

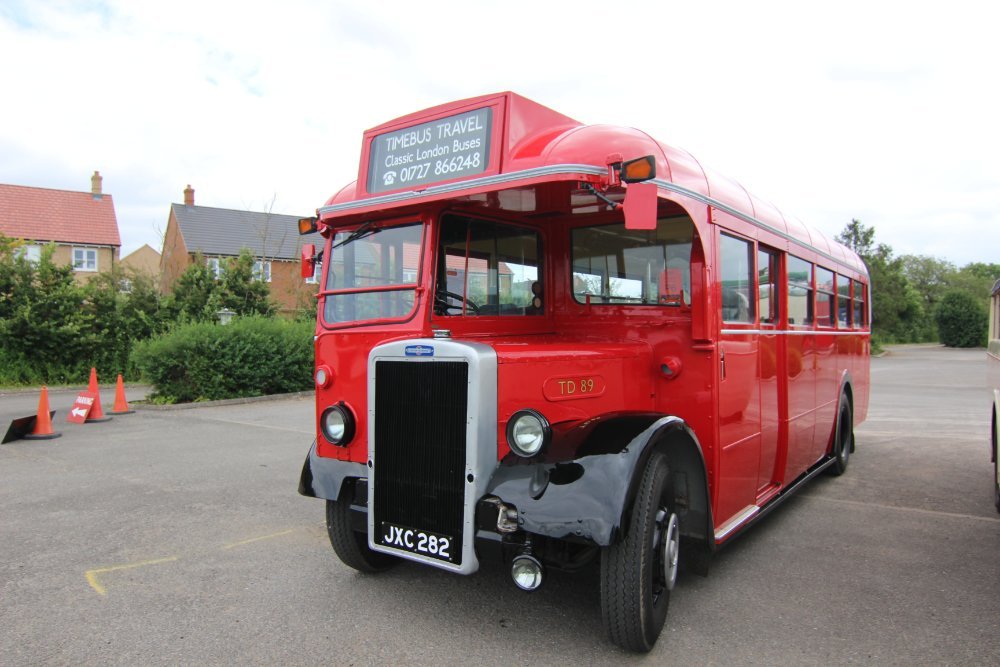


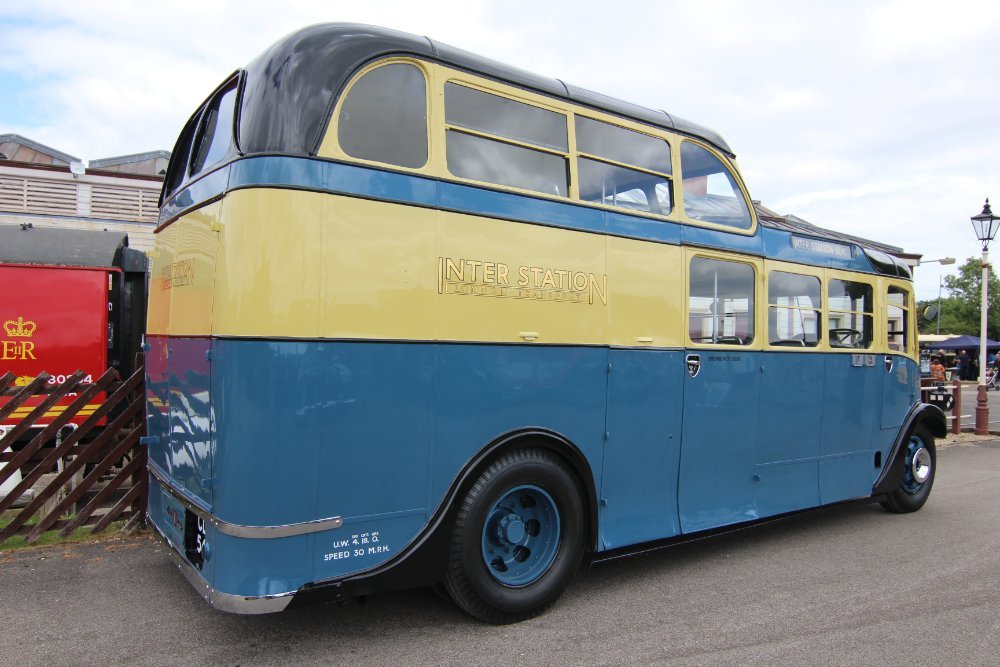


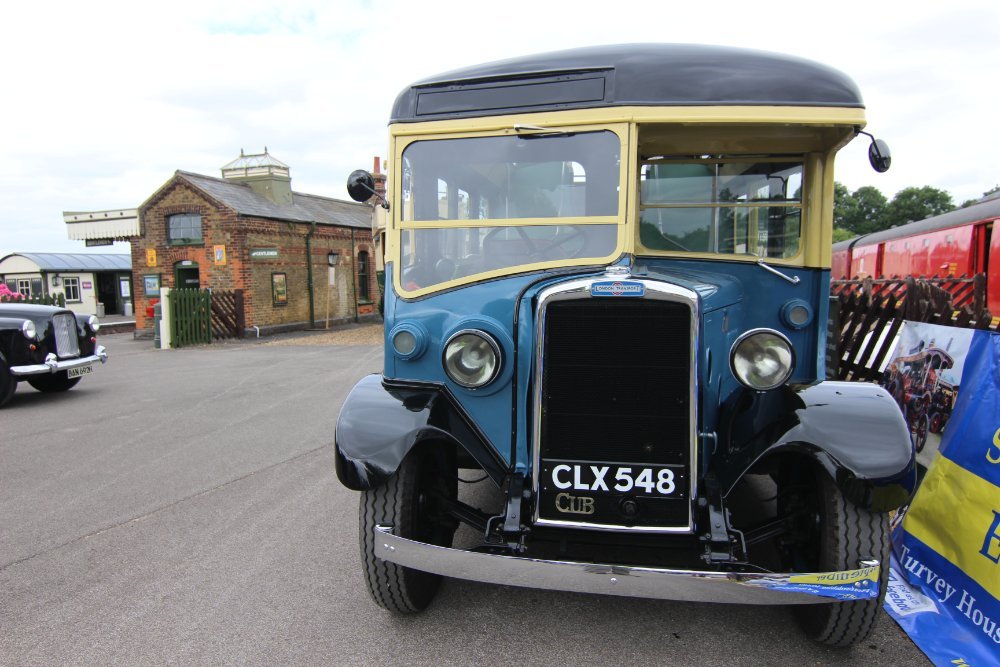

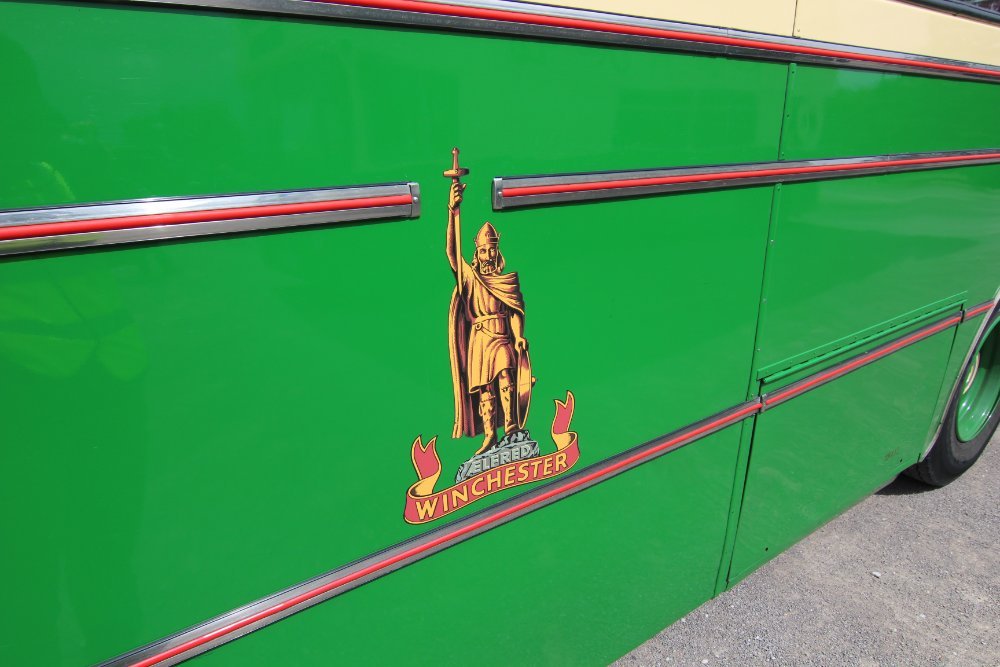
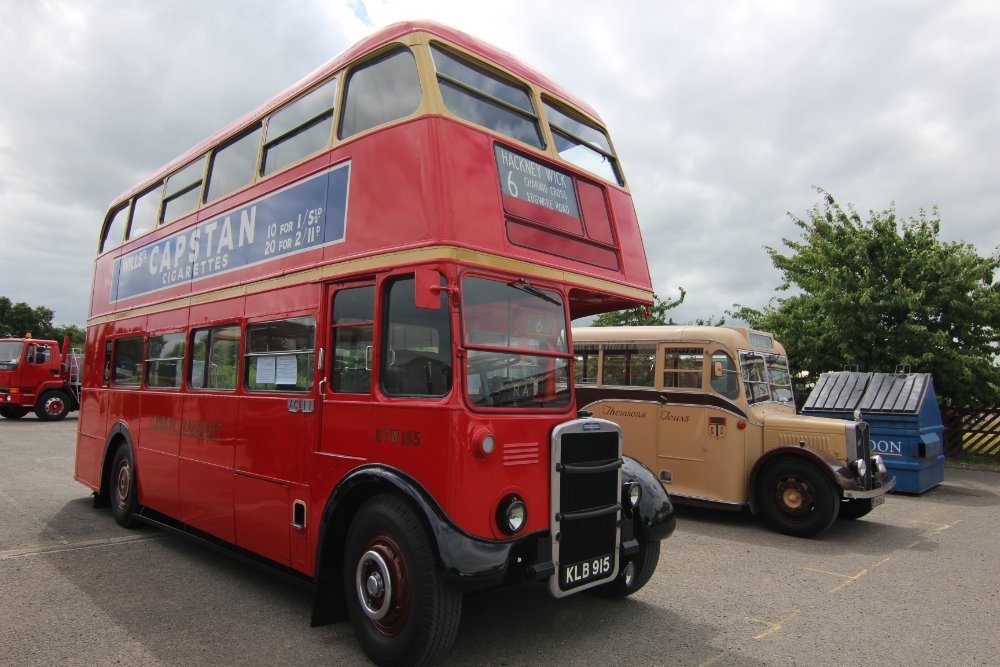


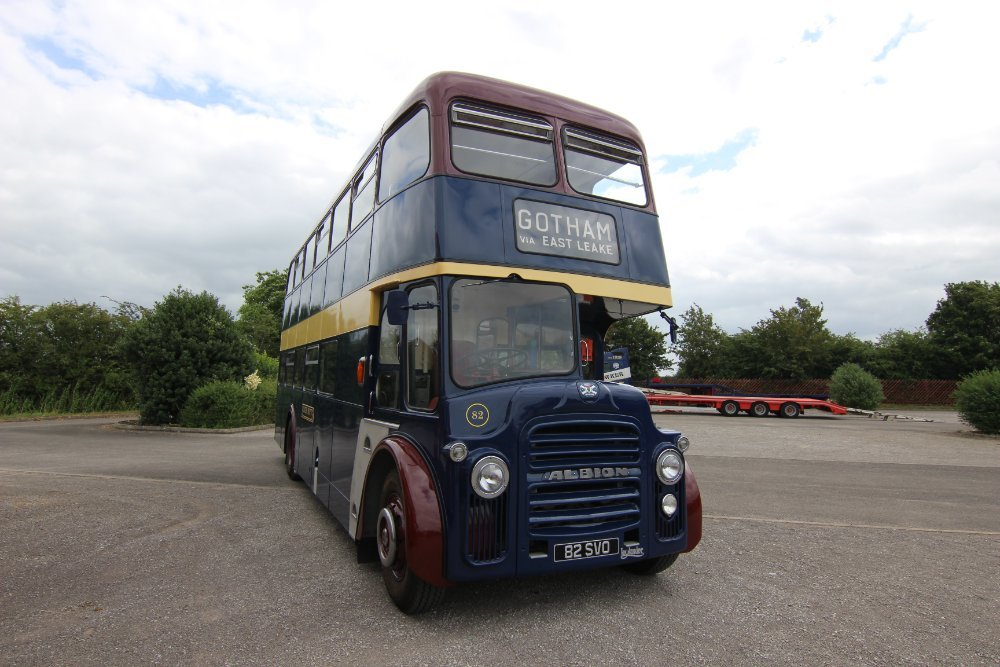
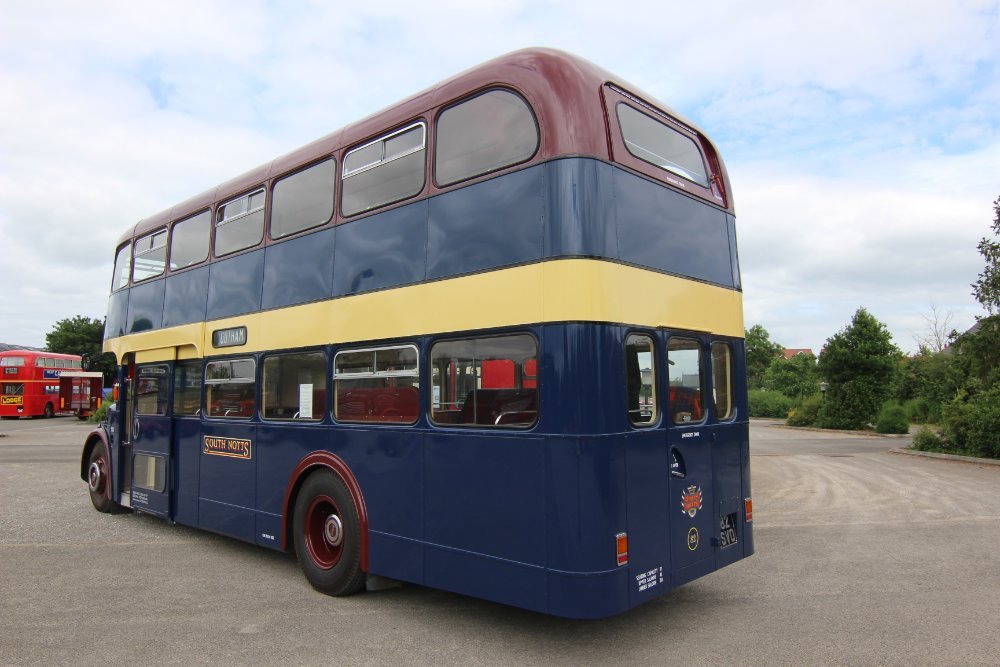


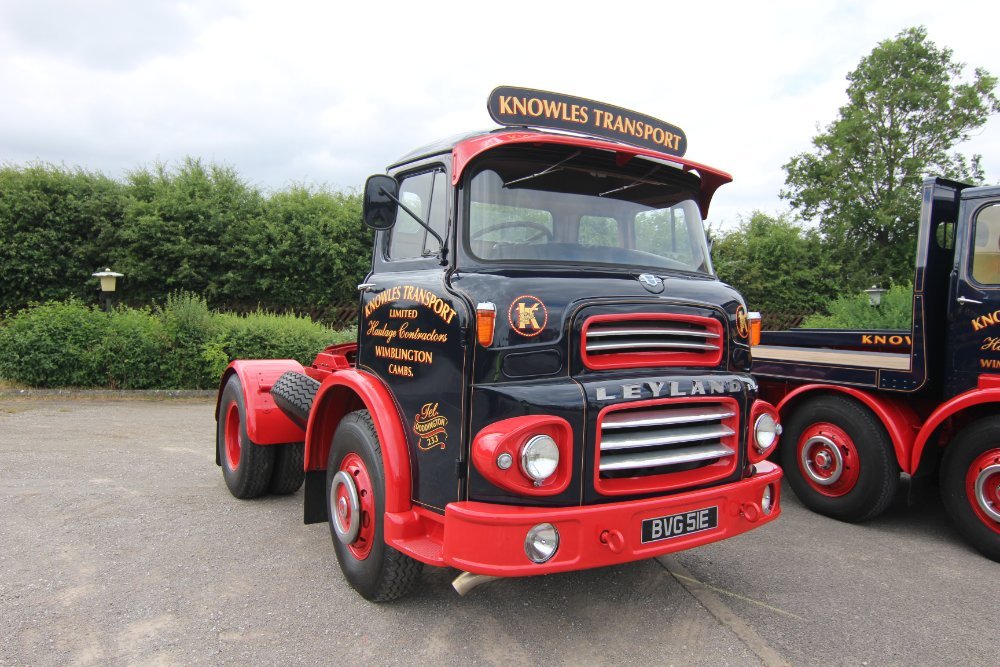
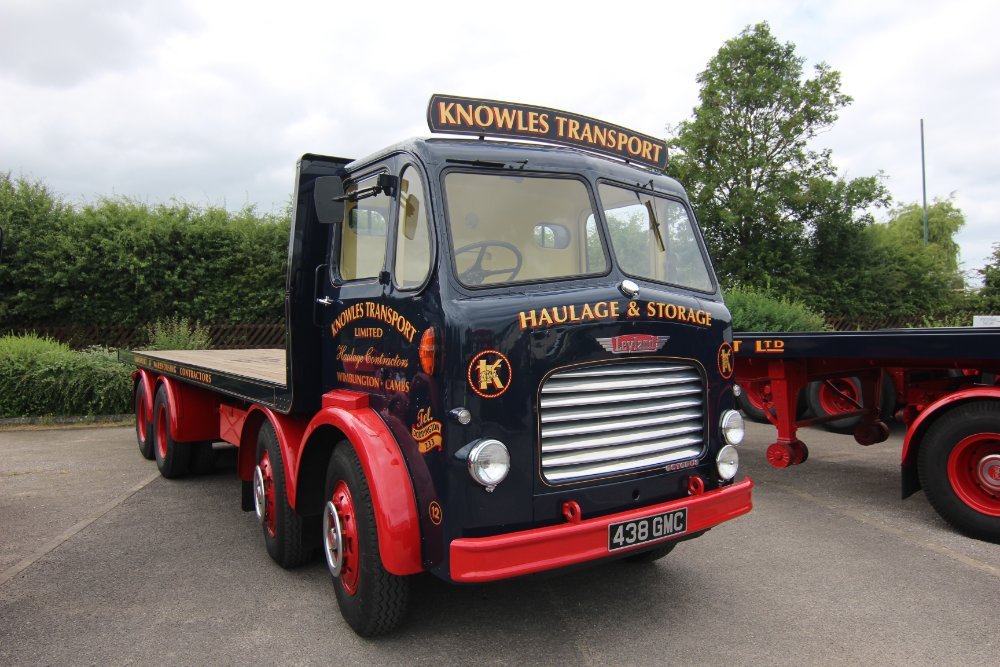

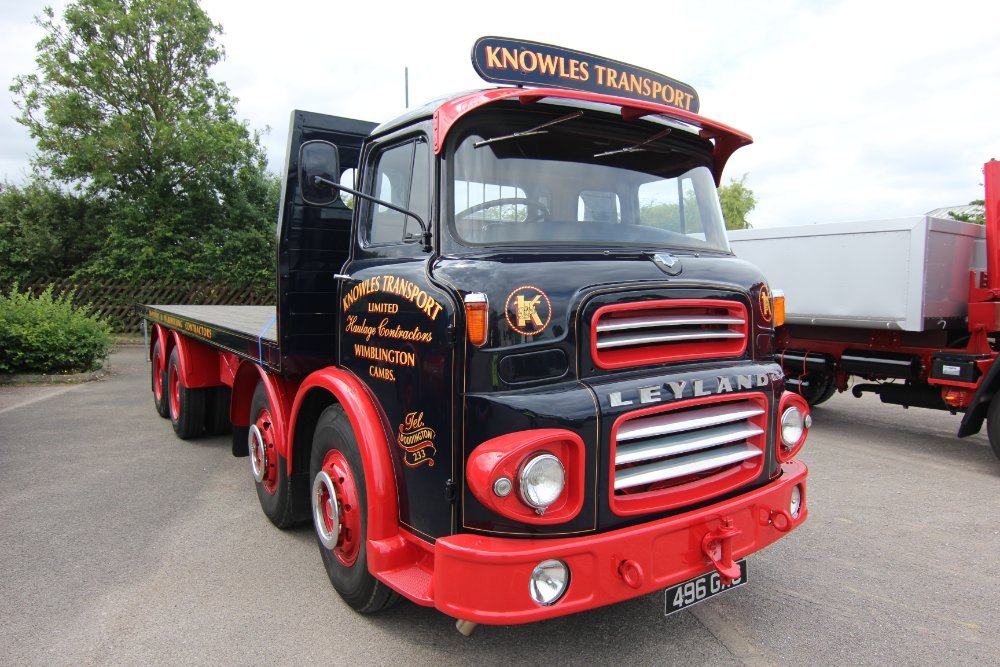

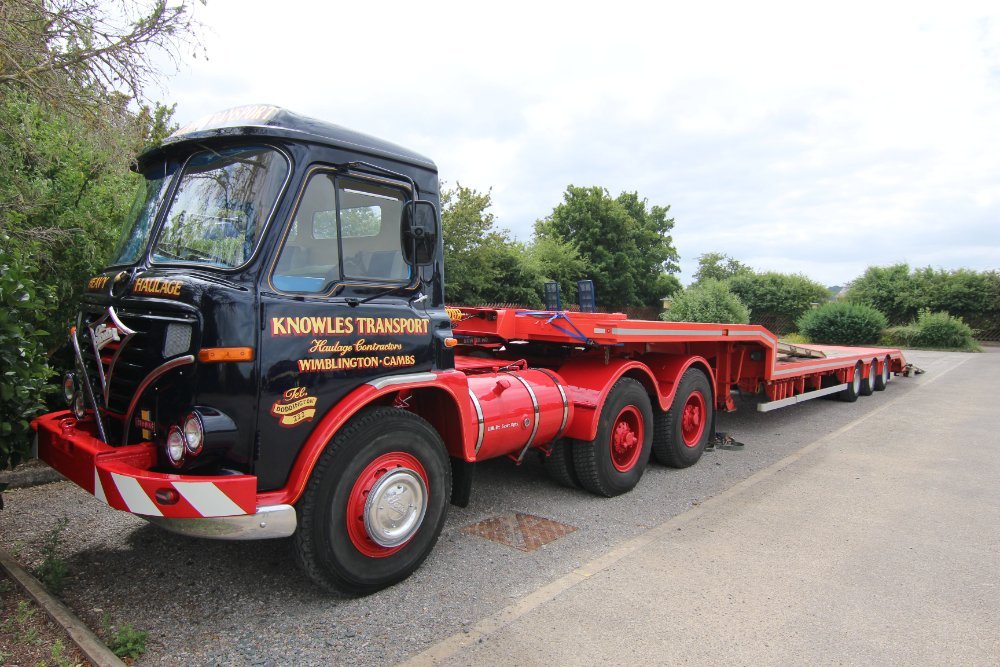
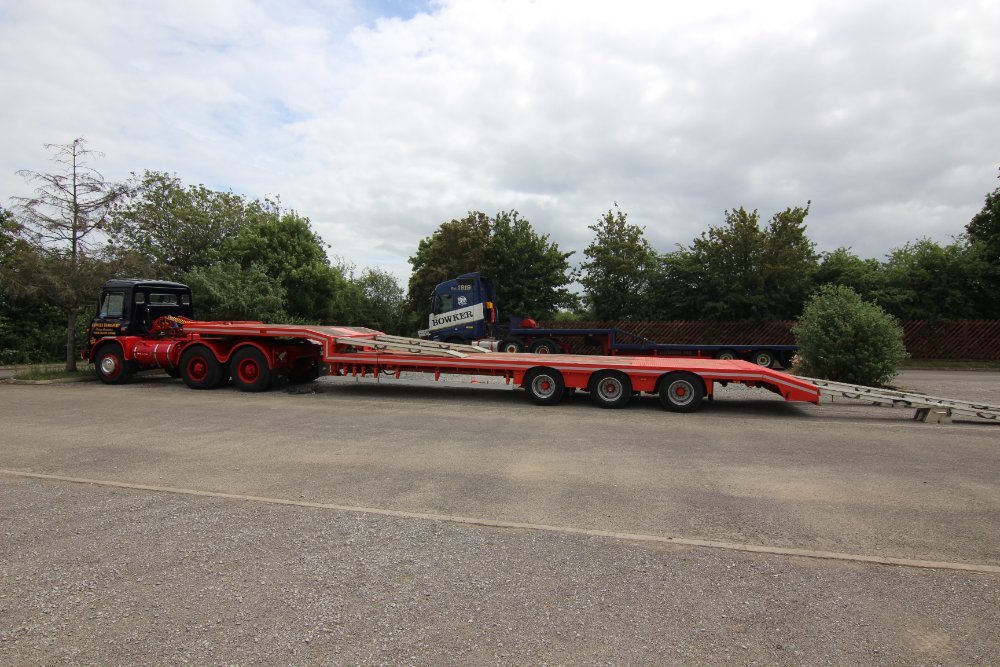

.jpg.e0500545ec04370b9f33a804645b9422.jpg)


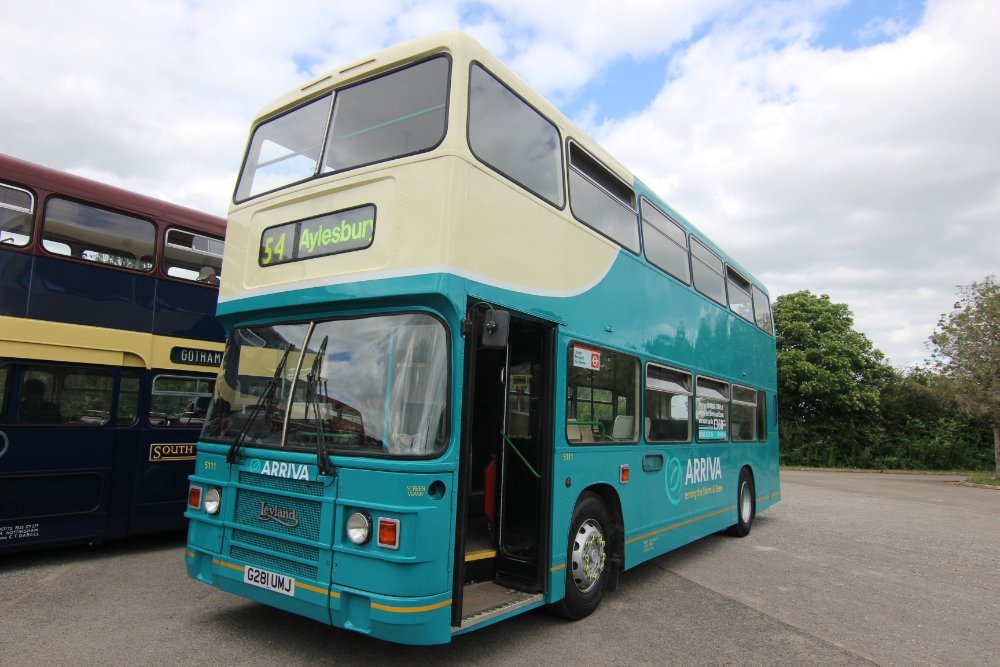

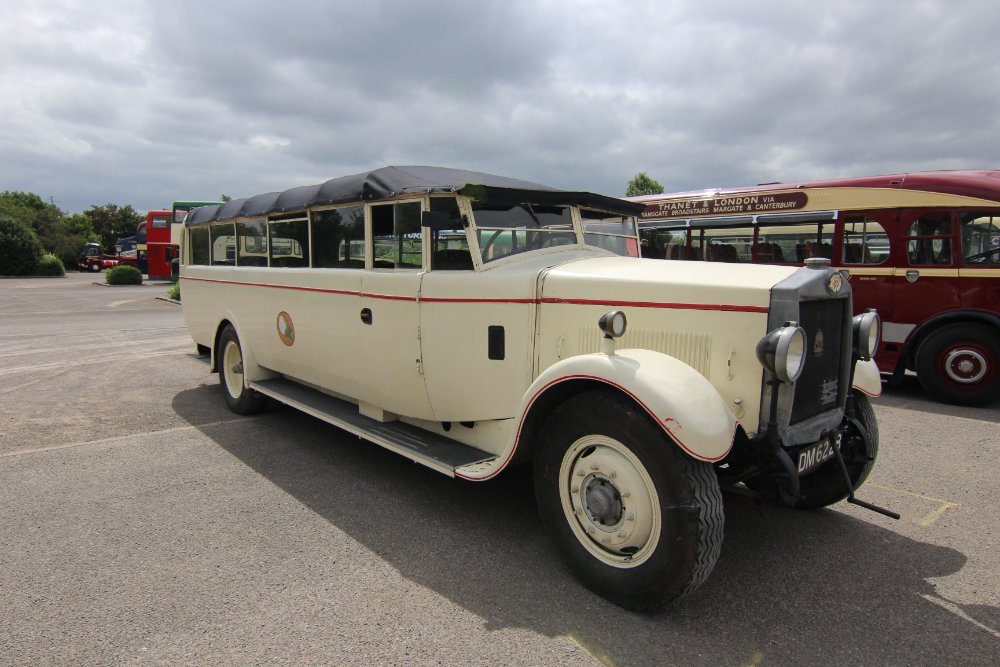
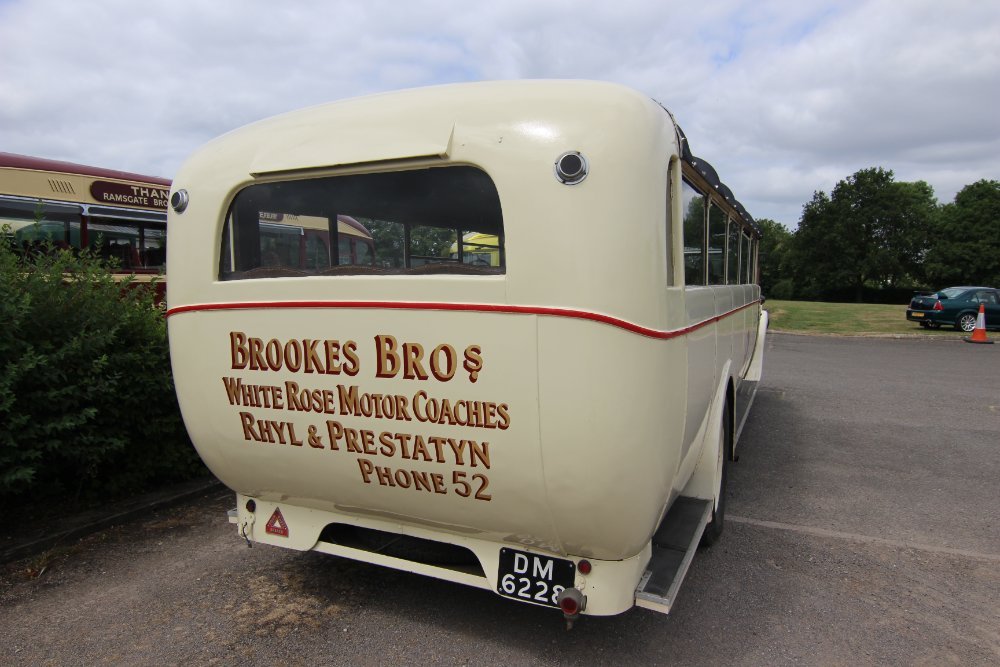


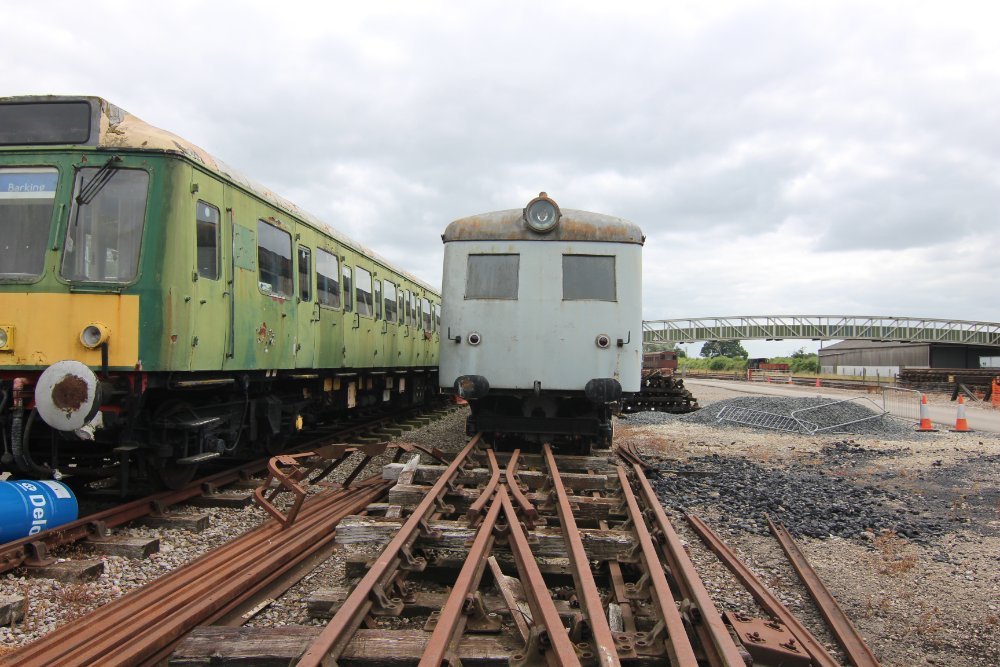


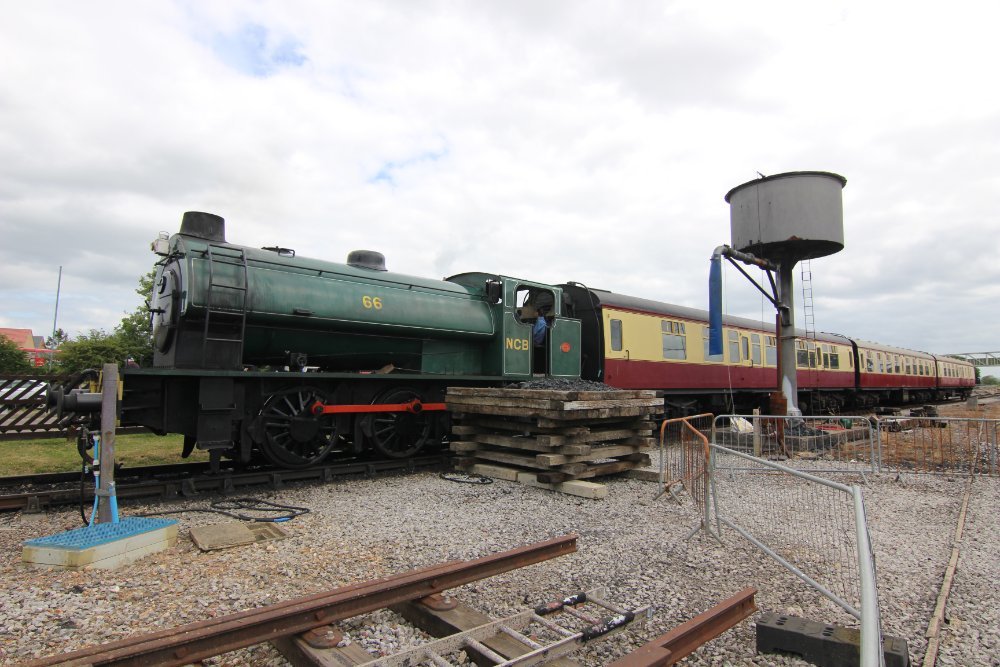


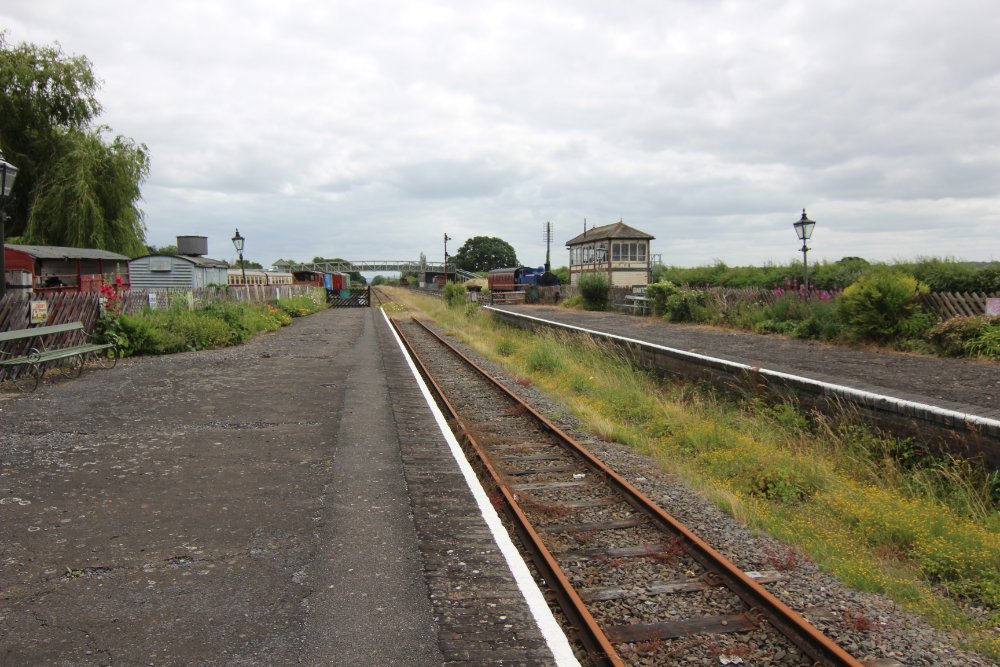
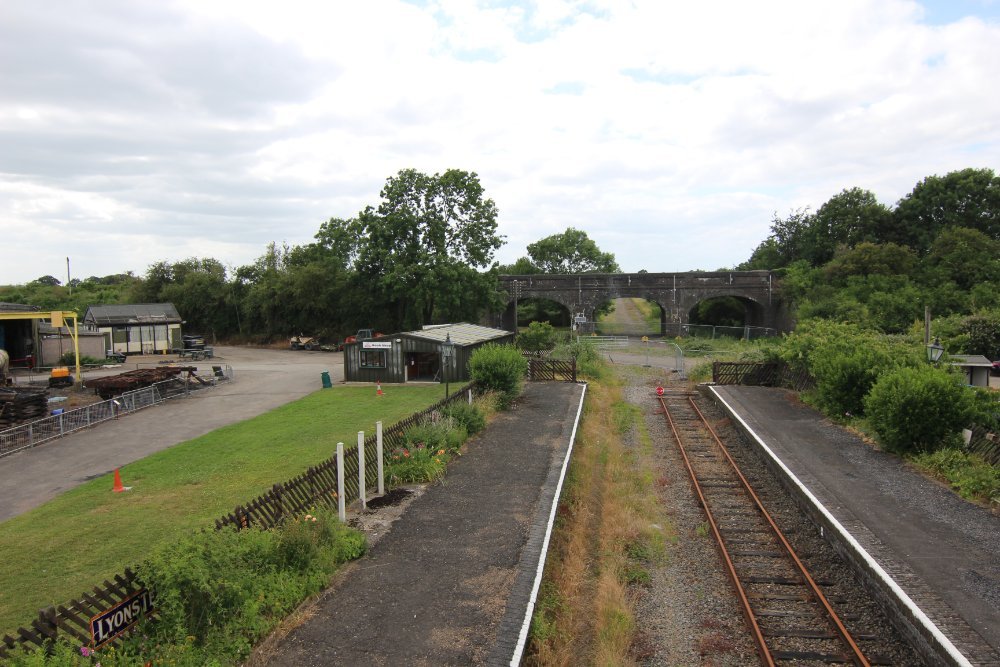


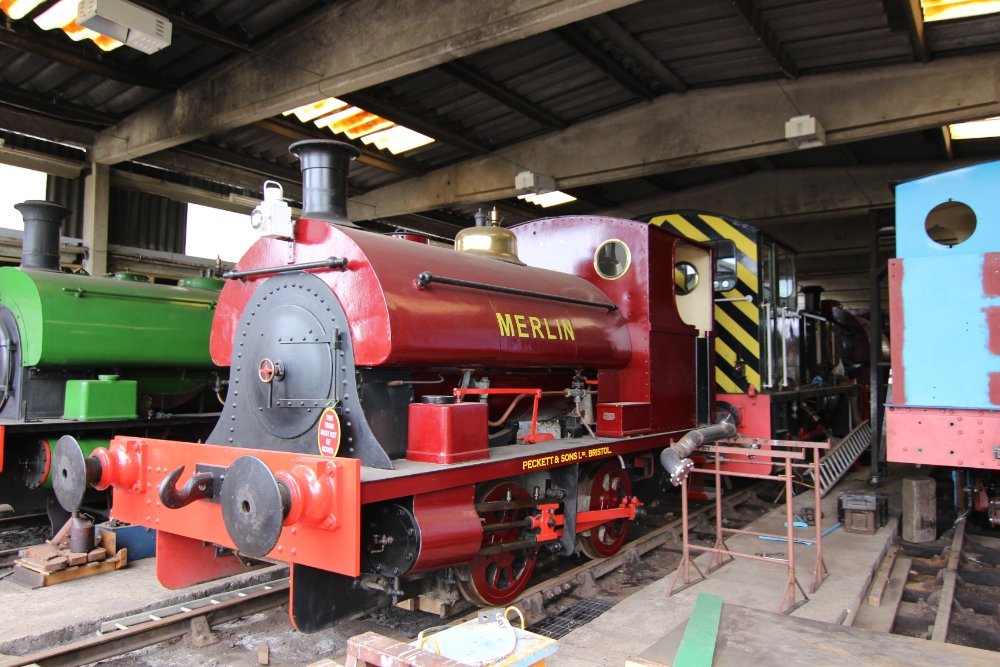

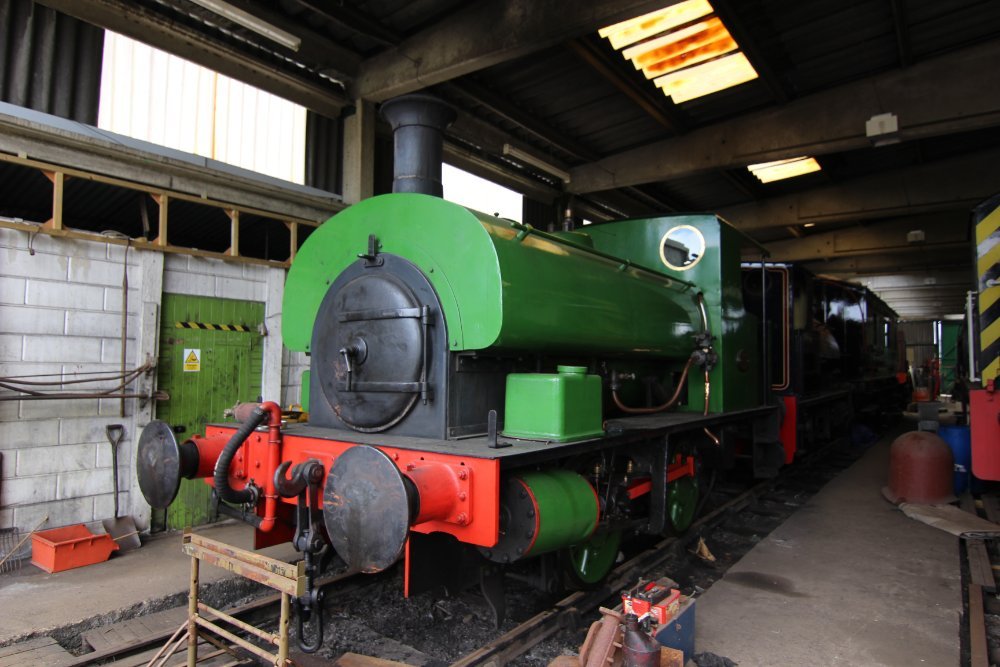
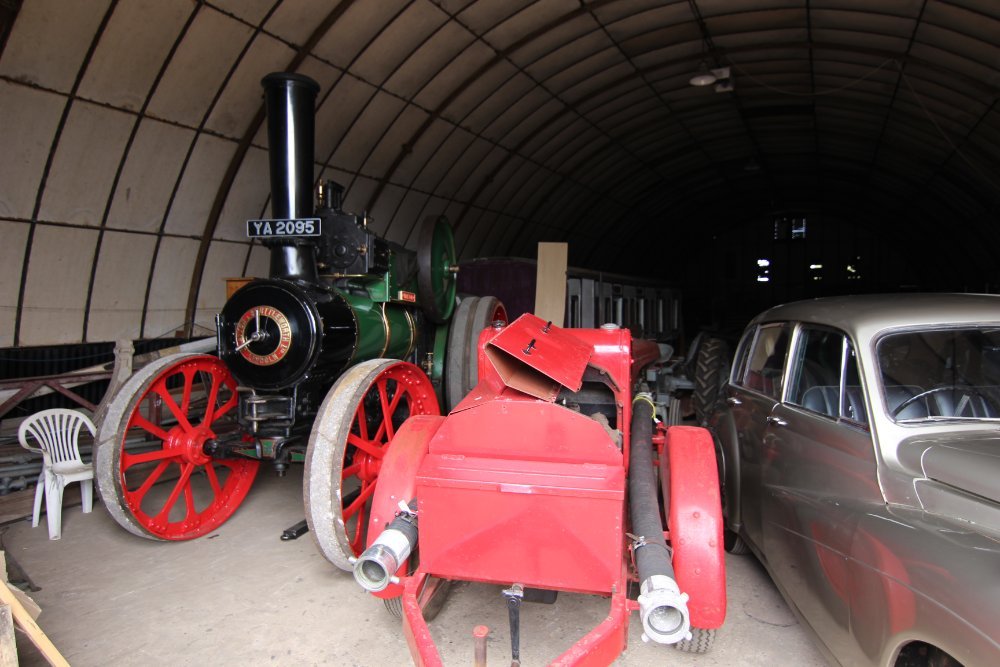

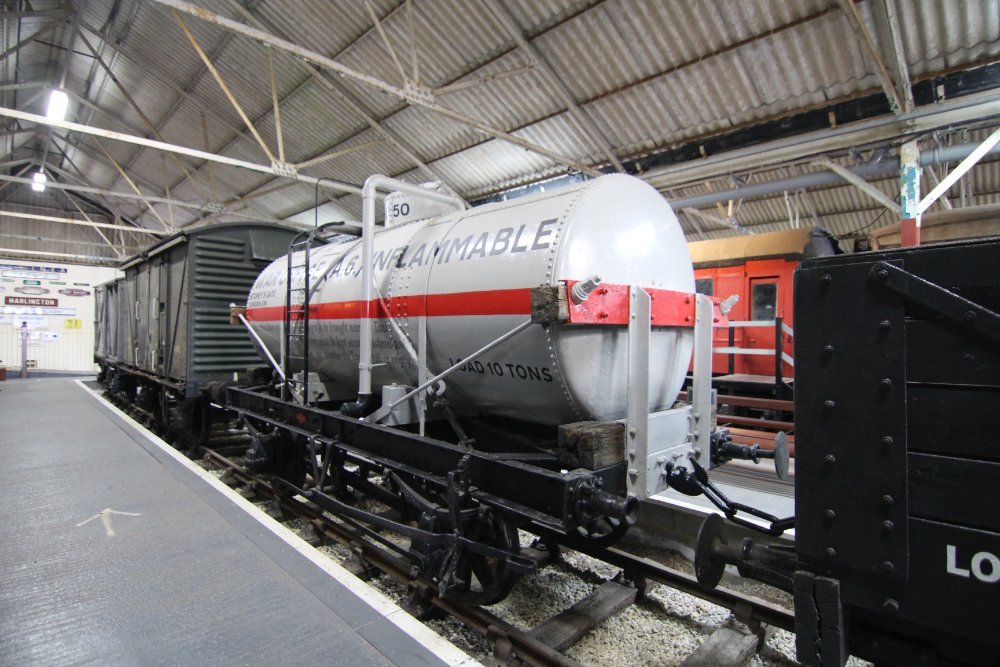


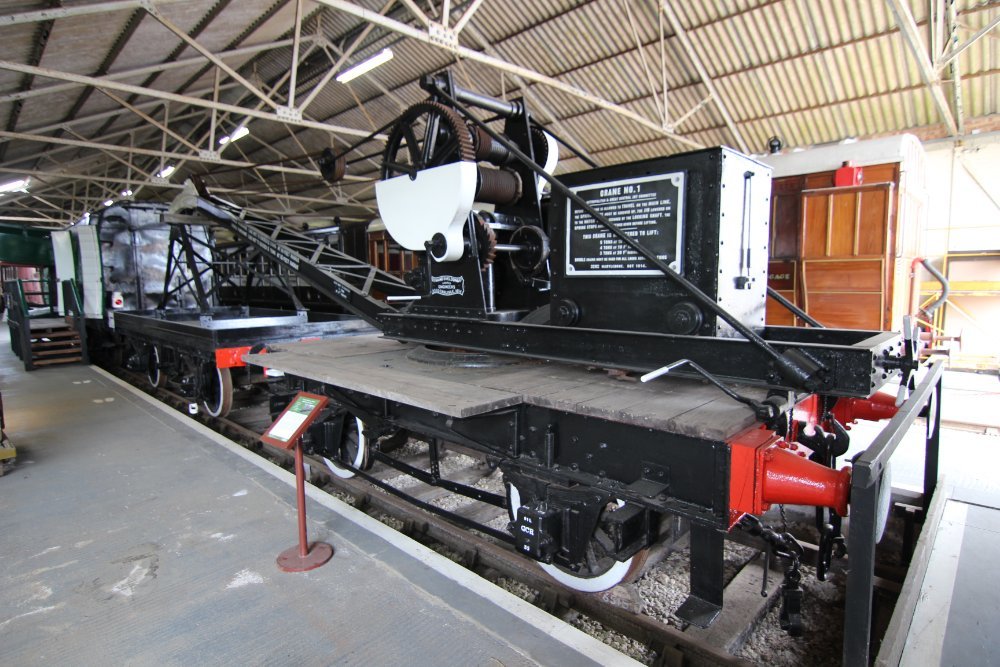


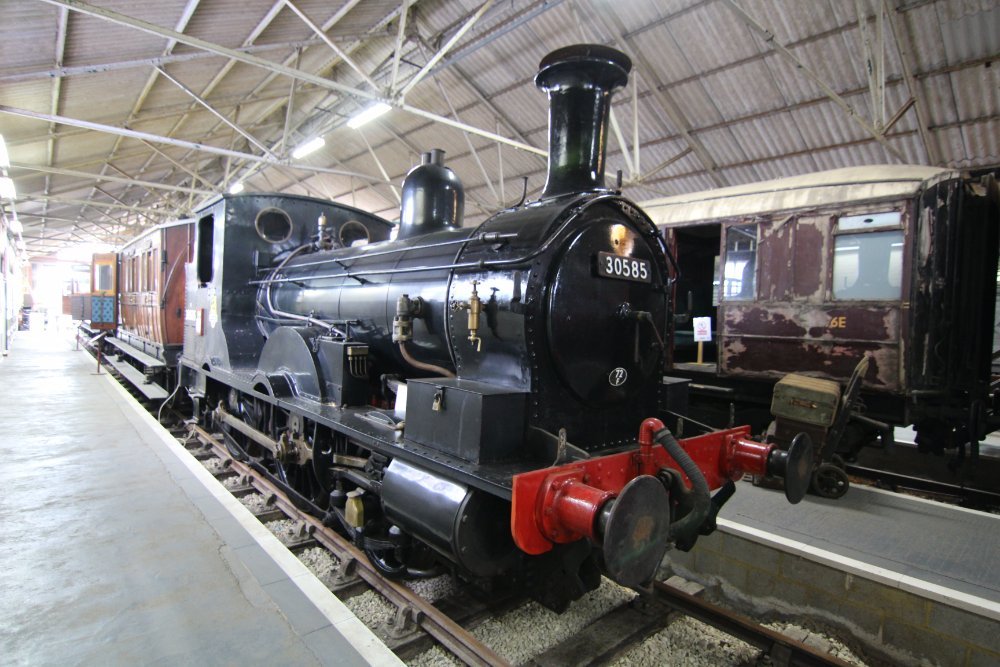
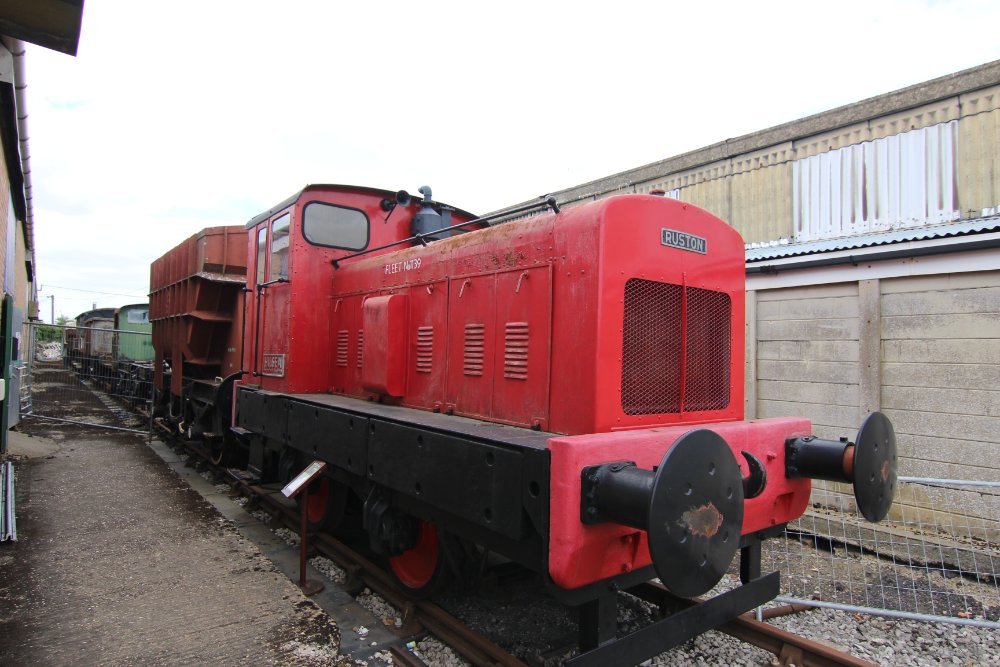


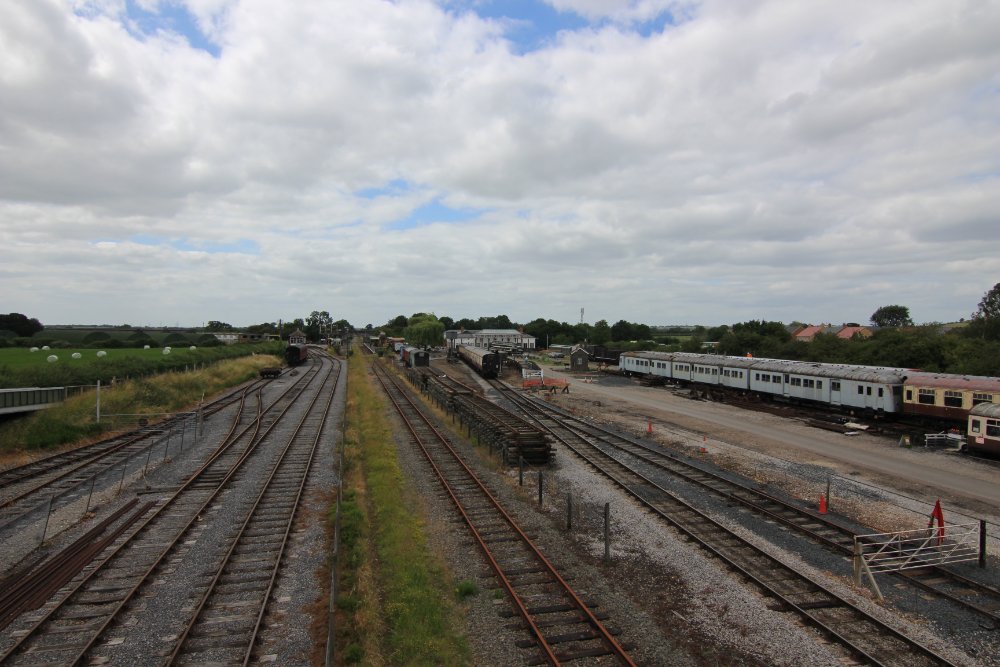


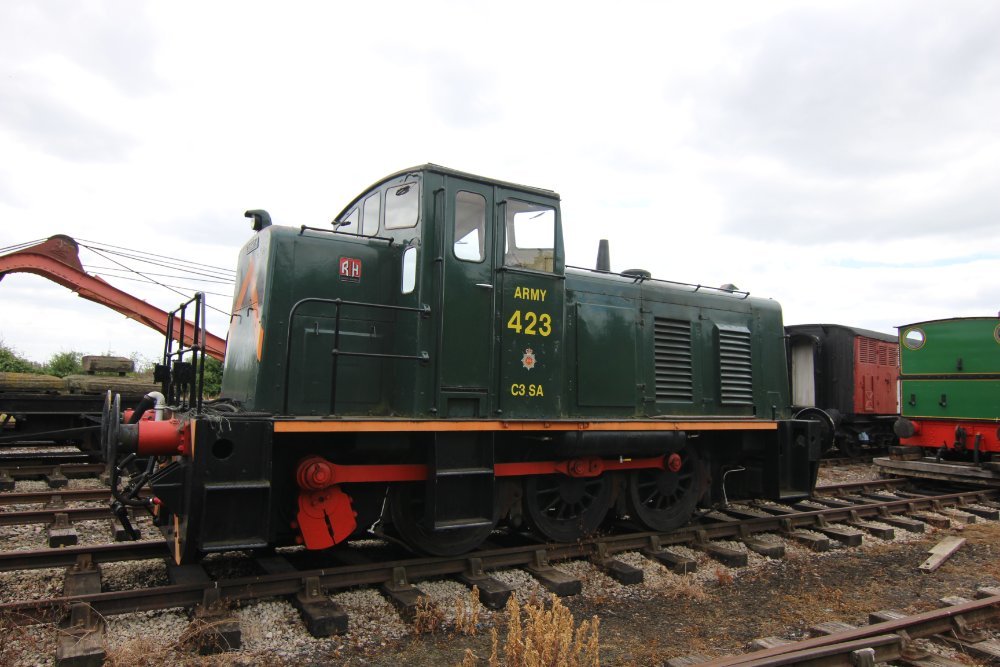
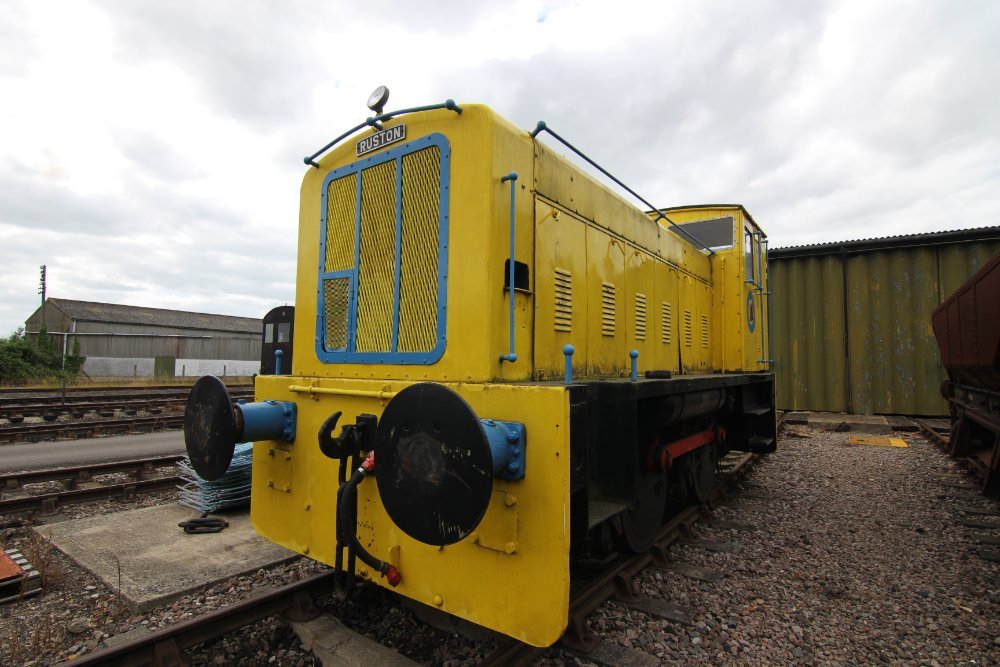


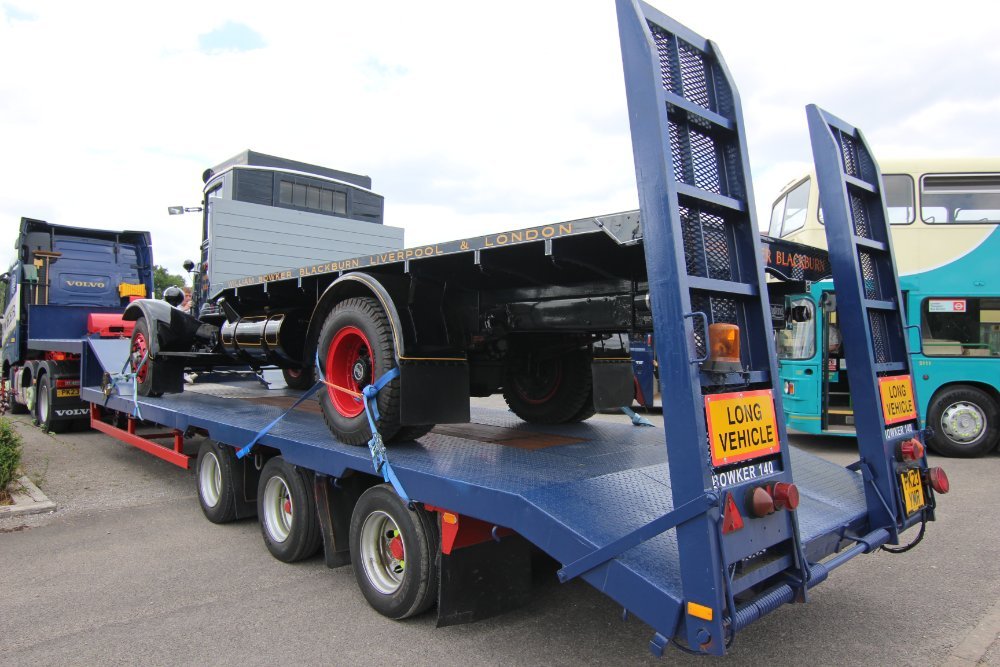


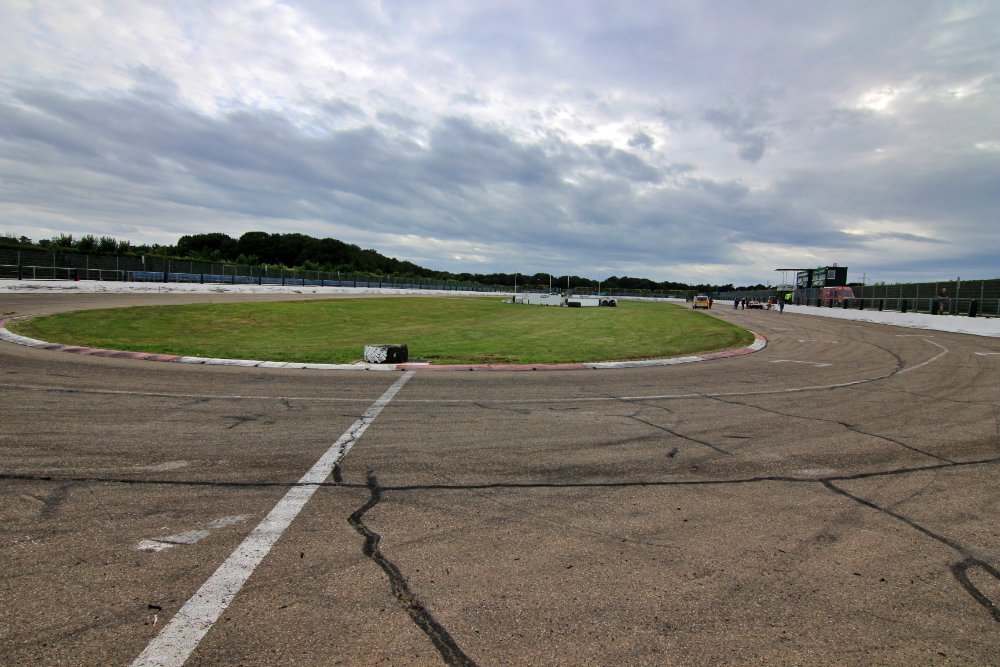
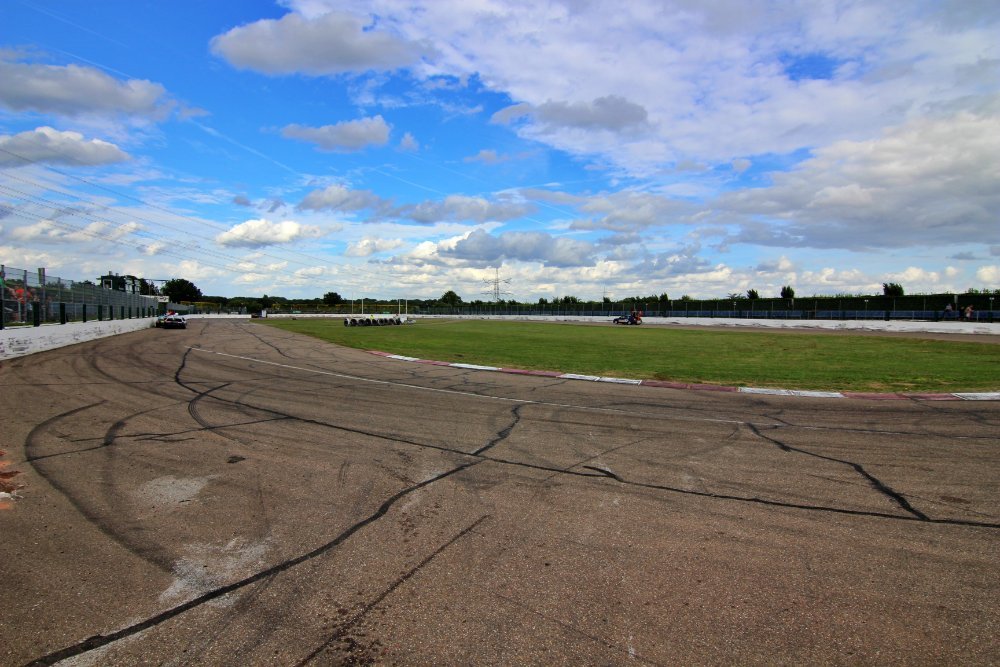
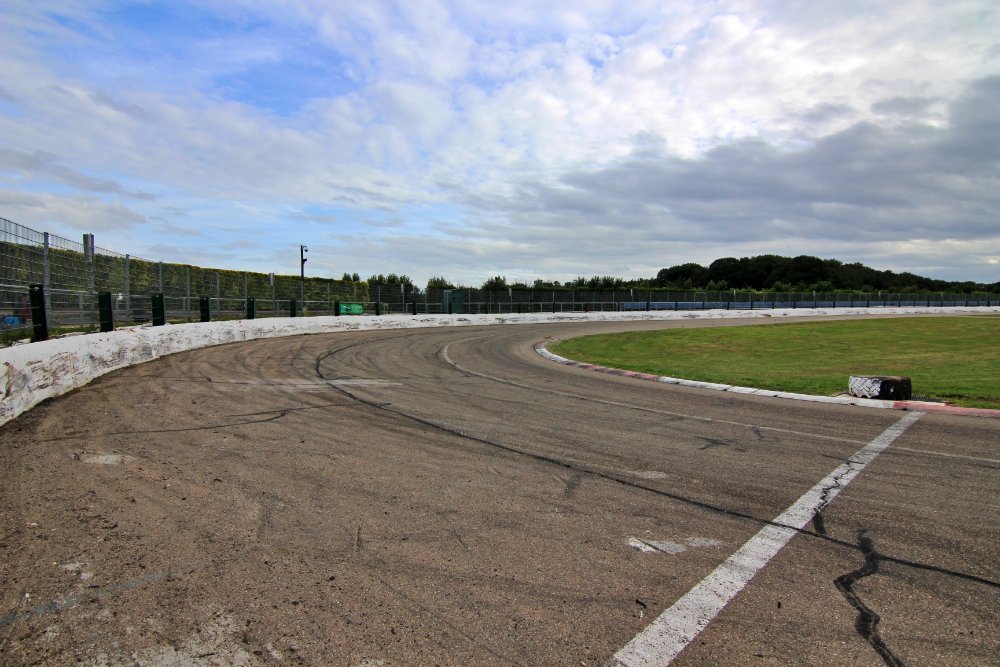

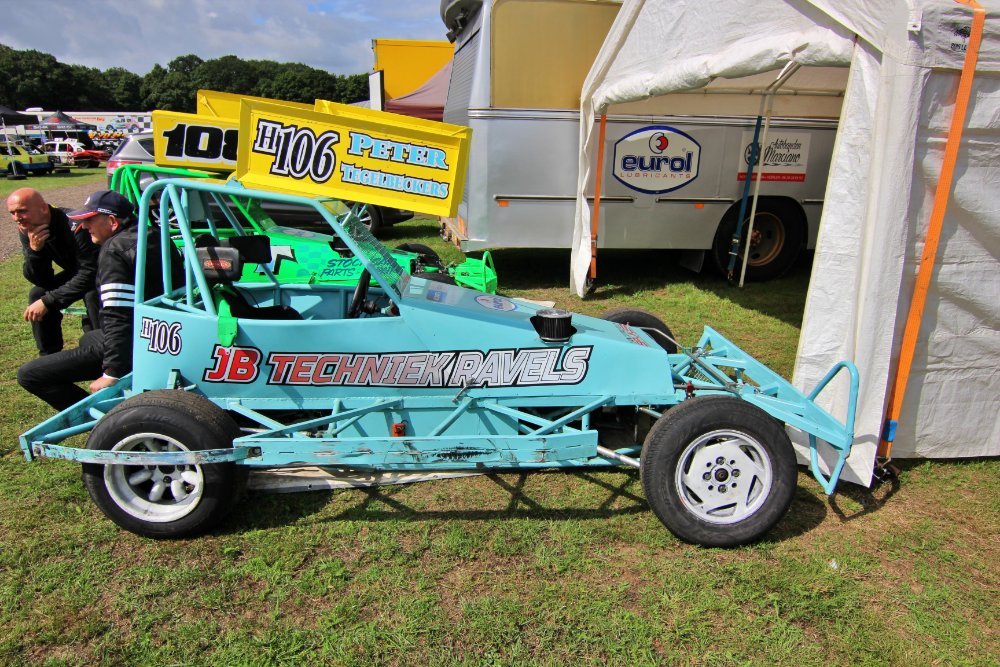
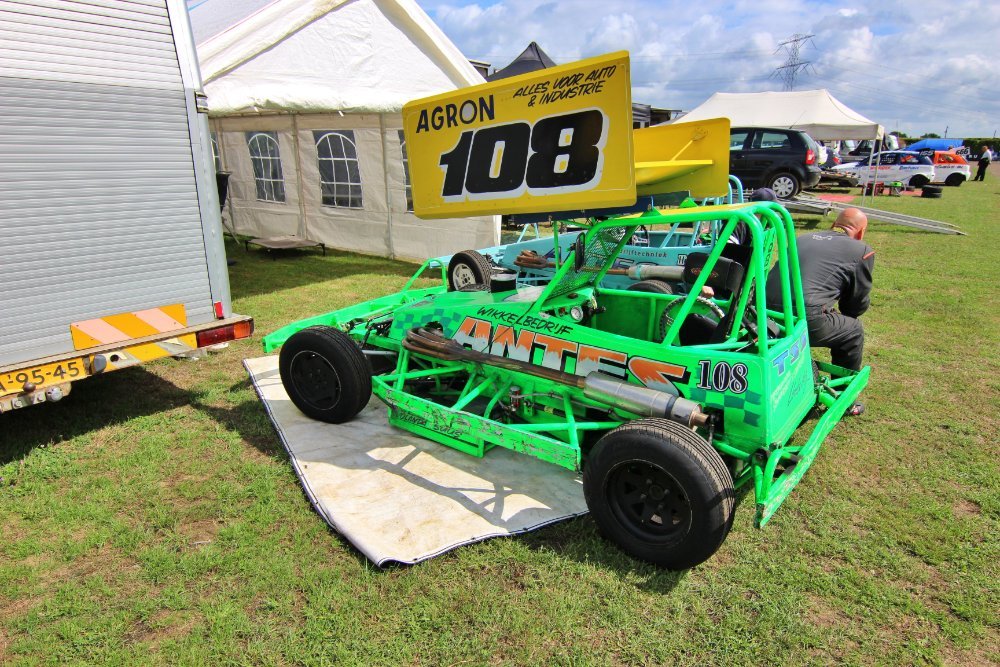

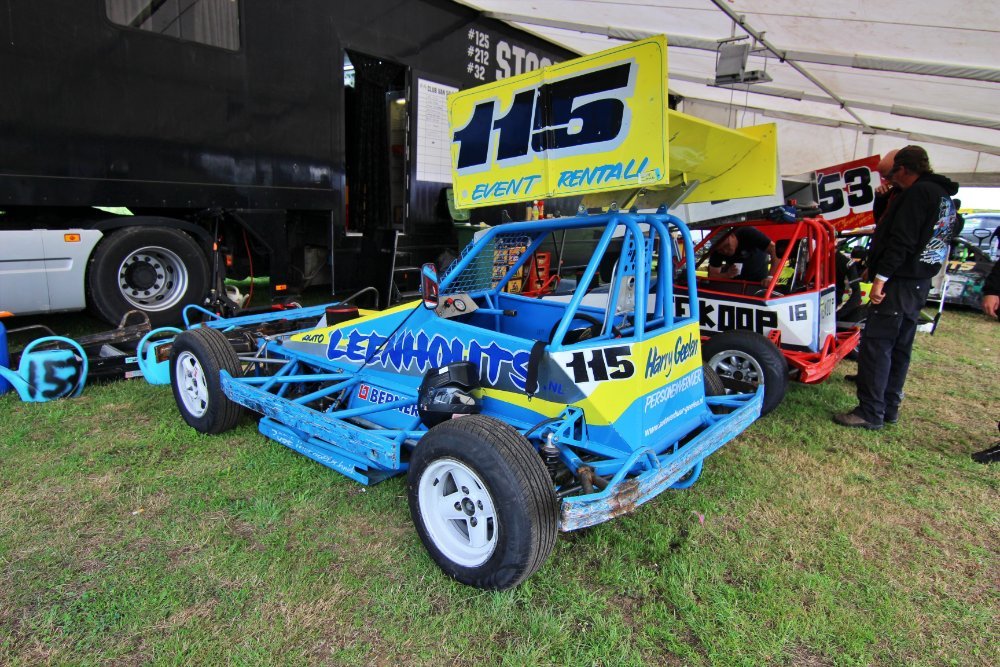

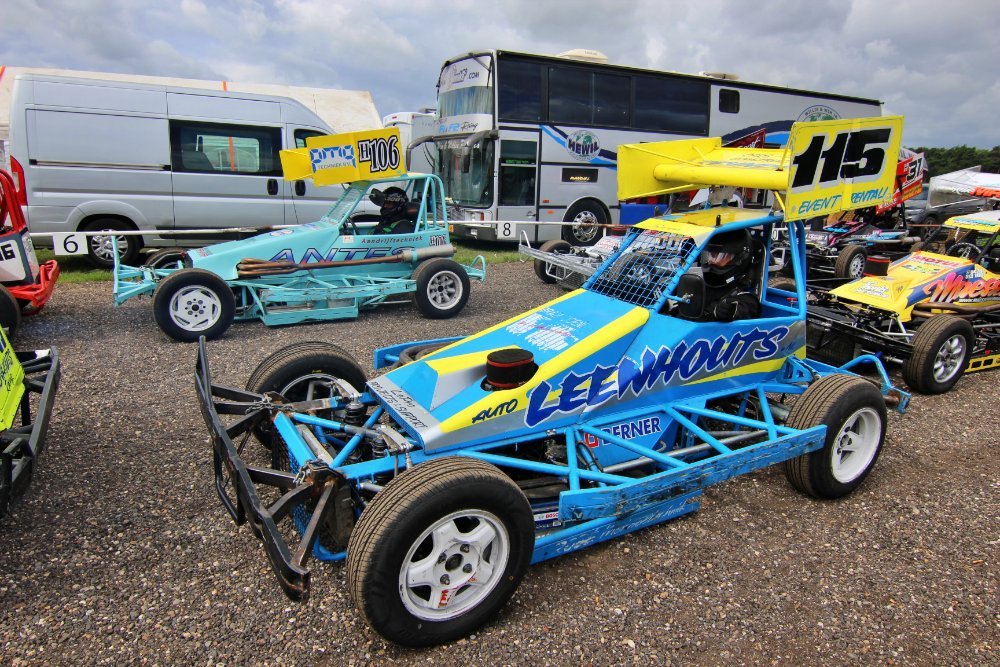

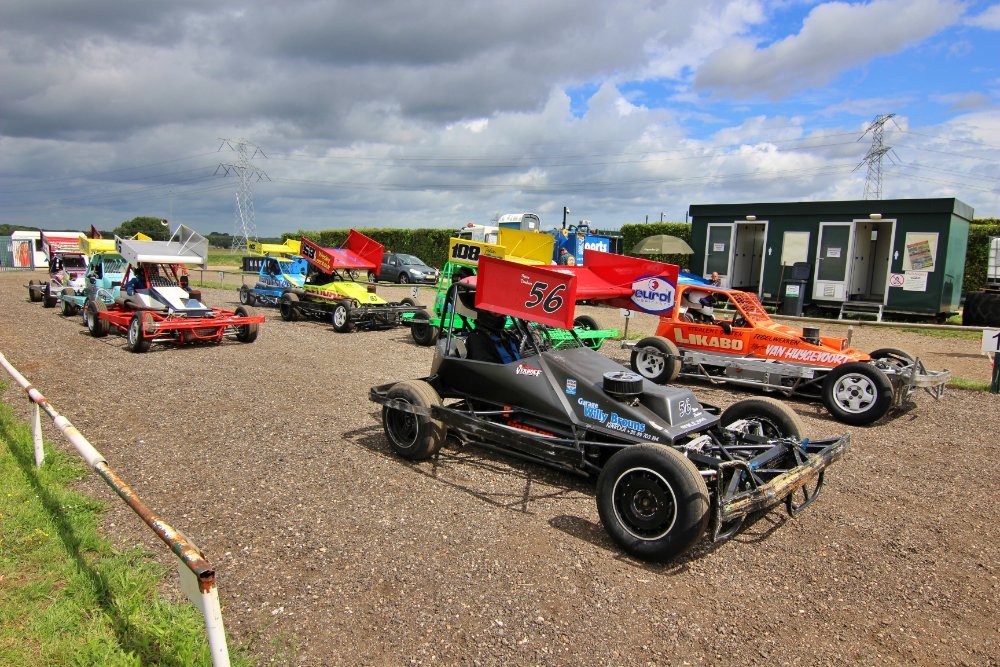
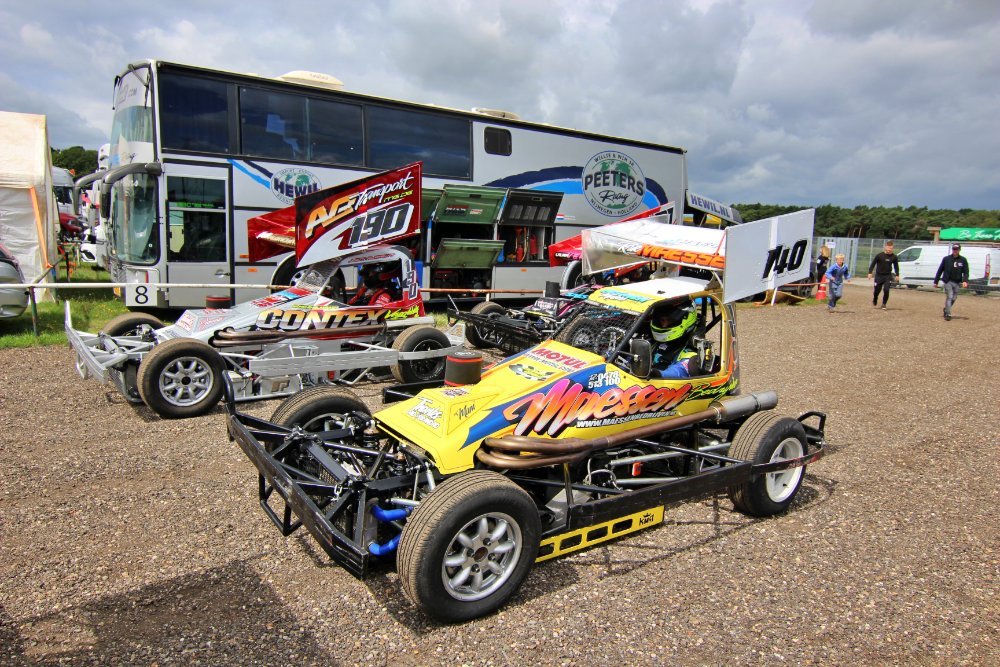
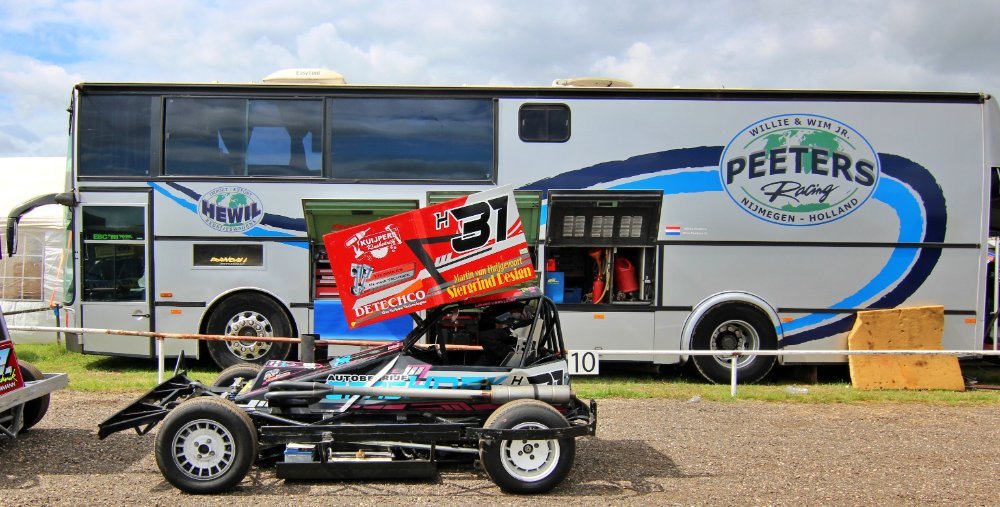
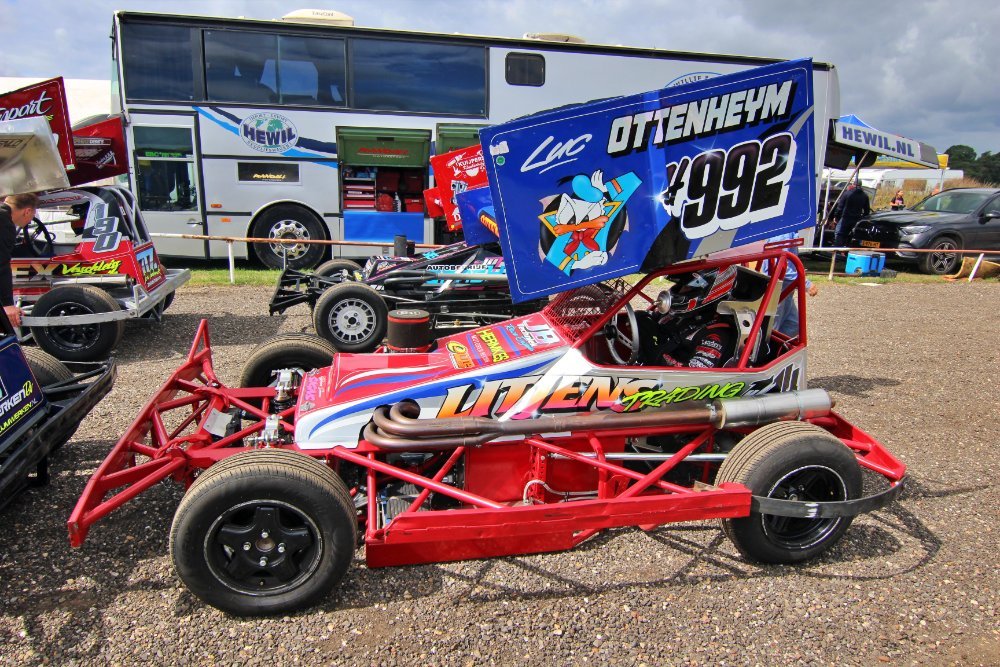

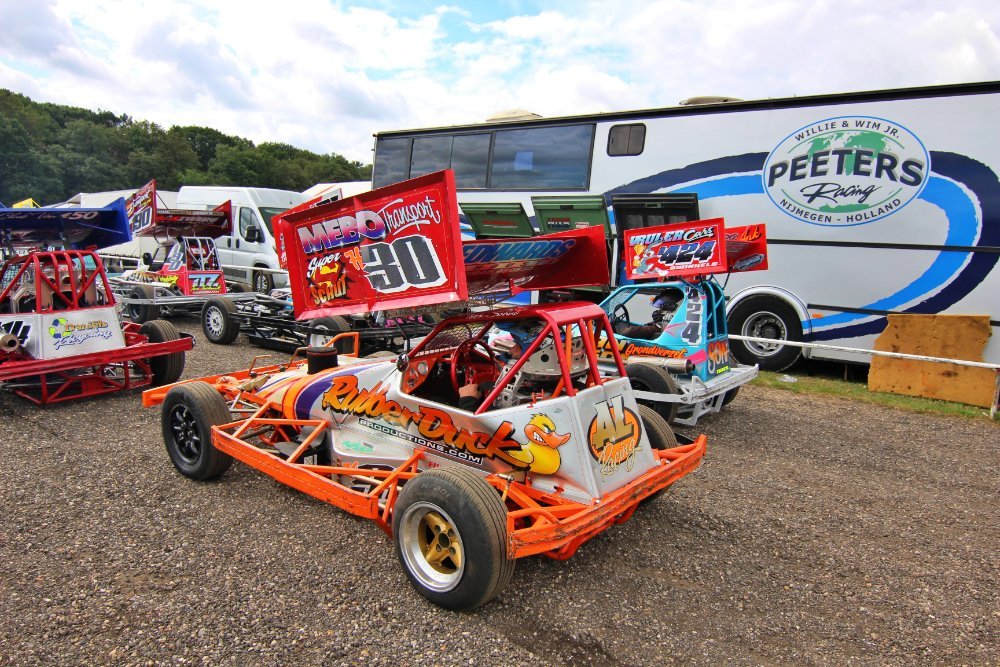
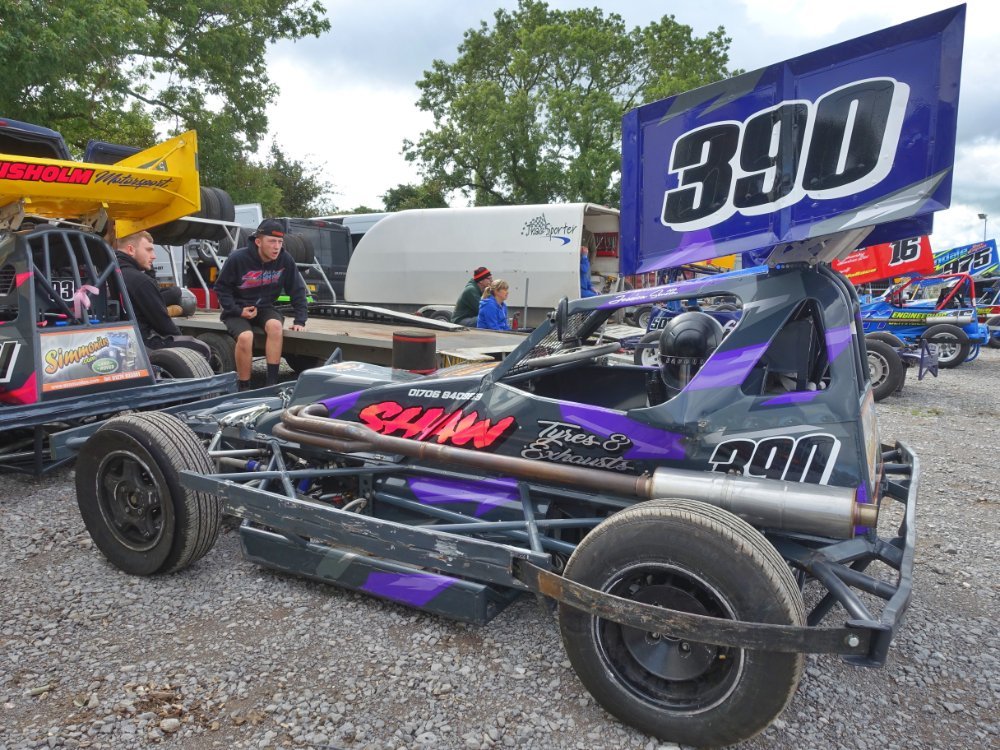
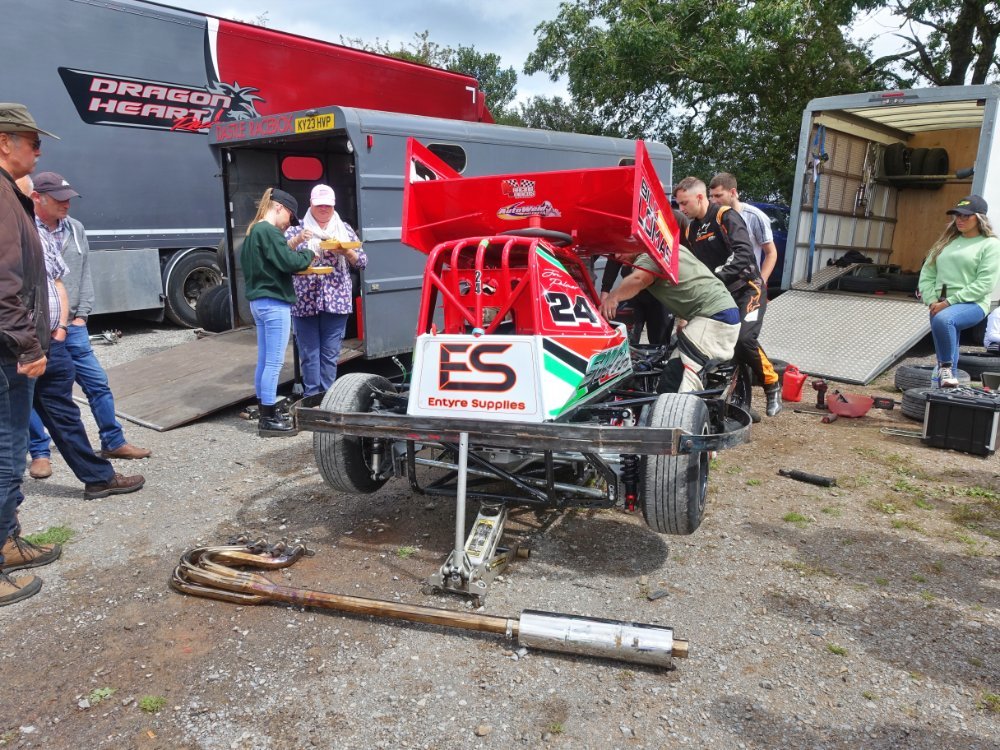
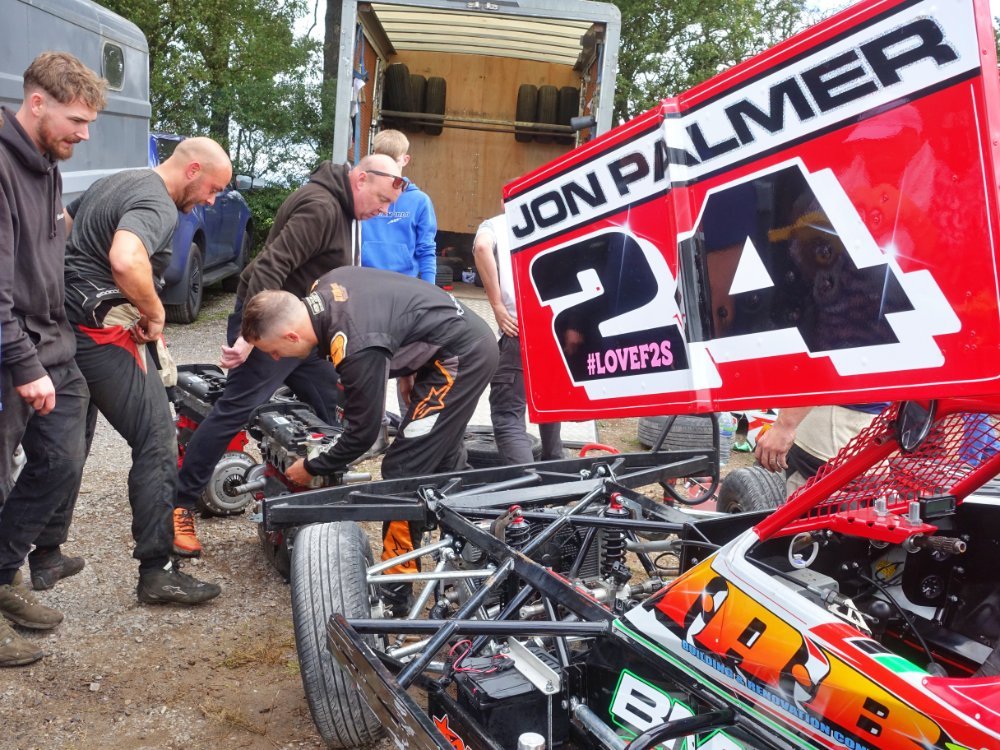
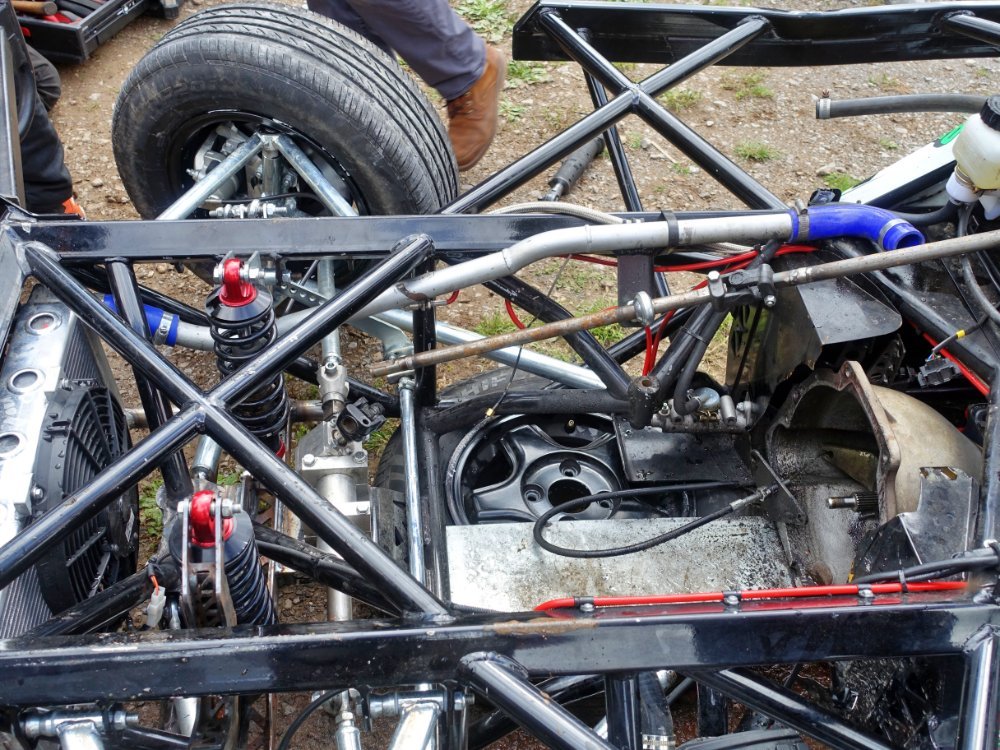
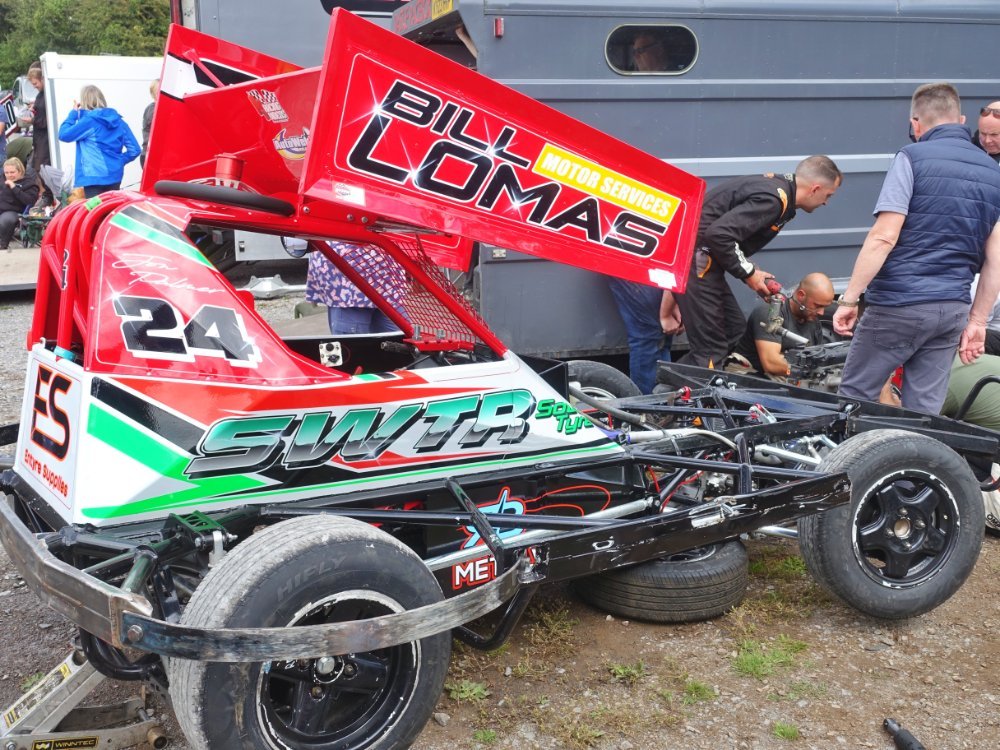
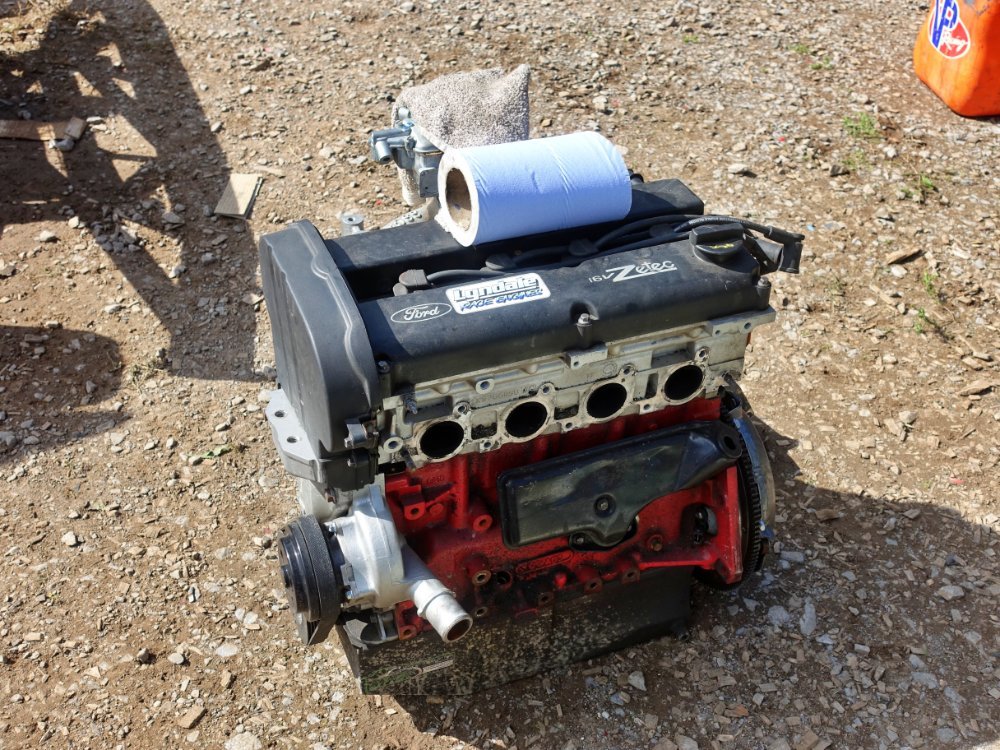
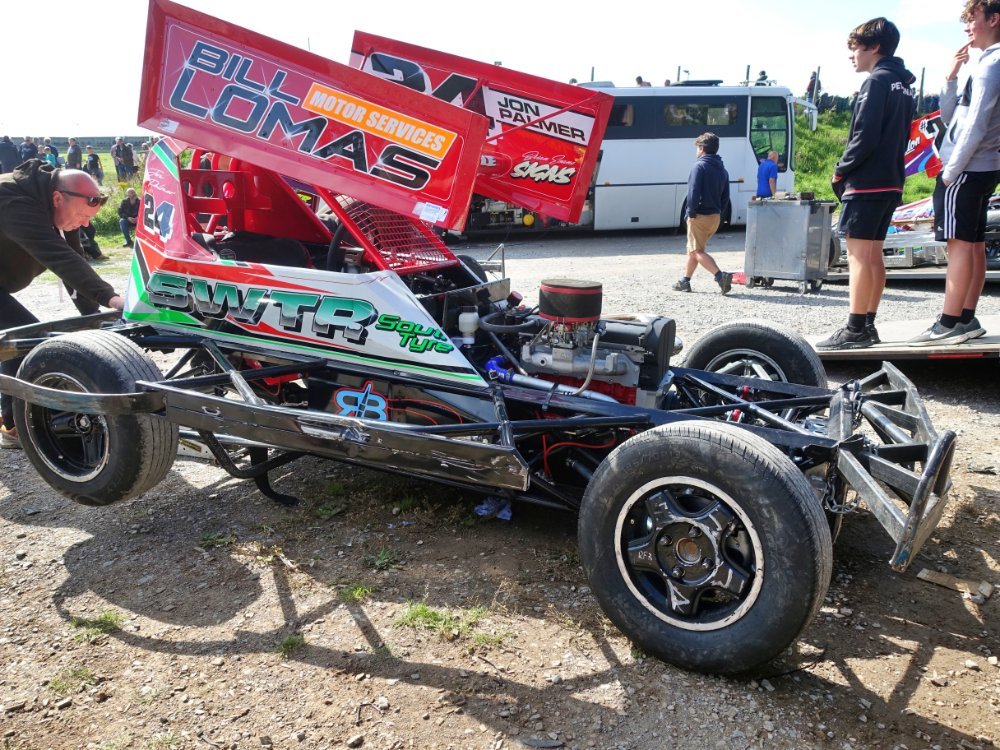
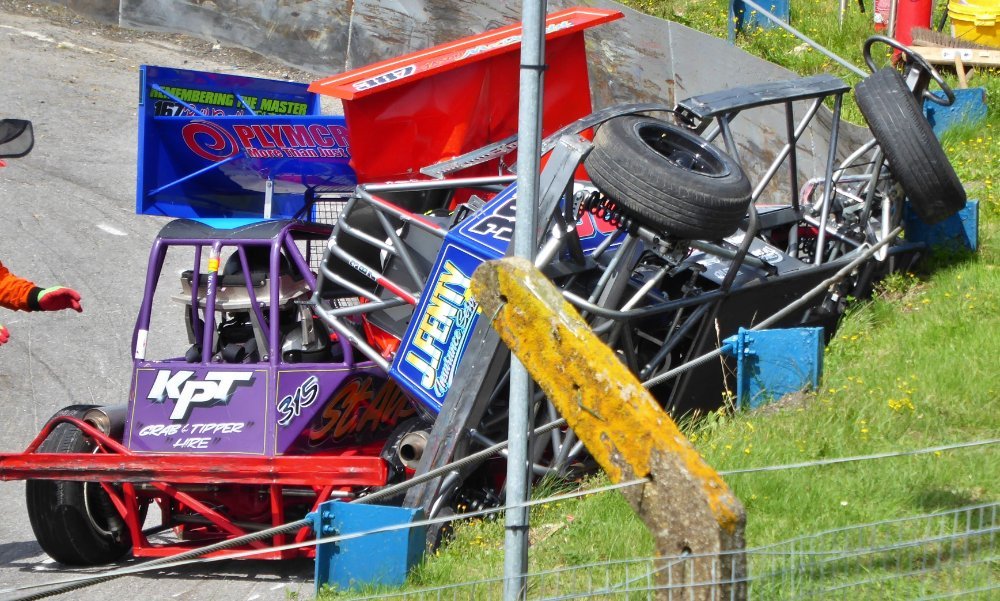

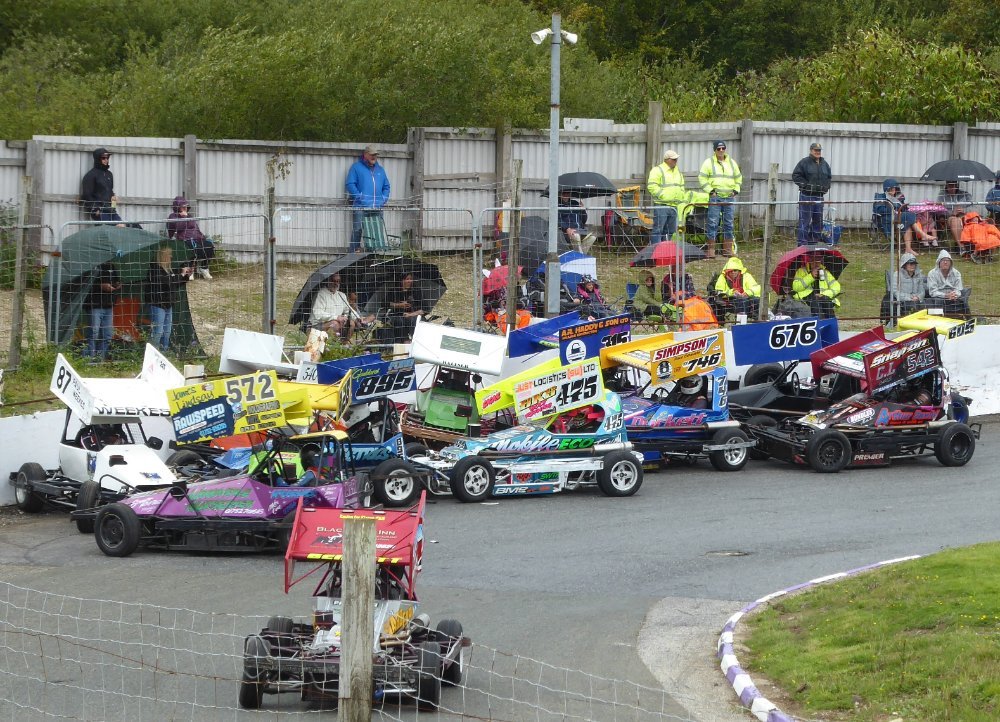

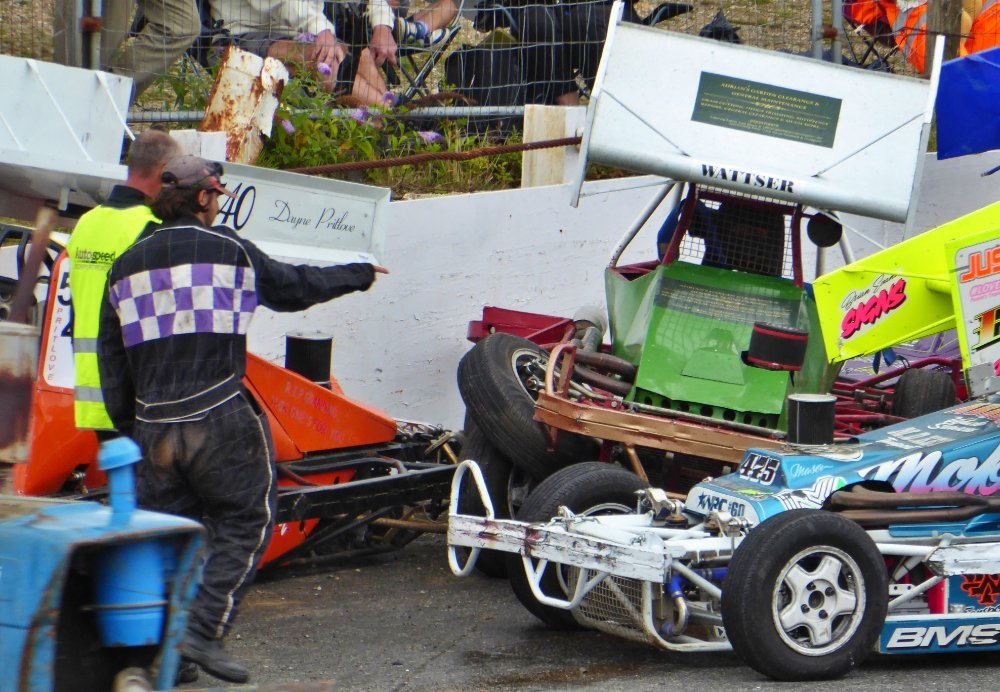


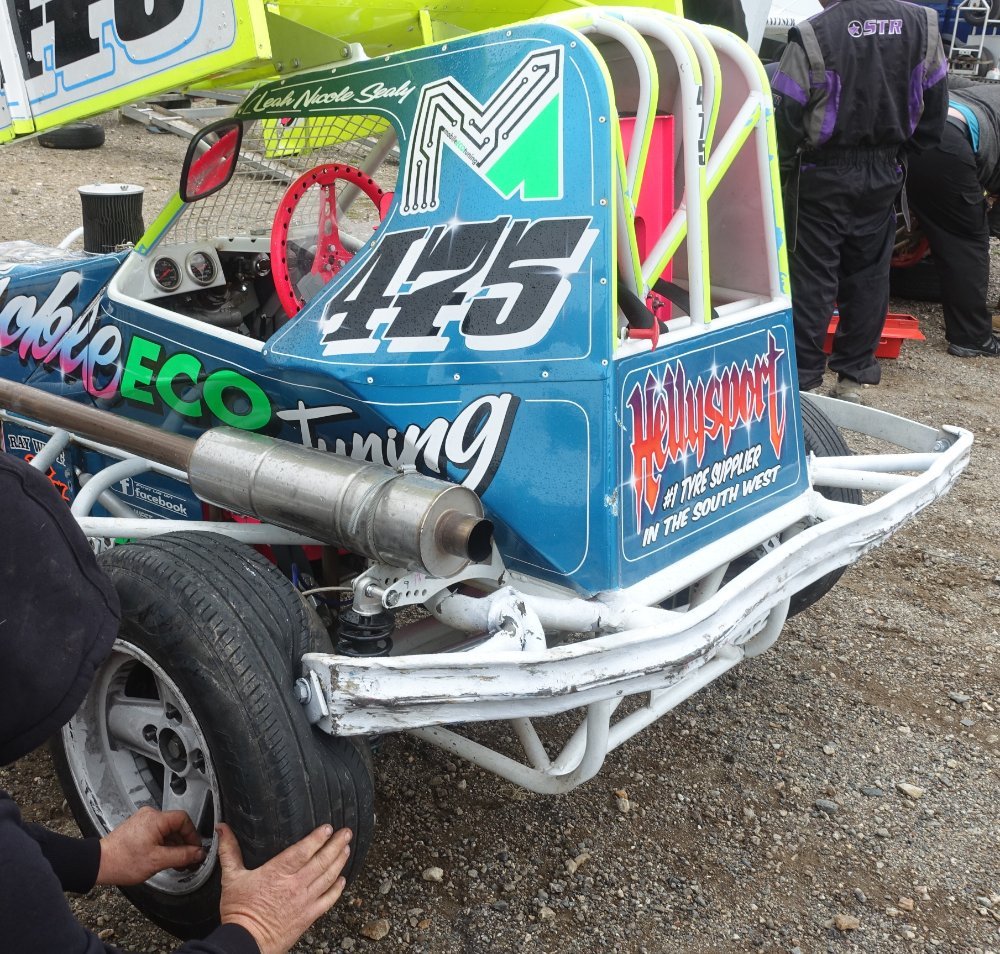
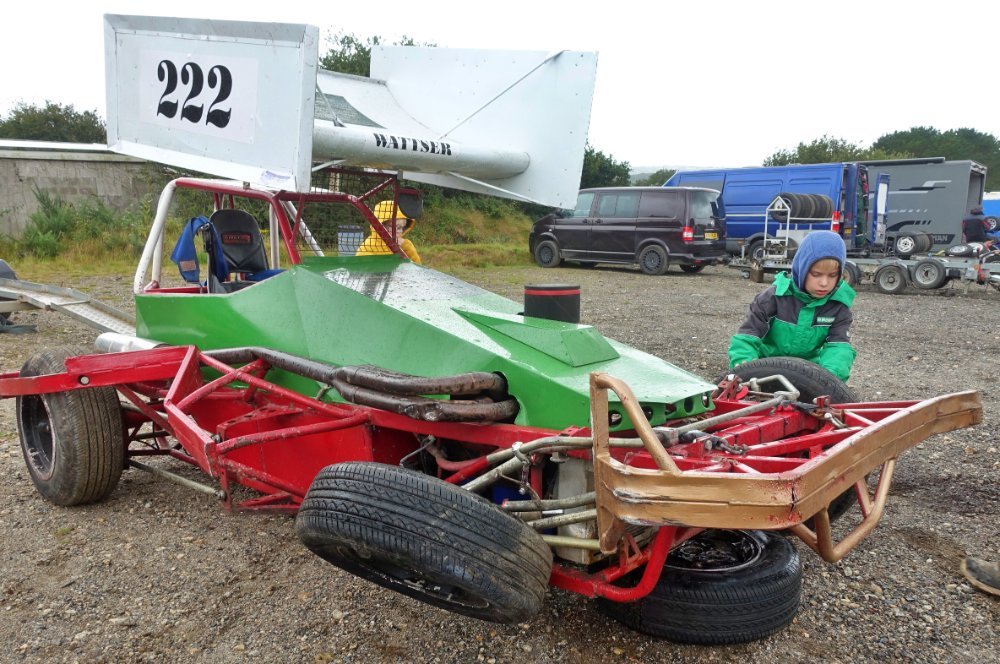
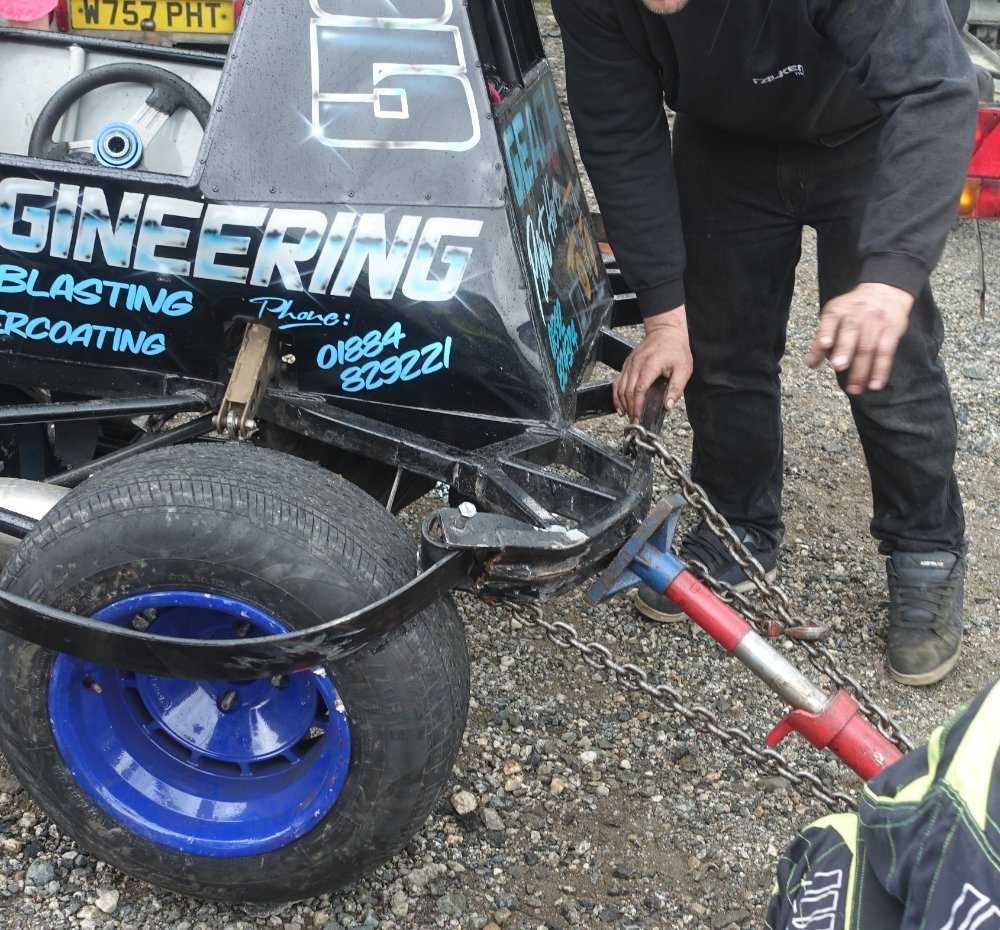


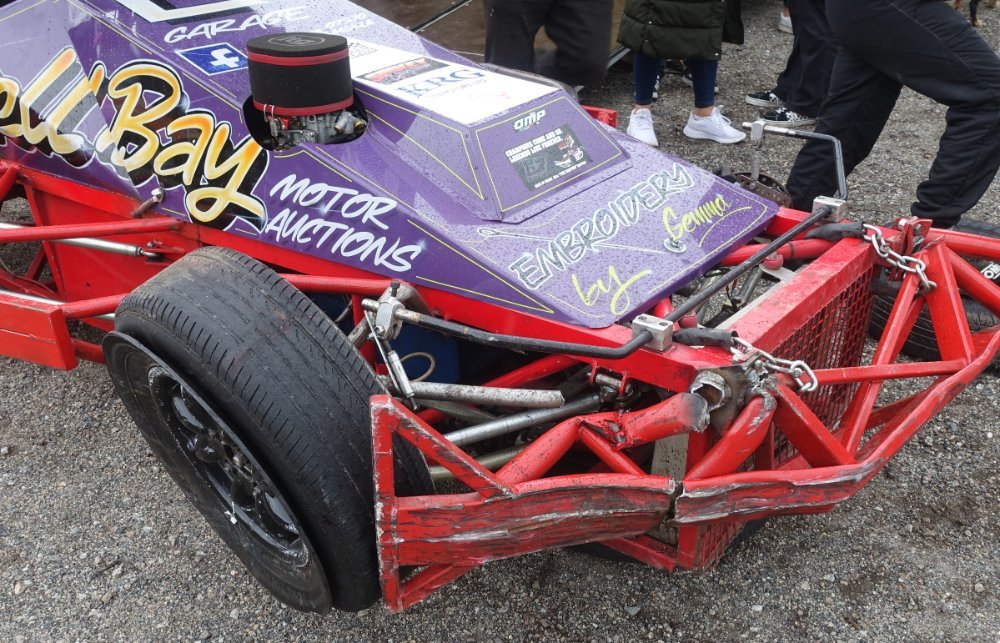
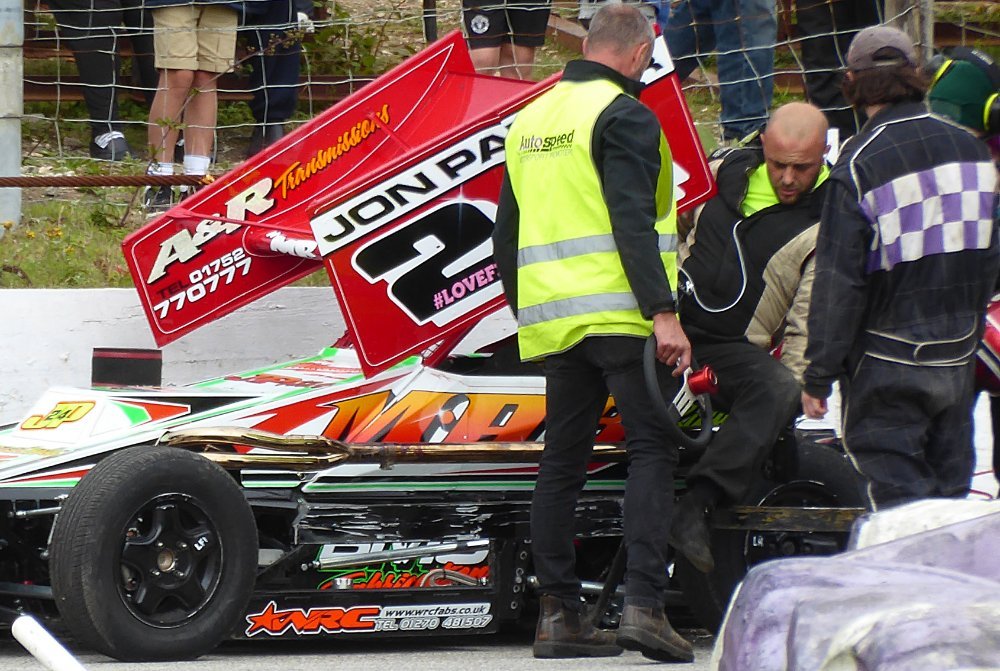
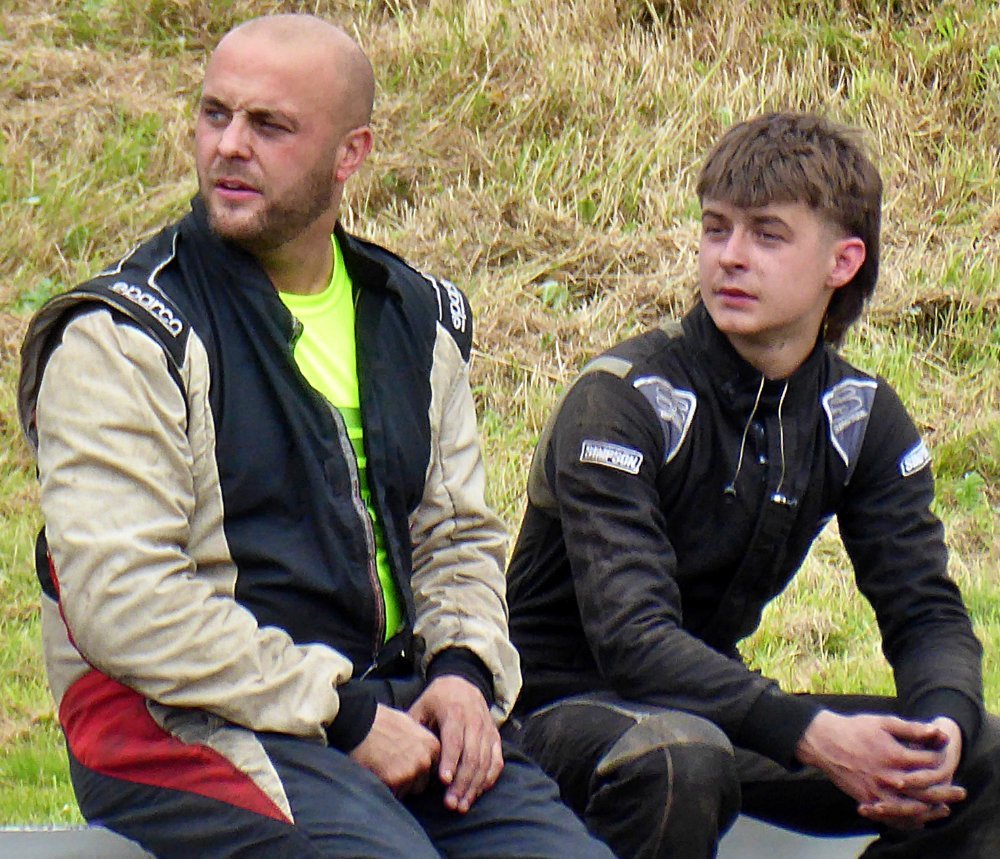

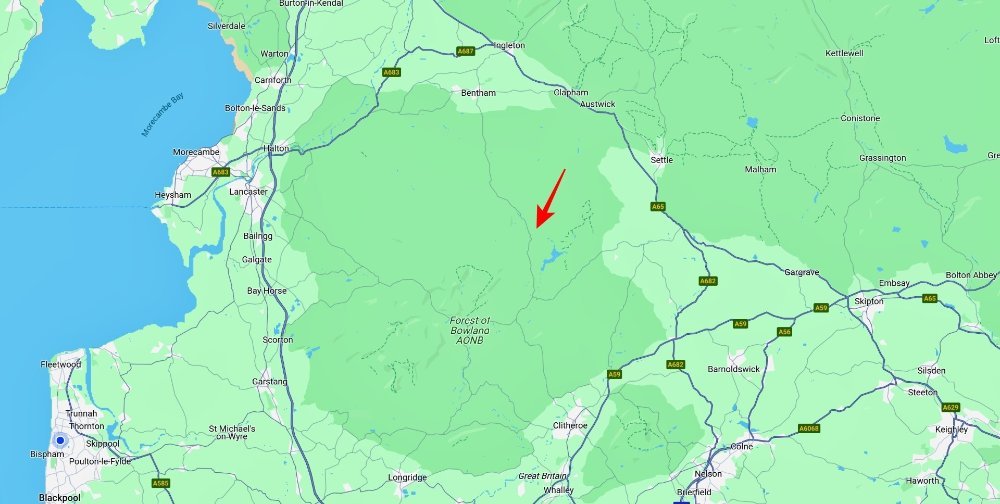
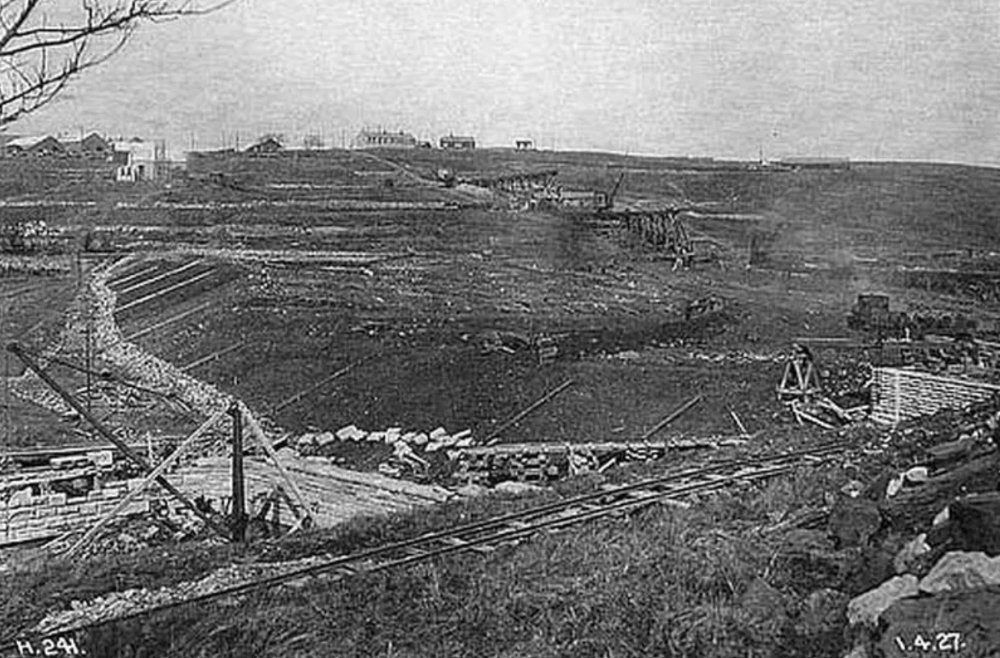

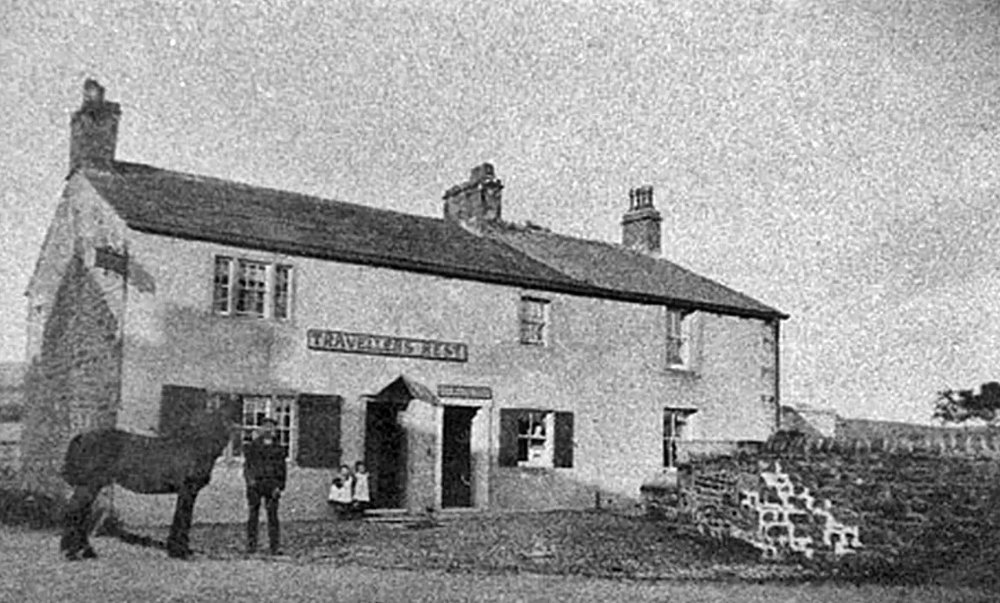

.jpg.e54c4b39a62ba2c79ddddfe5709bbed0.jpg)
.jpg.2347e320114221a2fe0aed7de52f1531.jpg)
.jpg.556130e8ef5259afd4ffb1c5be95decf.jpg)
.jpg.7e6d0c61f62f4682122cea8e62cdf2d6.jpg)
.jpg.c23de44c803fe17499ee2f5be8470f22.jpg)
.jpg.a5e15cf6c9d2c460dd55dc0051f71ede.jpg)
.jpg.25a810dc4268f8d298f0040d98196cb3.jpg)
.jpg.bcfb9075c756ea3db46c38058636c2ee.jpg)
.jpg.f44ba1448392f3d64d12adca99021ca1.jpg)
.jpg.c34639097dd75646f49cd7a95467ffed.jpg)

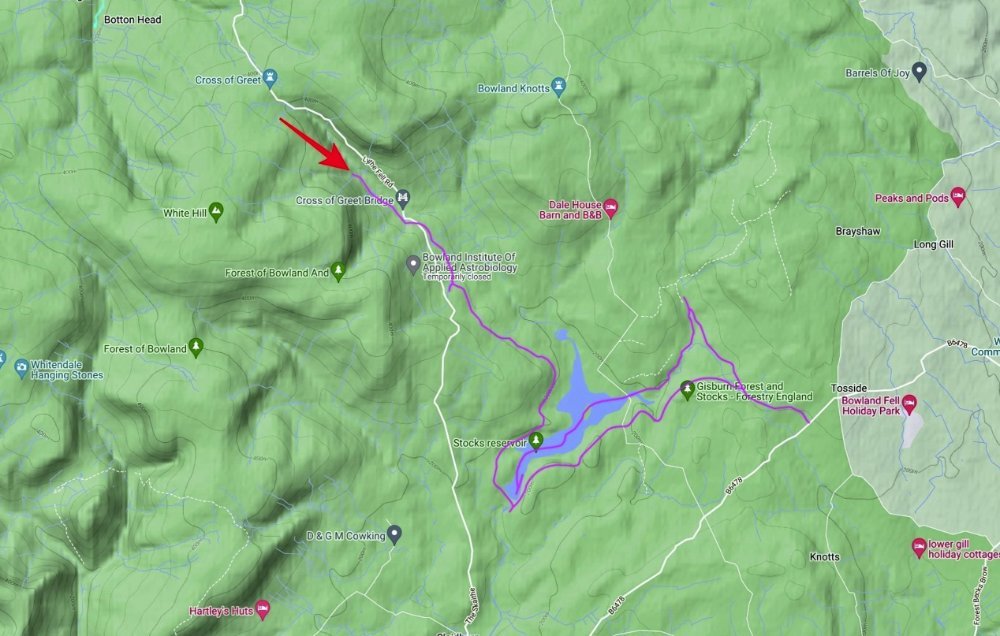
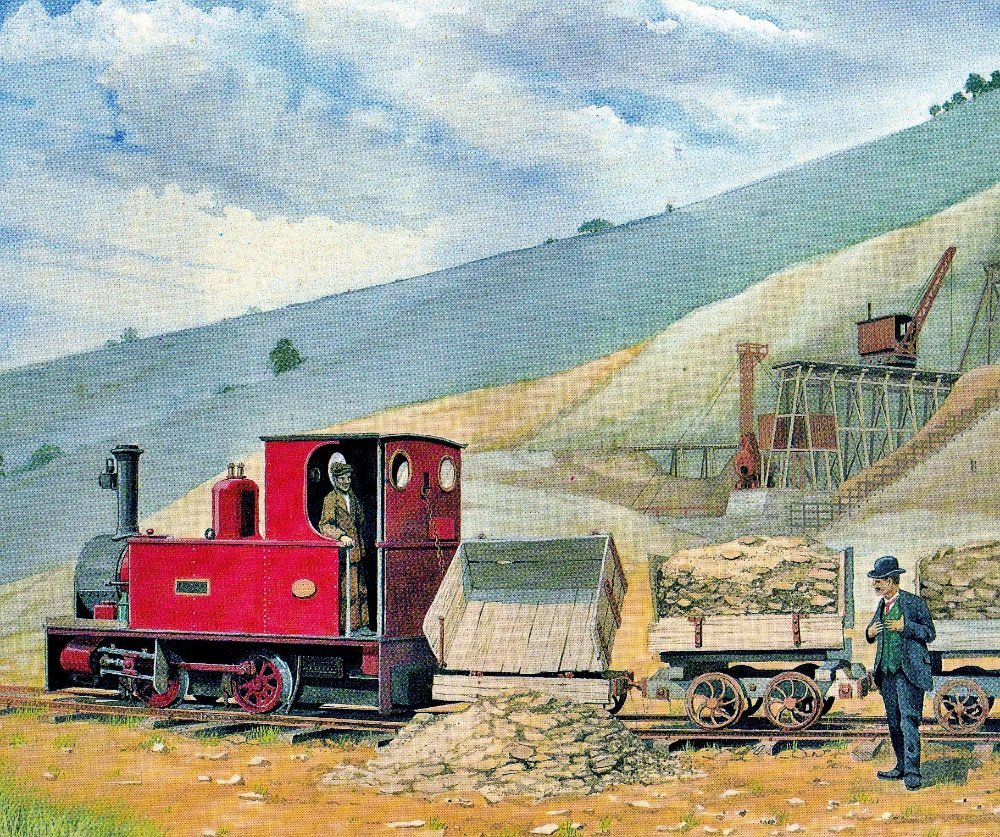

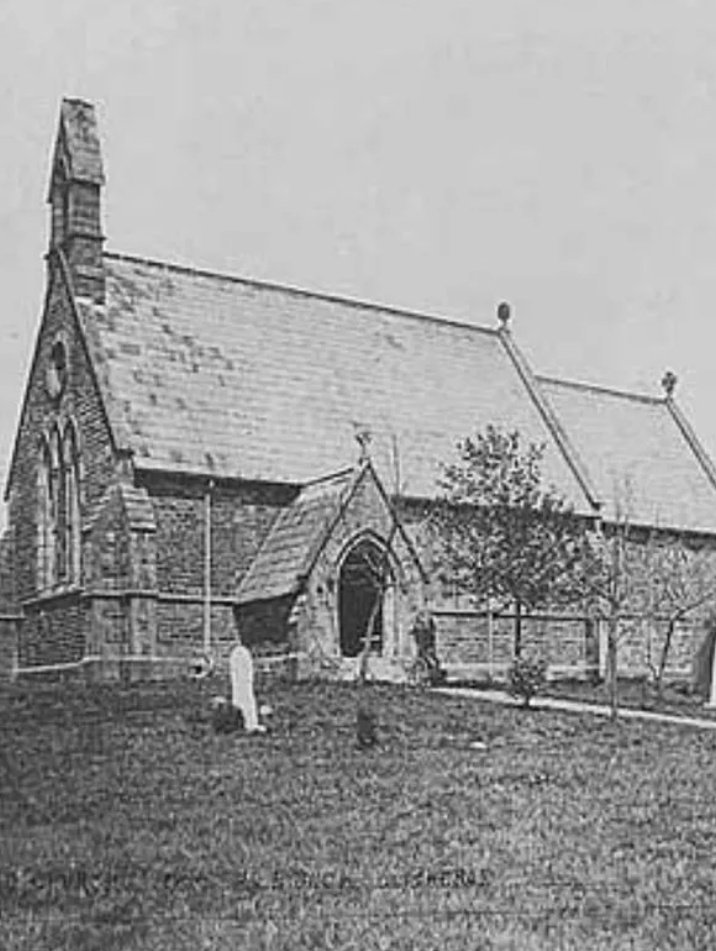

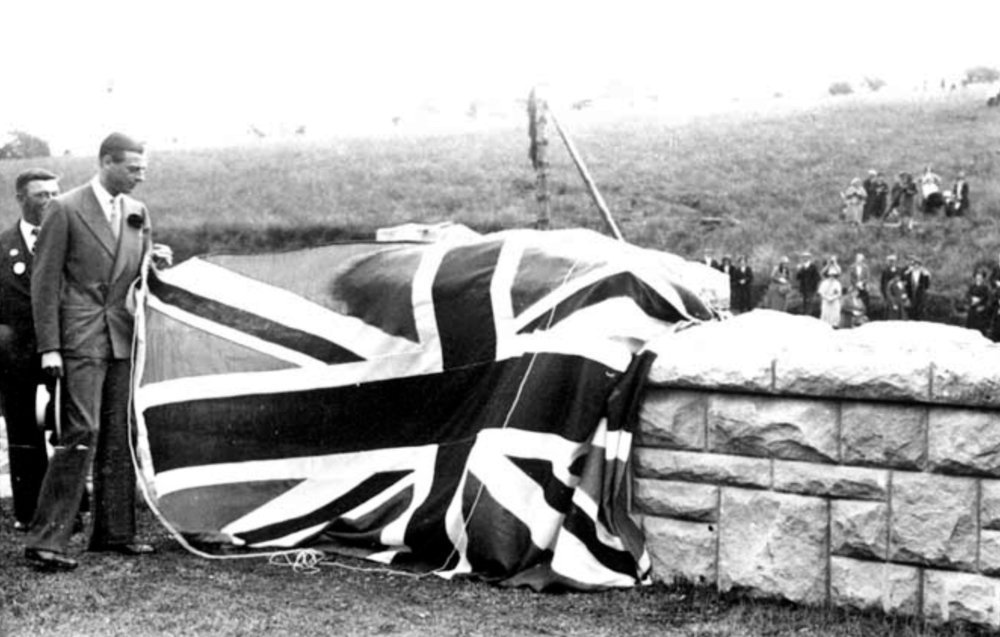
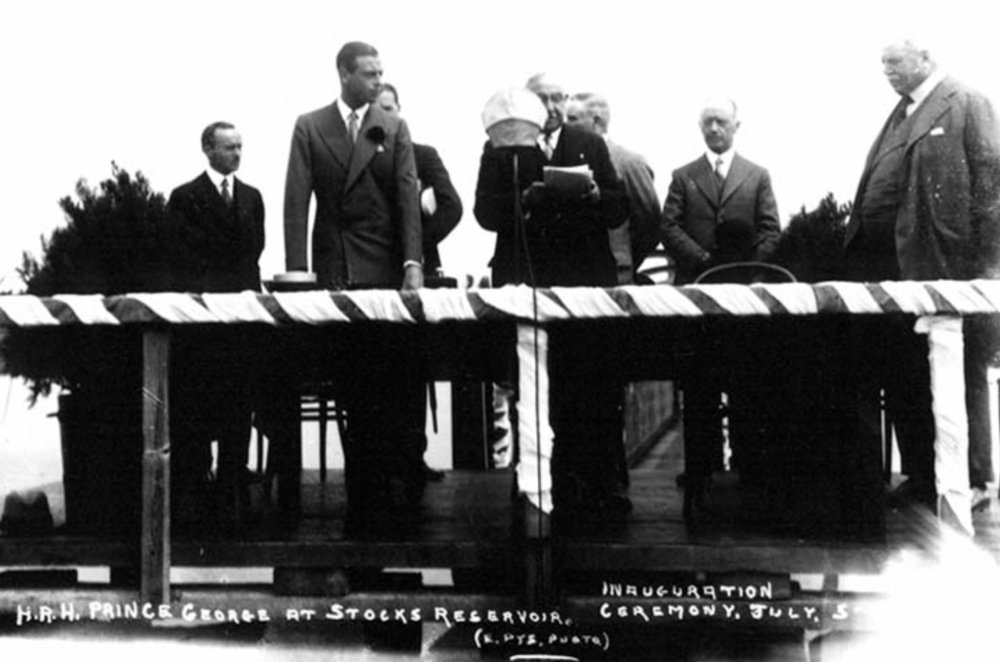
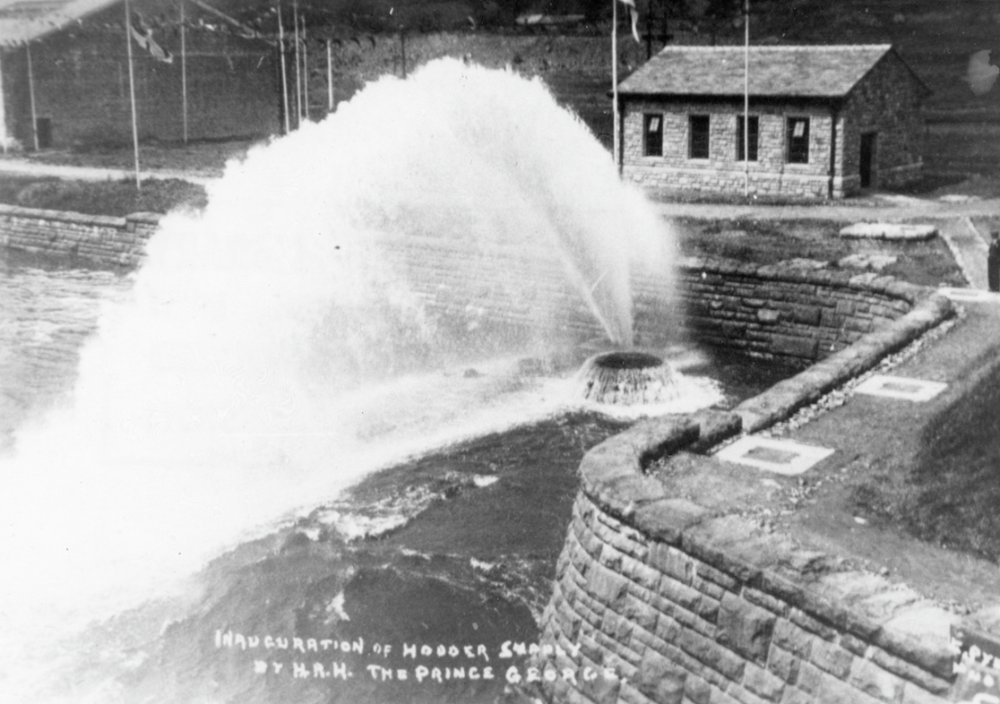
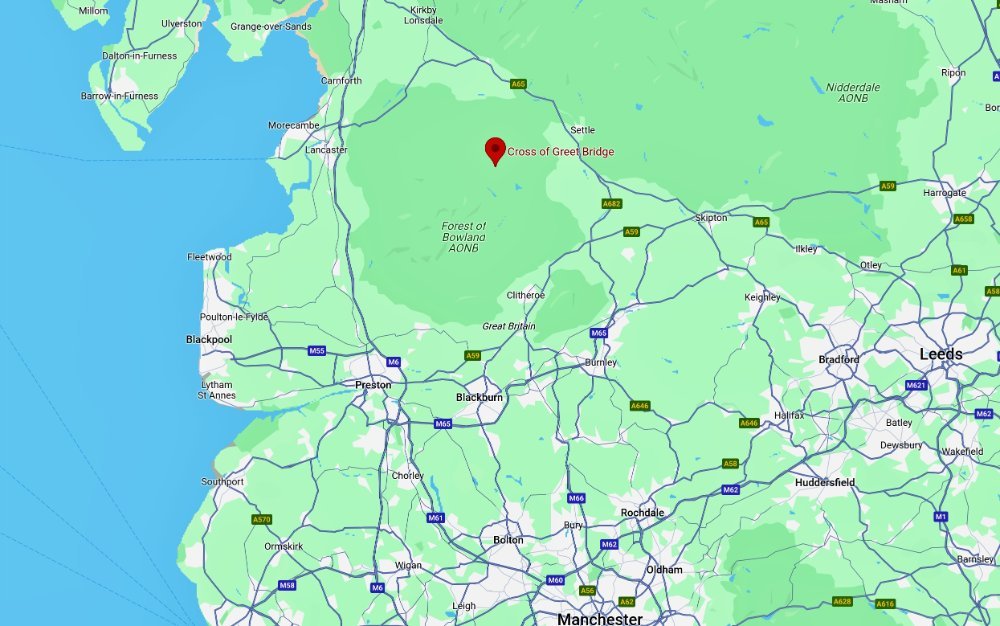
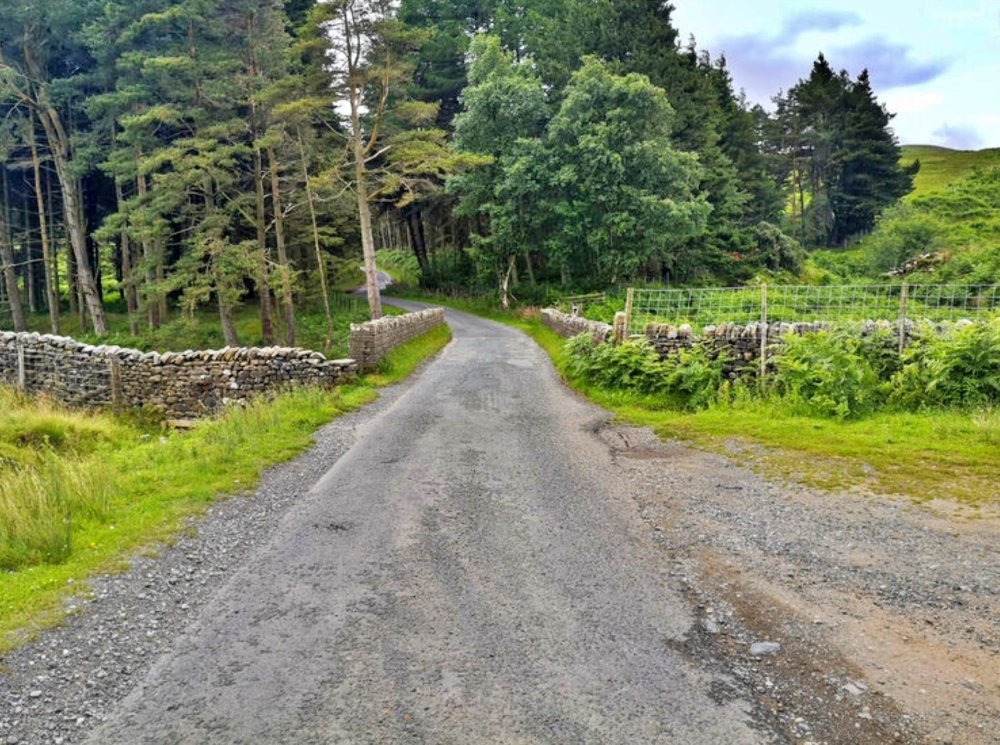
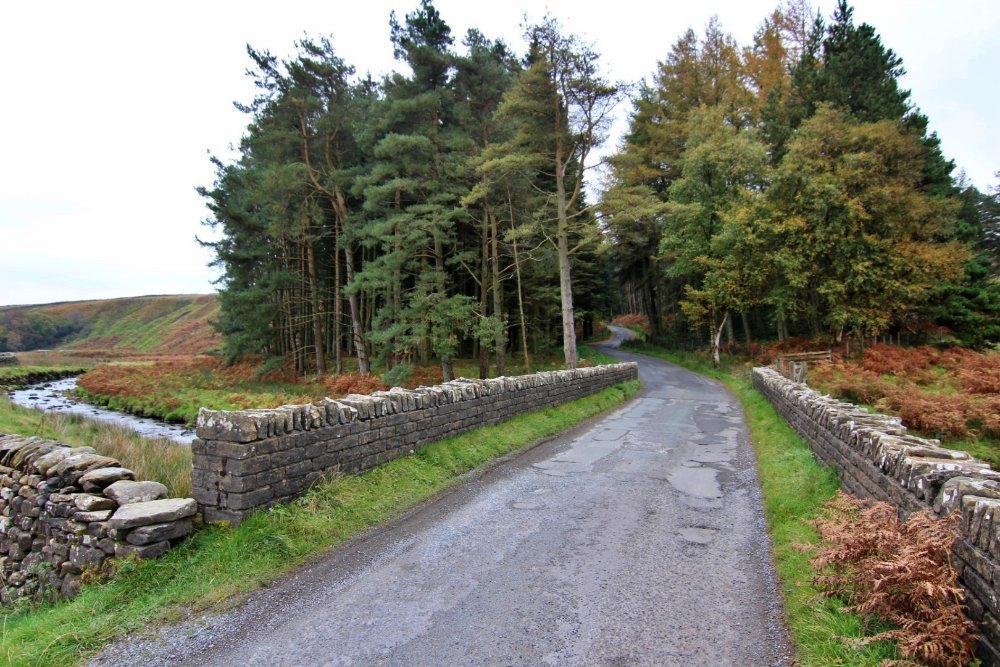
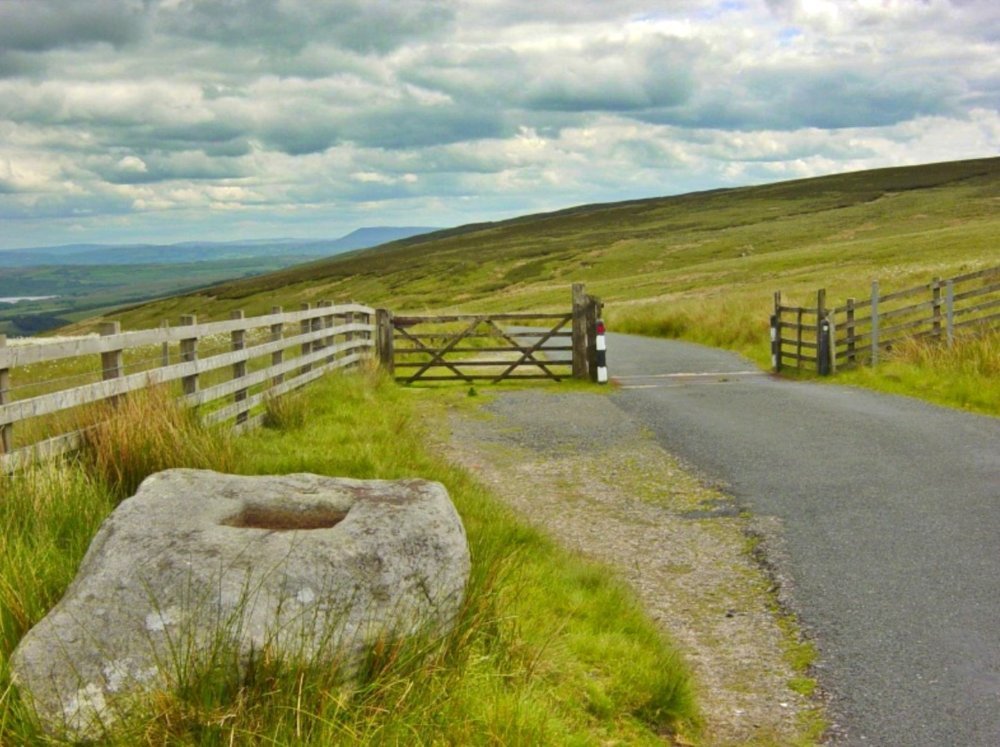
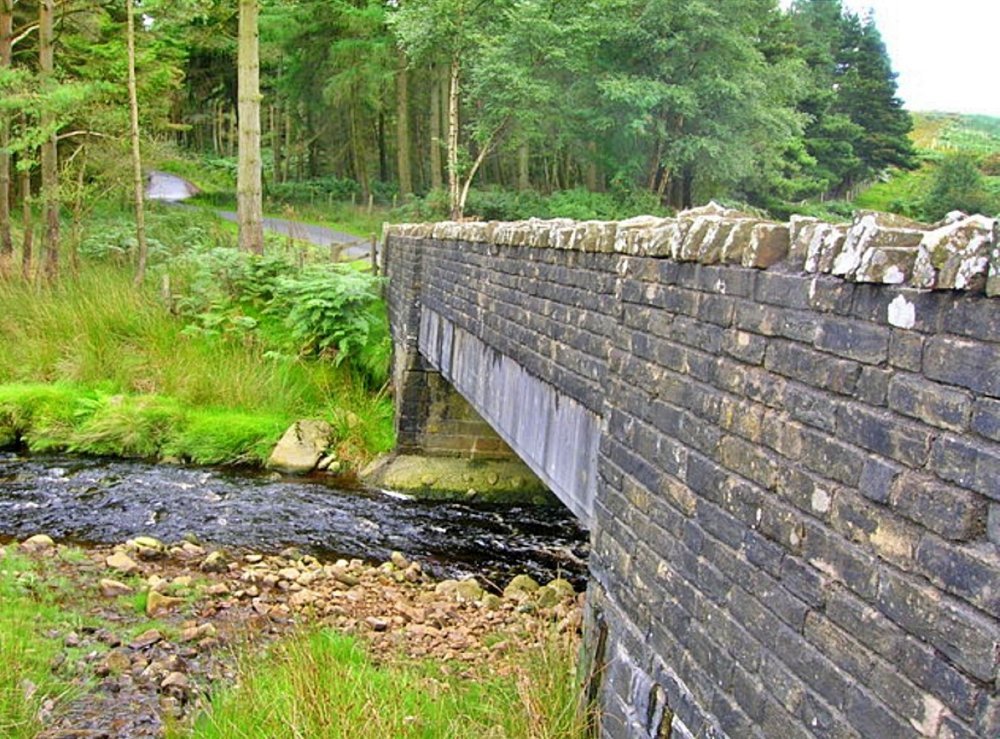


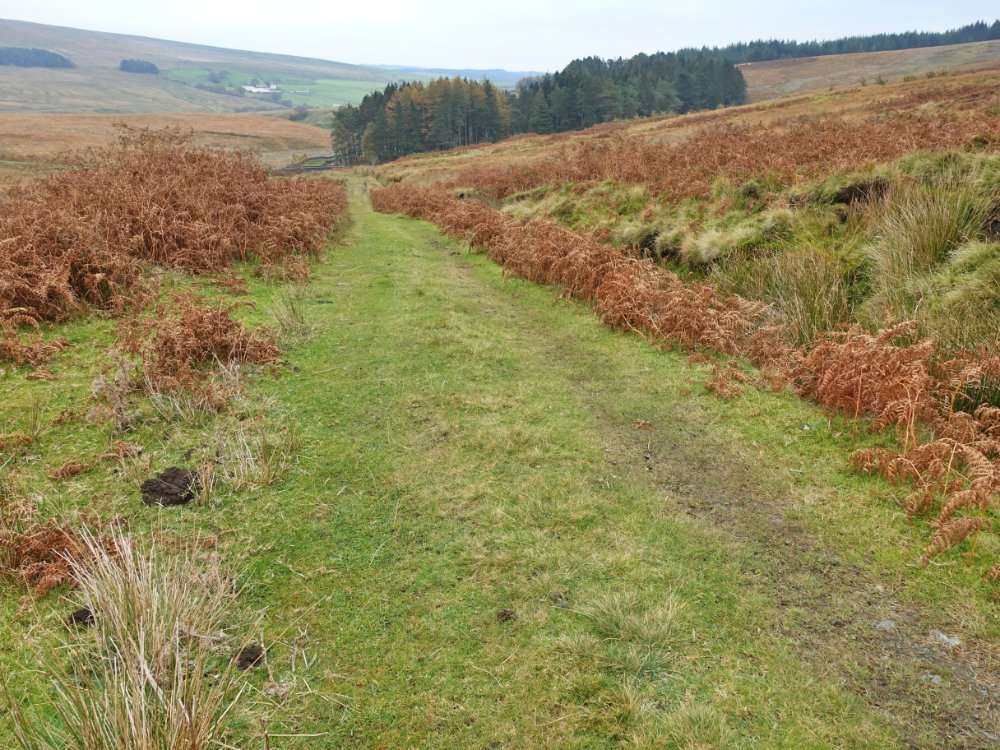


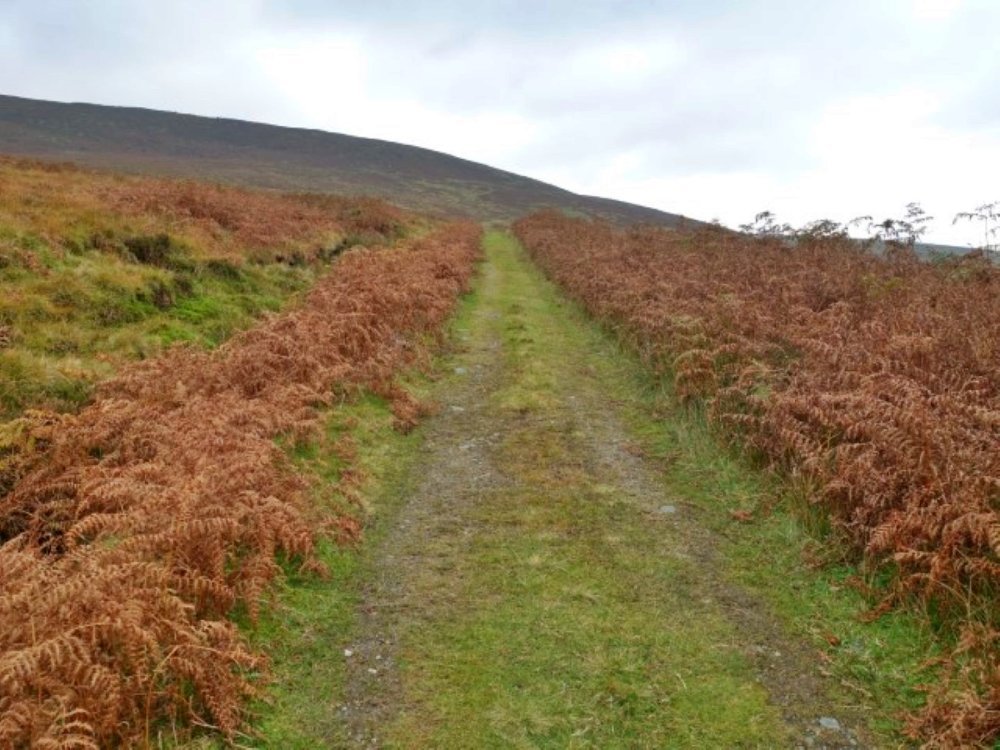
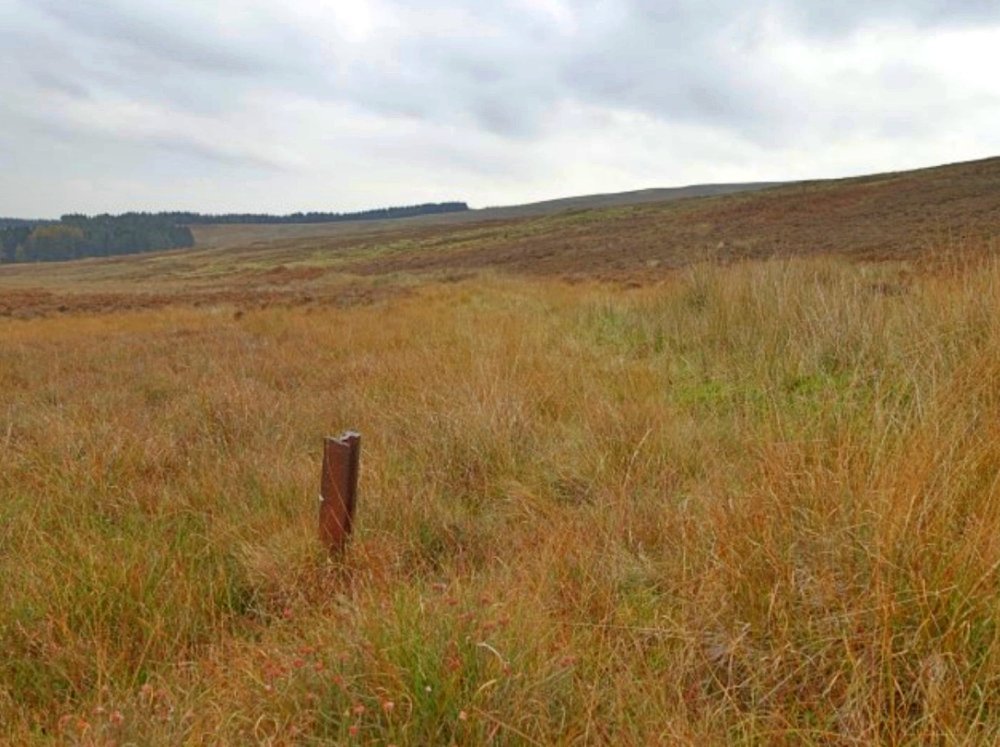
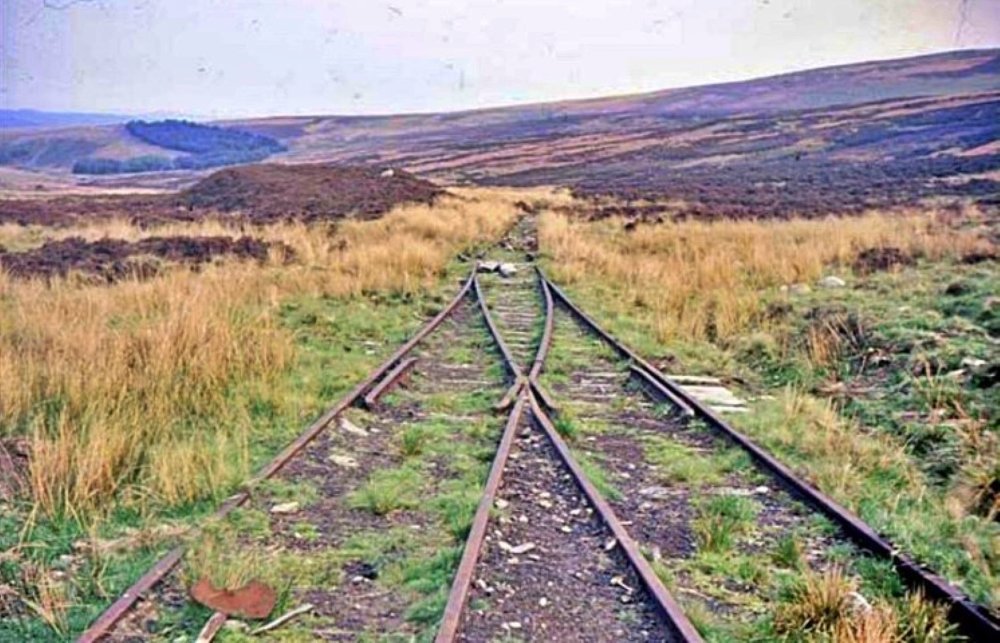


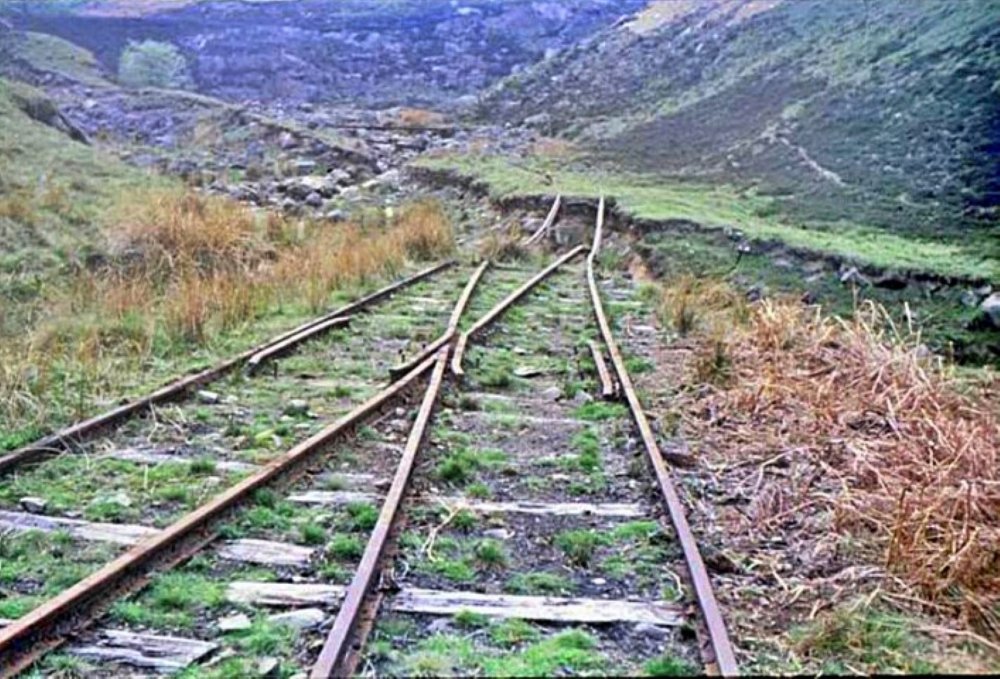
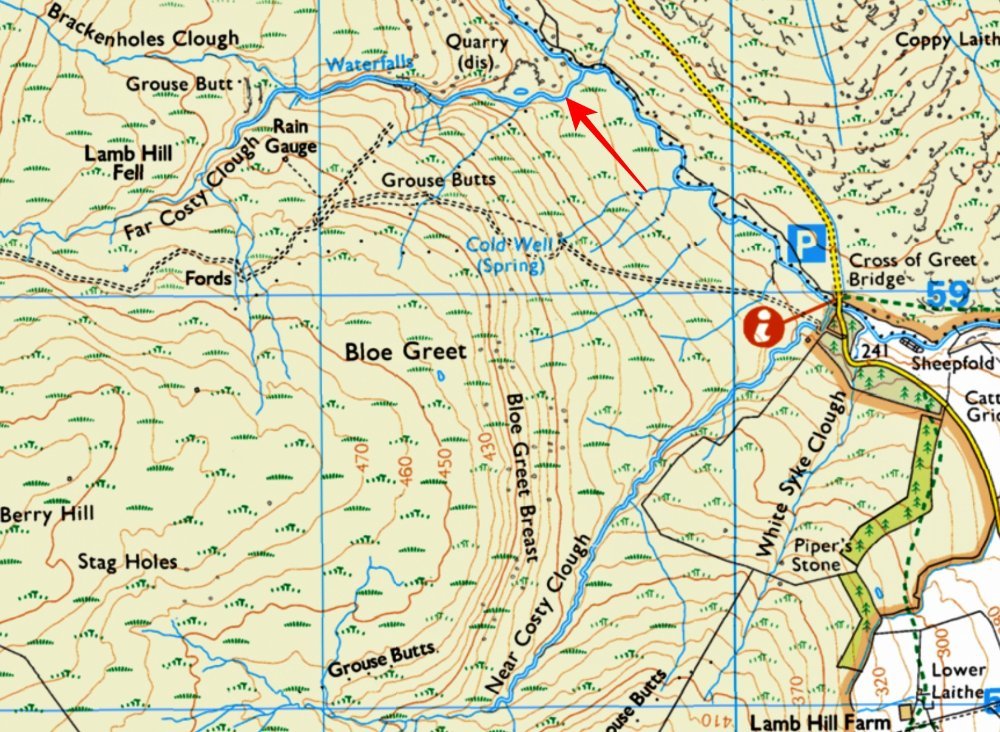

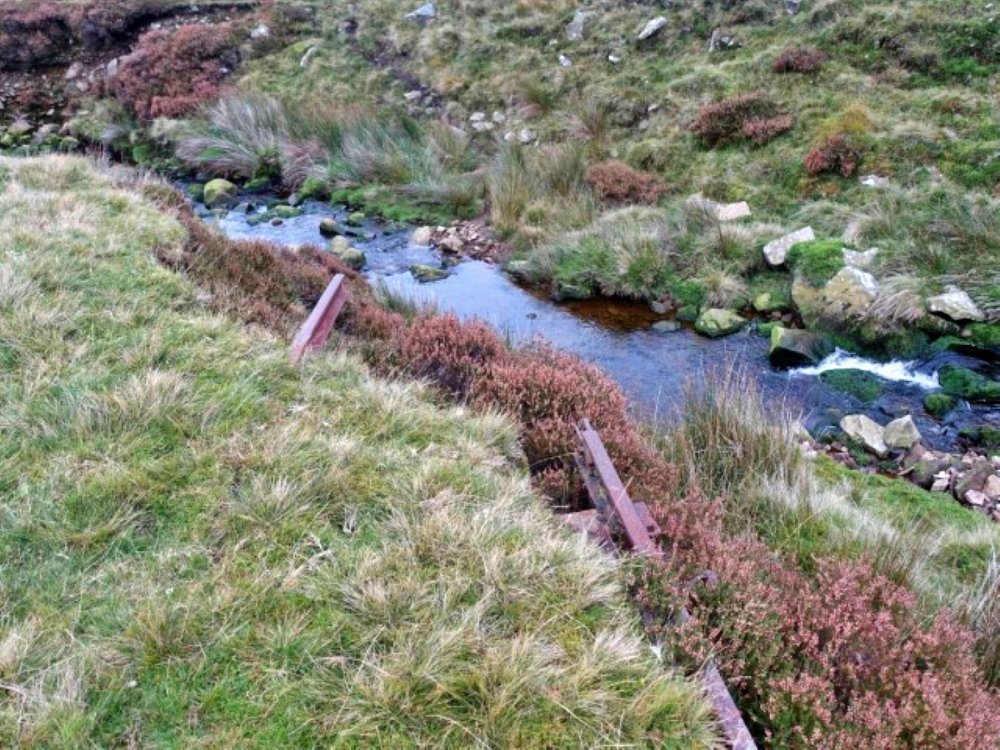
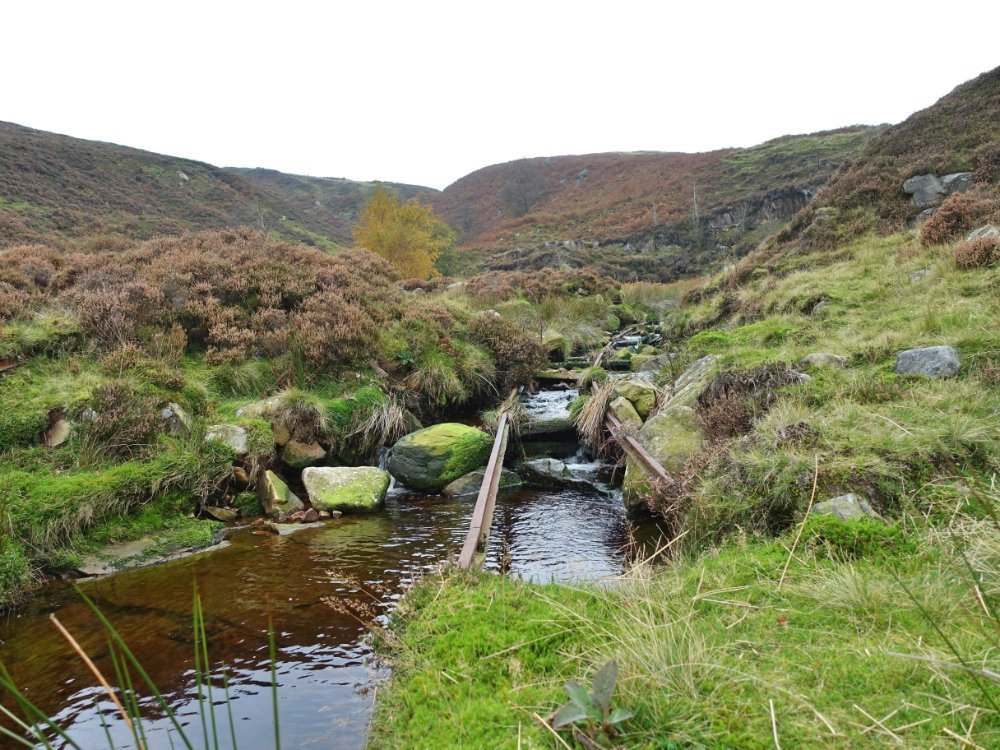
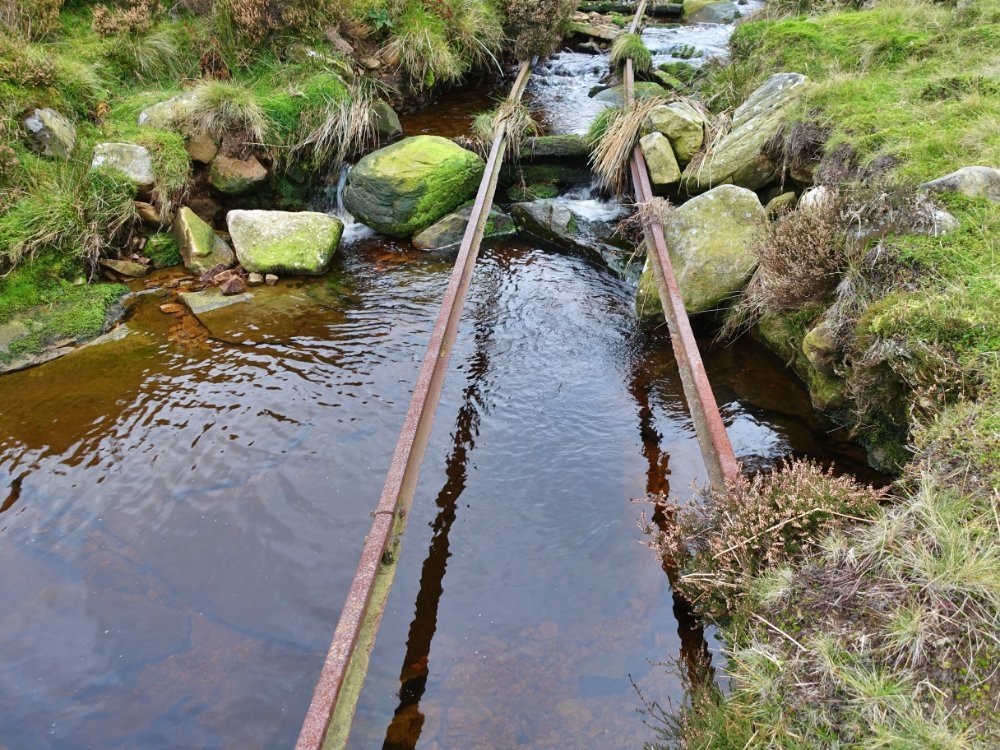
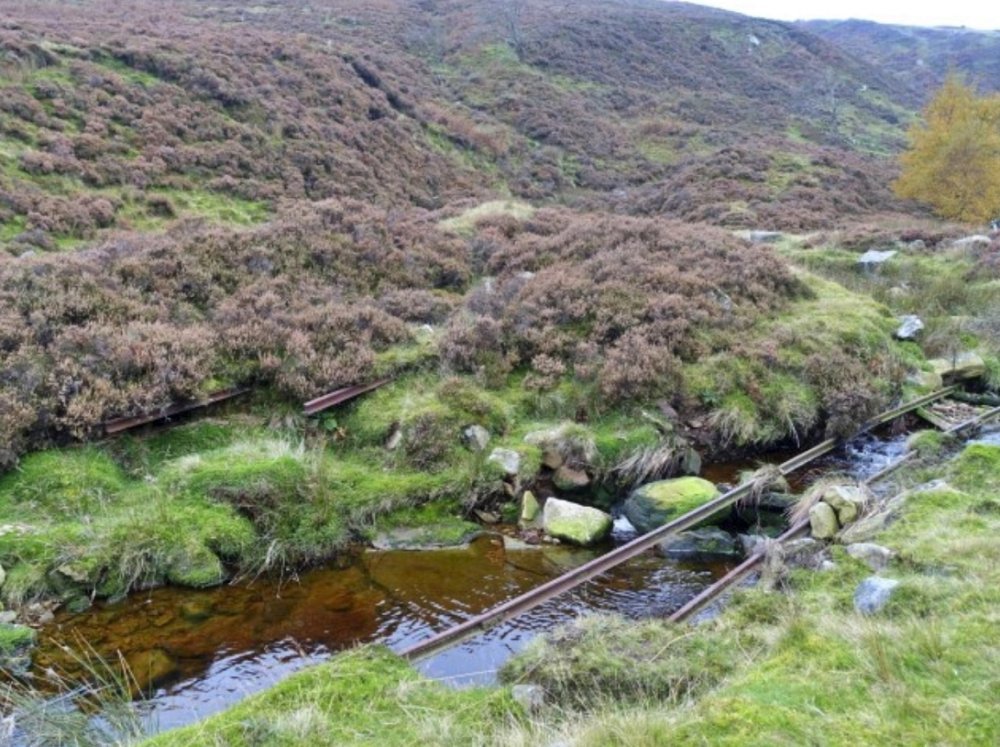
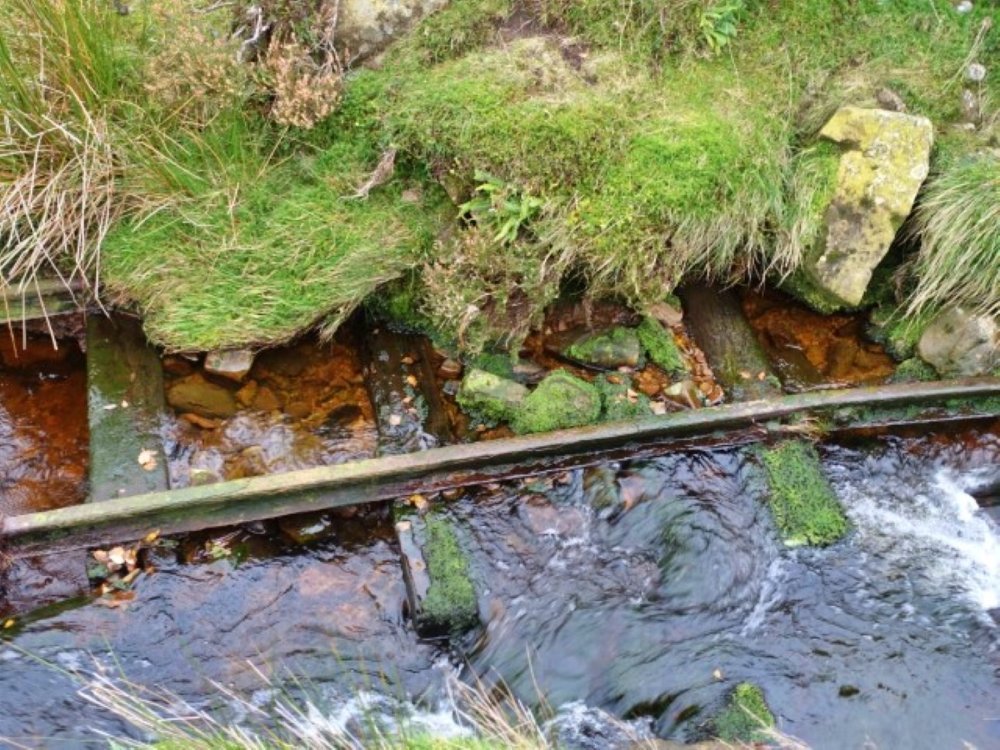
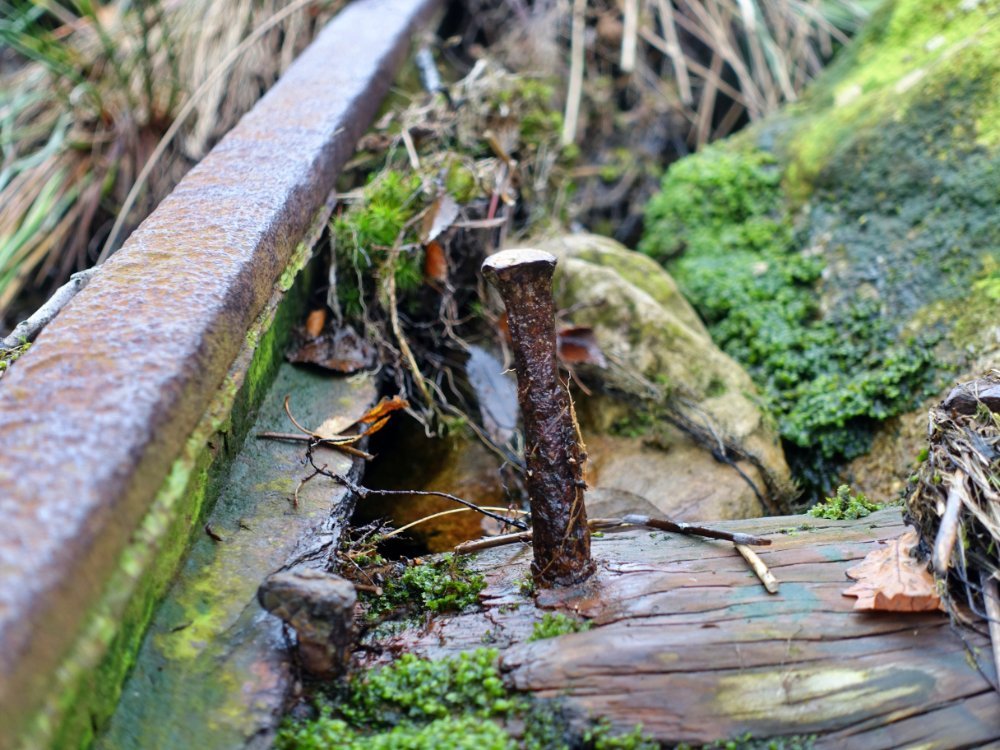
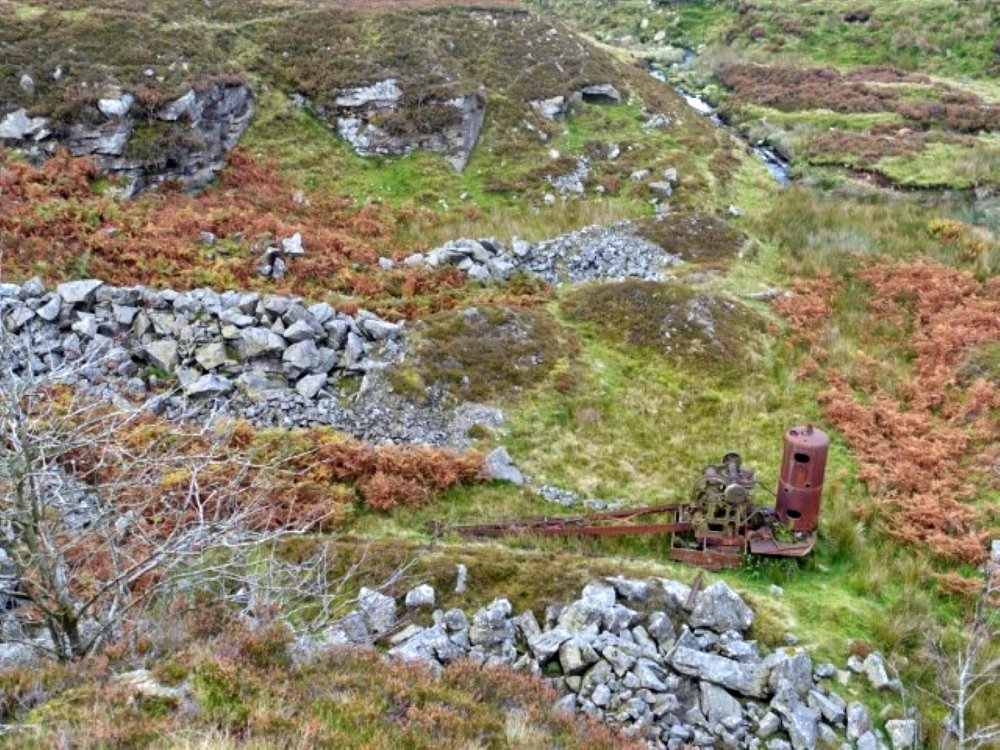

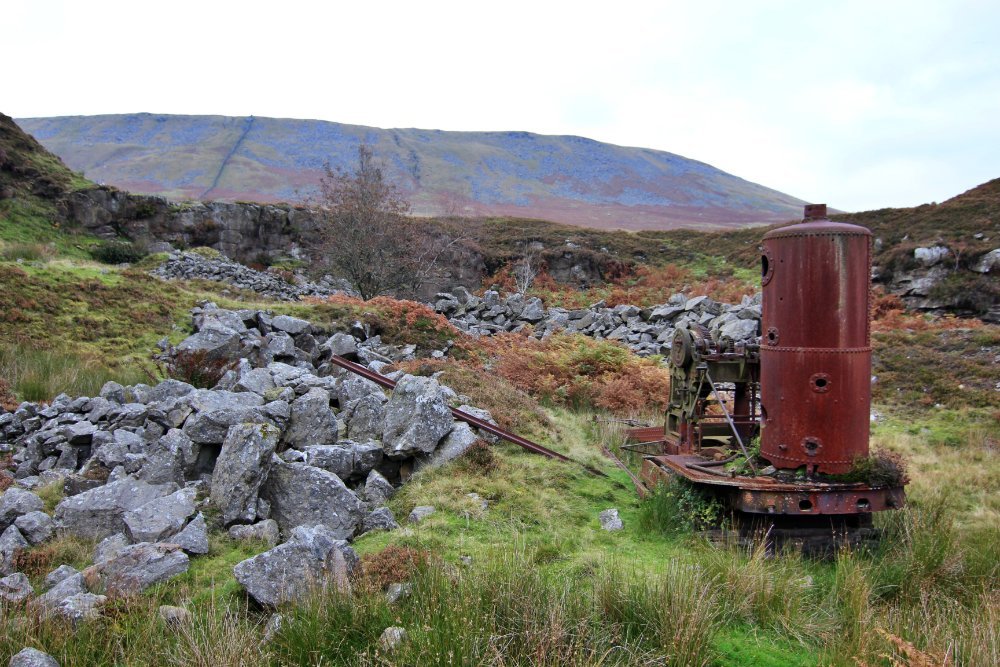


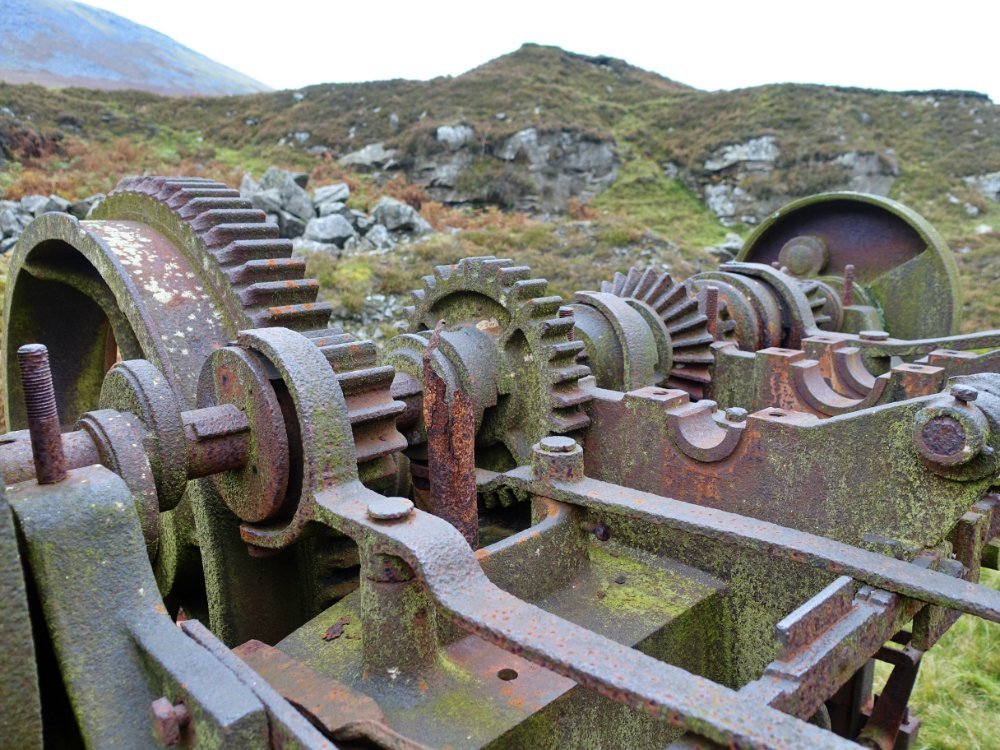
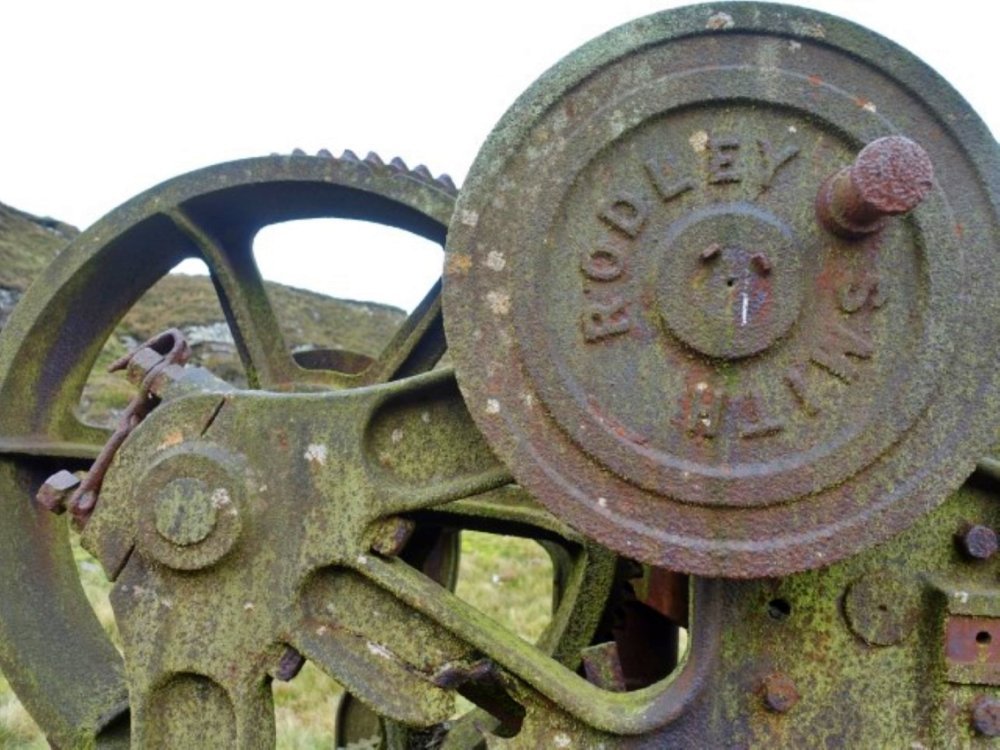
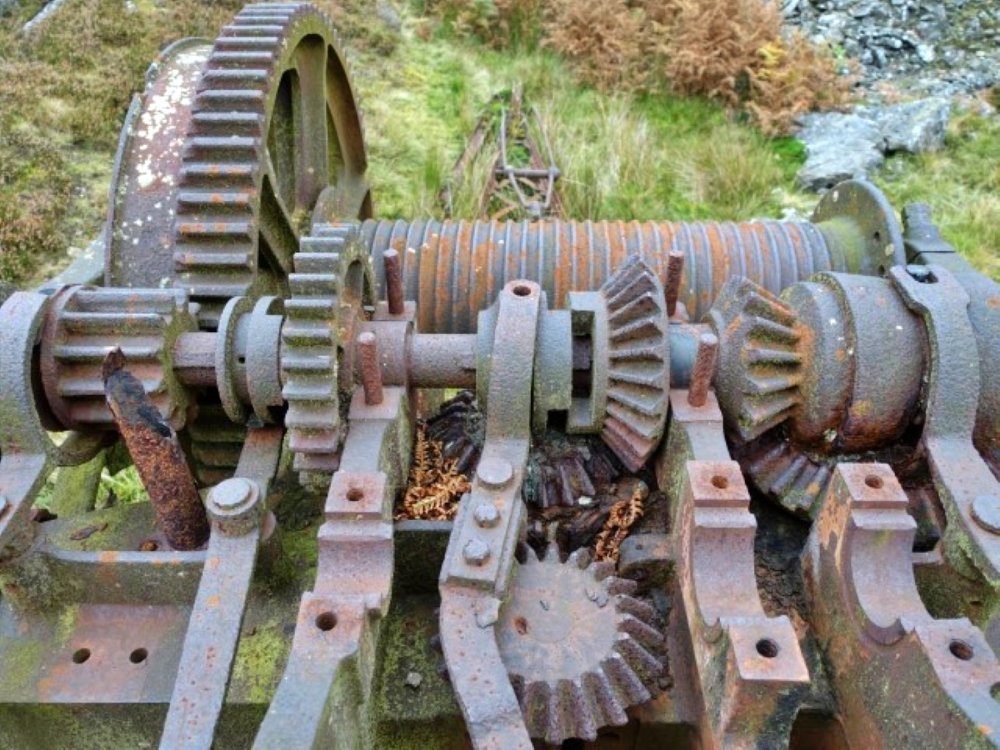
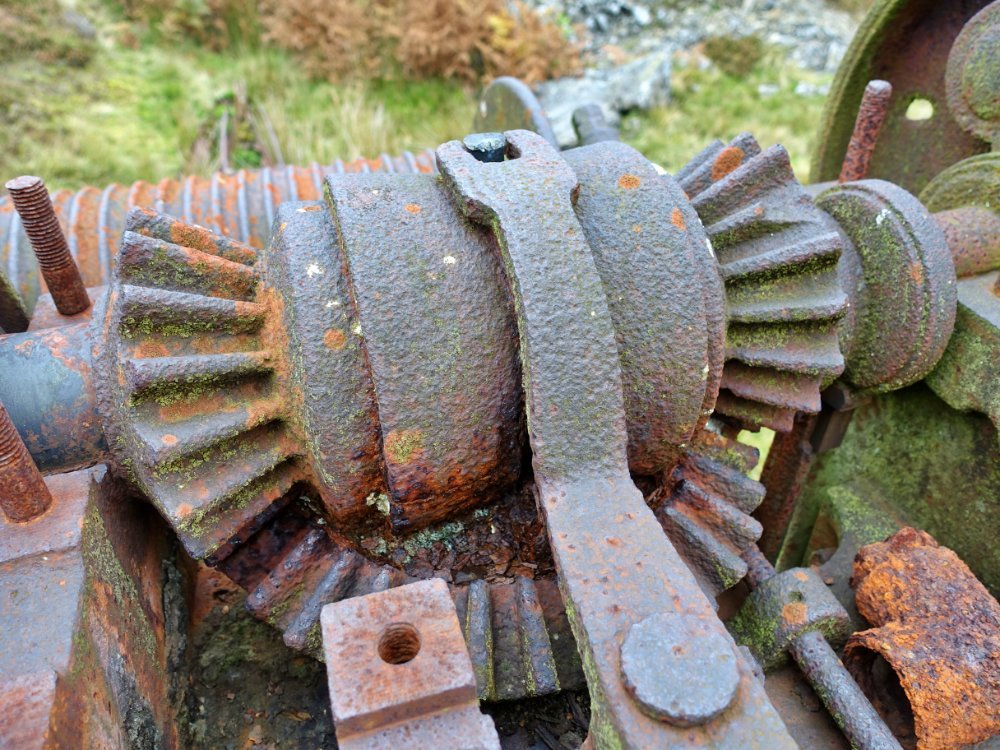


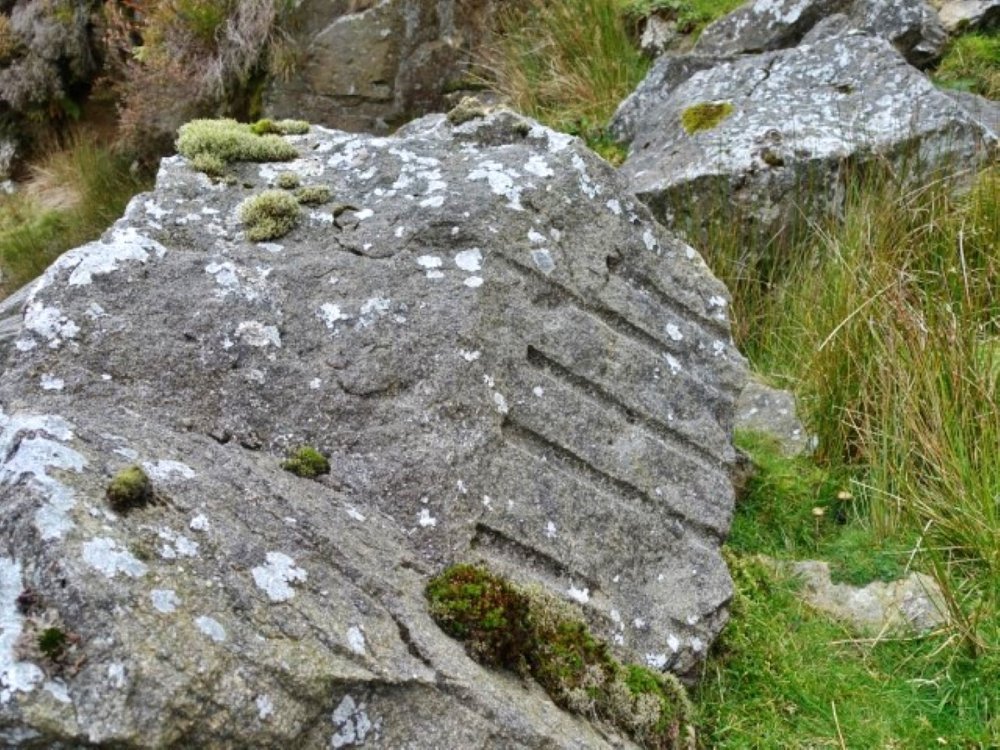

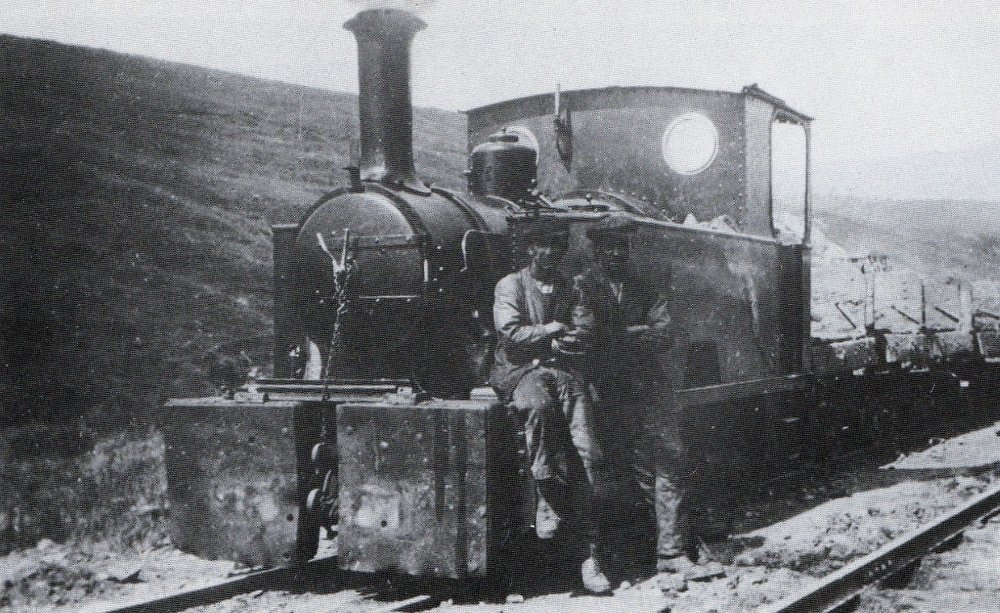

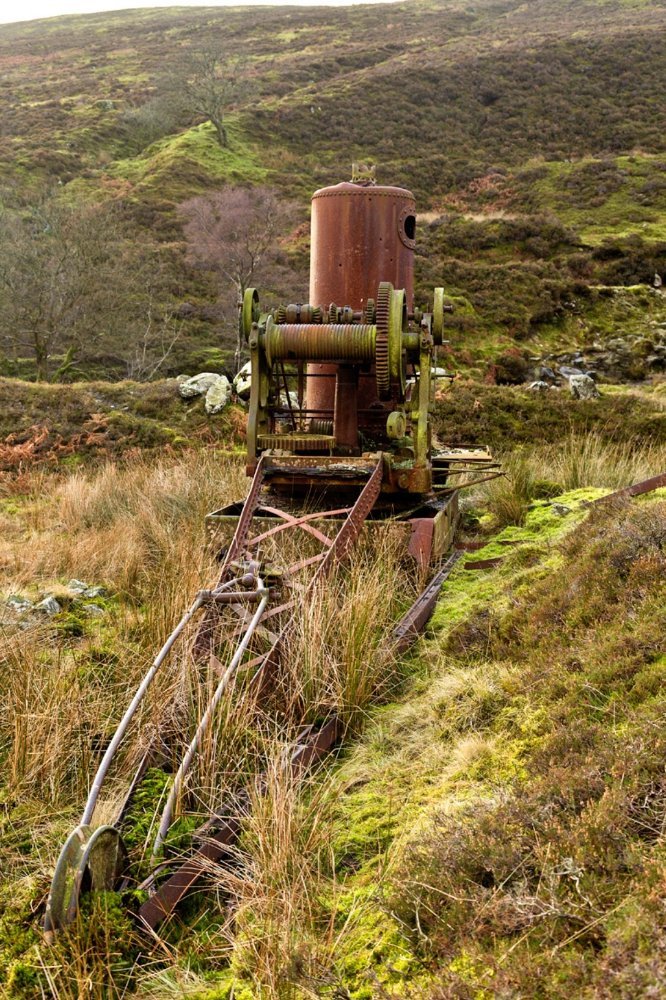
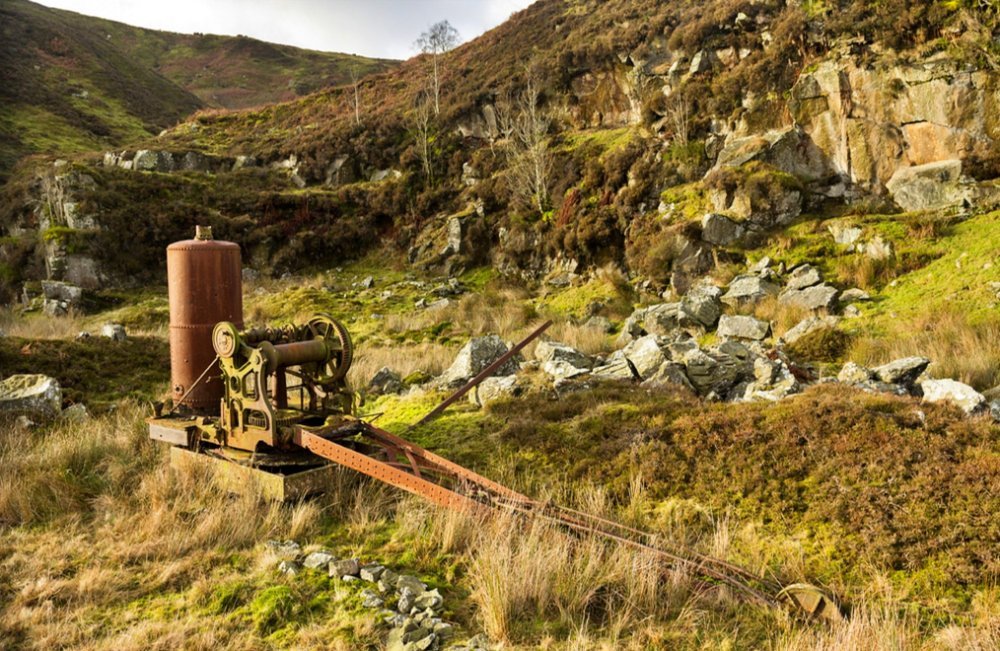
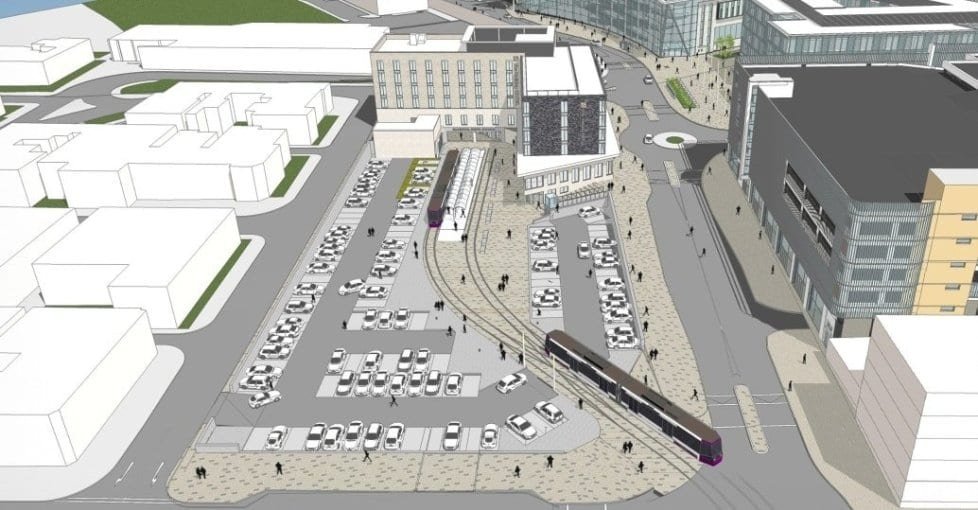
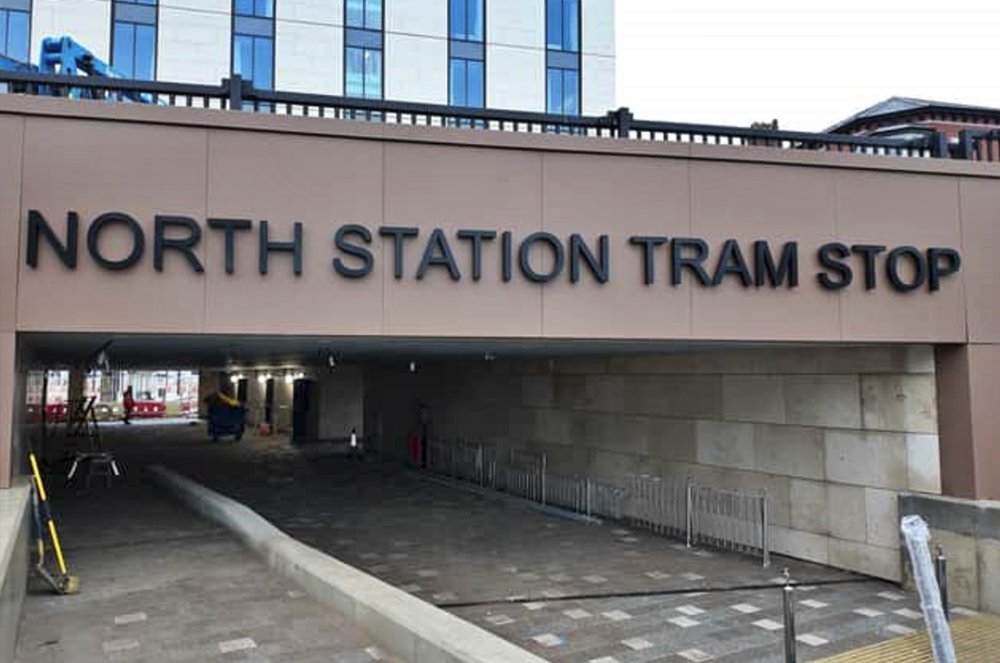
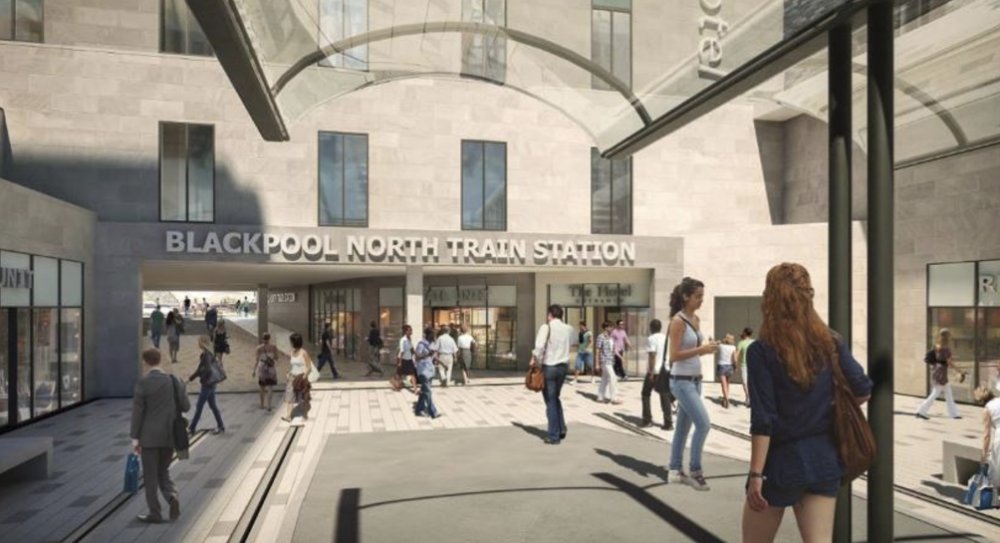
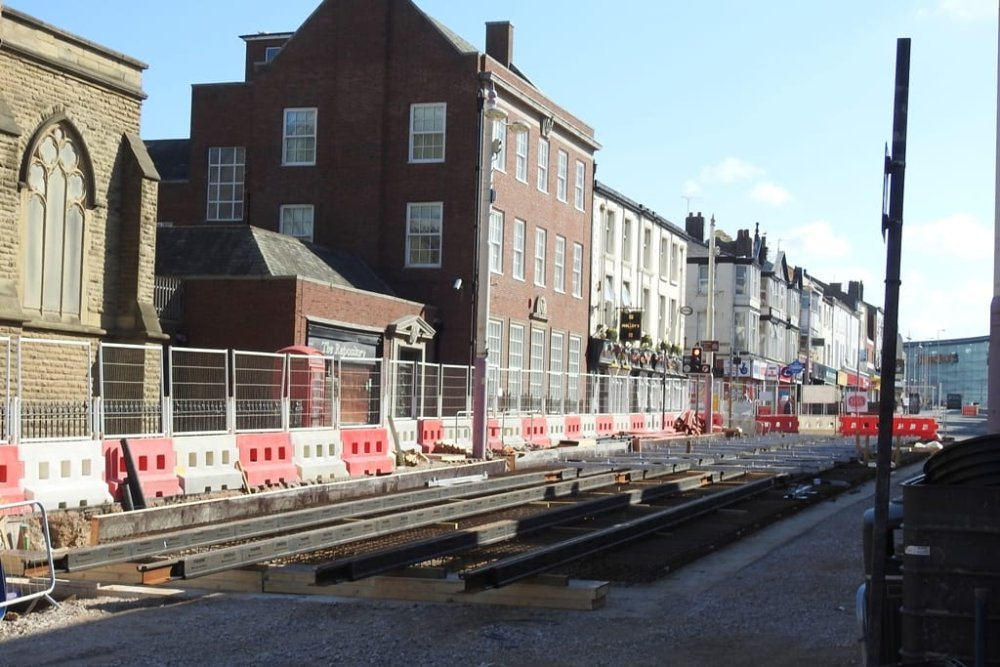


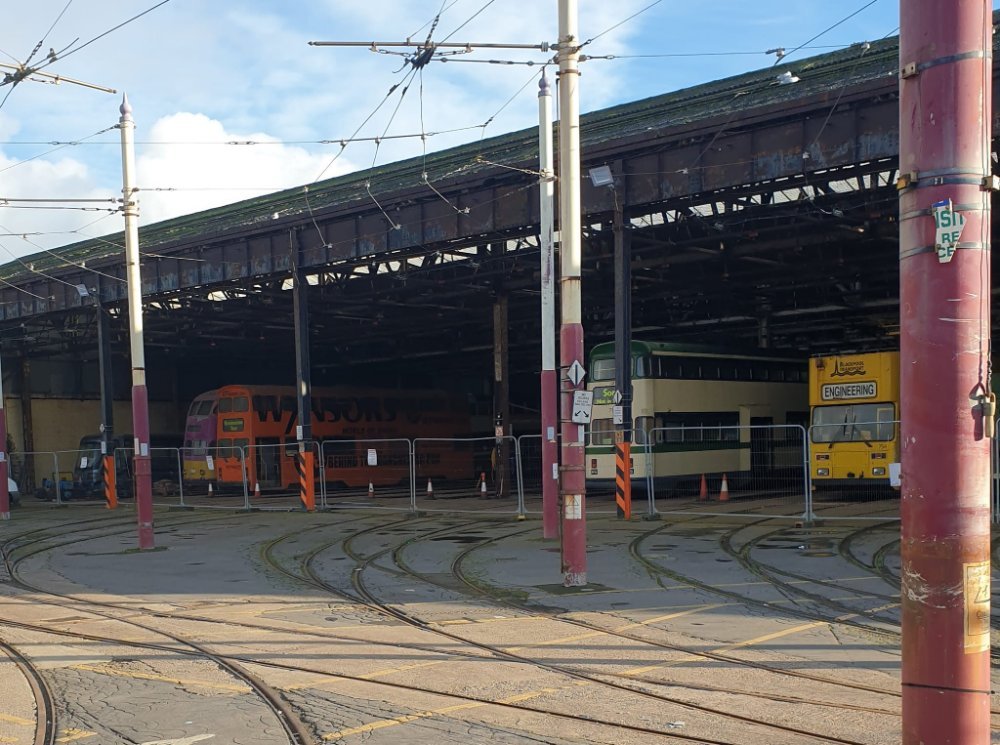
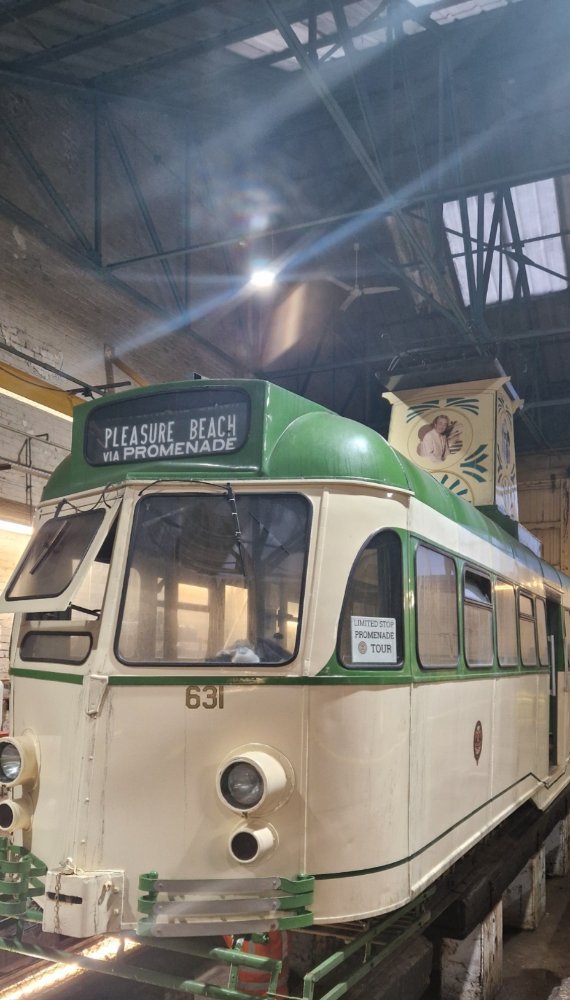


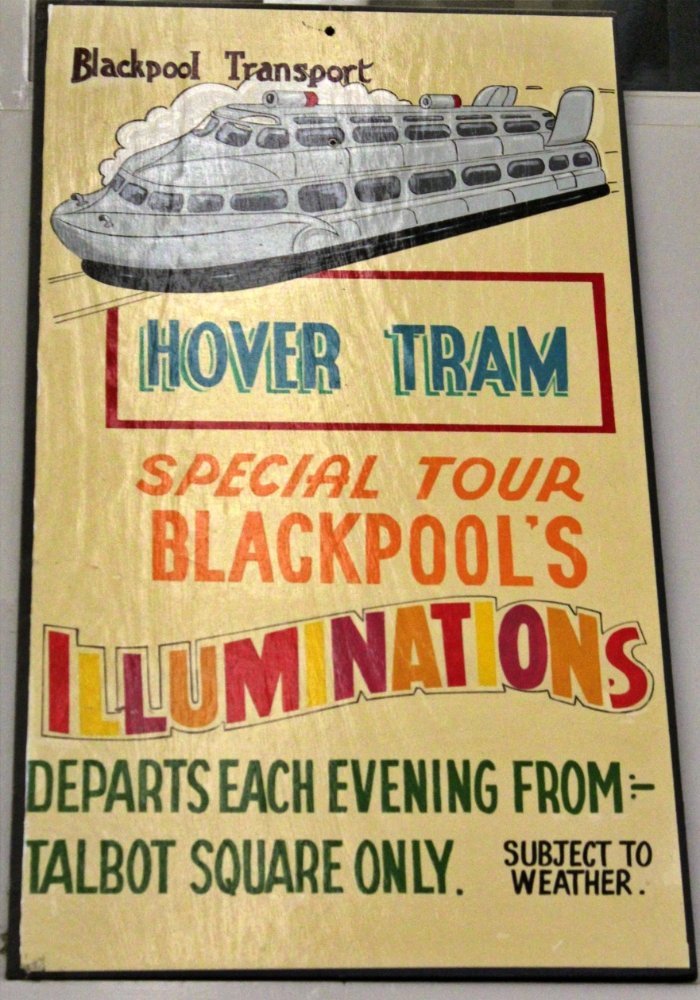
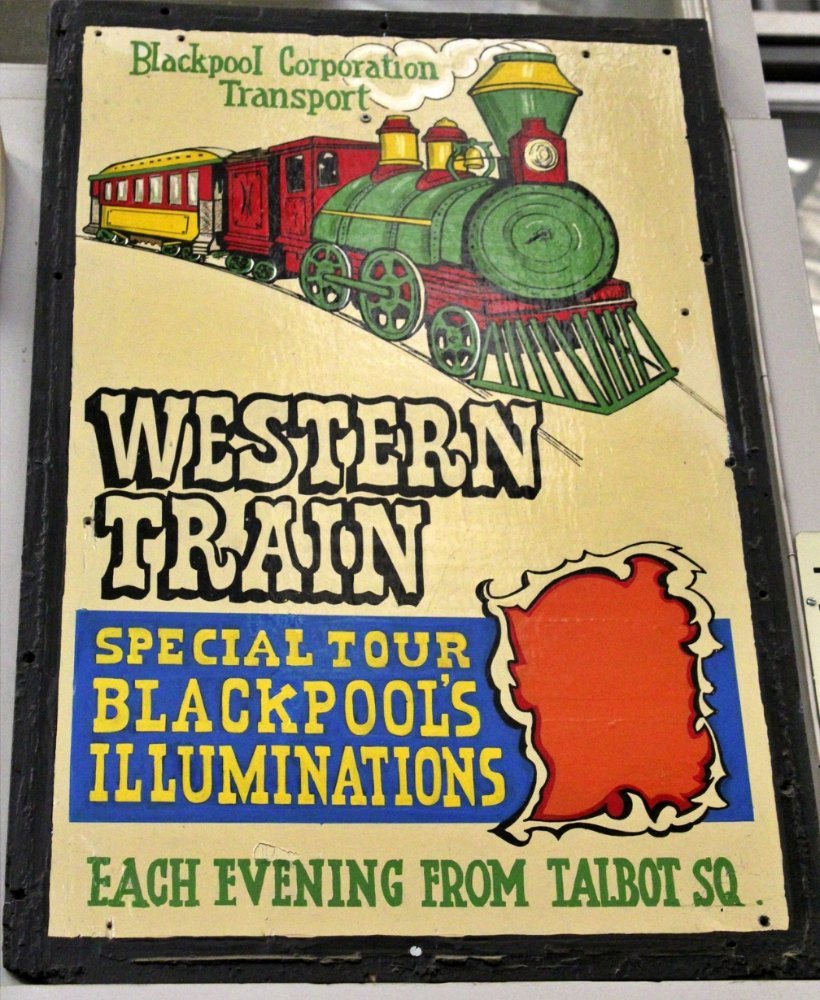
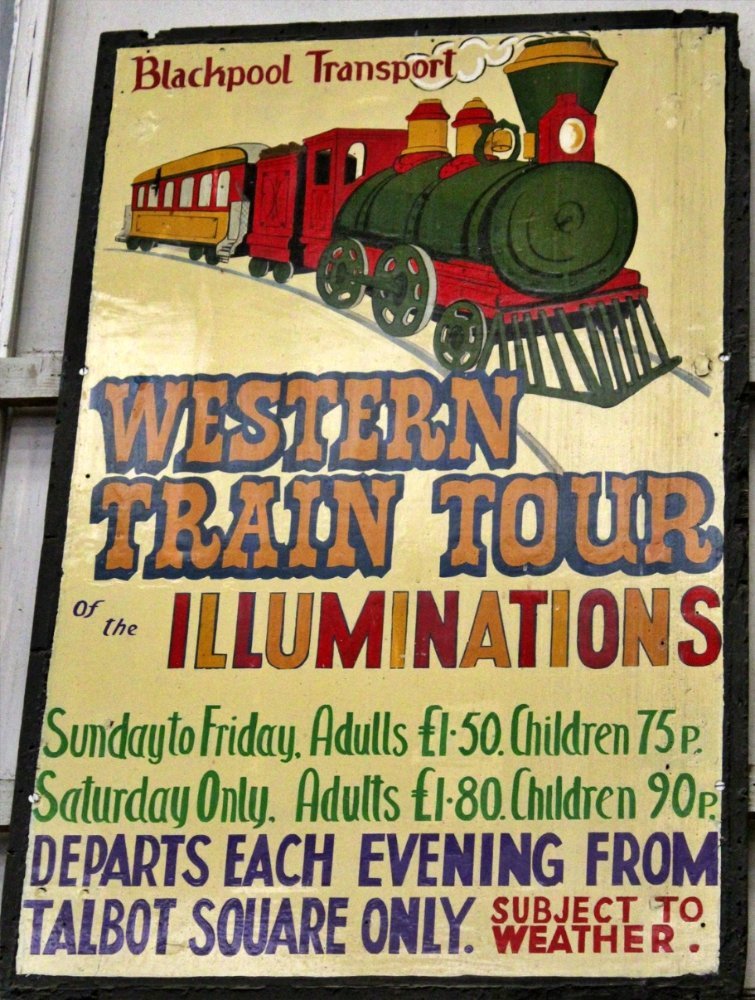
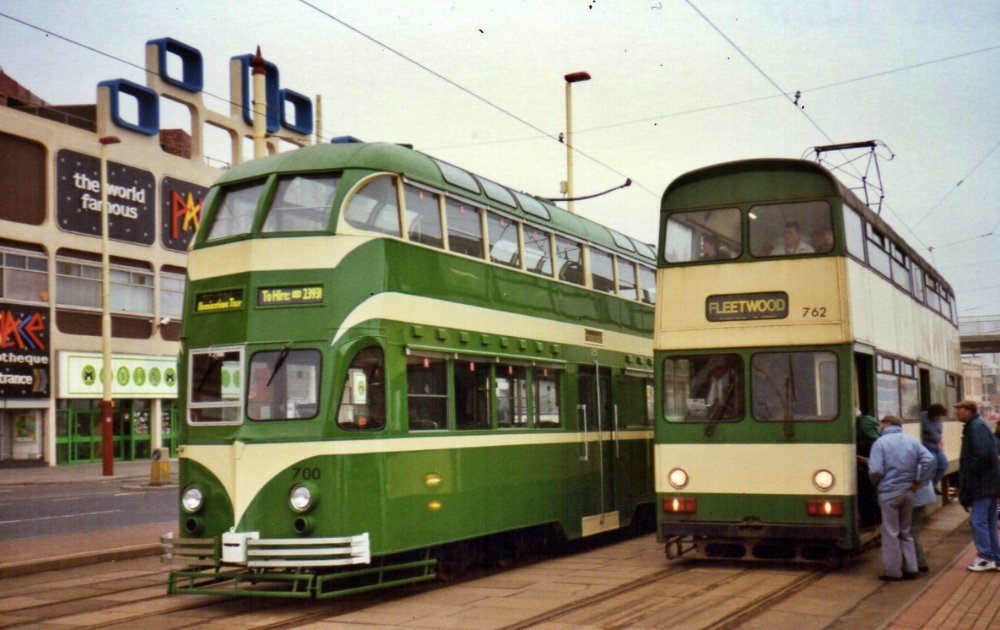
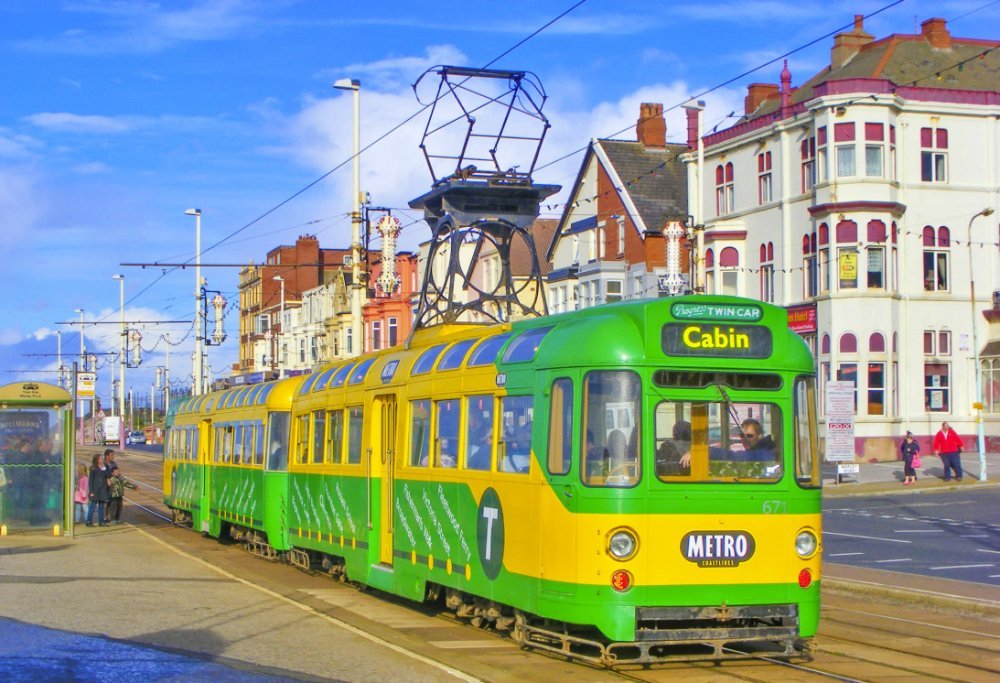
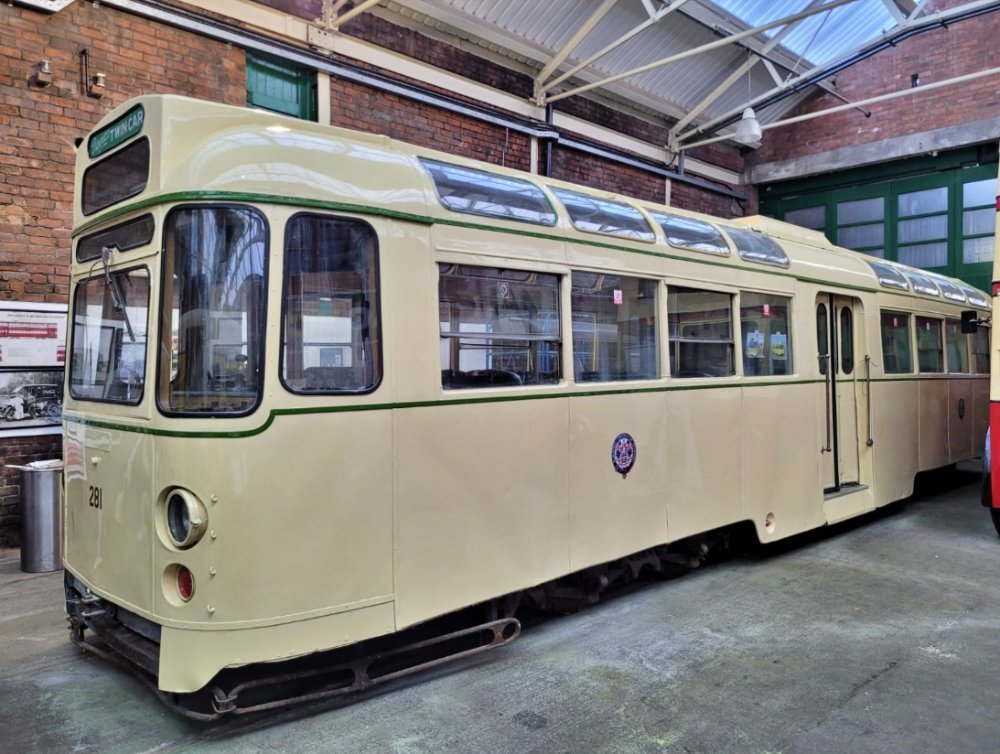
.jpg.cc991881b8d4807f56af367398ee2543.jpg)
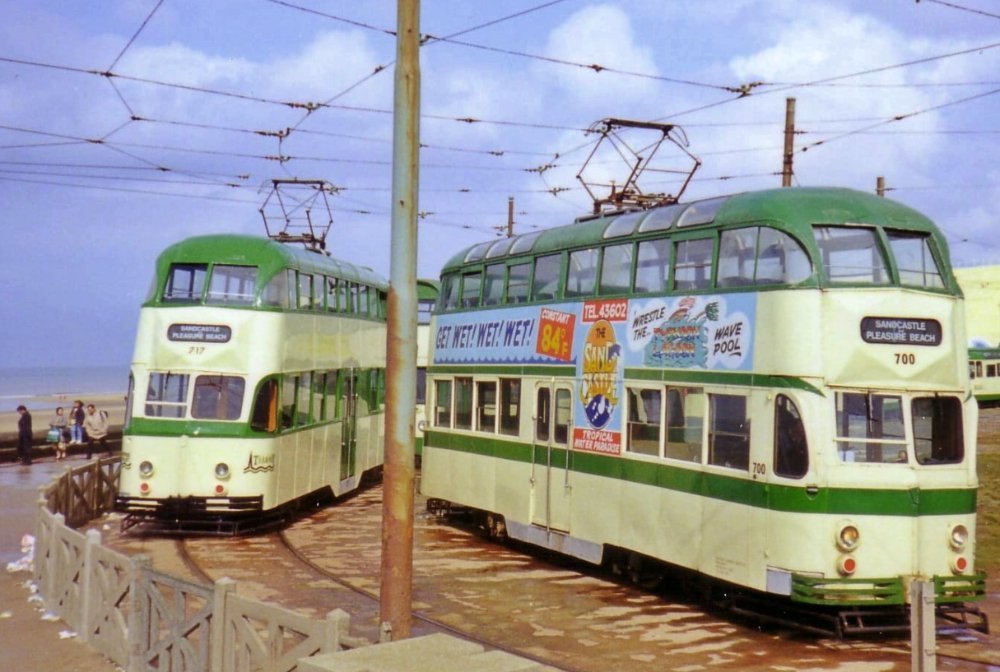
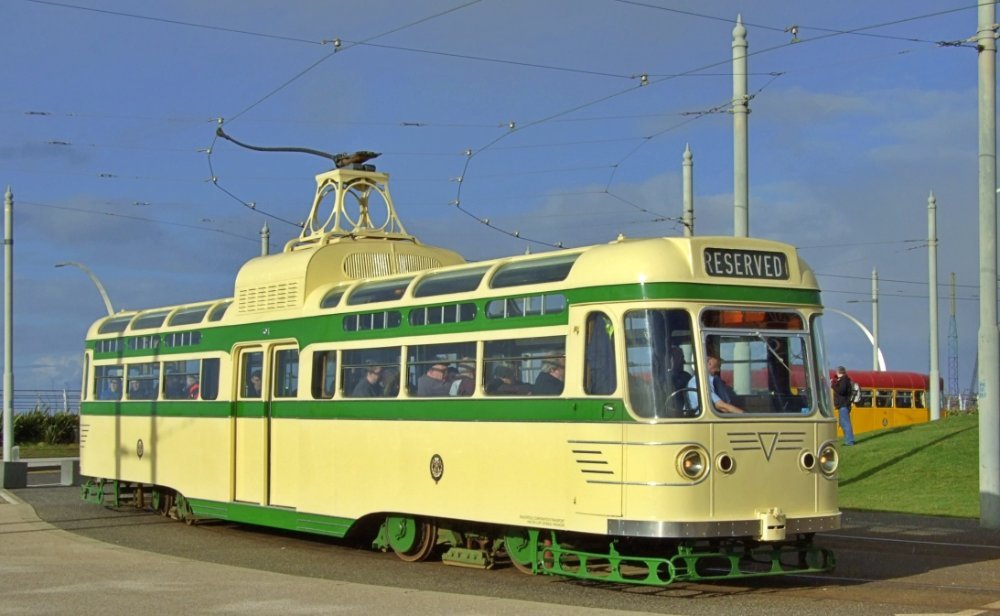

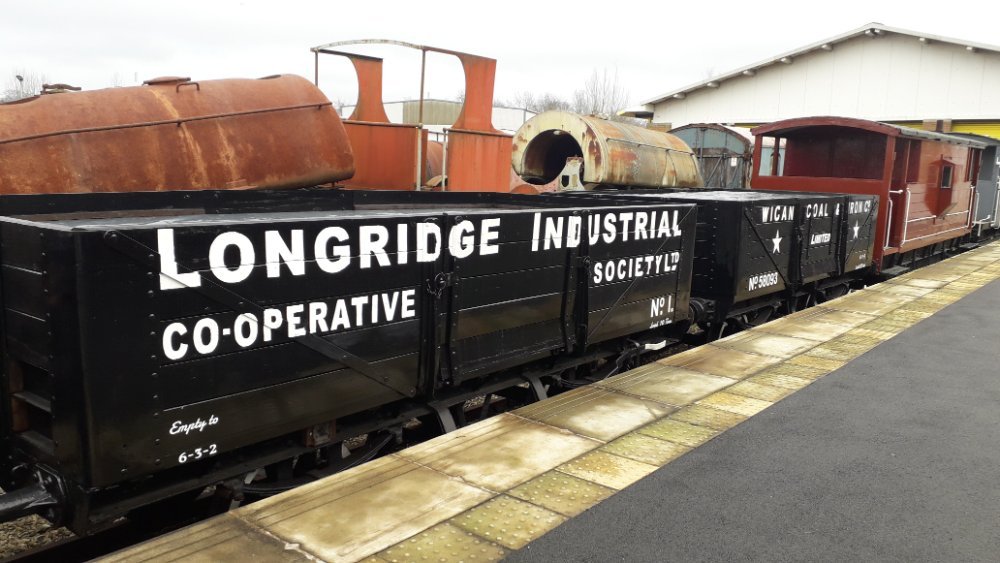

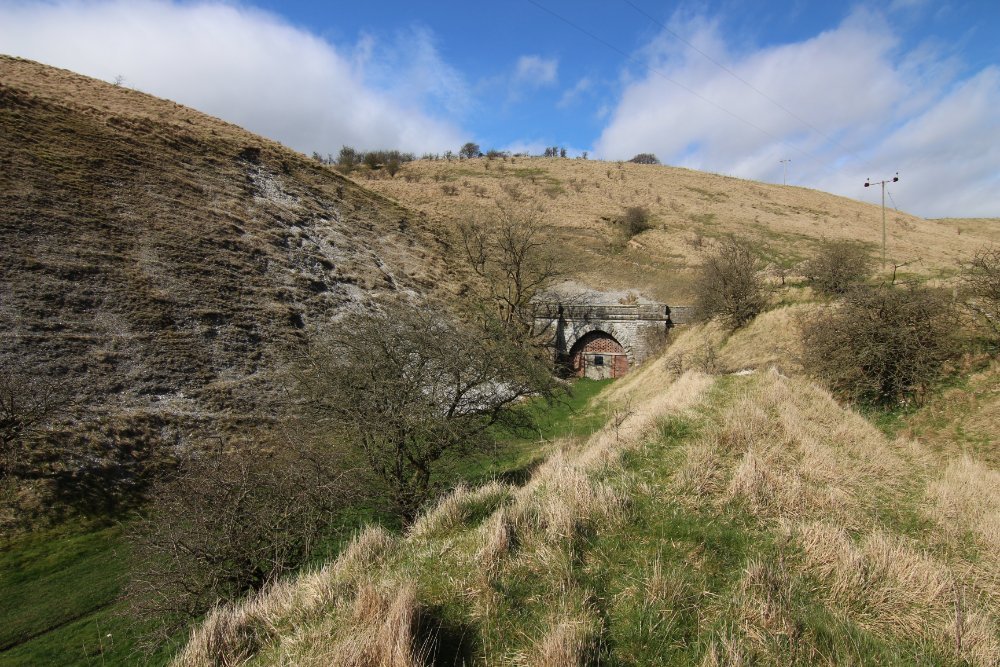

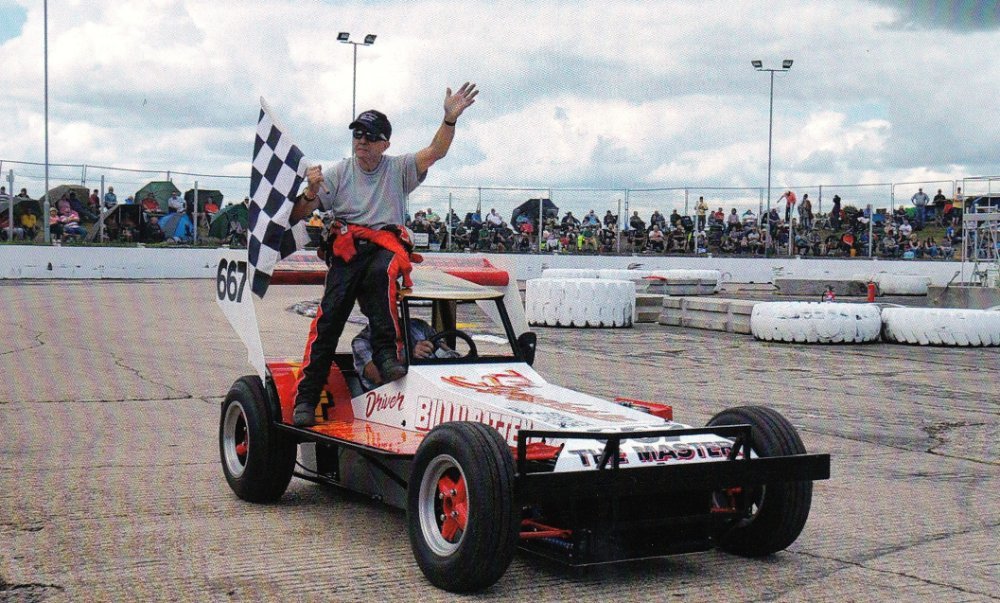
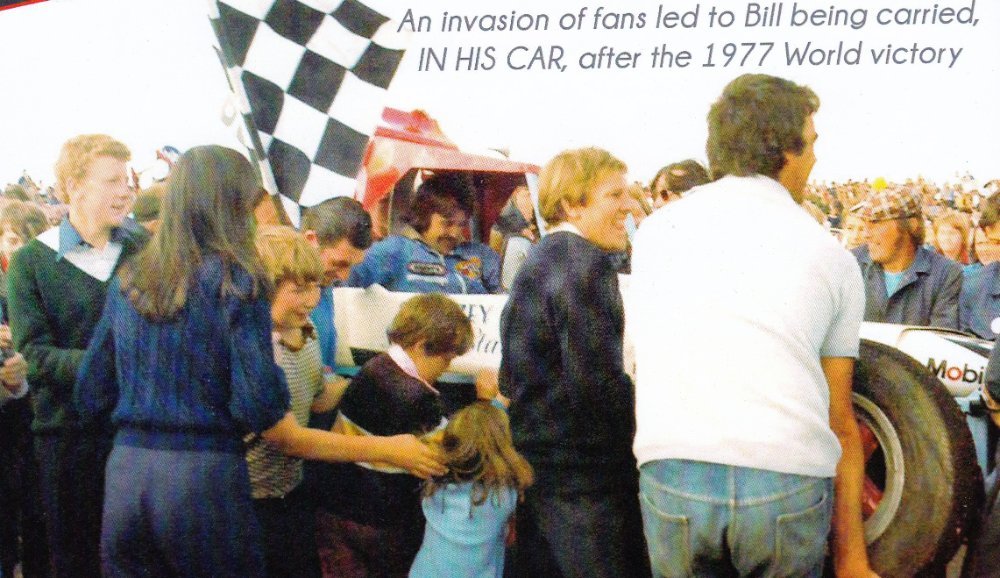


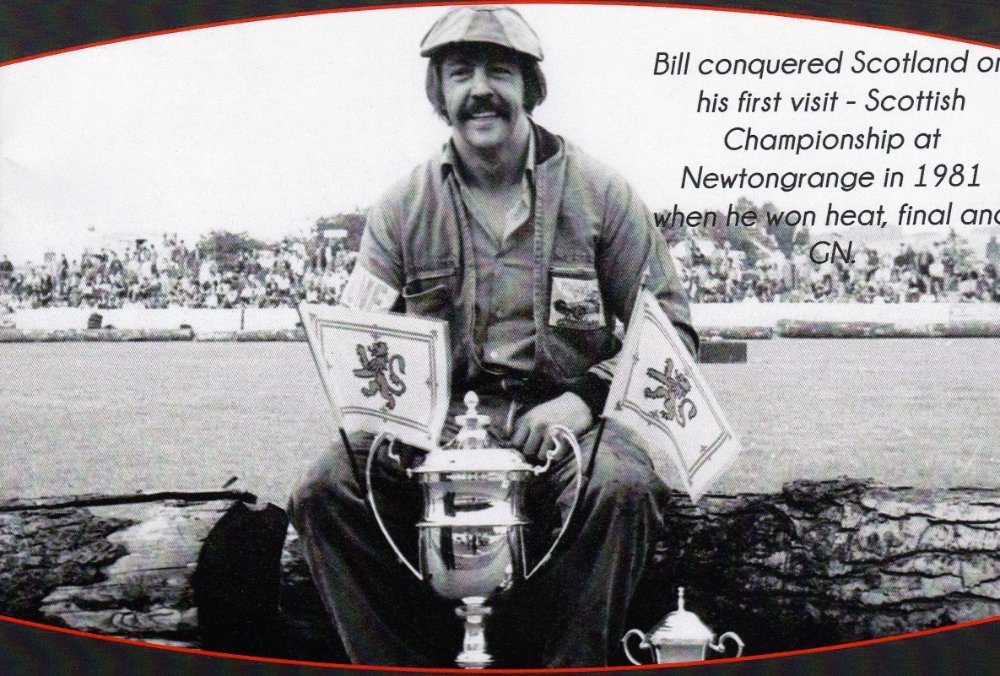

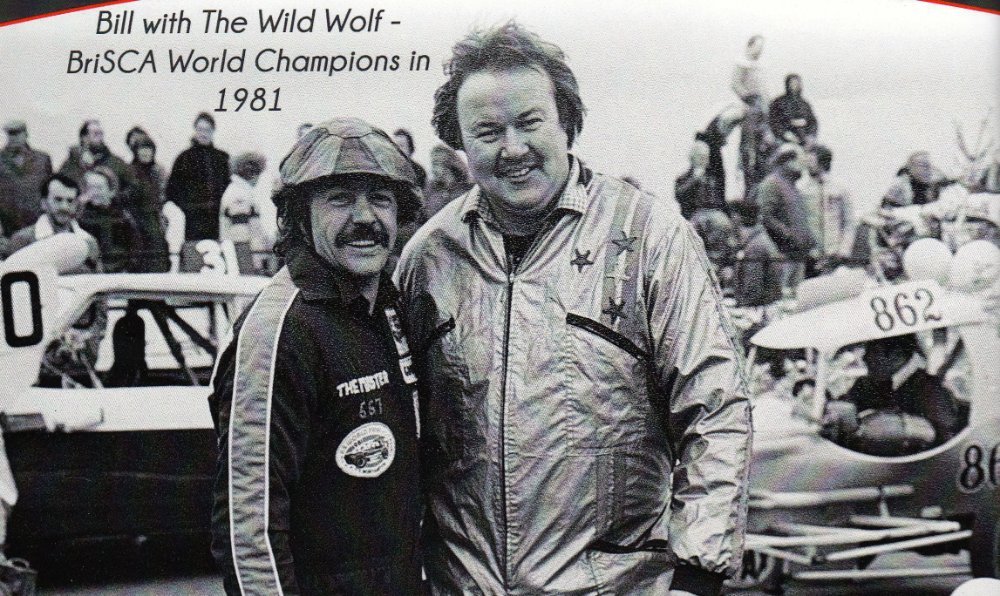

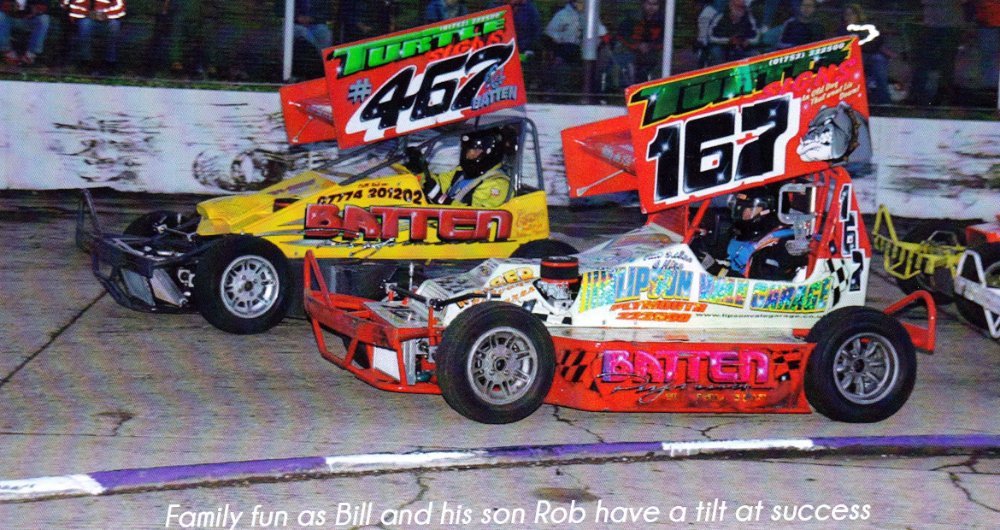

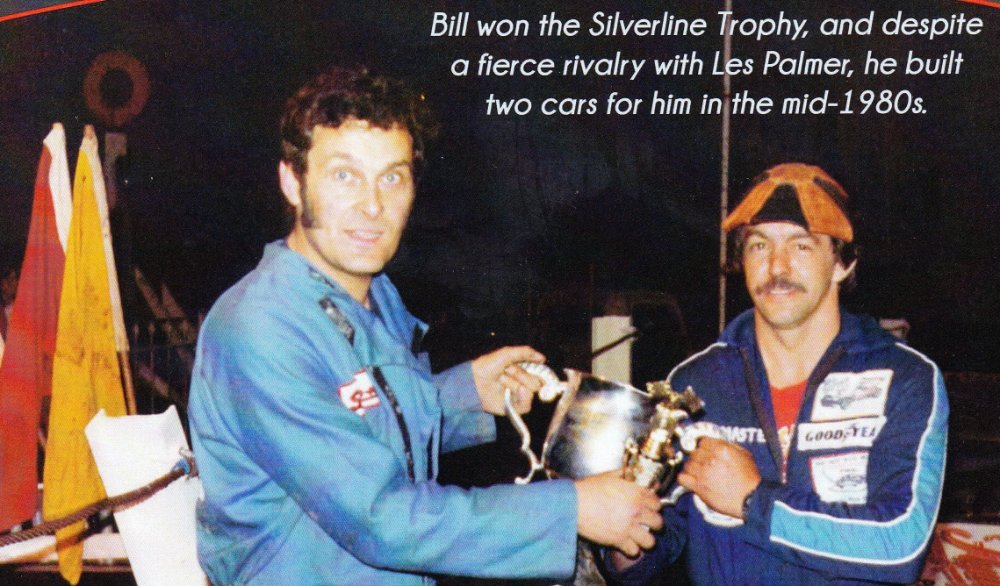

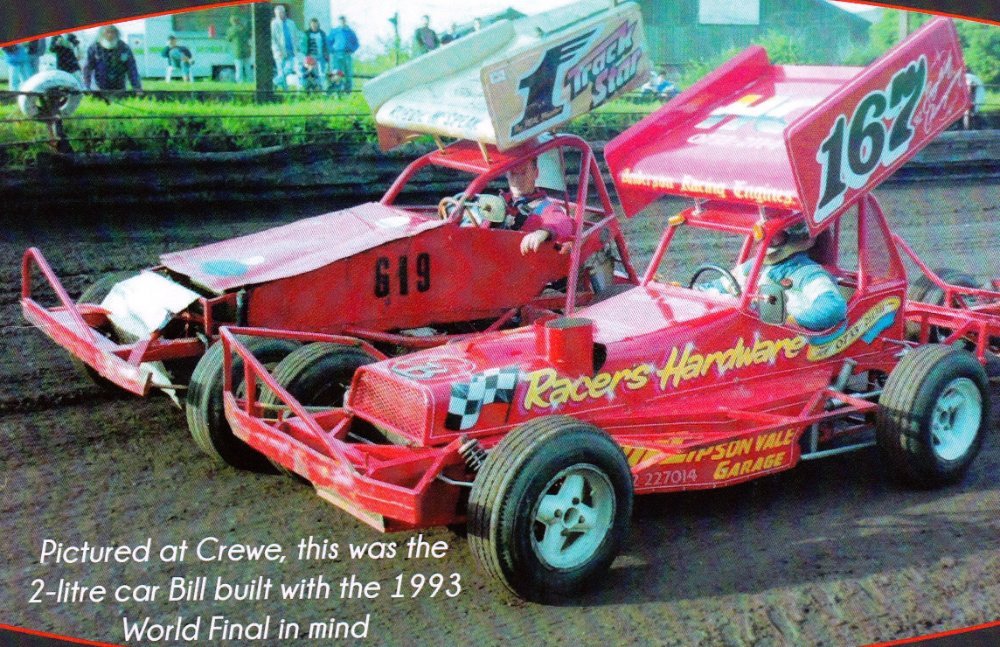
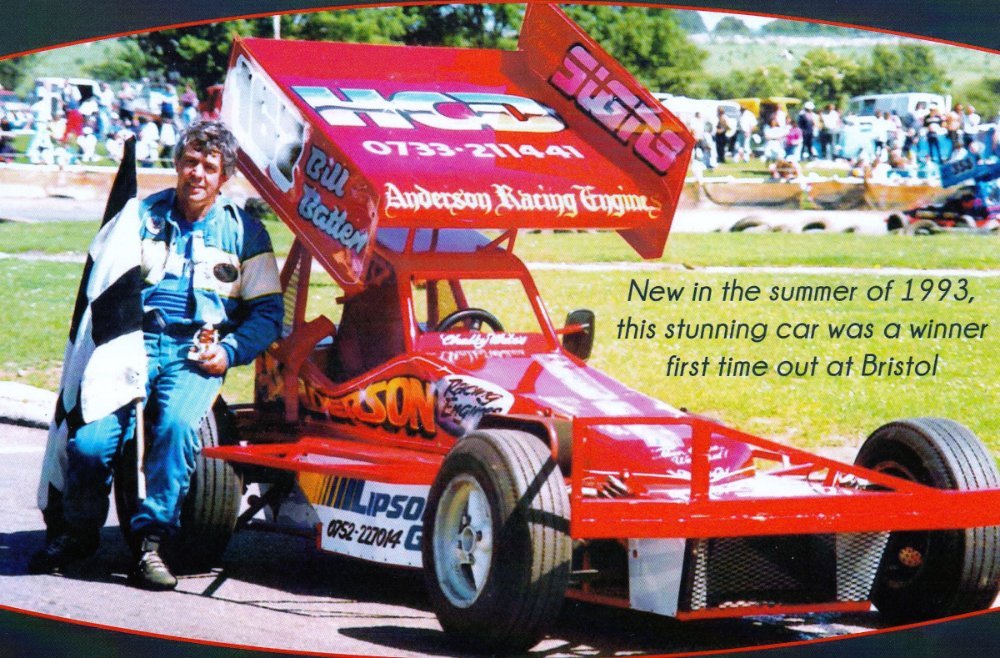

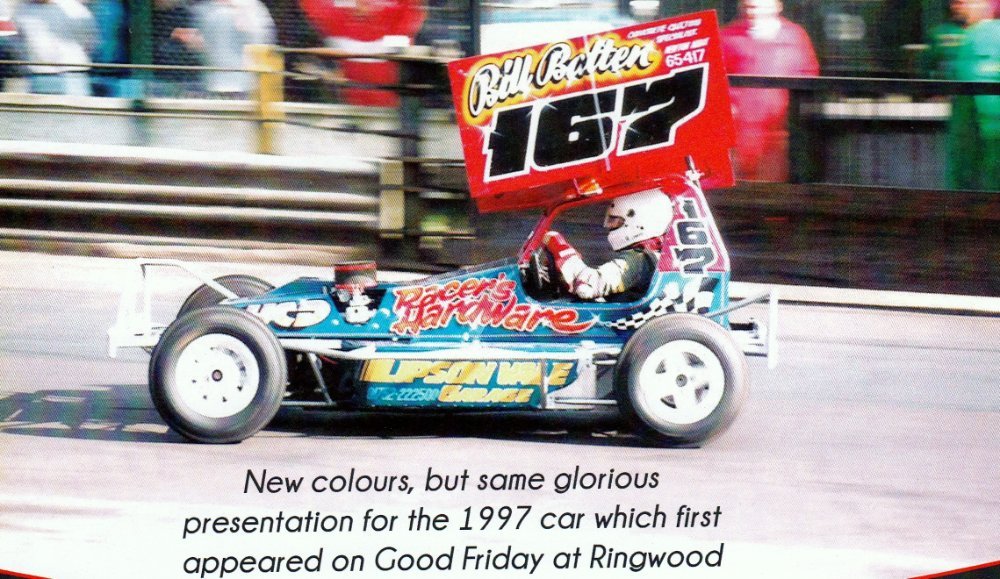
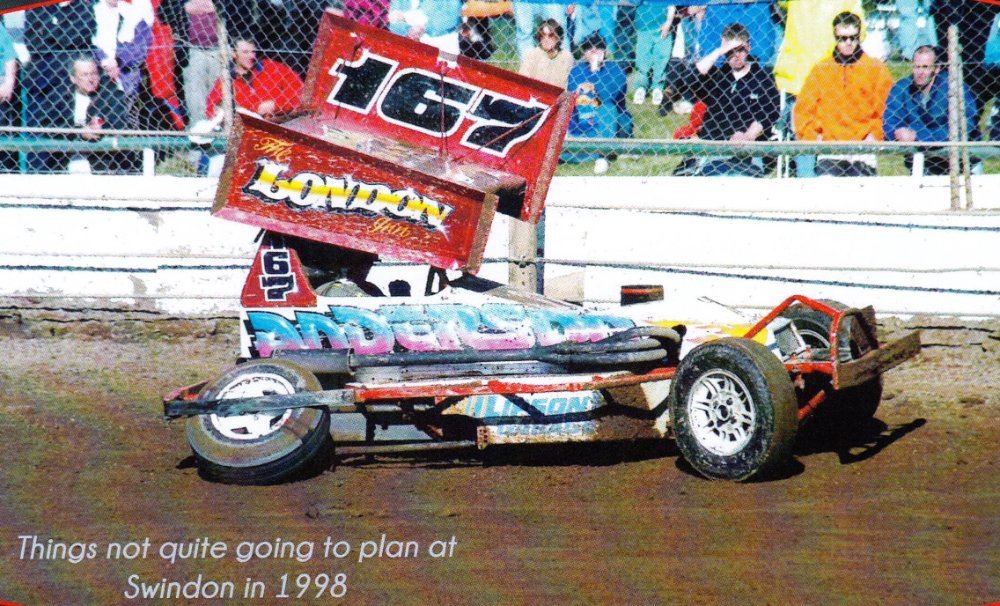

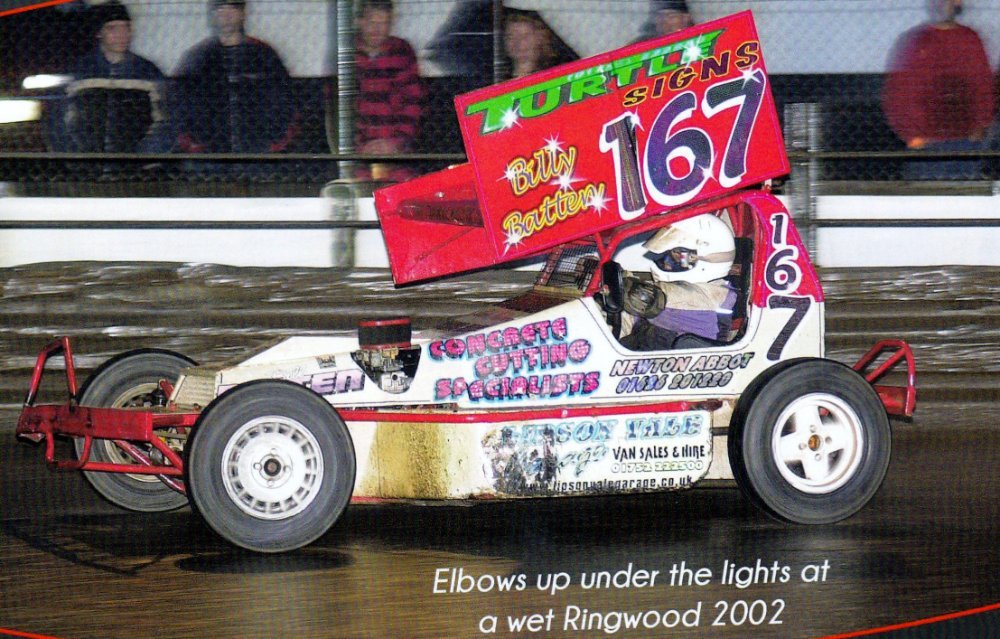
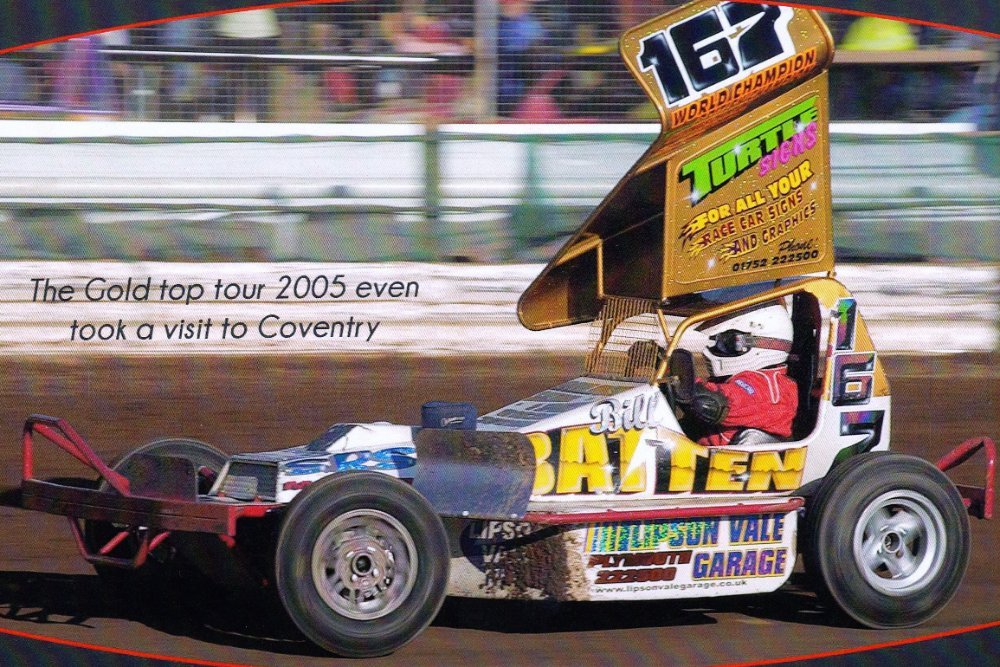
 4
4
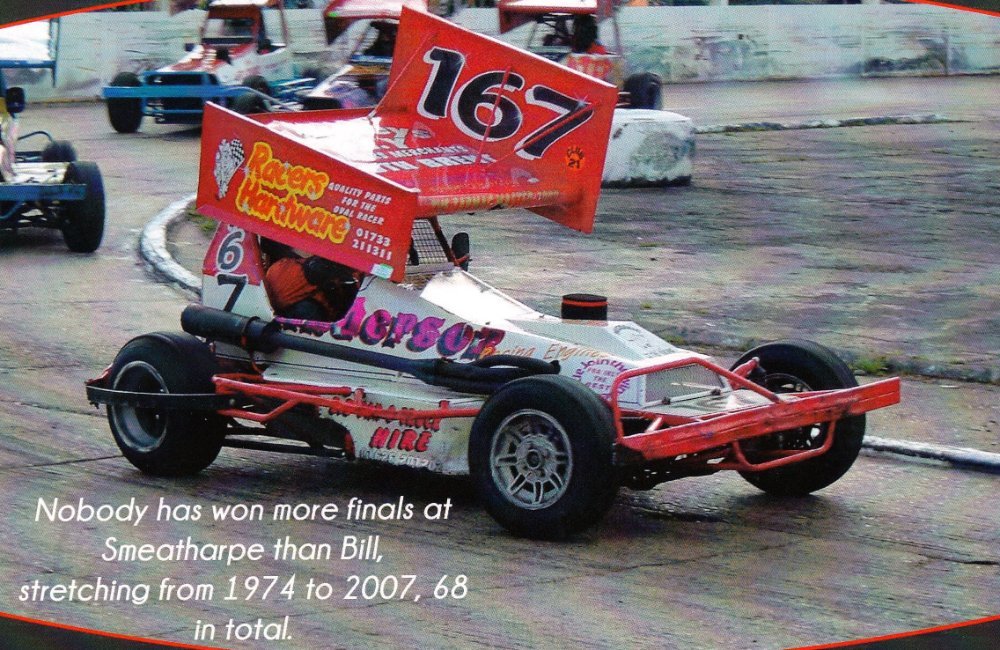
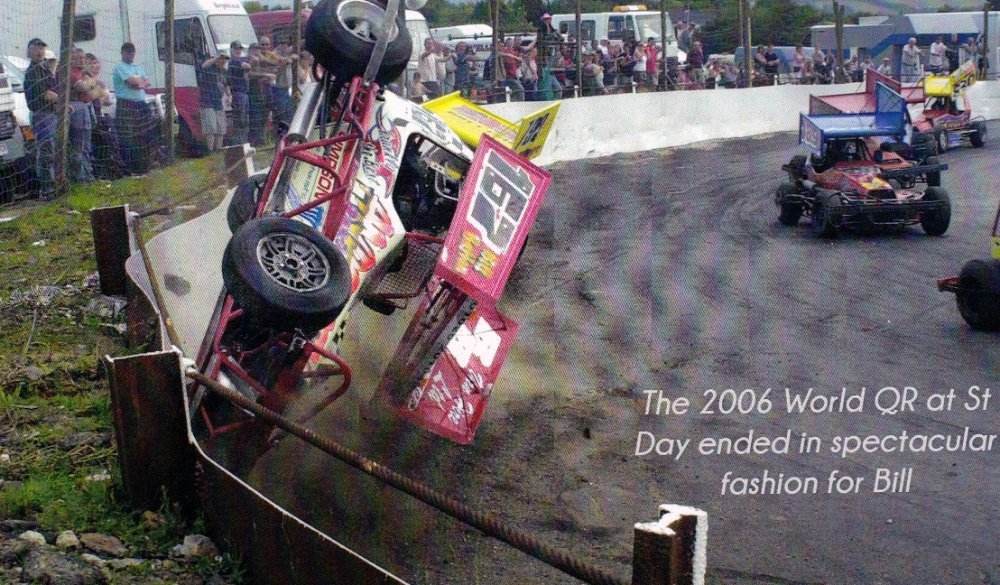
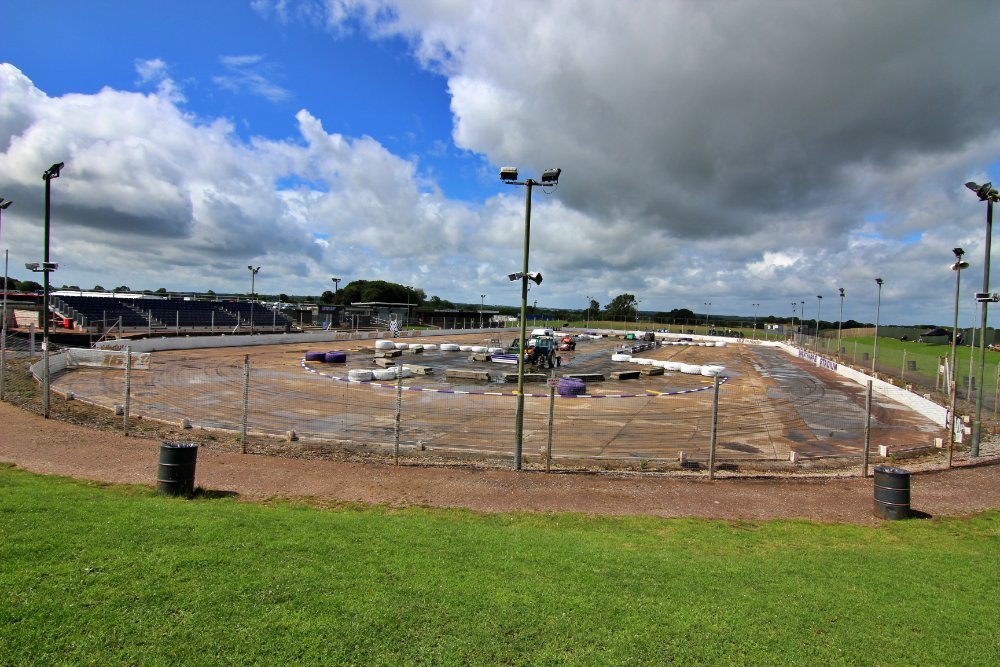


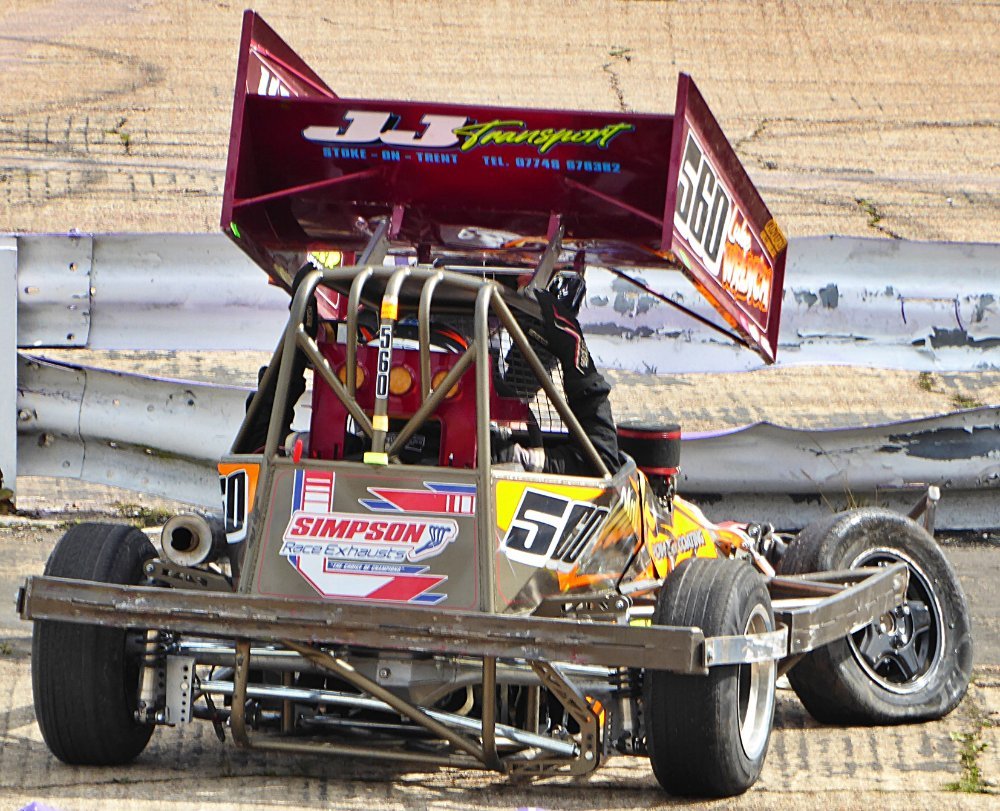
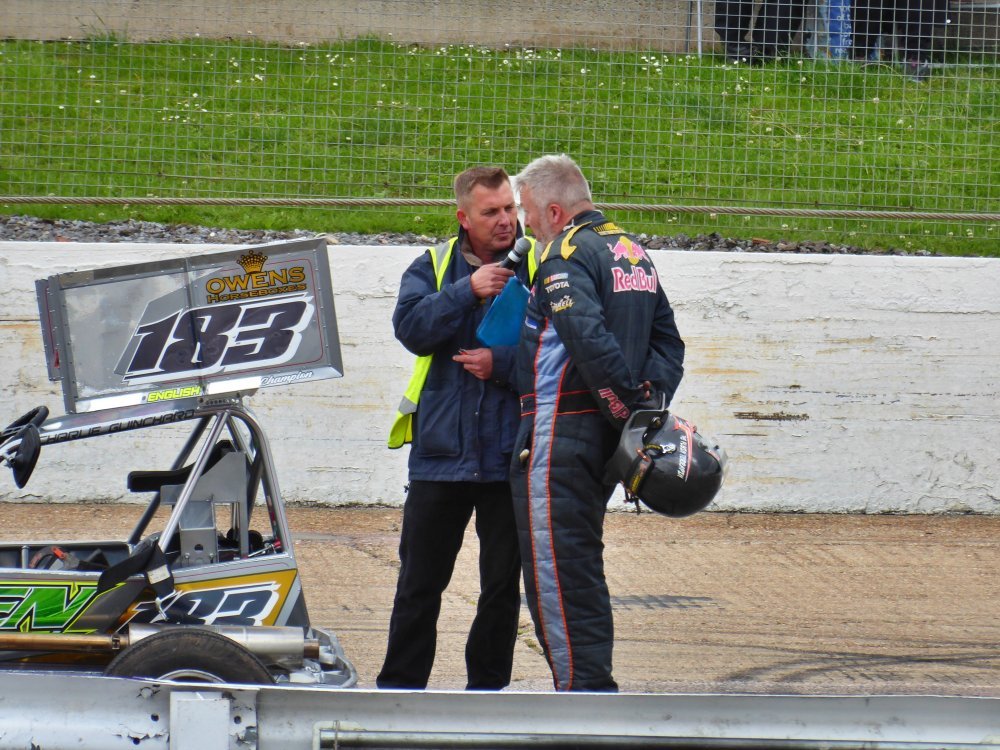
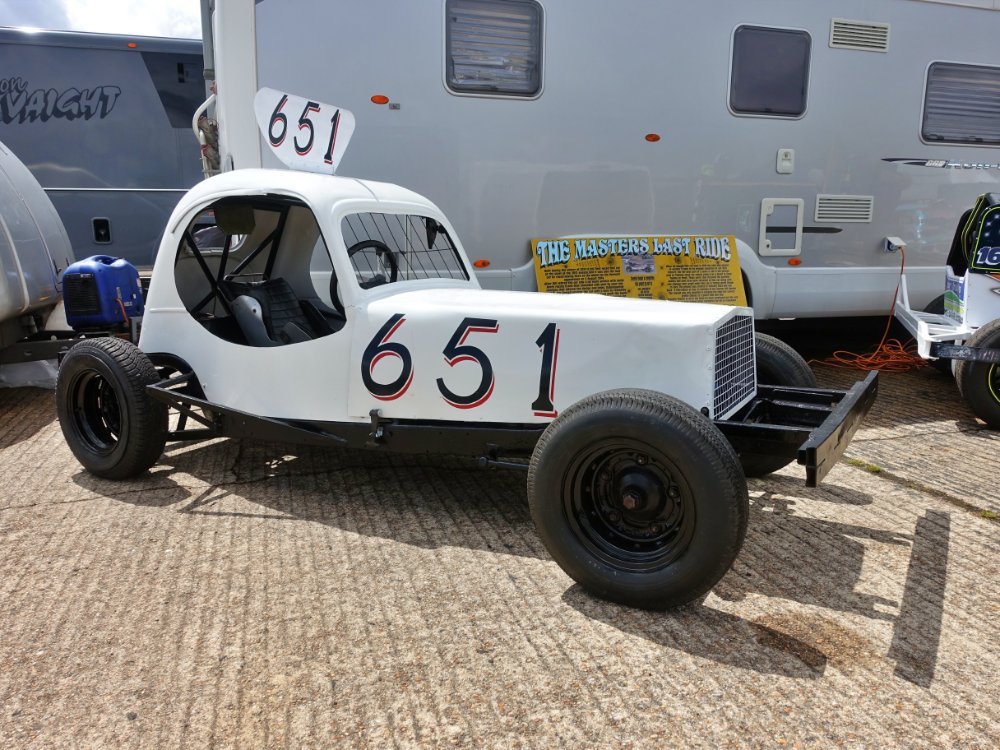
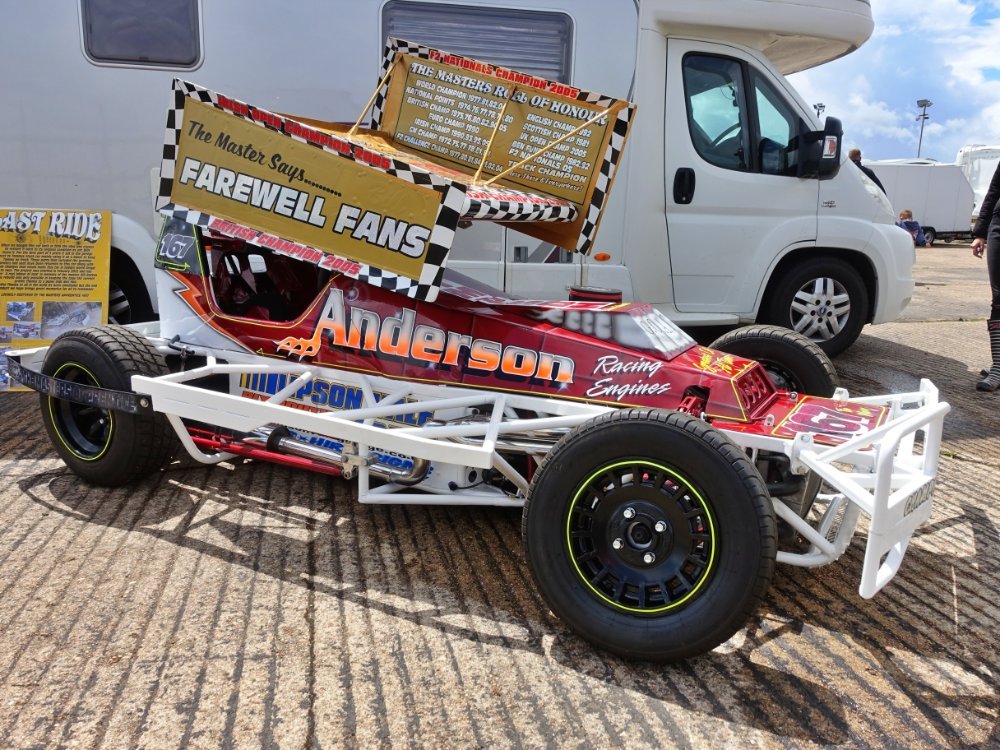
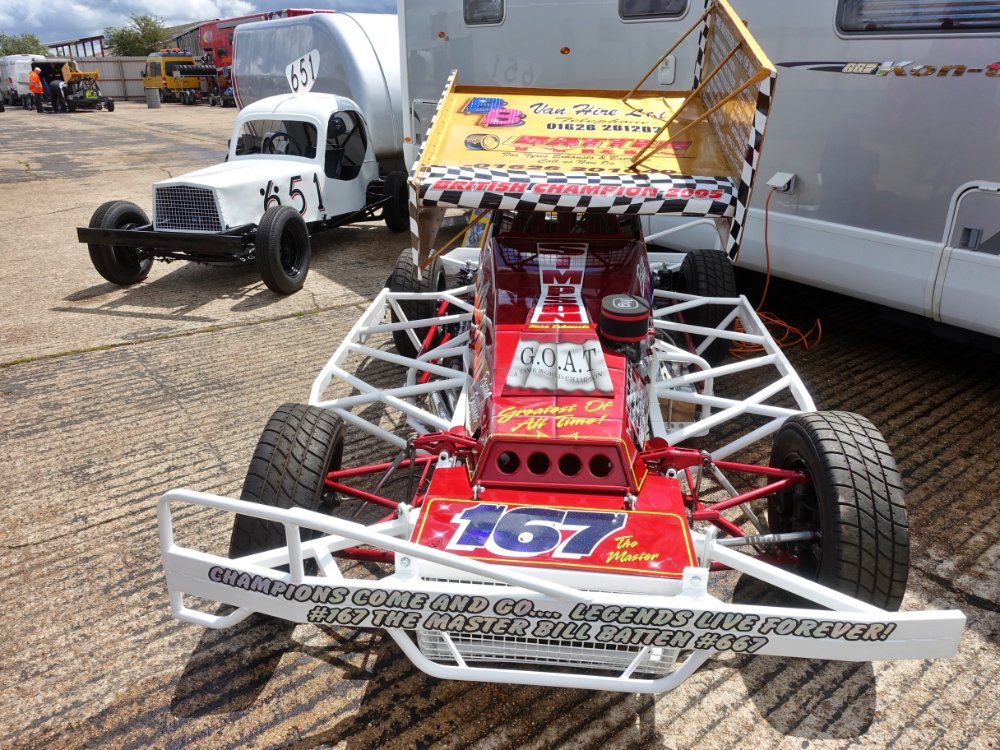
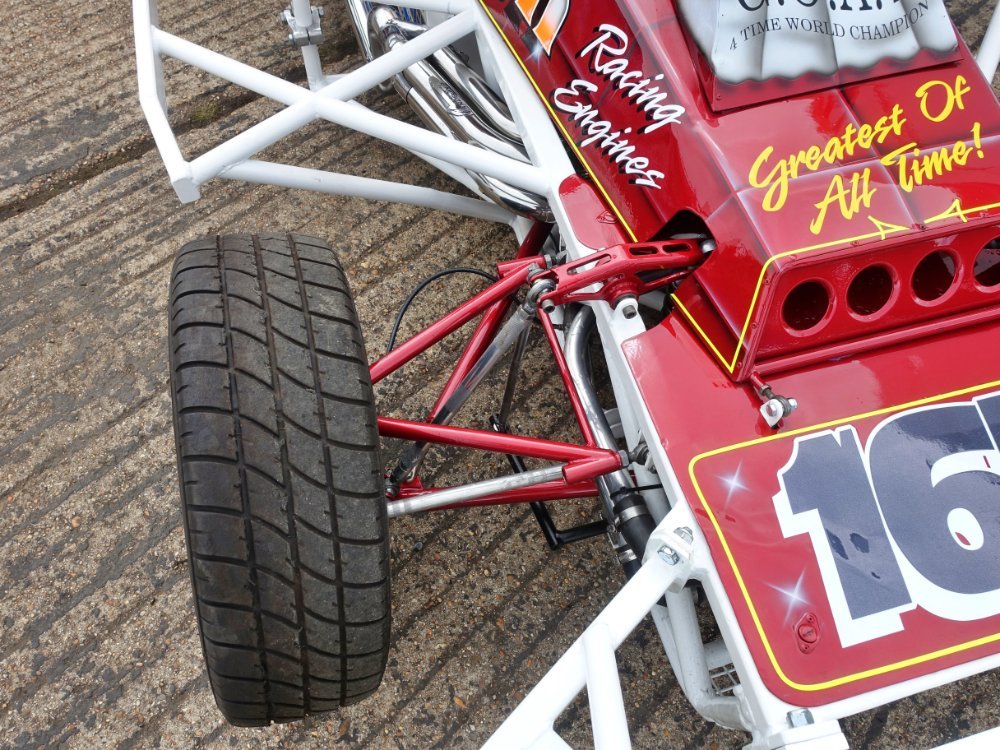
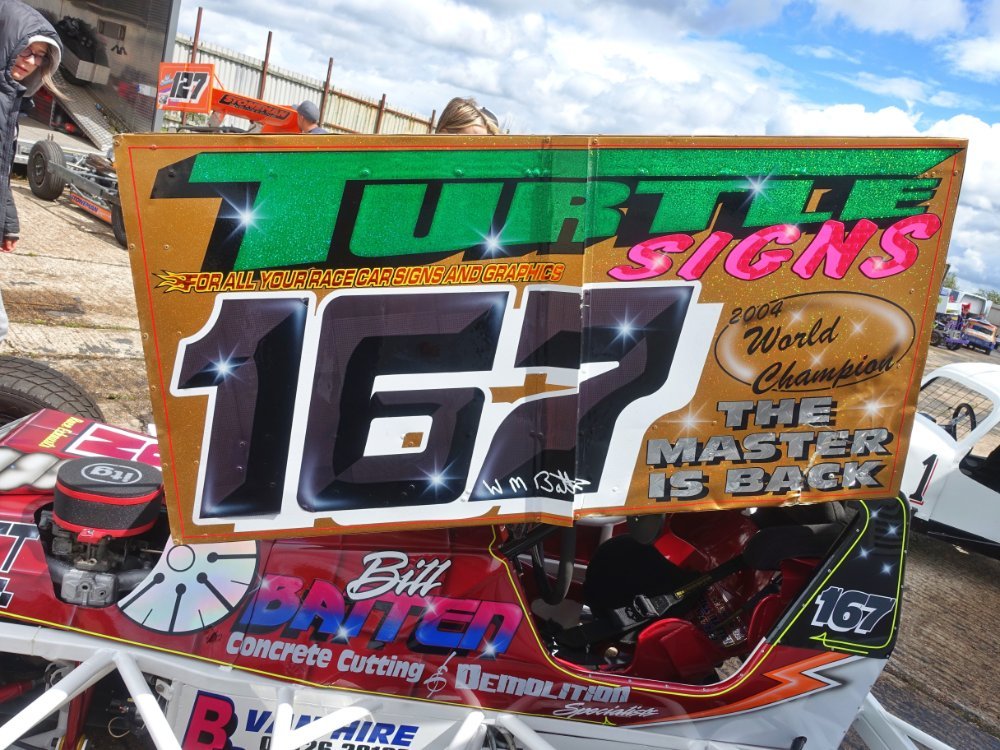
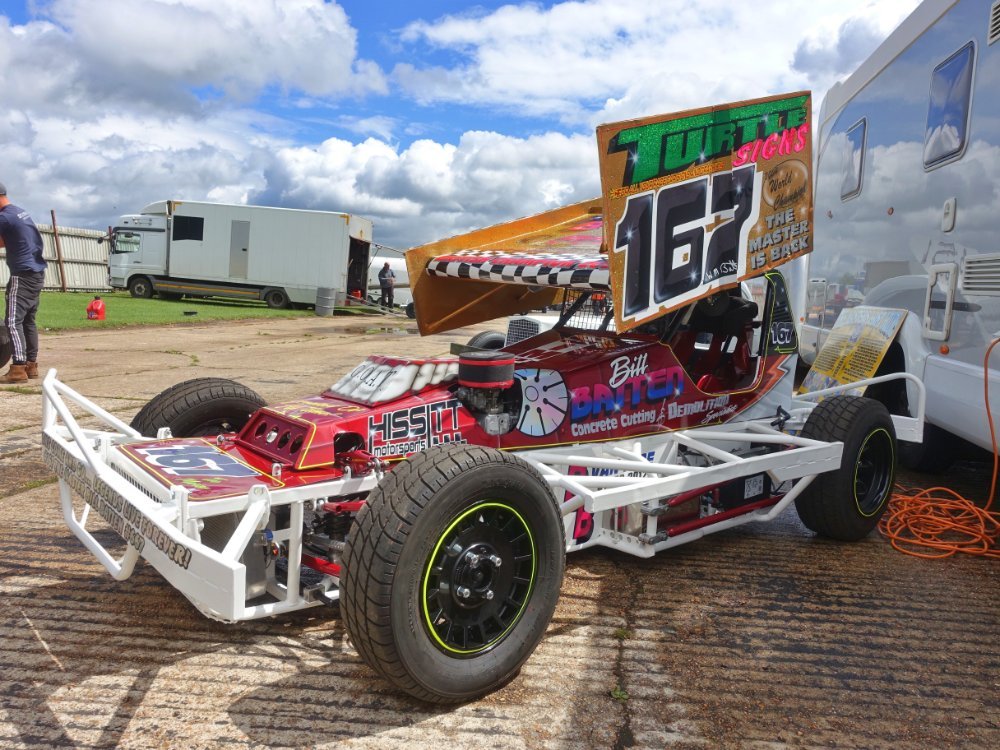

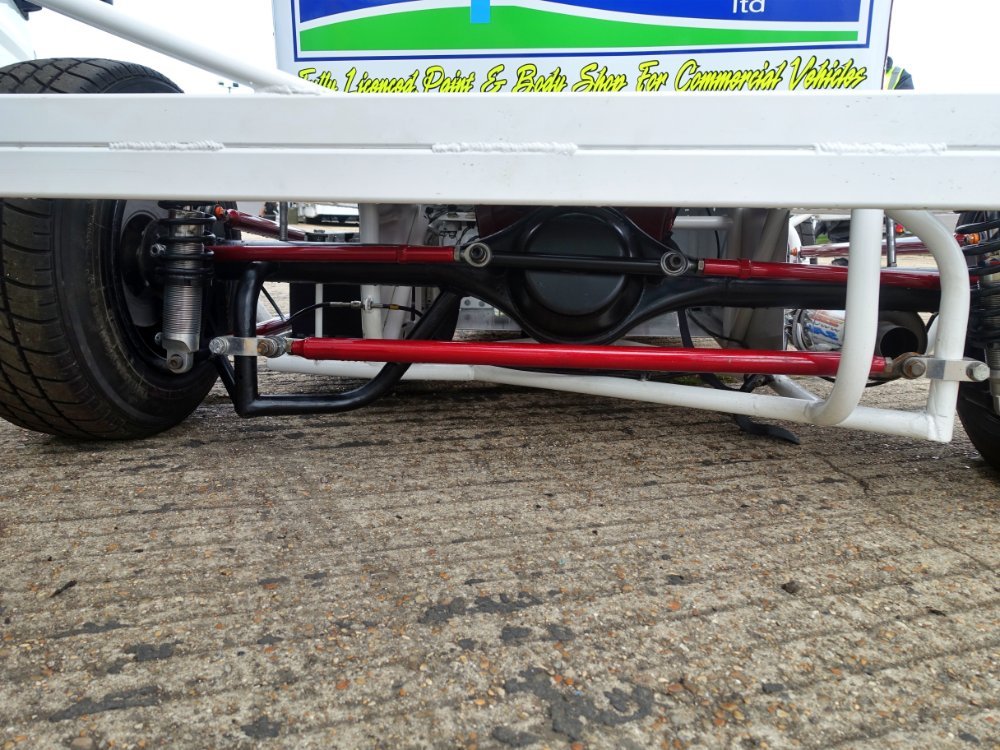
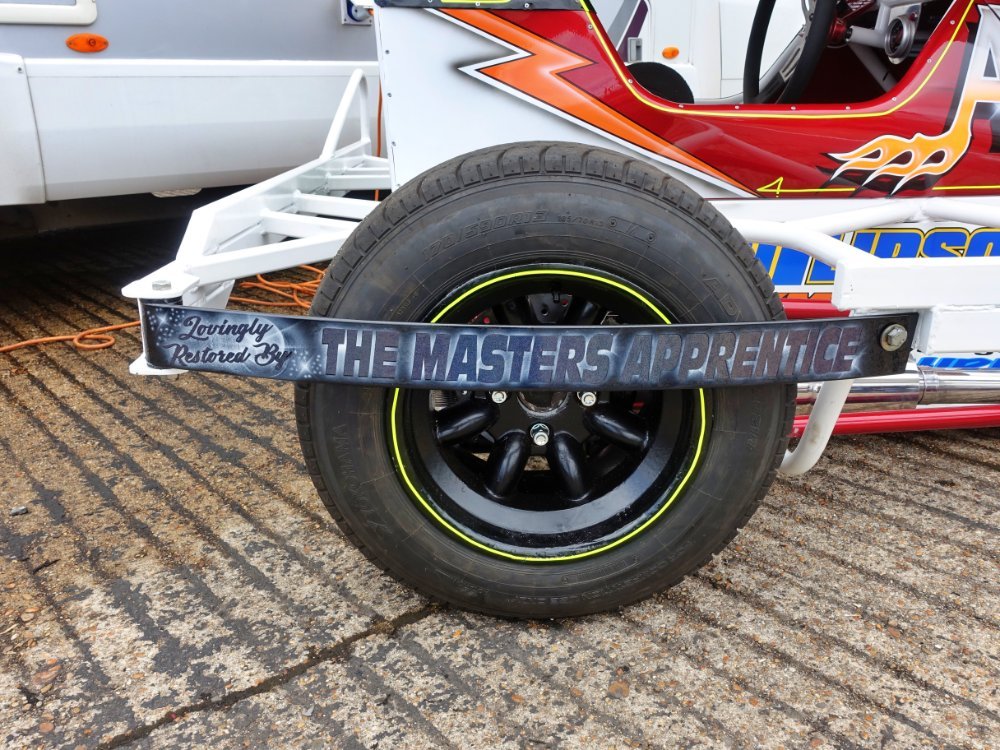

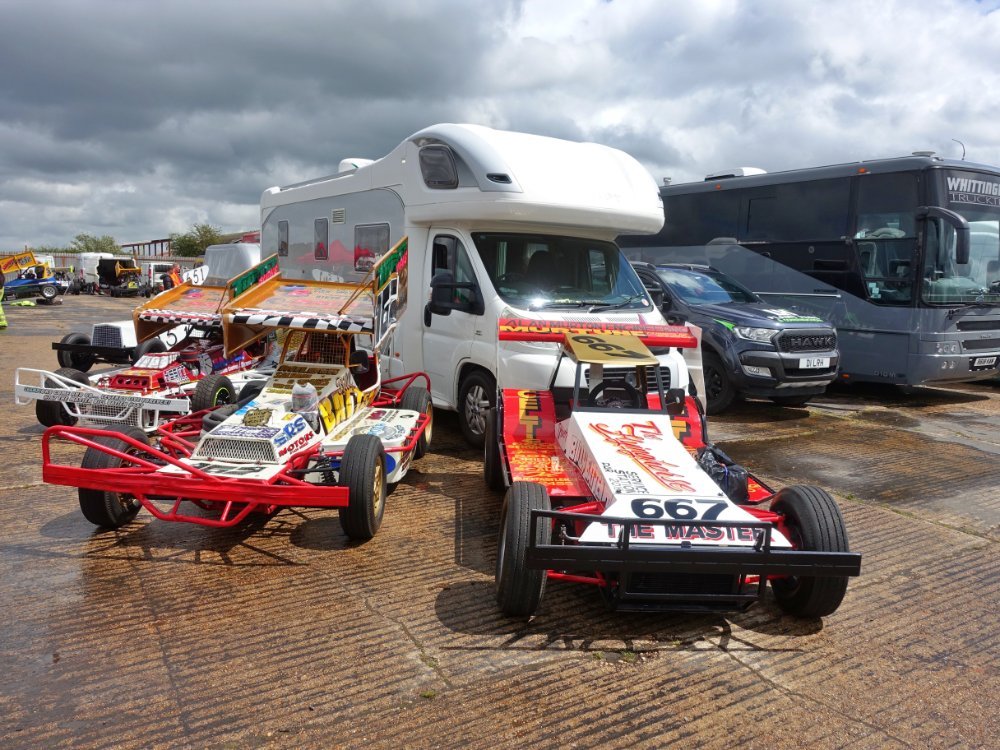
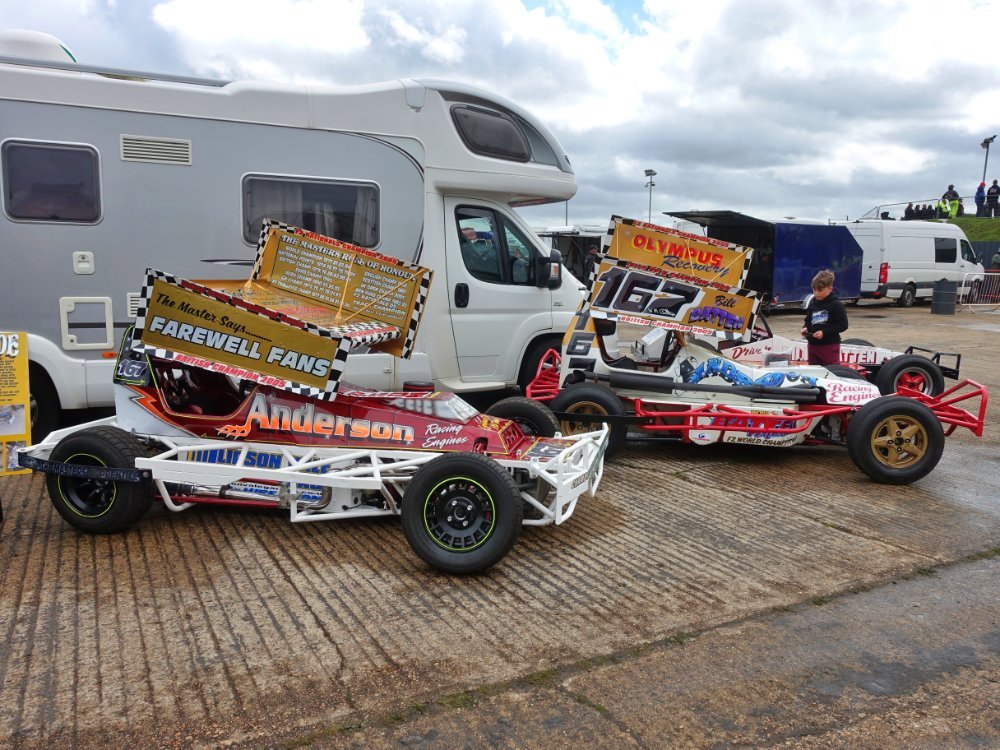
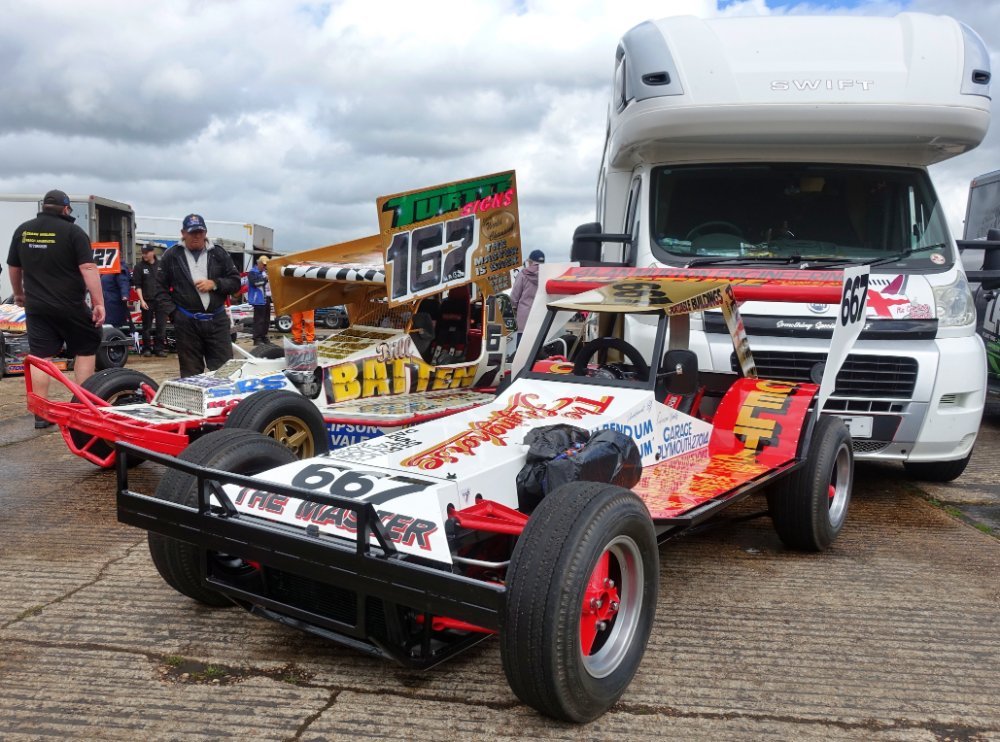
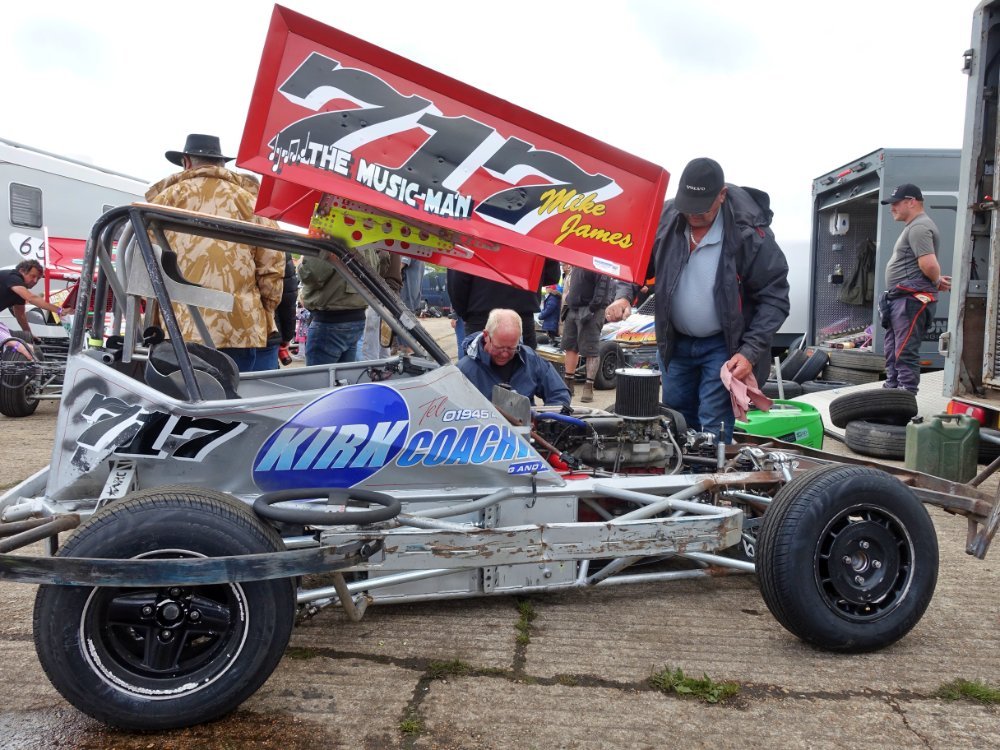

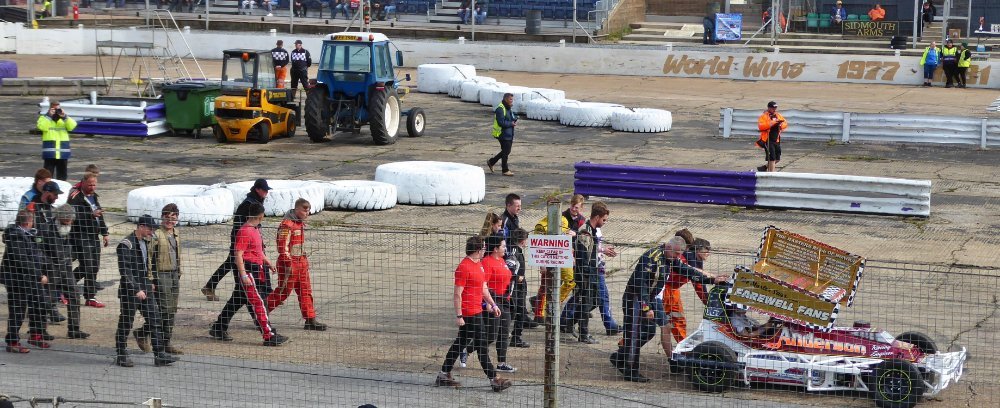
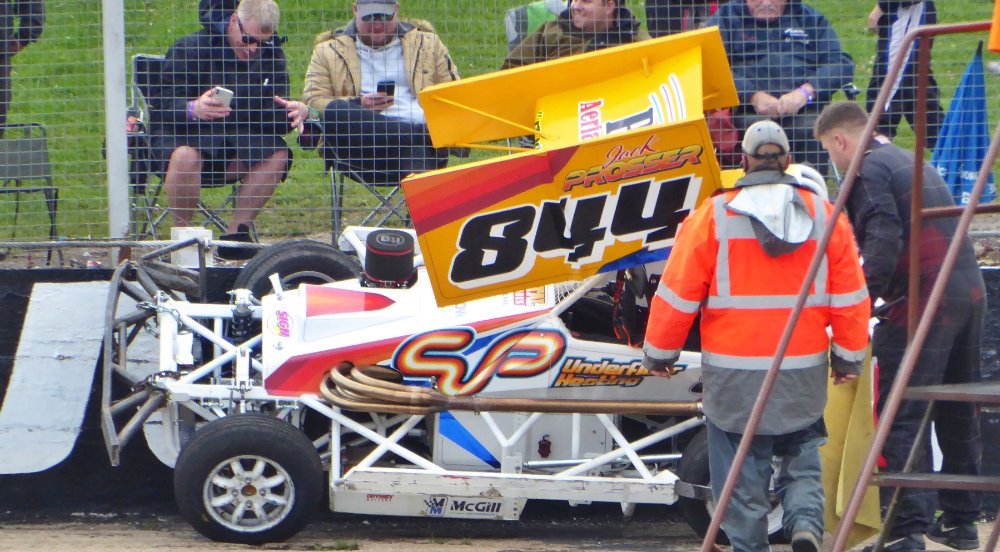
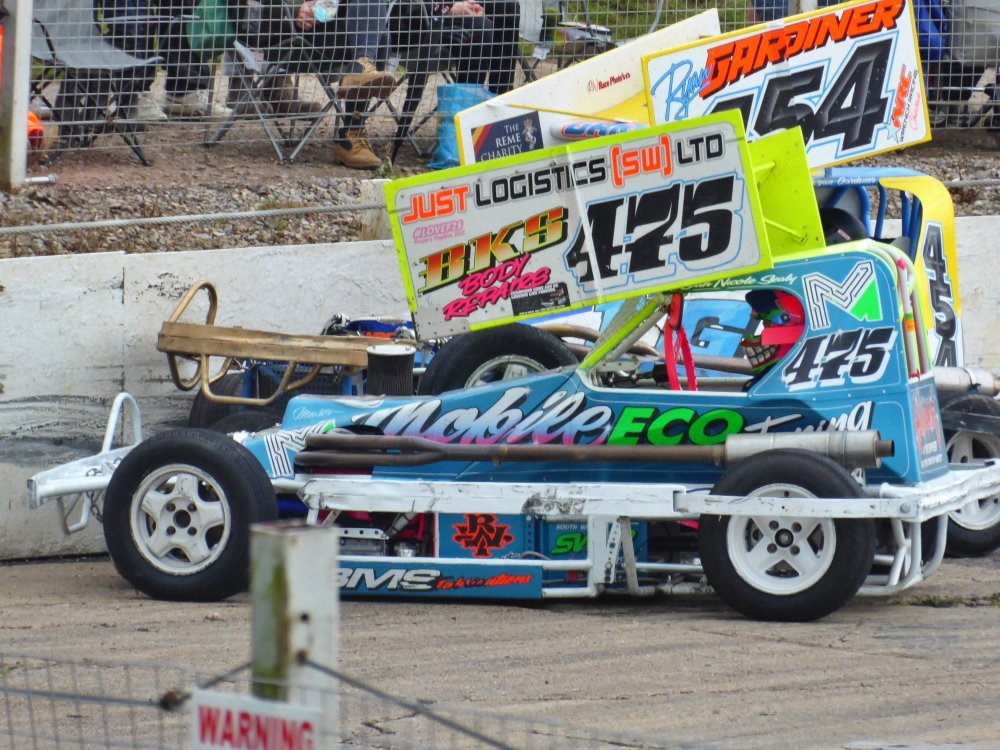
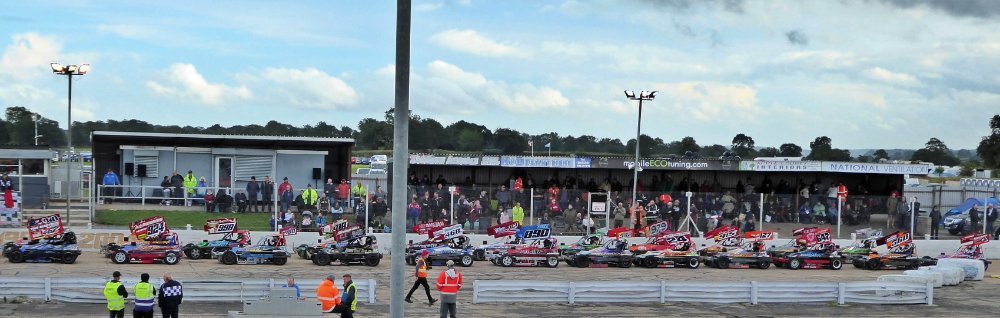
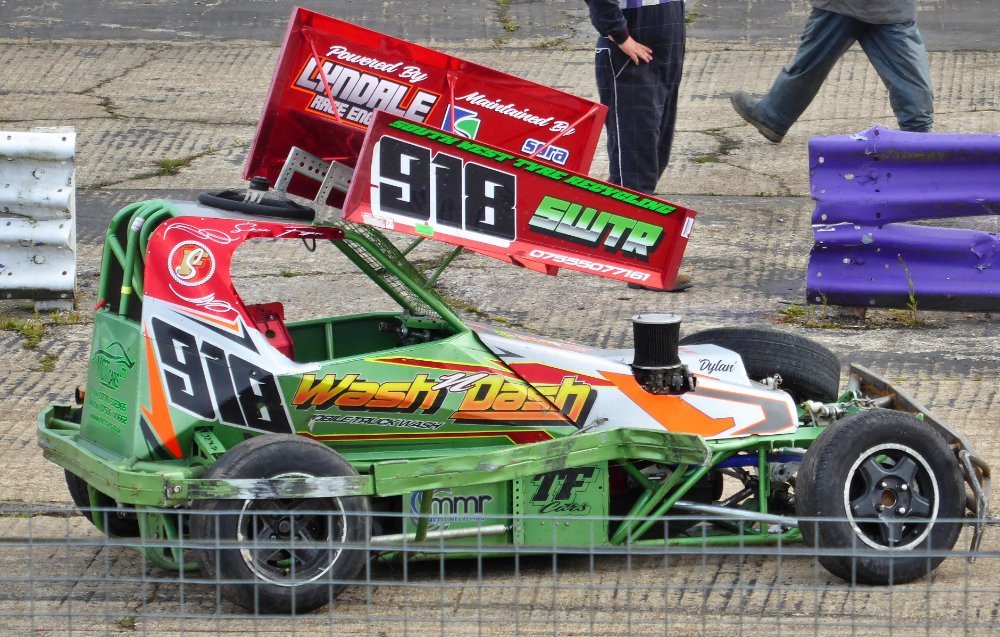

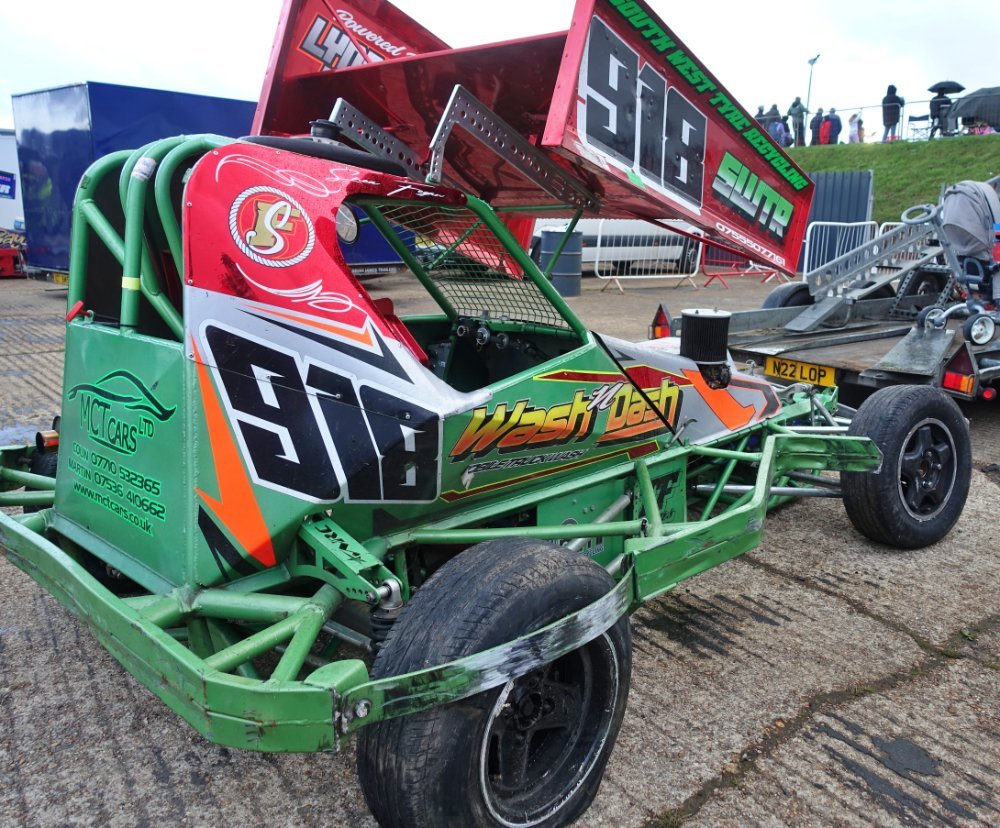


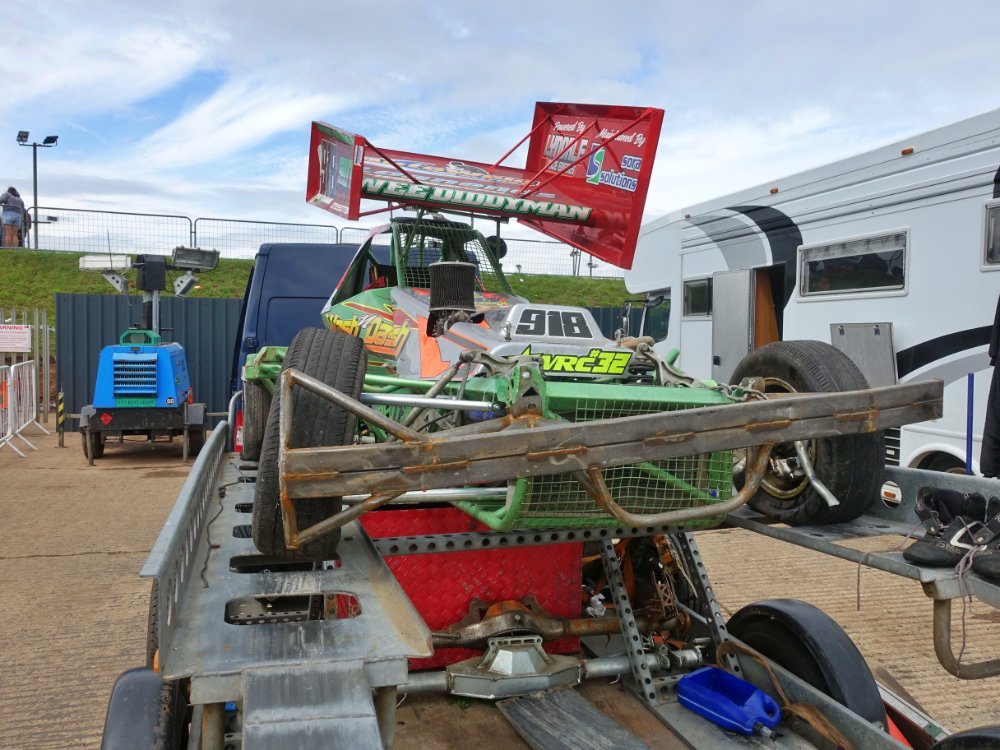
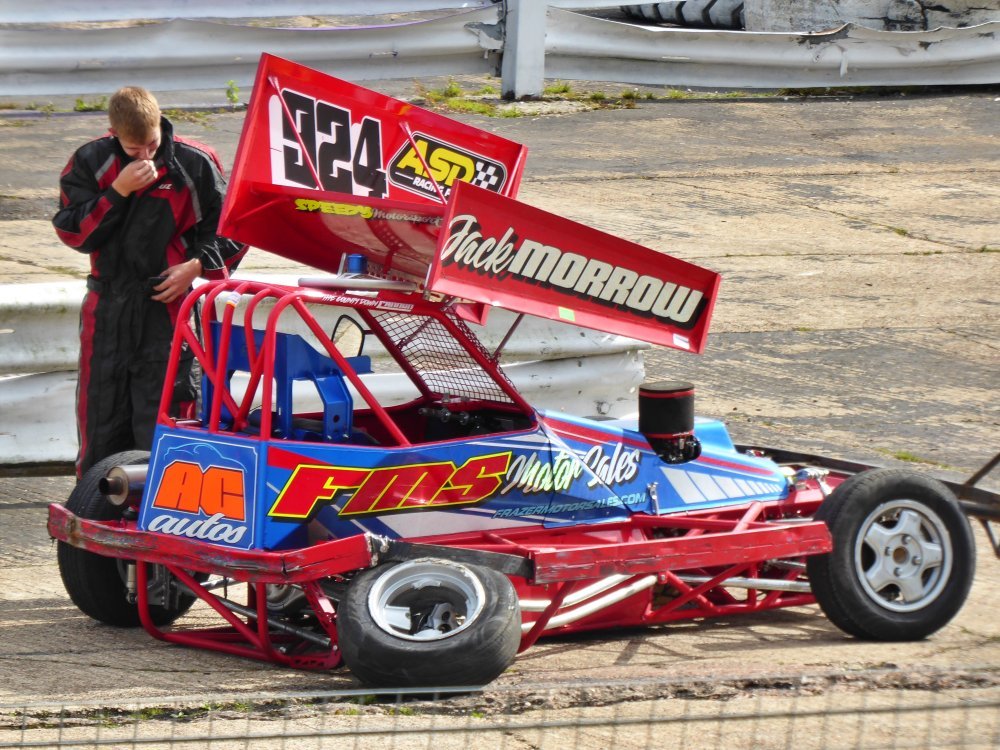
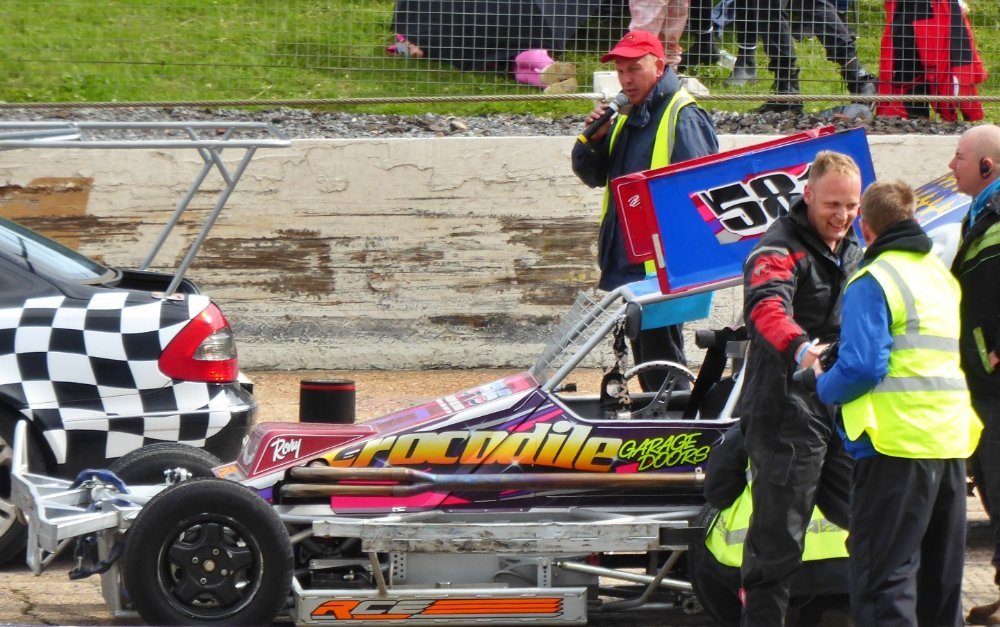


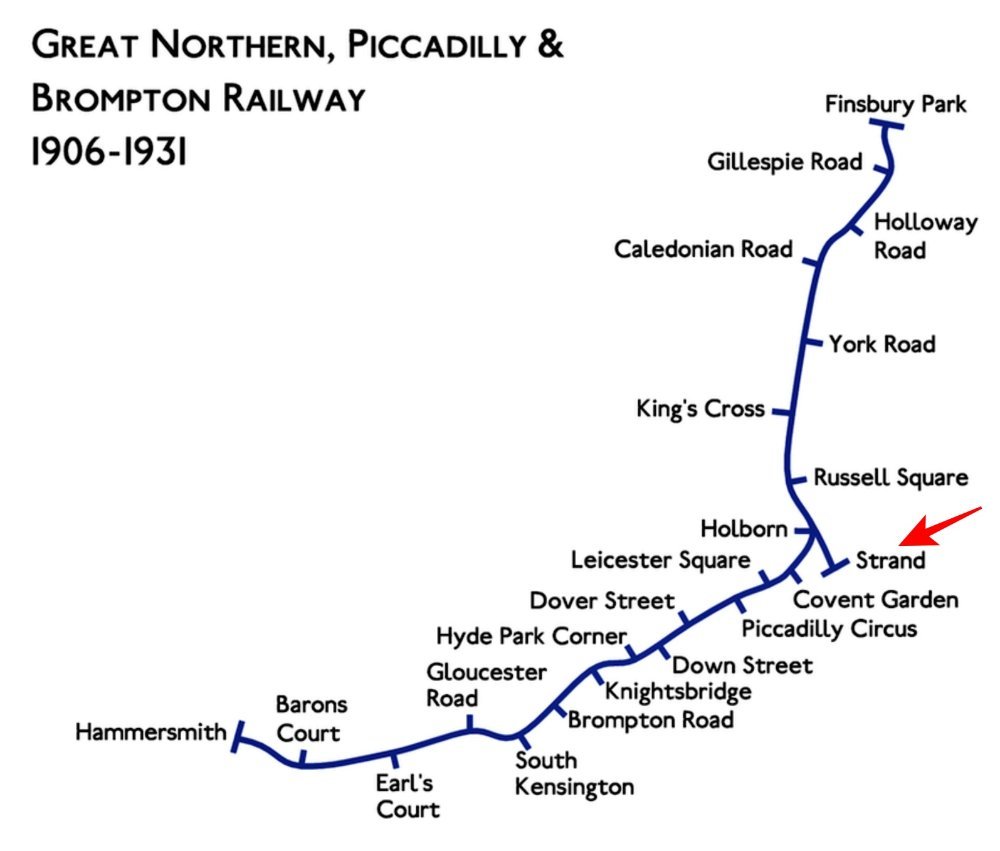
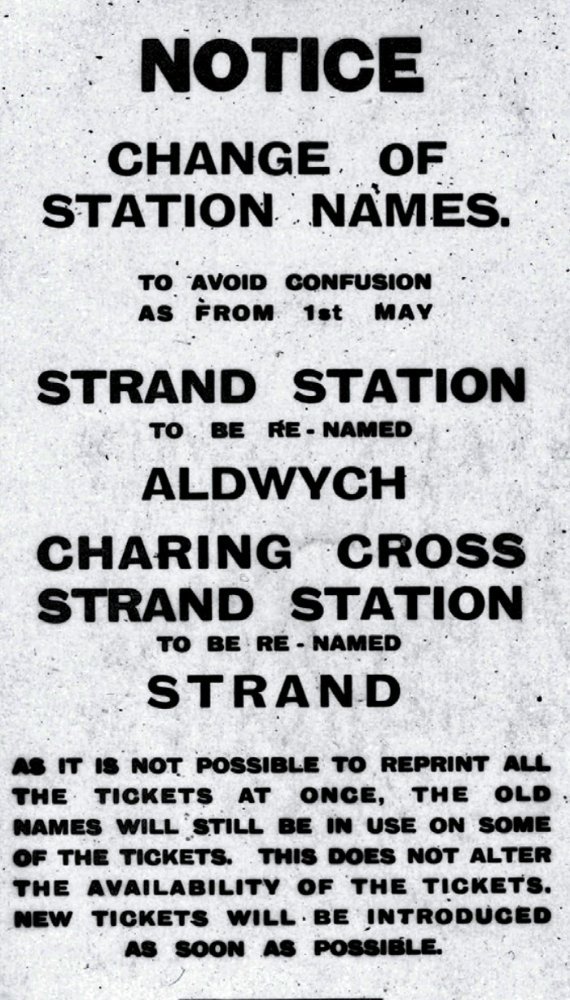
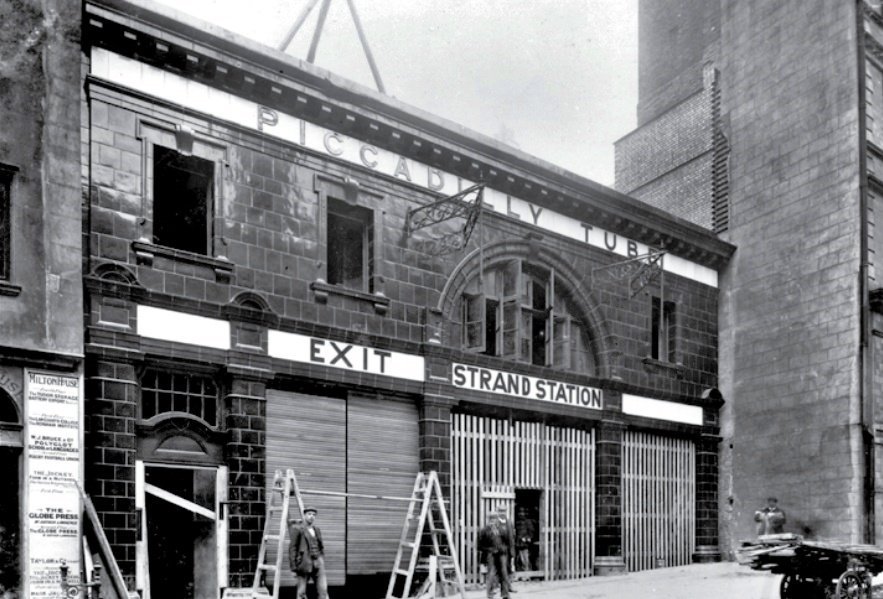


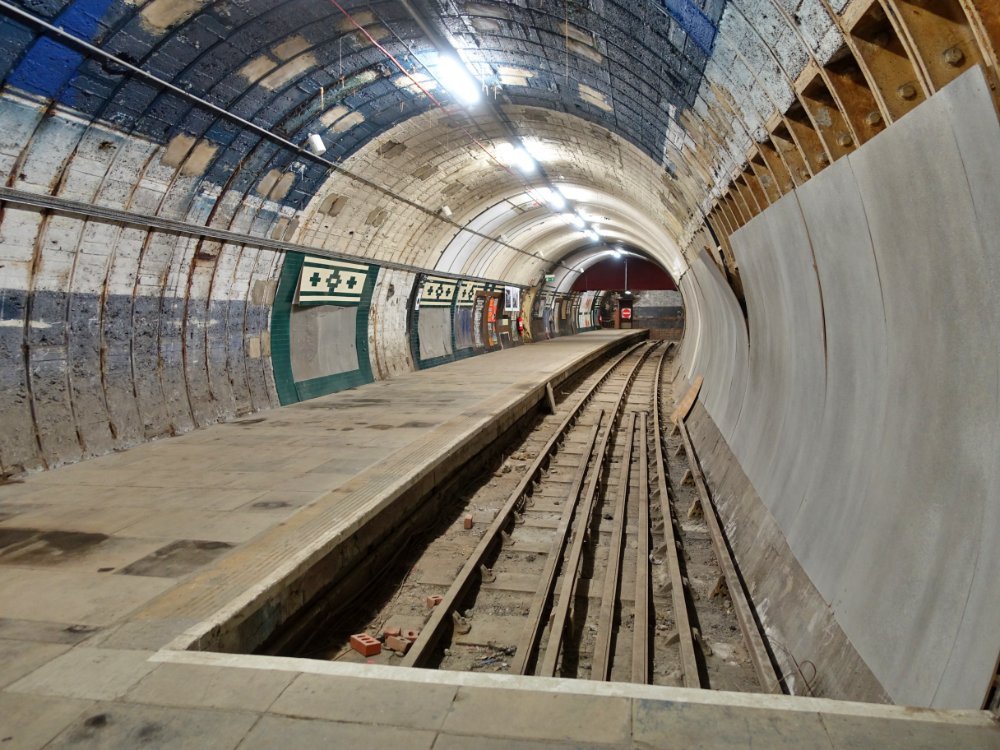


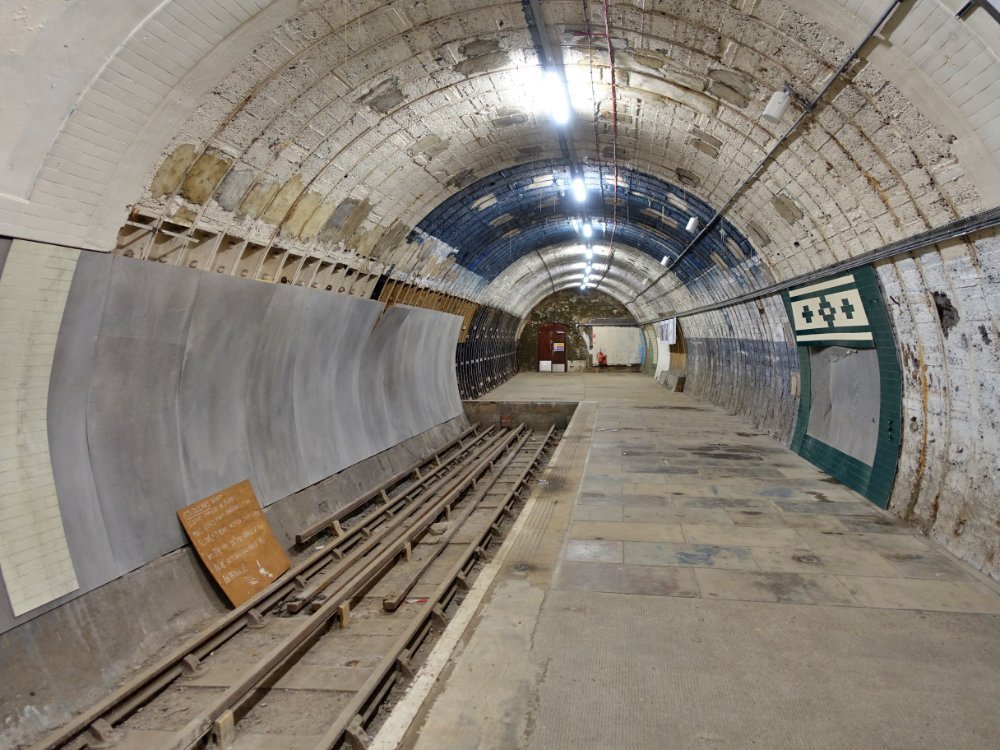
 4
4

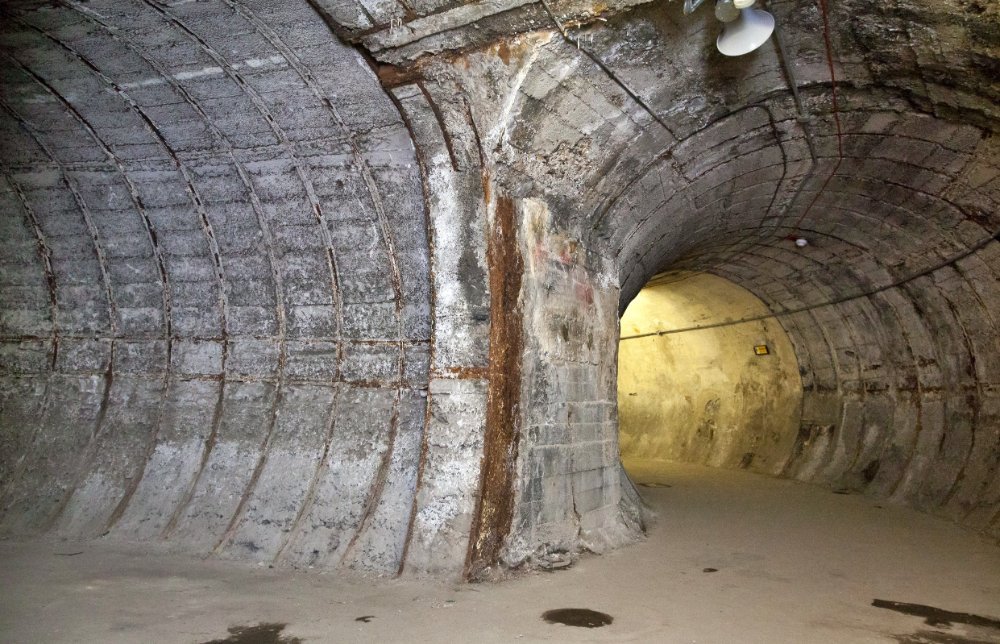
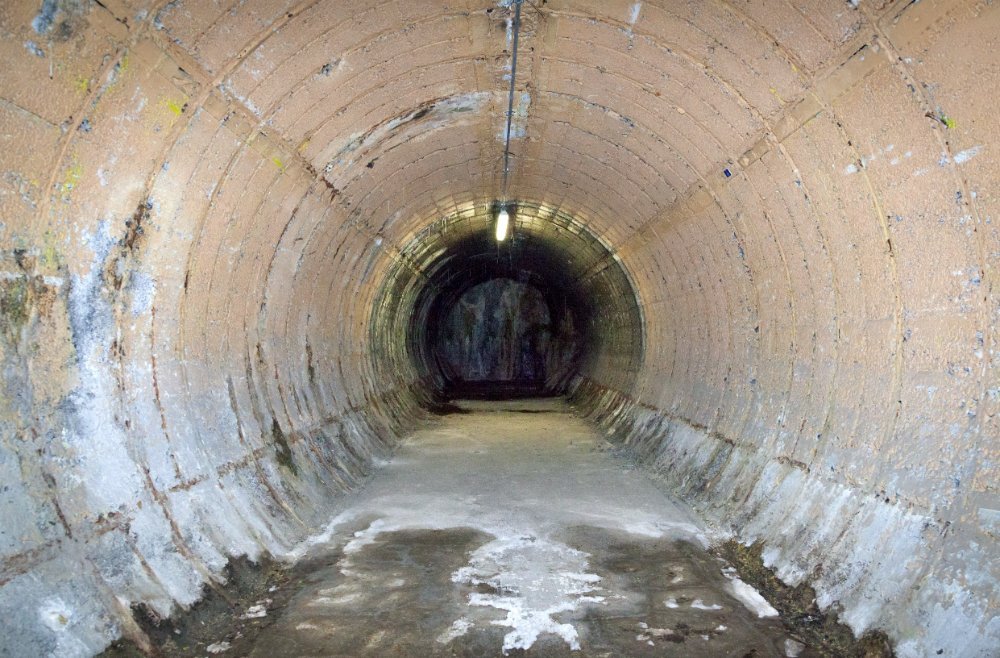

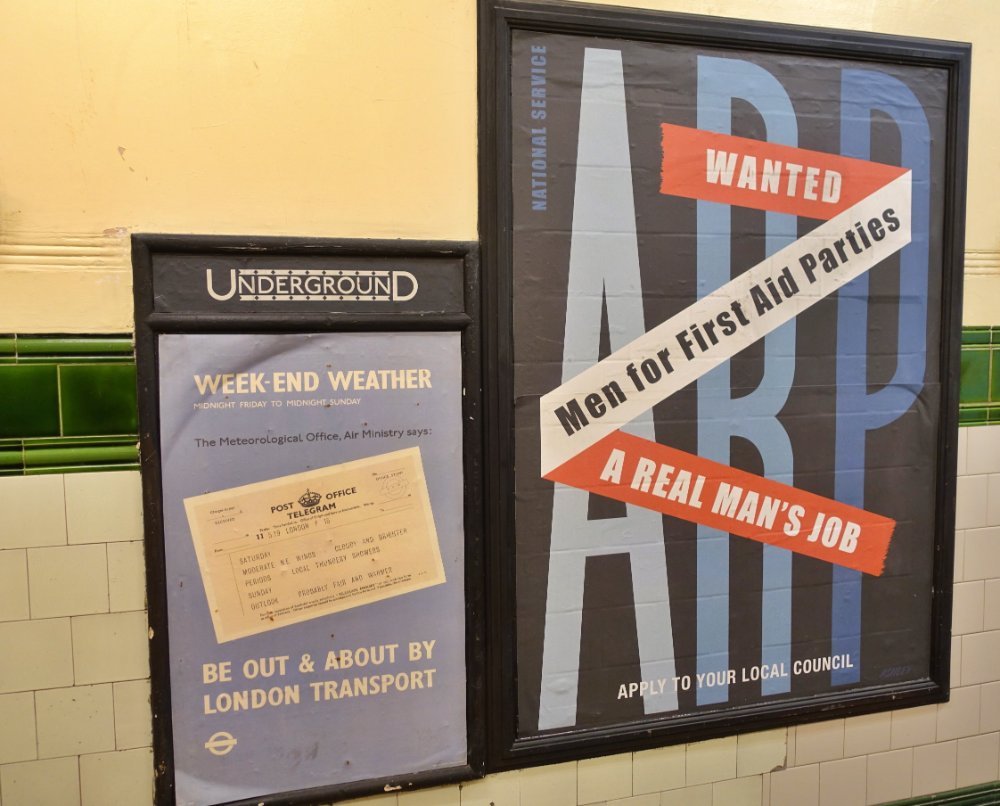


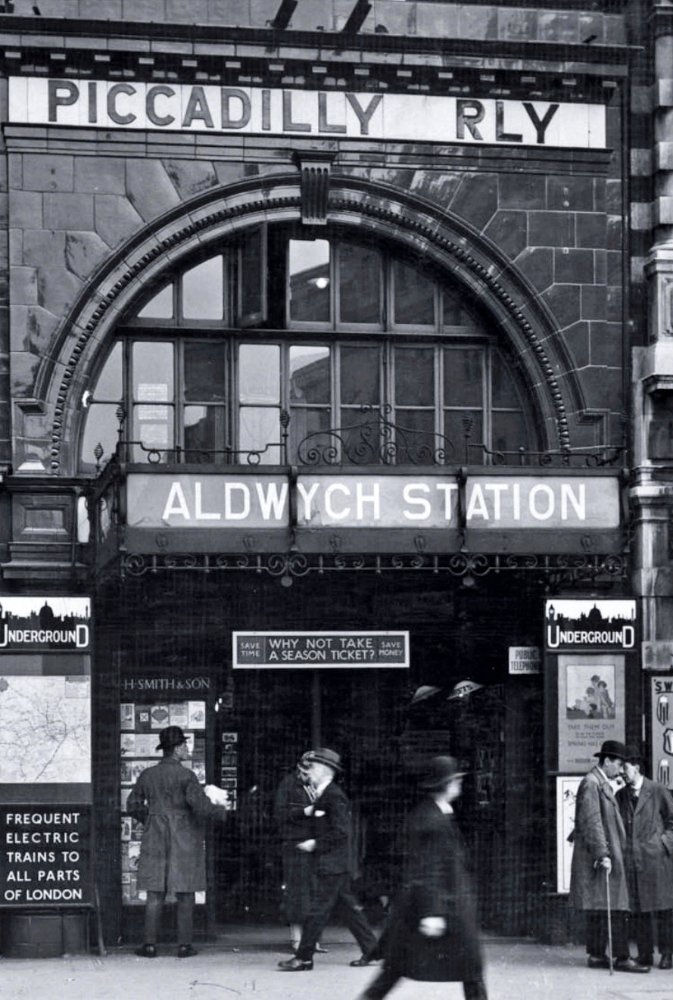


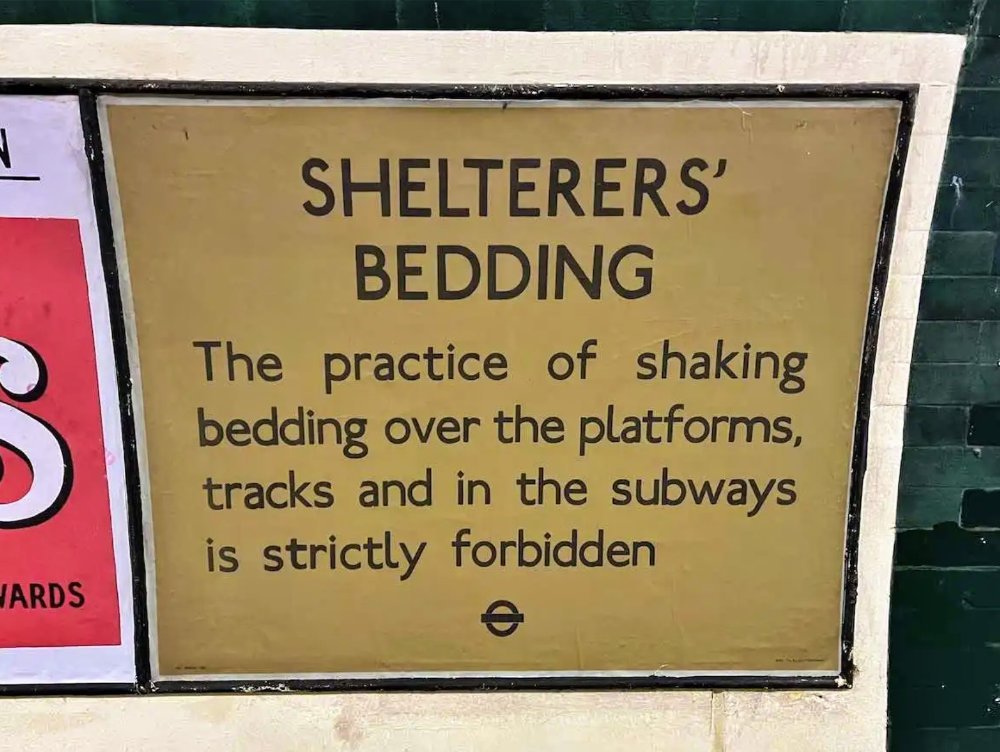
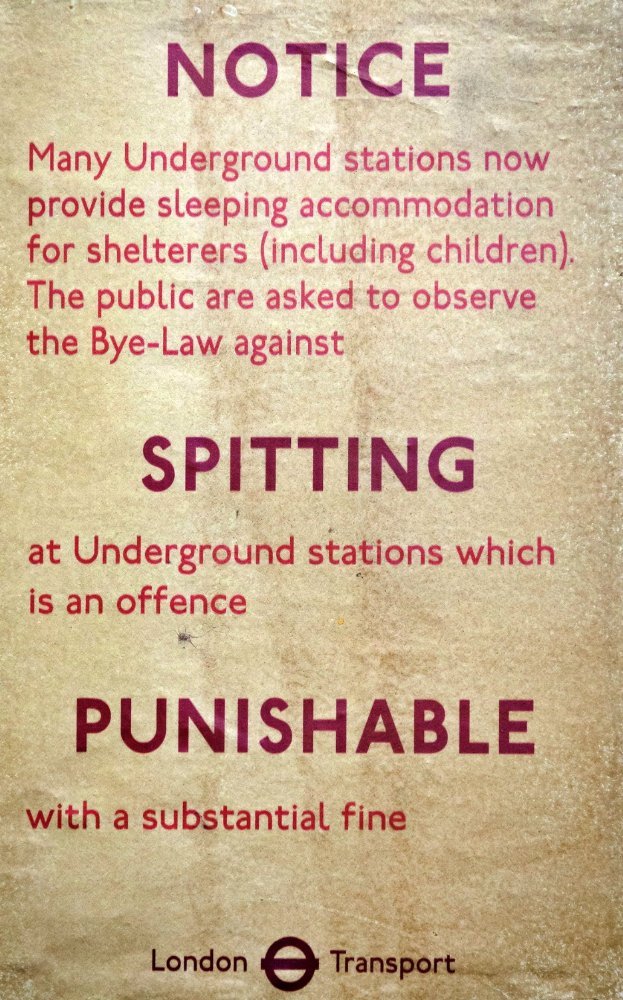
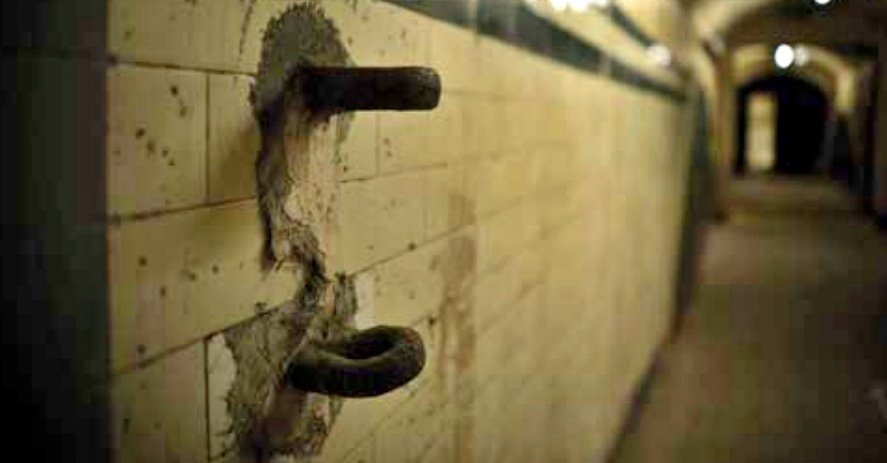
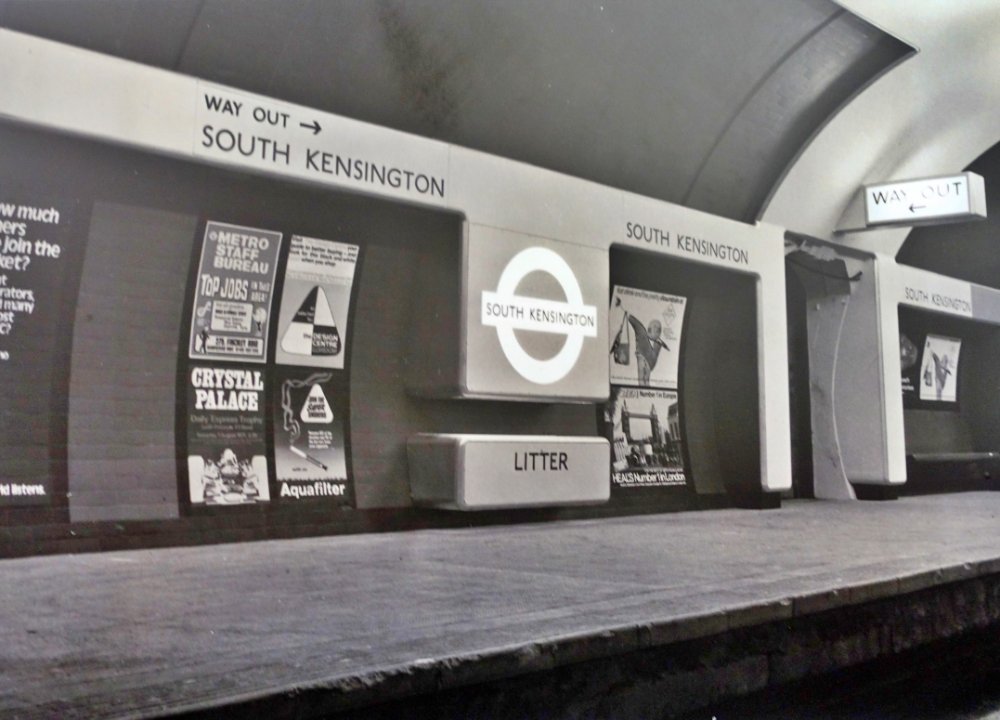


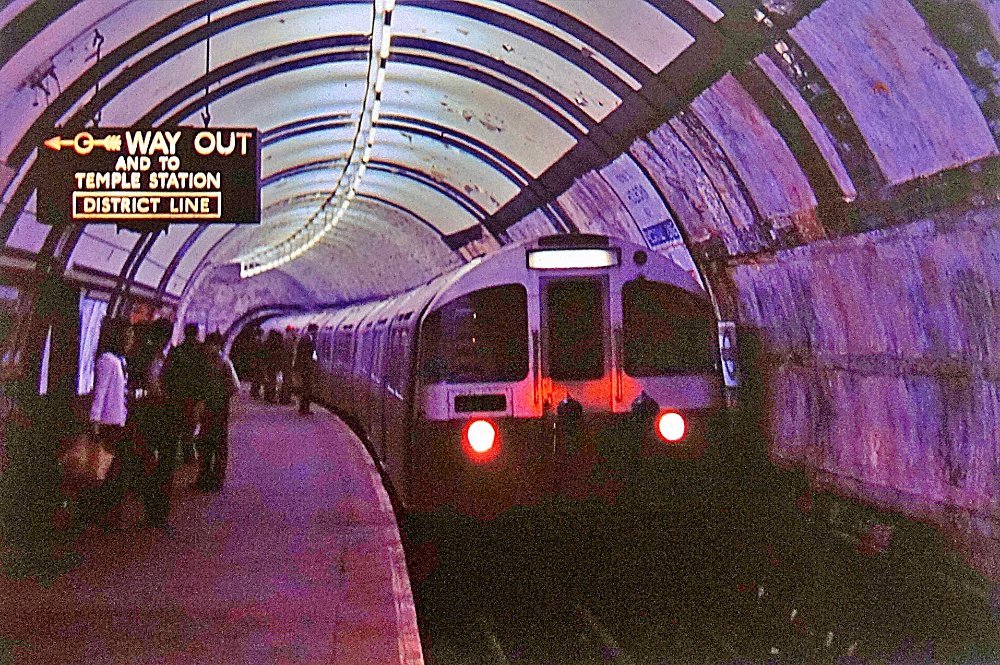

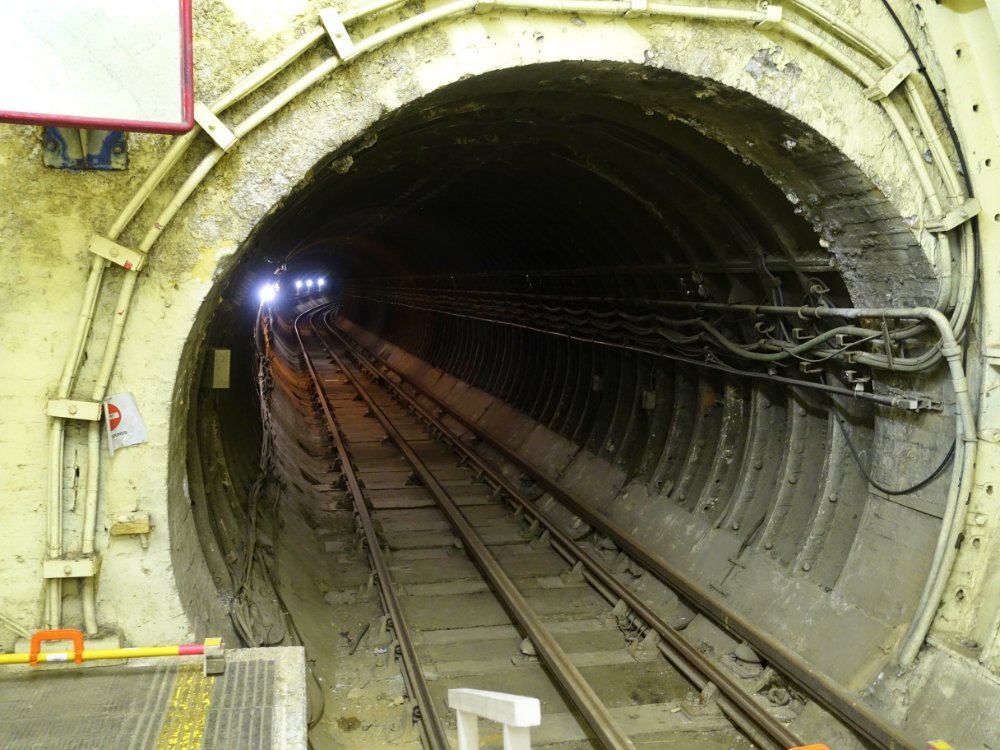
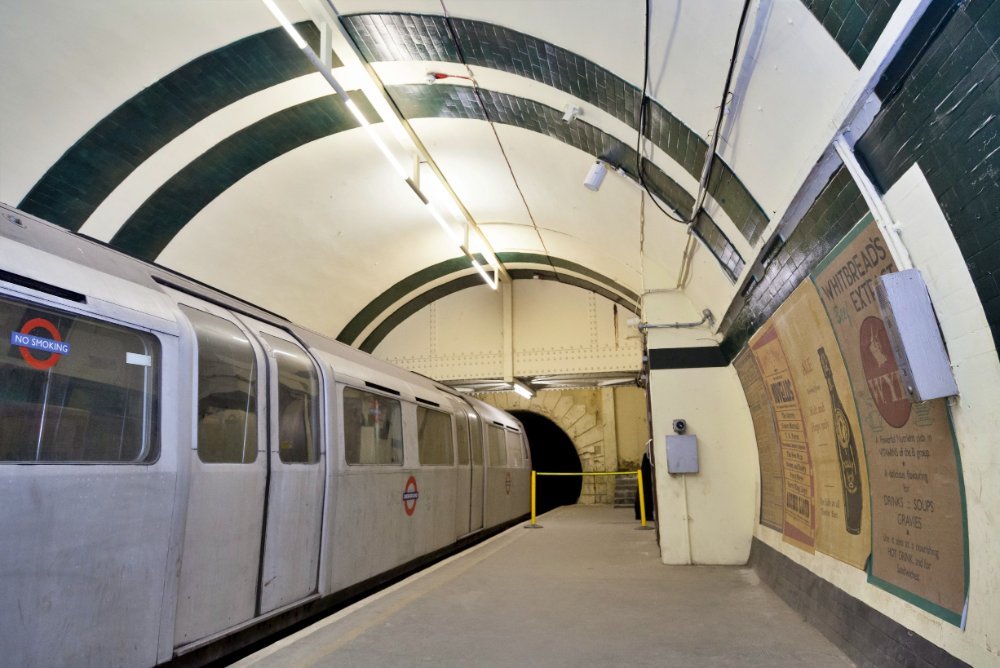

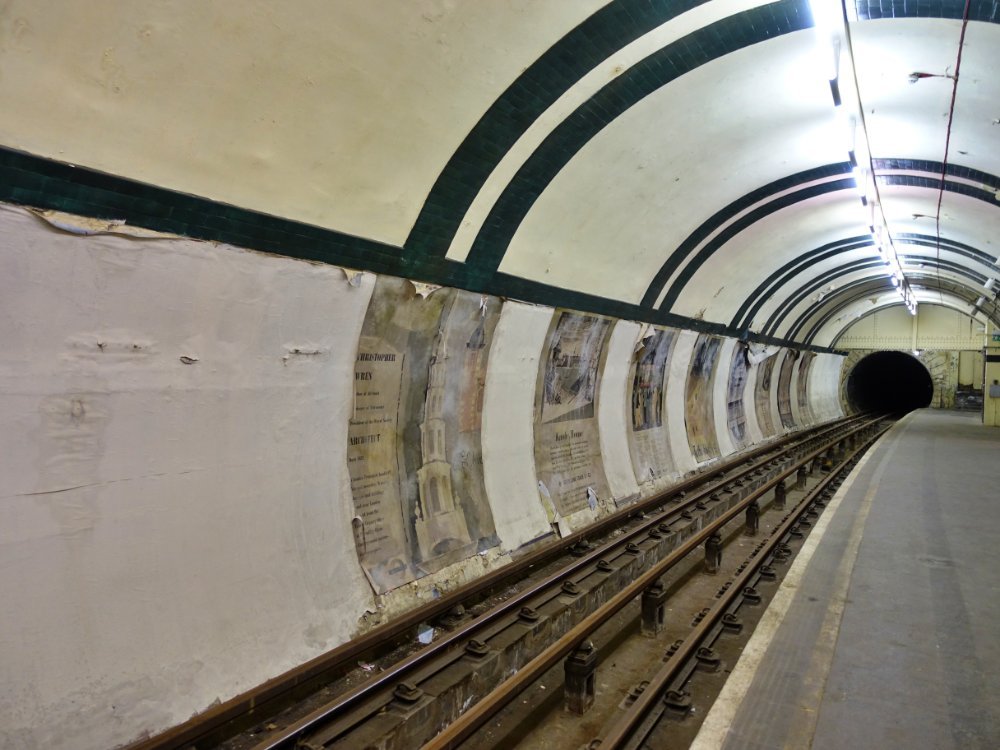


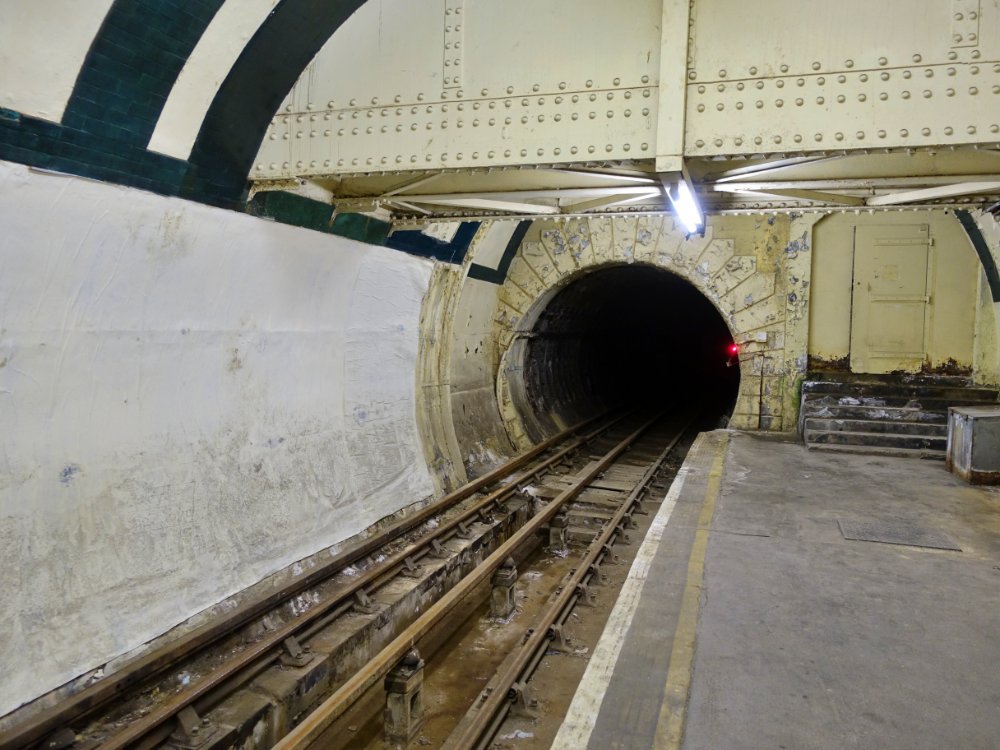

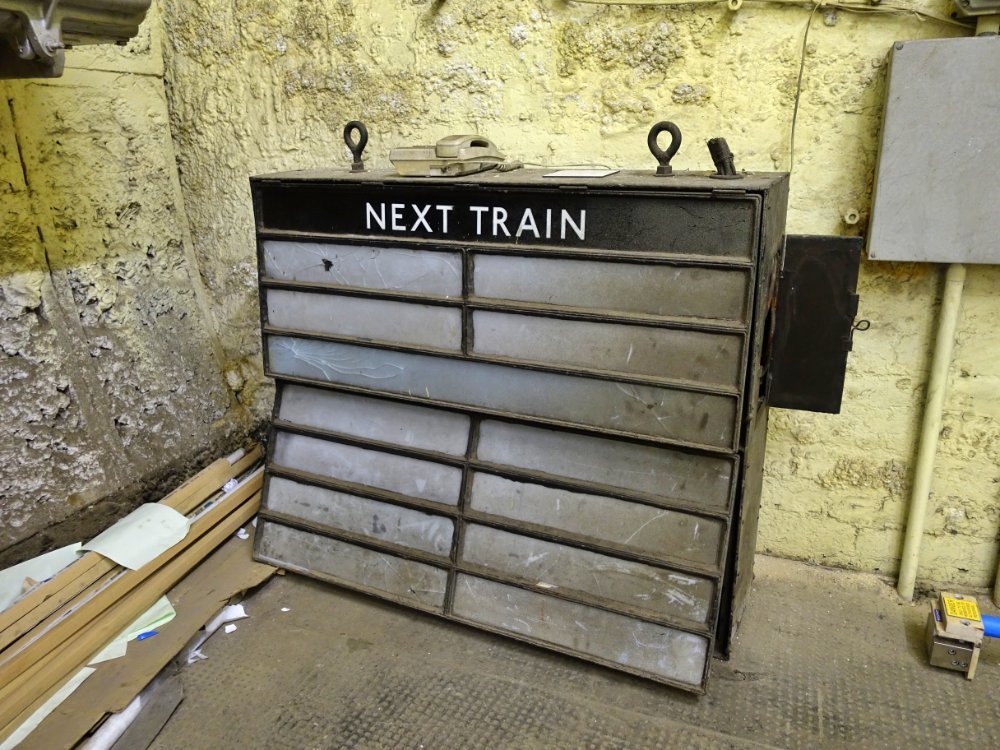
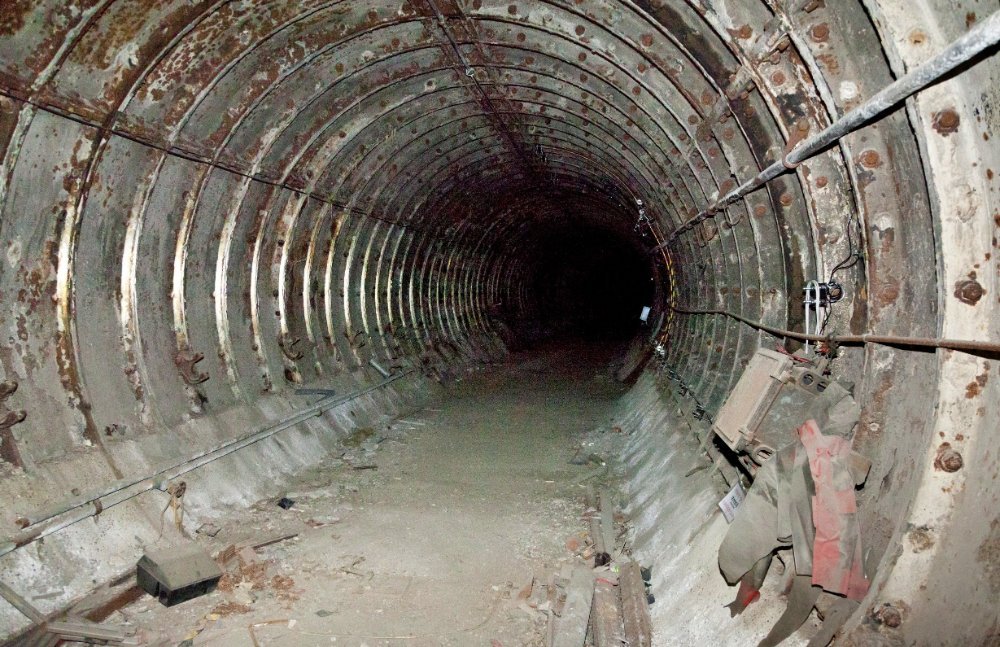


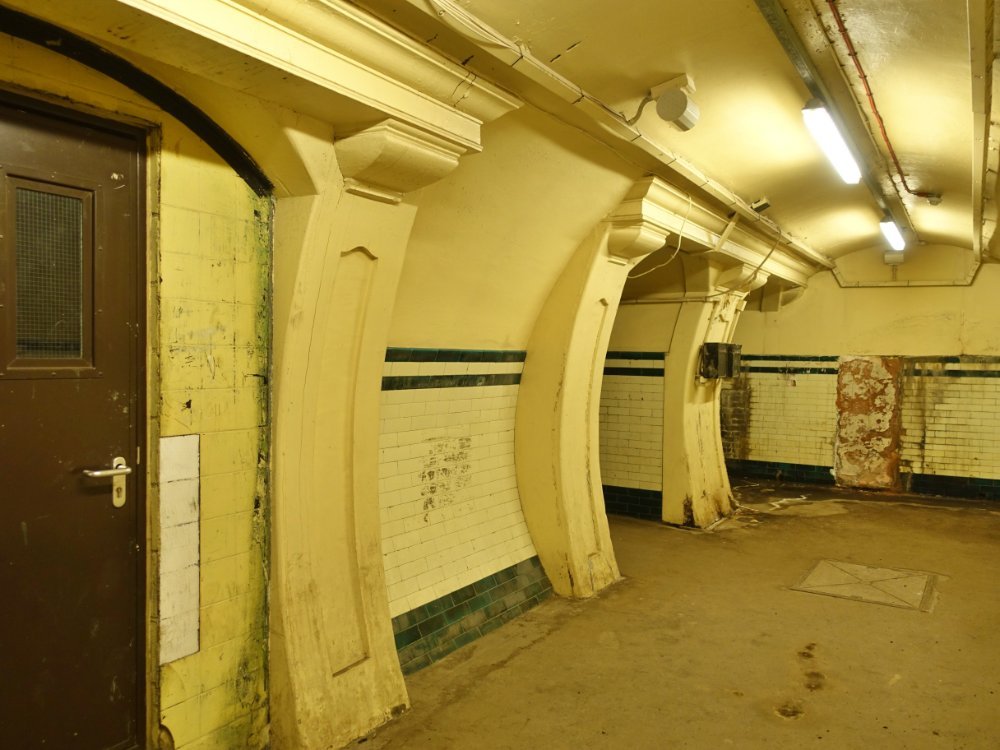

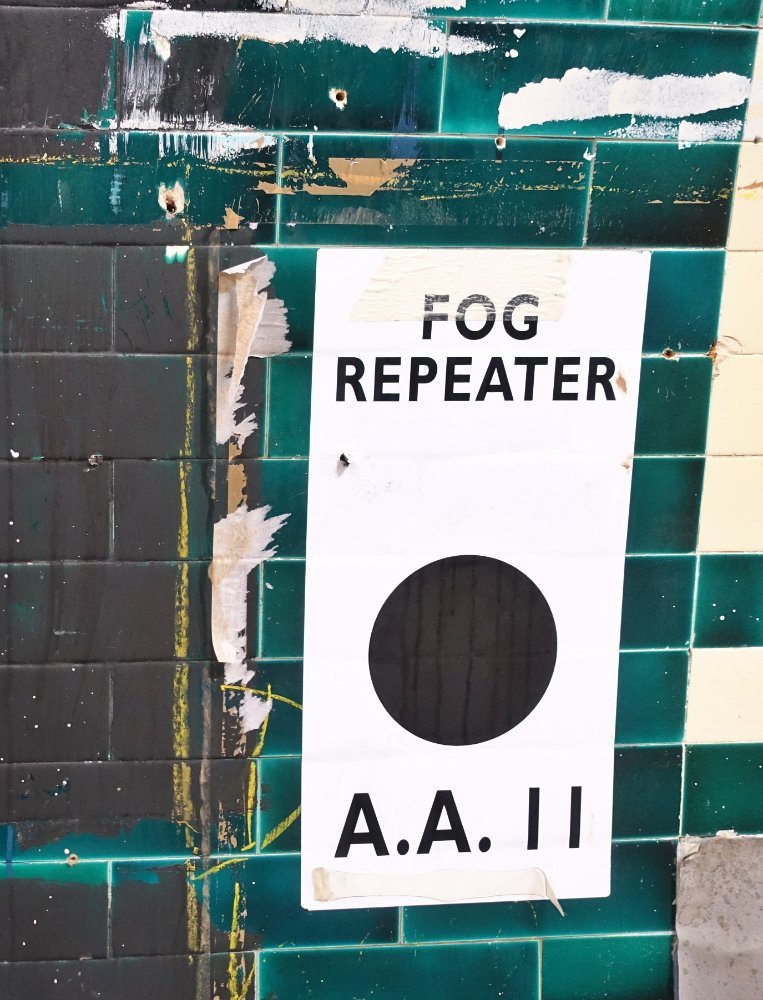

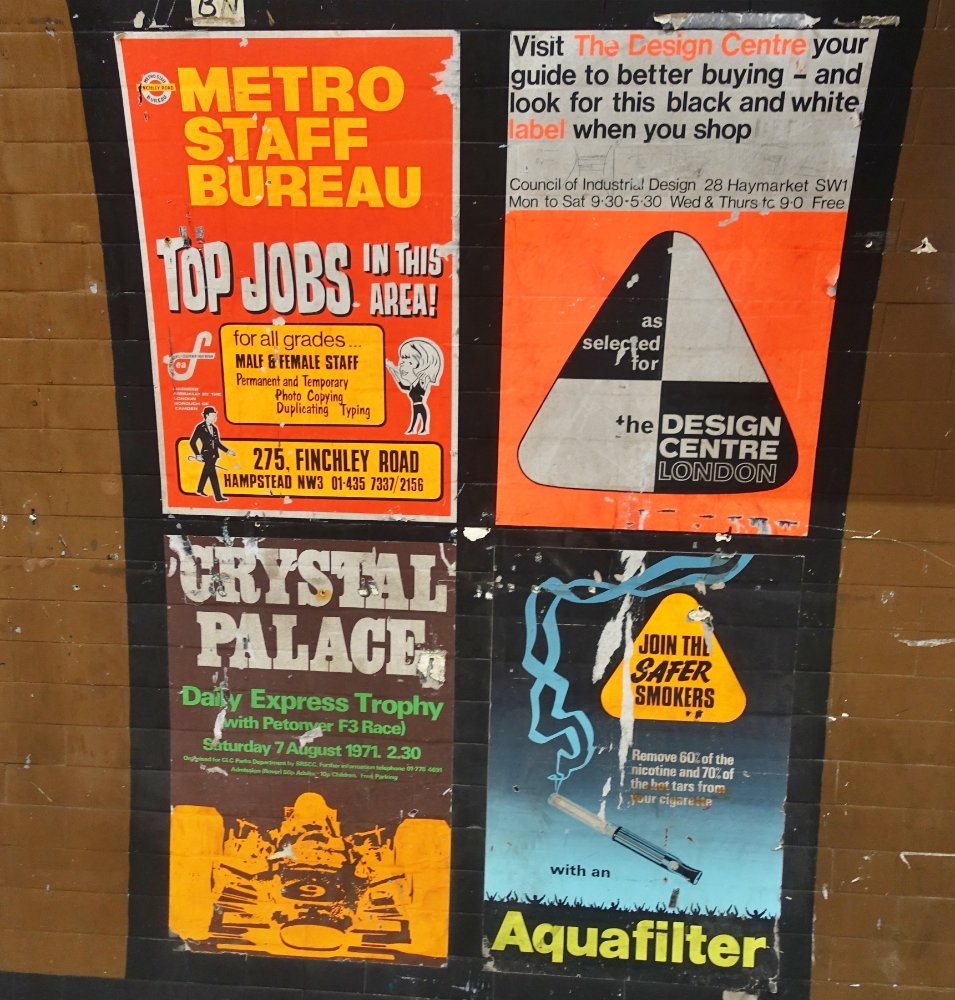
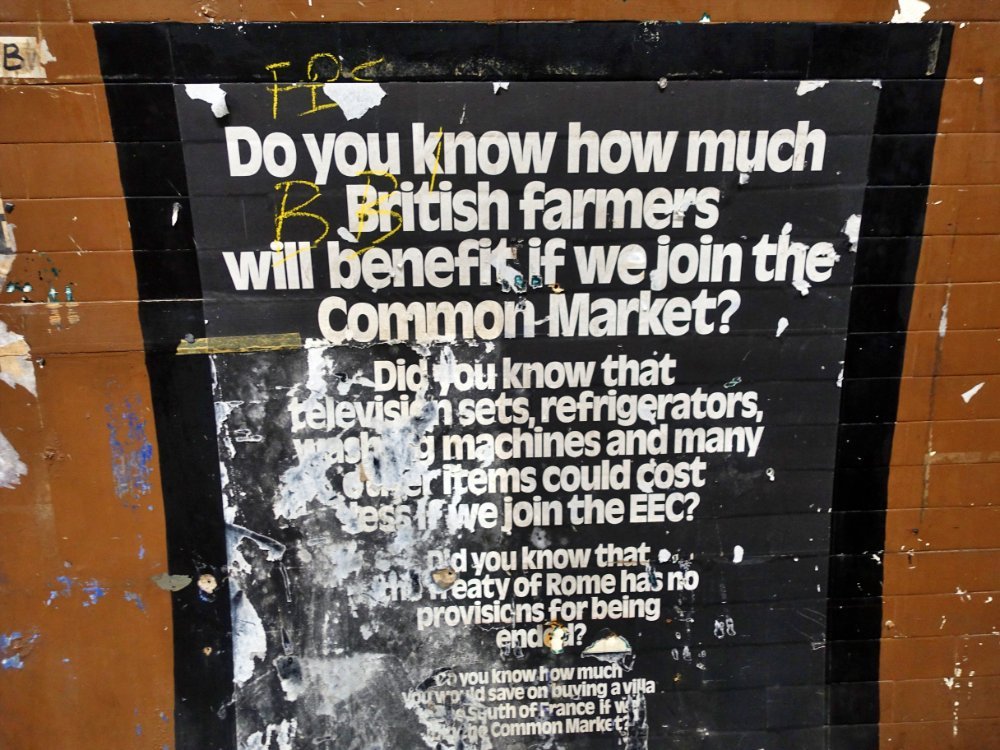

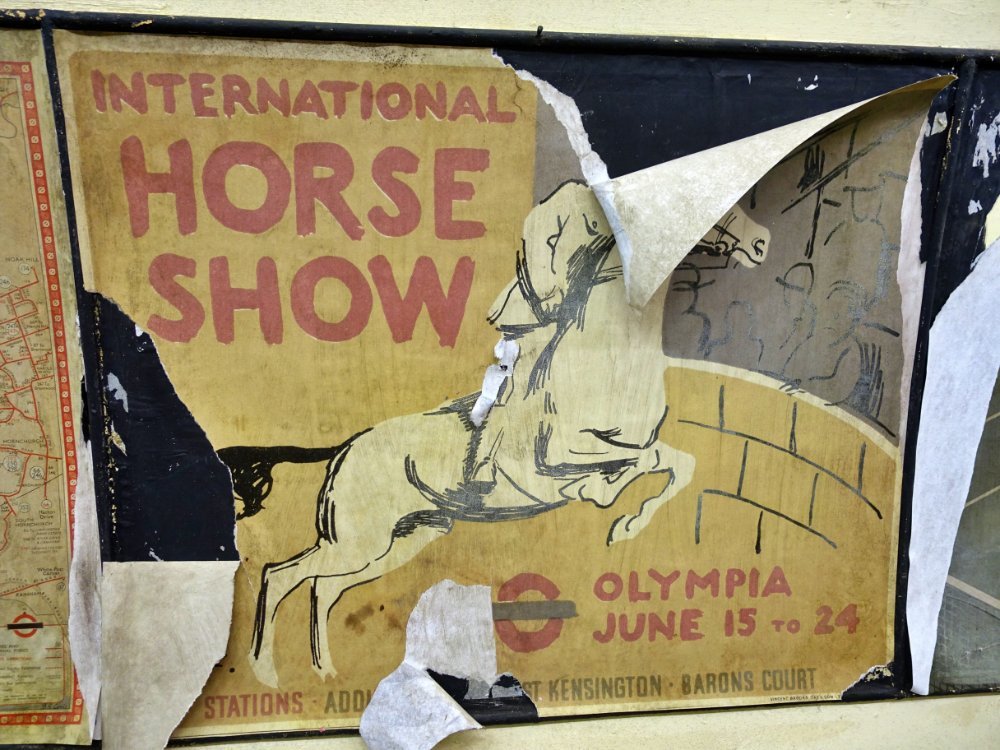

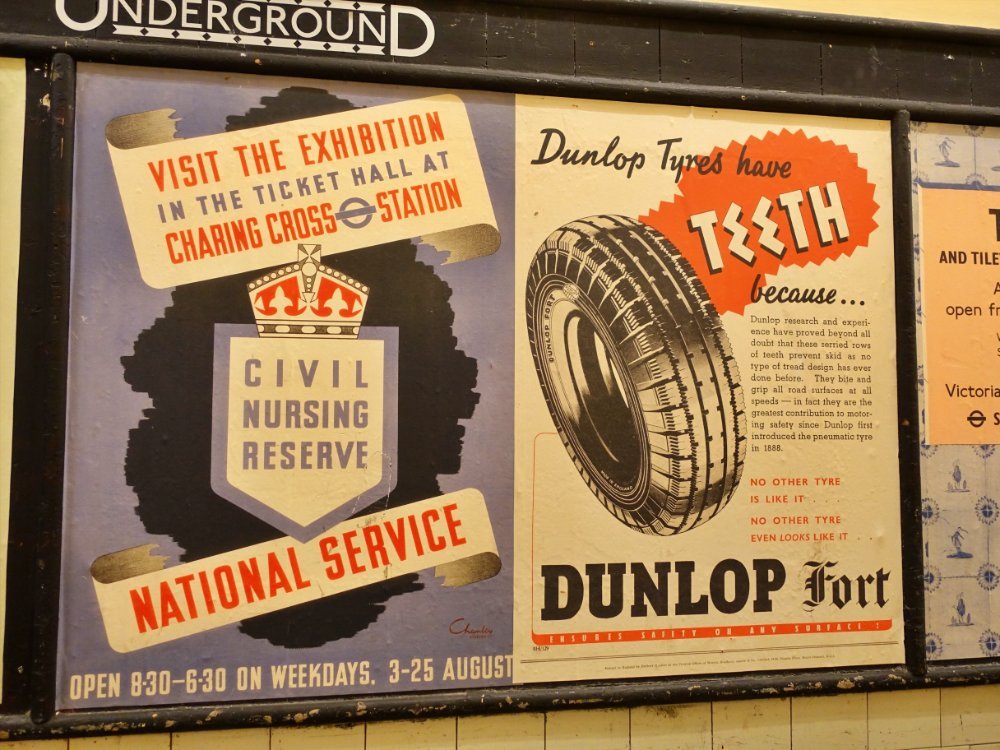
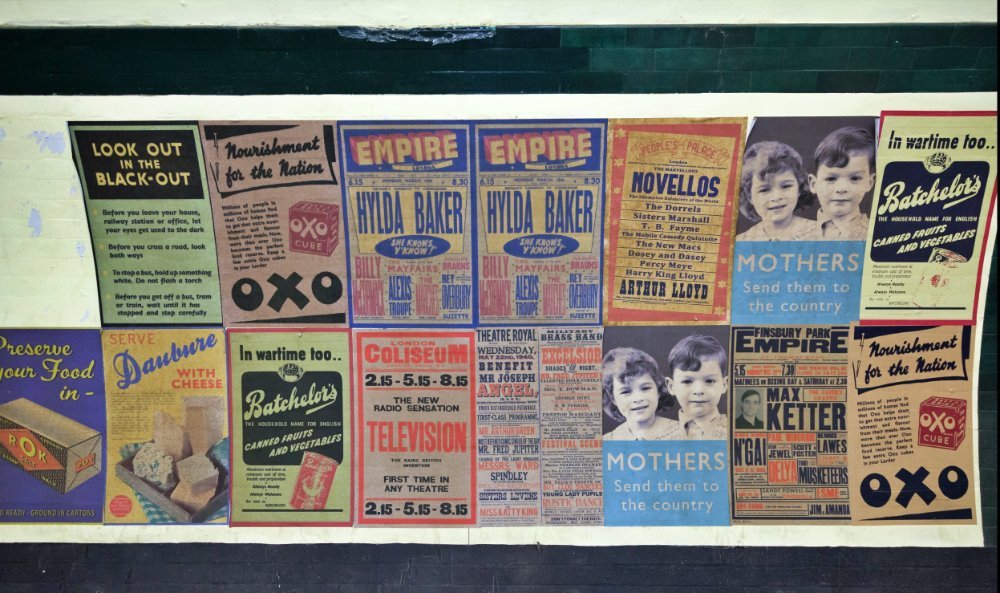


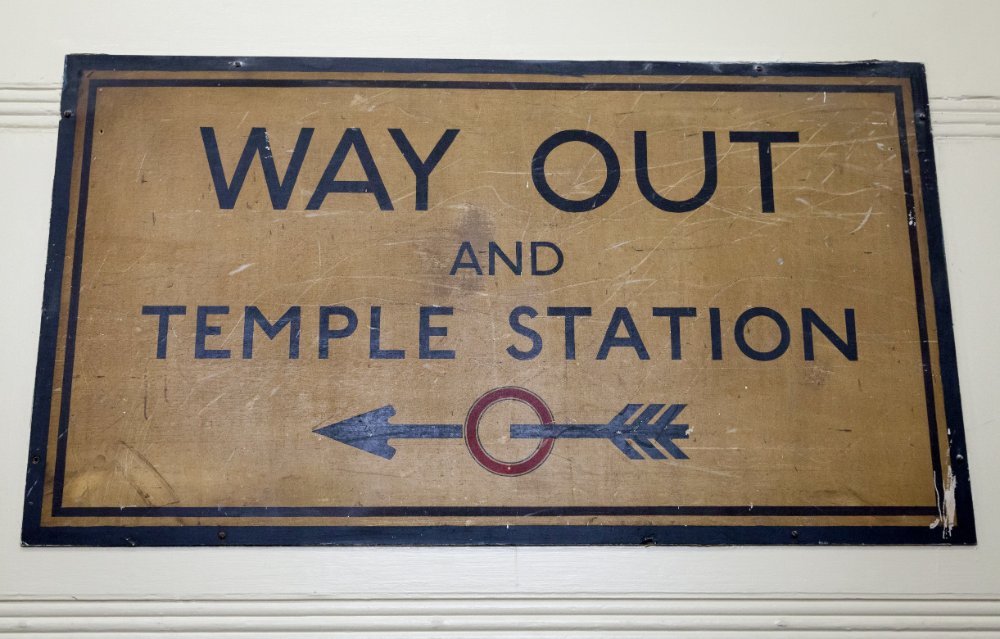

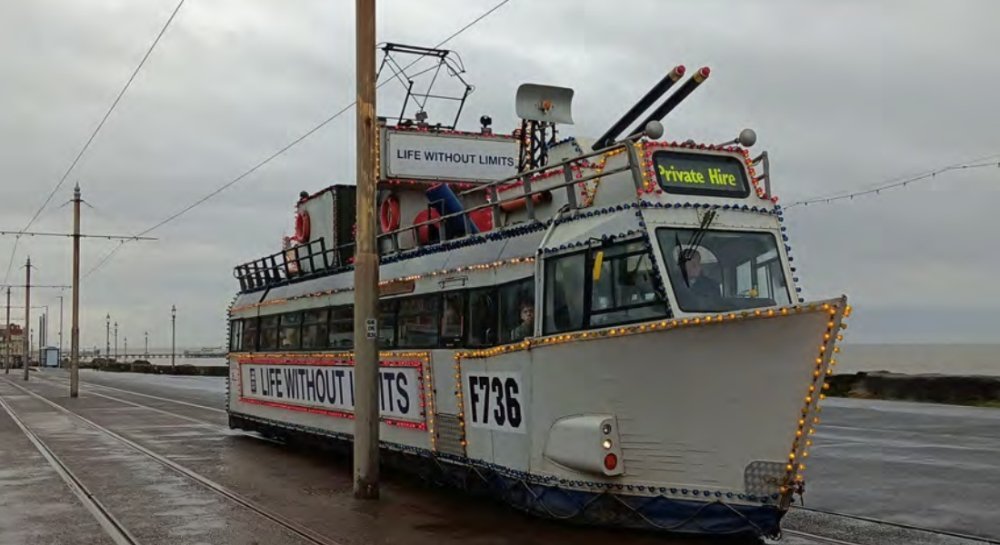
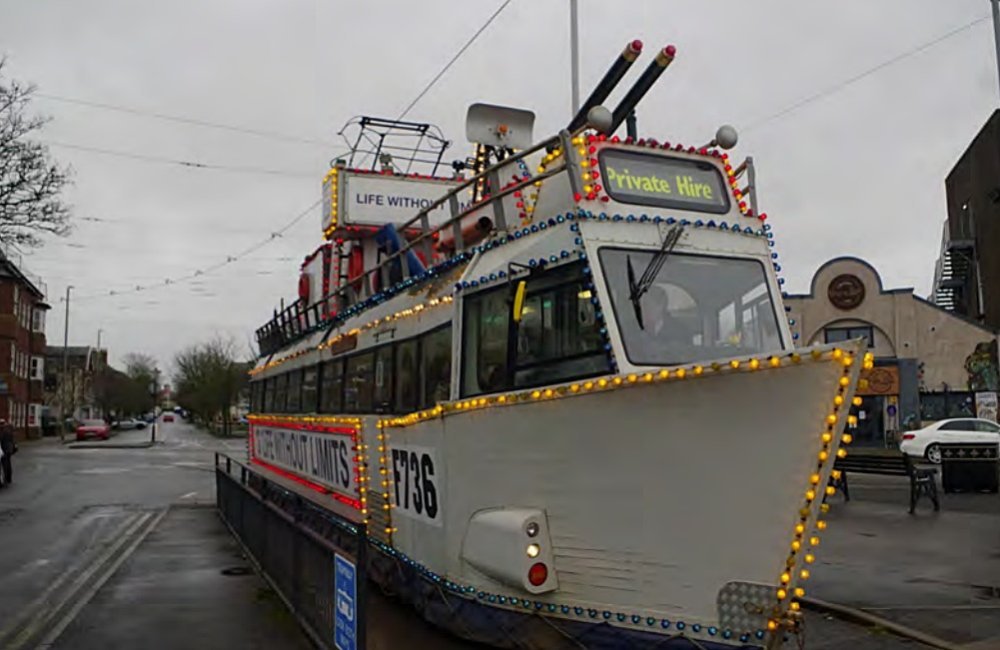

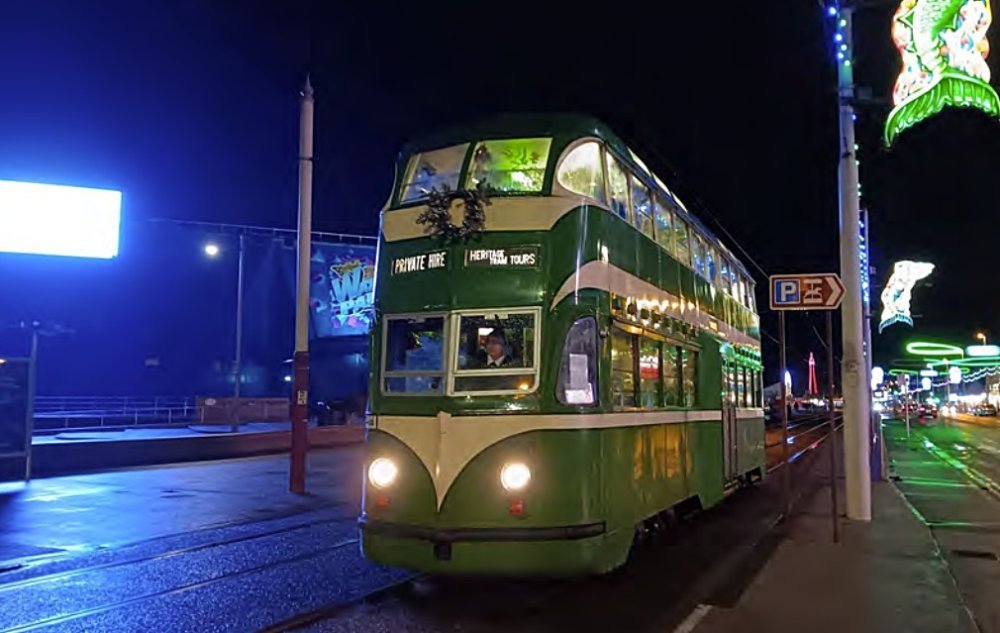

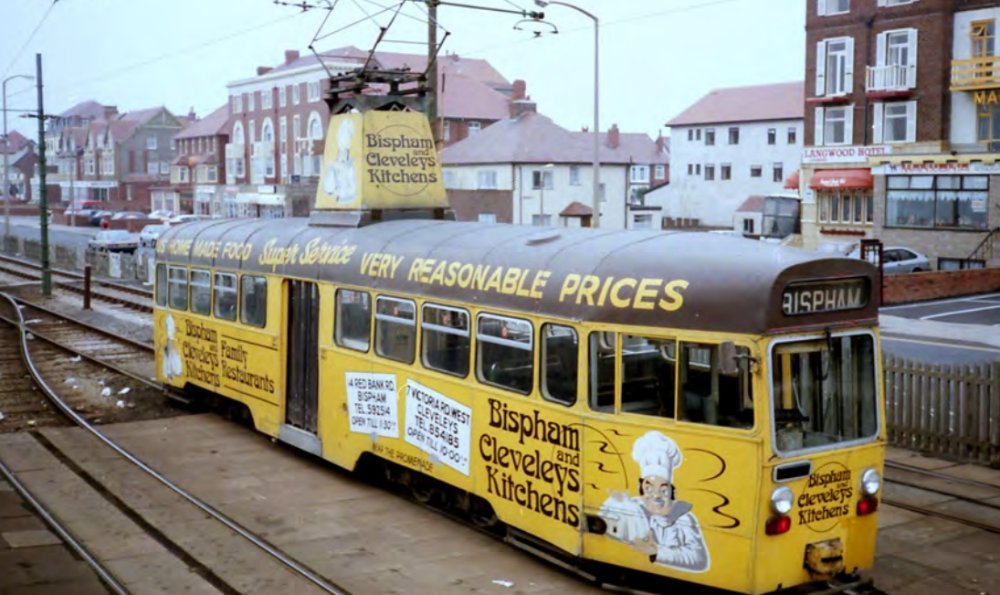


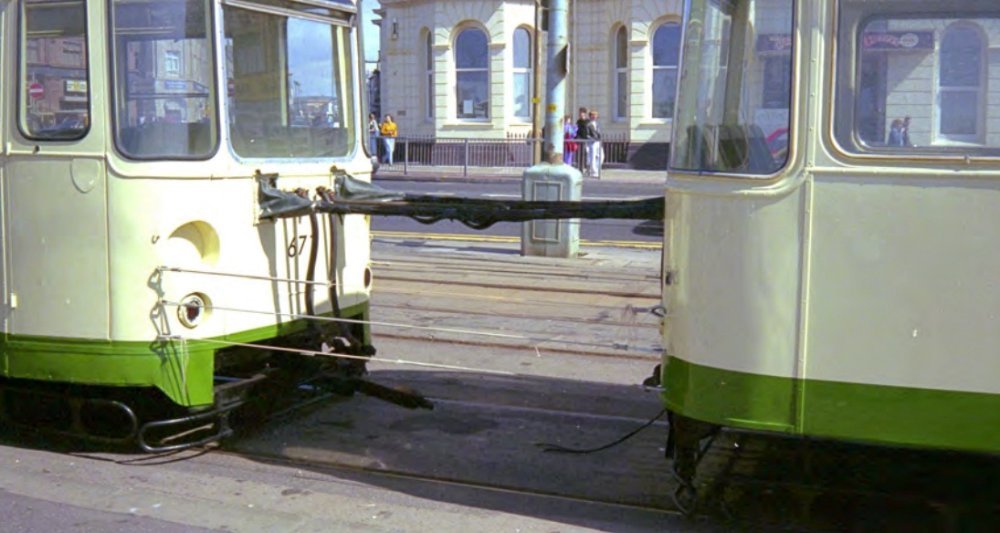
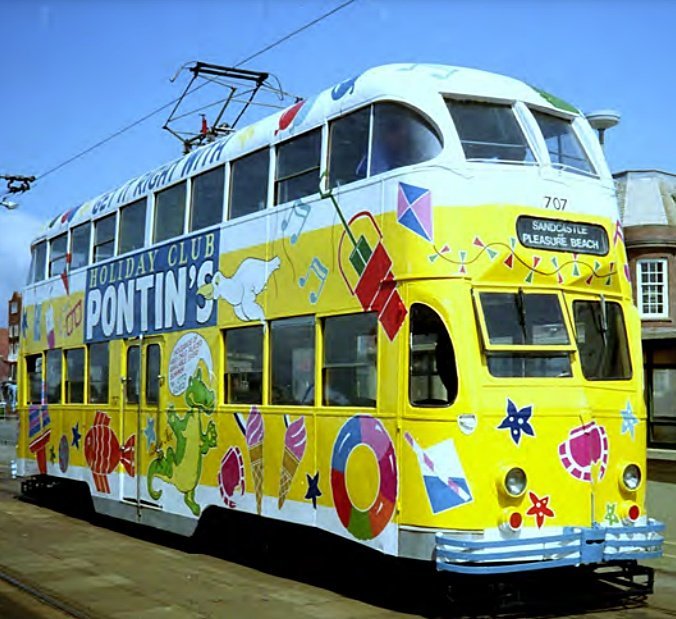


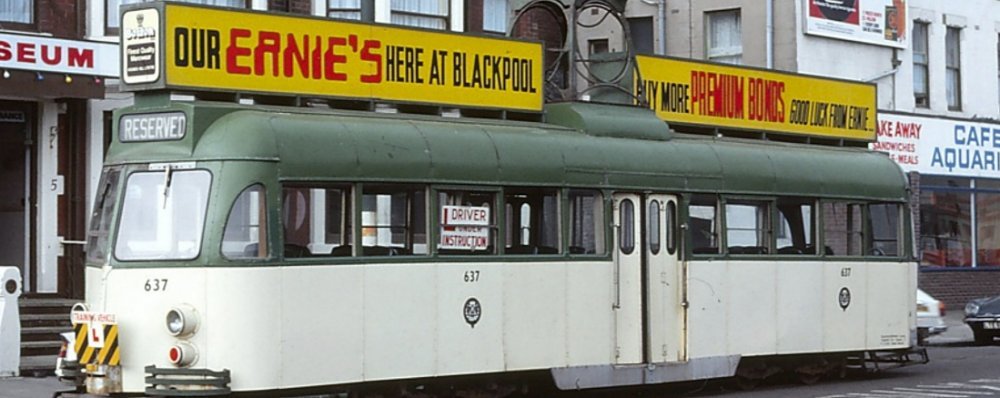
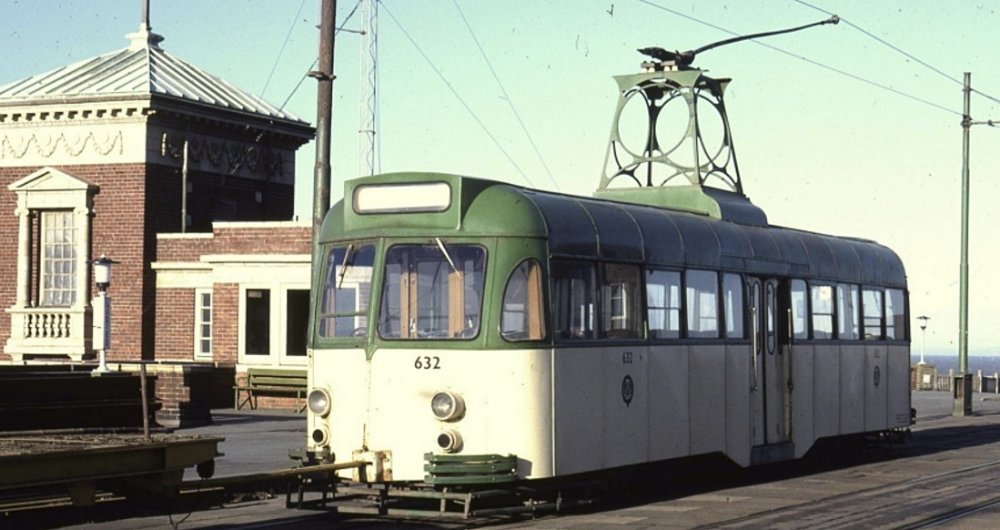
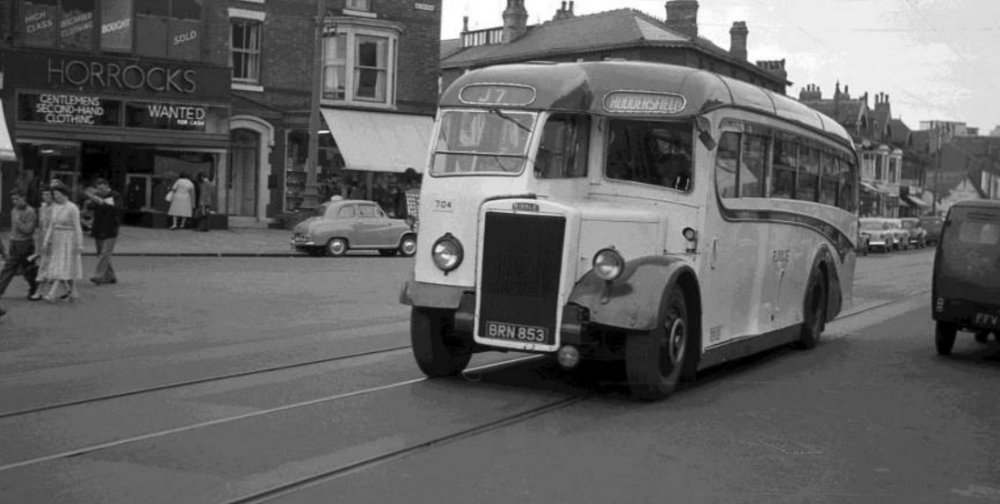


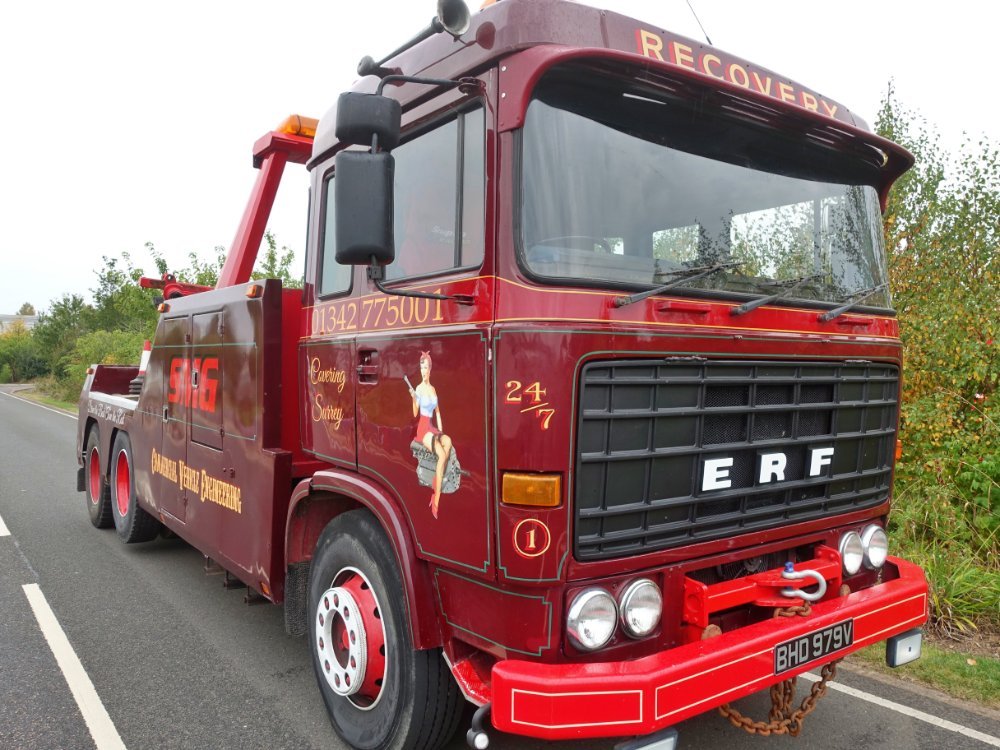
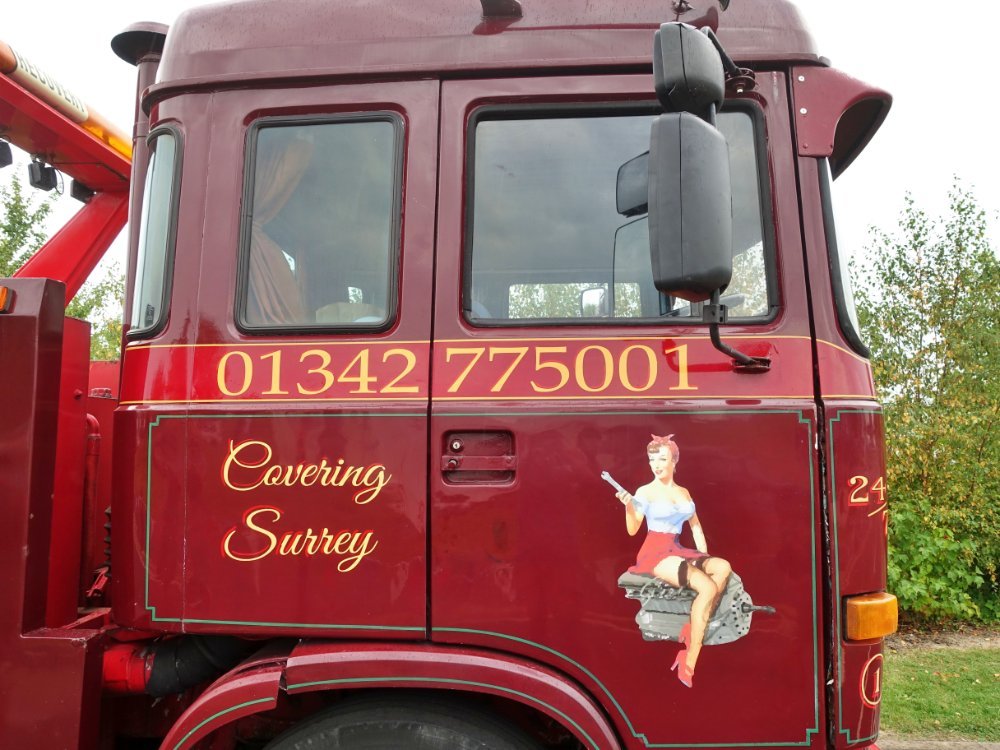

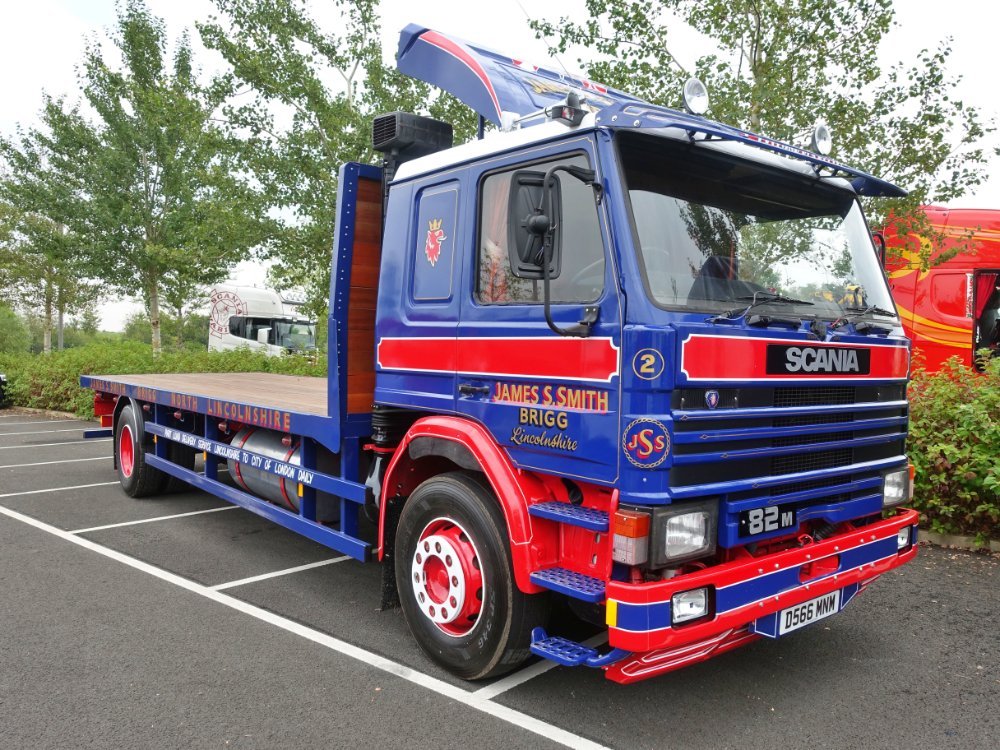
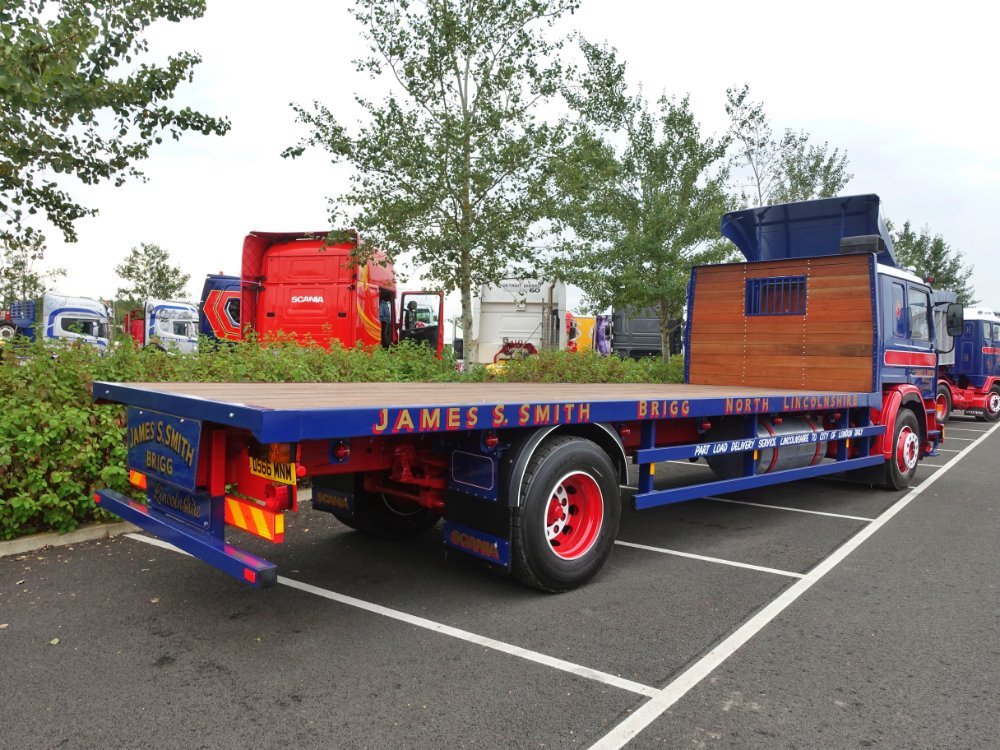


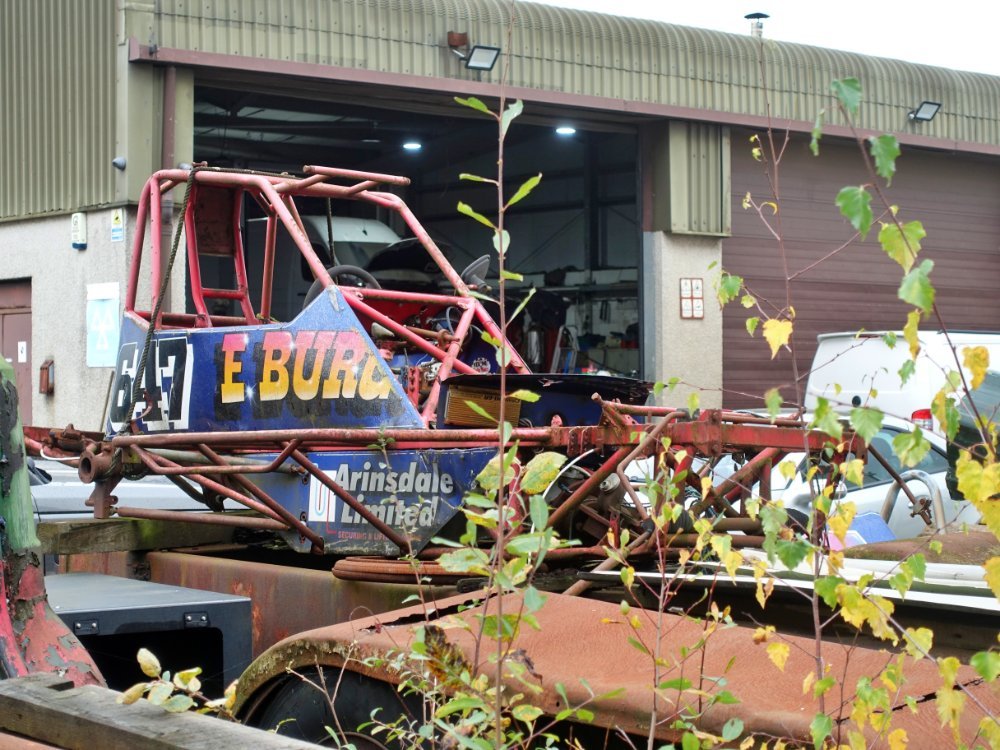
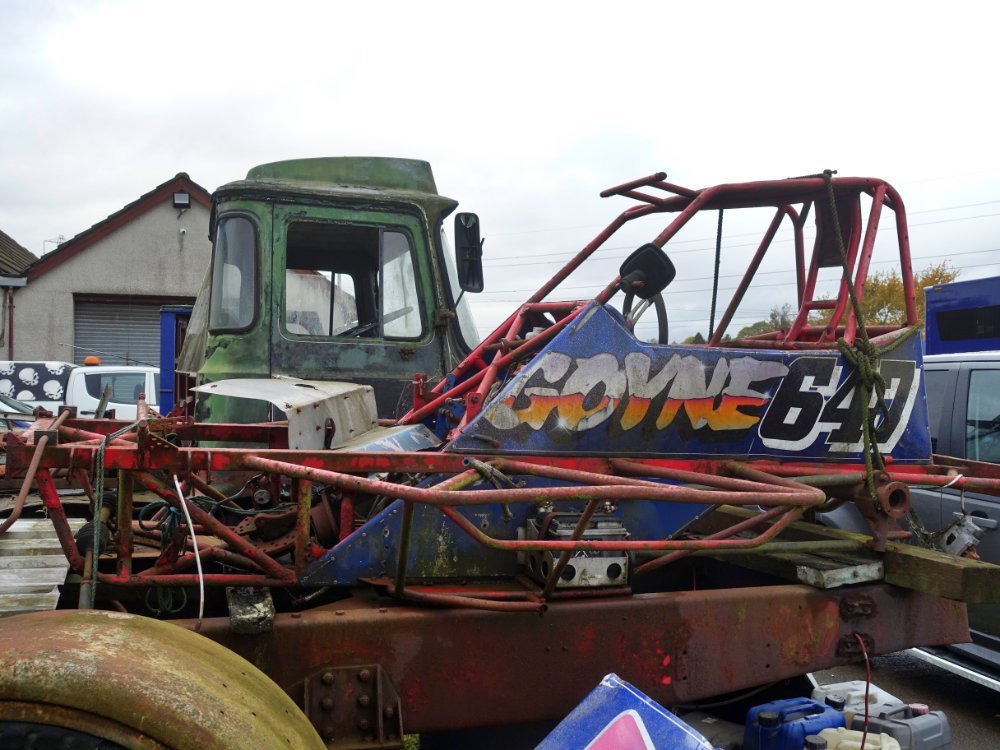


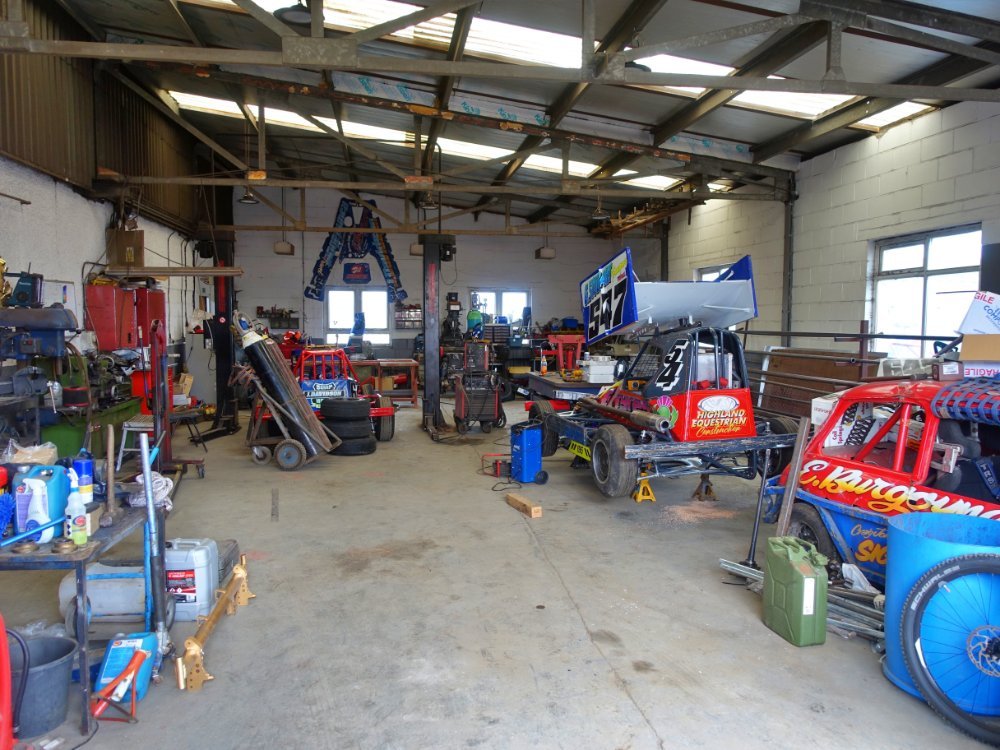
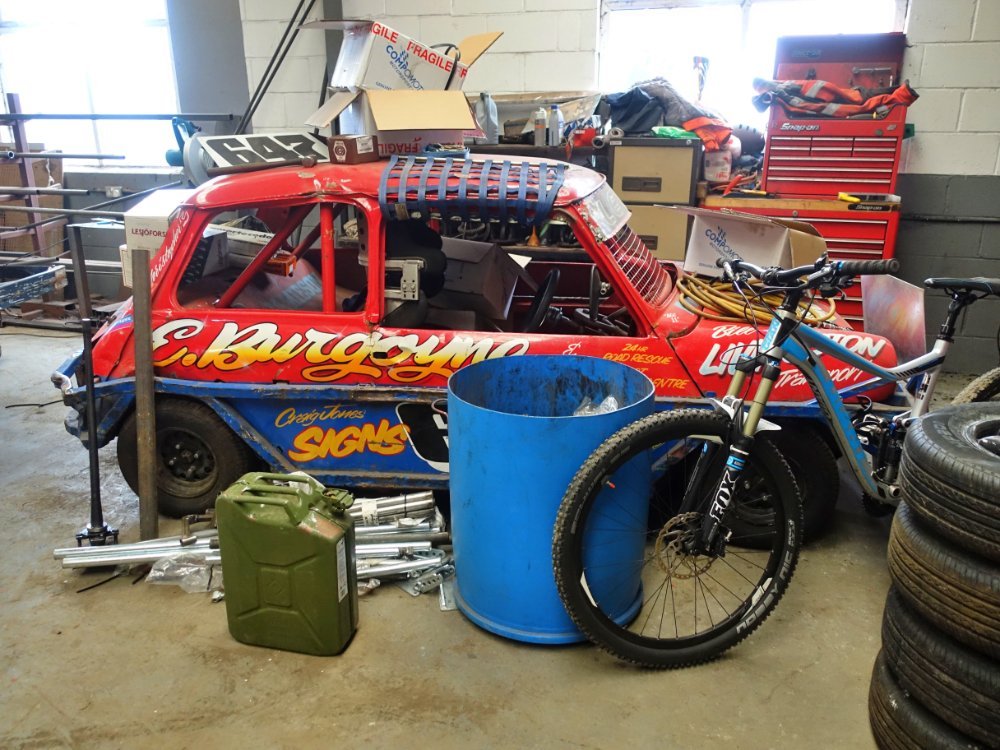
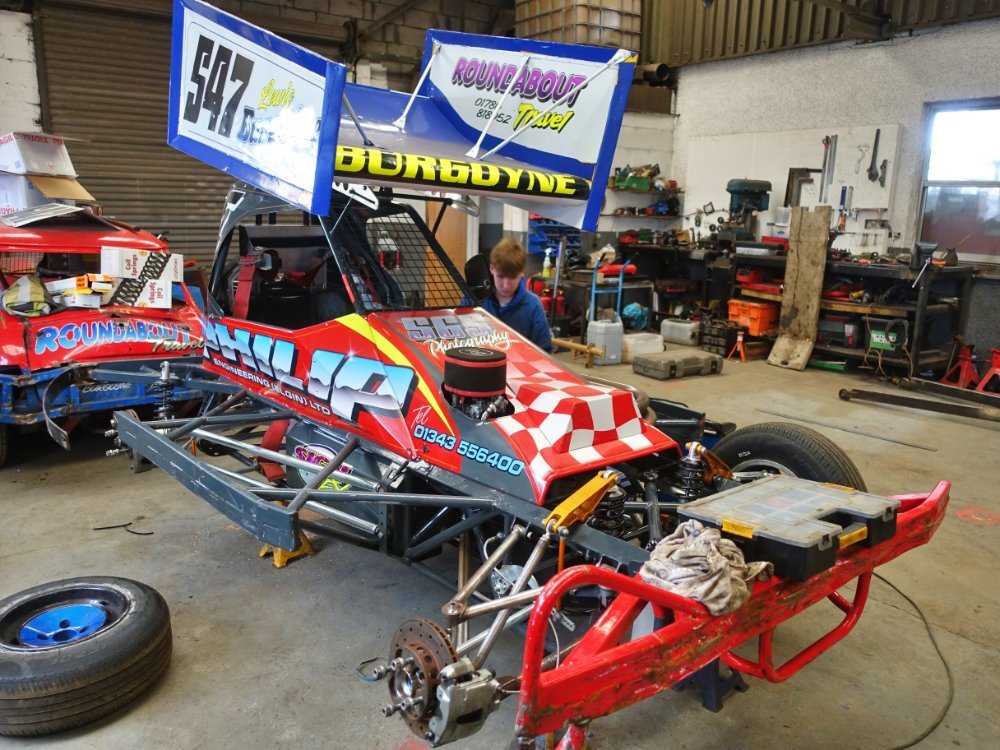

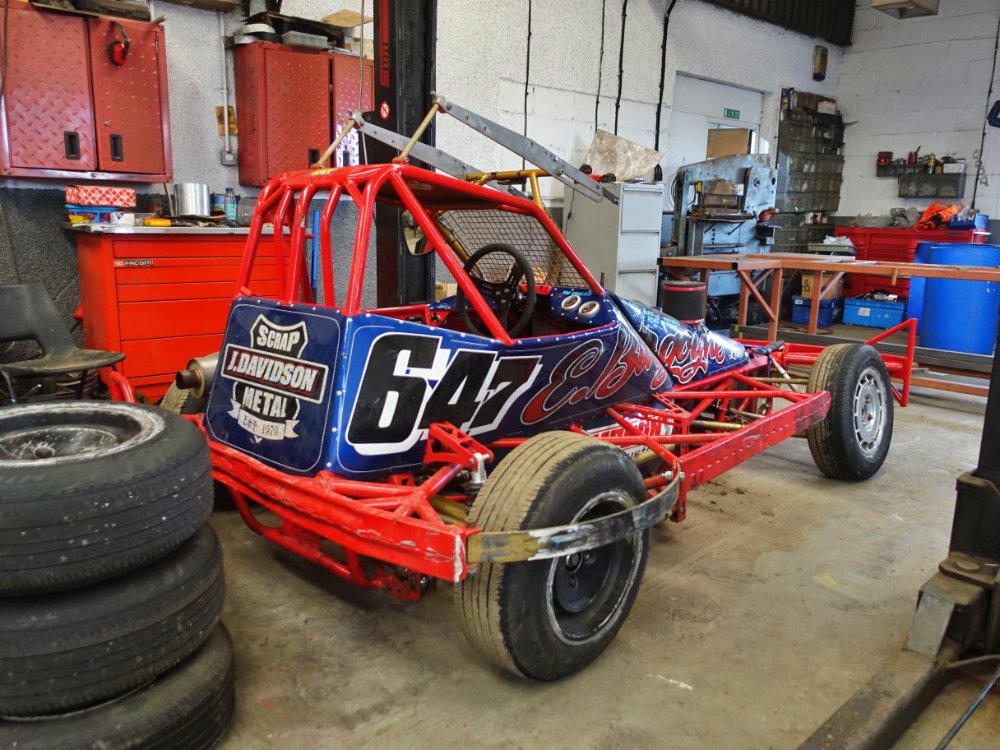
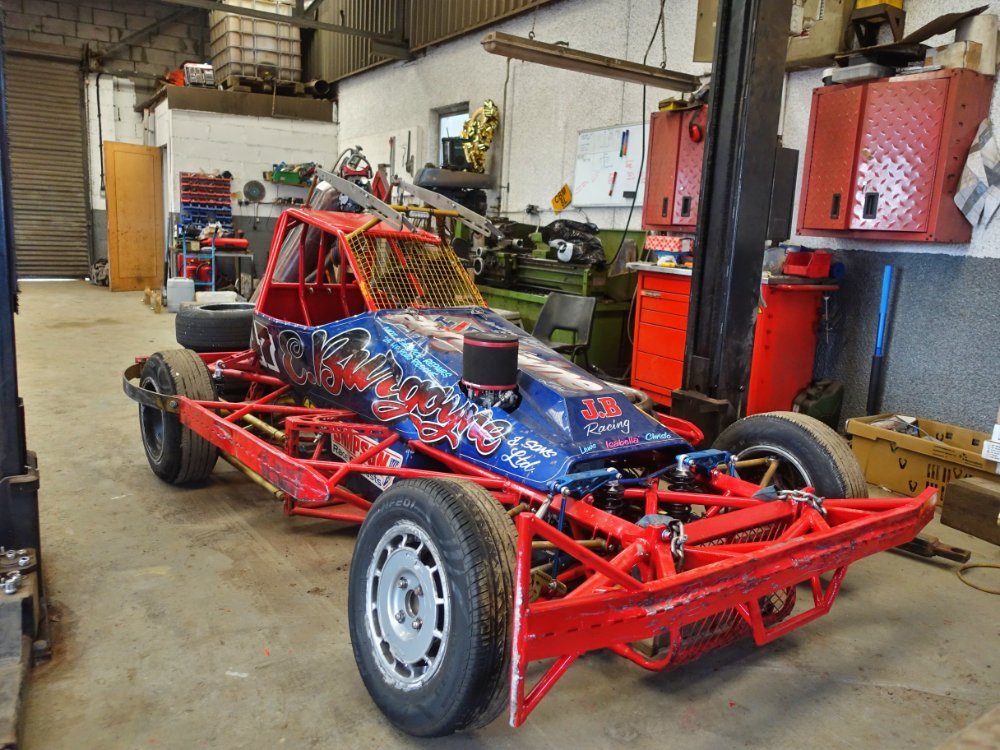
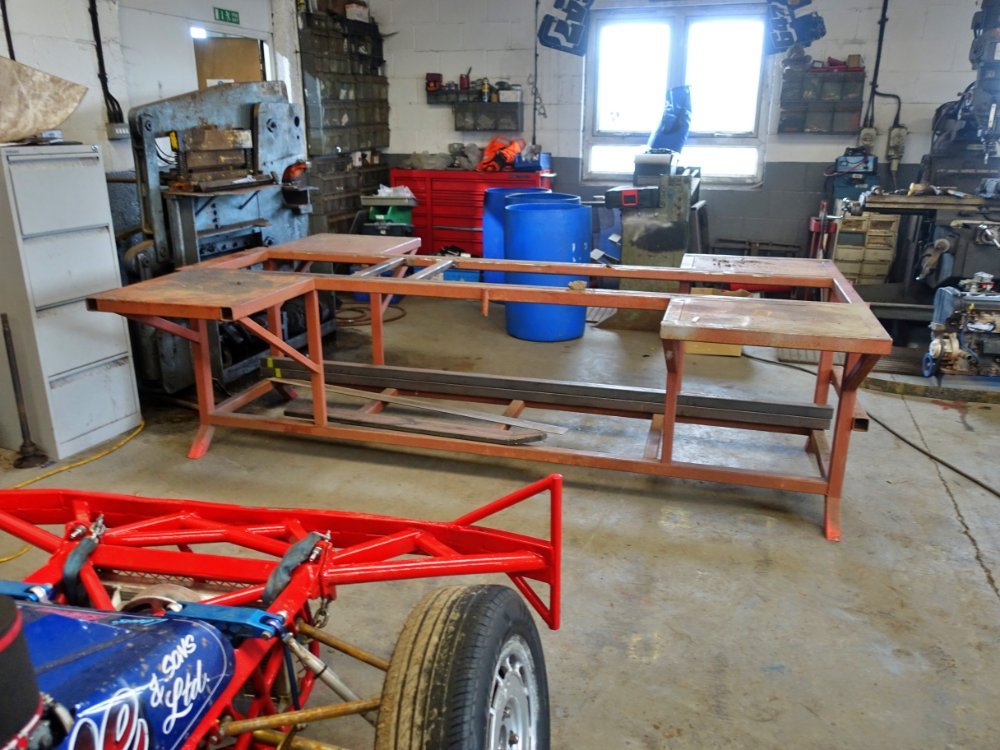

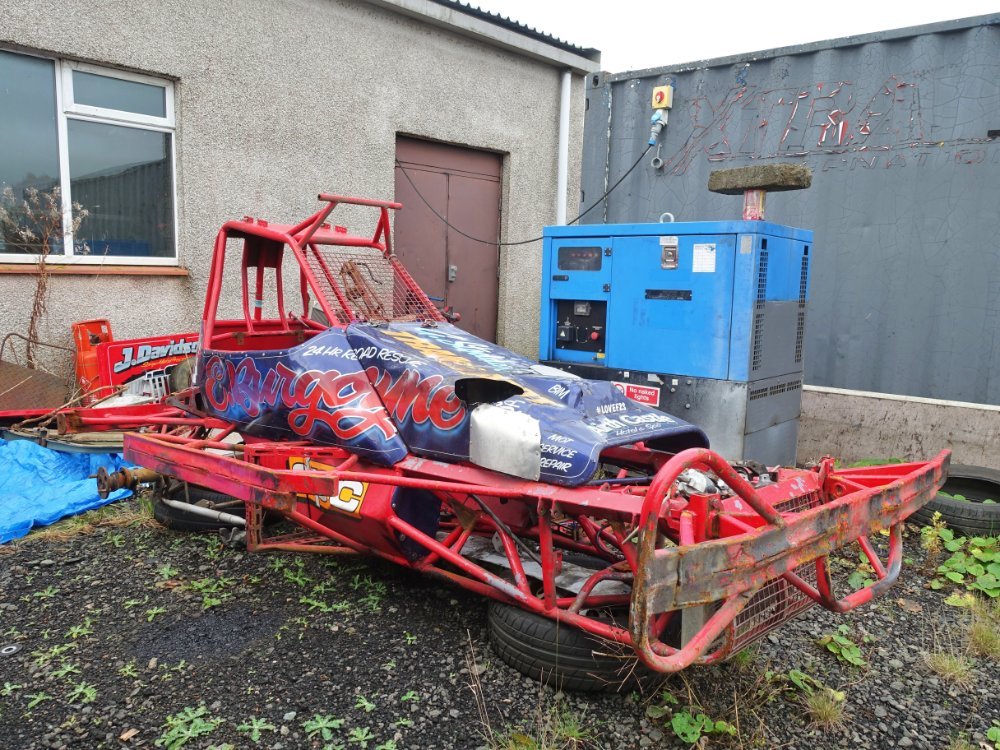
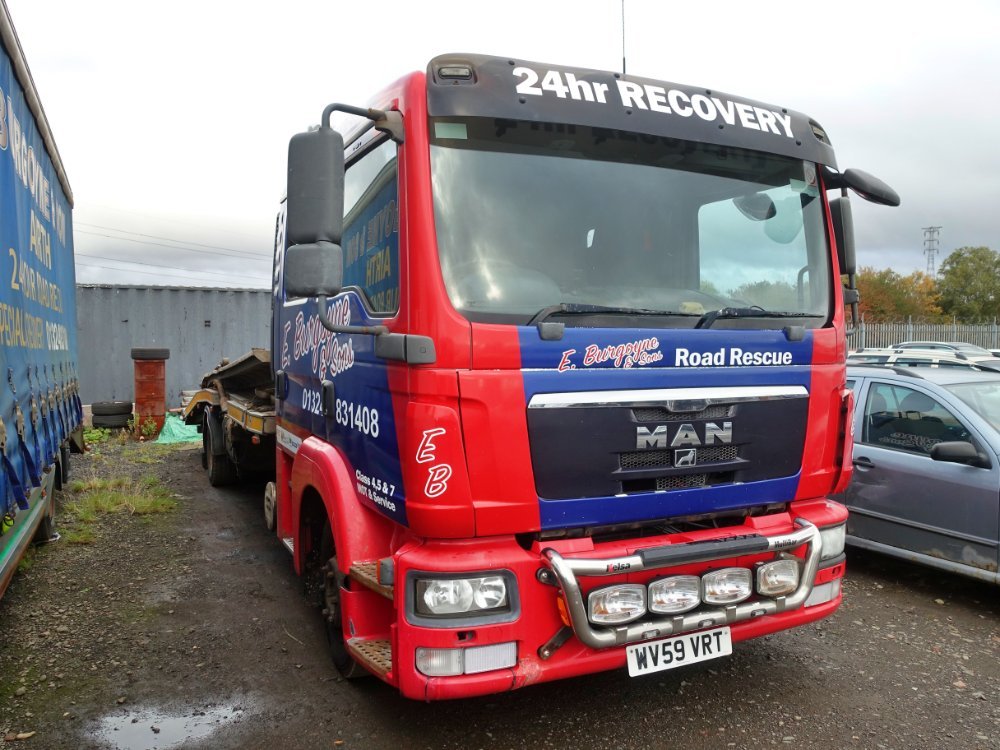
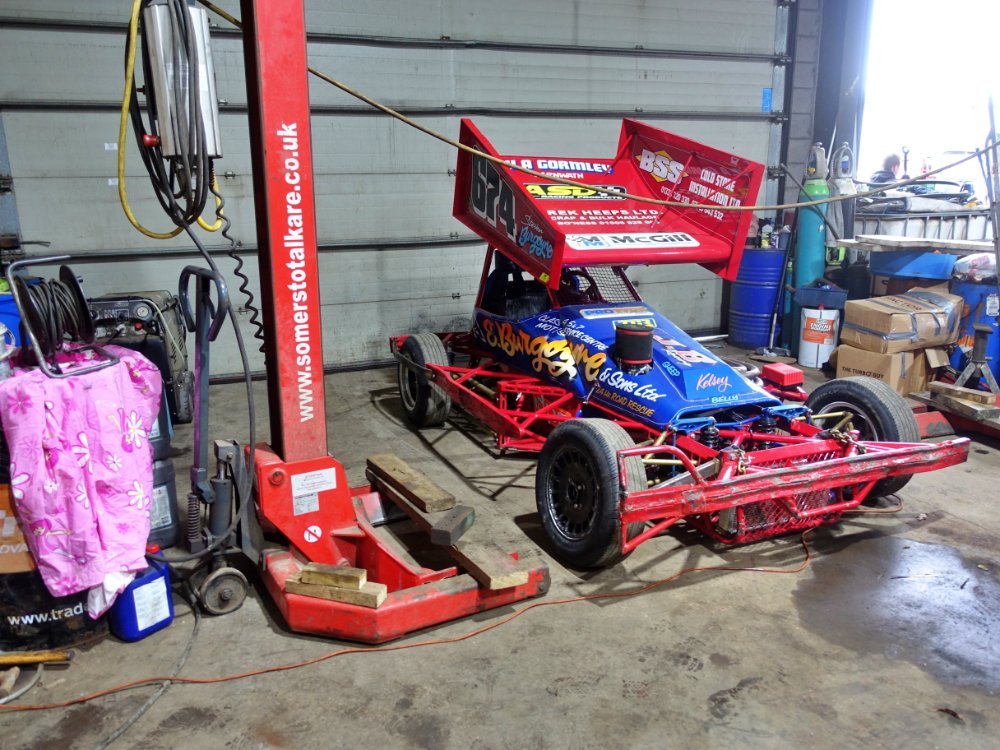
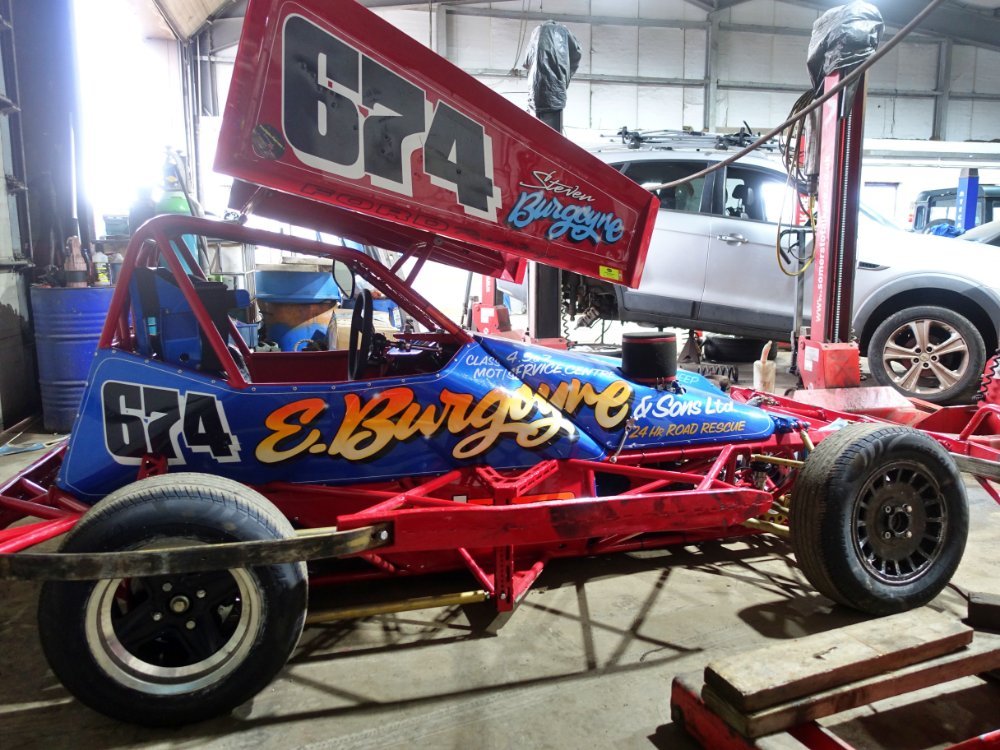


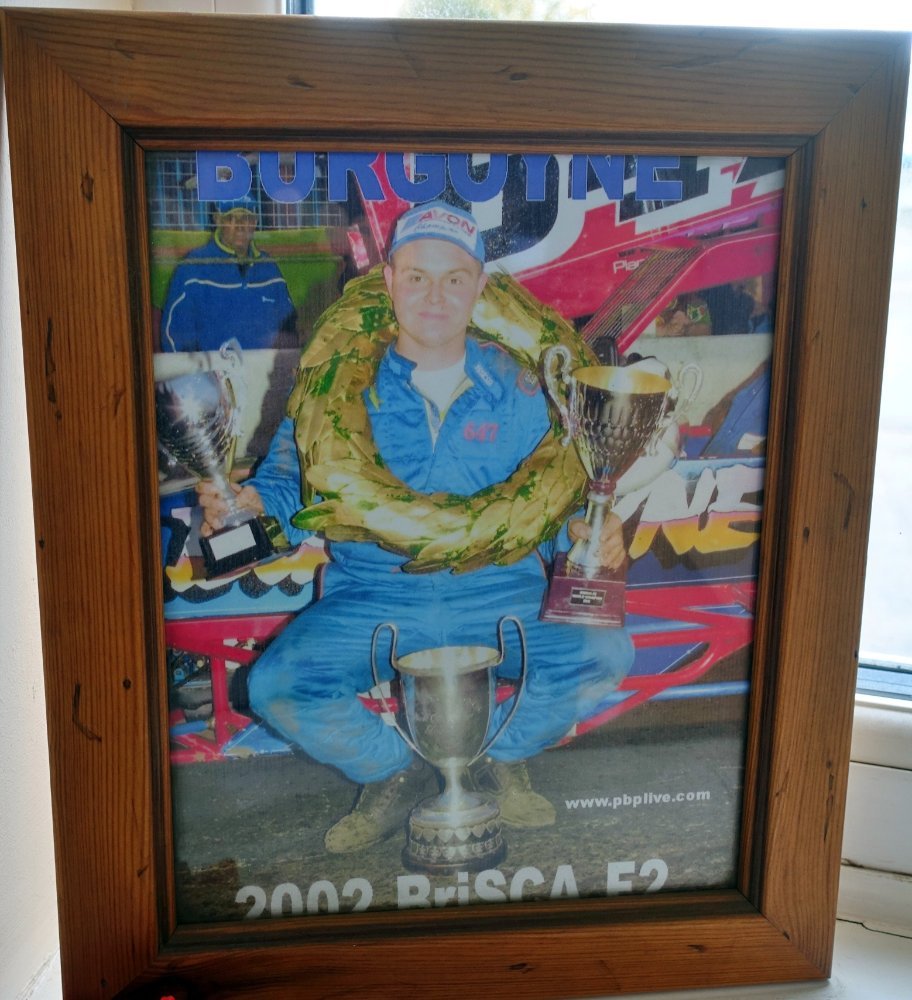
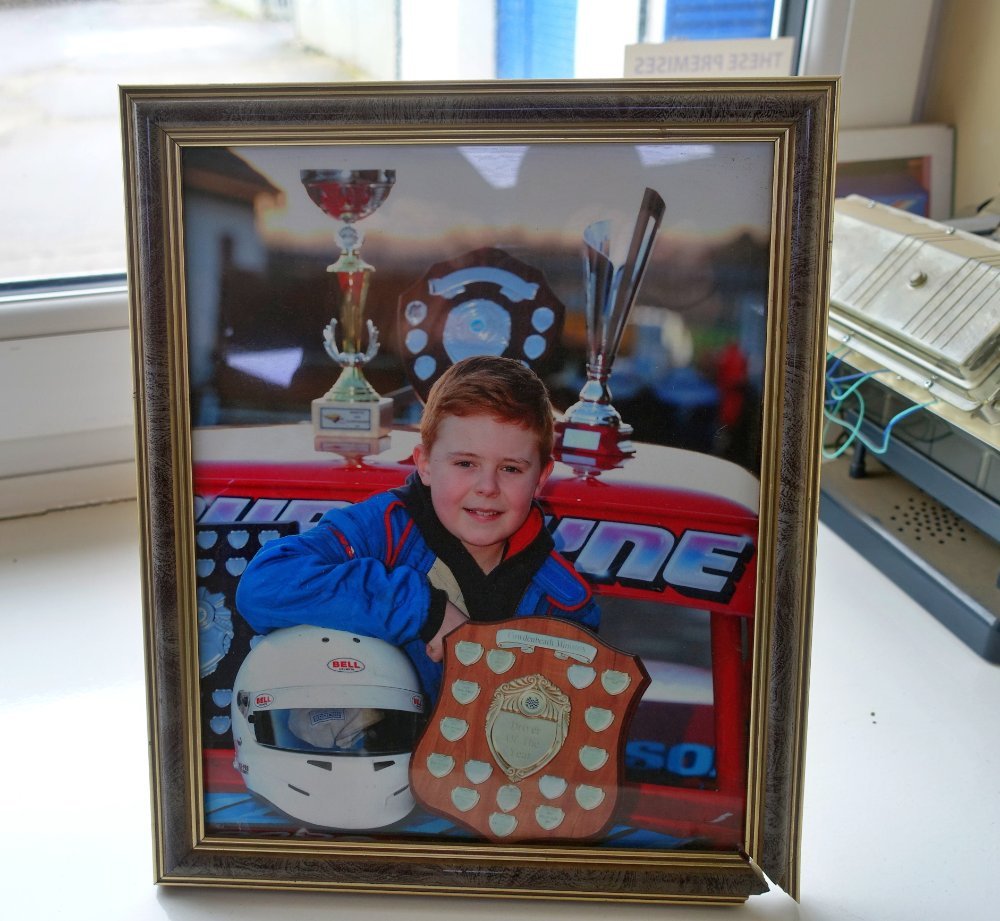

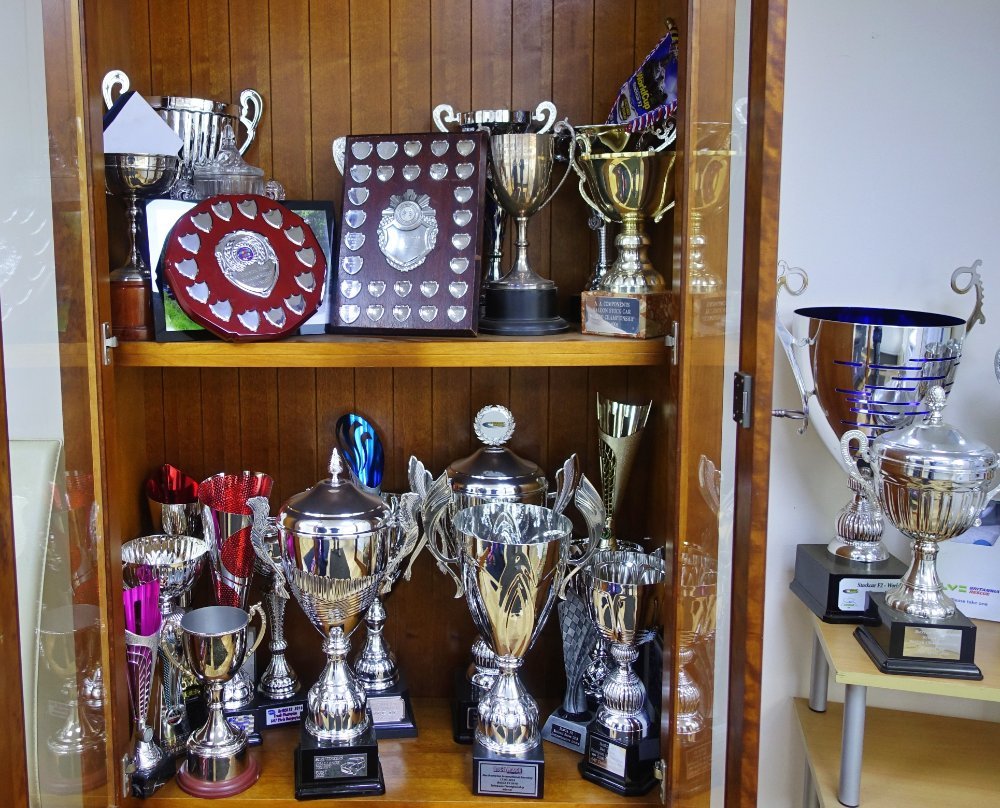
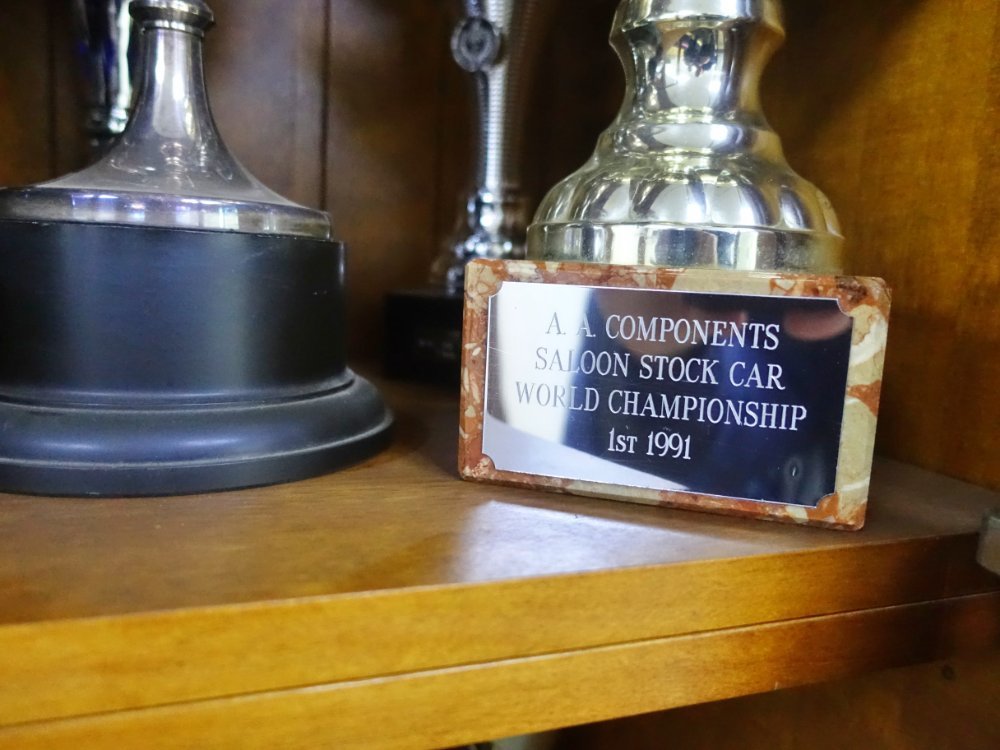

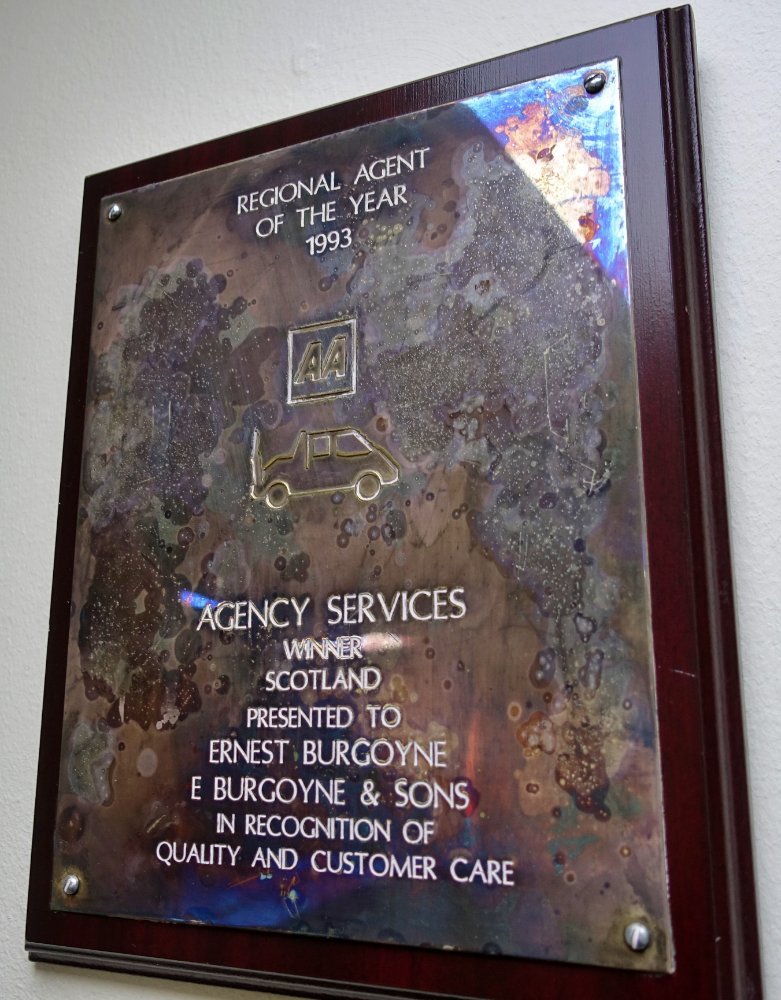
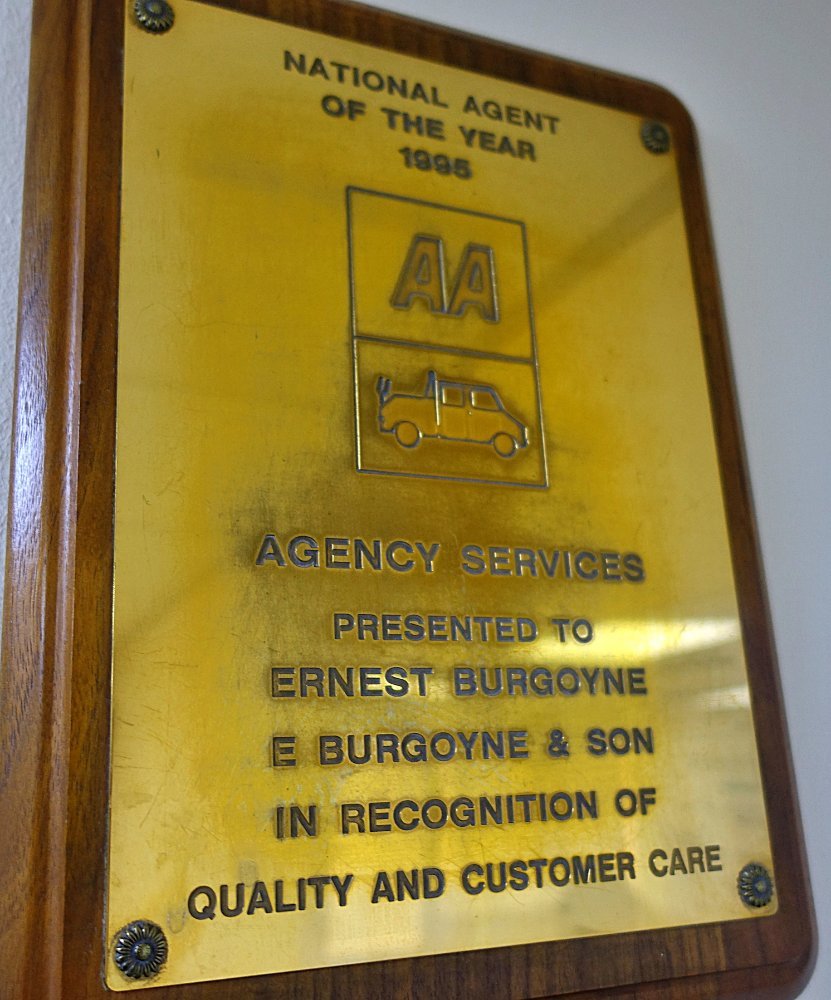
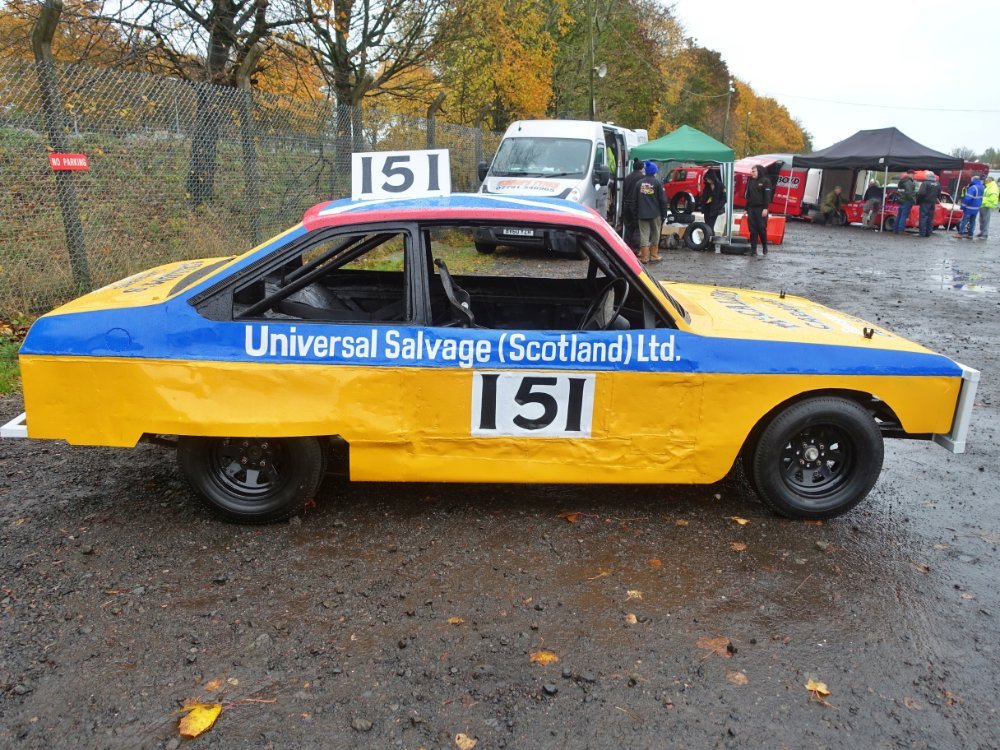
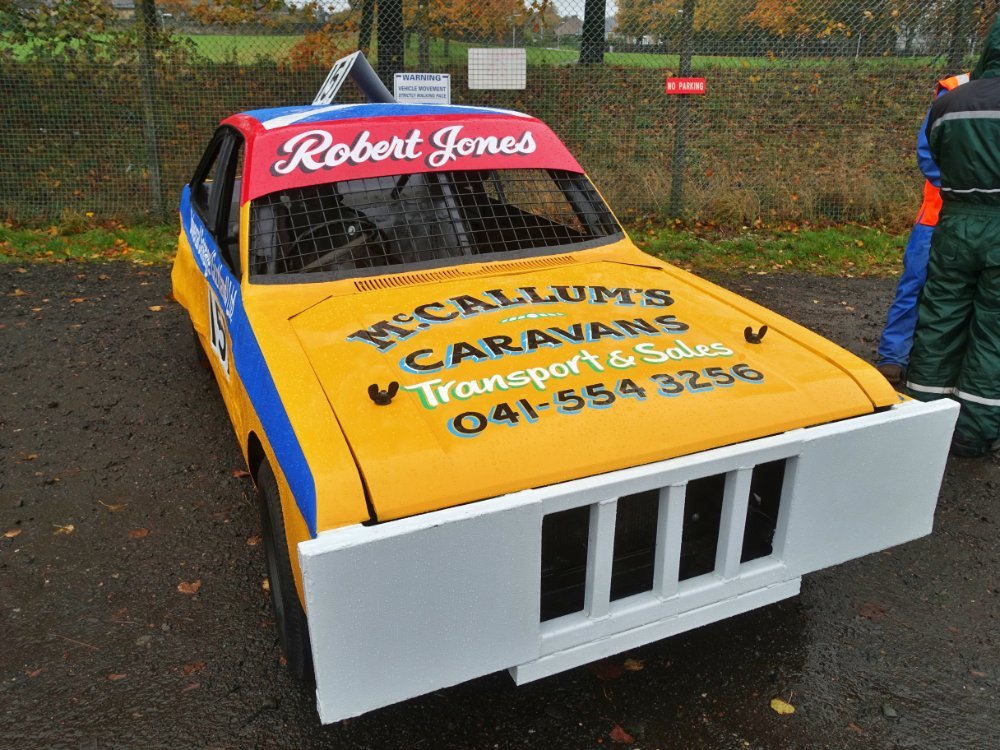
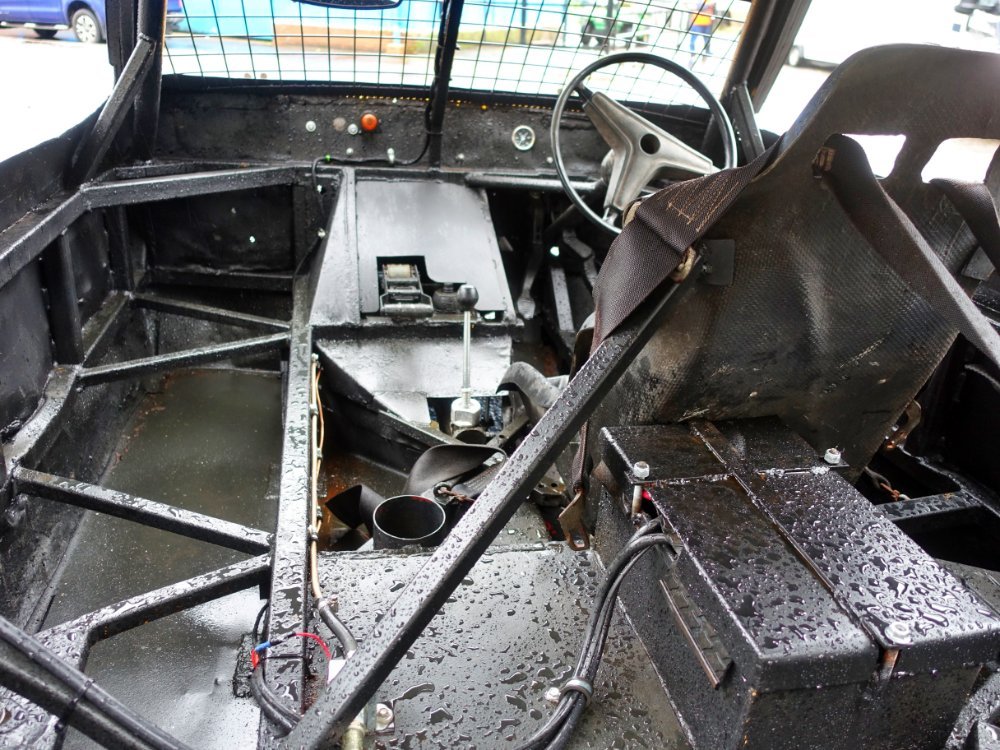
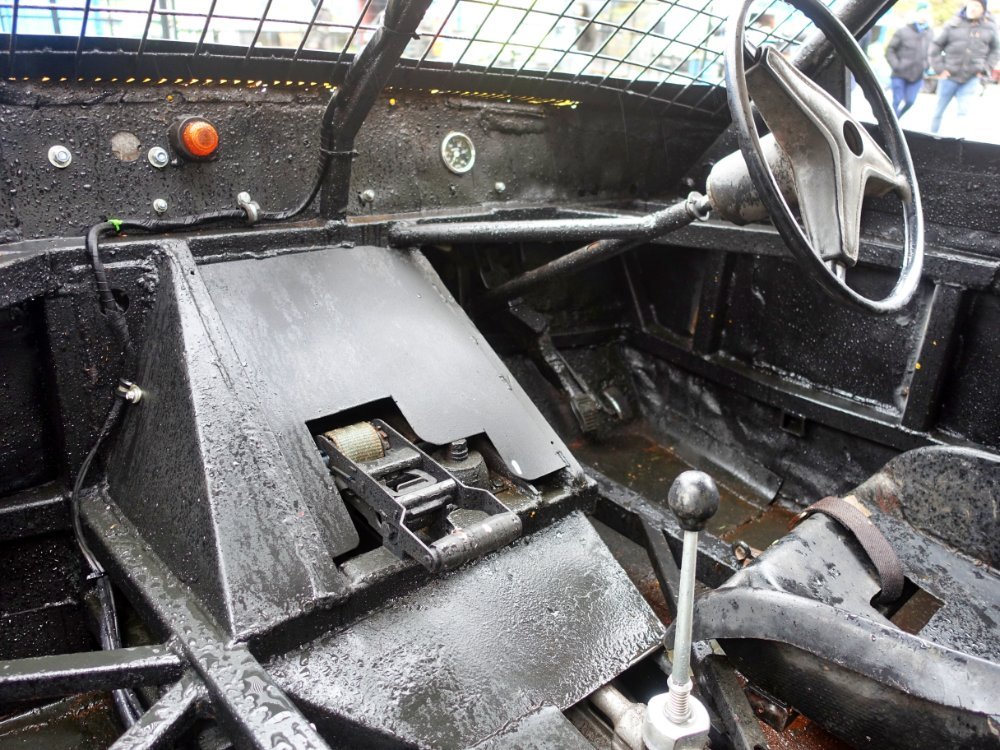


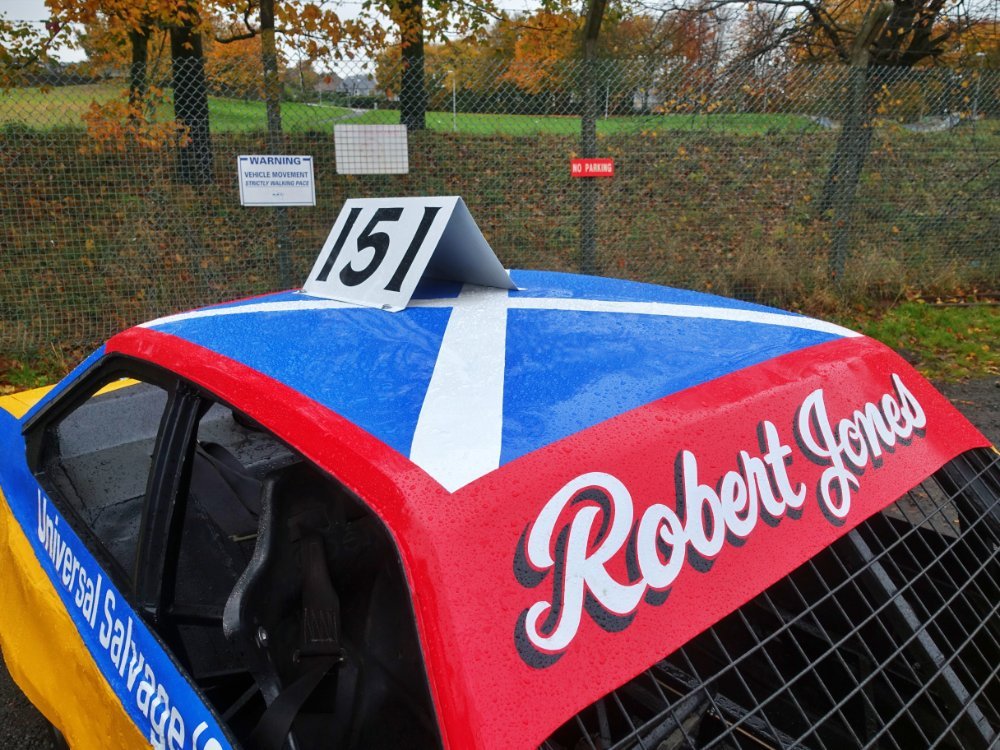


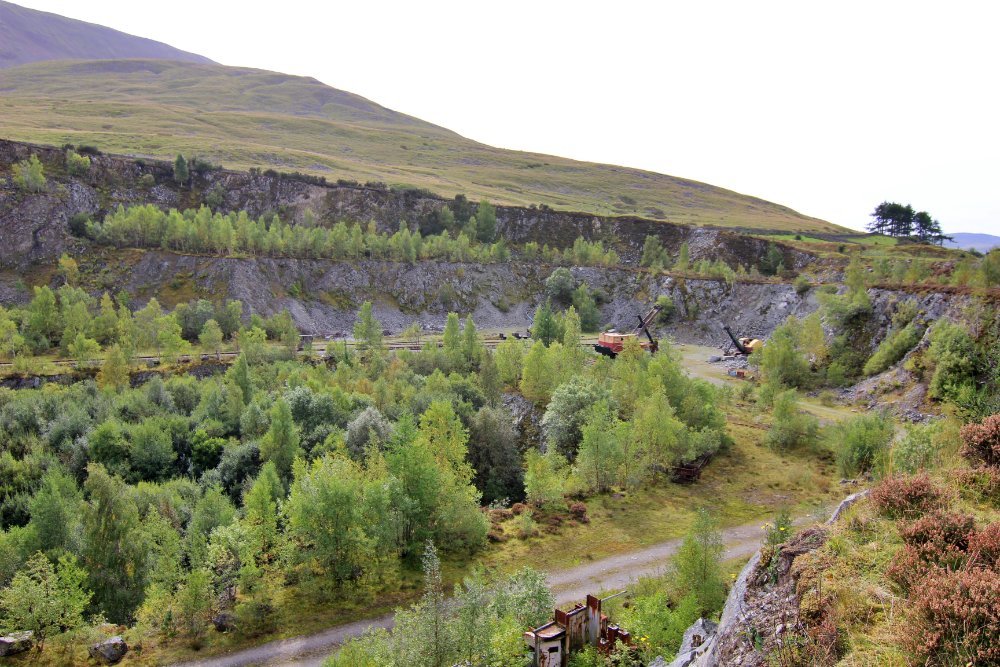
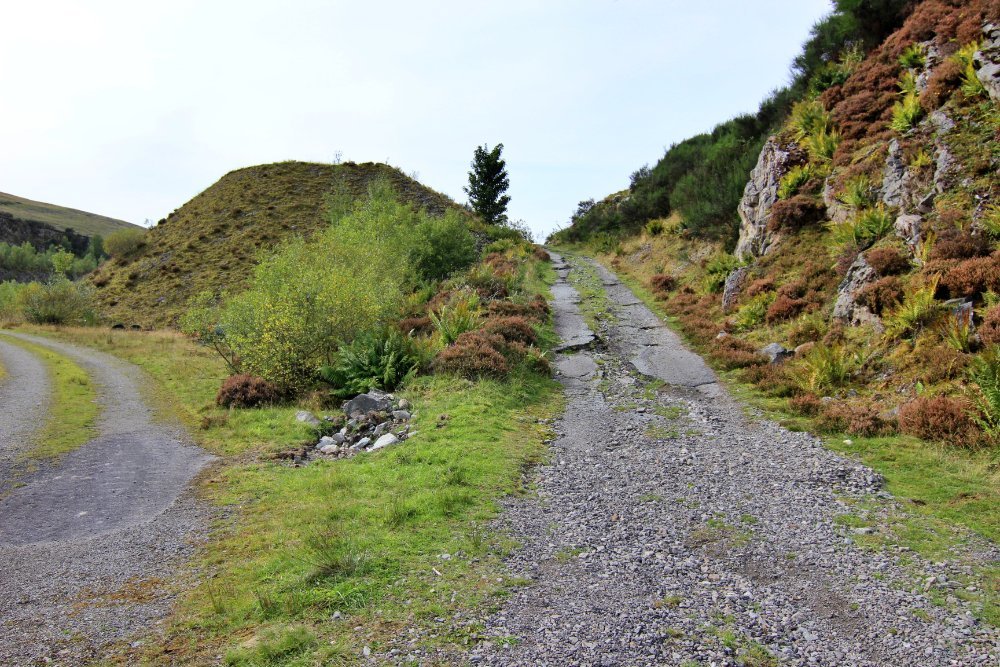


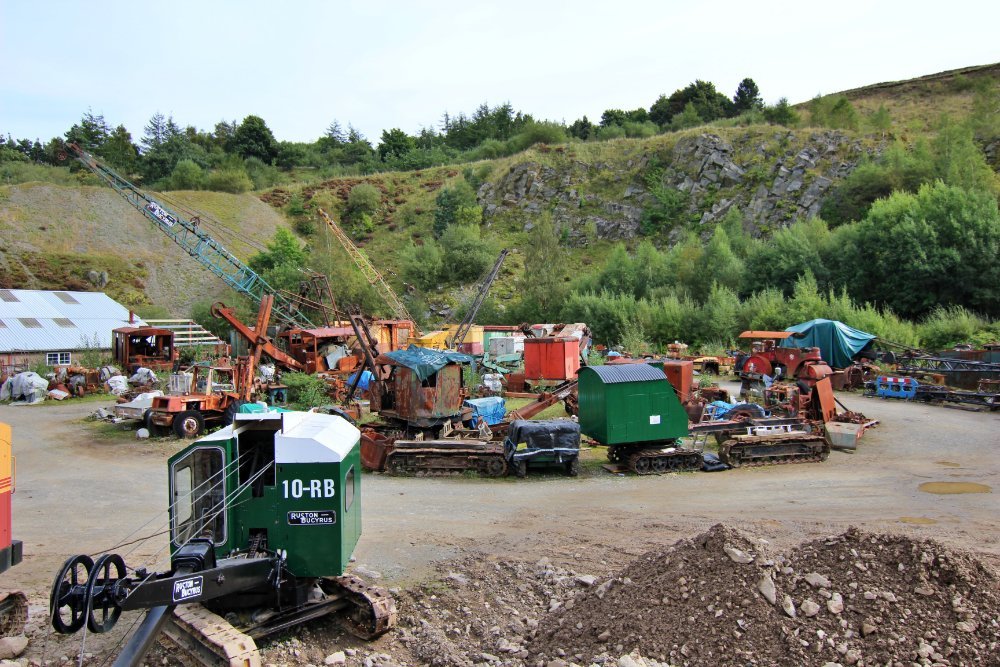


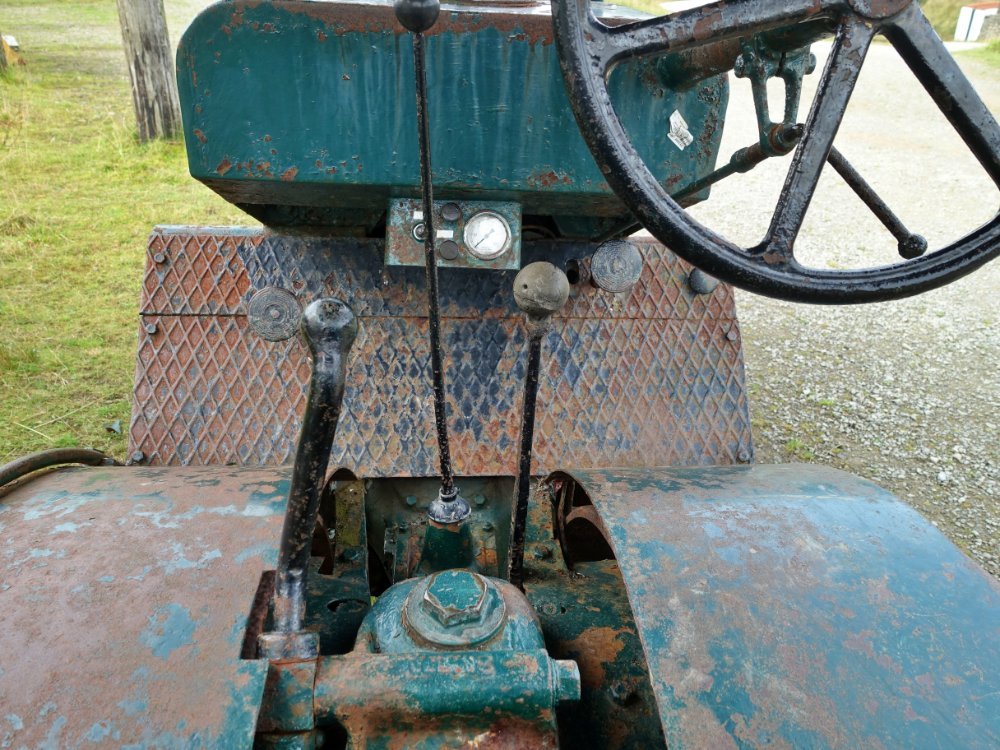
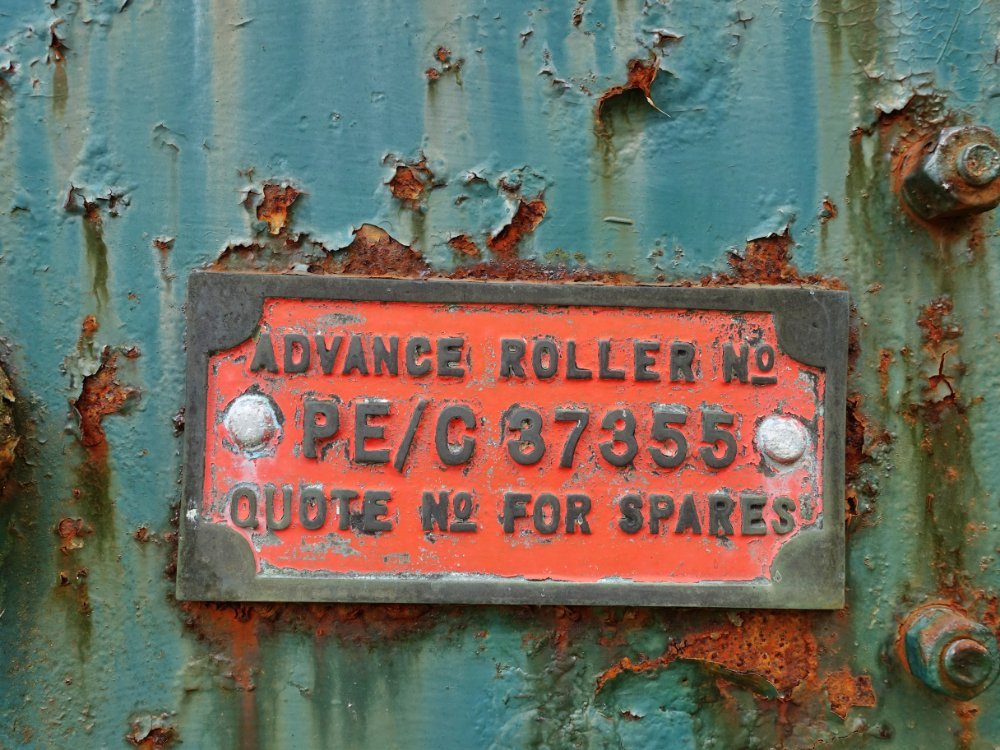

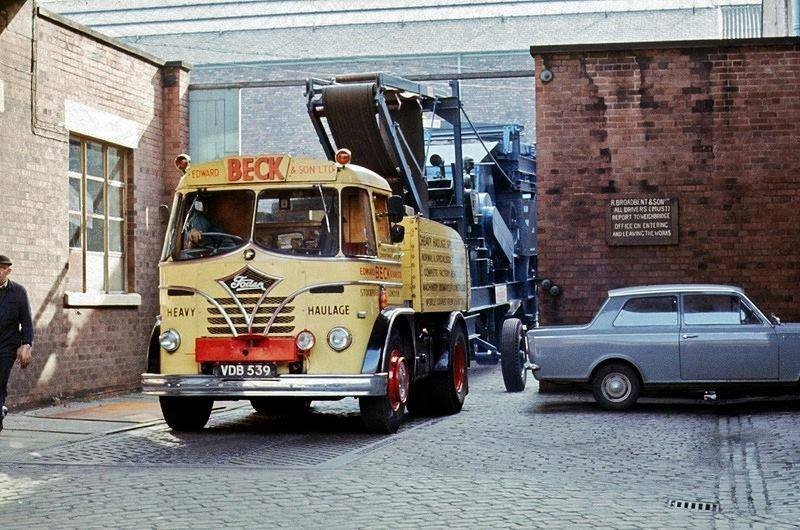

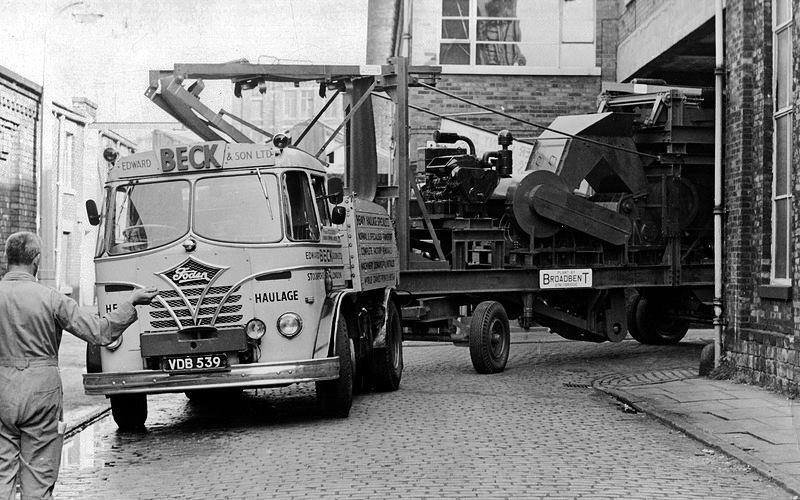
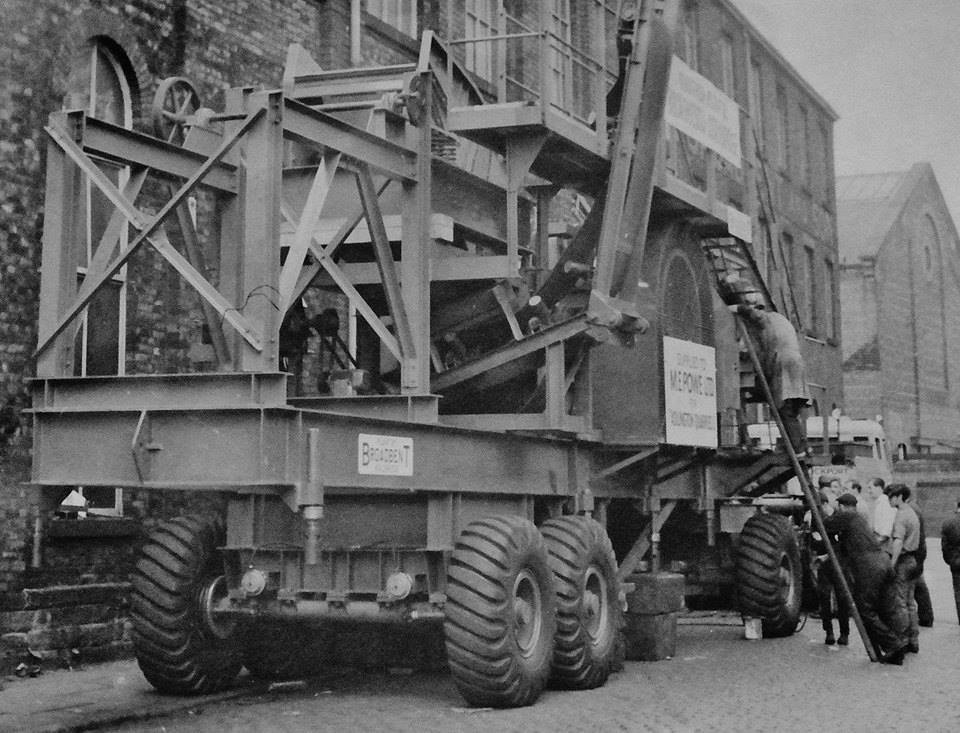

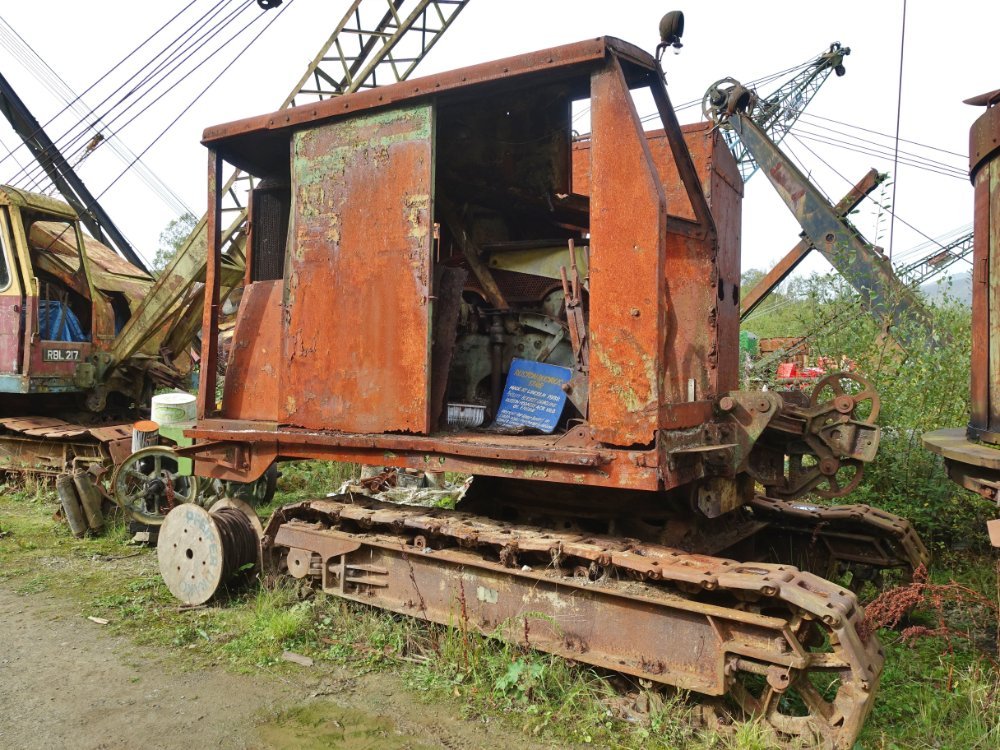


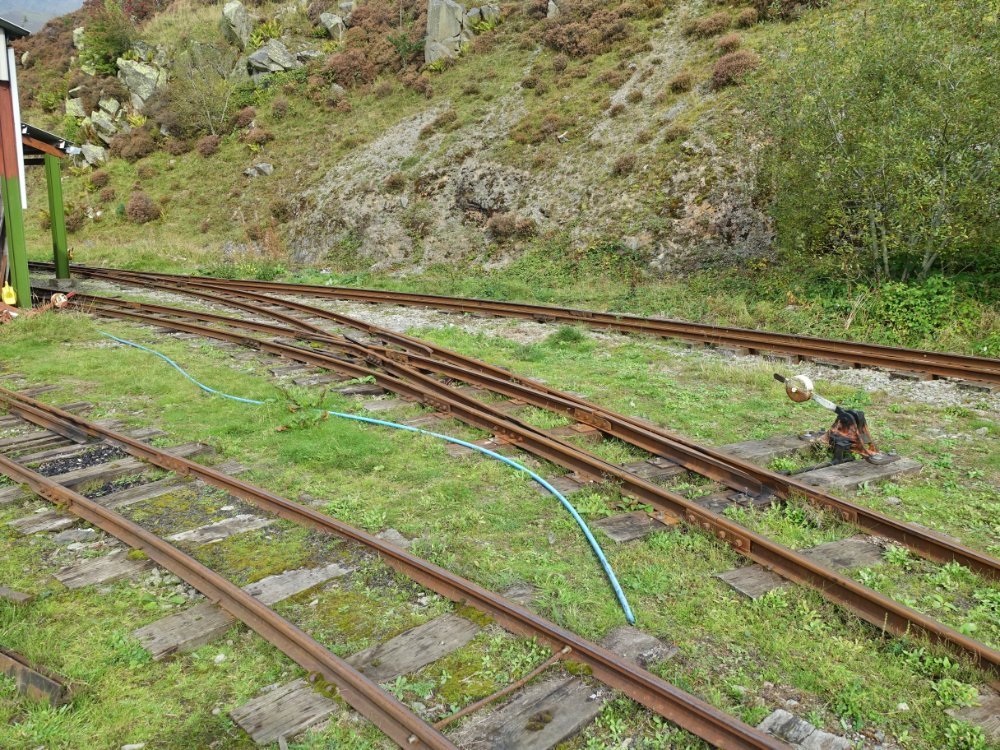

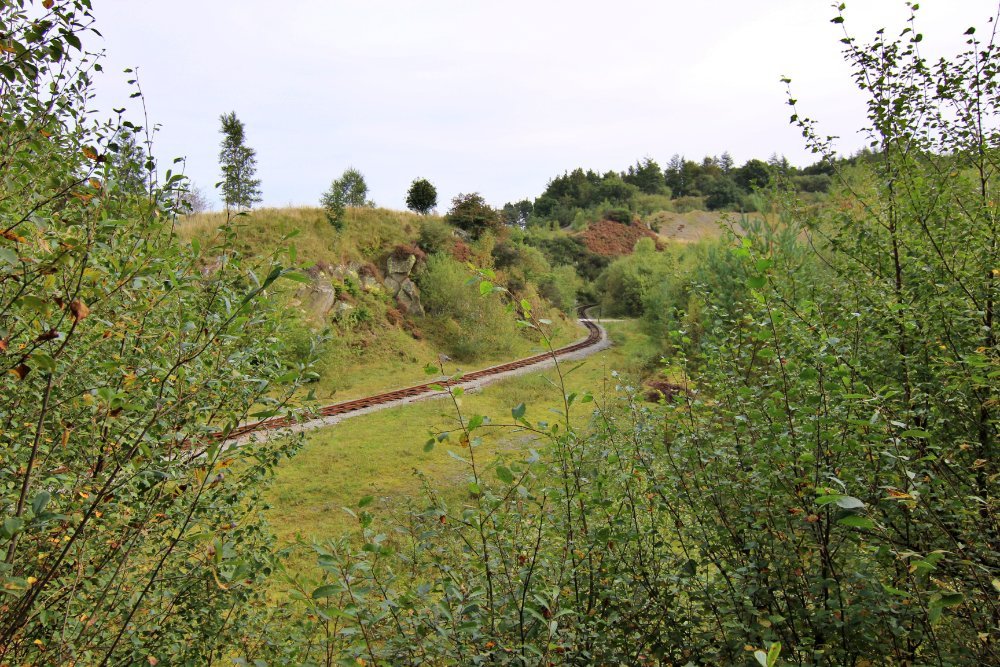
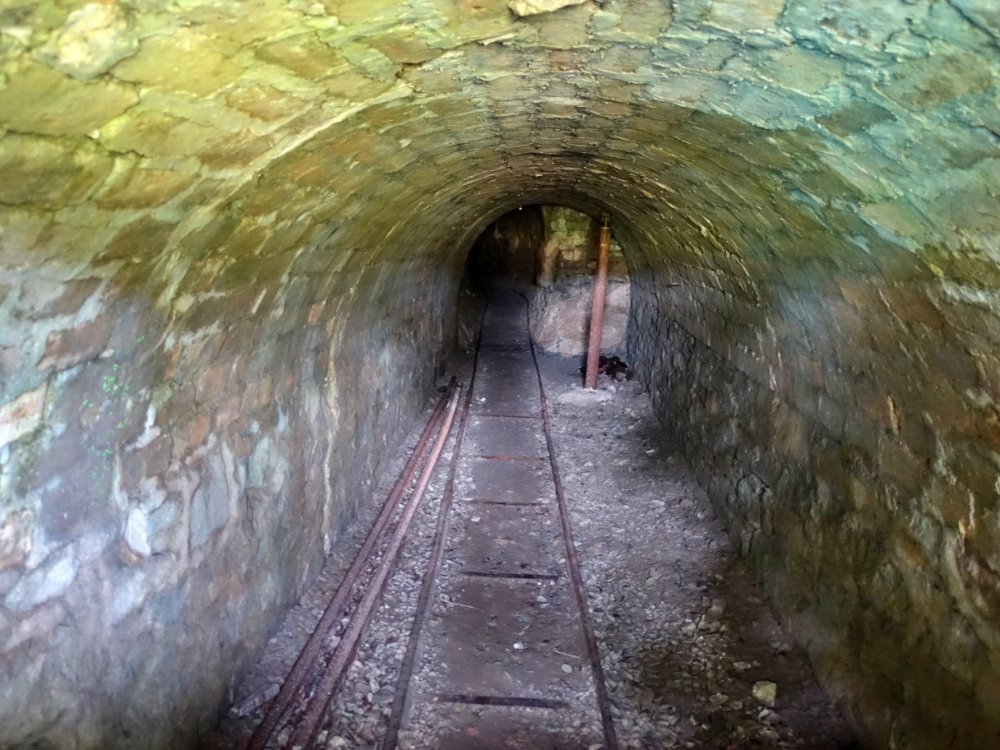
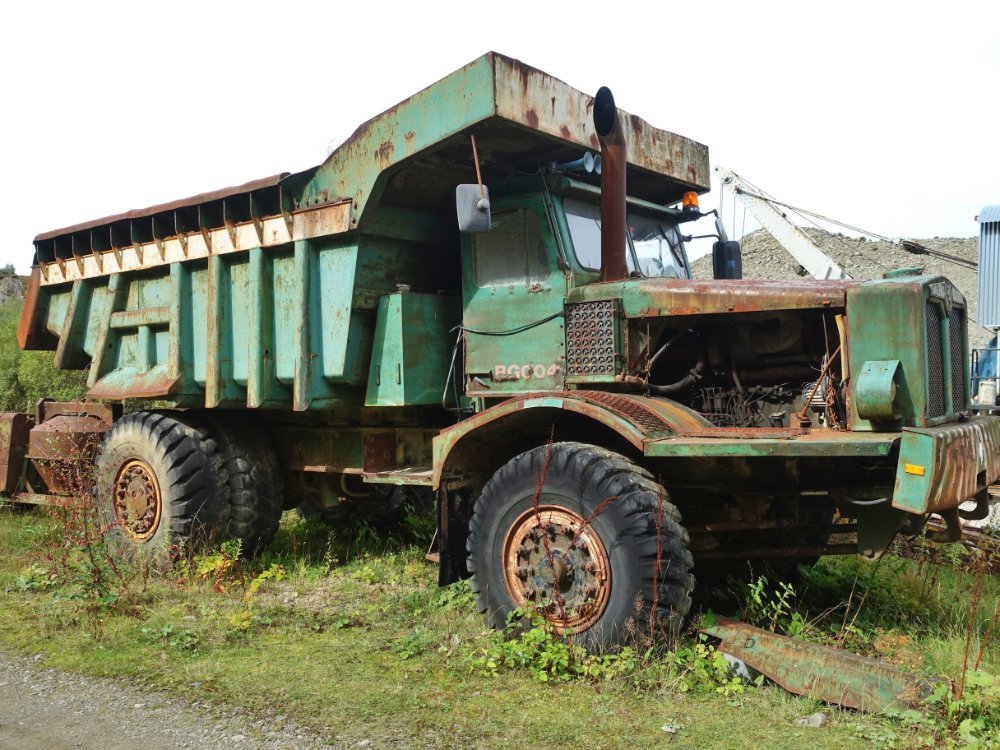
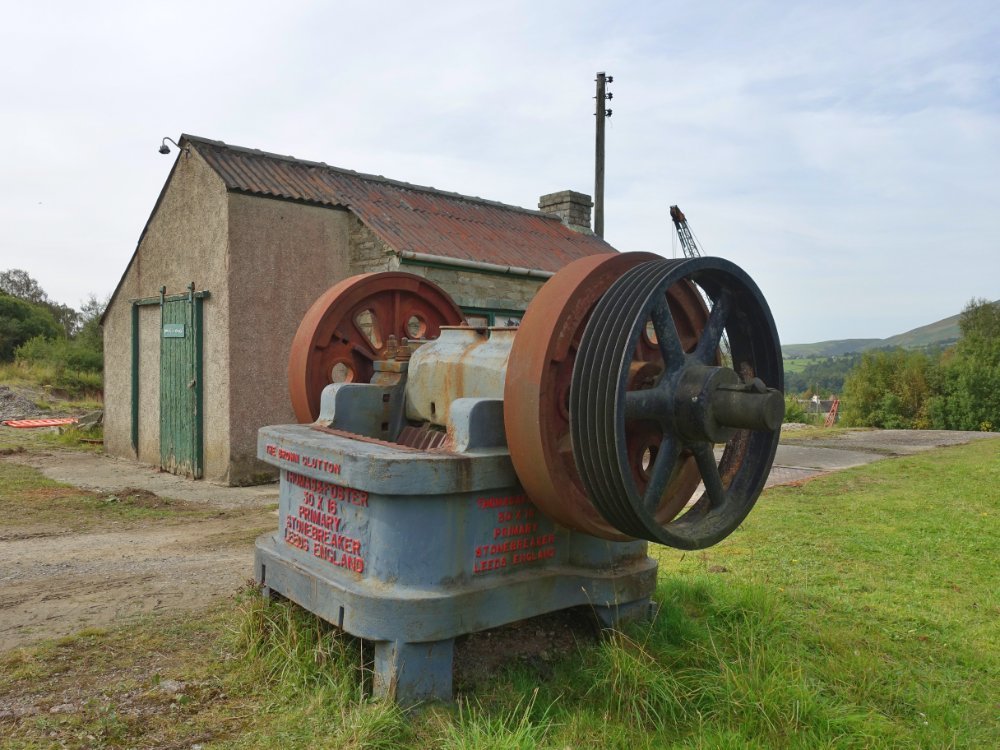
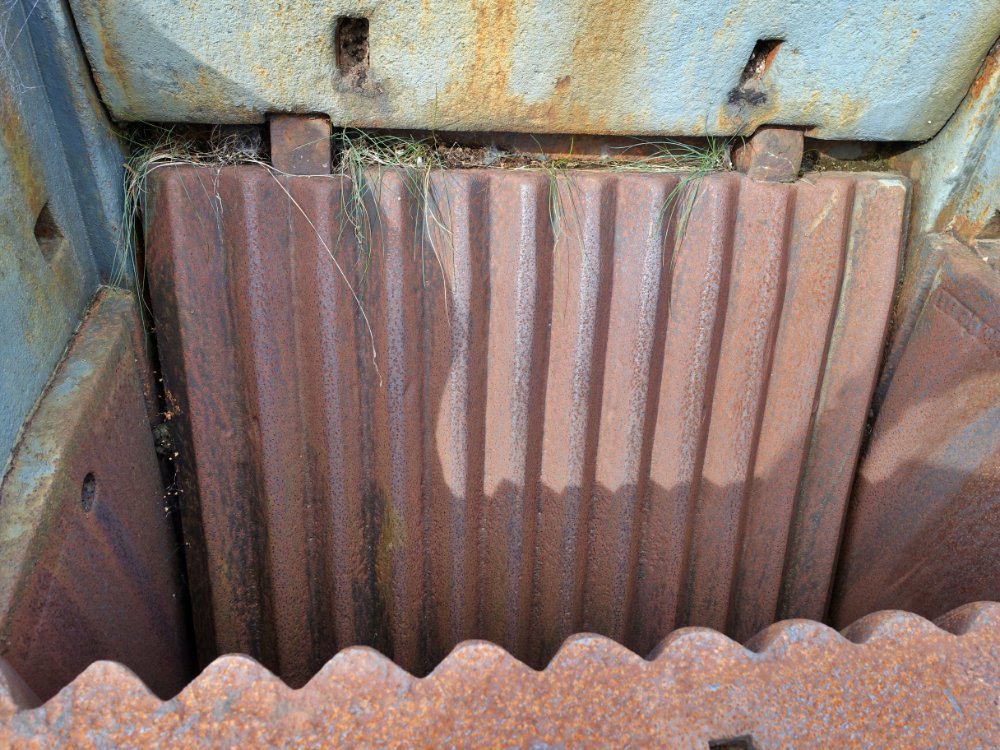
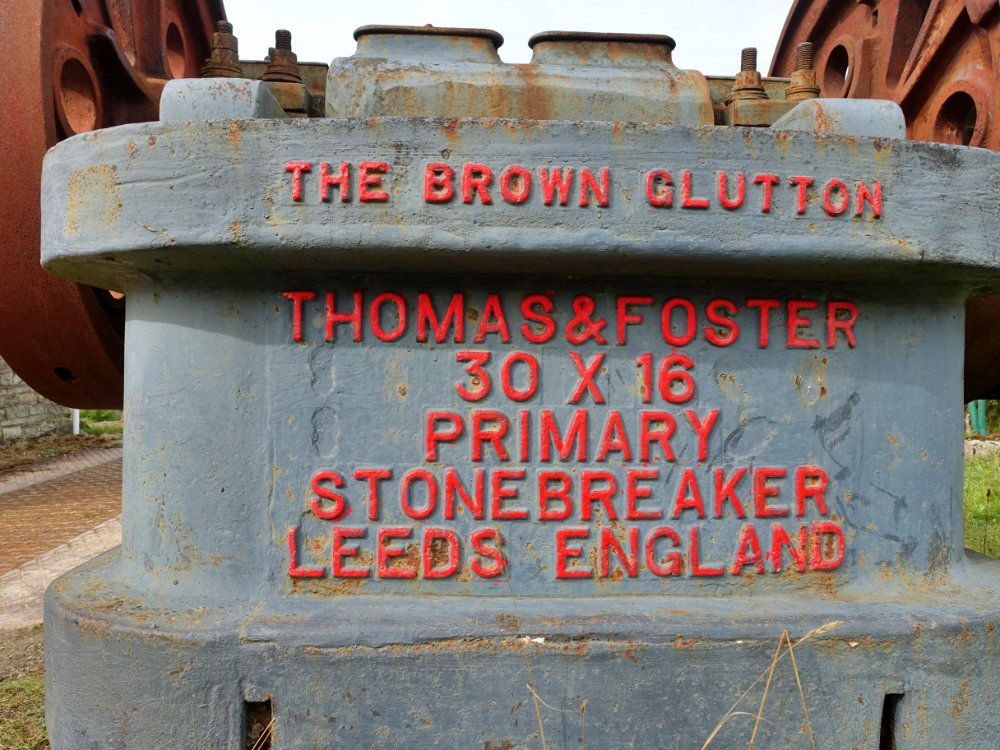


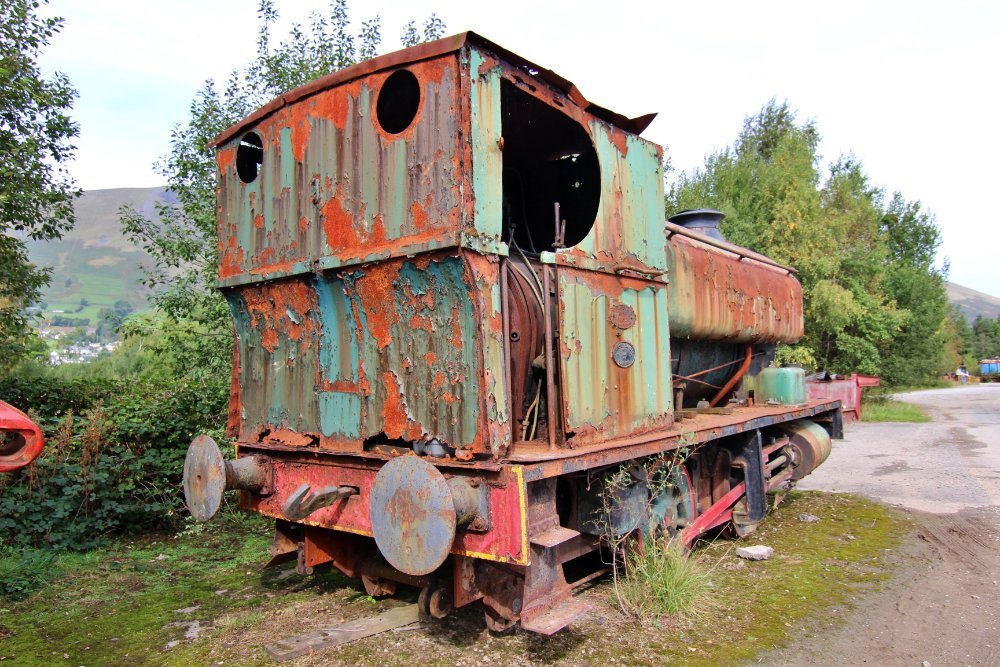

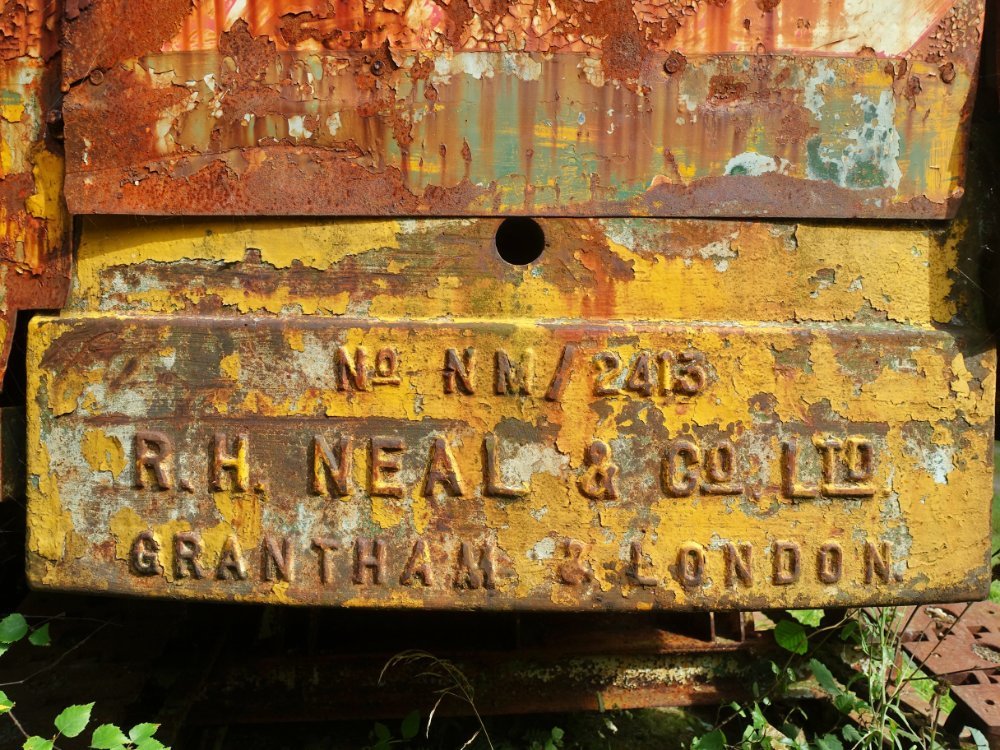


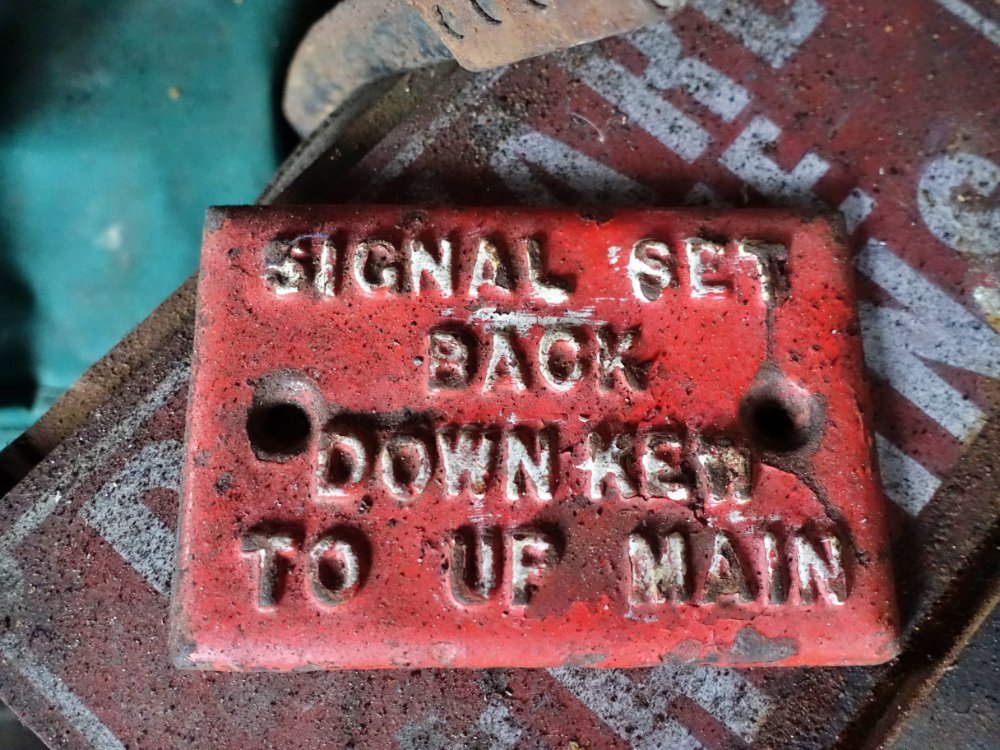

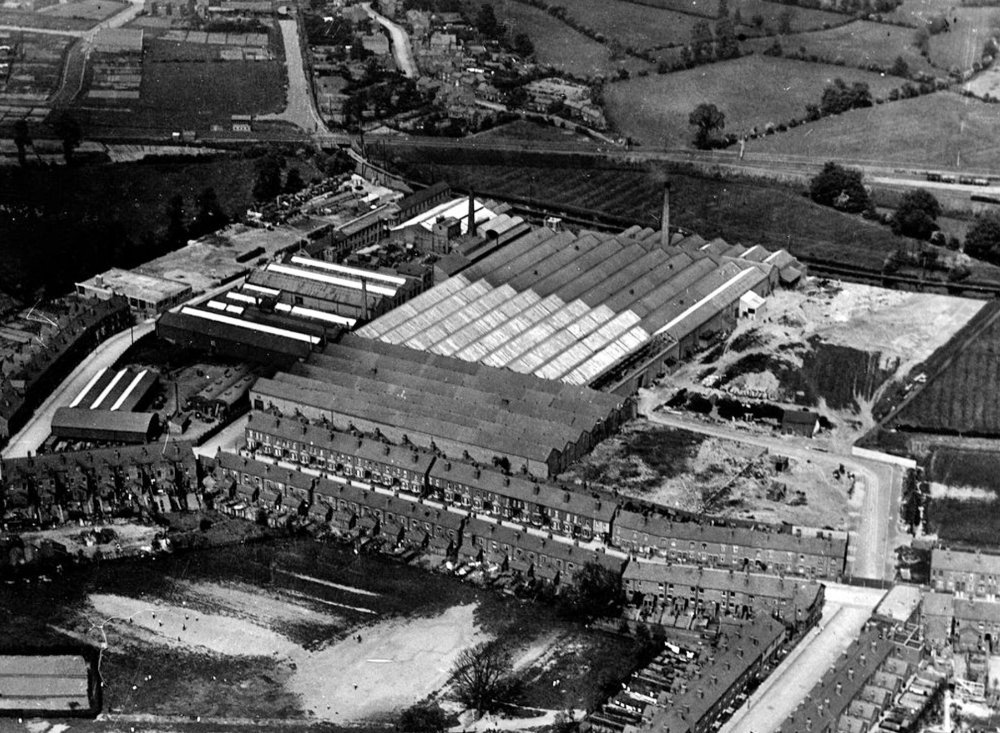
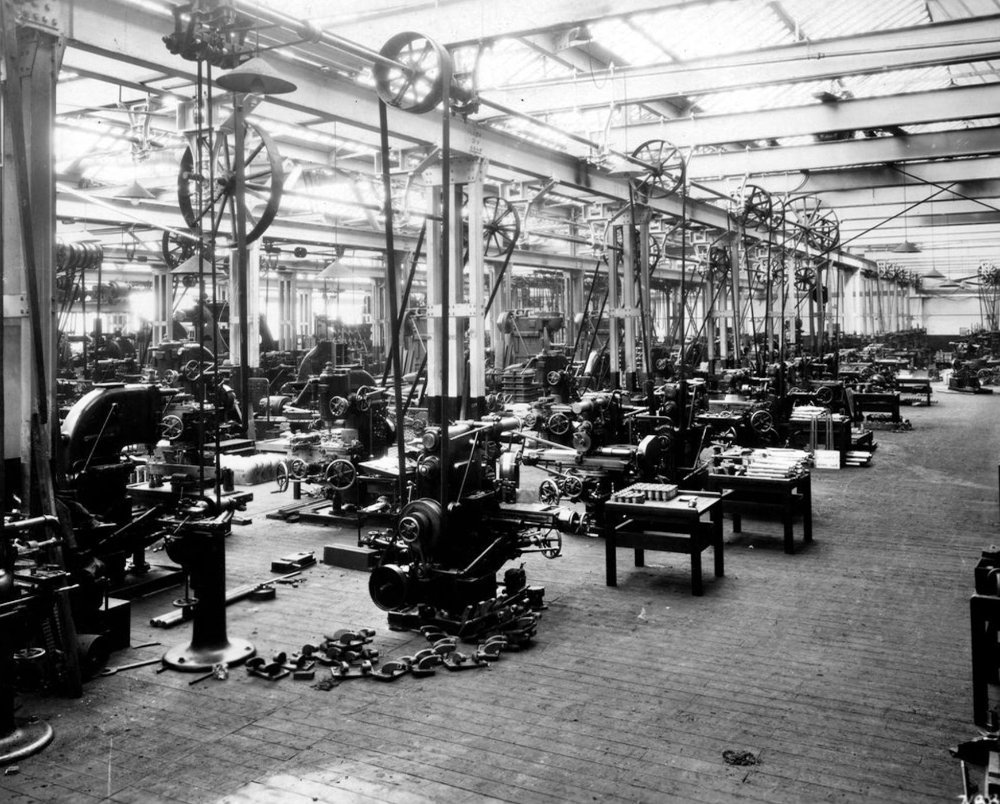
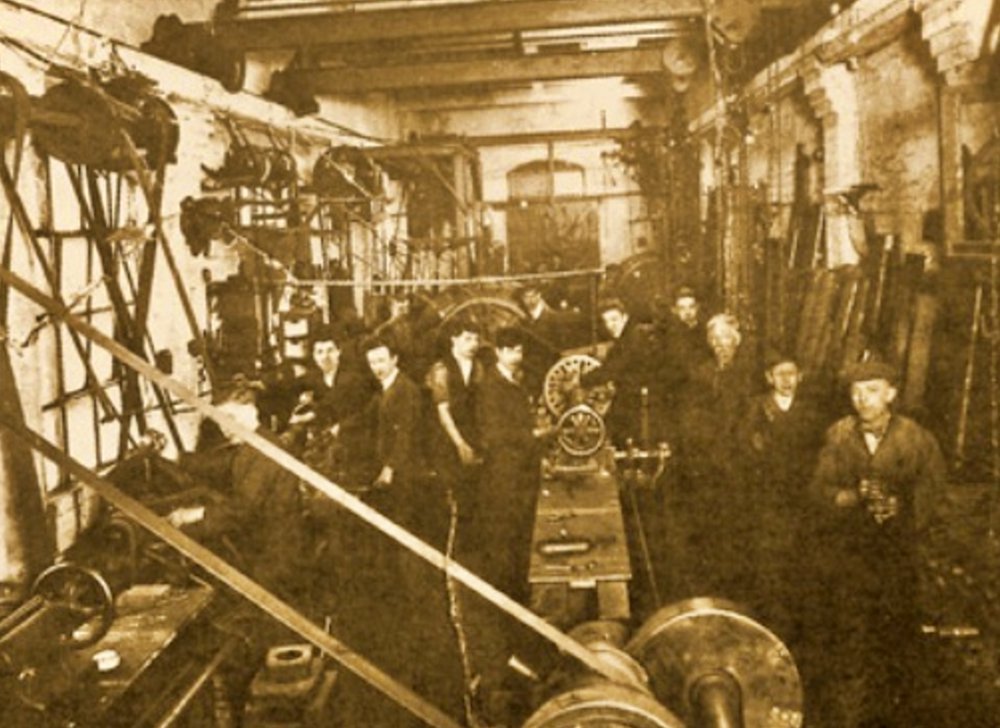


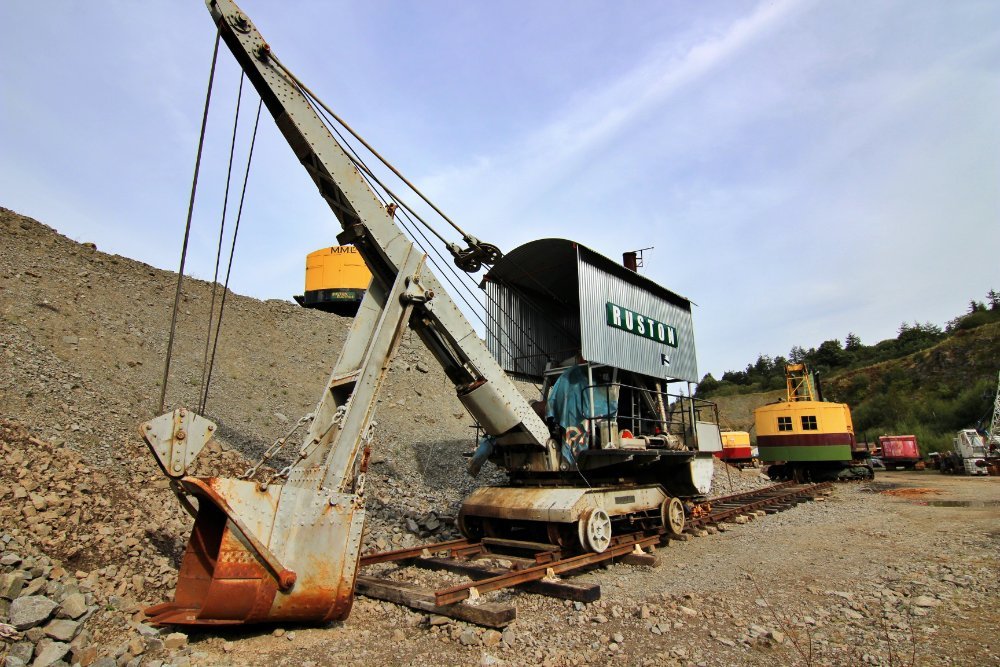

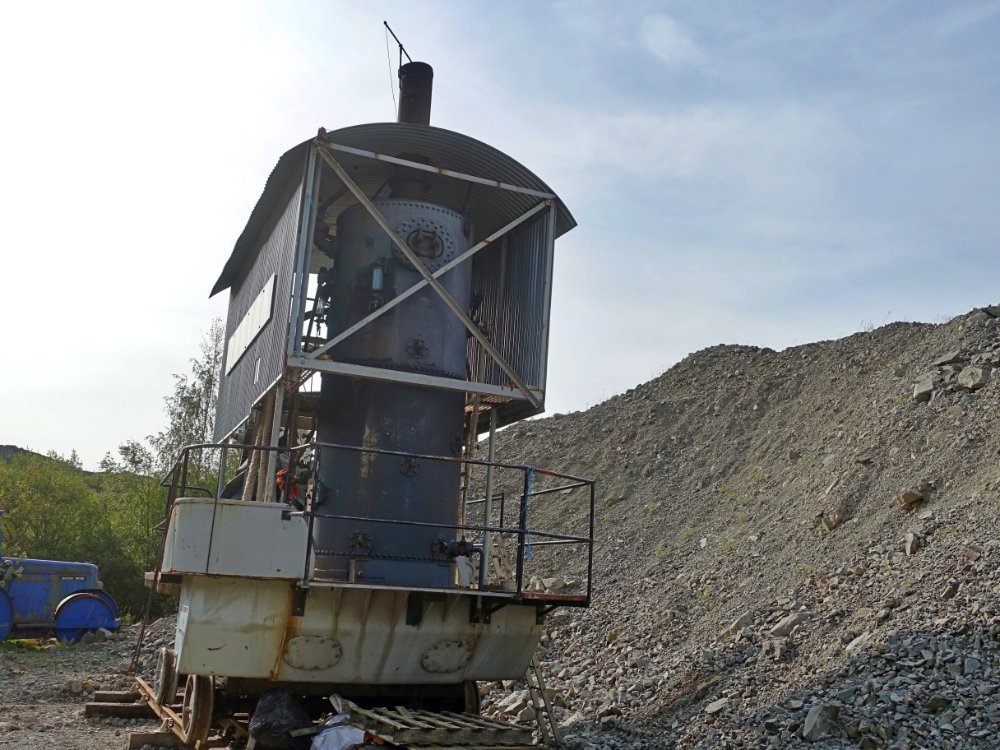
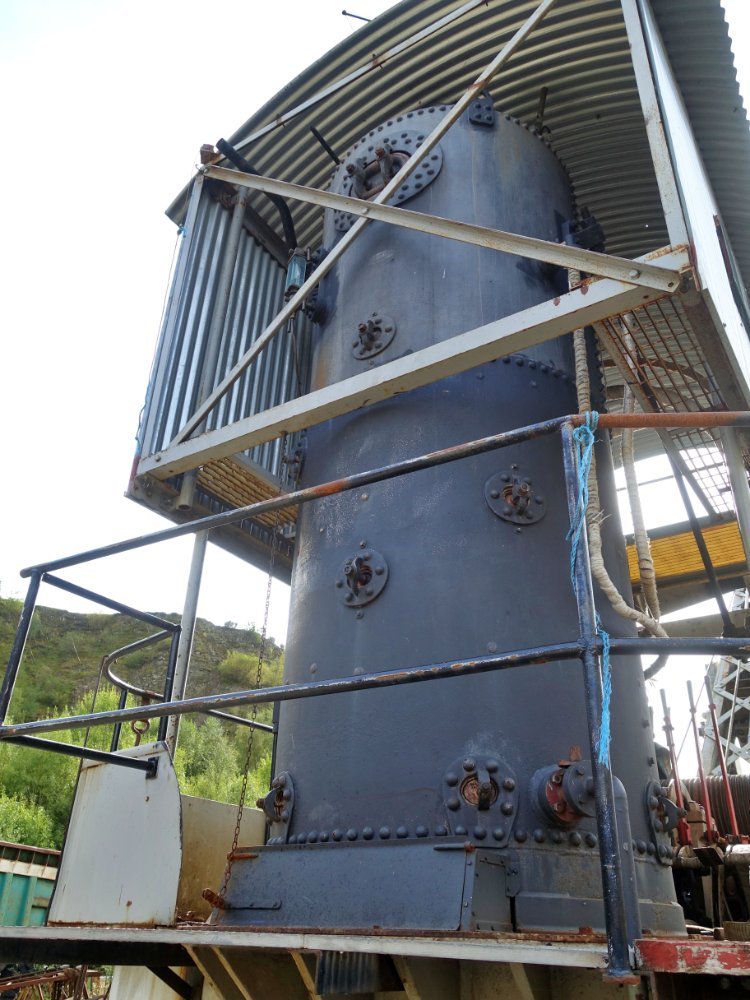

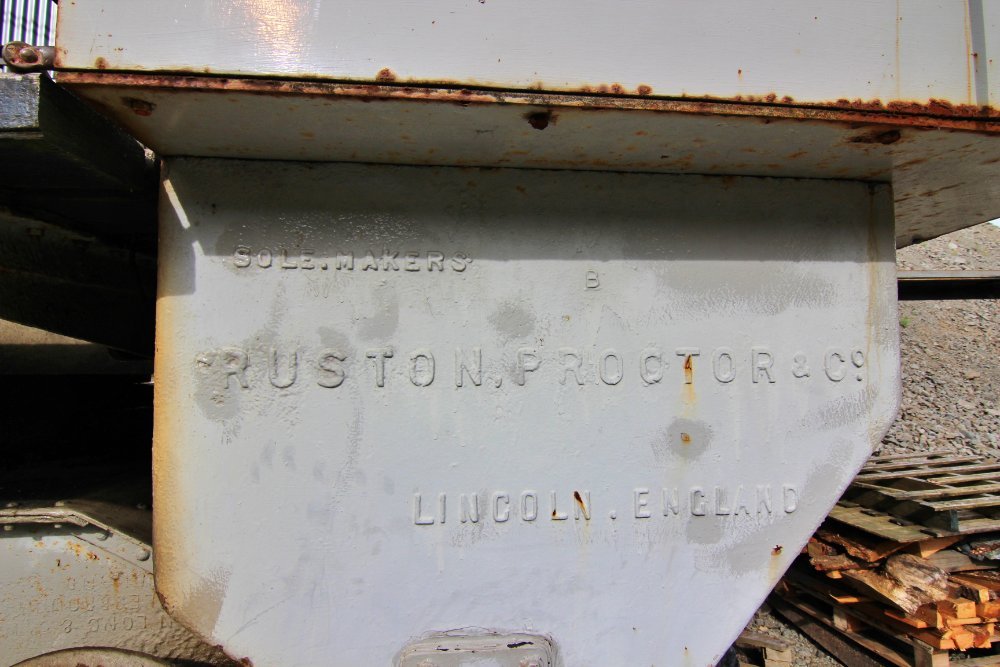


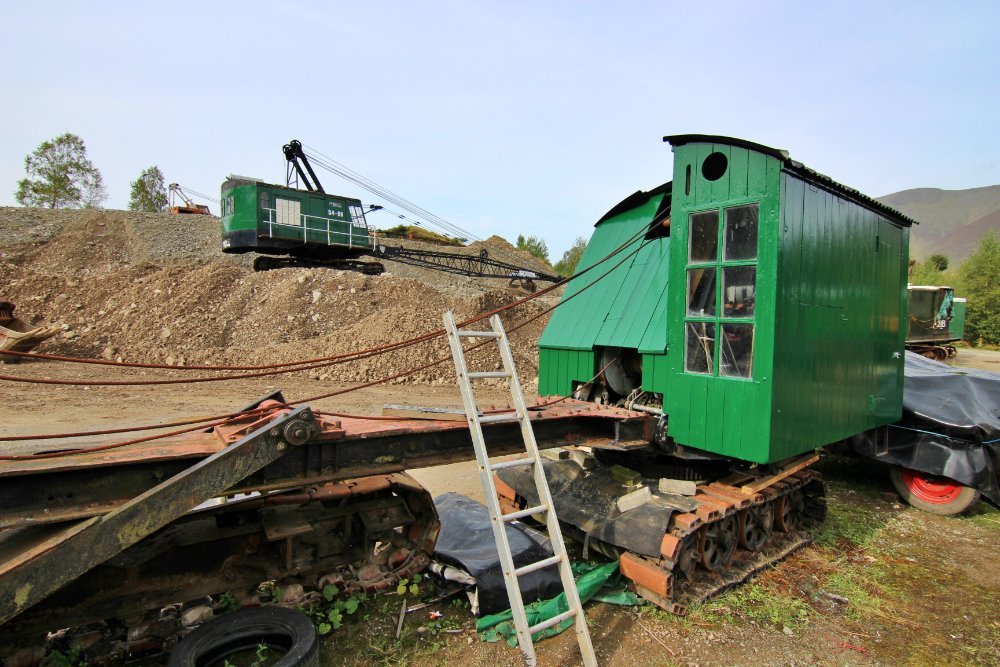

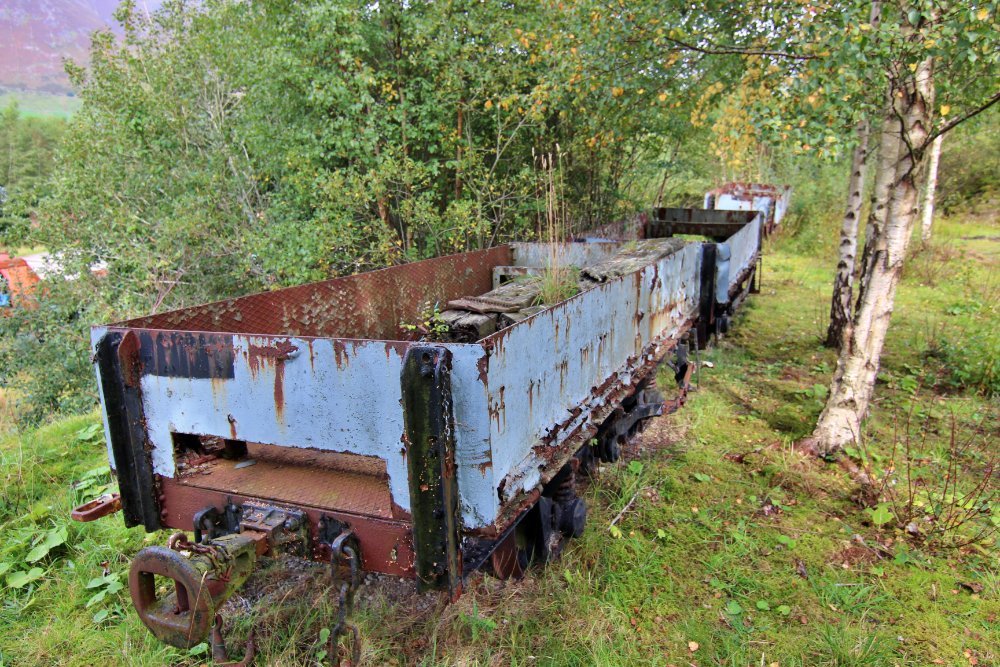
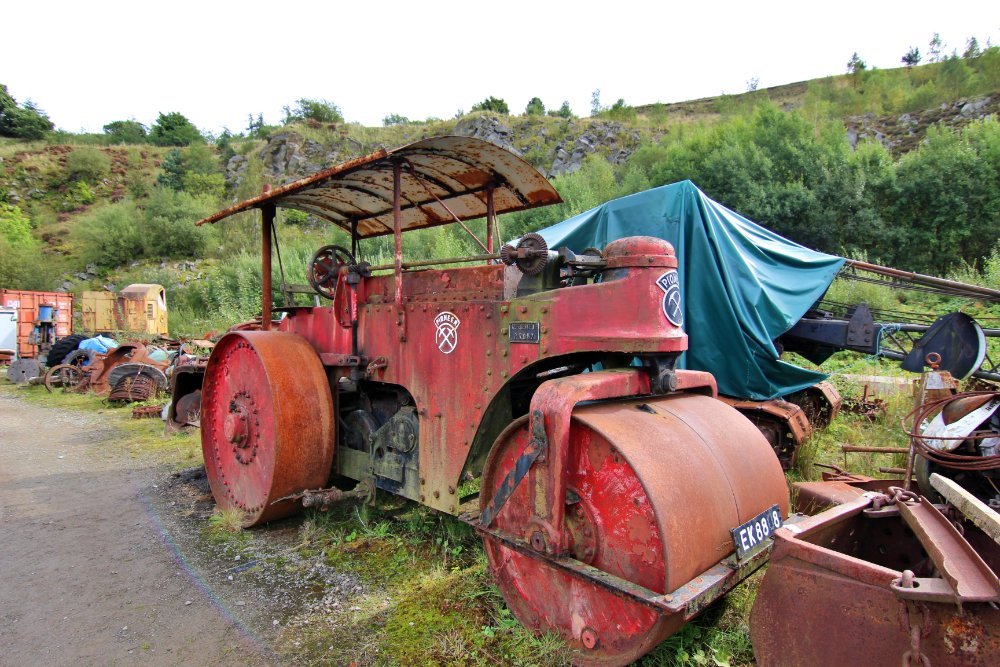
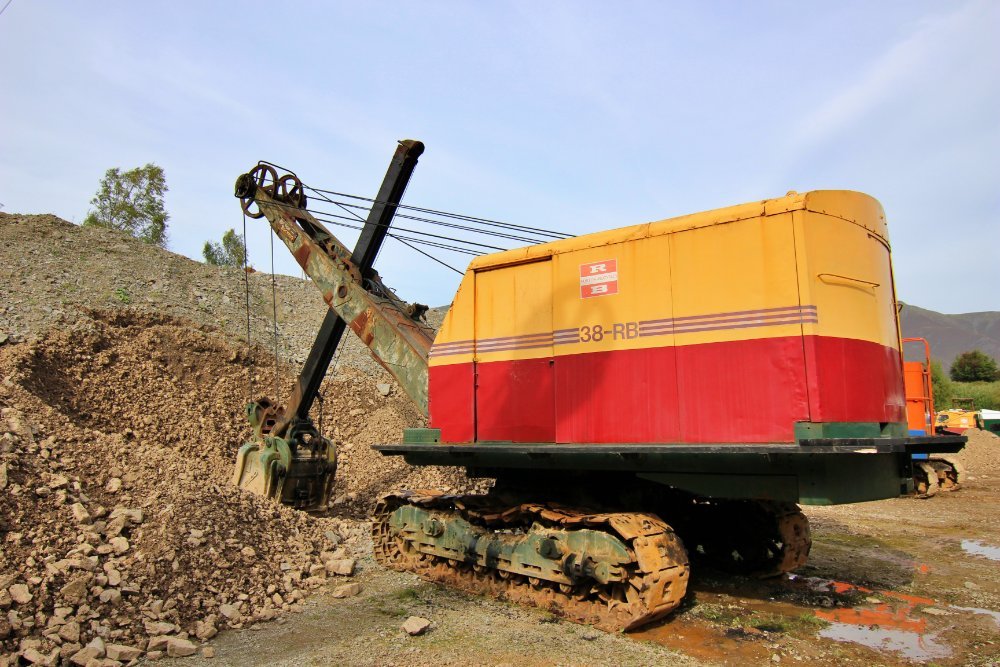

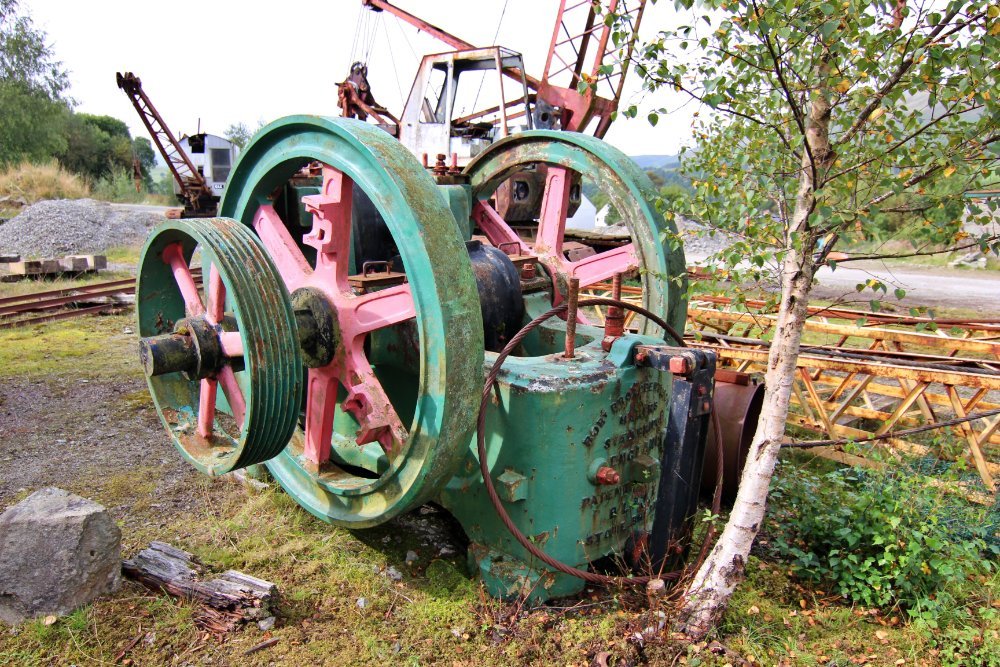
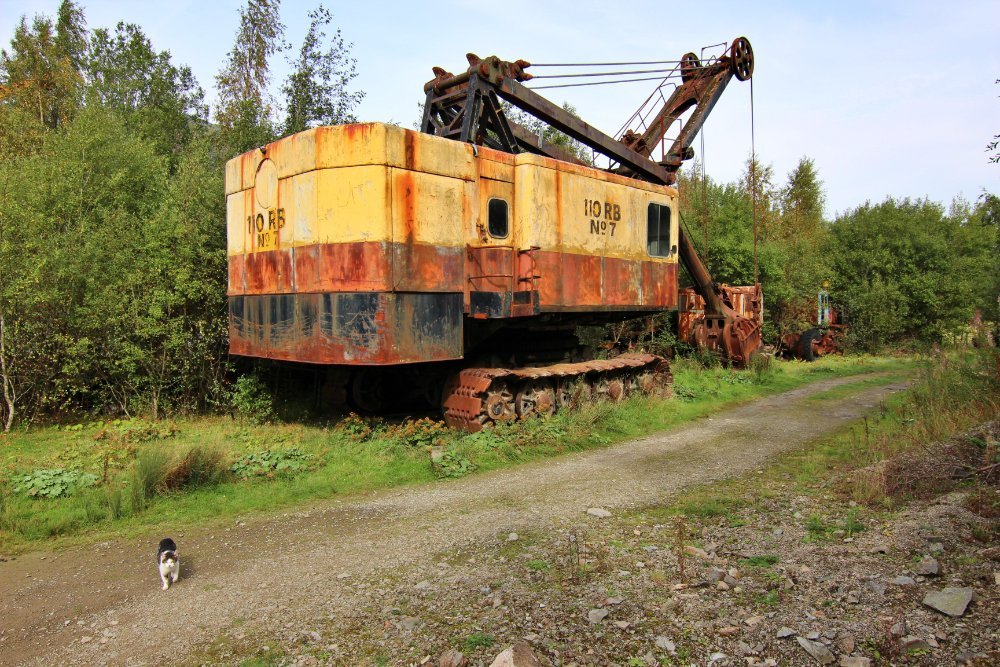


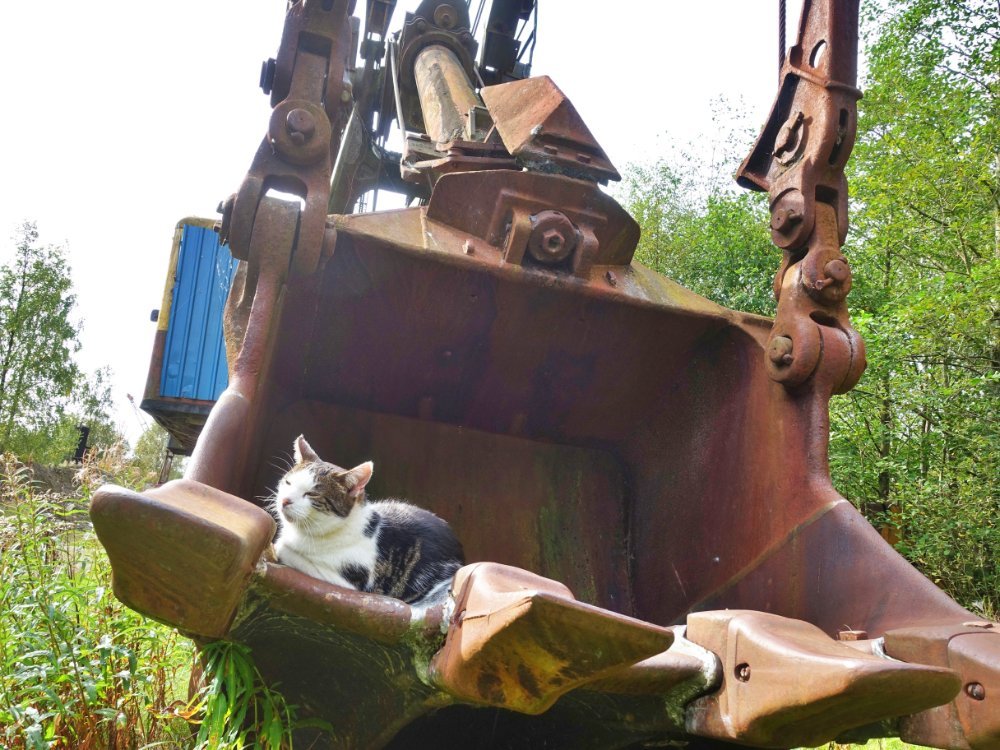

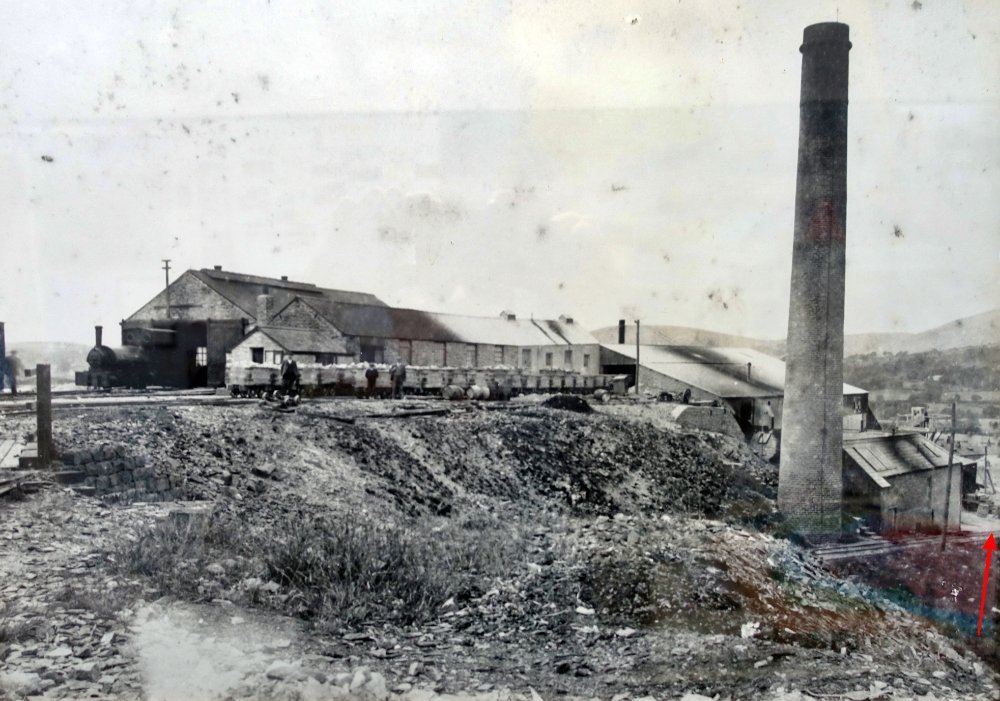
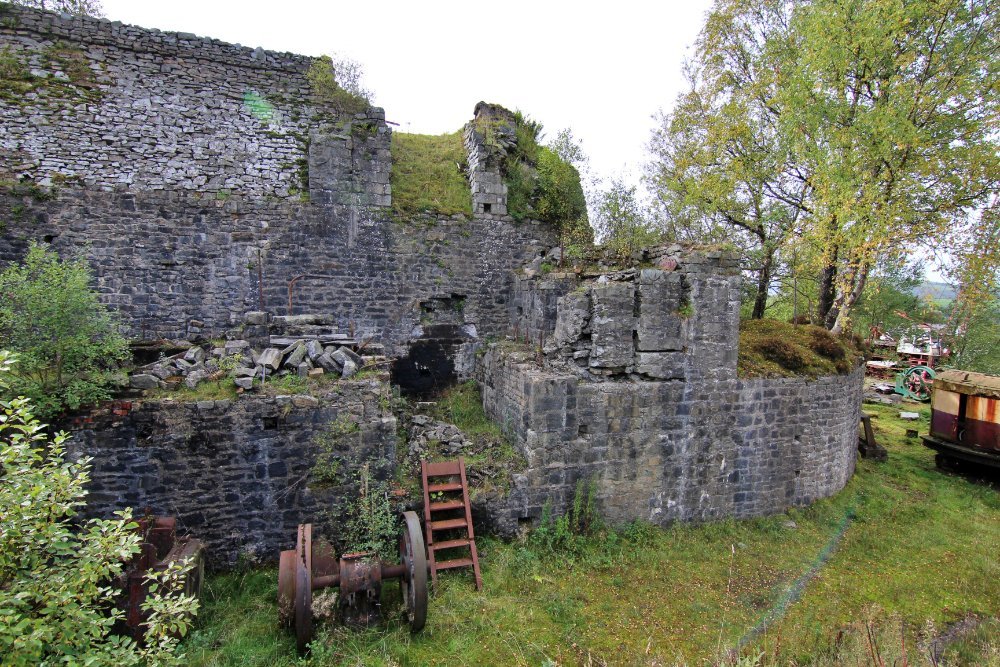
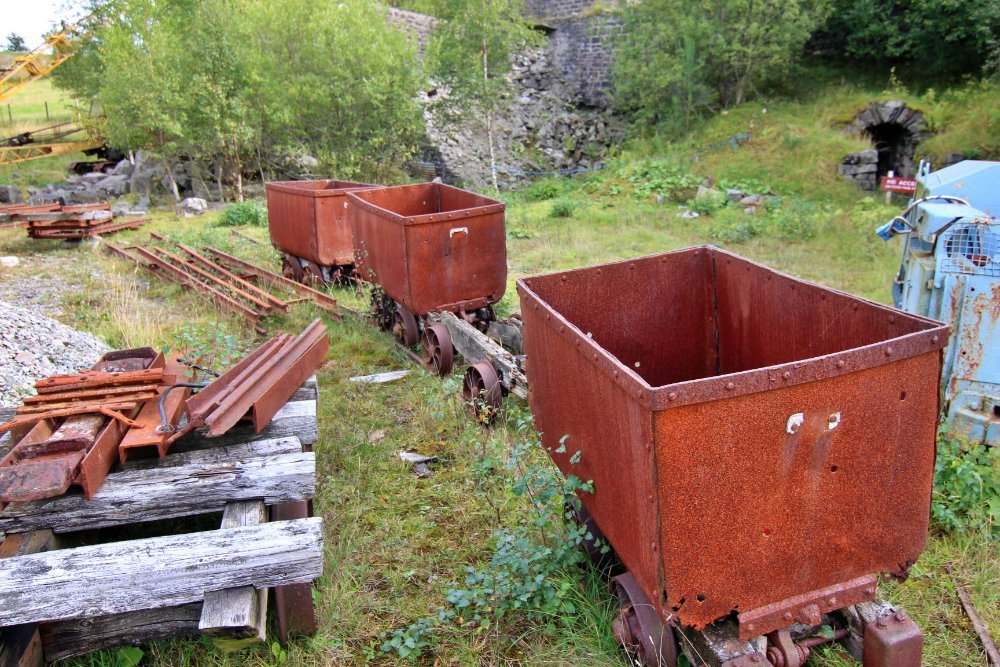

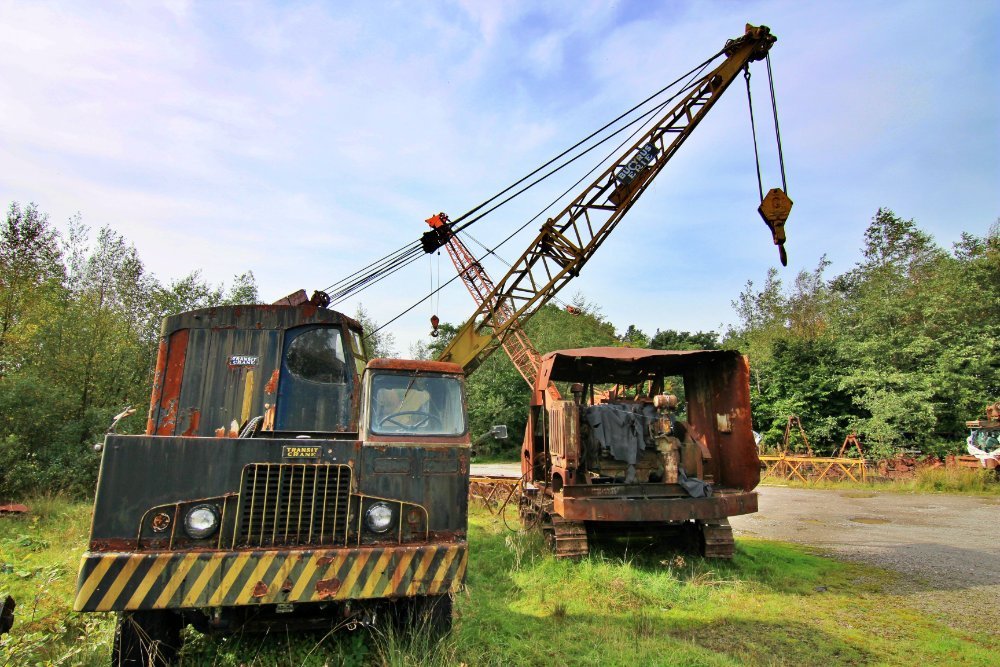
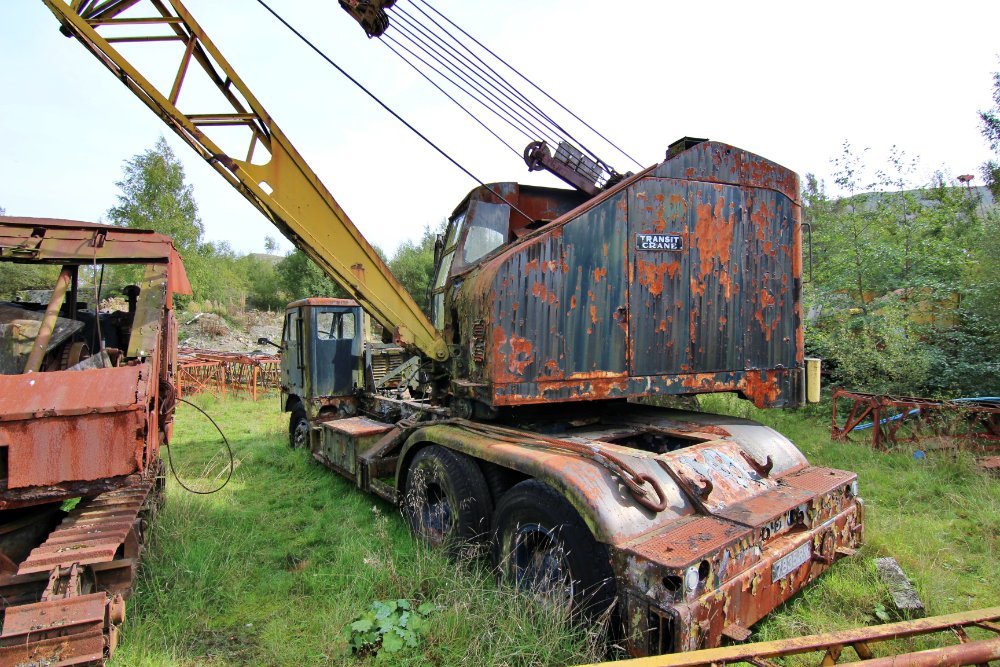
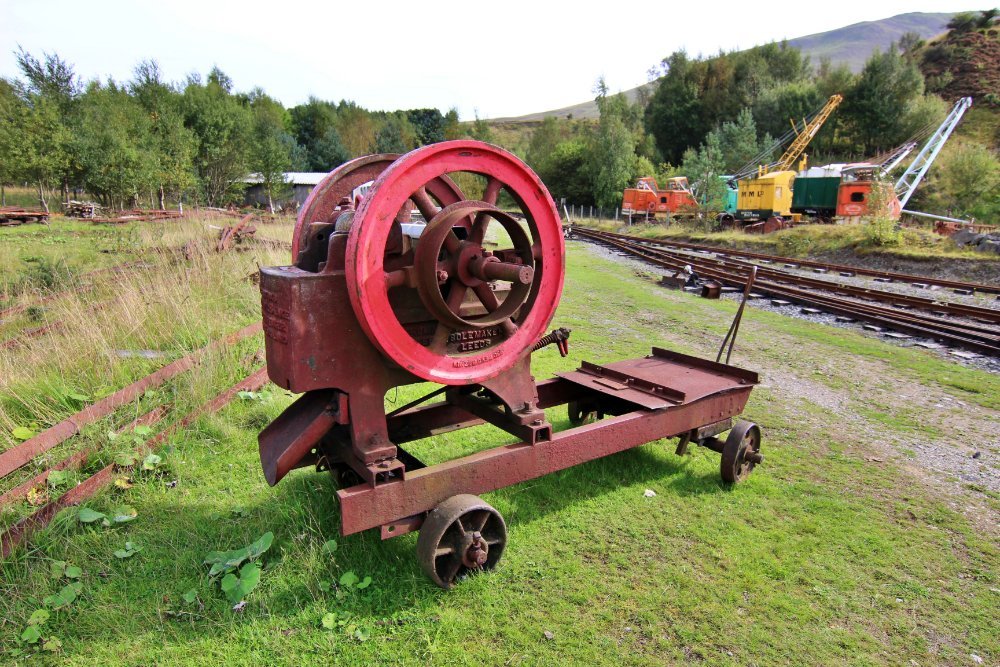
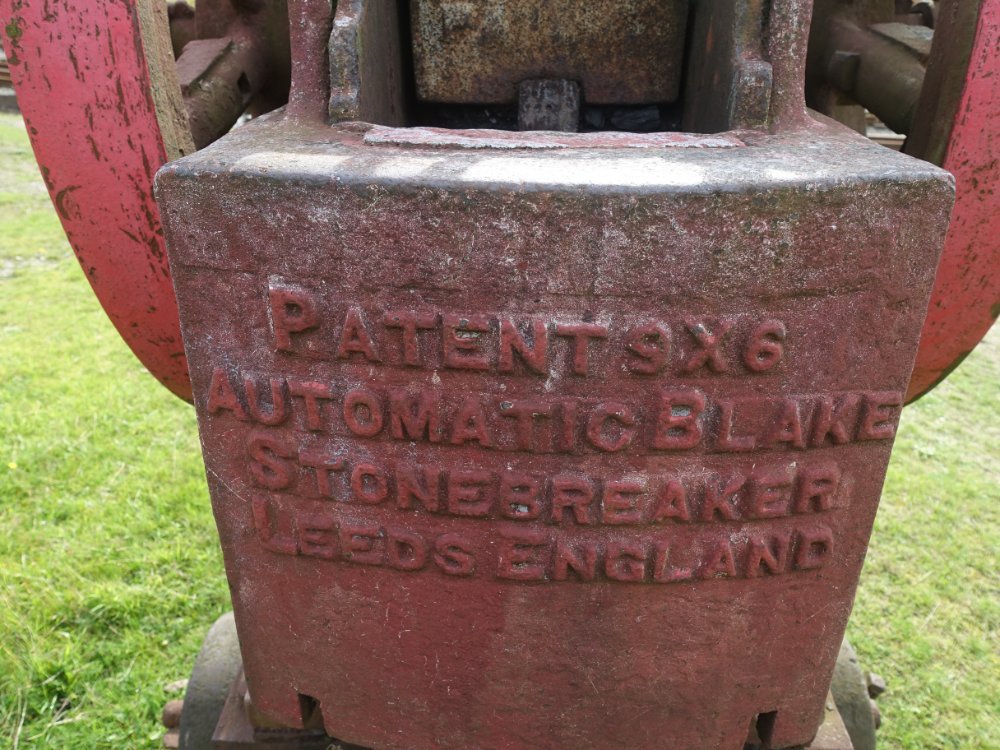


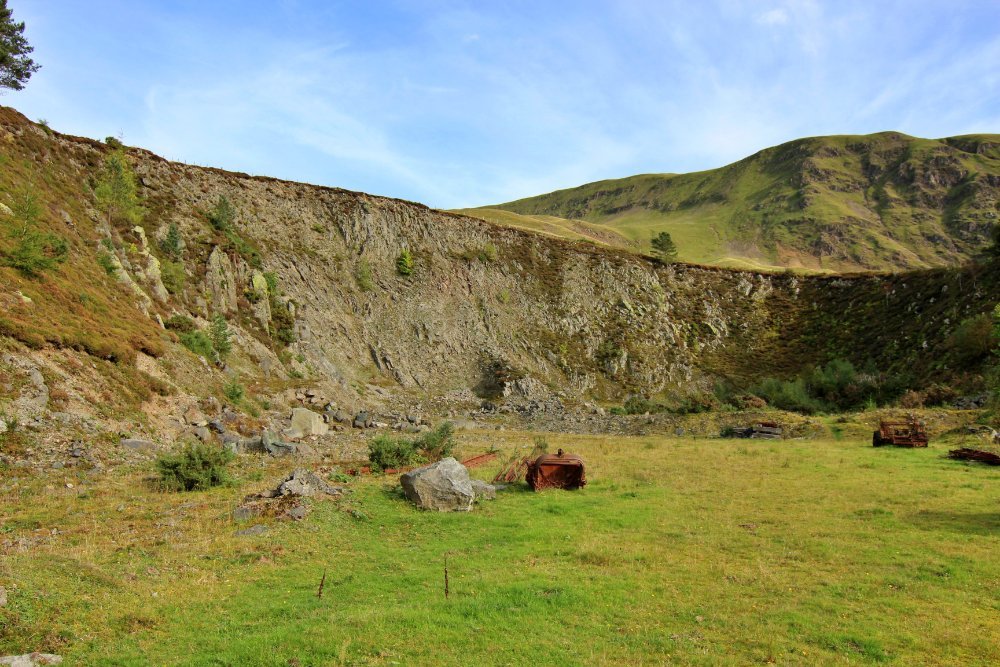
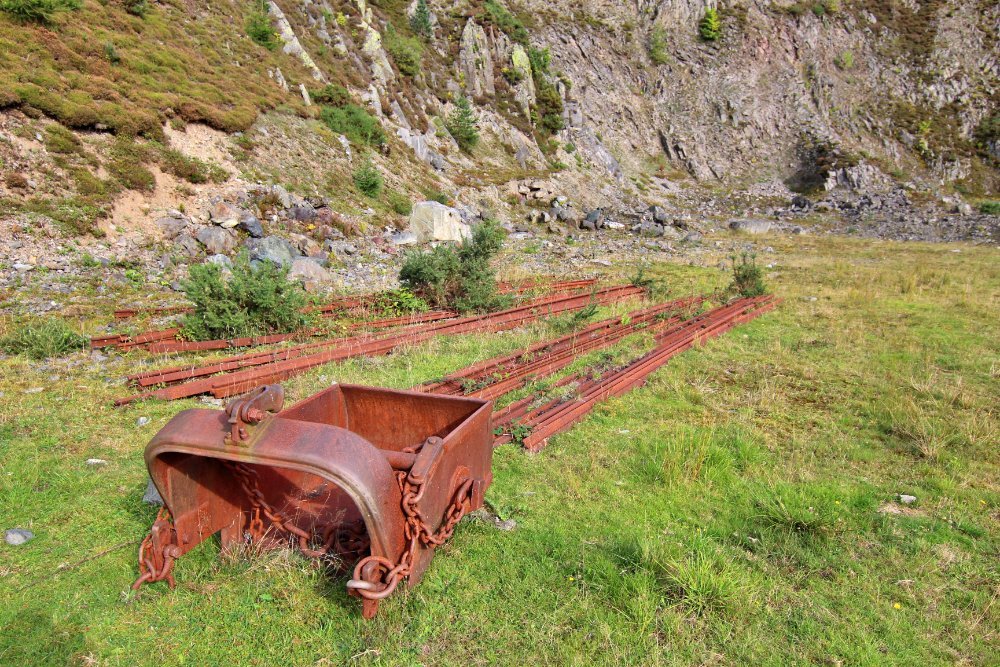
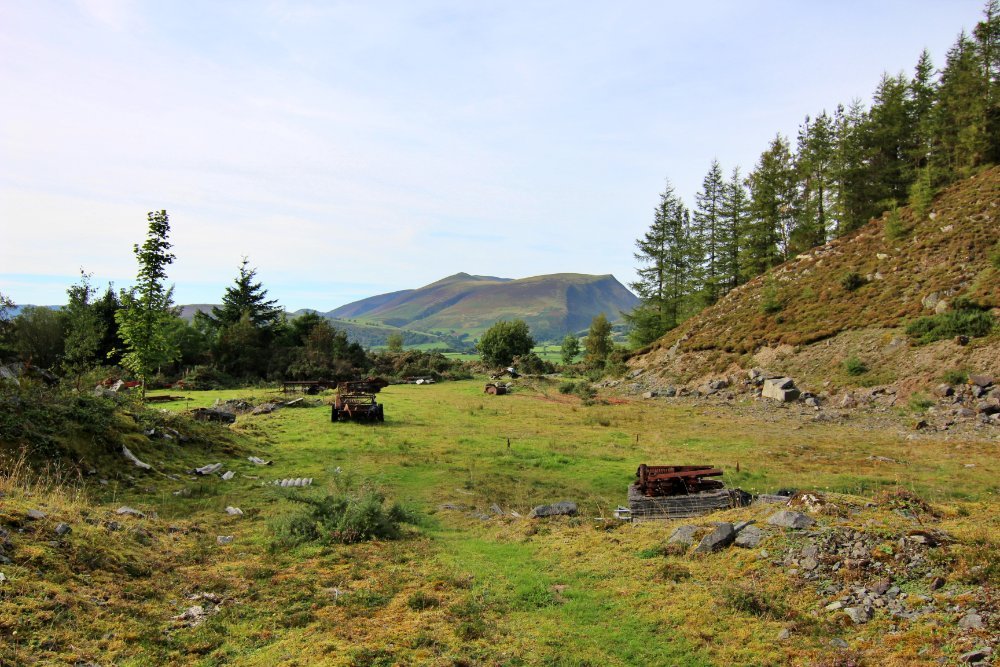

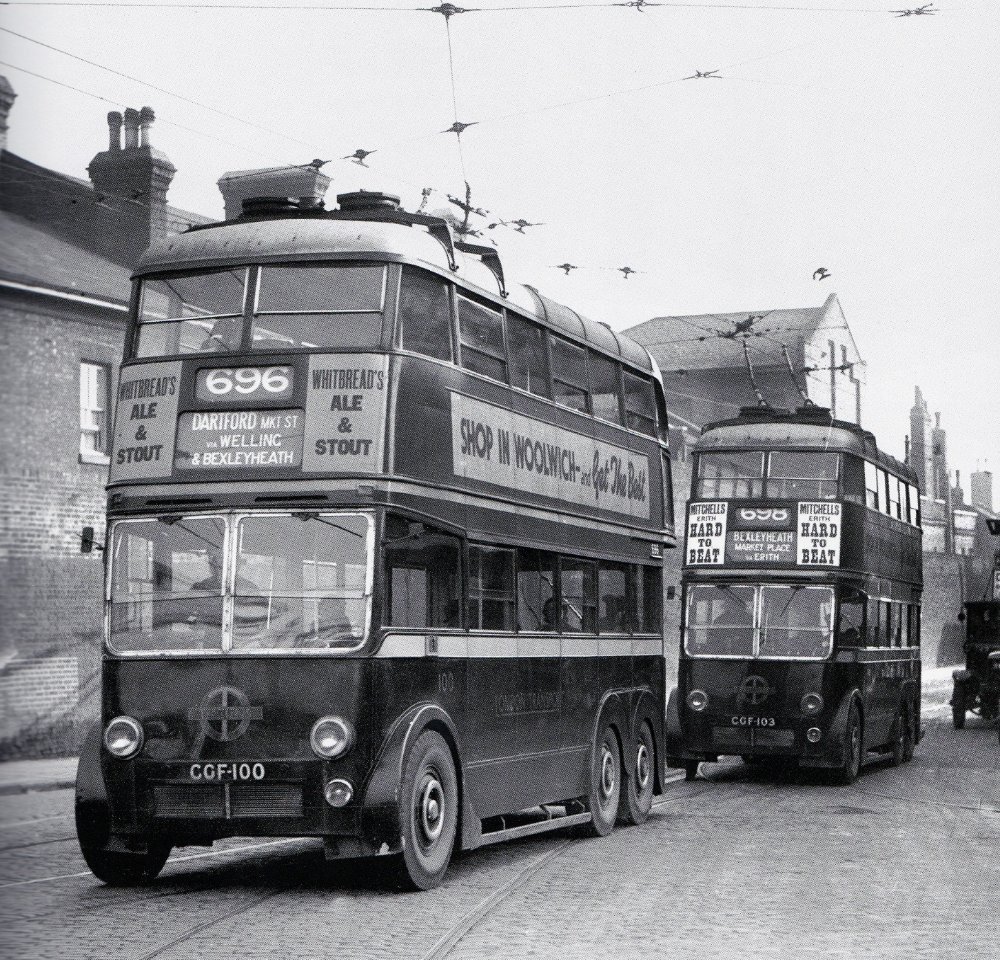


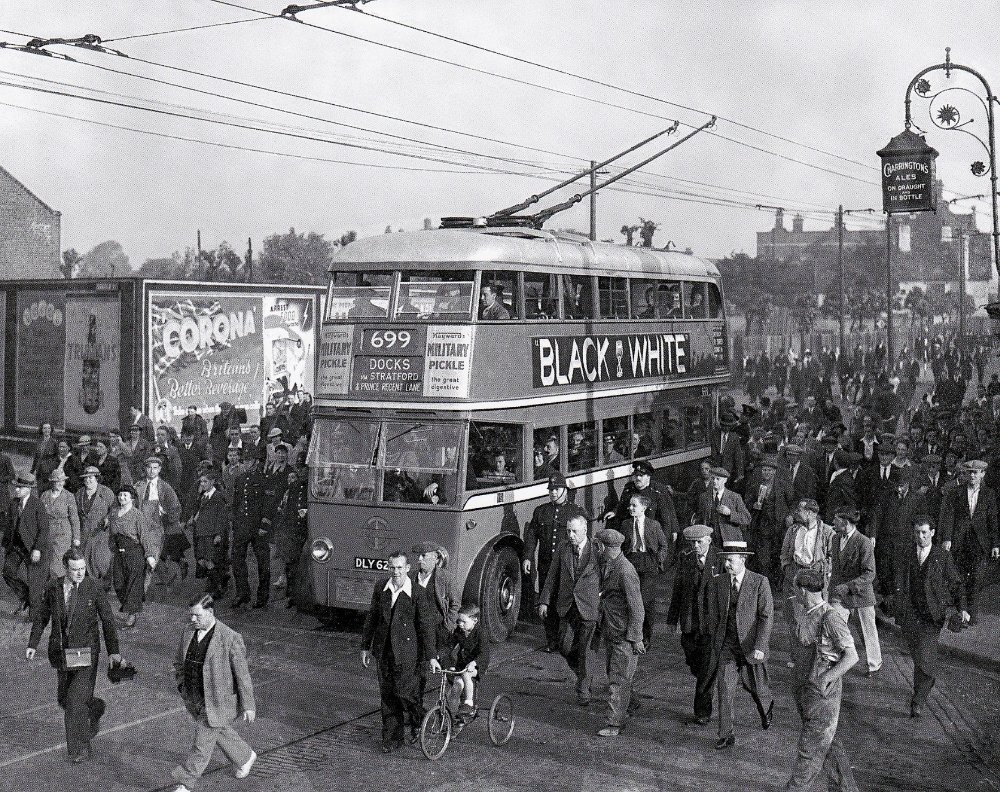

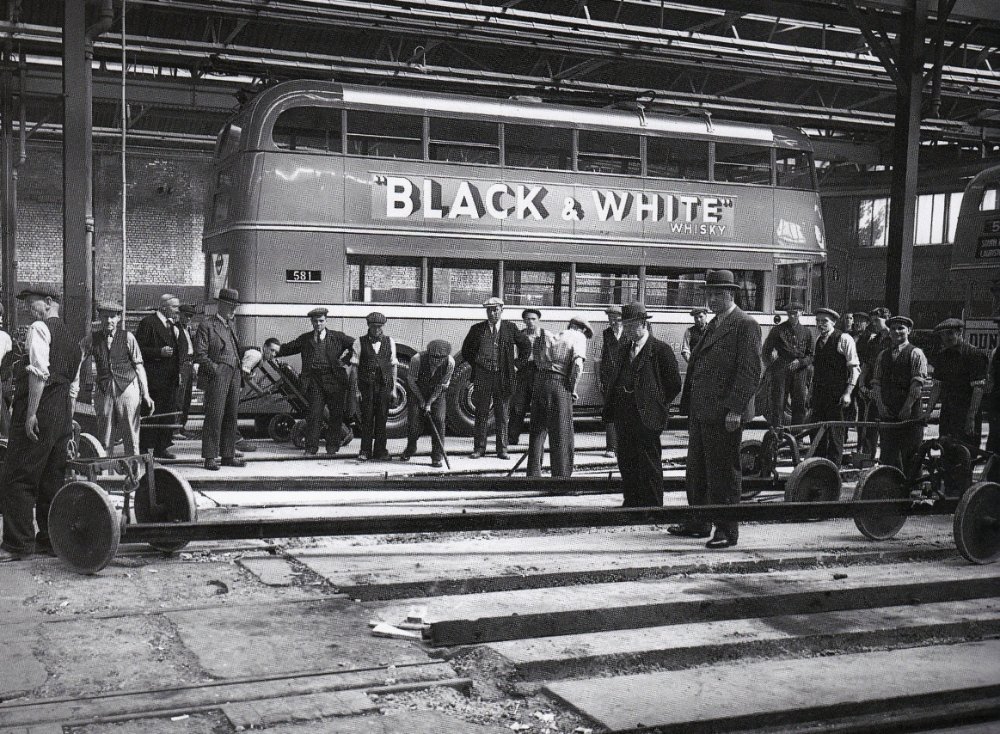
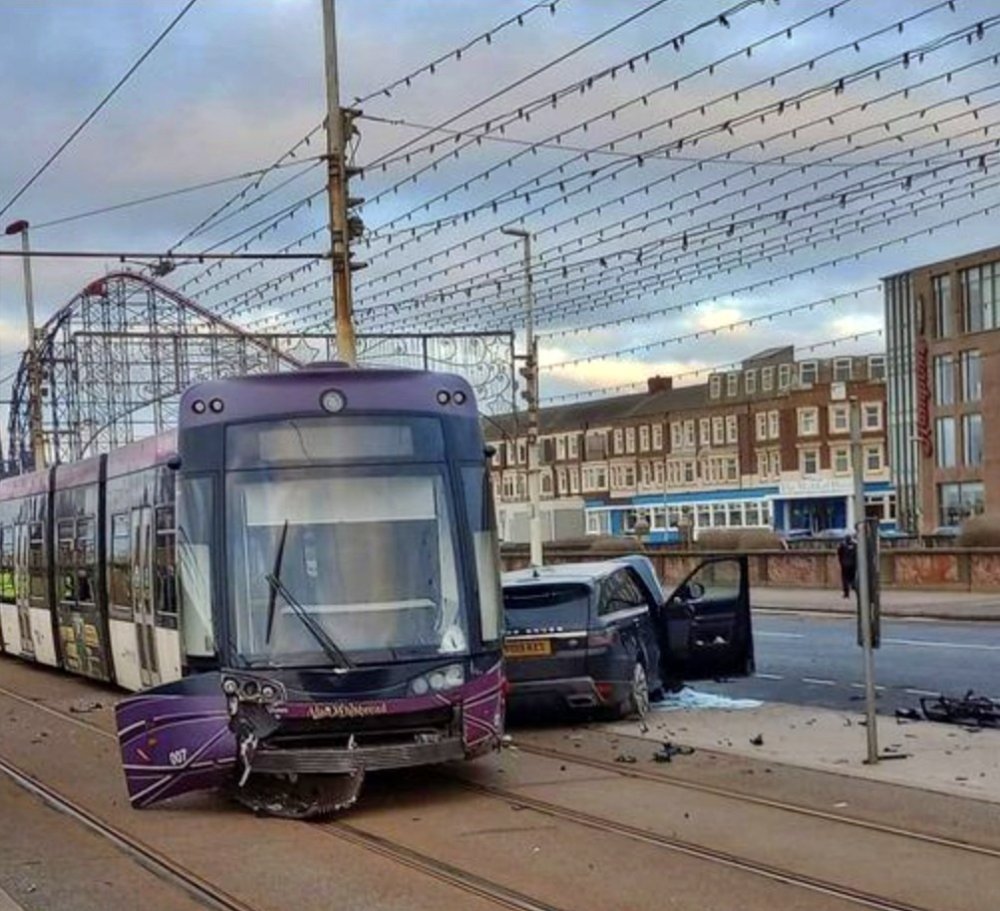
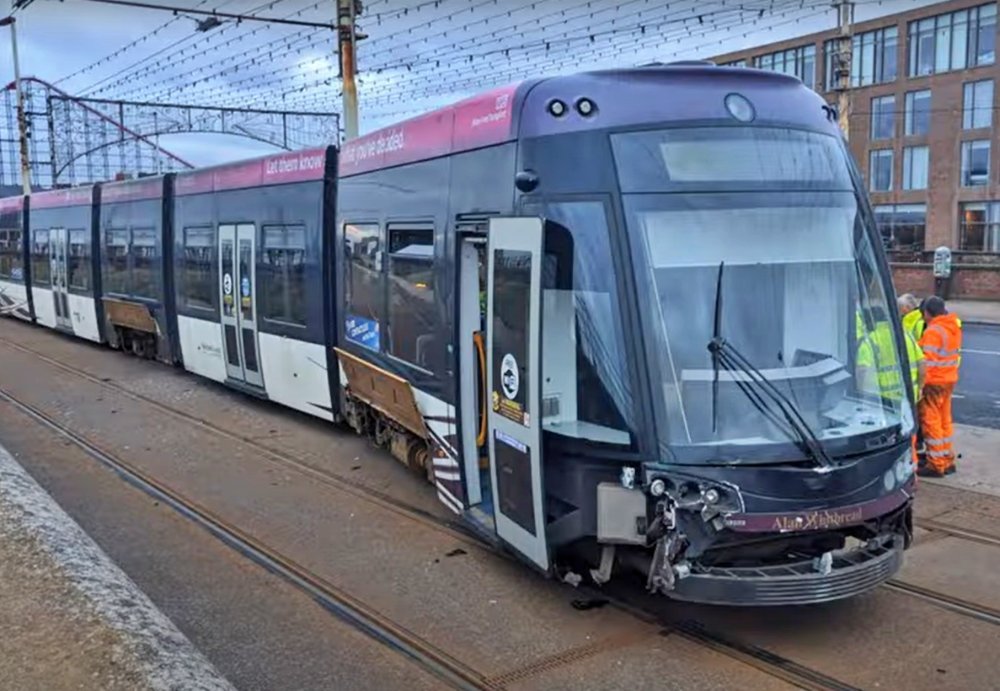
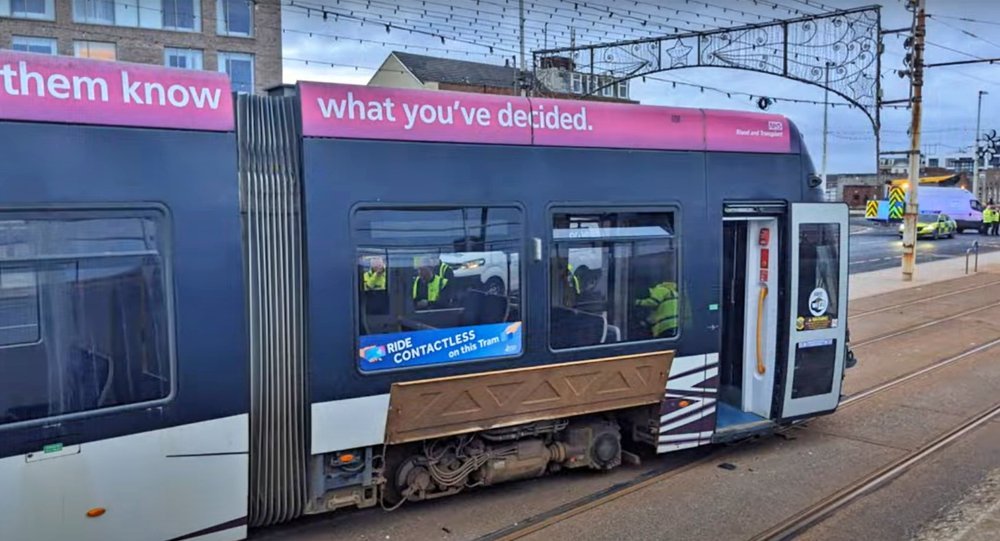
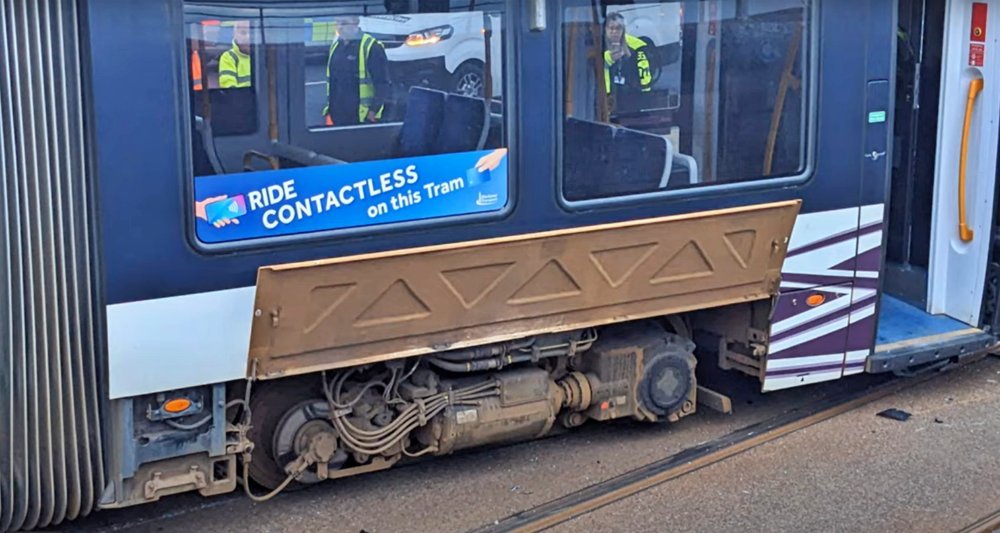
.jpg.caa1024dc5b97fa456e6094980d3c6c8.jpg)

.jpg.21882e23317b4032d58a0e62d4d8b7b7.jpg)


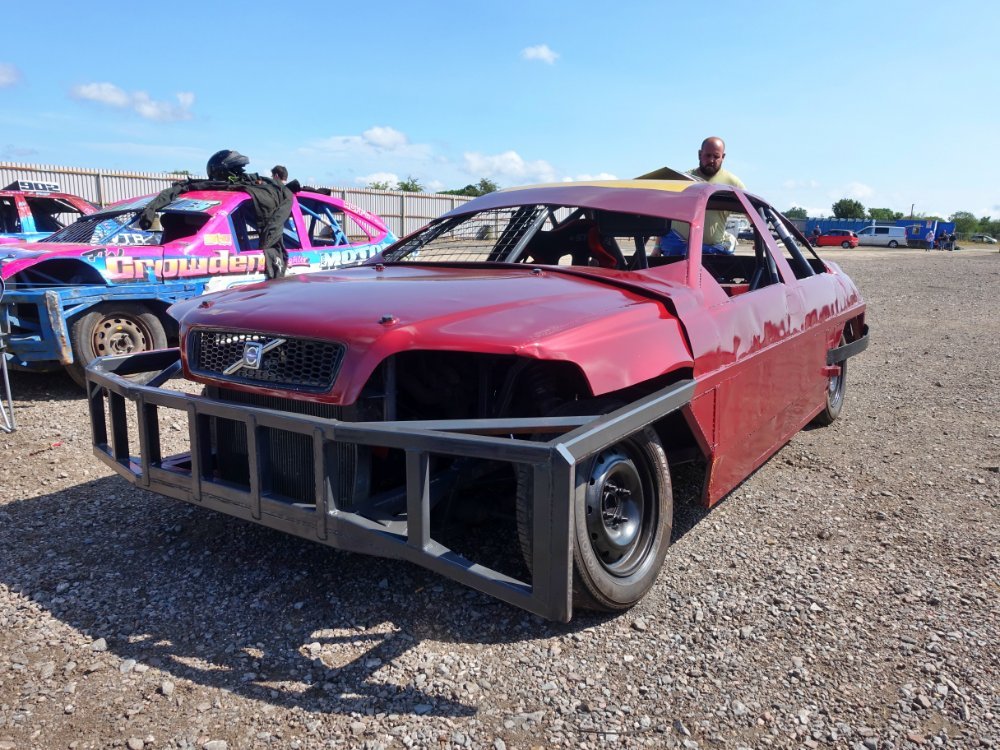
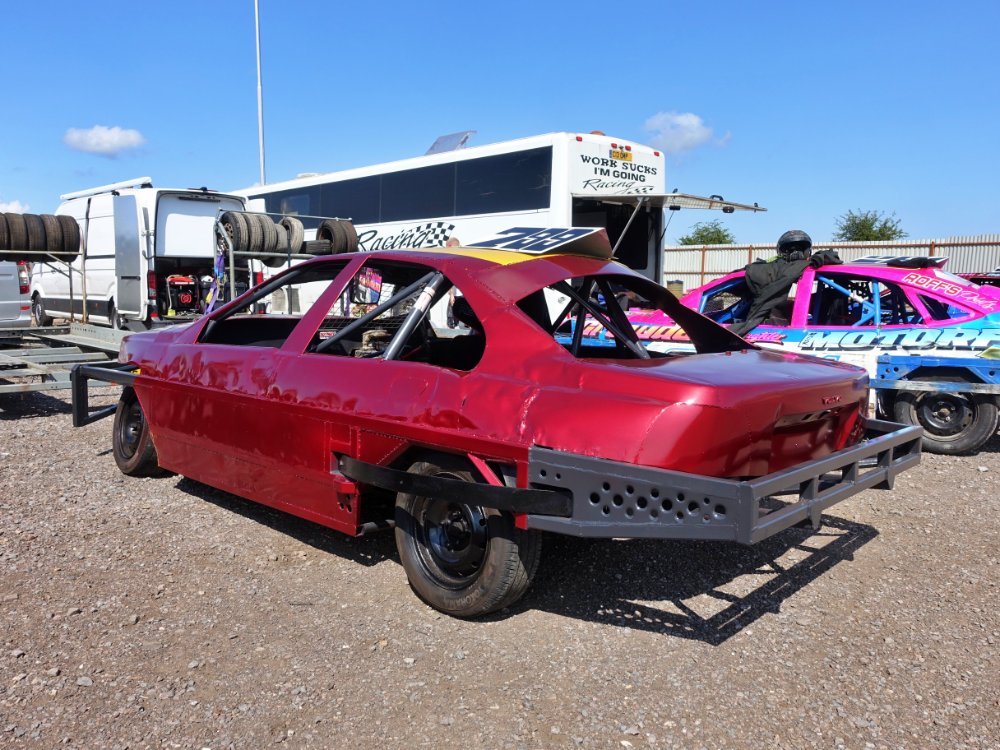


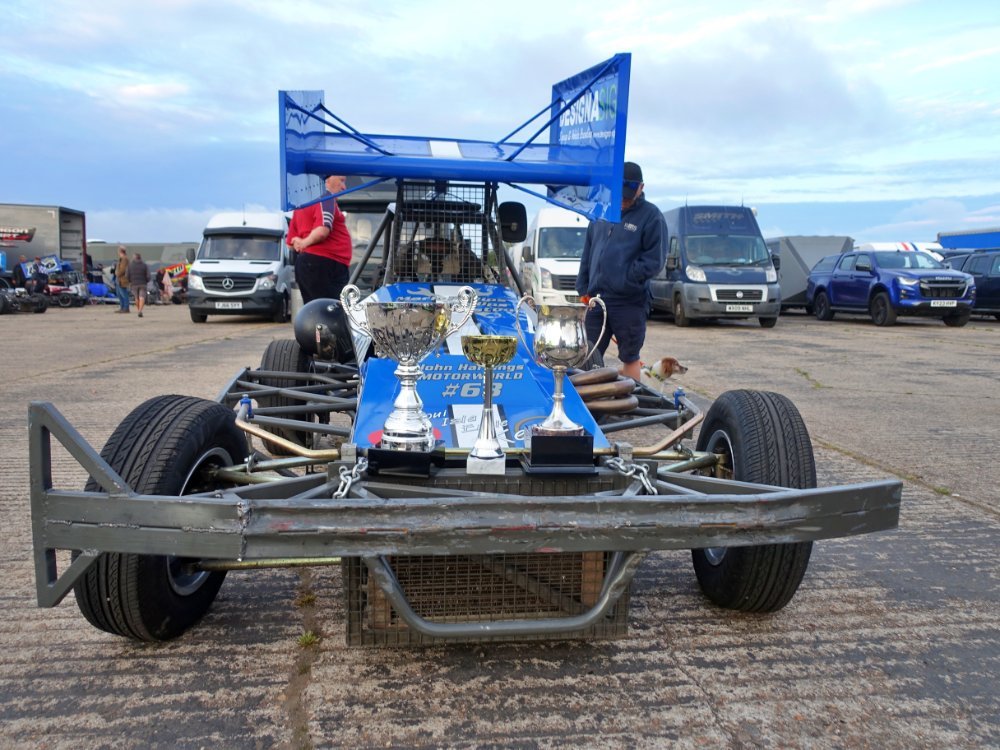


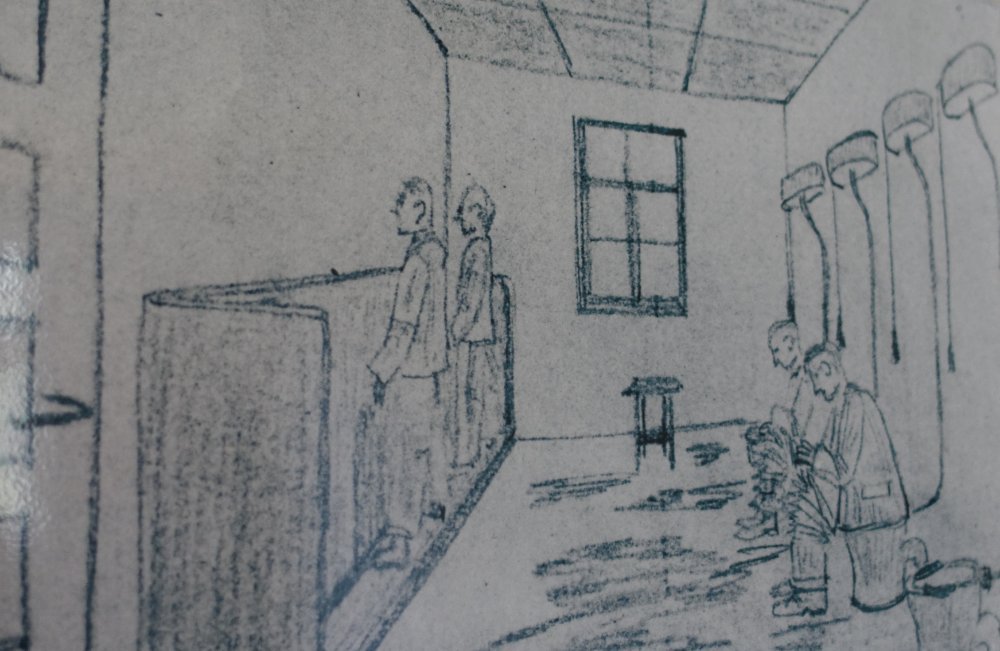

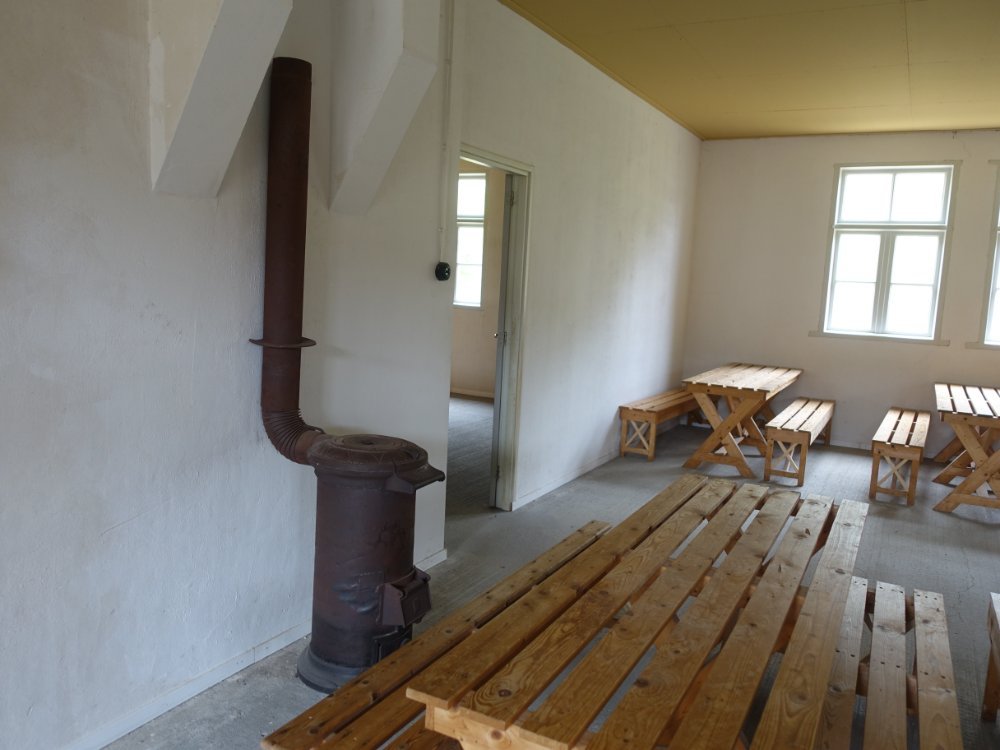
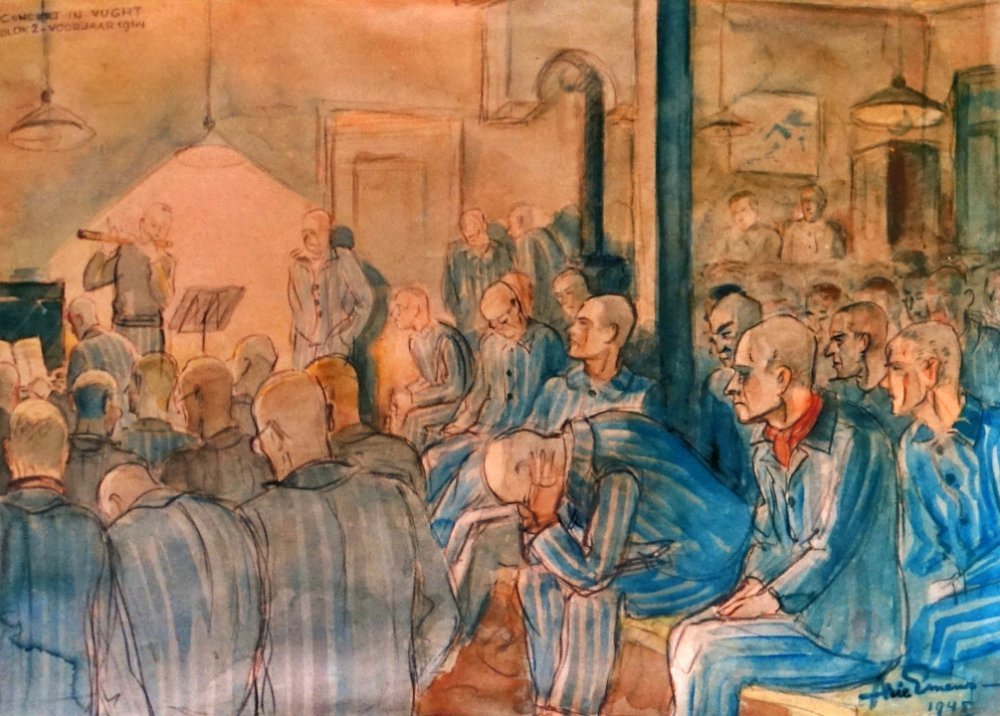


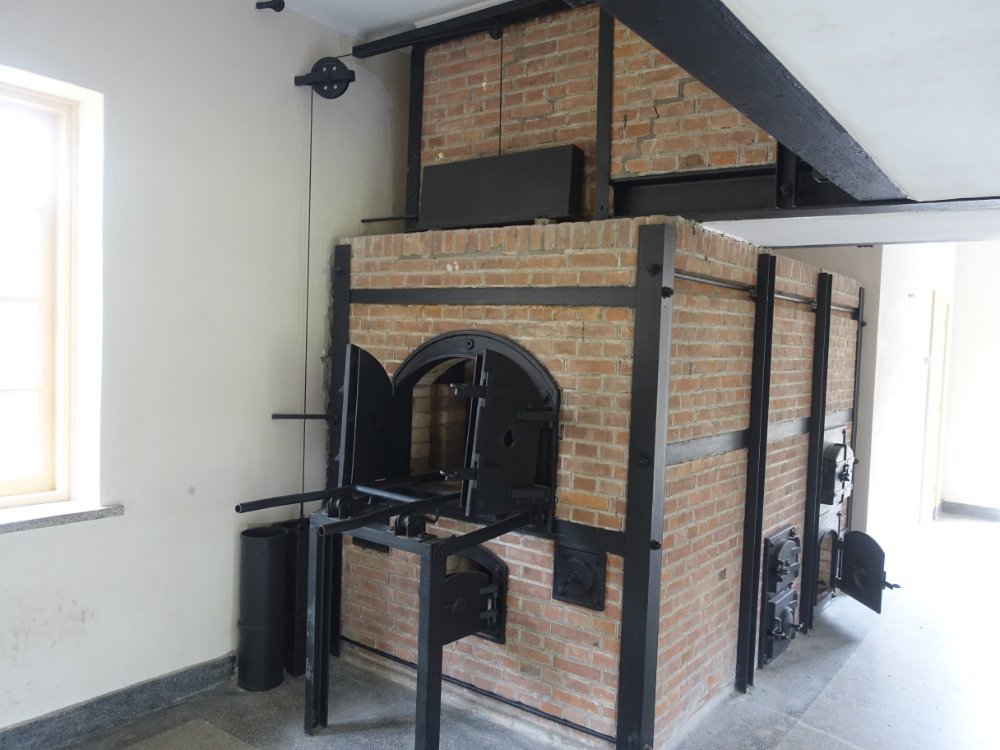


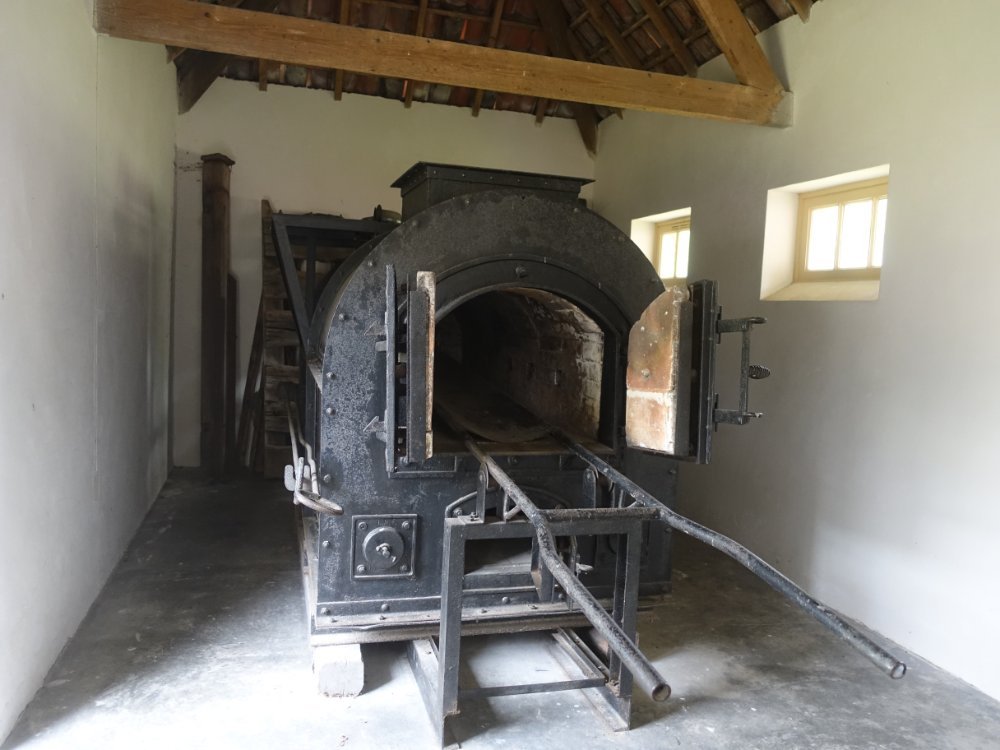

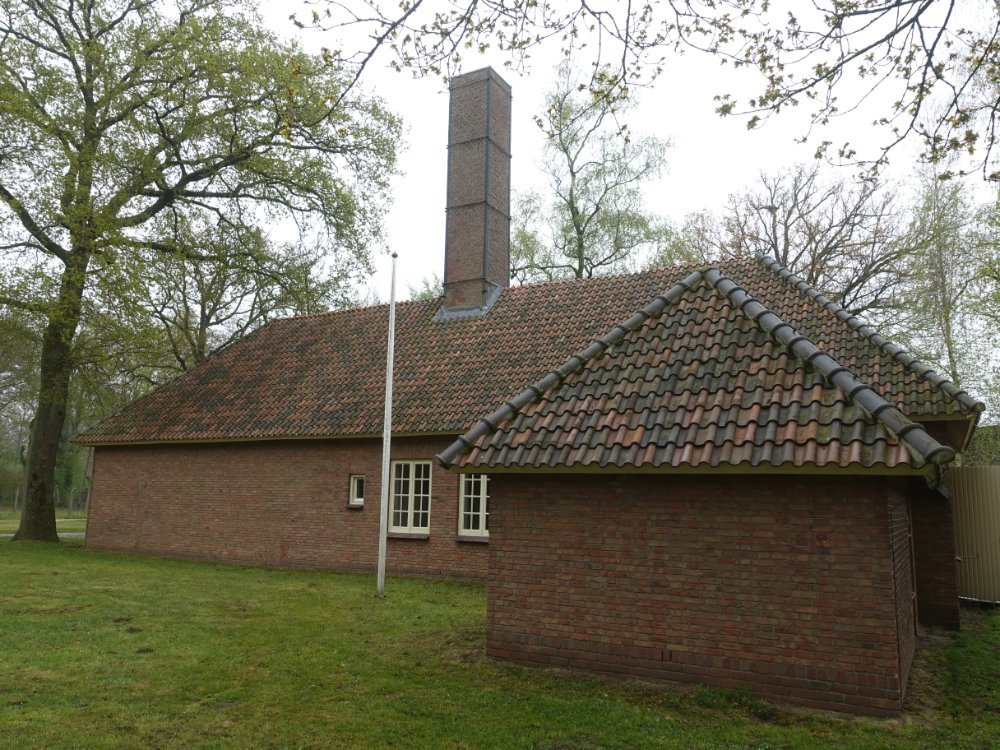
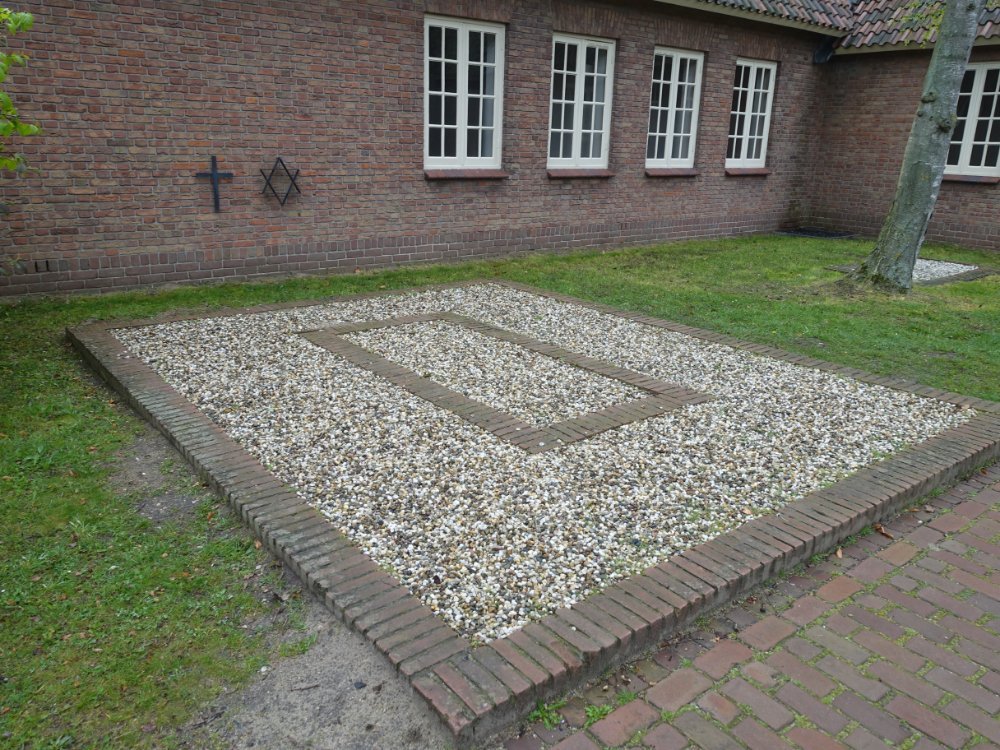
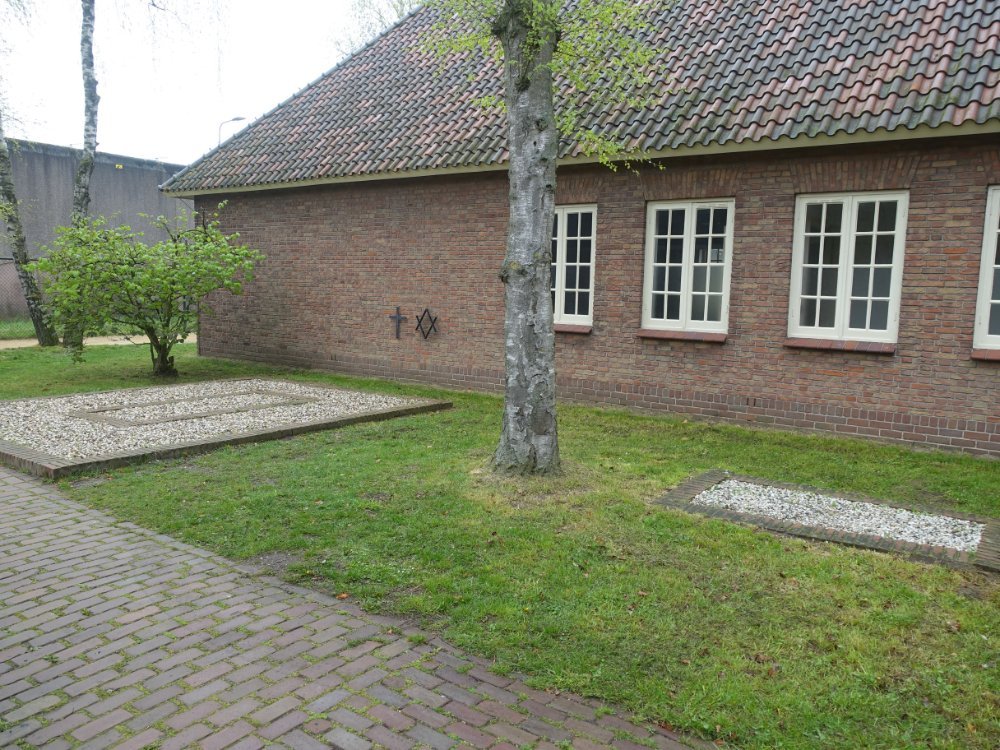


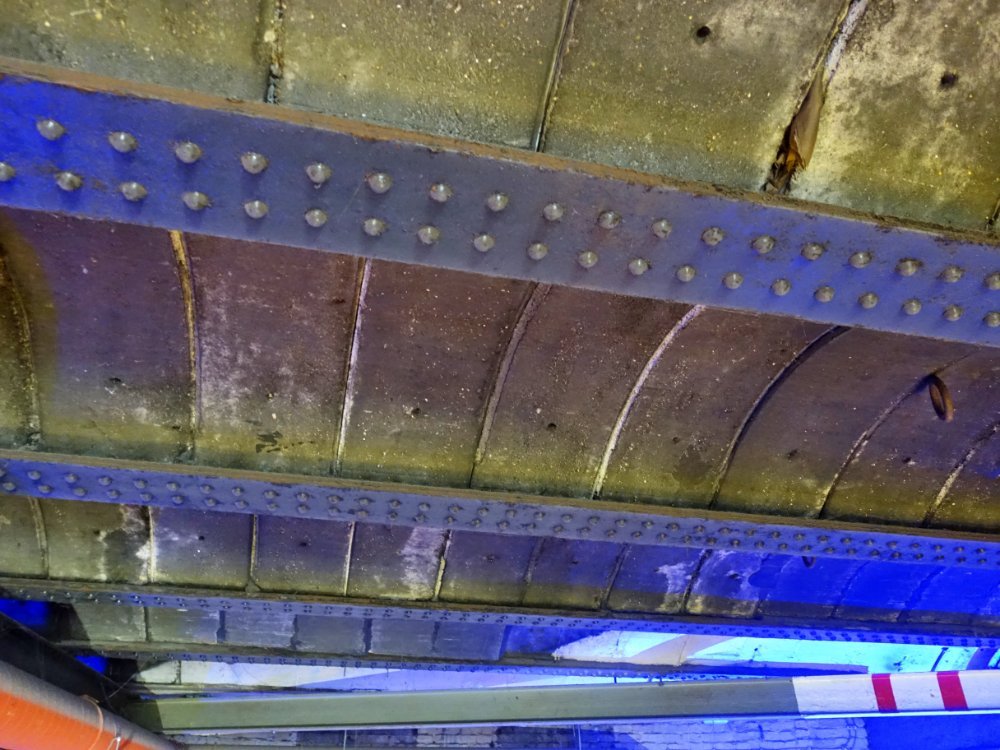
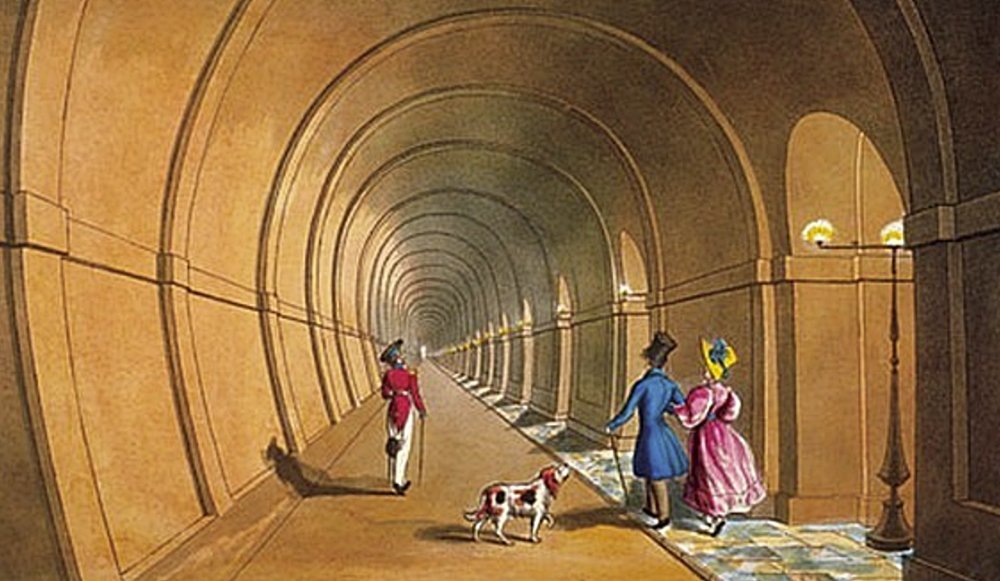
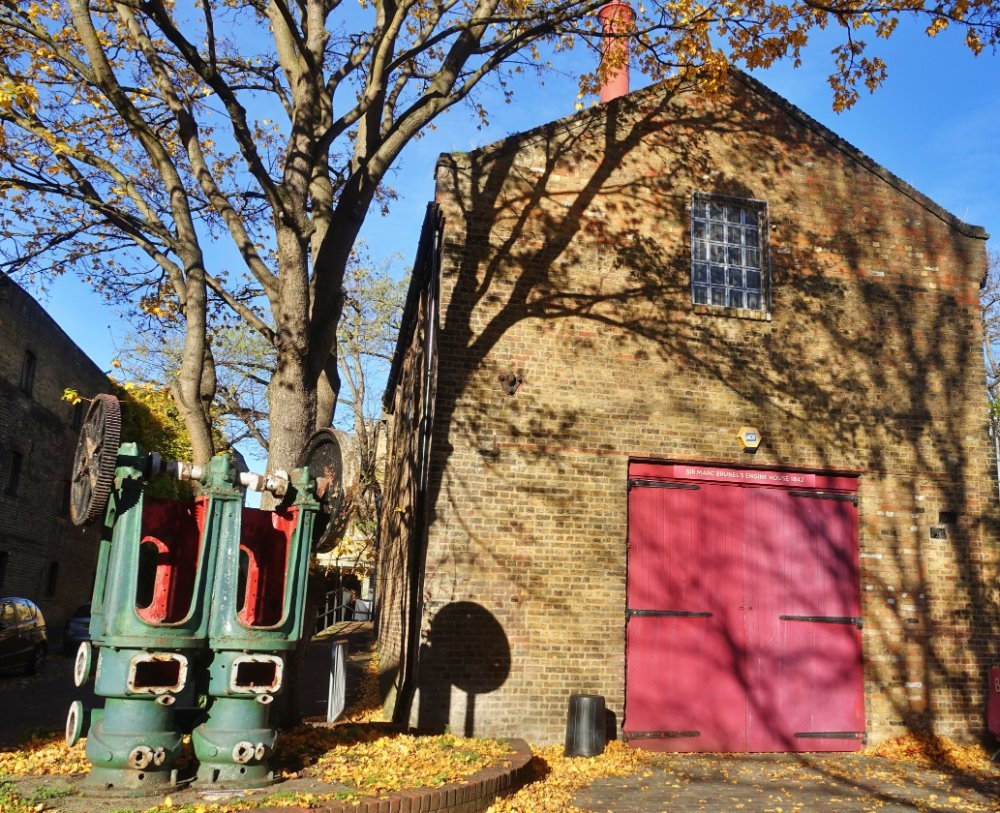
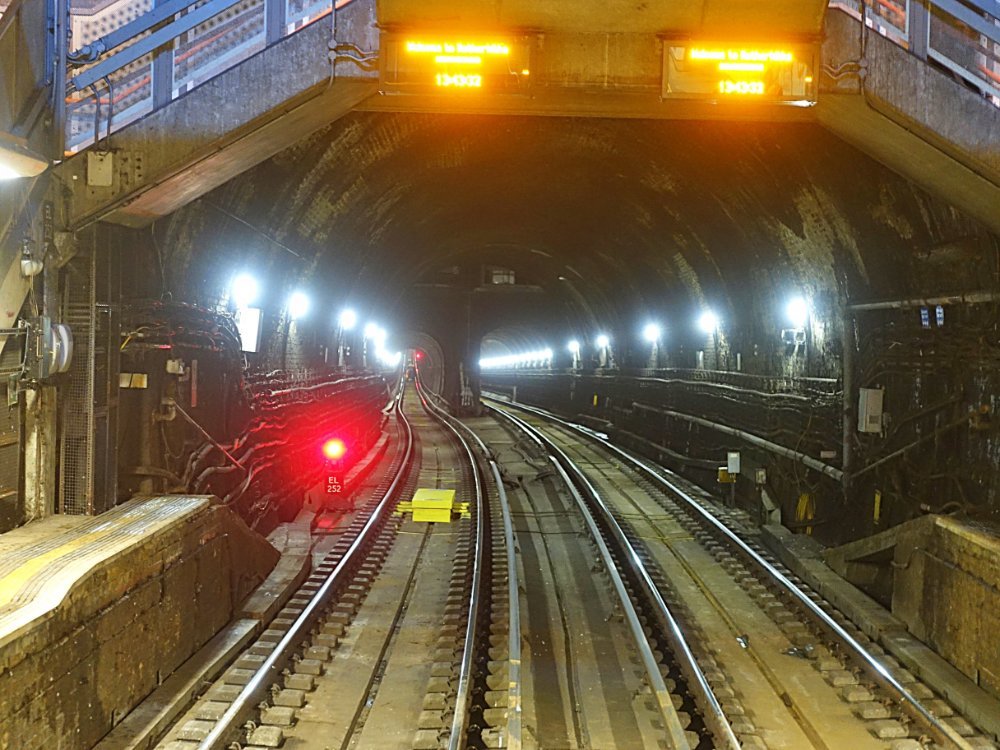

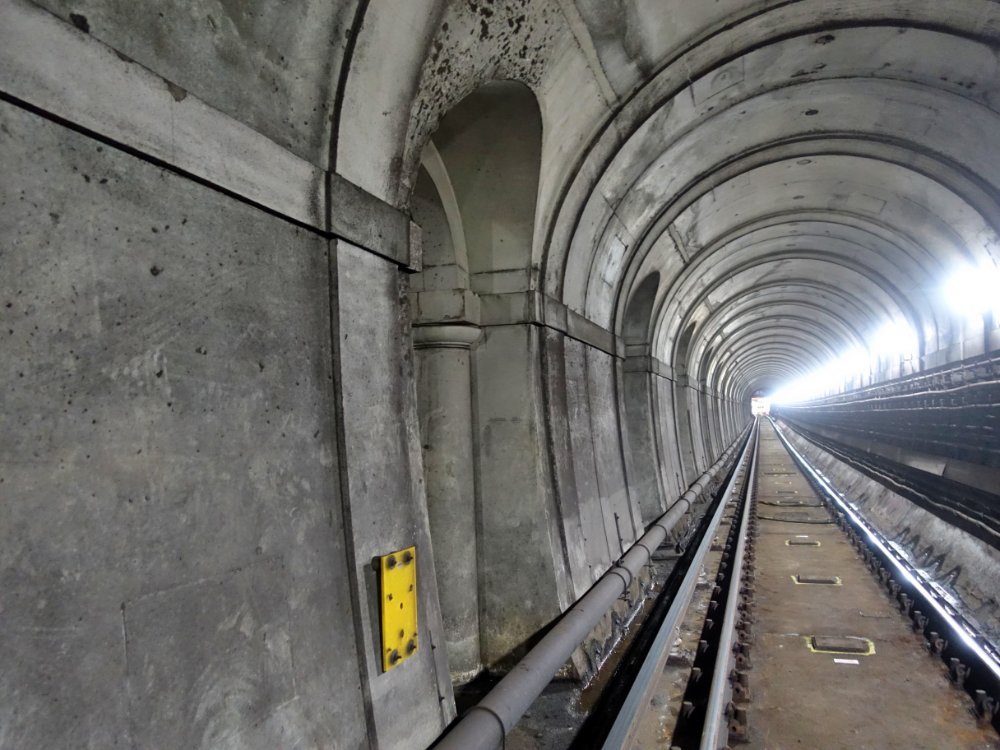
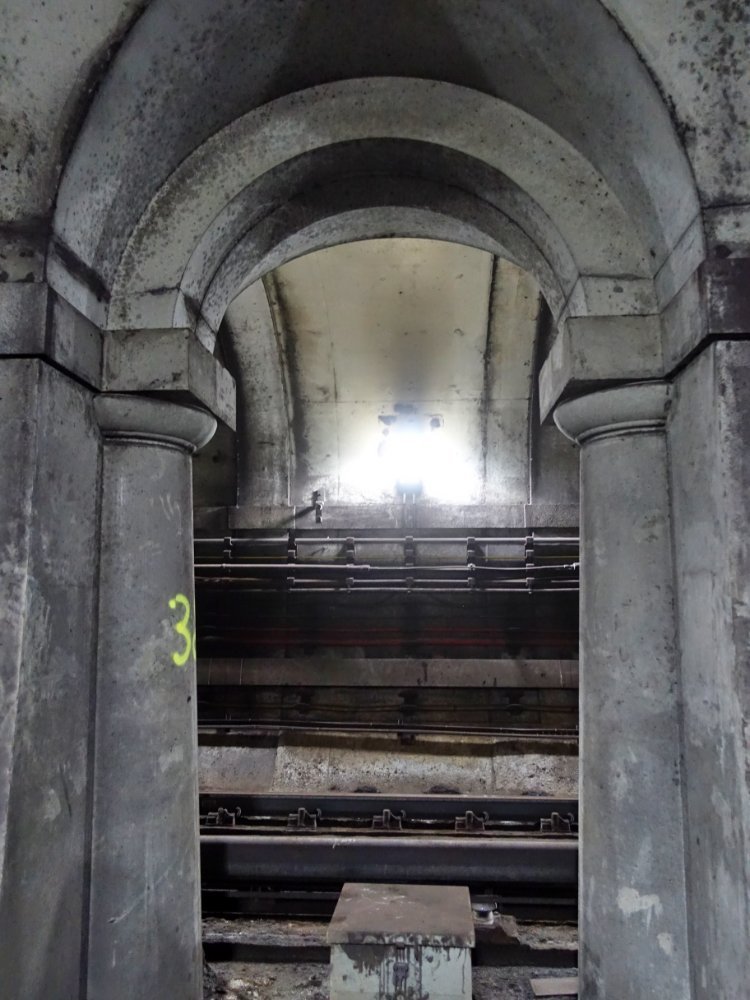


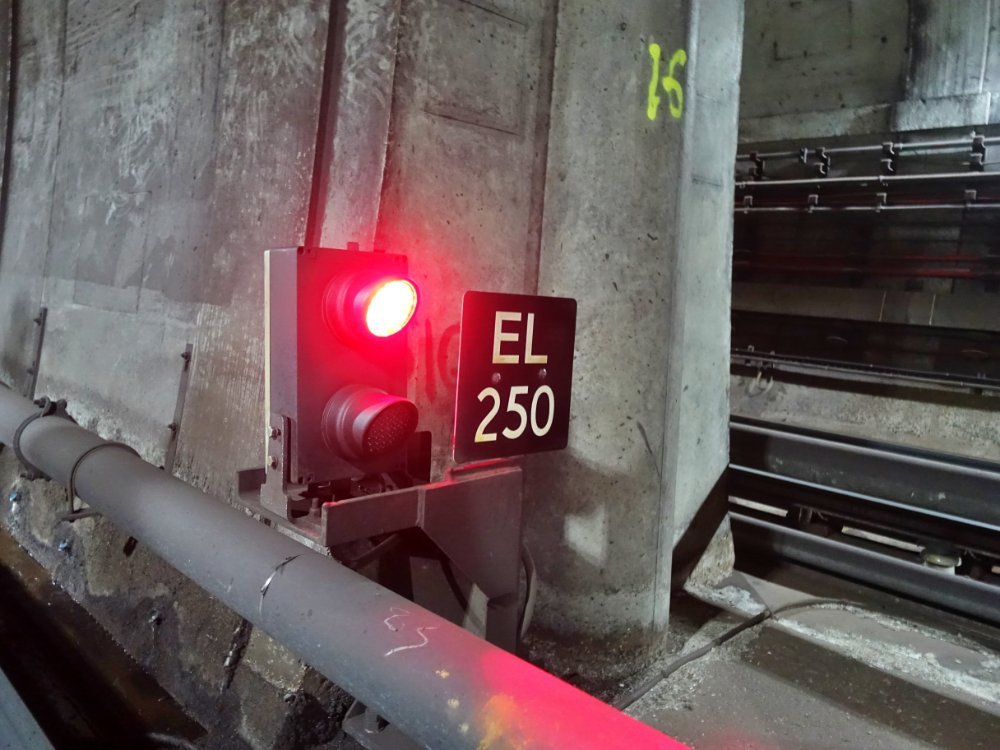
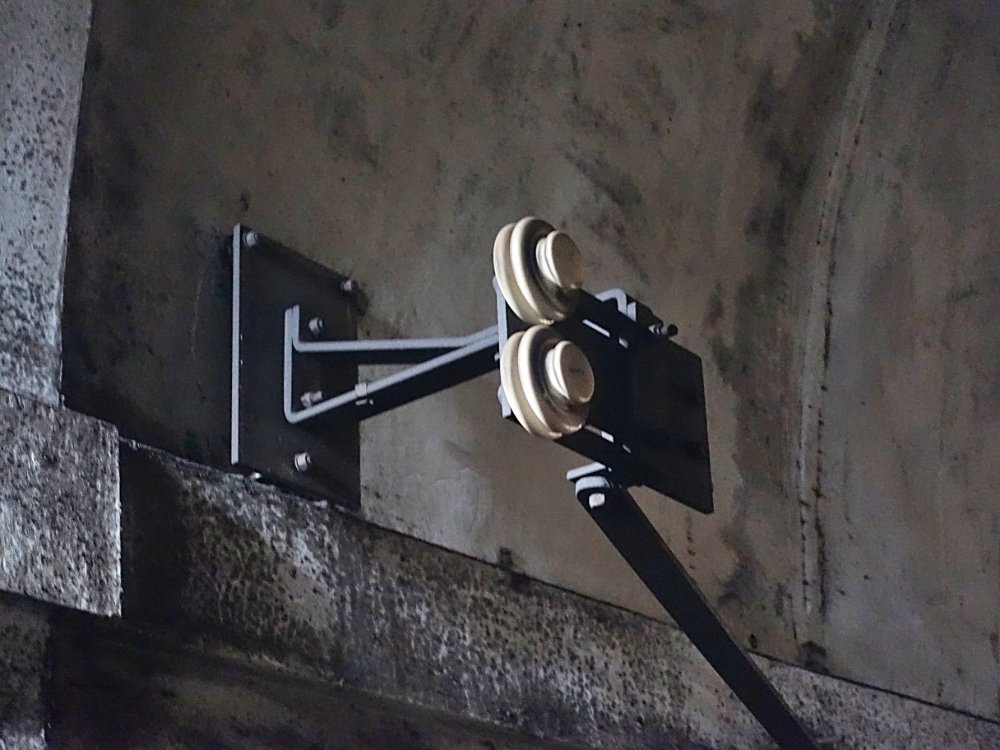

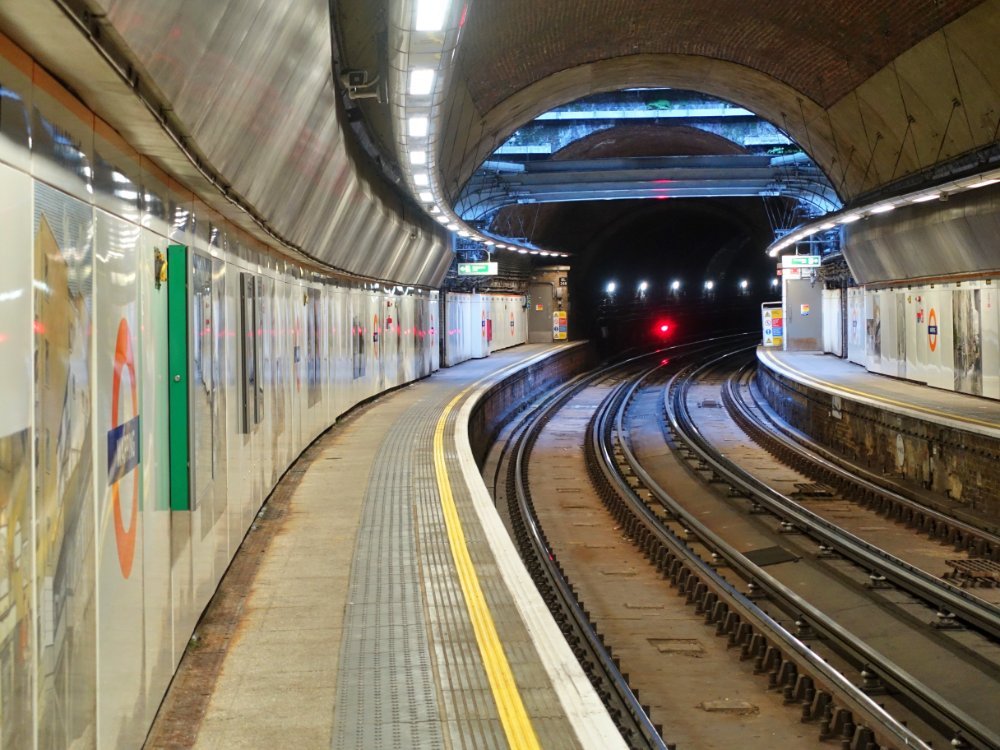
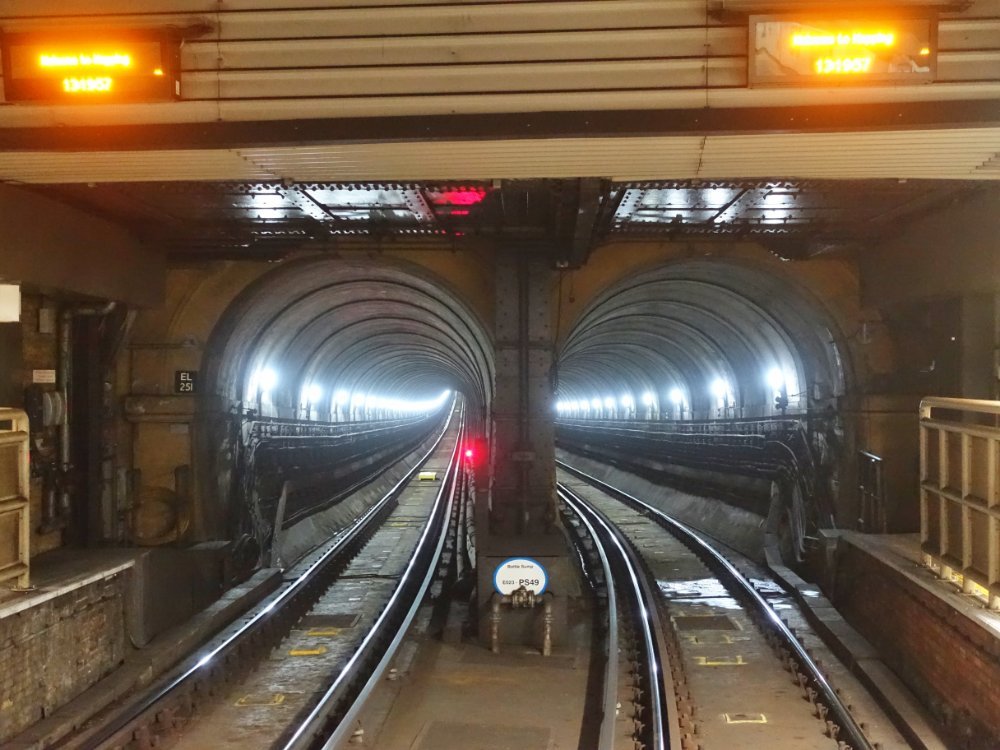
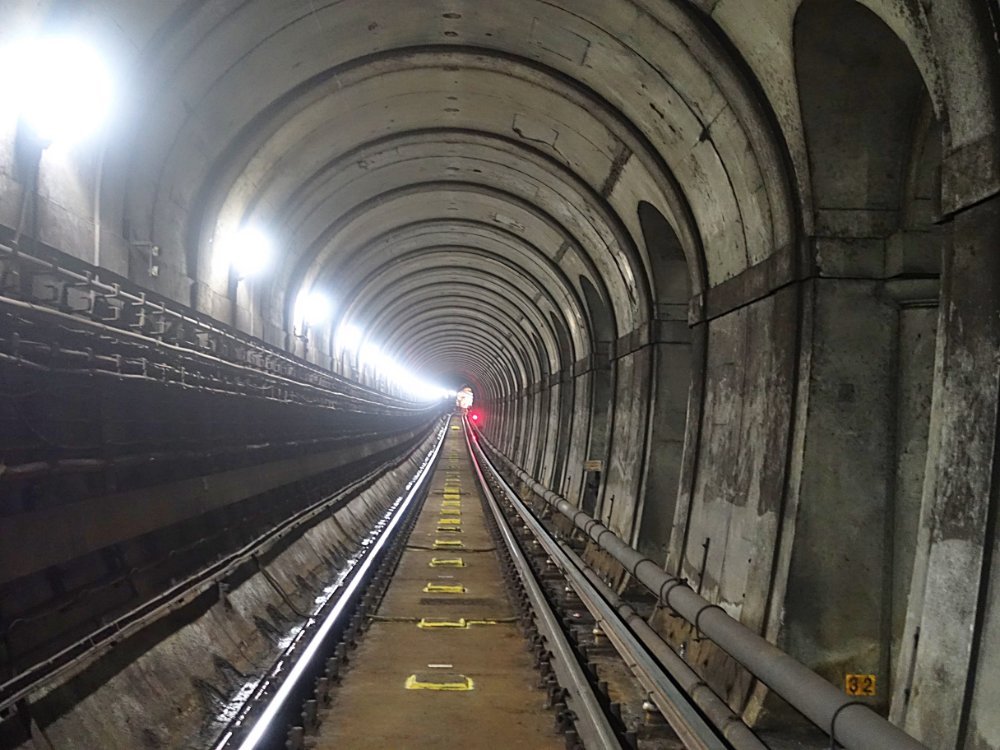
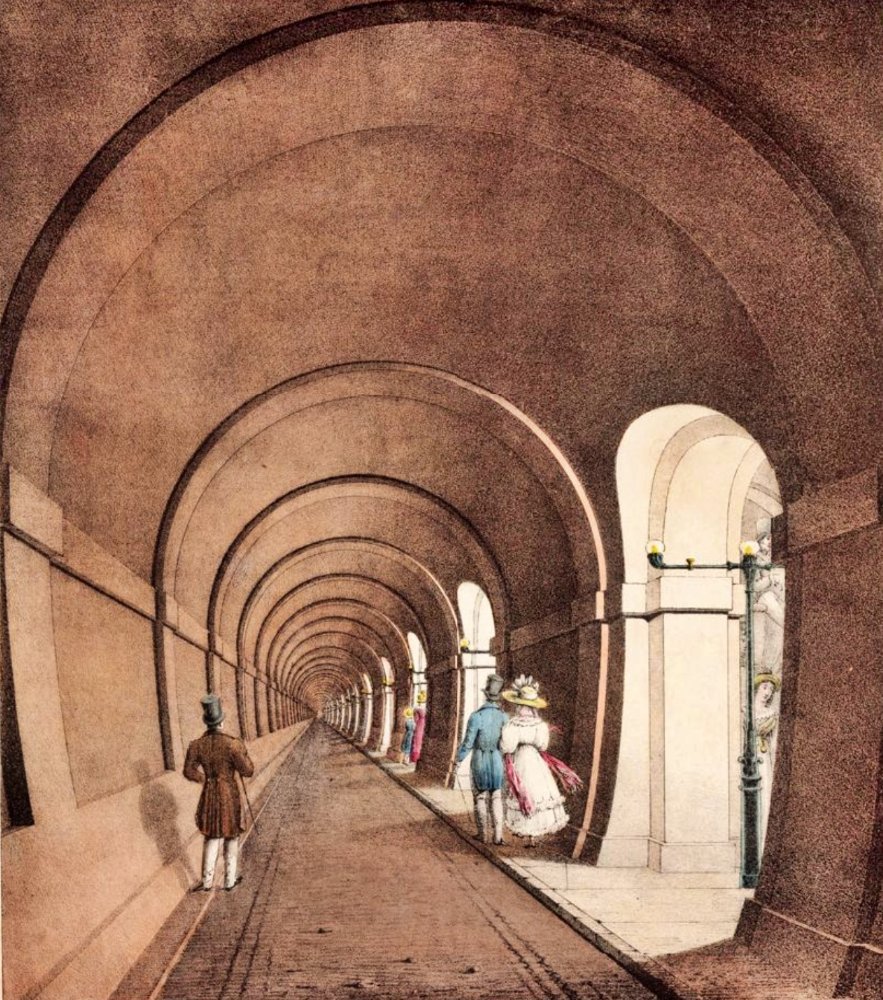
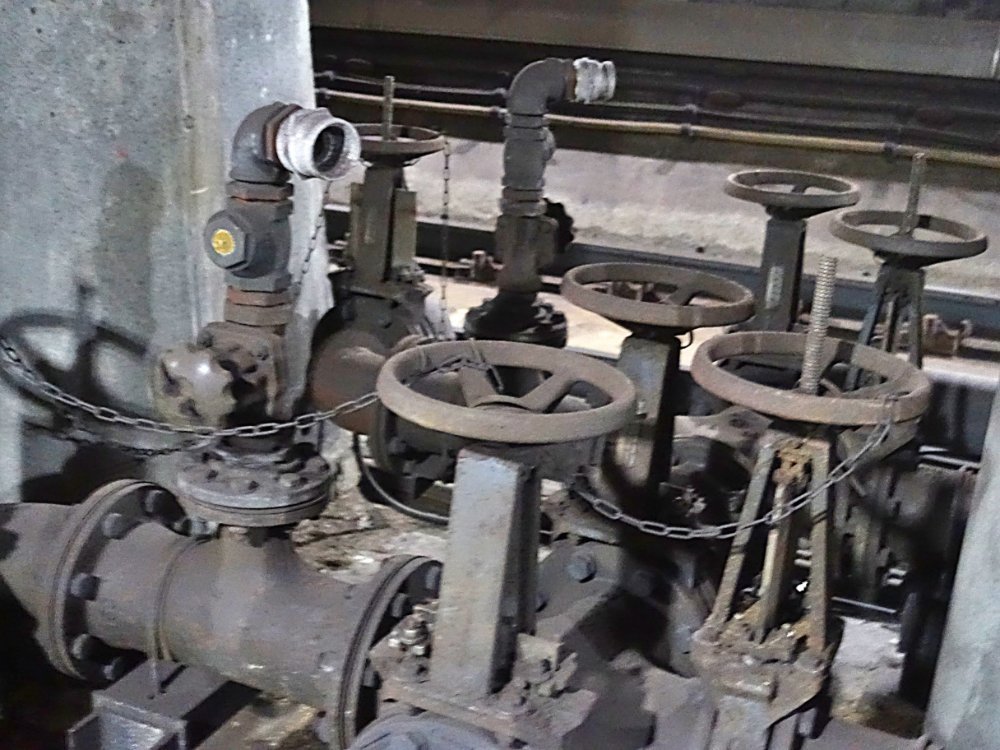
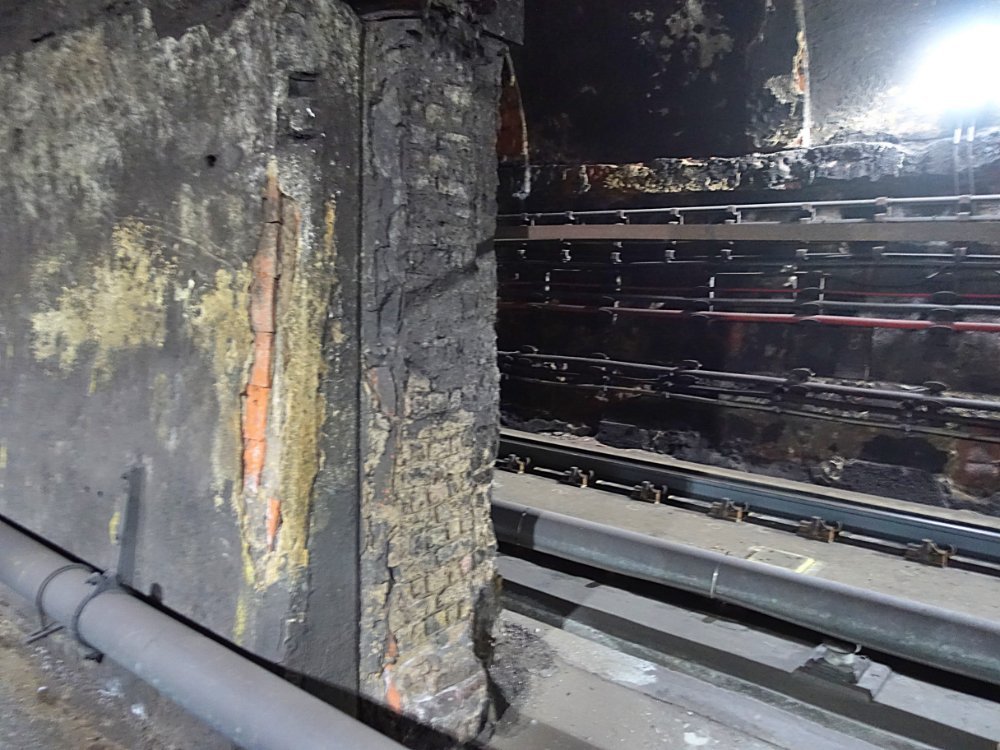

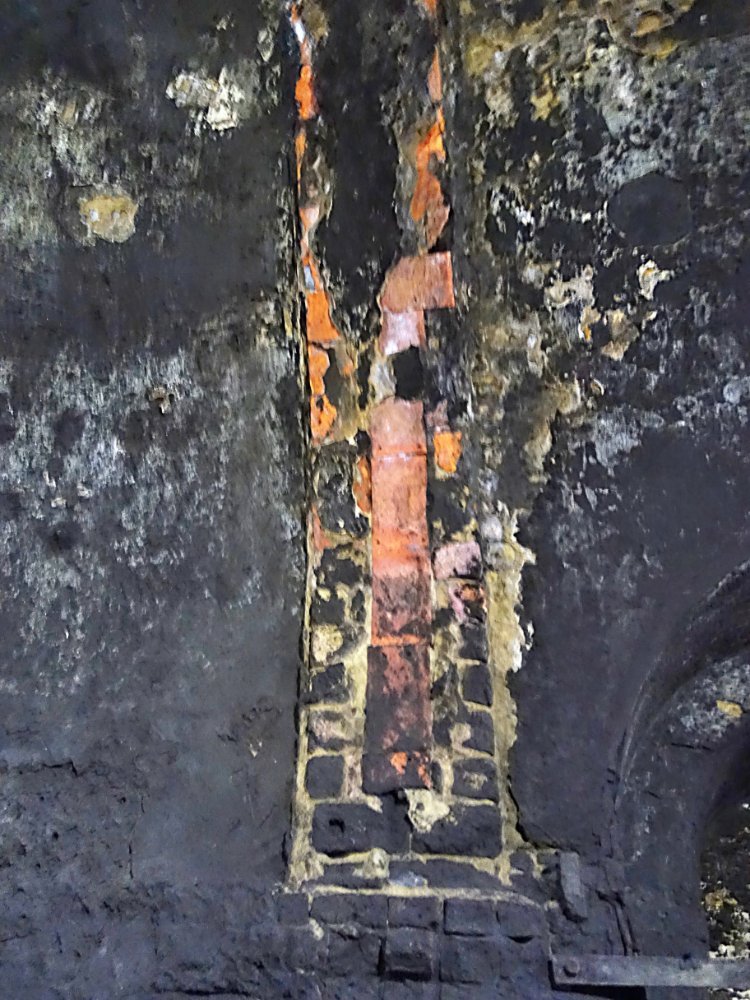
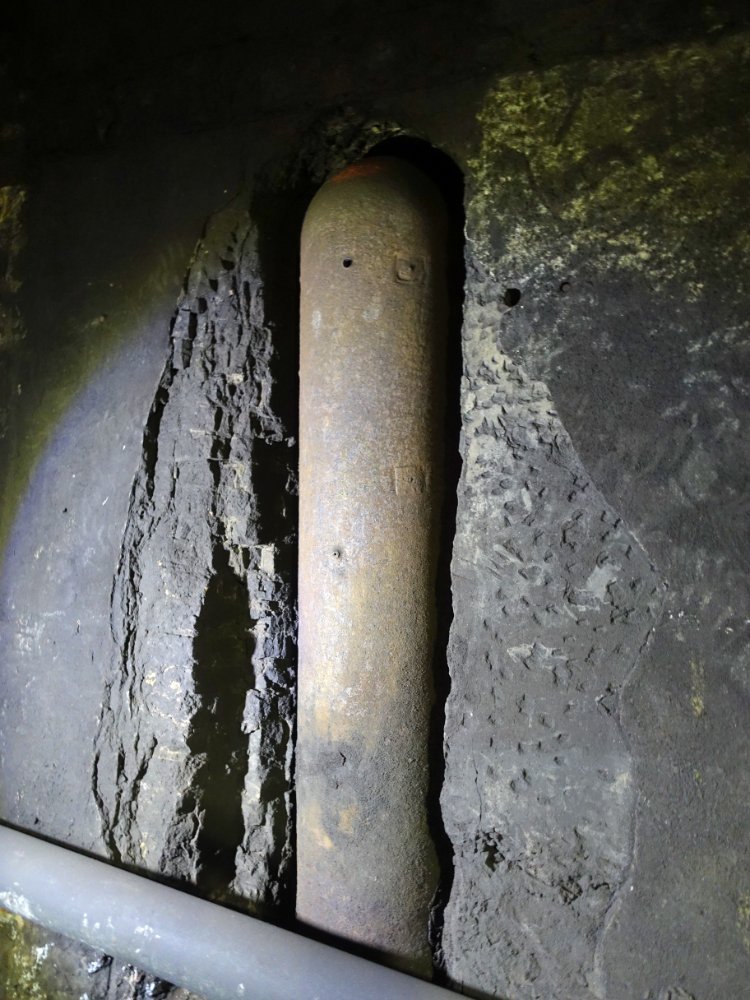


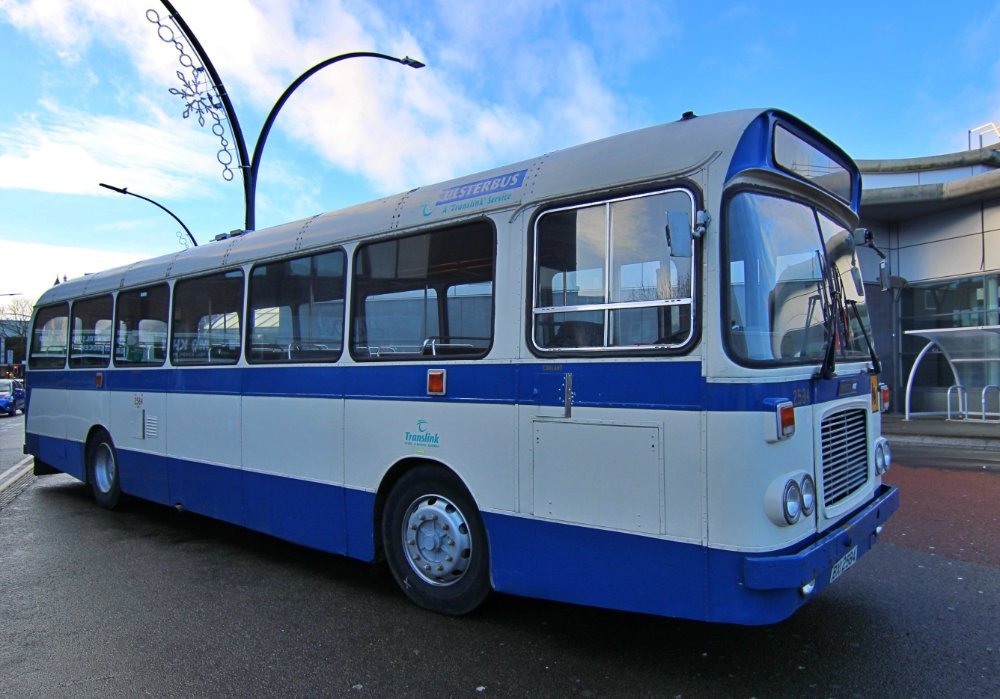
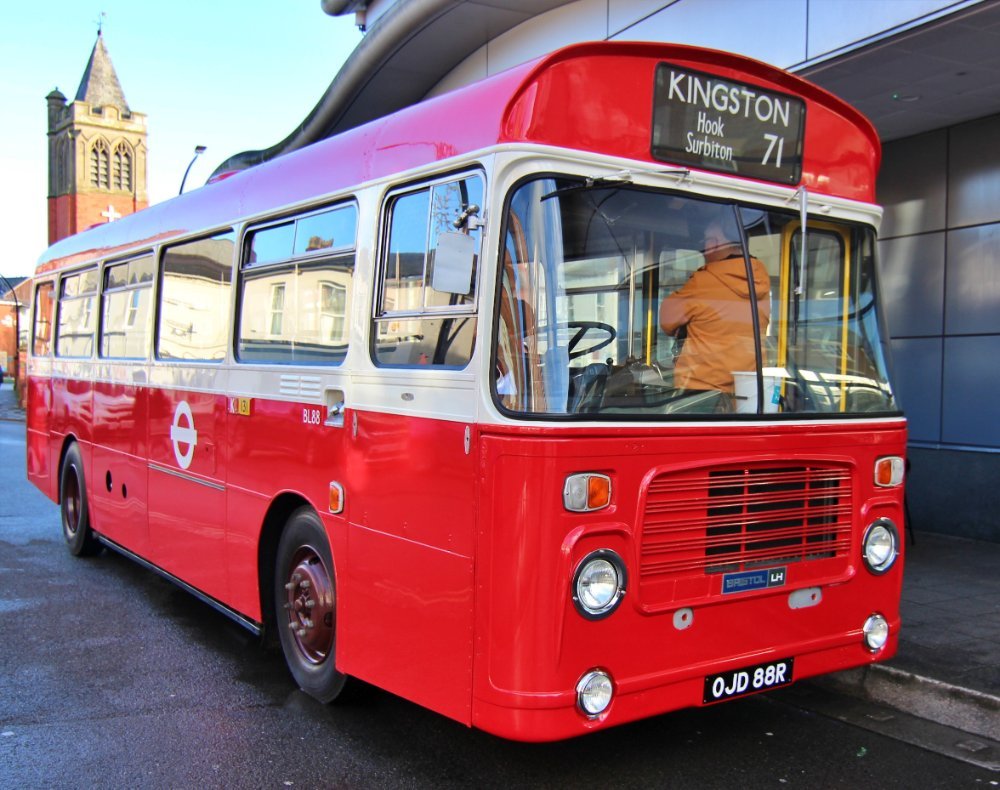
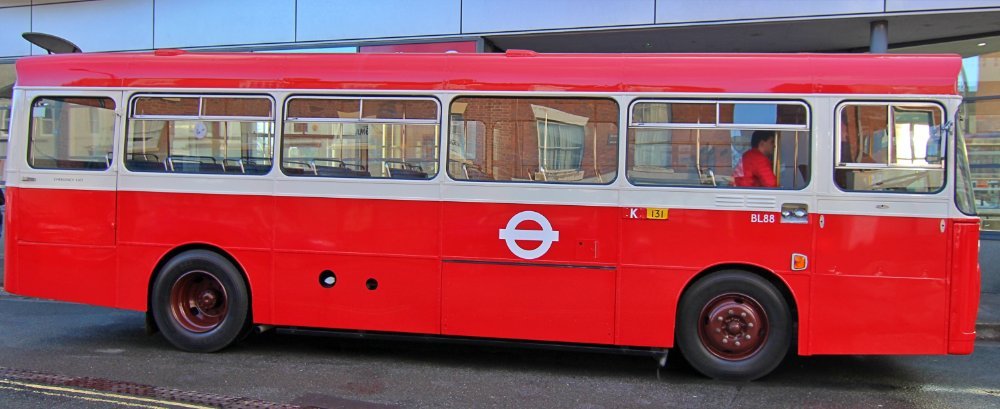


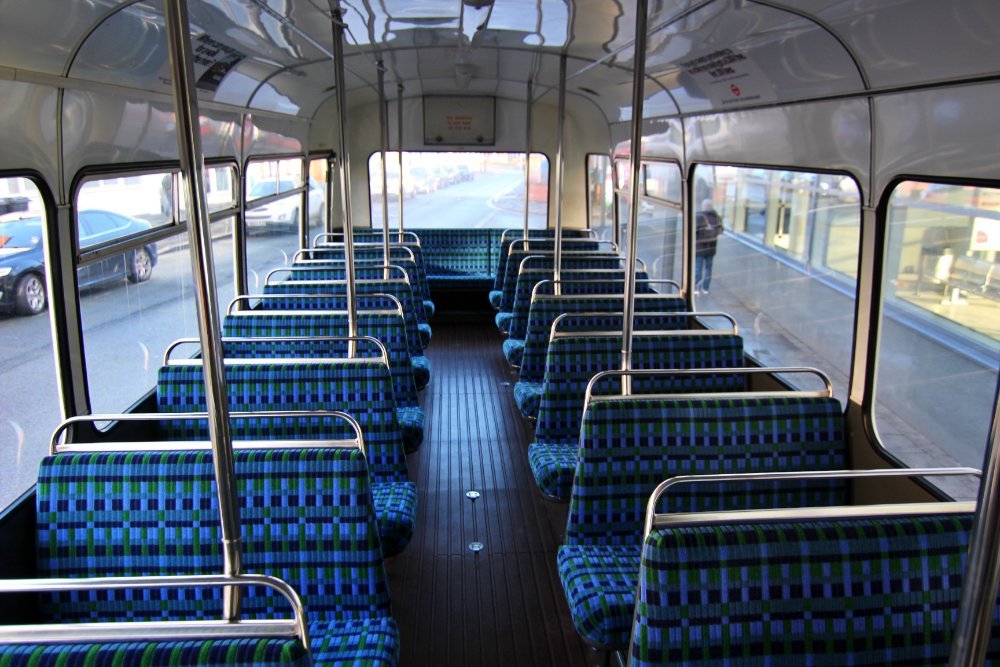
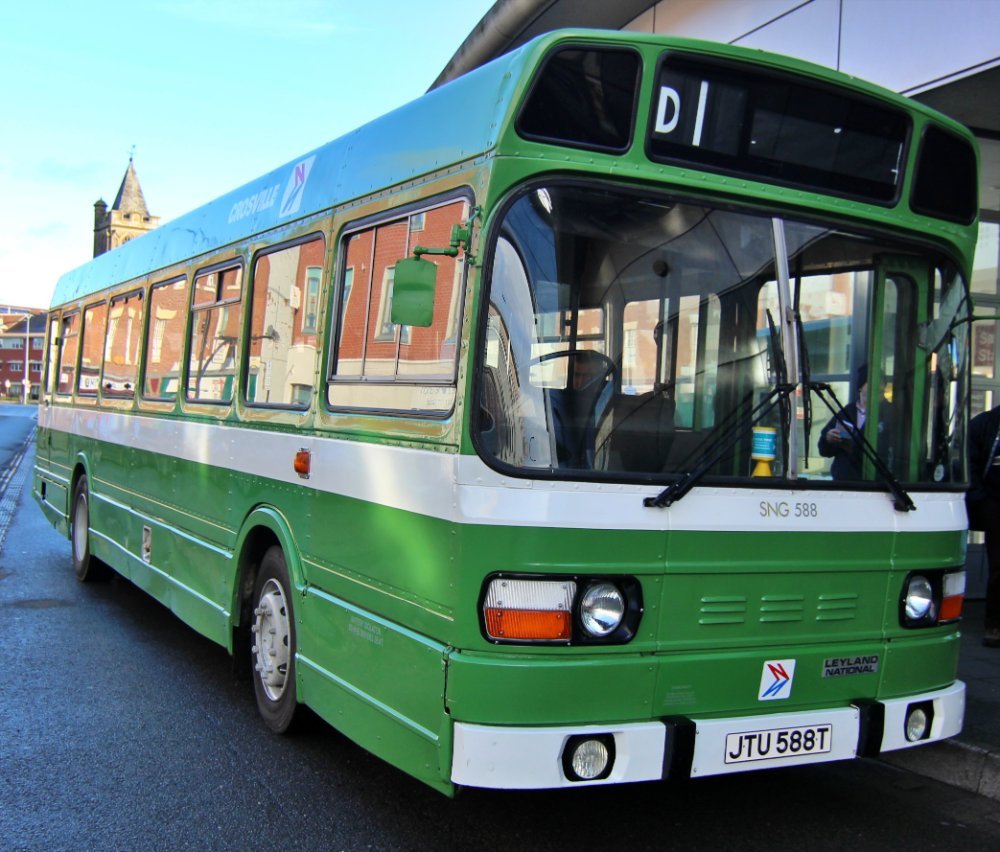

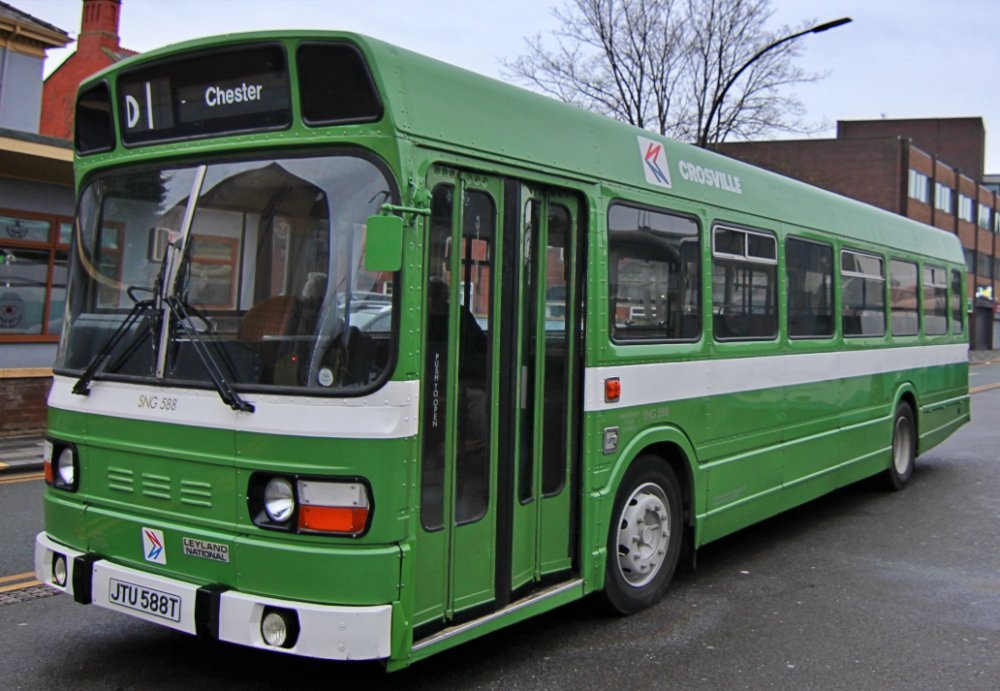
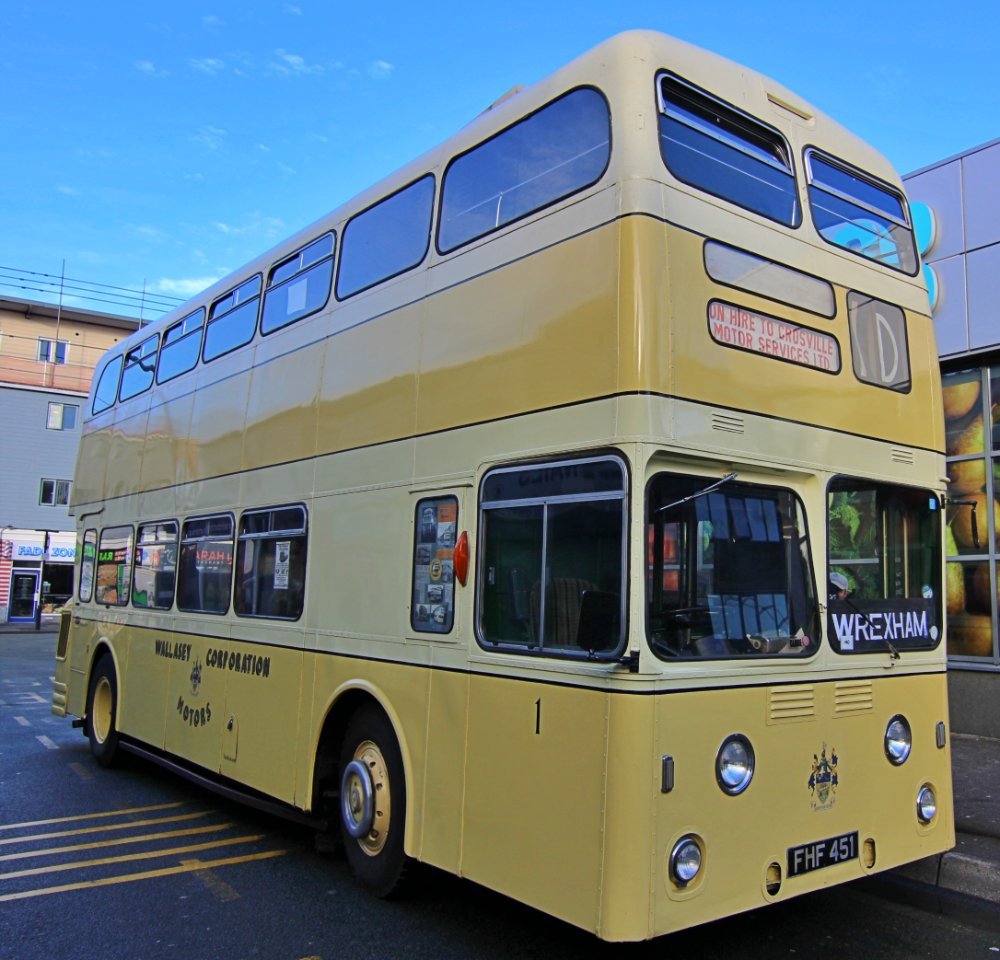


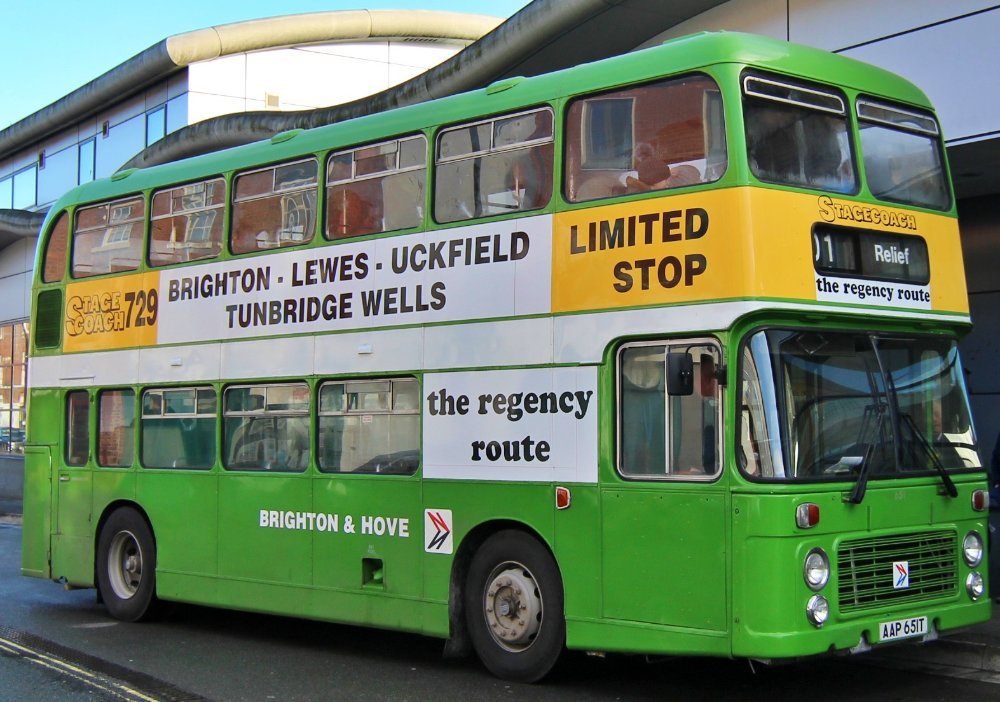

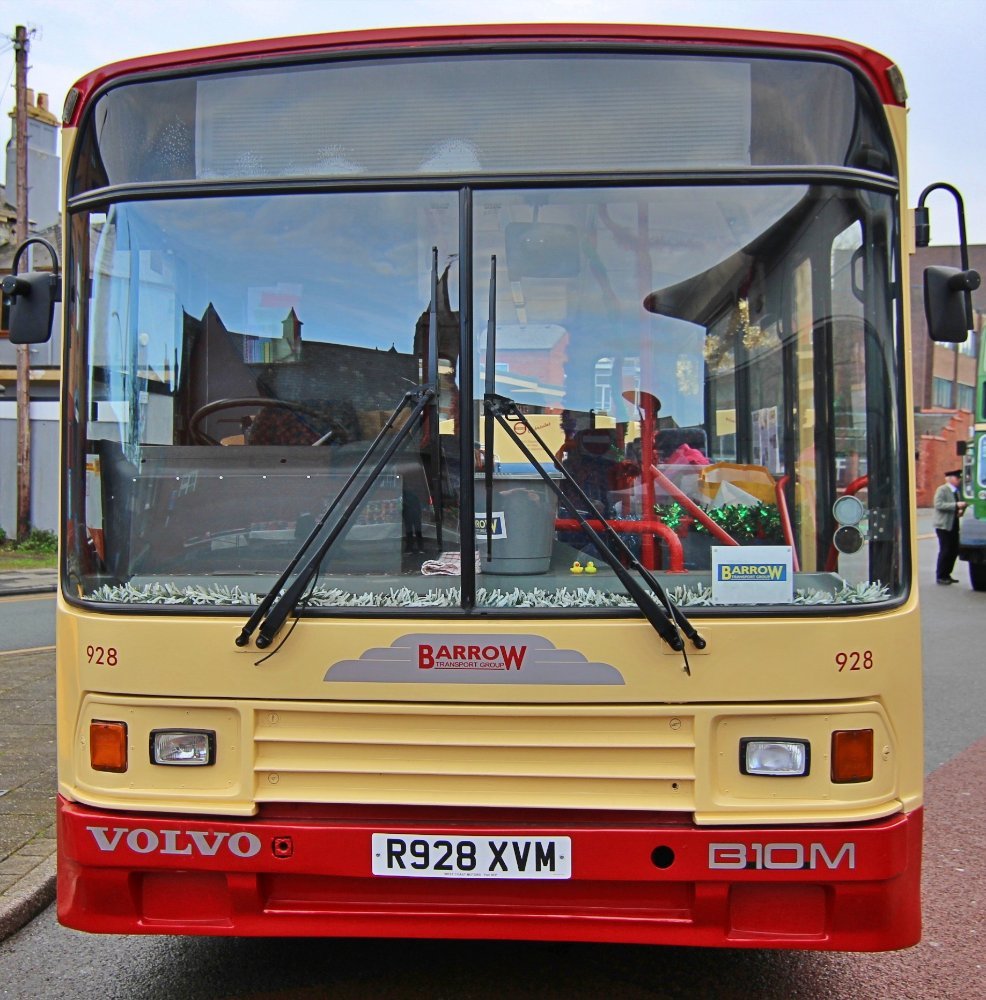


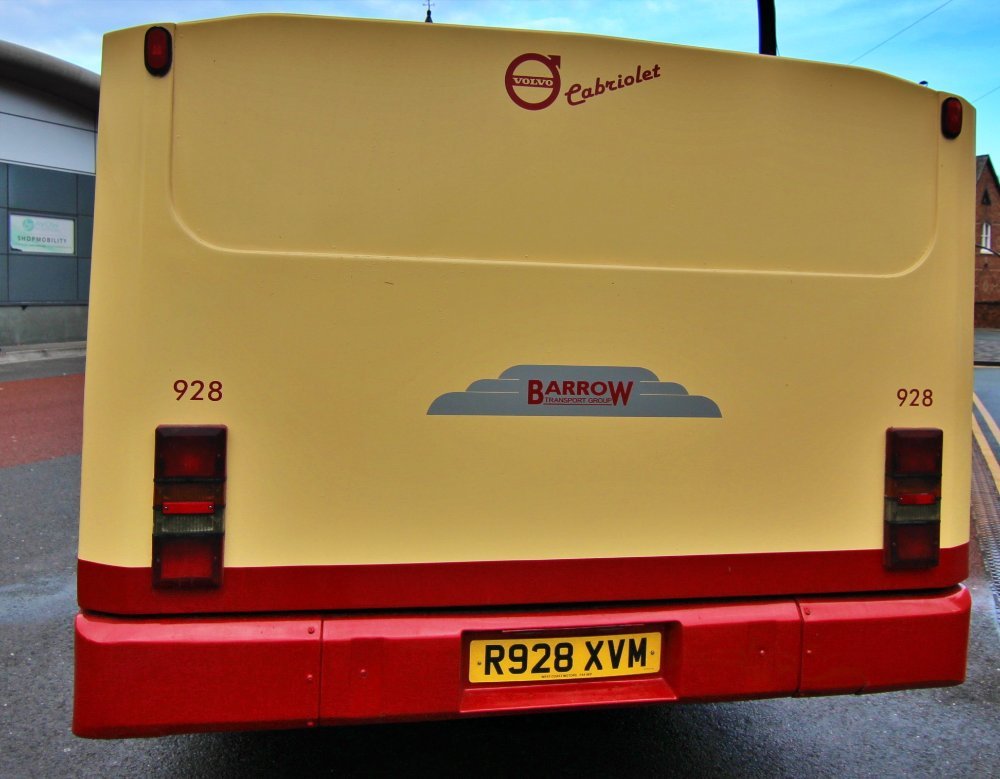

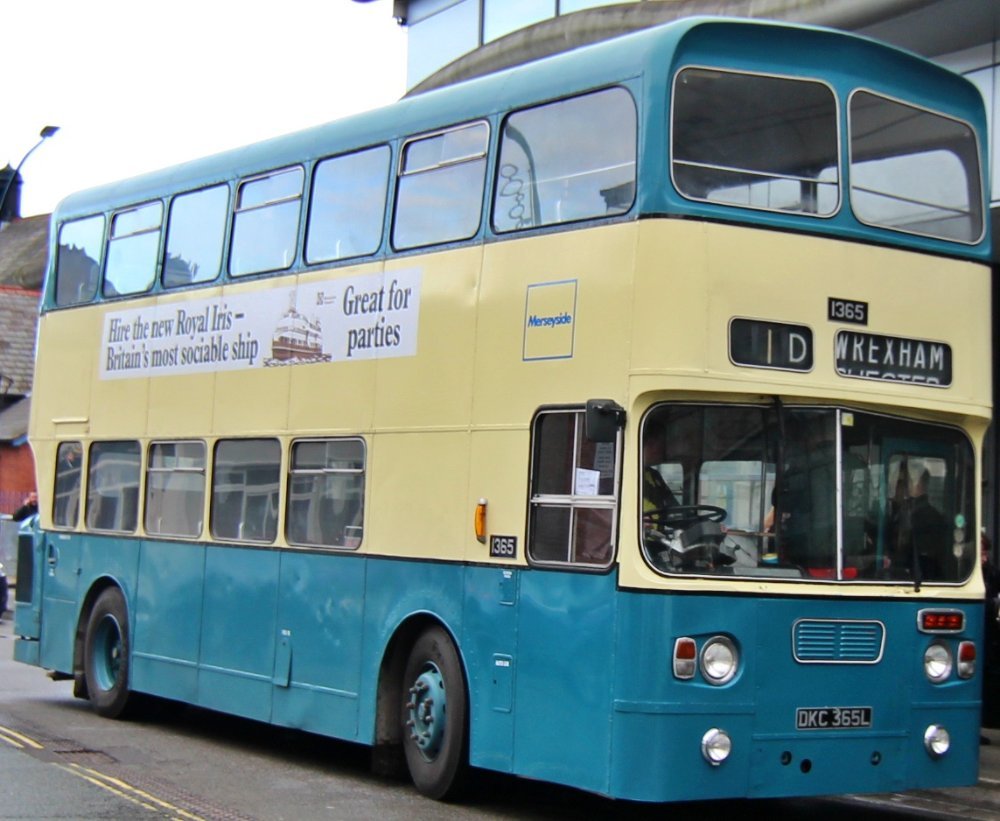
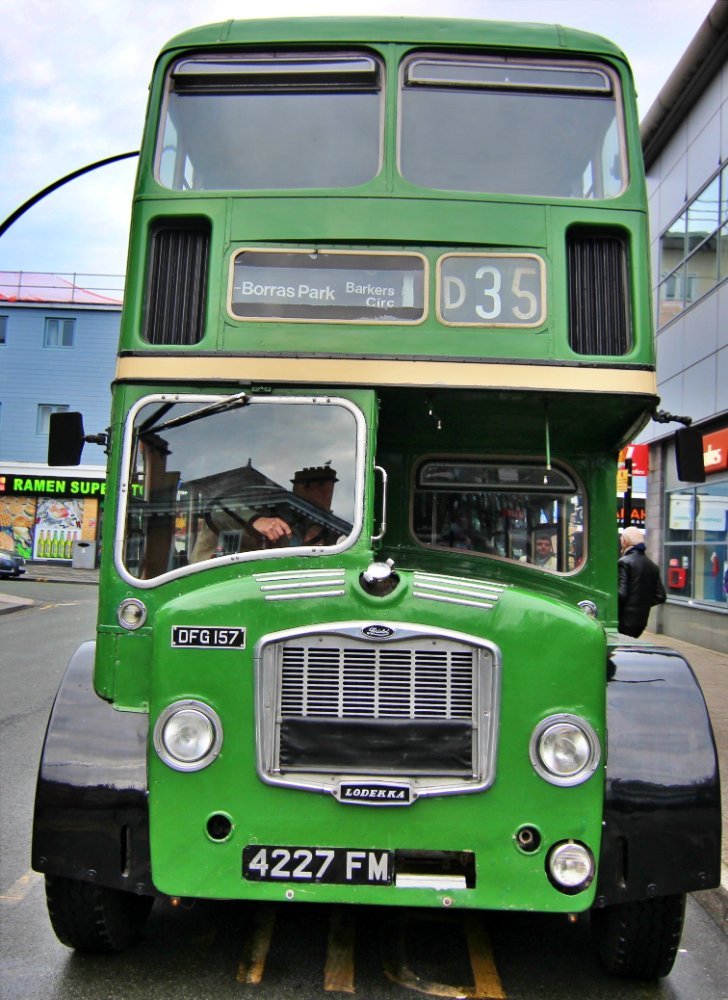
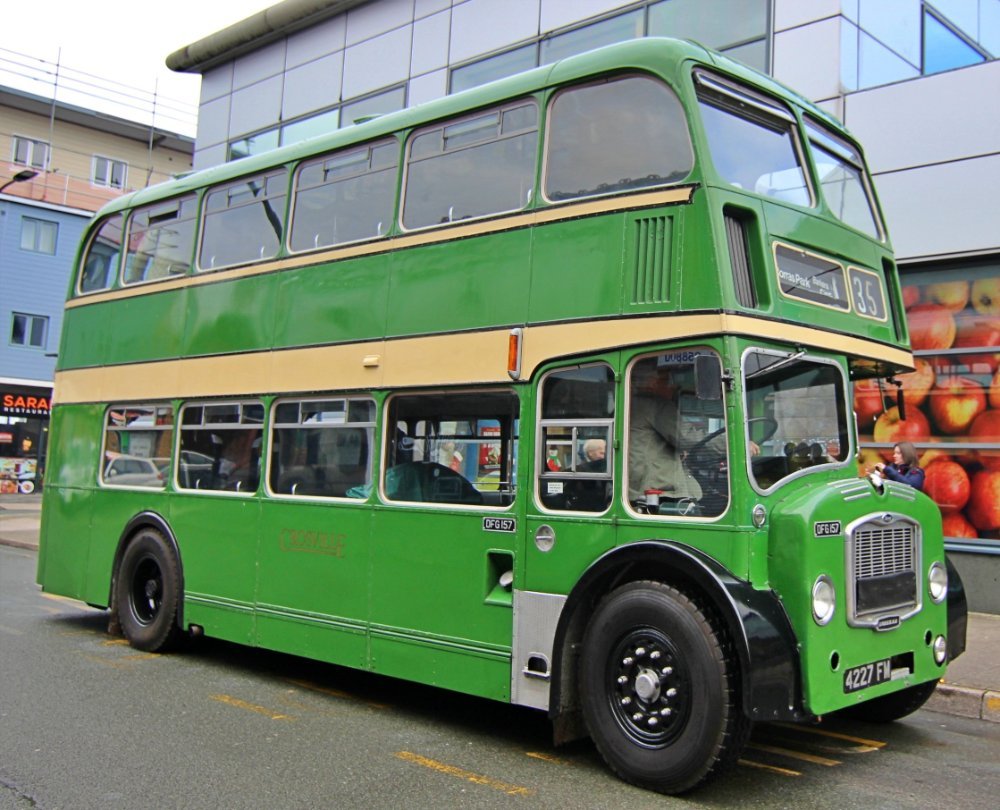
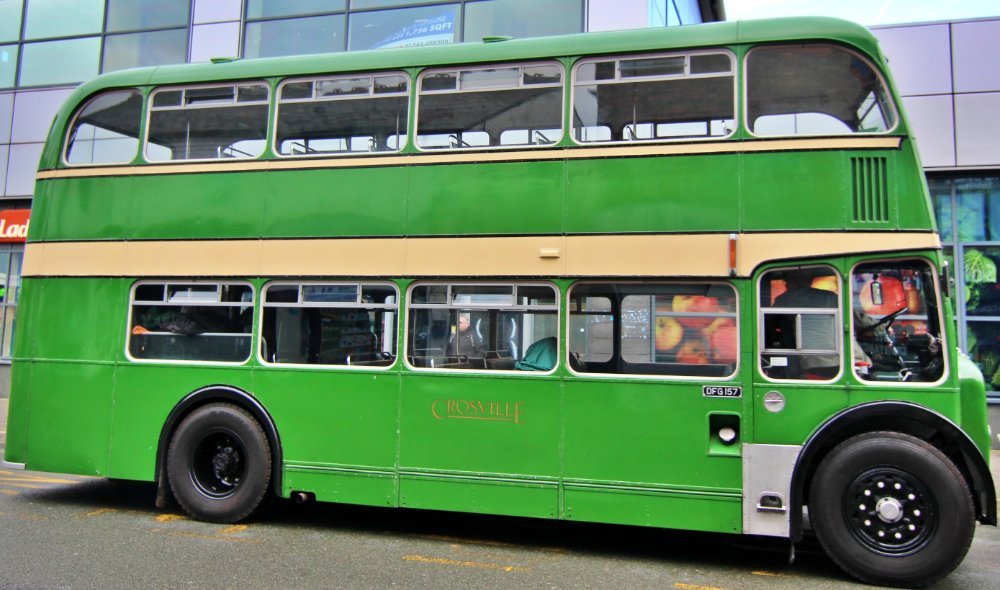
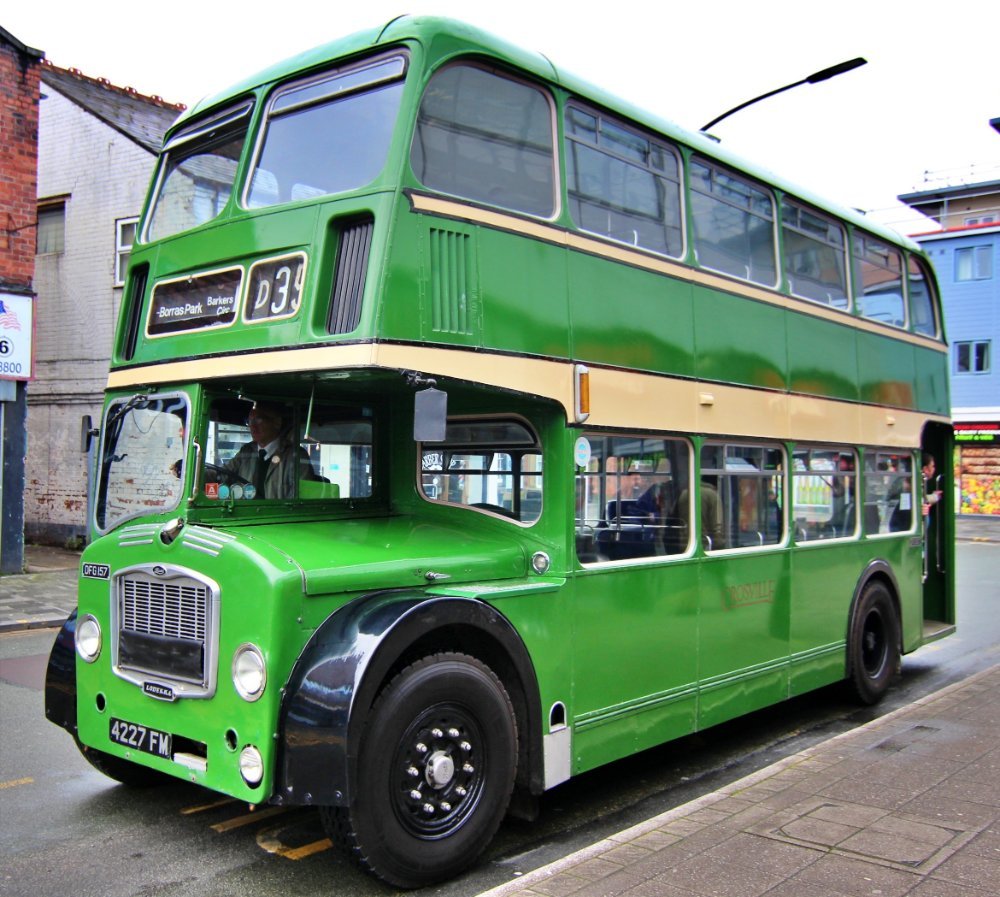

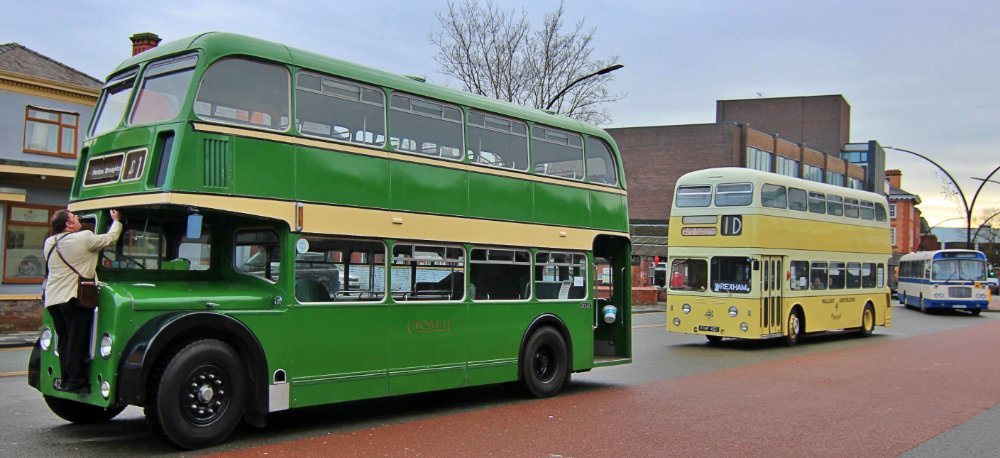


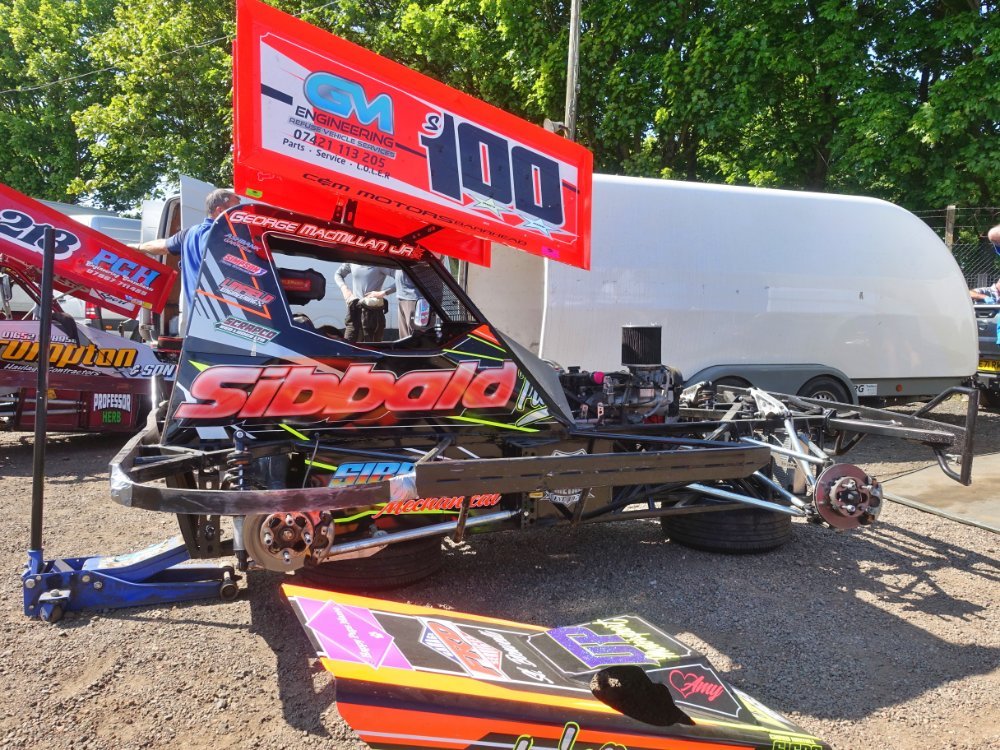


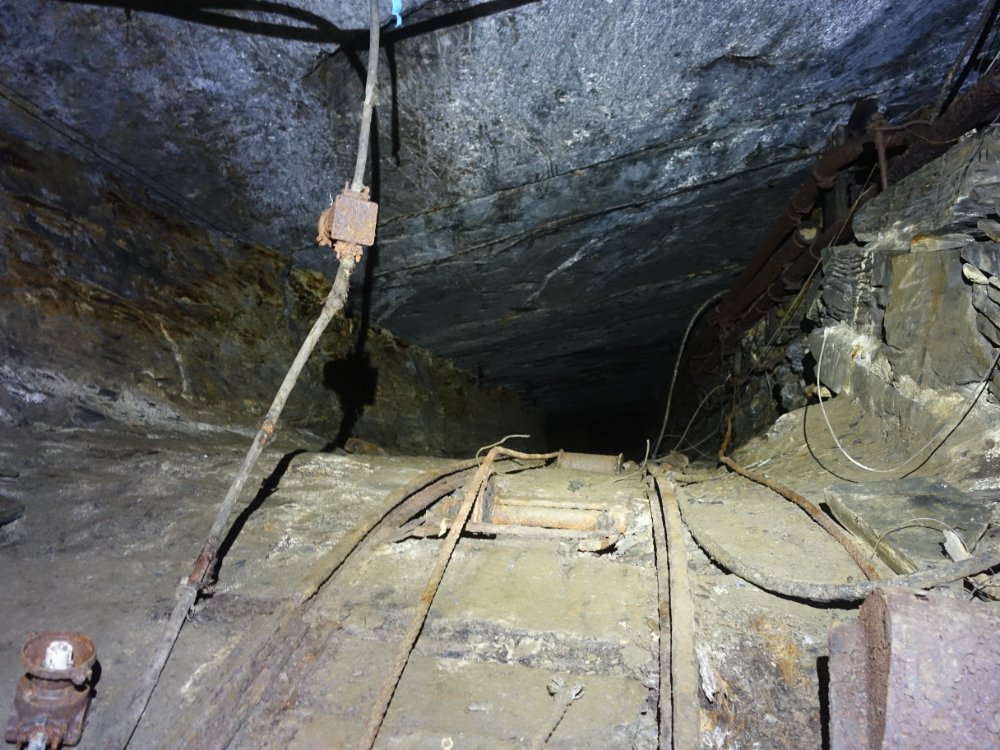
.jpg.545bab4e17afc90cde4fce53c7b5bce0.jpg)
.jpg.dc3af200f8ccf046beaf09b96eed5220.jpg)

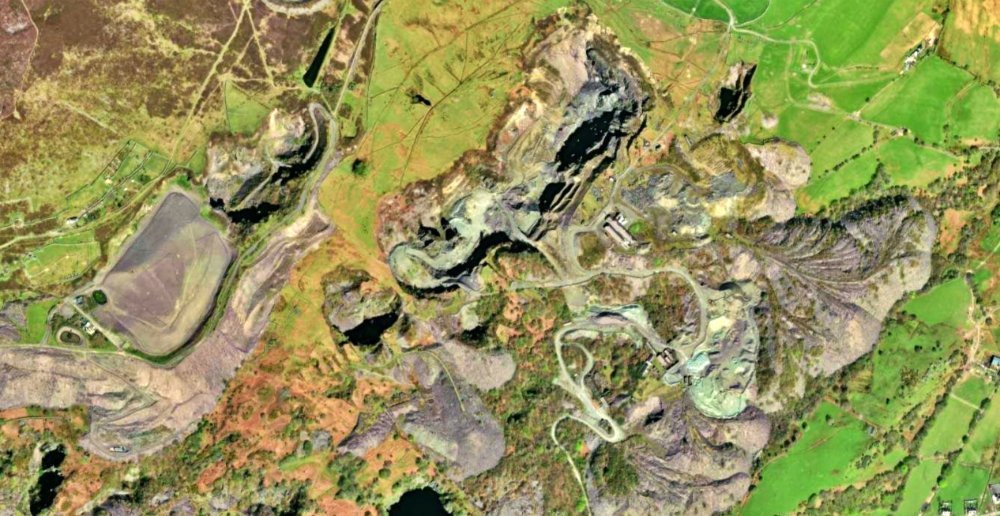

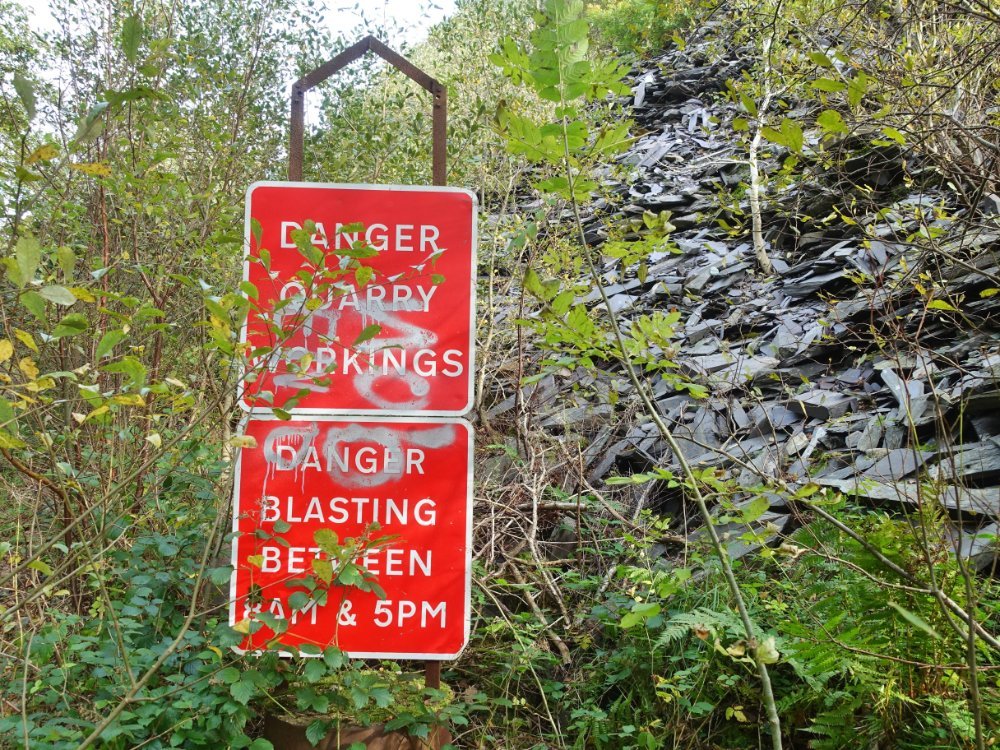
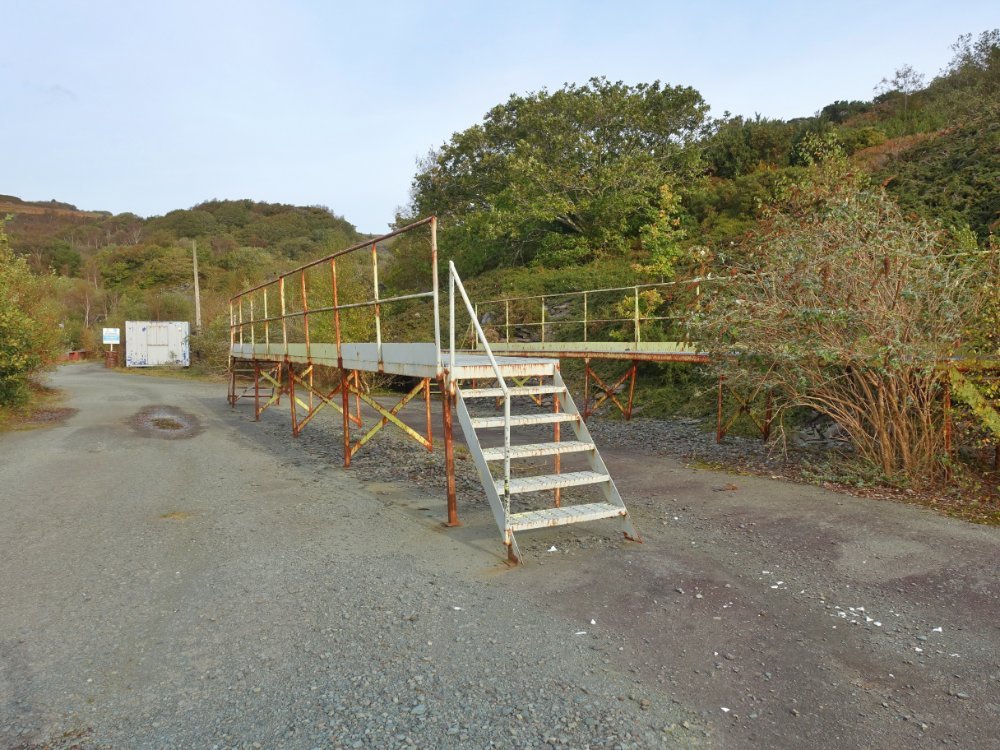


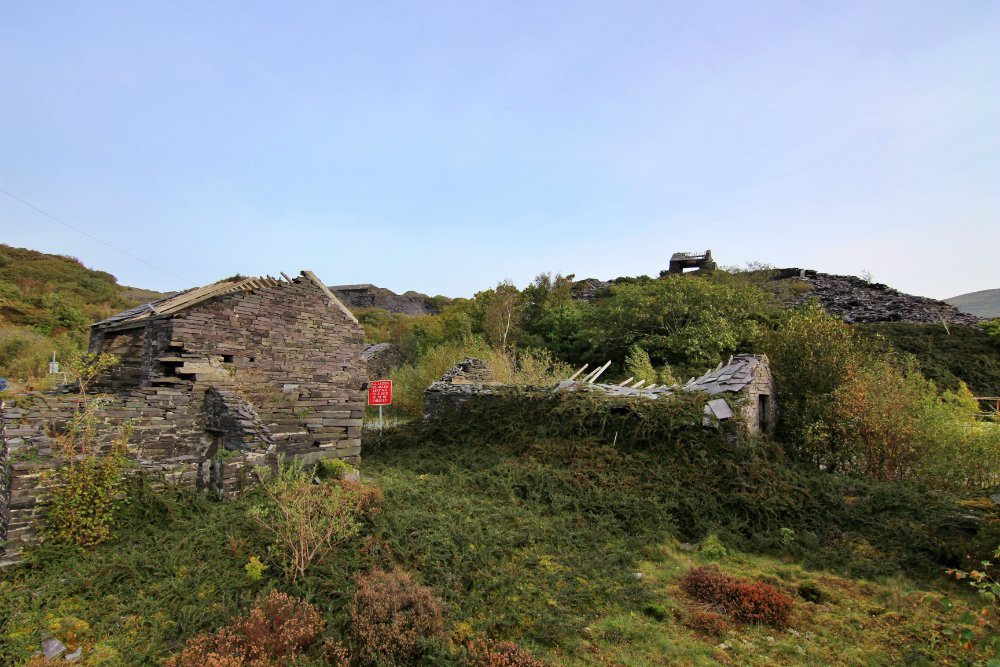
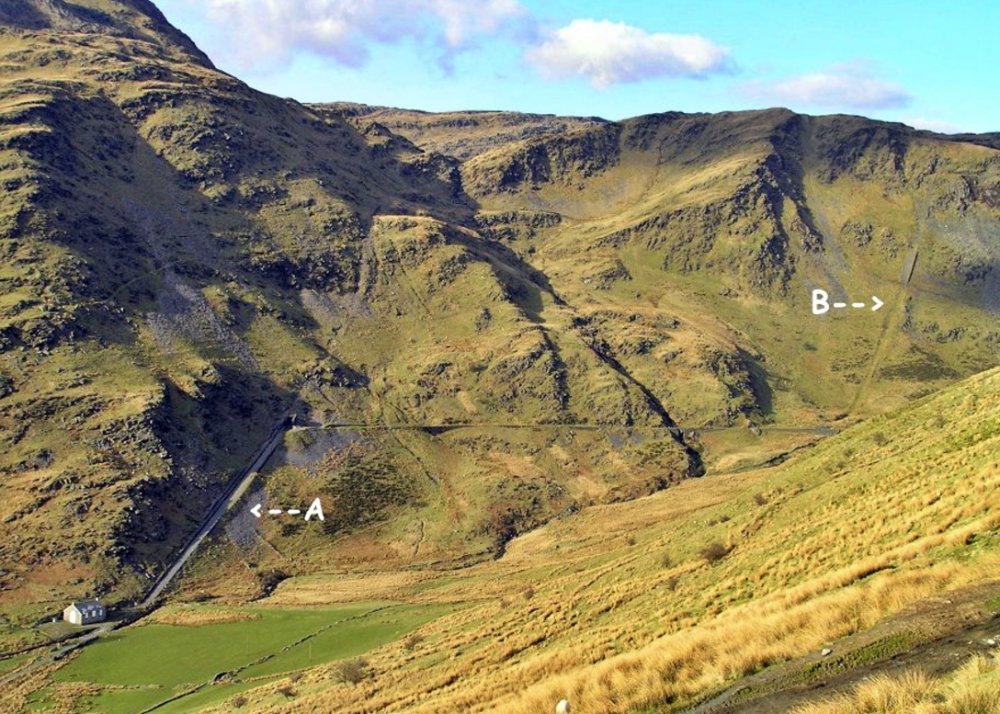


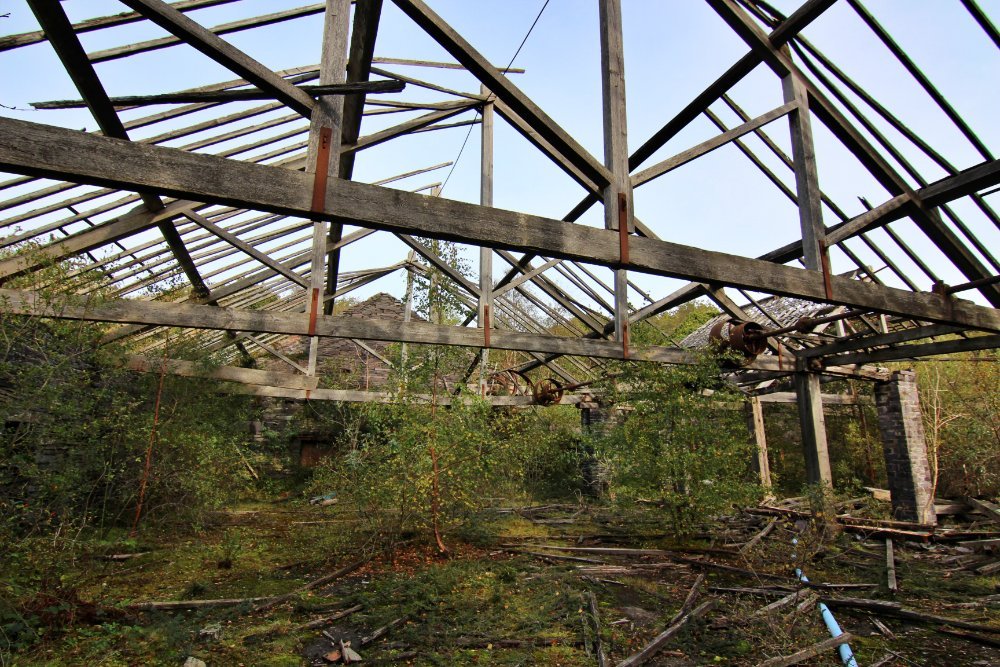

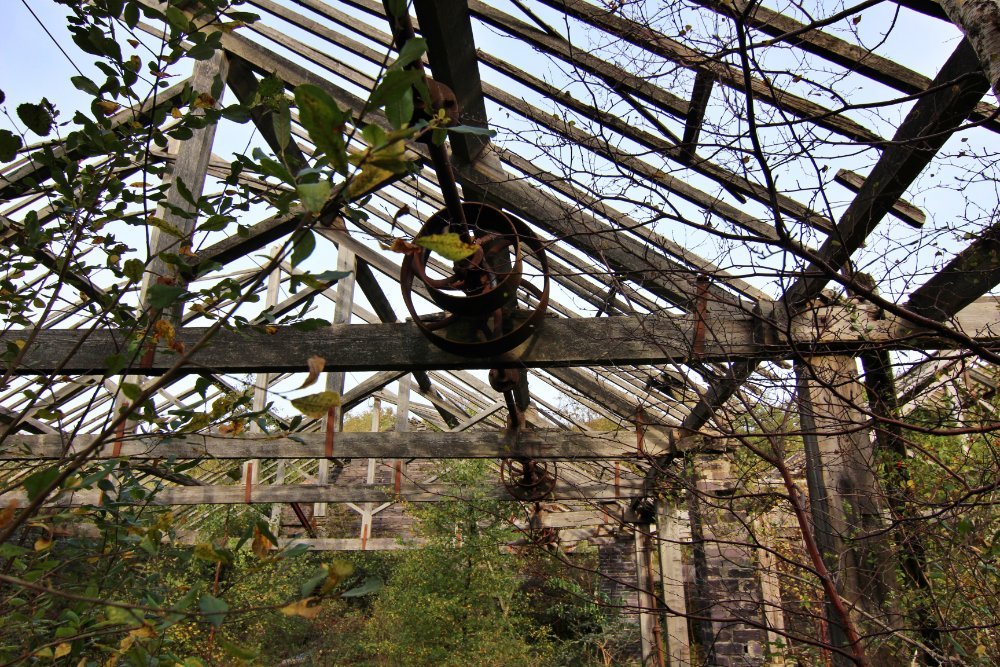
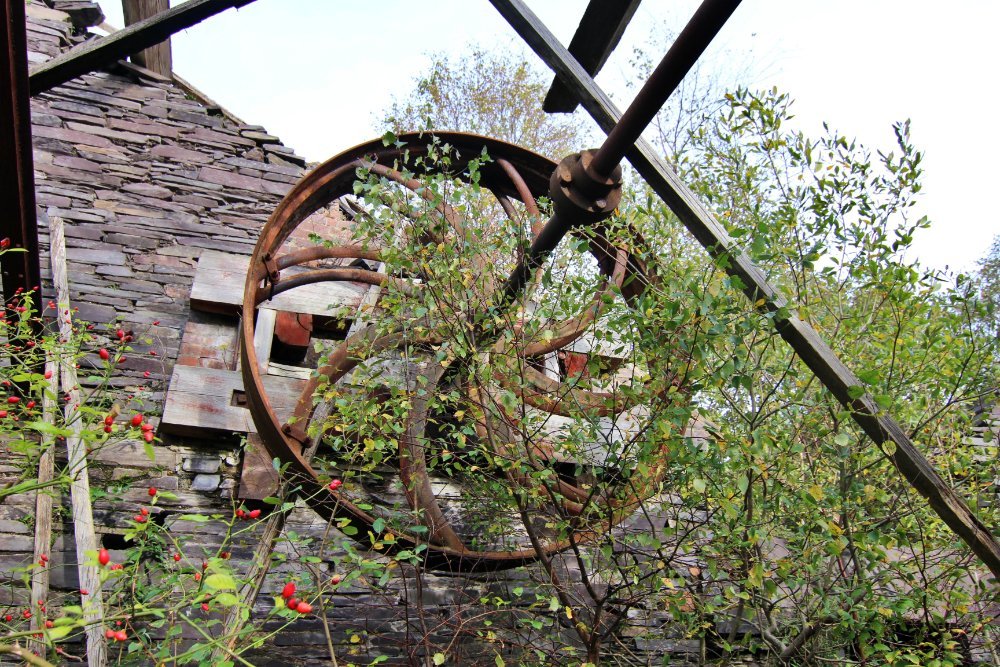
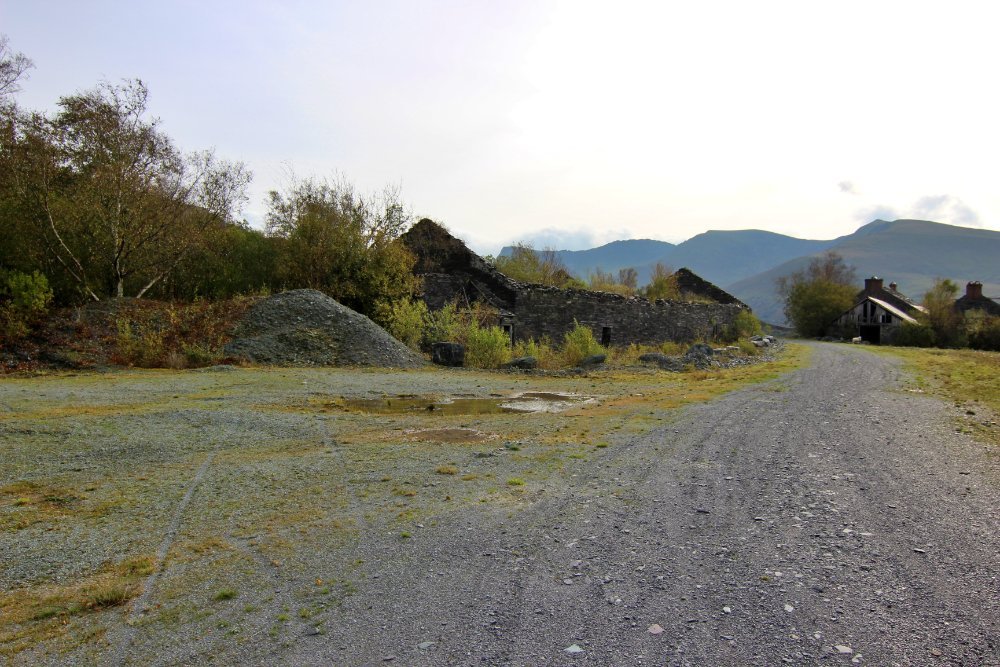
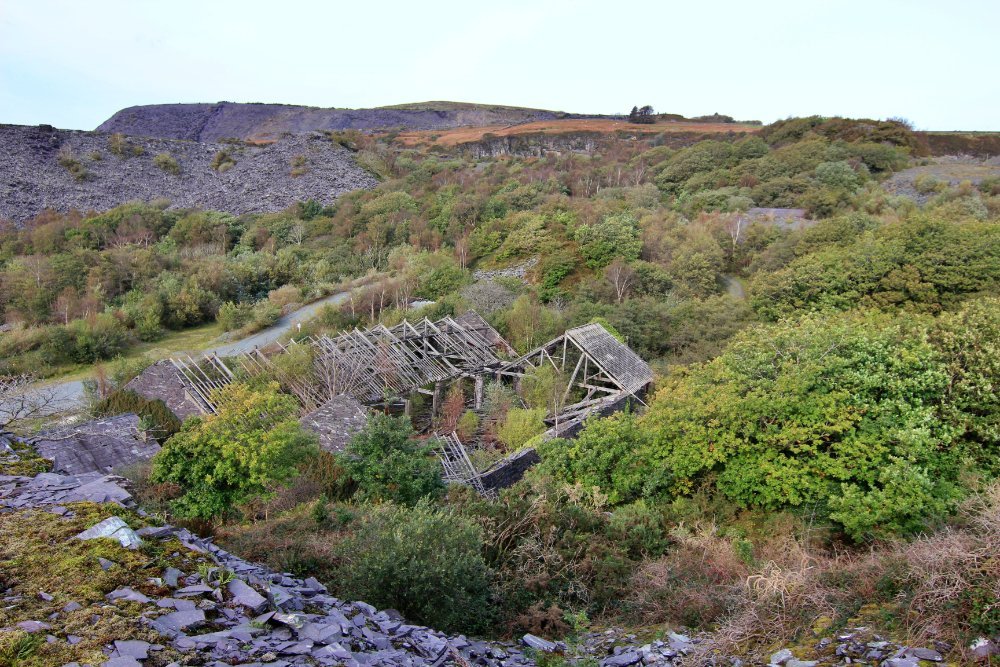
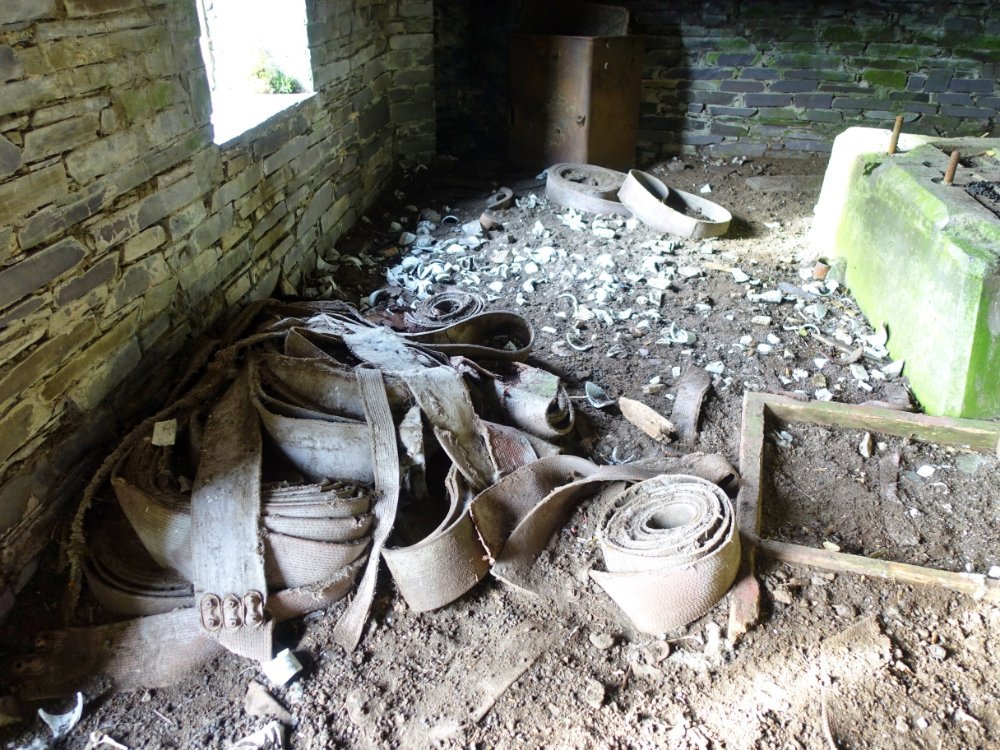
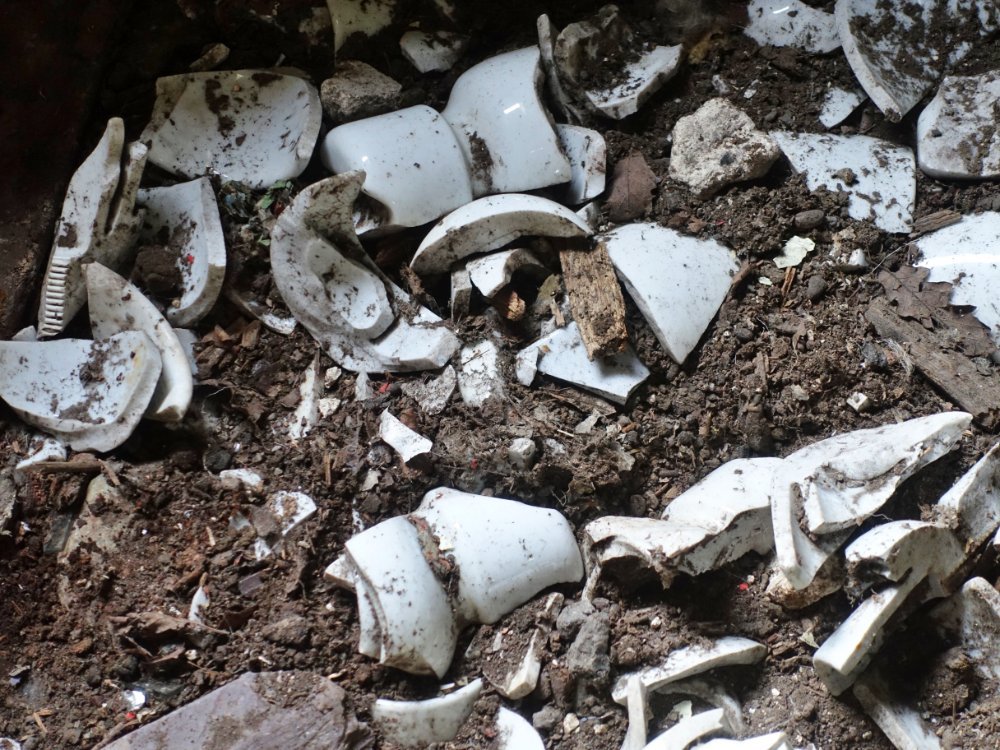

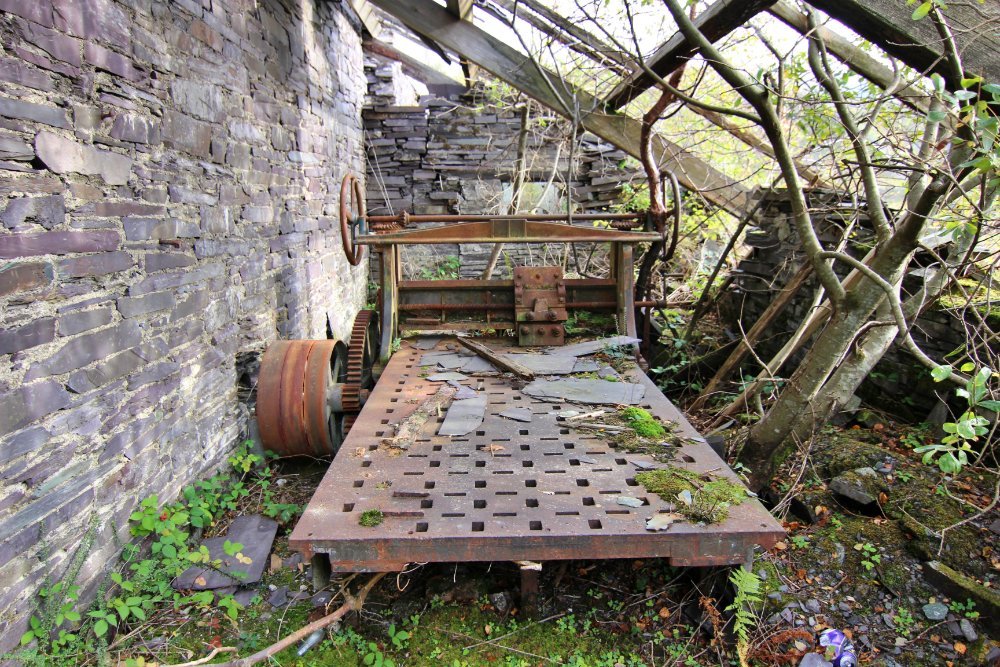

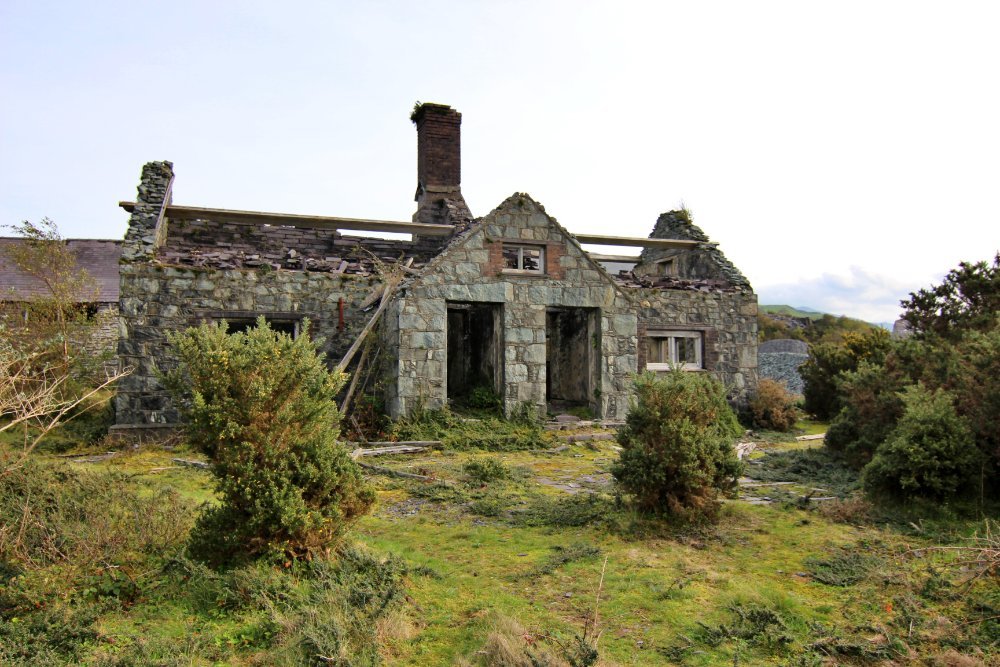

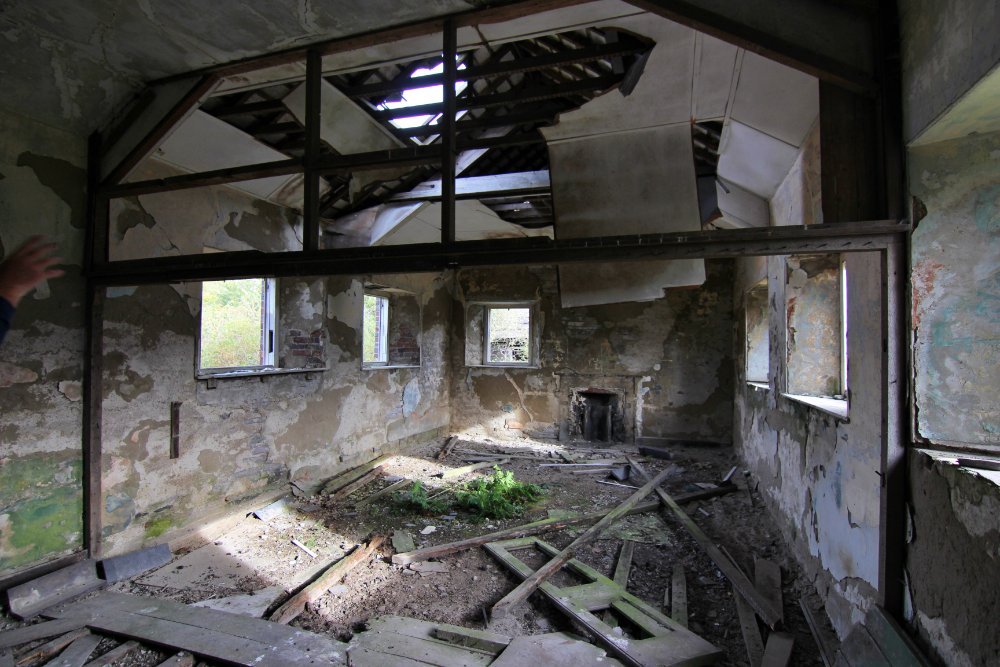


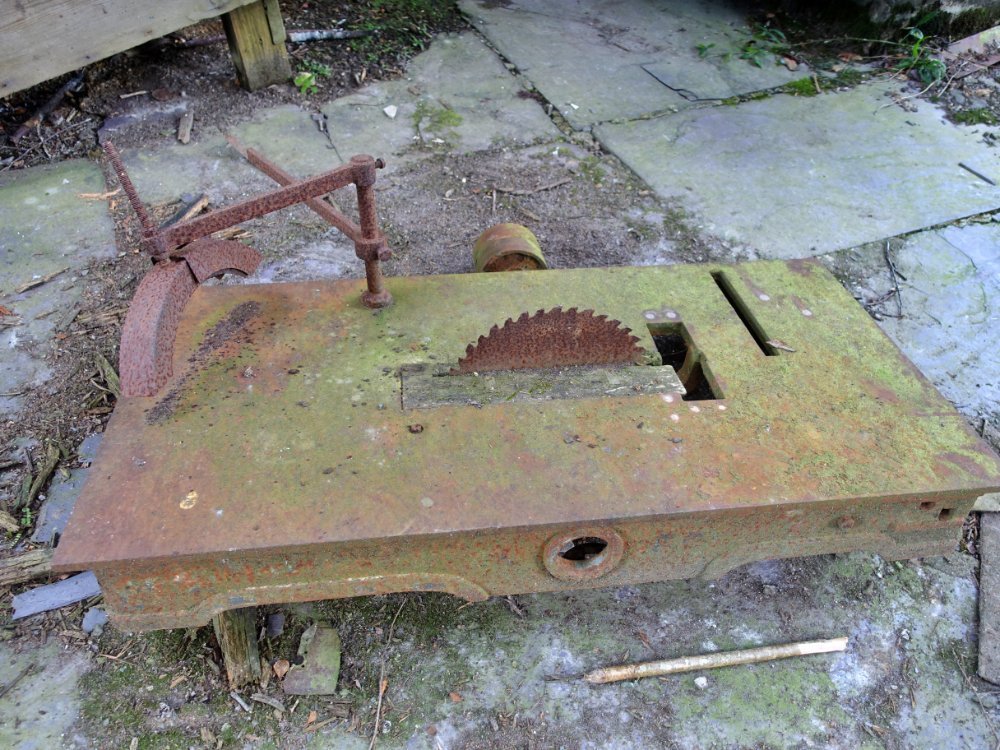


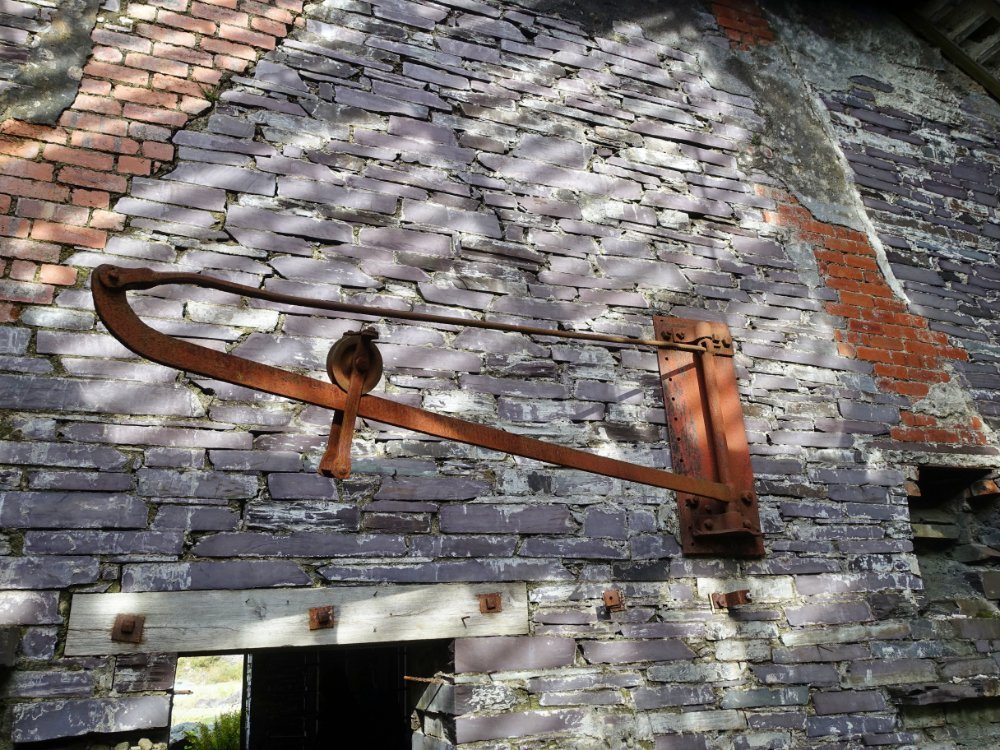
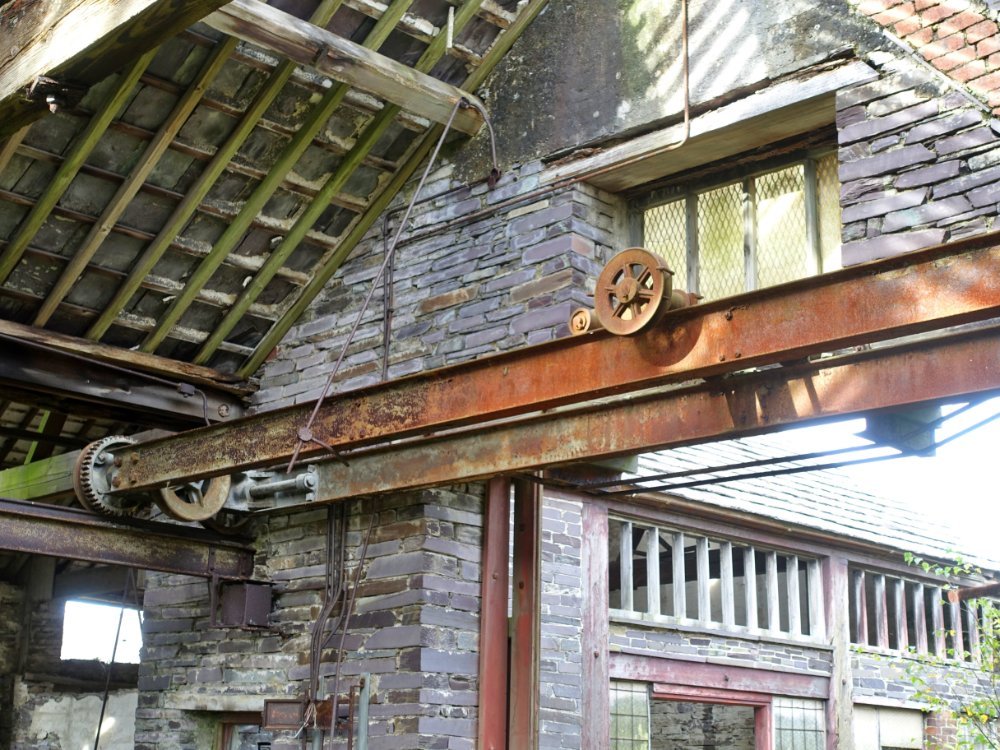


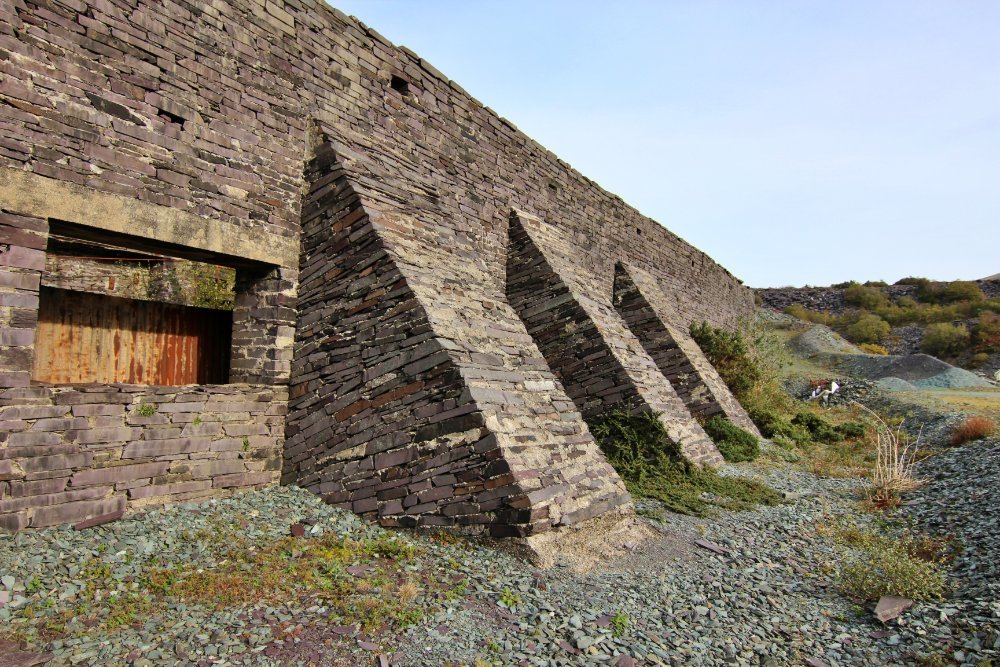

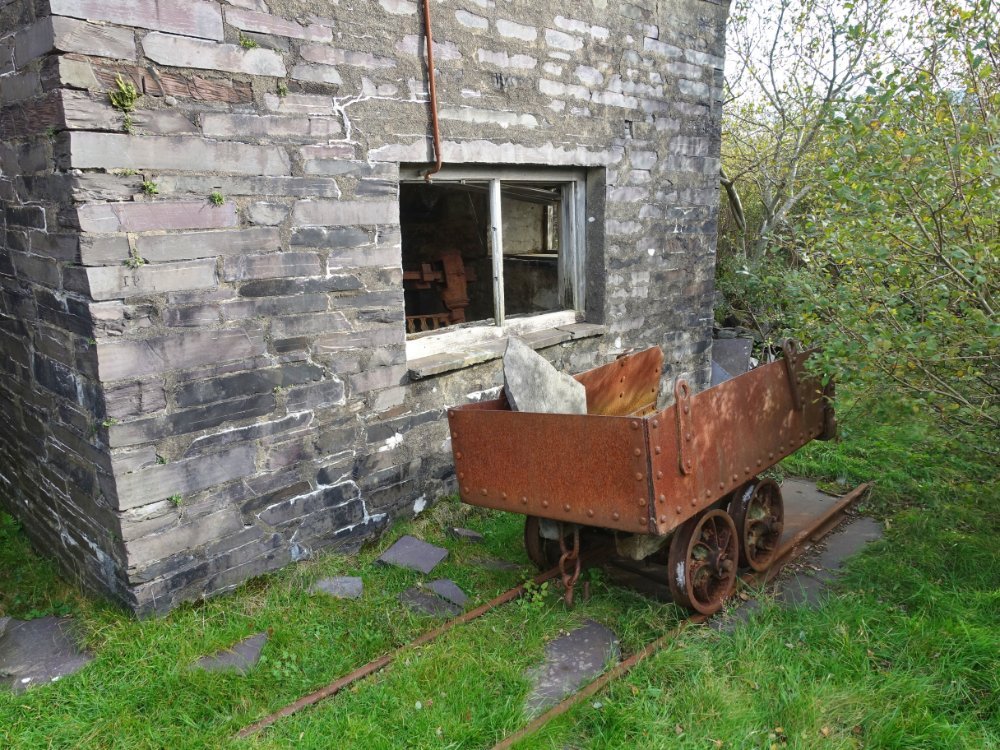

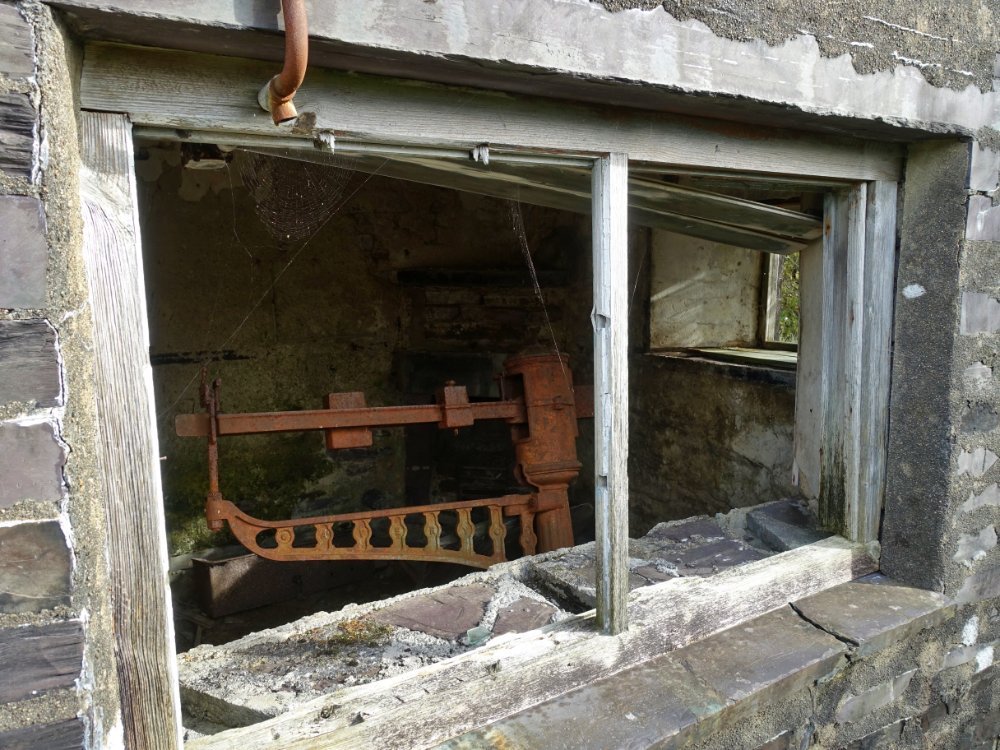
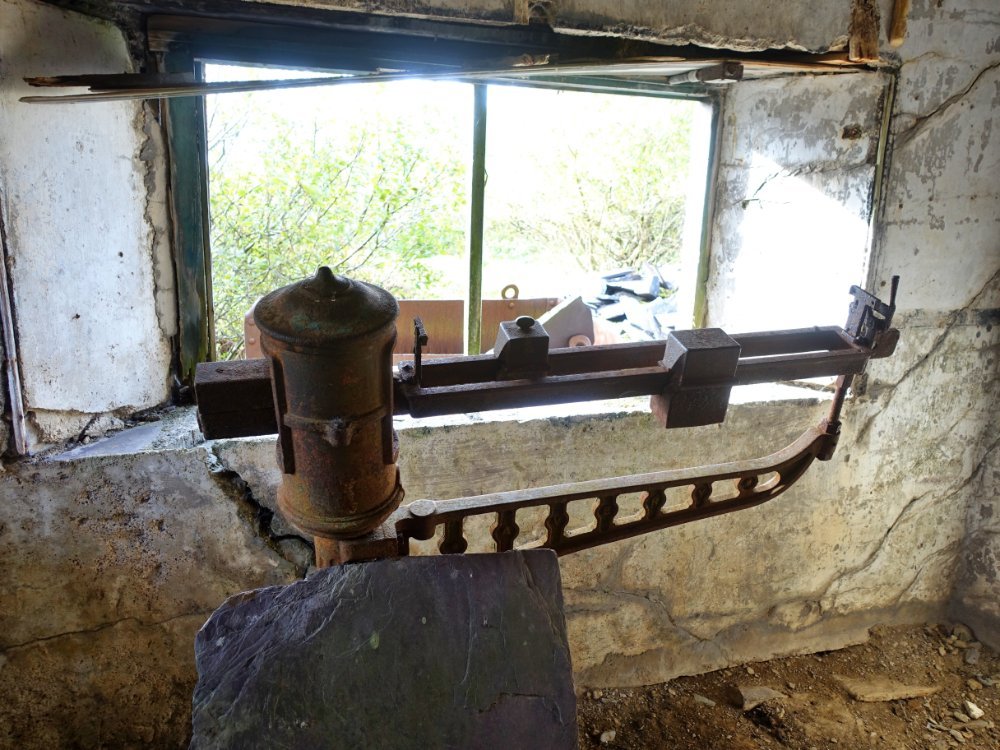
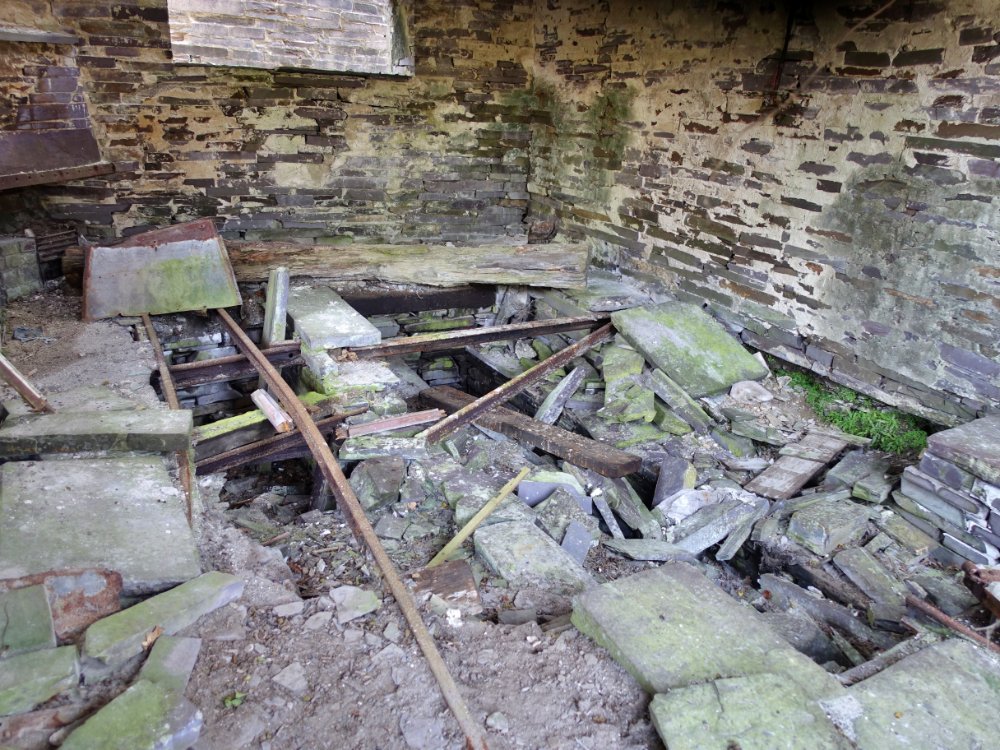
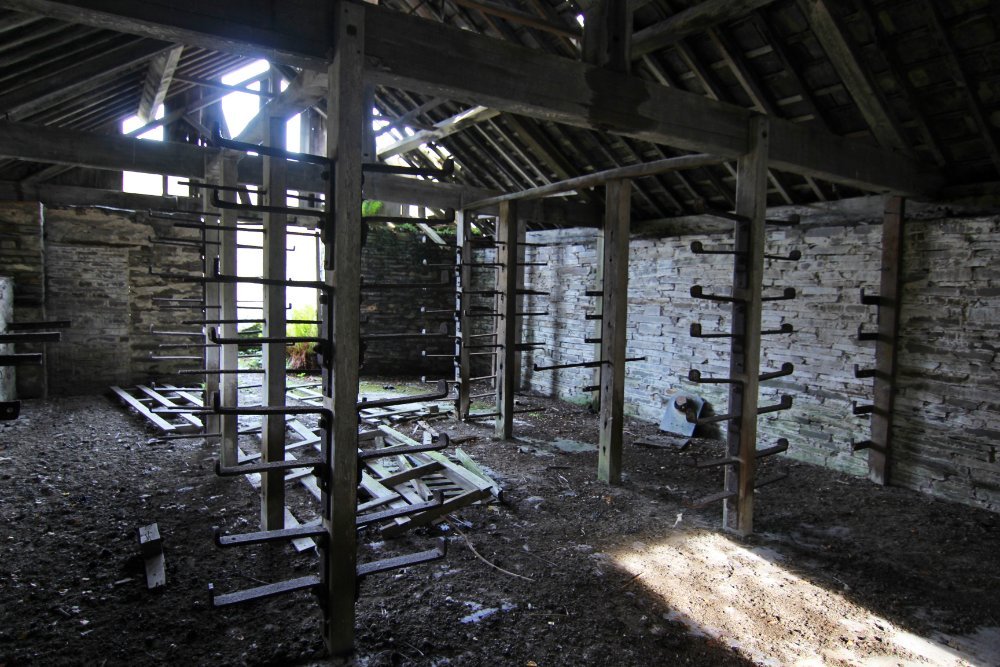


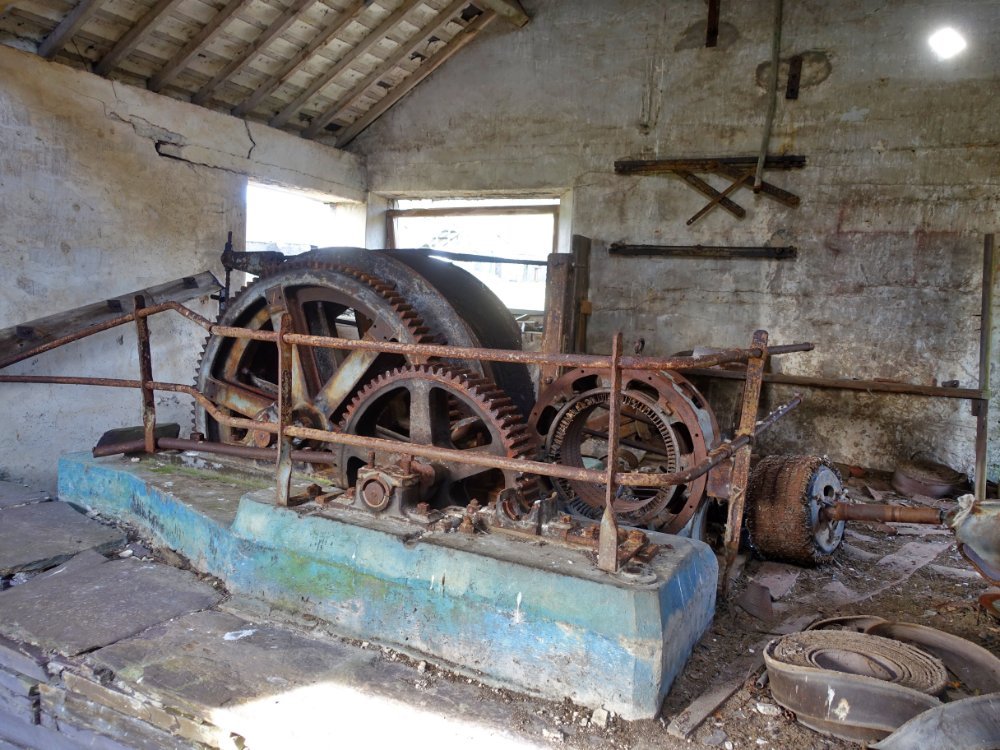

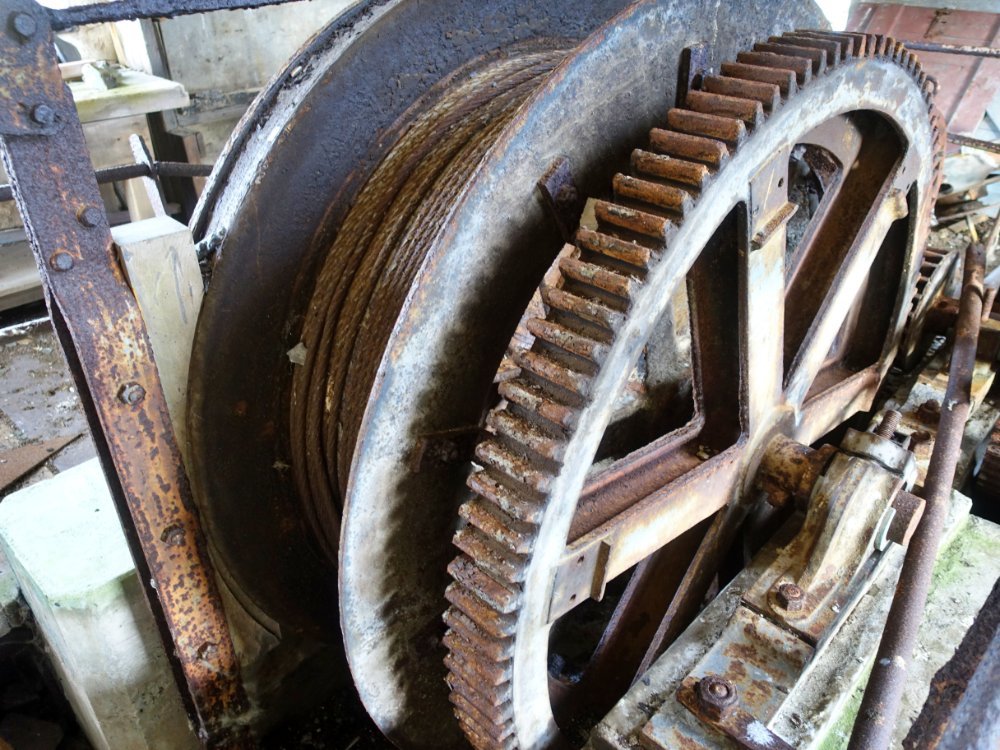
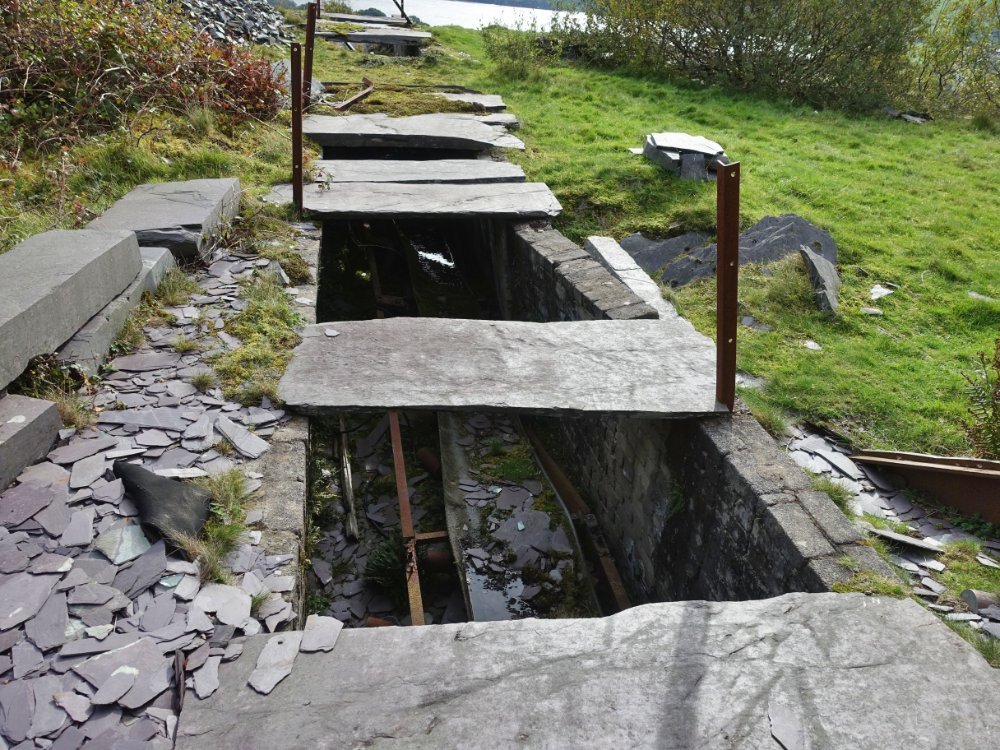
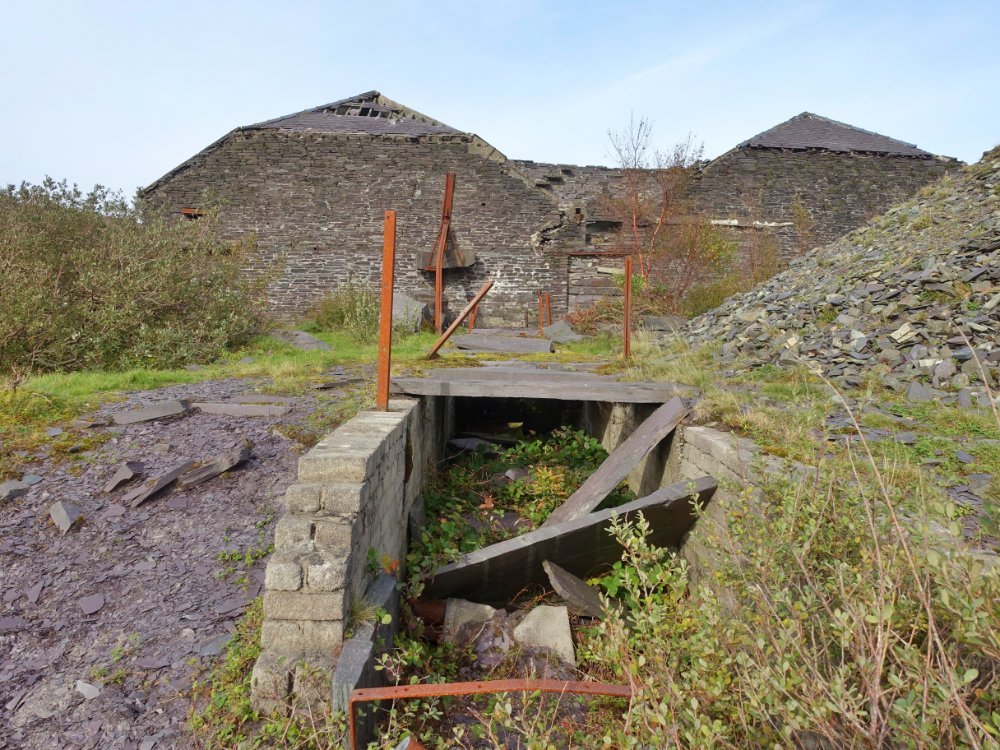

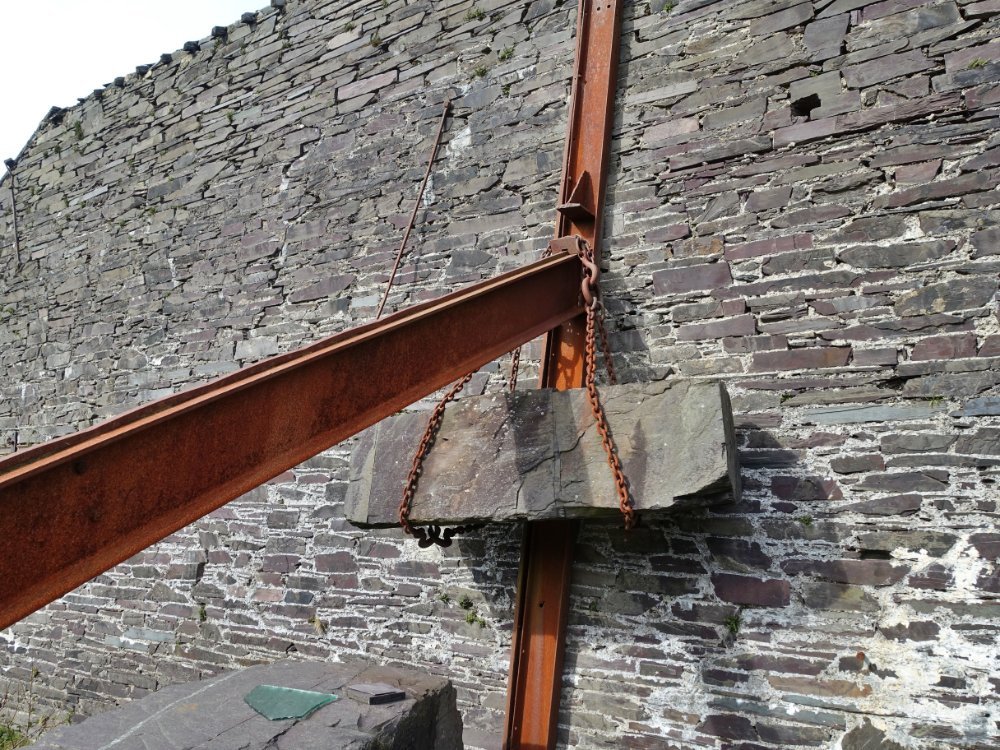

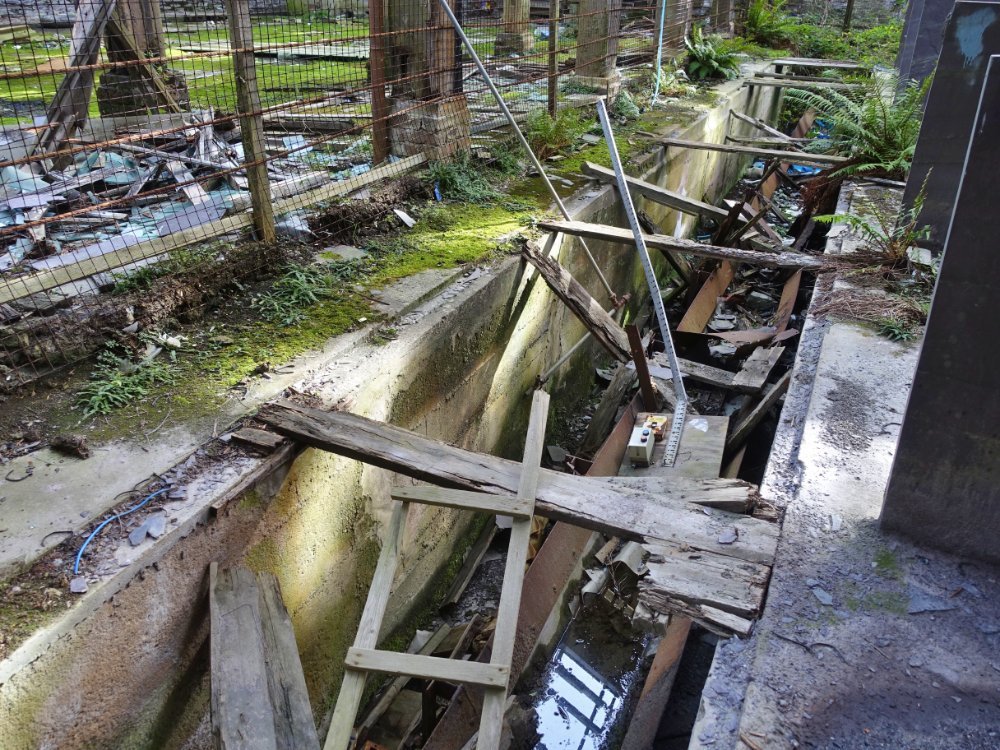
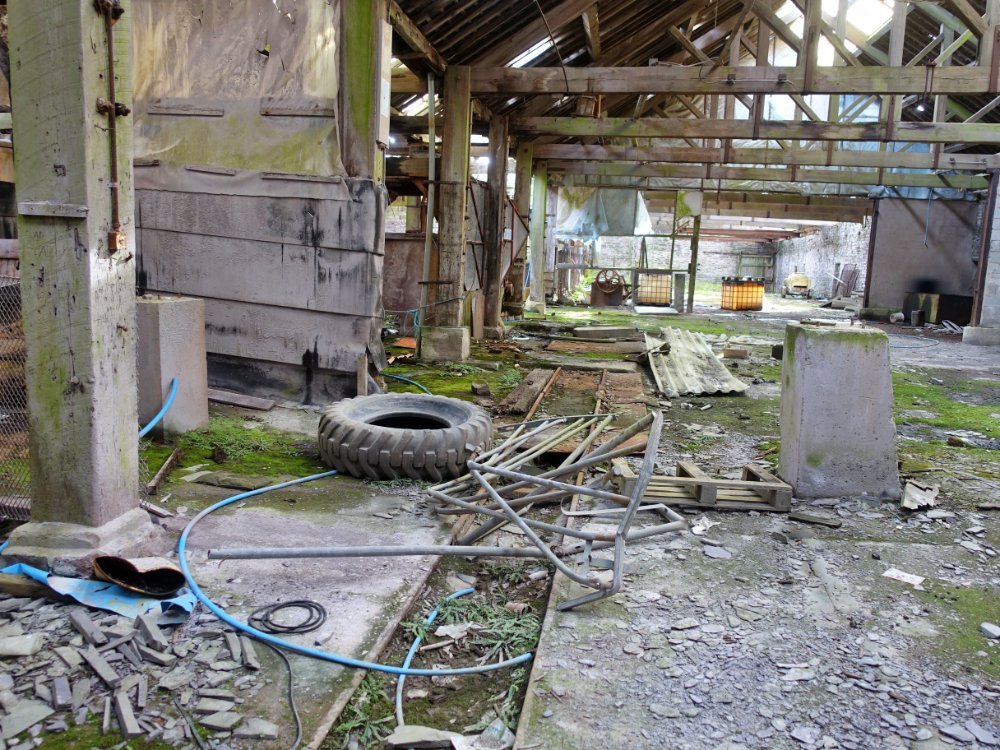

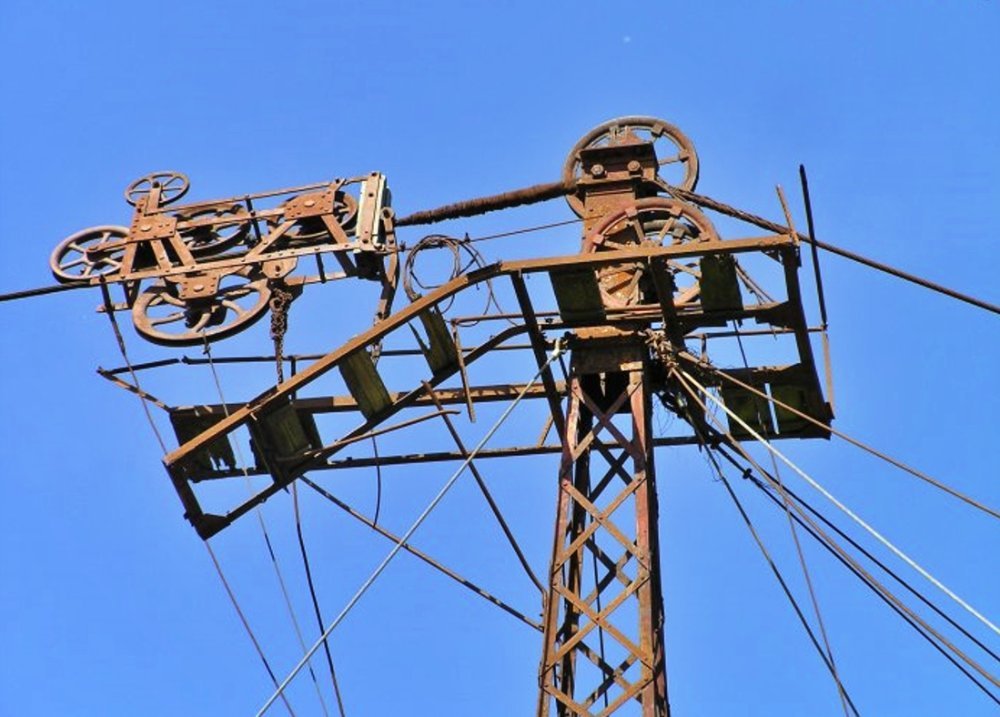
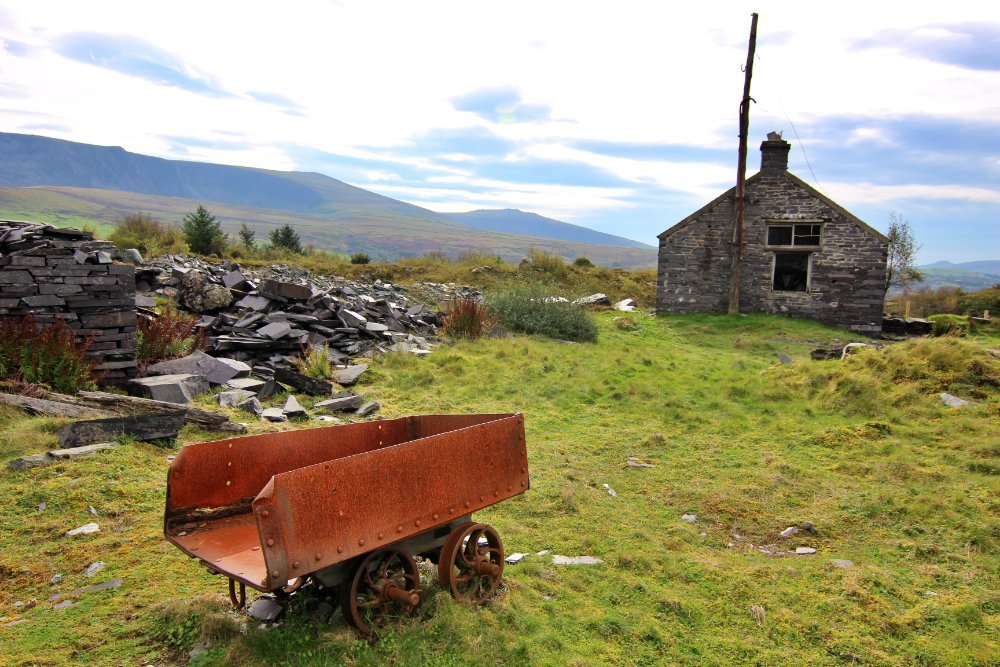
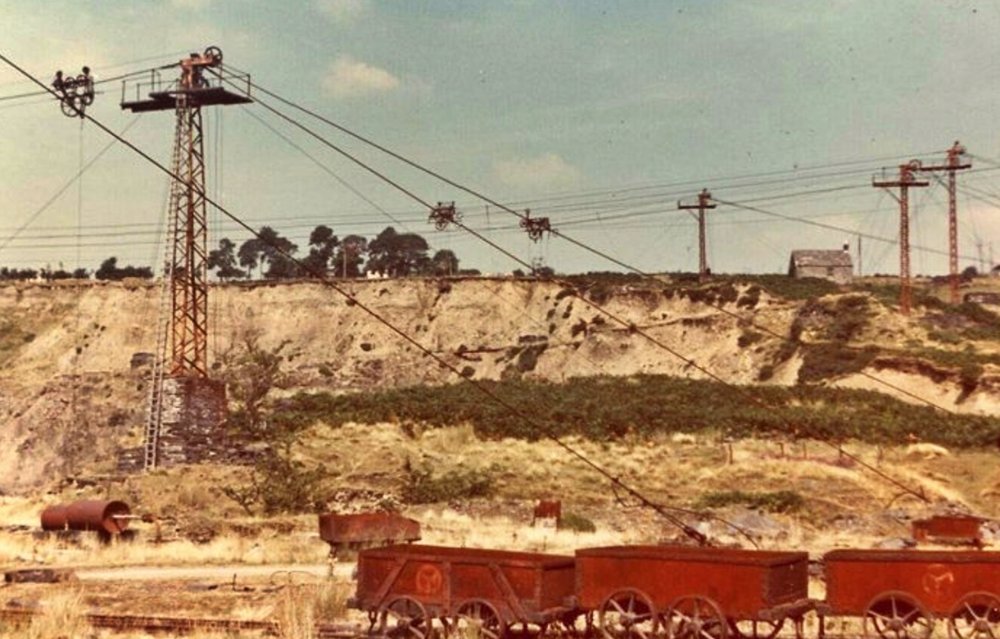
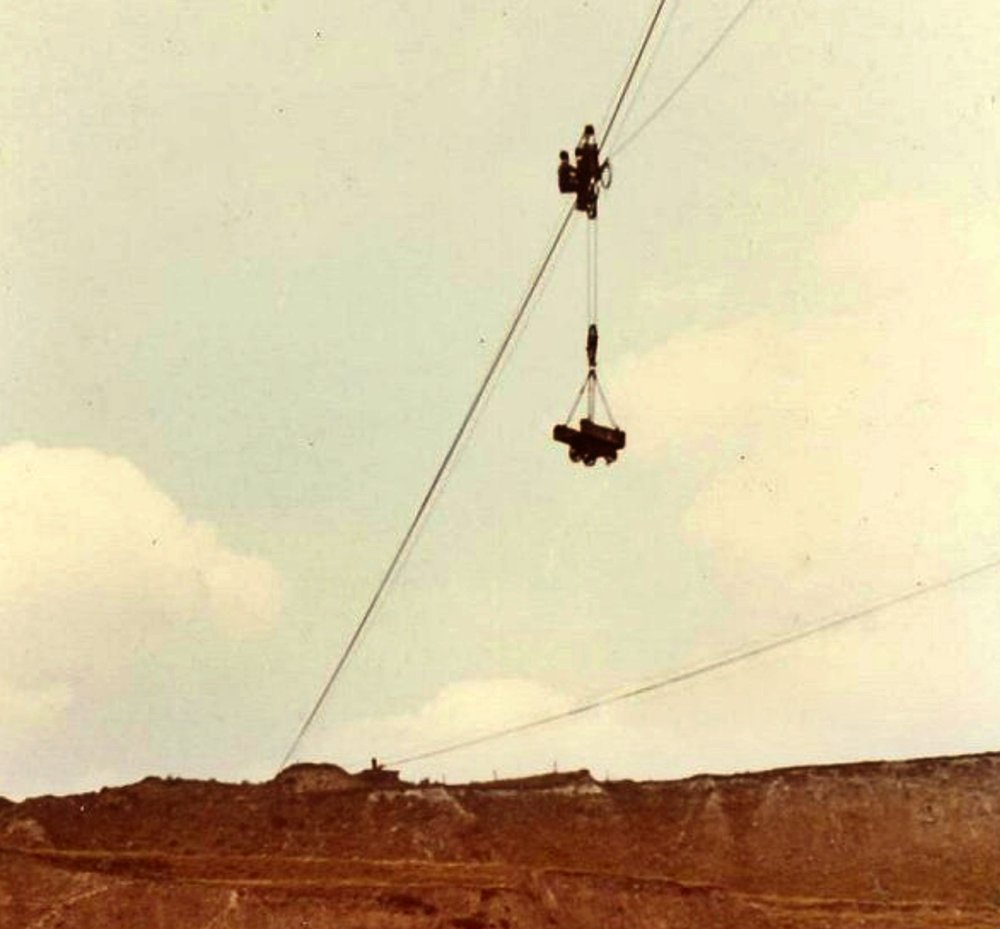

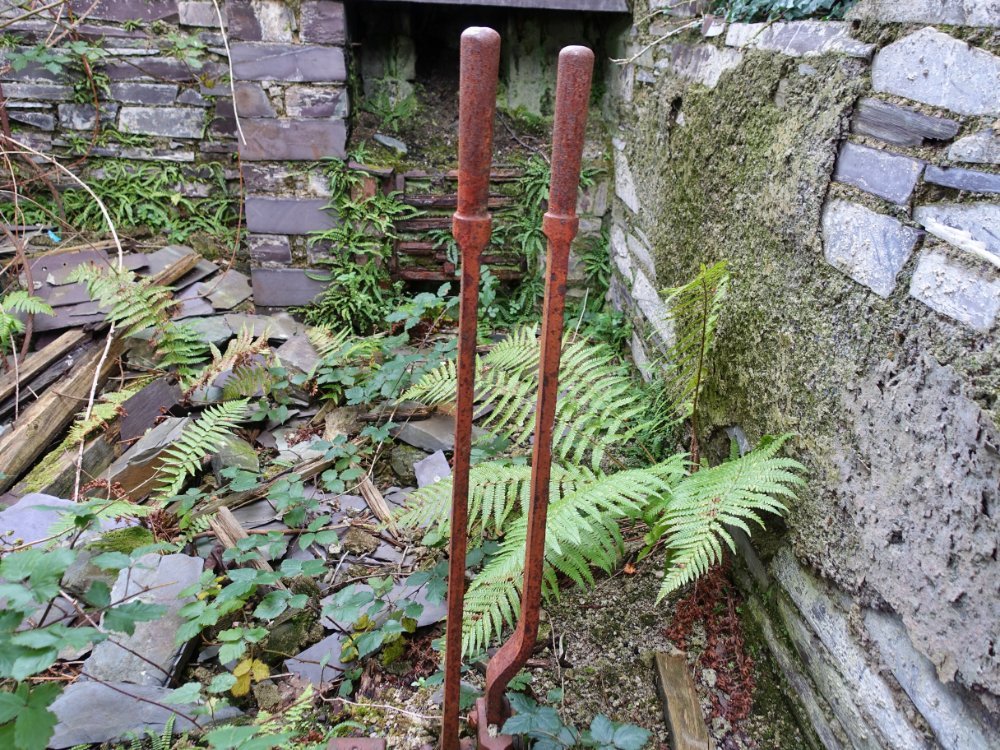
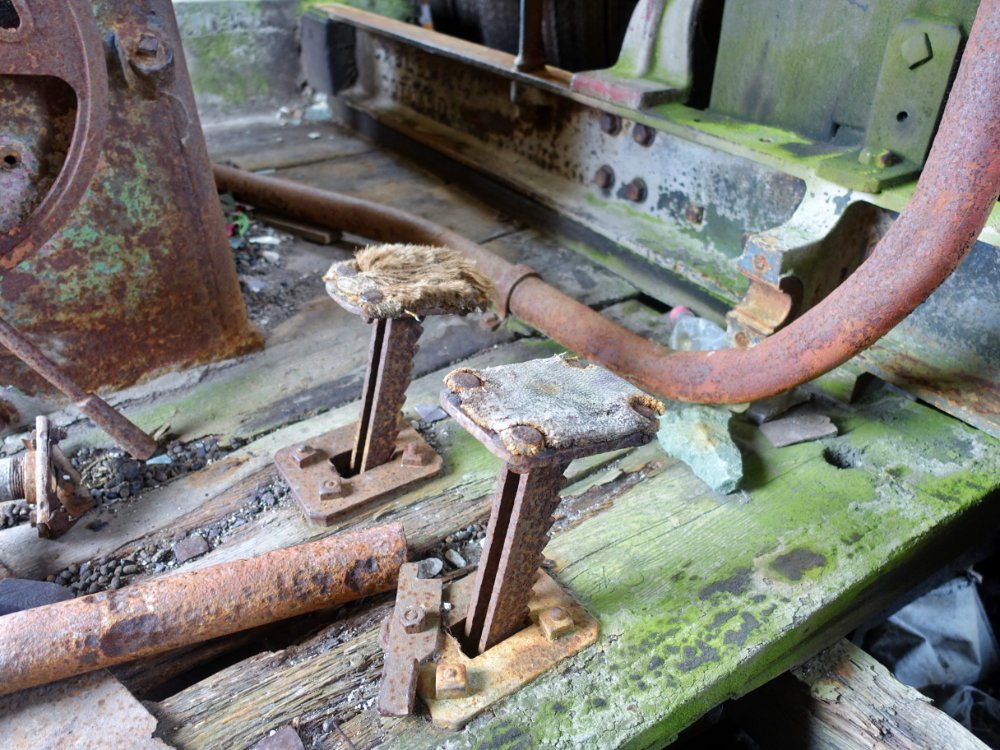
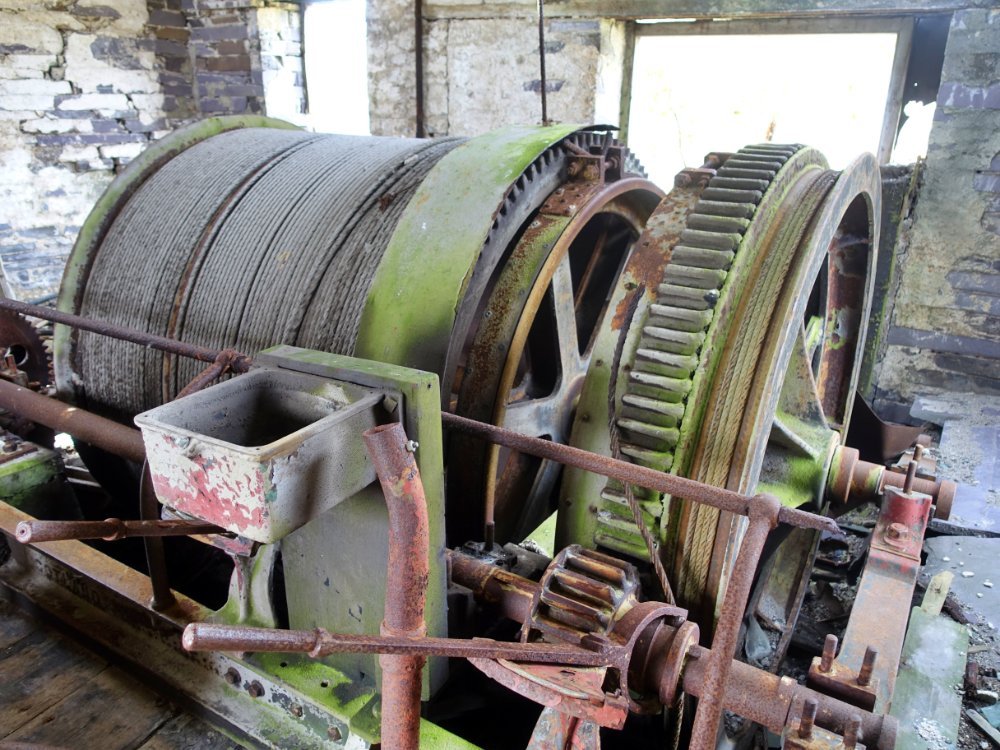


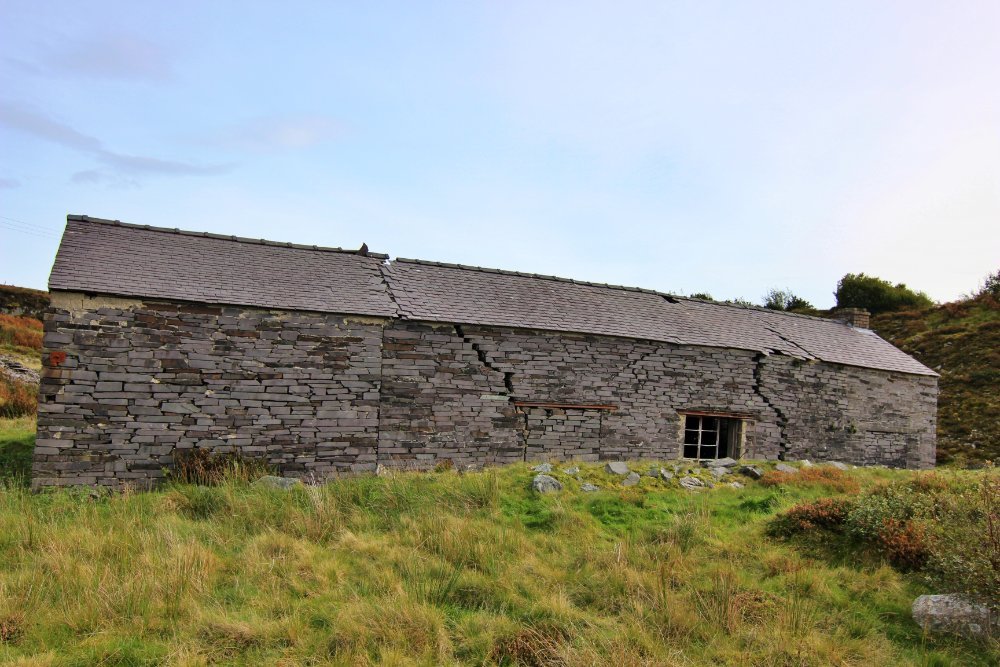
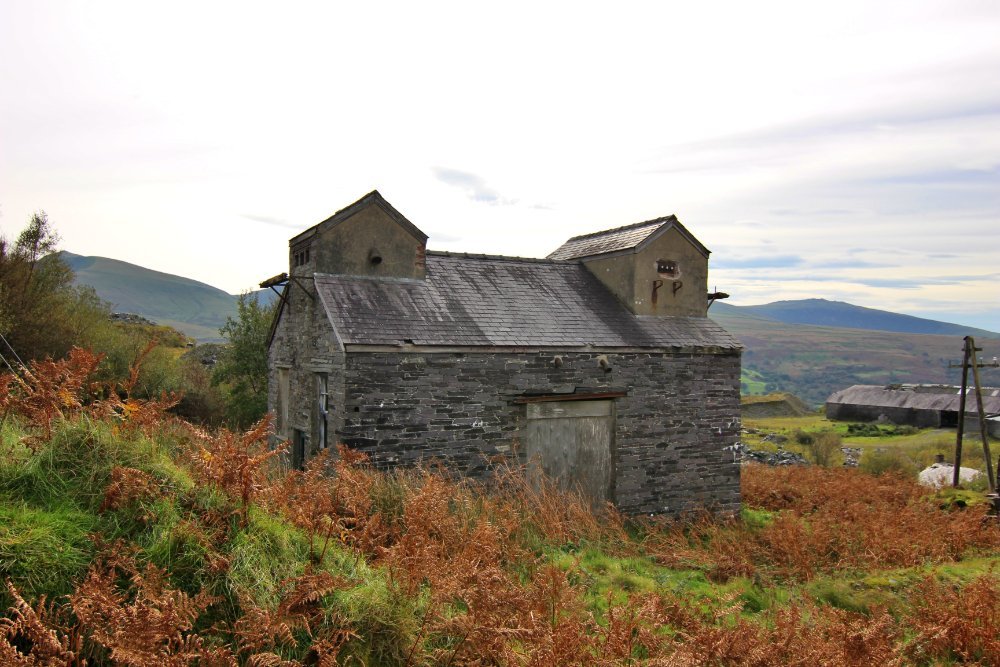
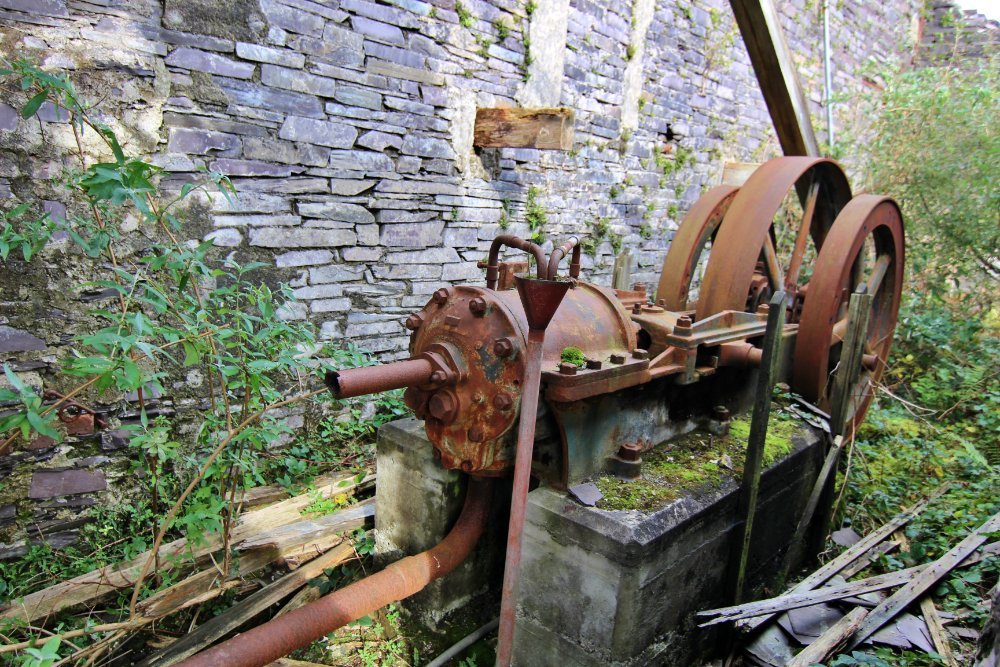
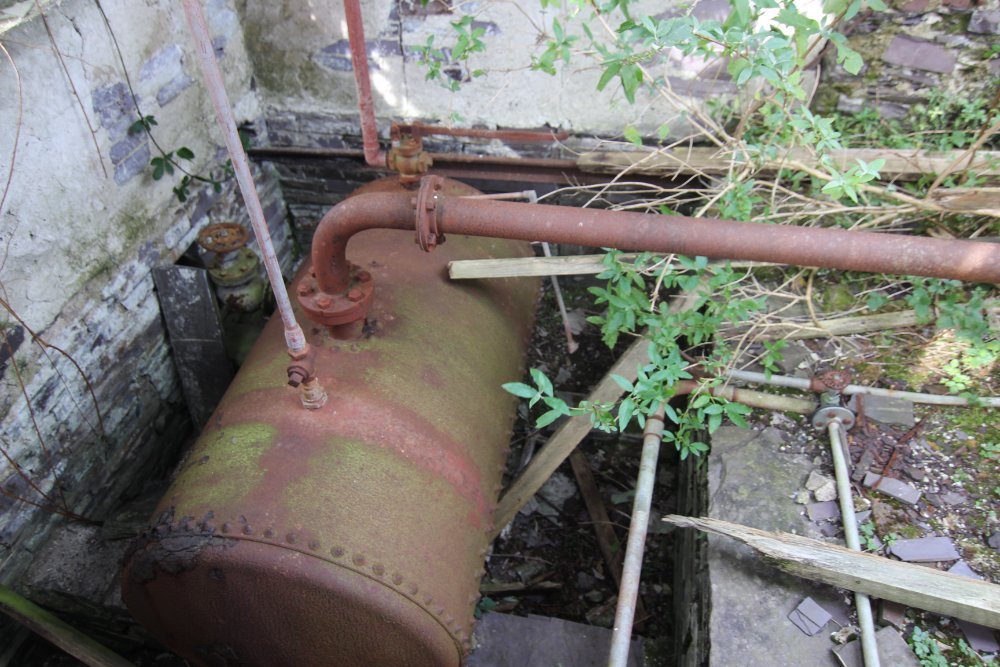
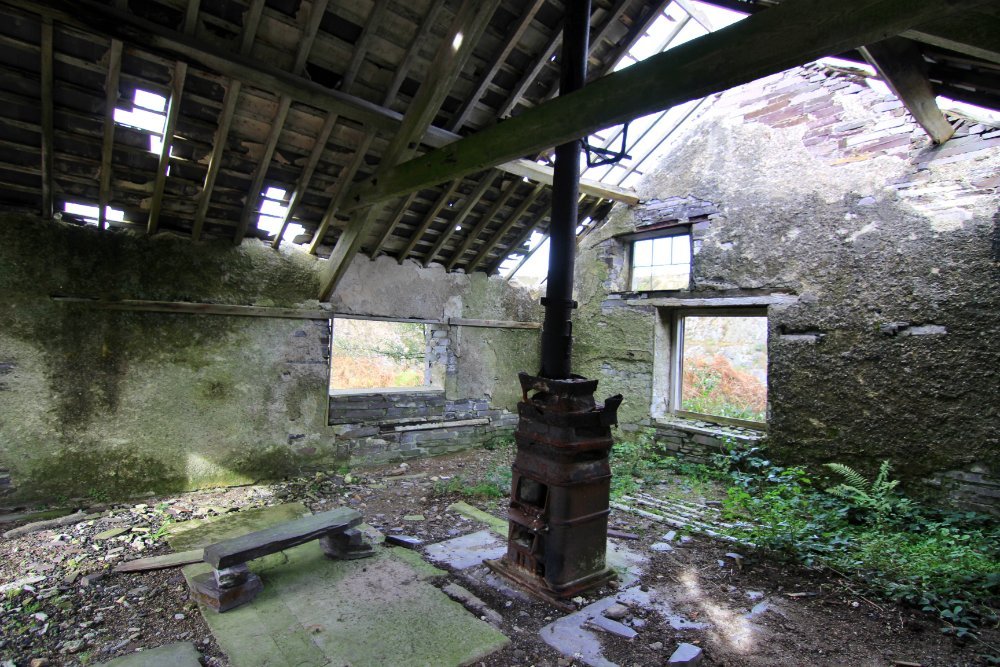


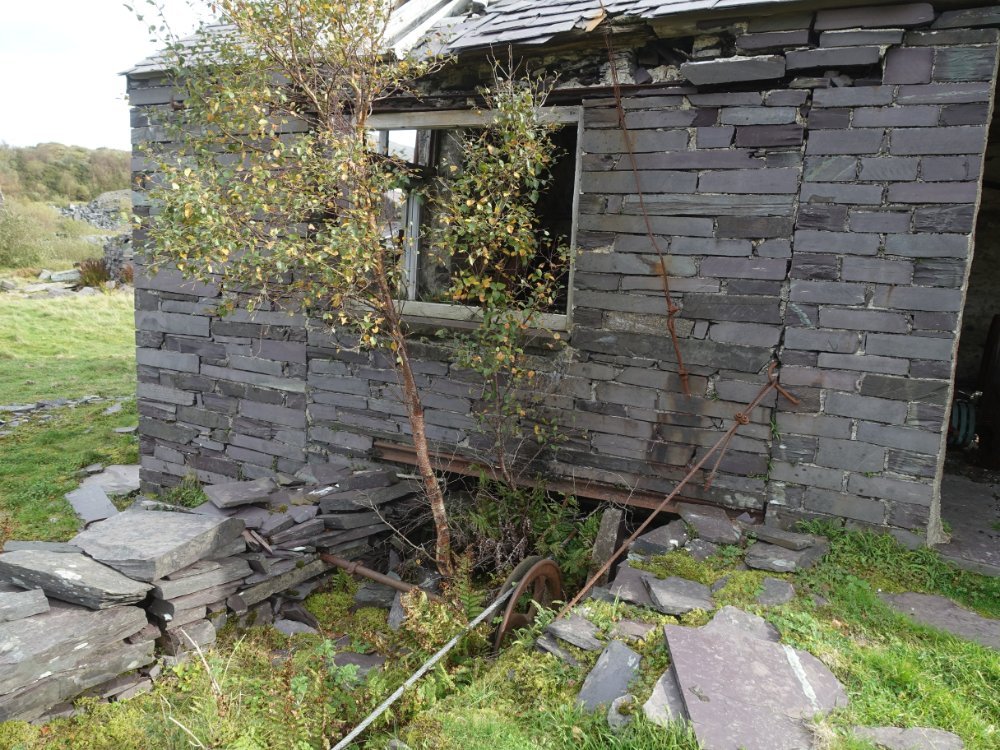
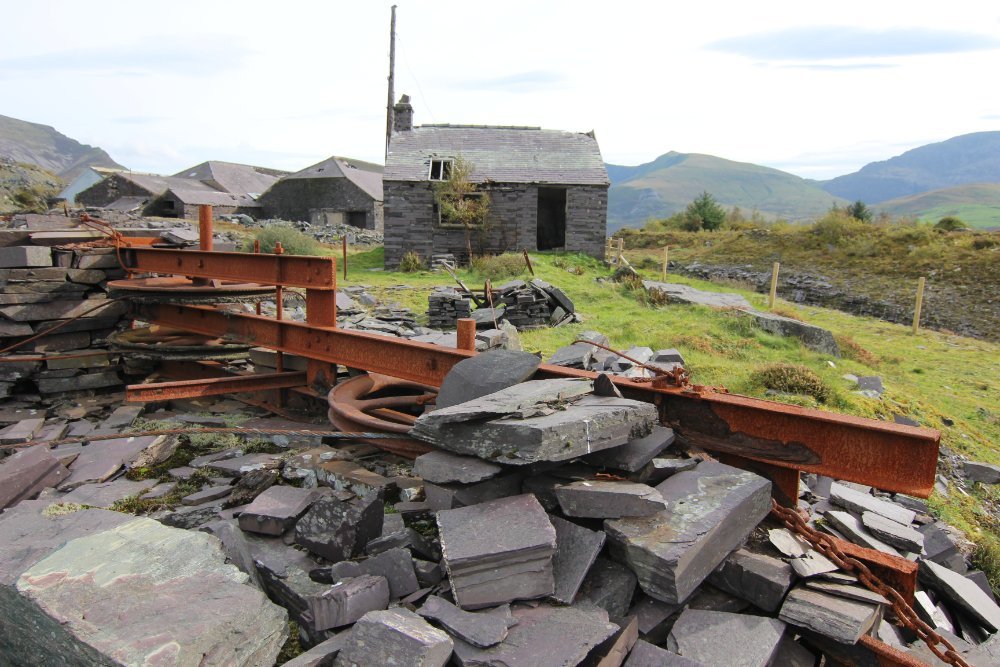
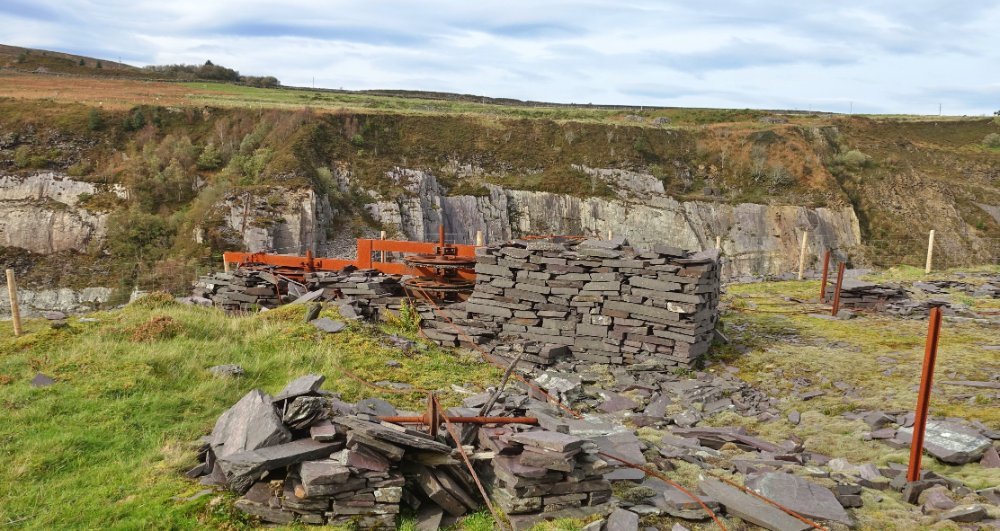
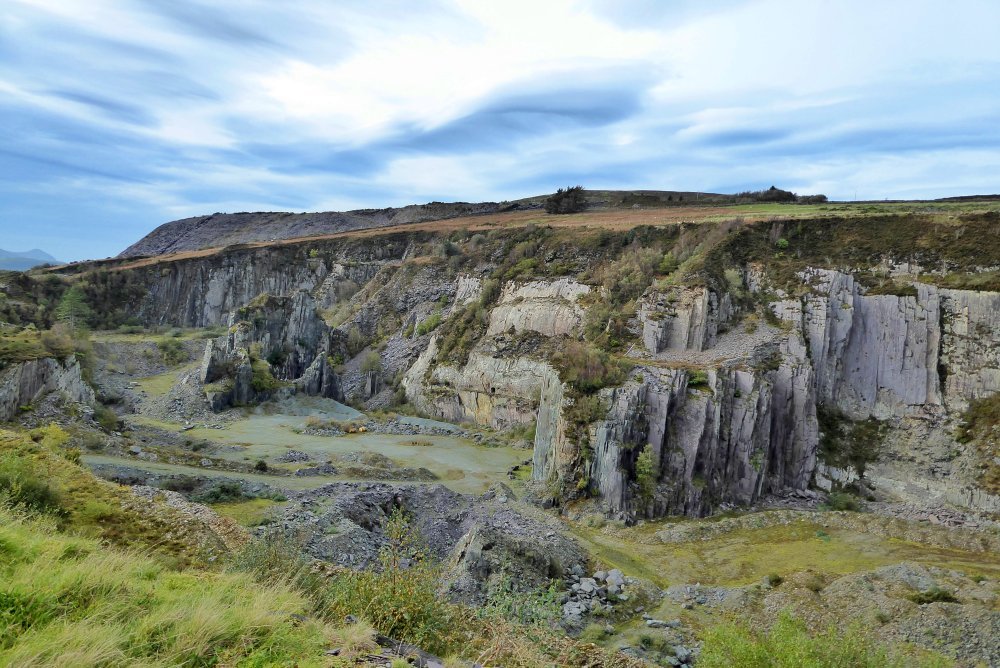

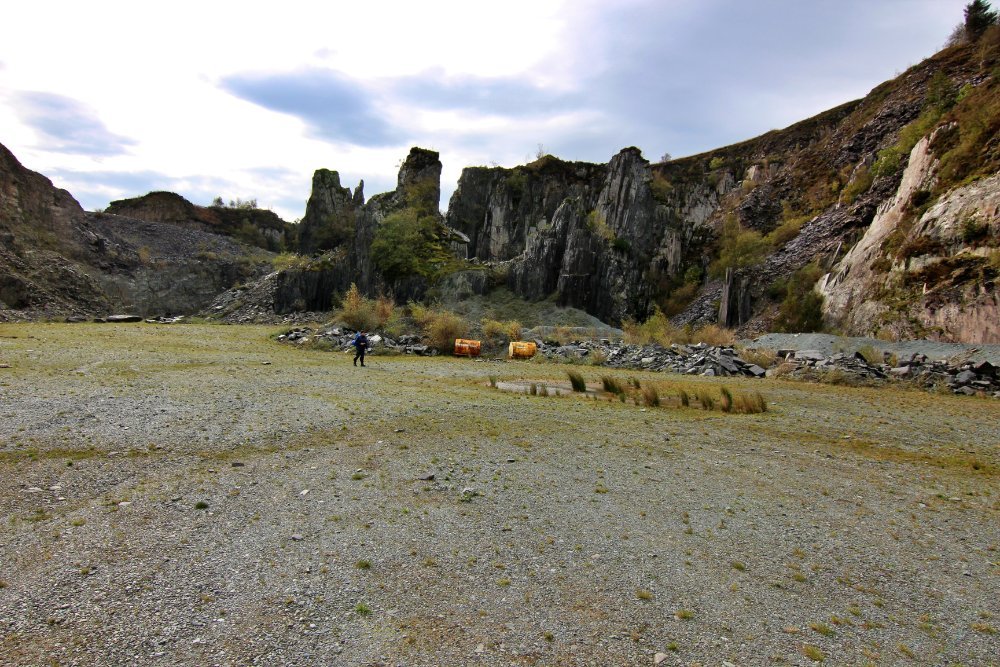
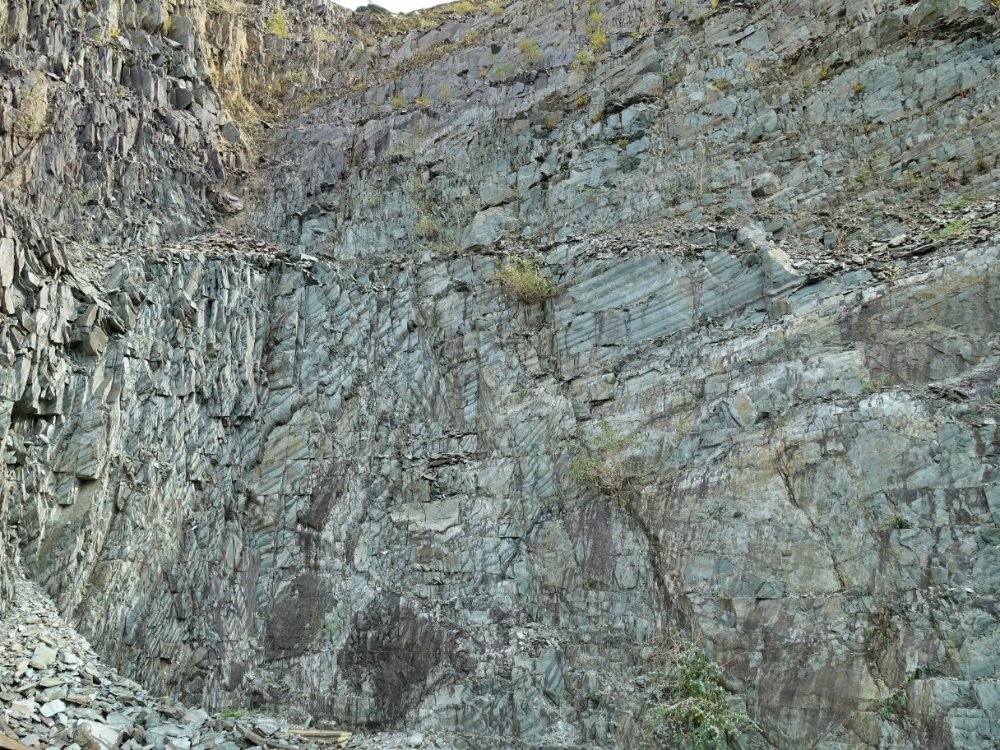


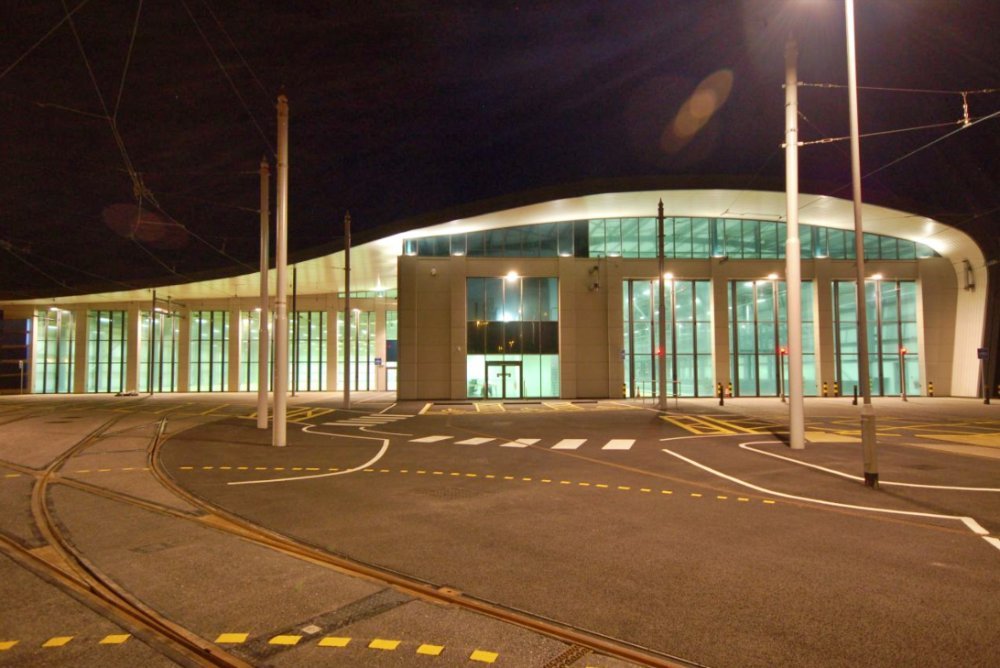
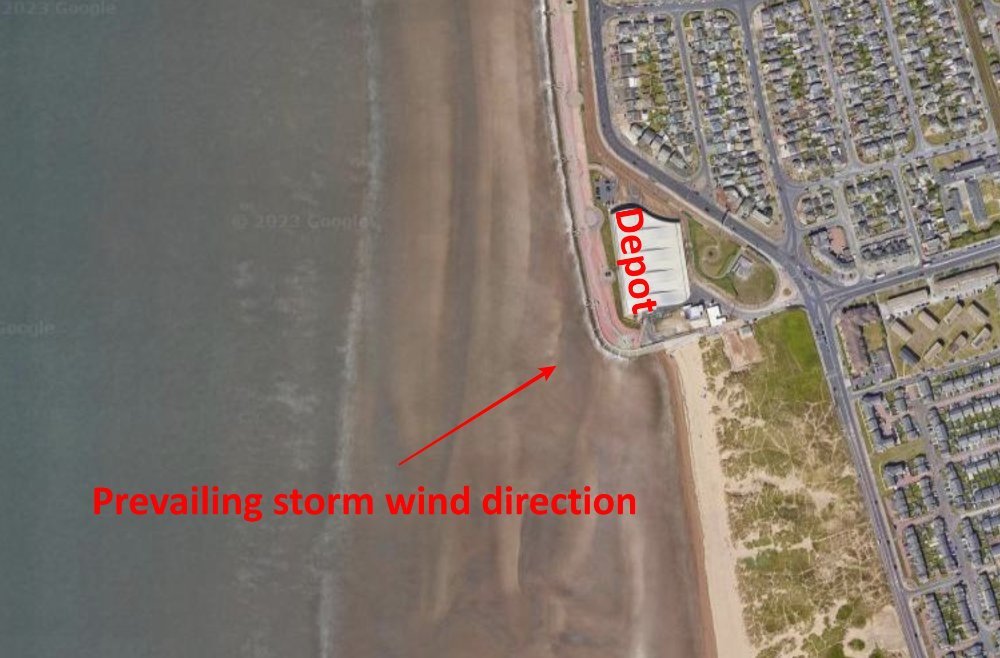
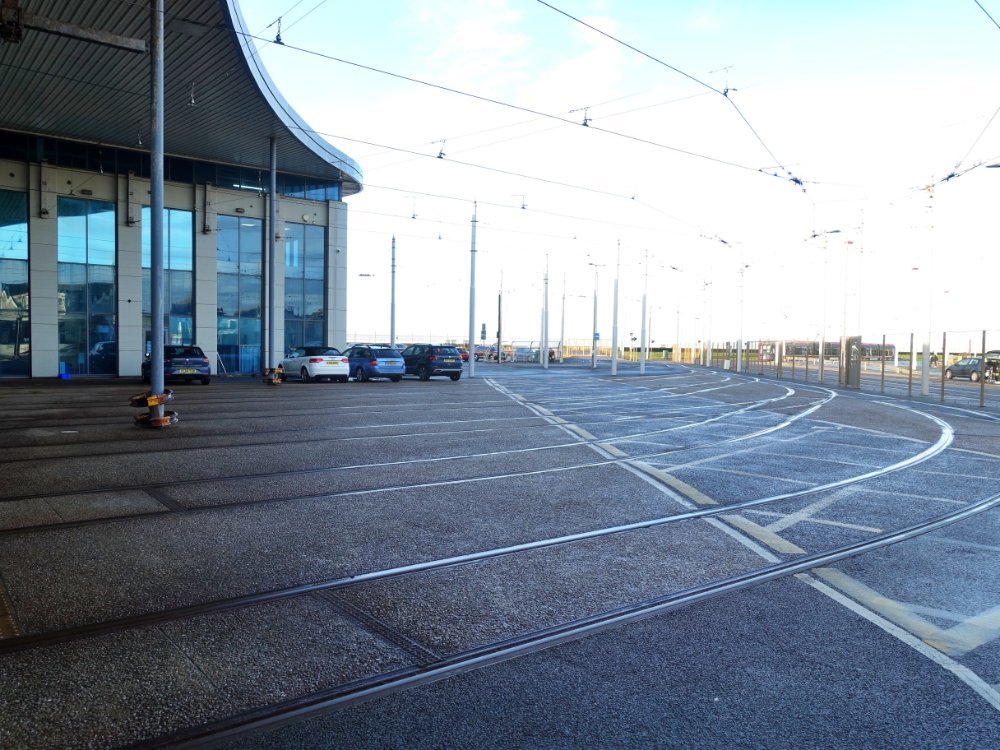


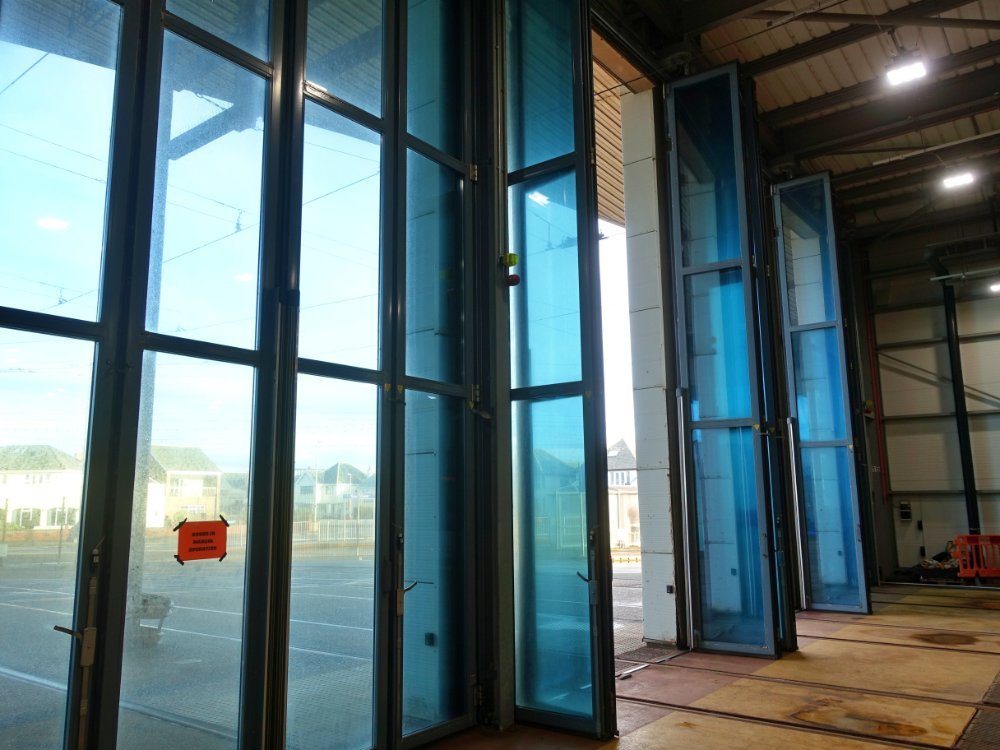

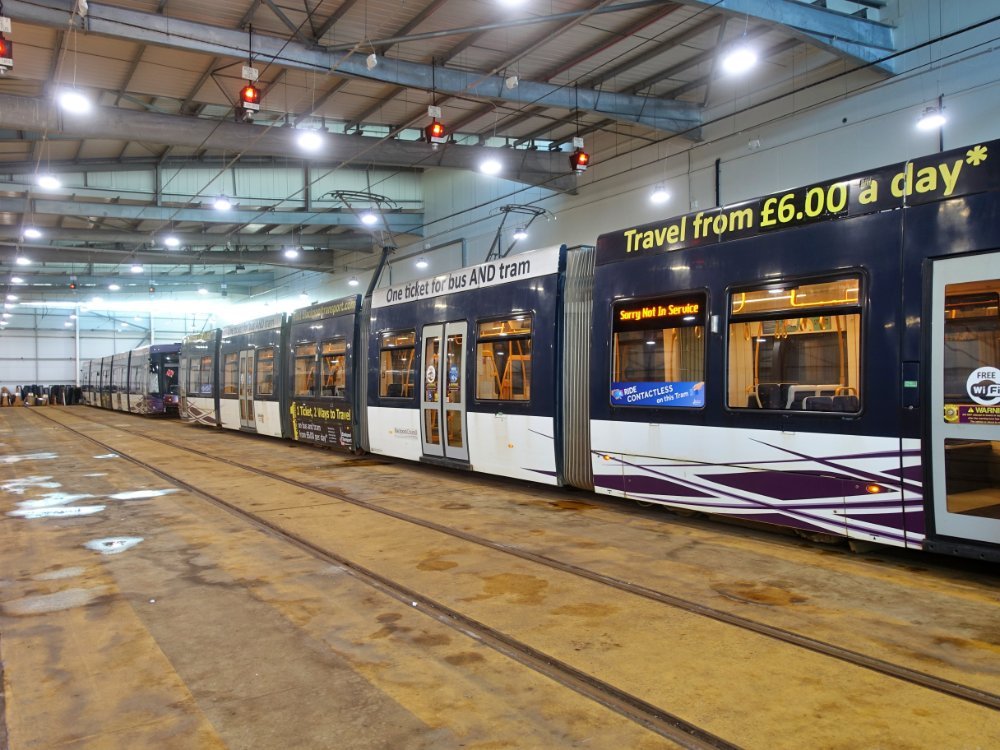
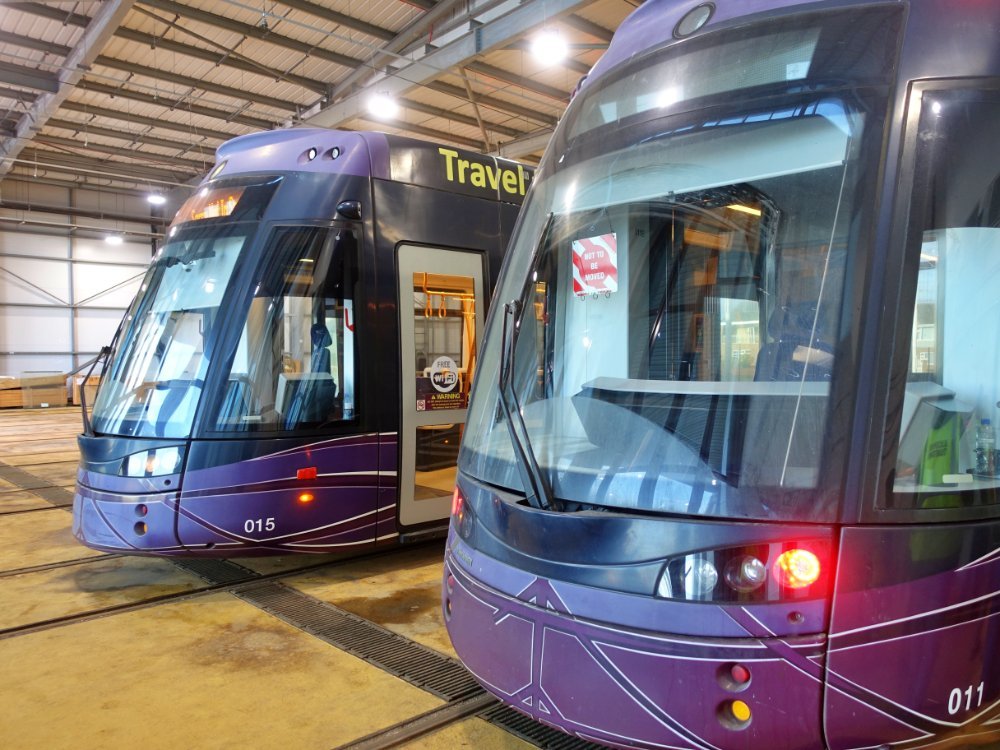
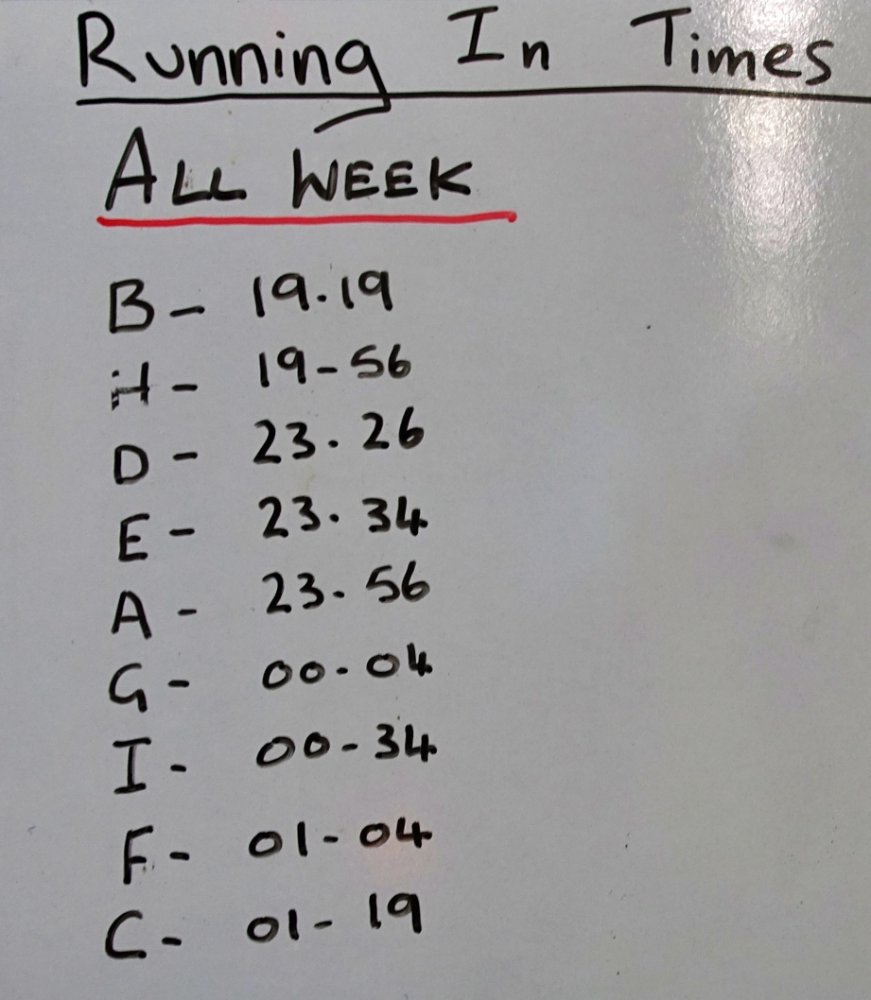
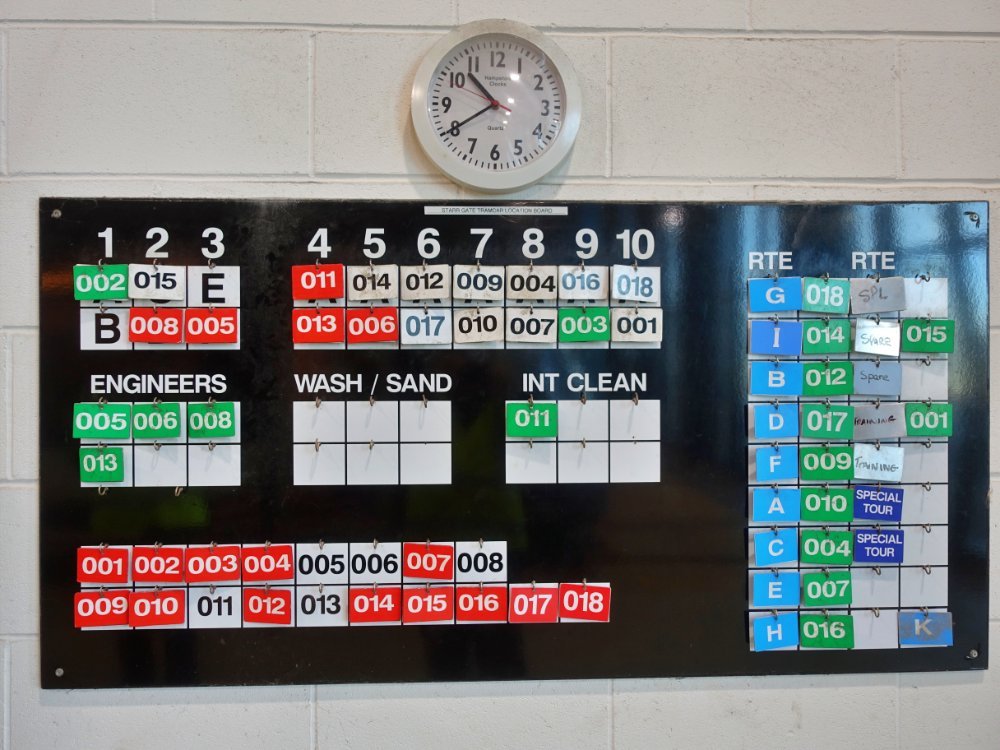
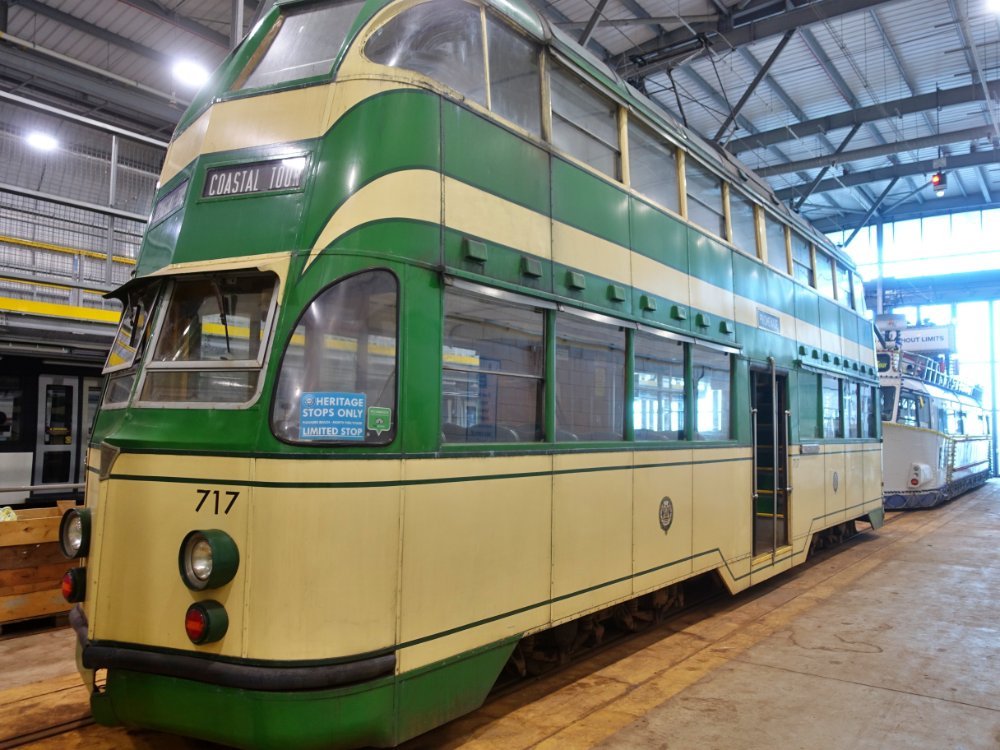


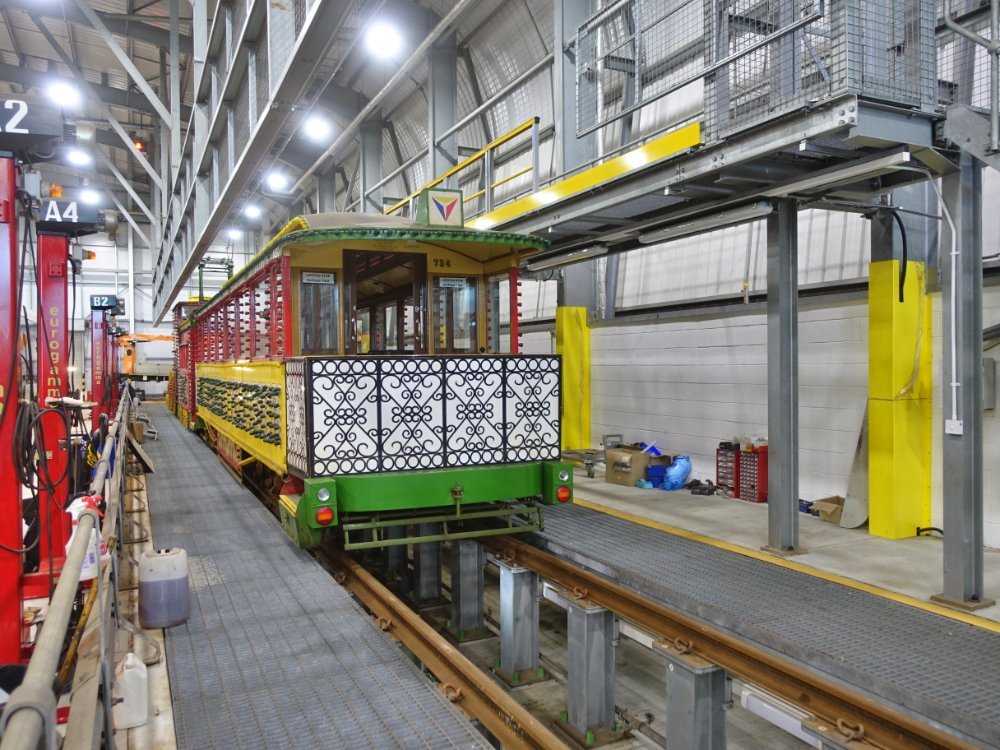


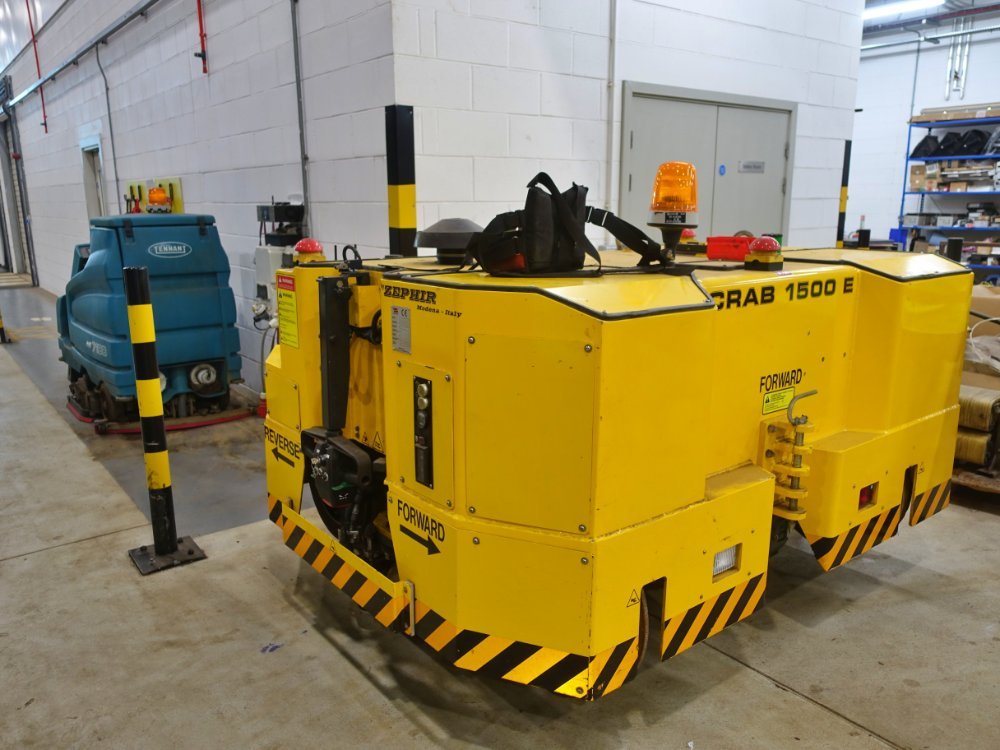
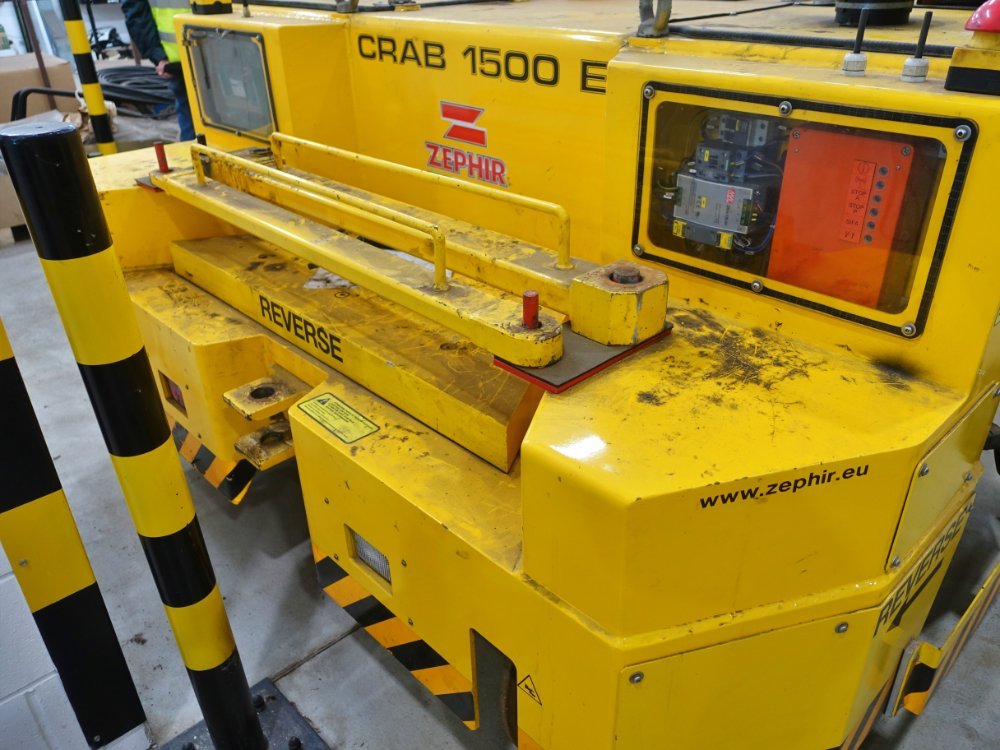


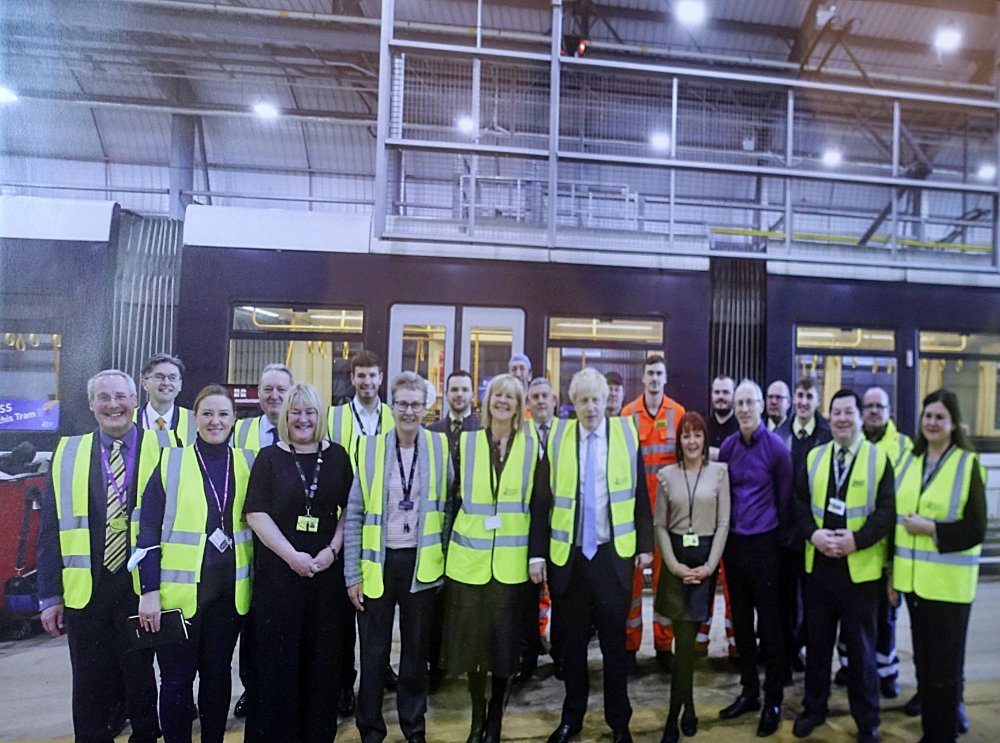


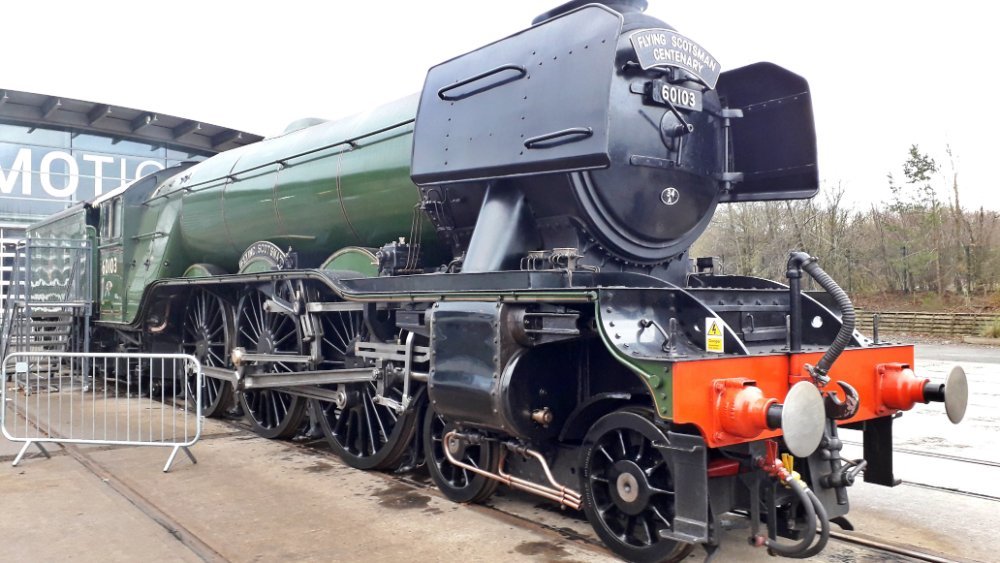
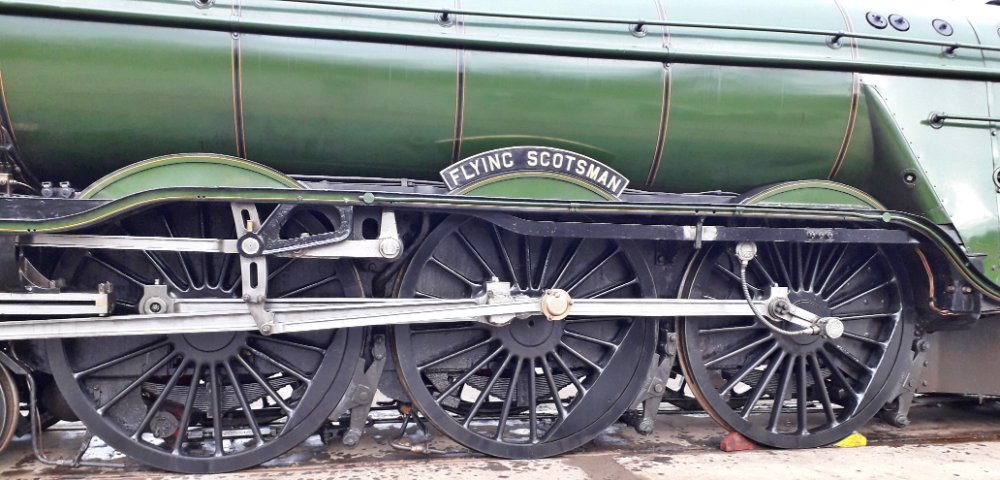
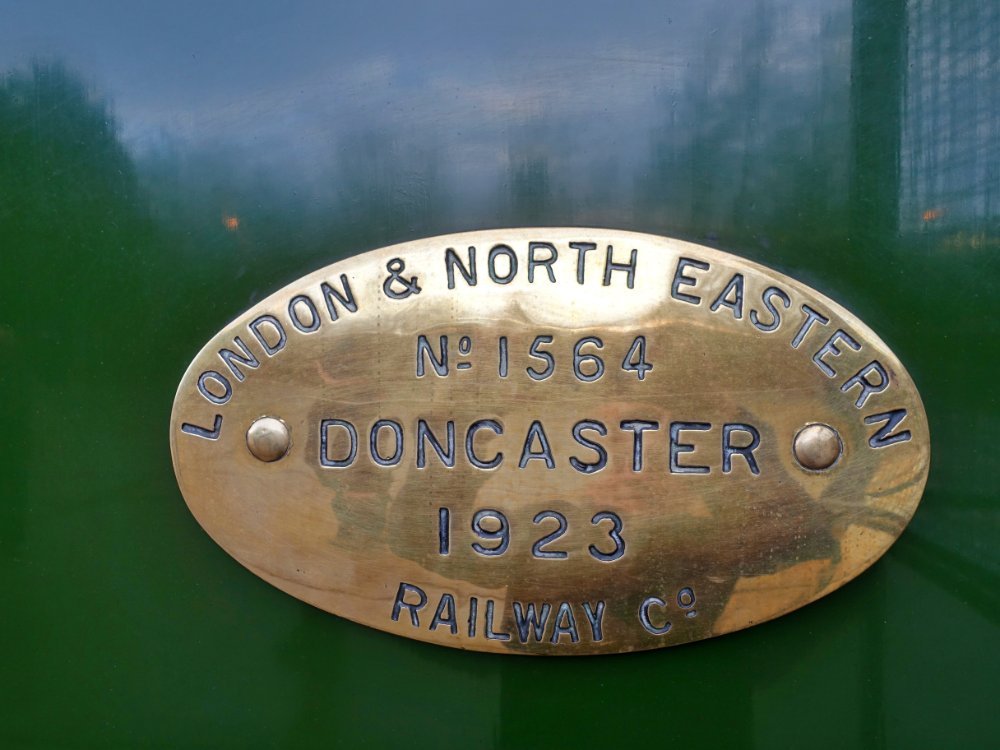
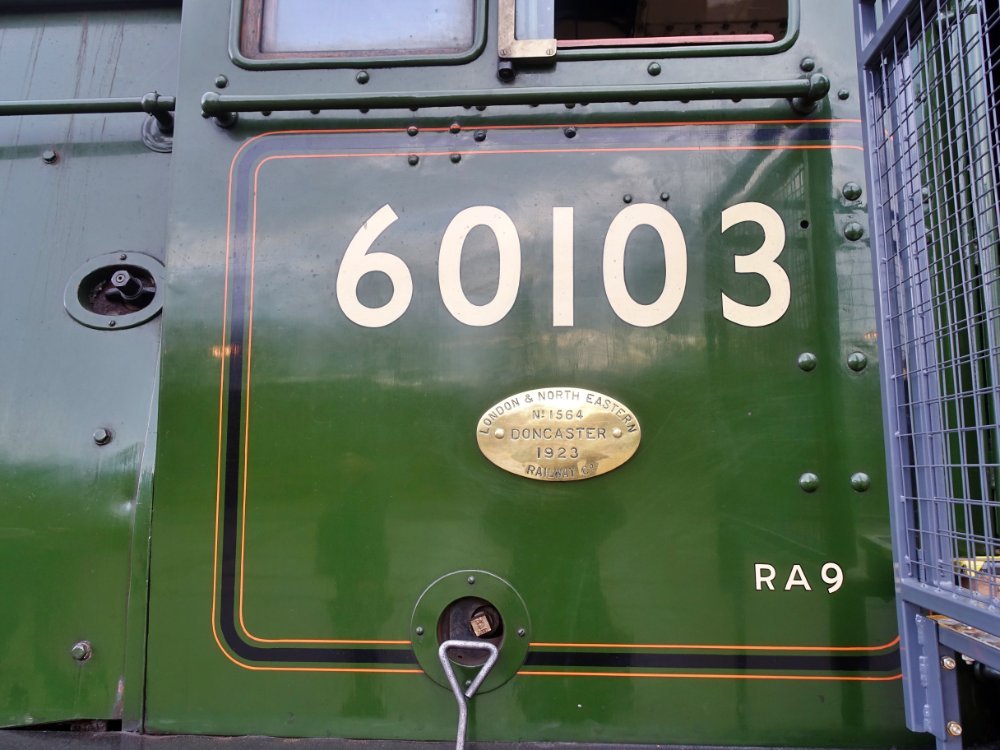
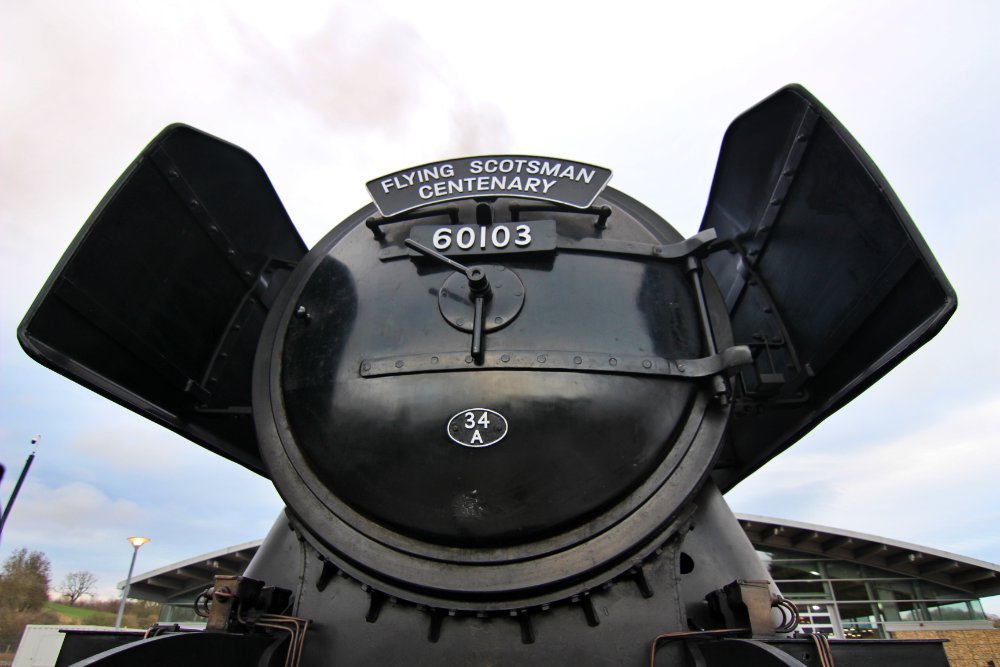

.jpg.133edc6c985ffee92f41afd65eacd8e1.jpg)
.jpg.48334f23ccf1c2eeeaa0ef4f5680f232.jpg)
.jpg.5d24d04ef6bff58515d0da088d7470d4.jpg)
.jpg.64738937d840969d34e95eec27863fa4.jpg)
.jpg.8e529d4eed77db10346dd80cc7032647.jpg)
.jpg.539d088417526698b6a05f226407aea4.jpg)
.jpg.ac7fee6651d220ddae7bd6e375dfdda2.jpg)
.jpg.a654e36244fb037e3dea0f70ee104db5.jpg)
.jpg.97a09b0cad9c32a428d820d062af7cc2.jpg)
.jpg.80fdf891023d60748b3ea7e2d9850c29.jpg)


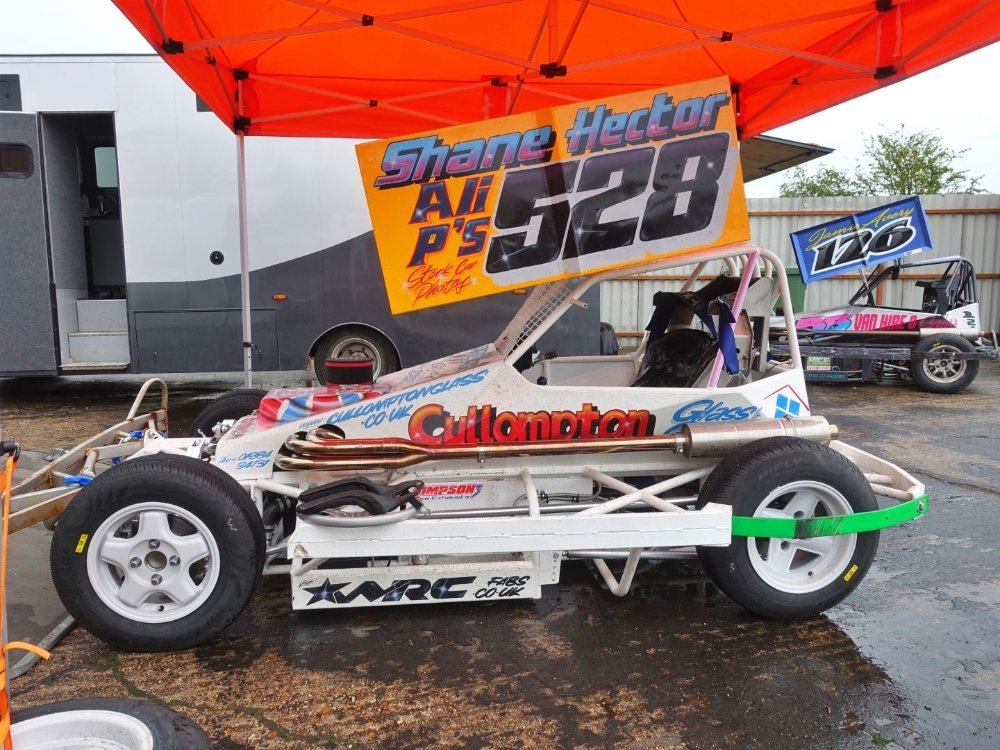
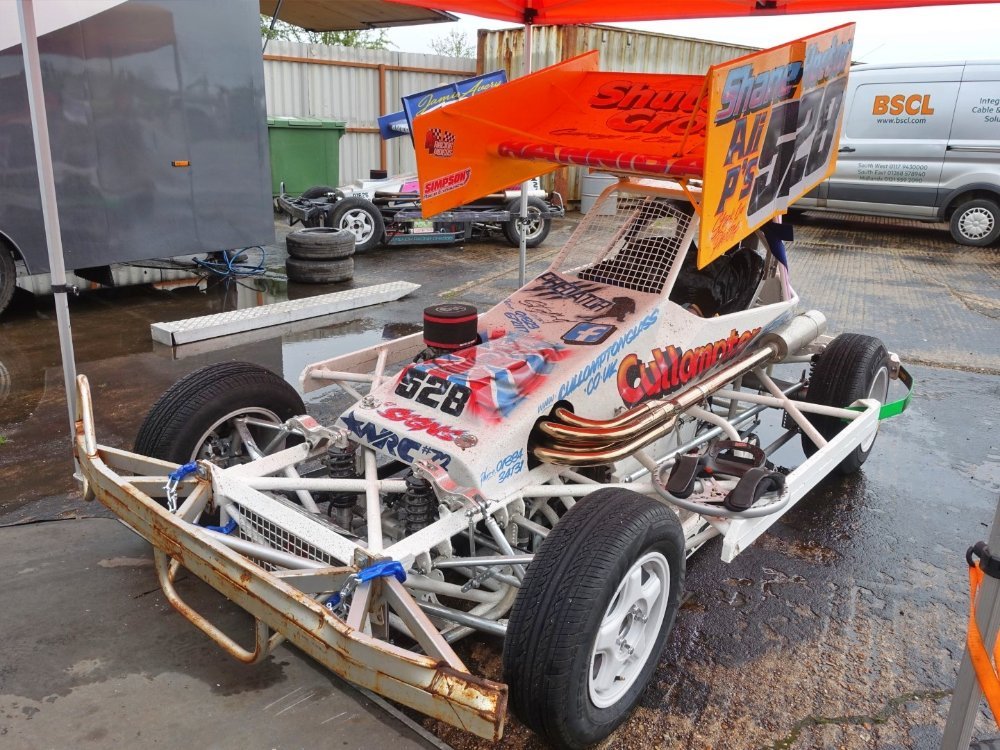
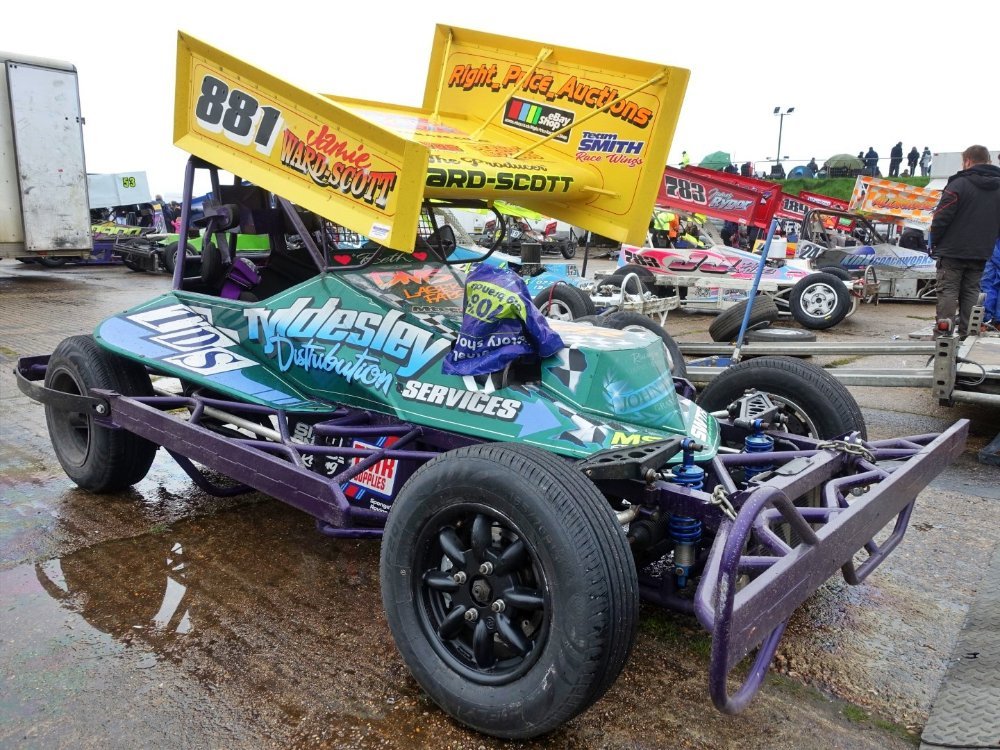


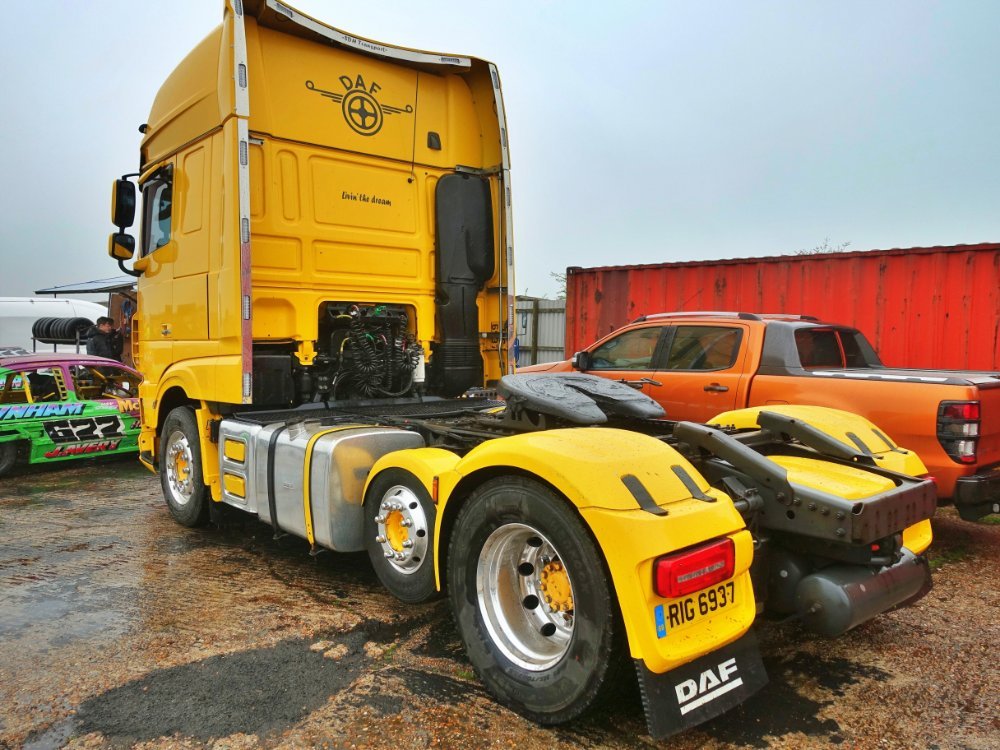


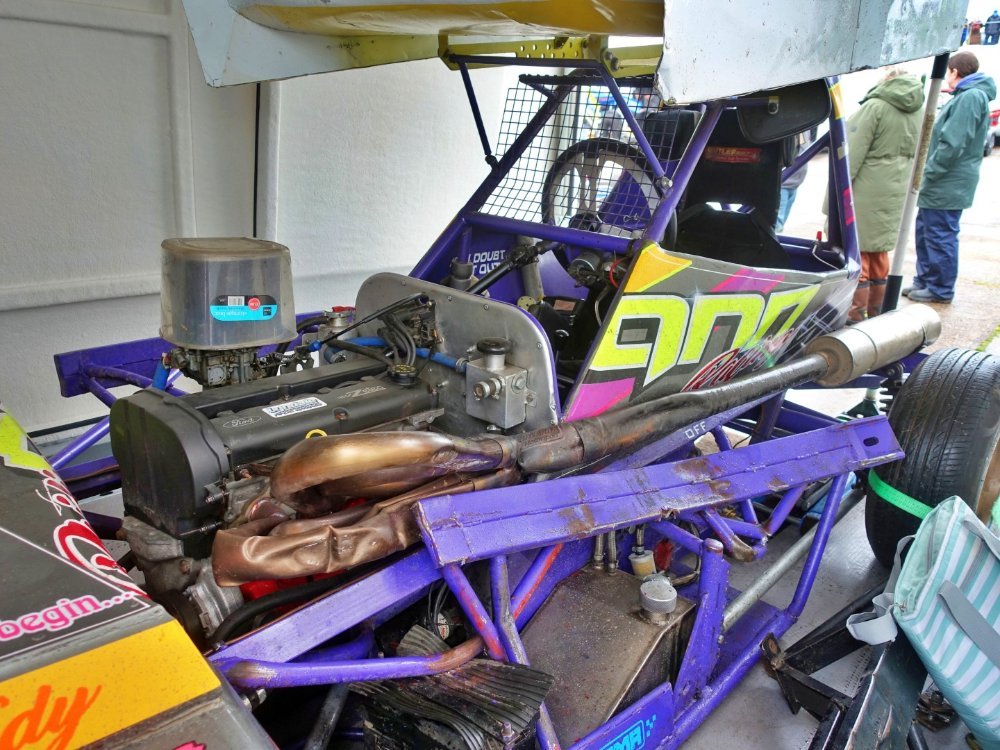

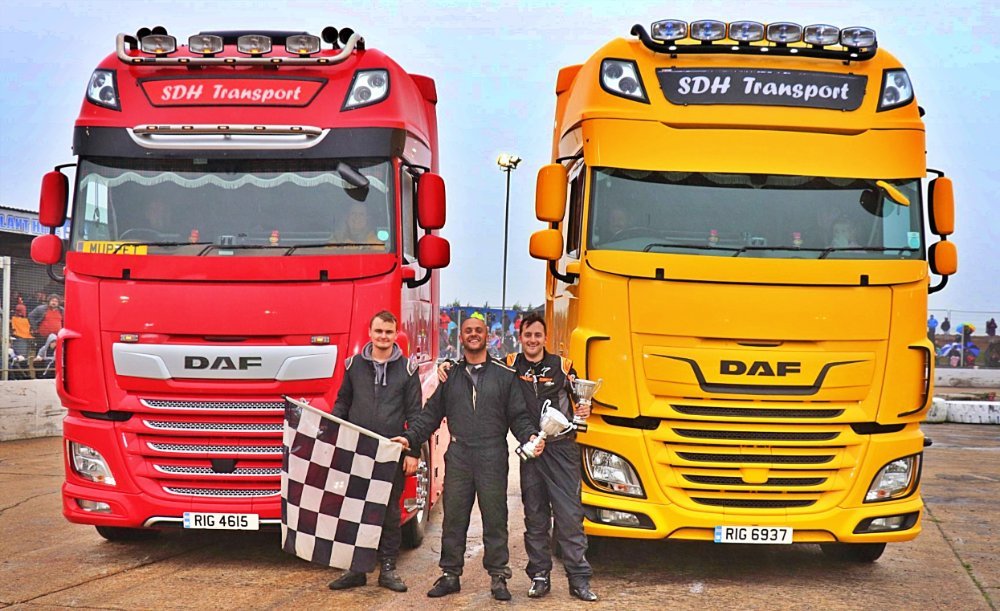
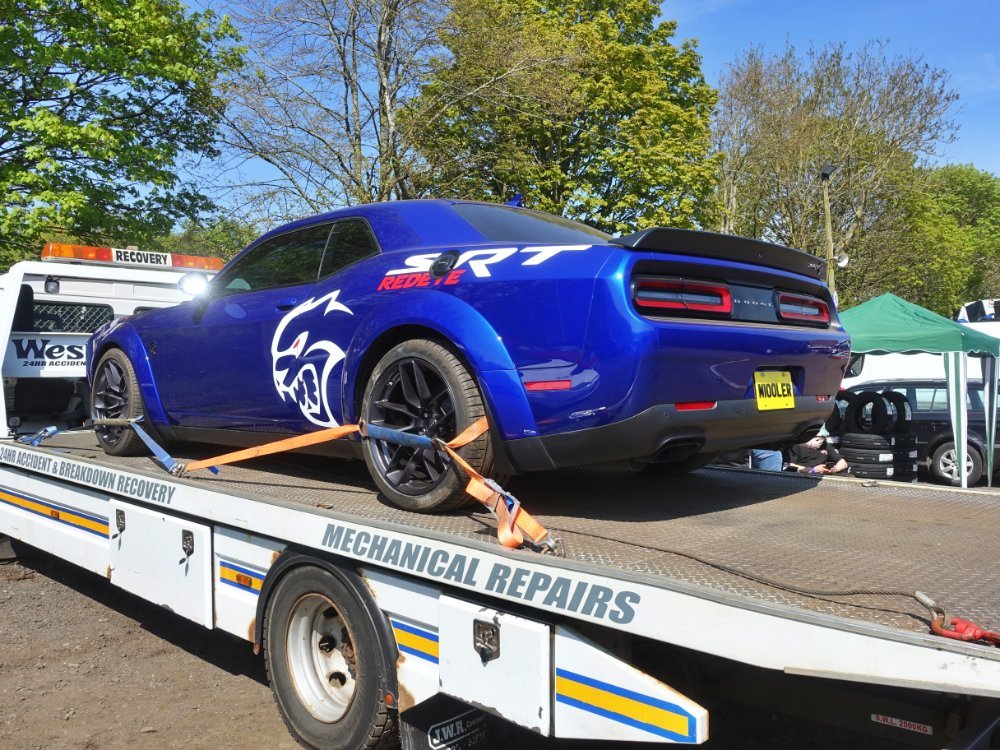
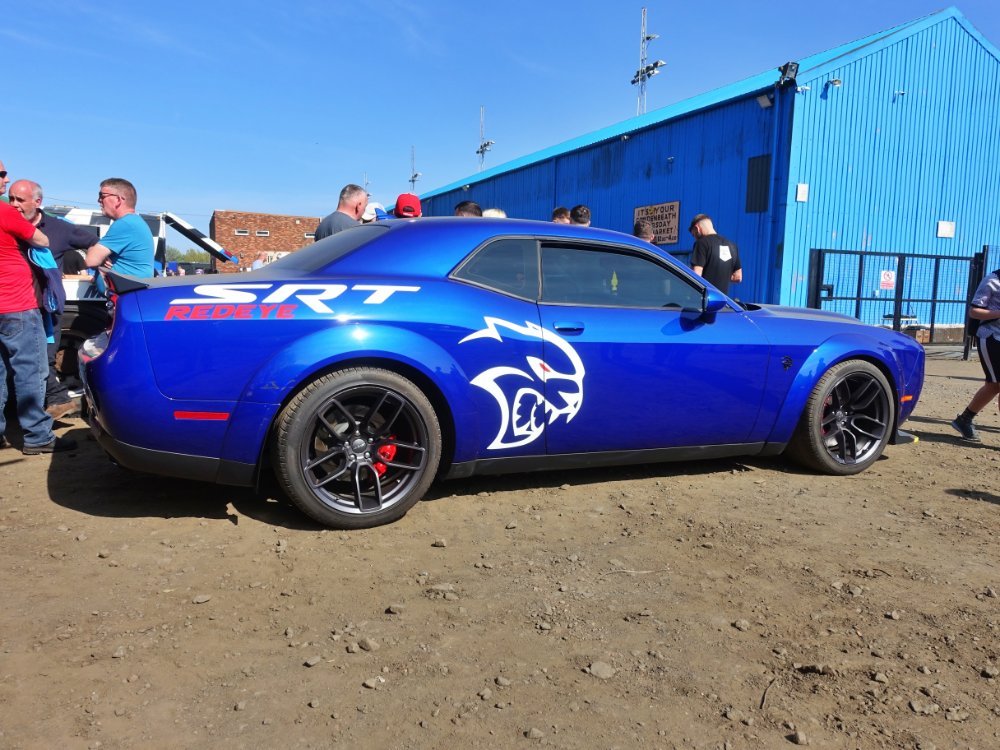


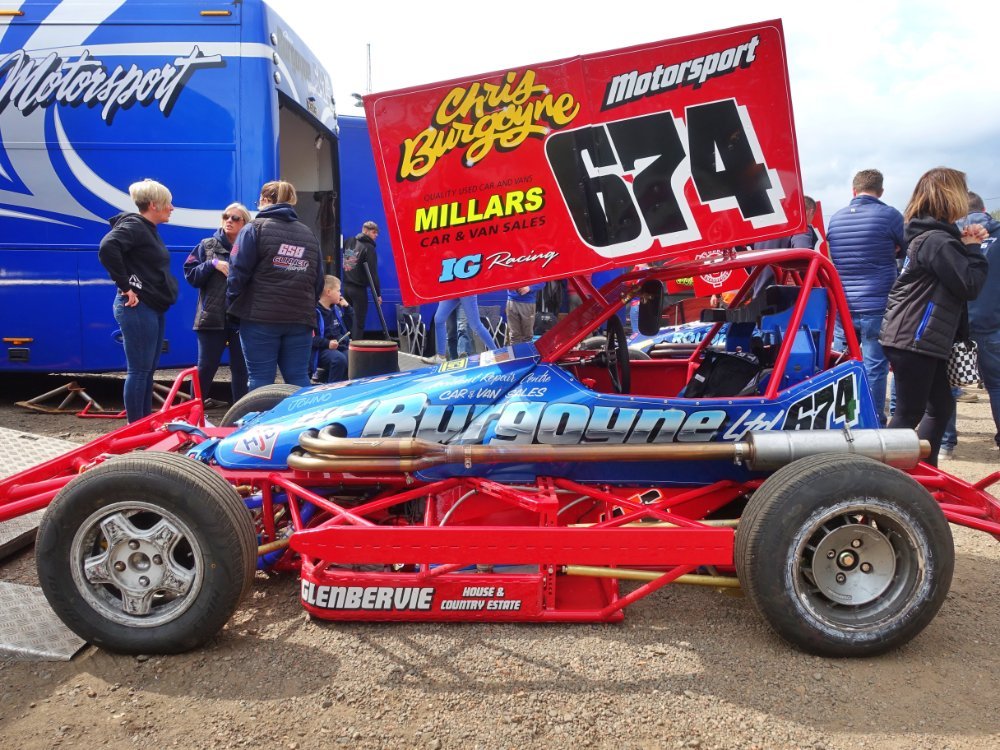
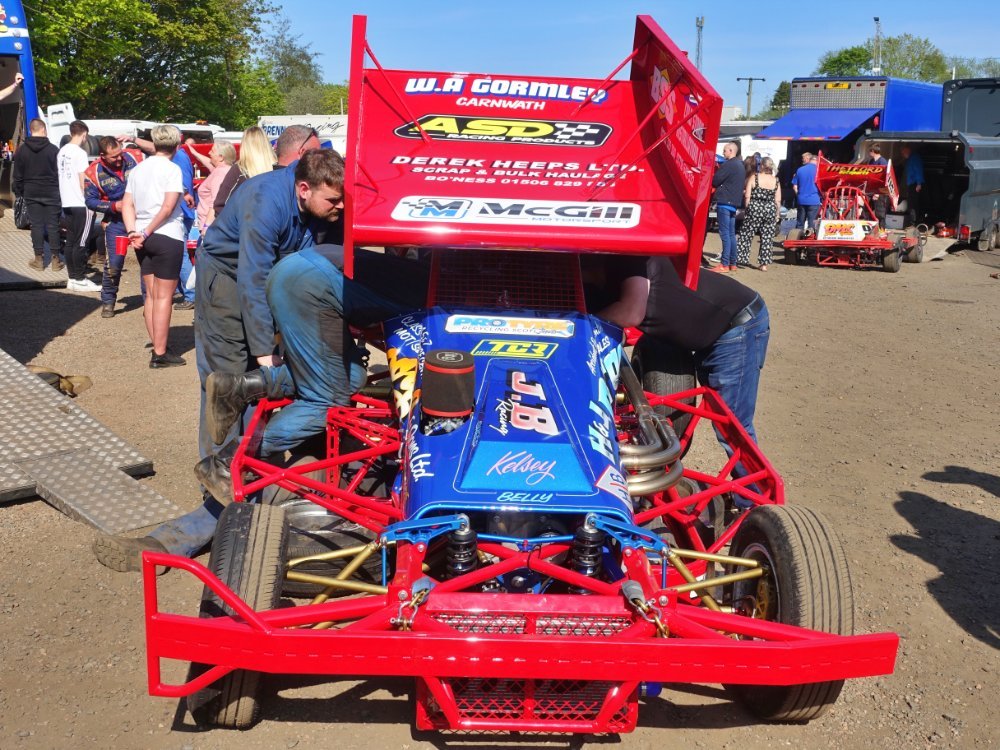
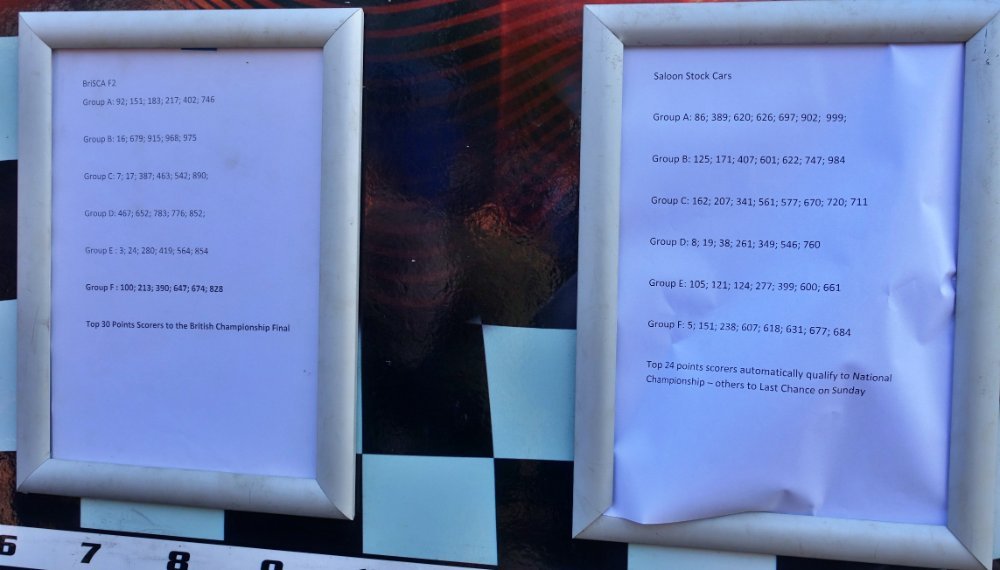

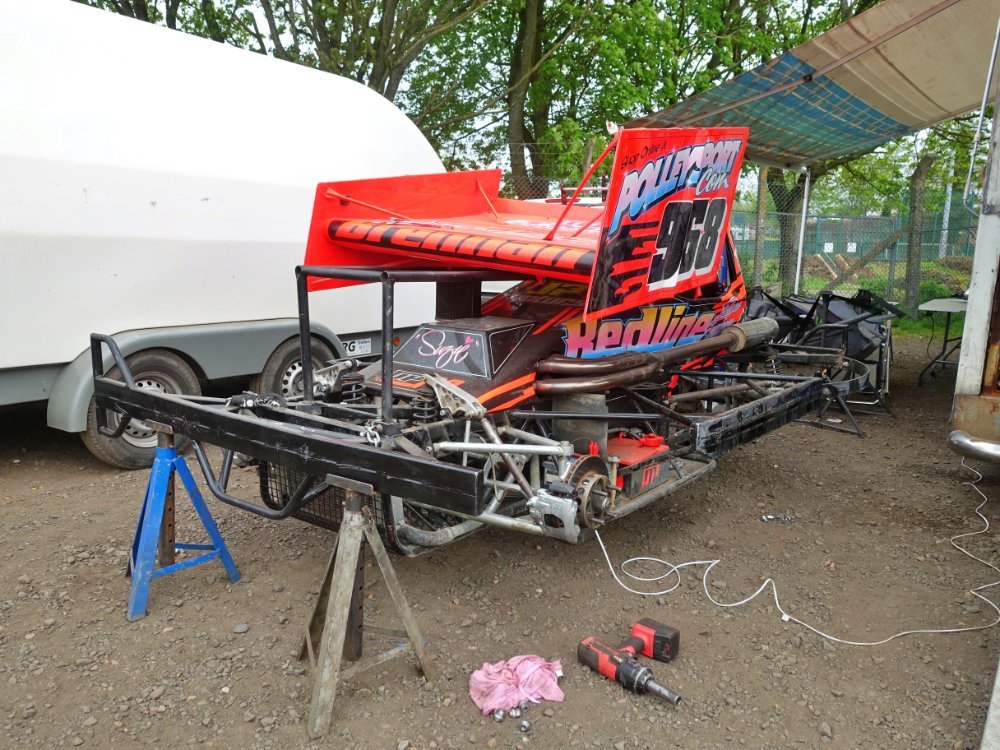

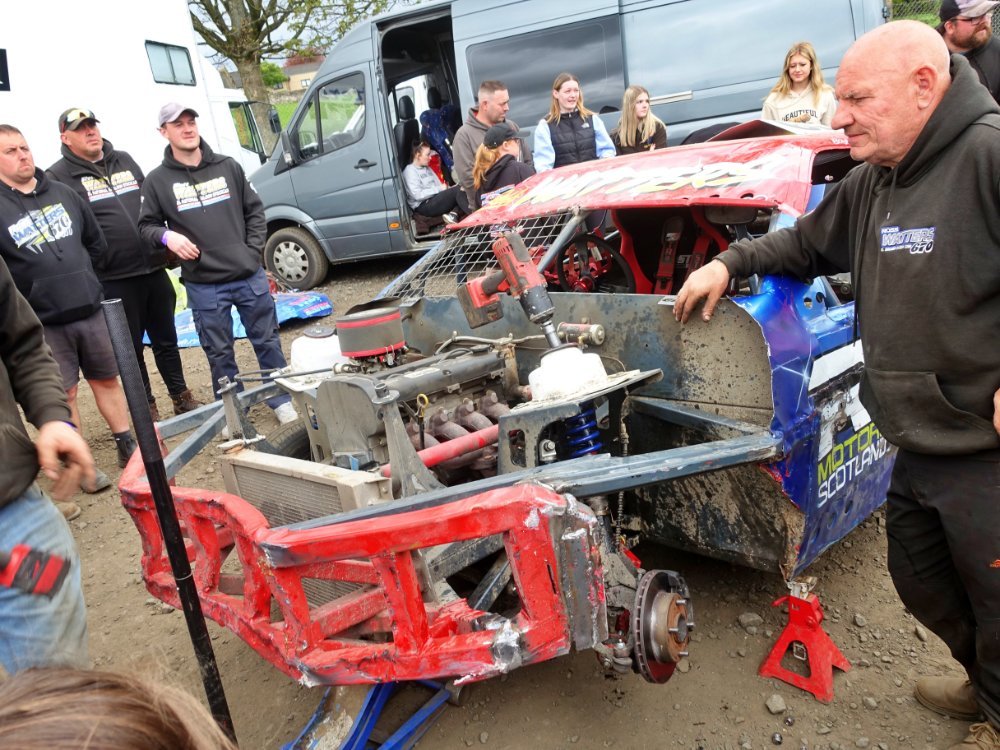

.jpg.f2a946c0887dab0737f3c56adead8edc.jpg)
.jpg.18eb4426c55def5aa07ace79a0312776.jpg)
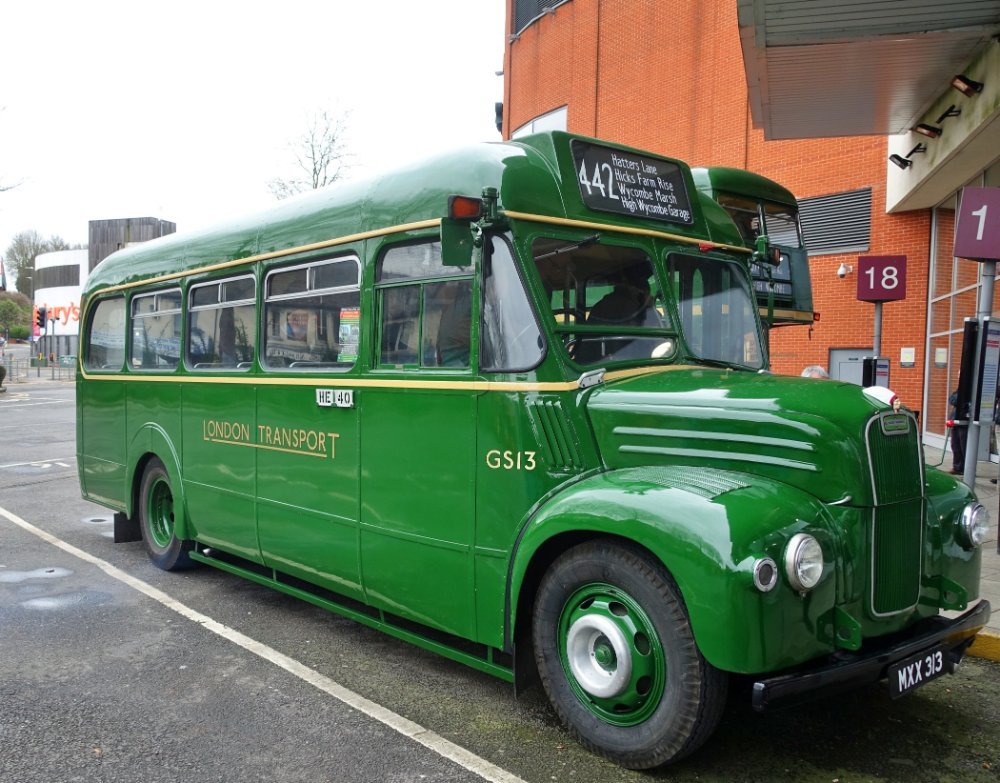
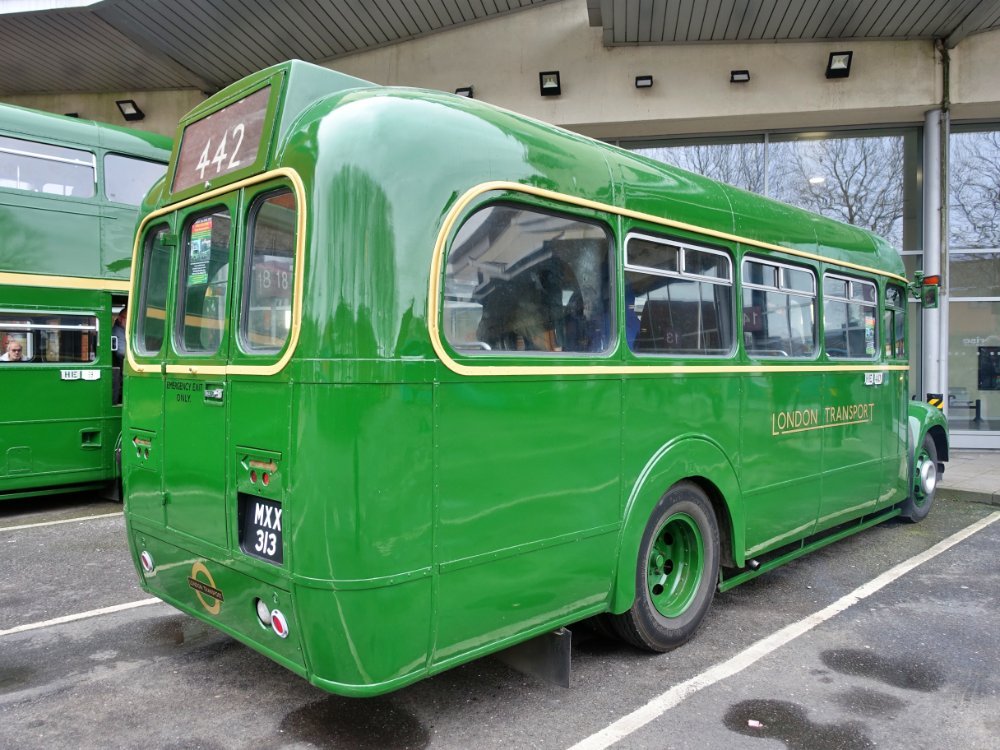

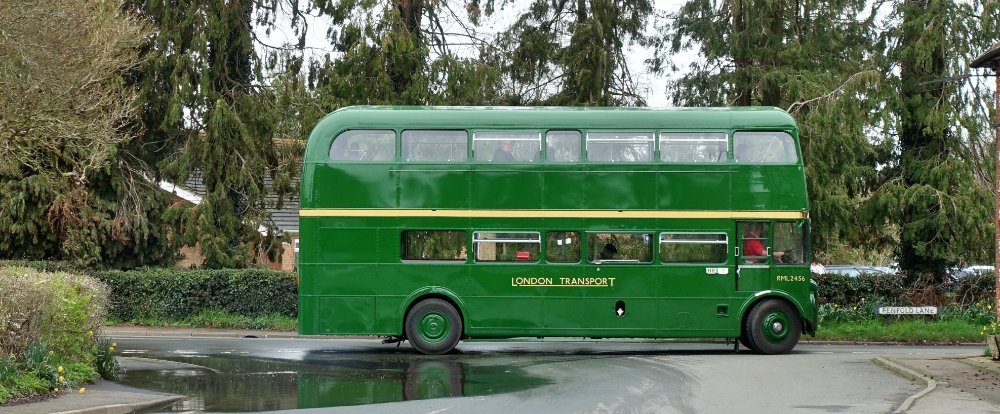
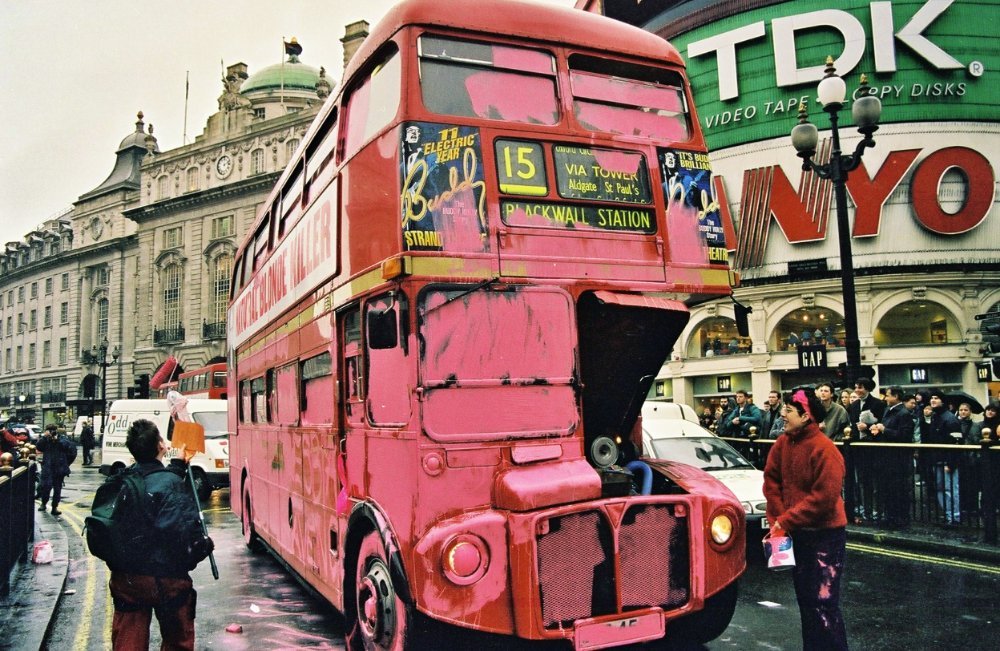

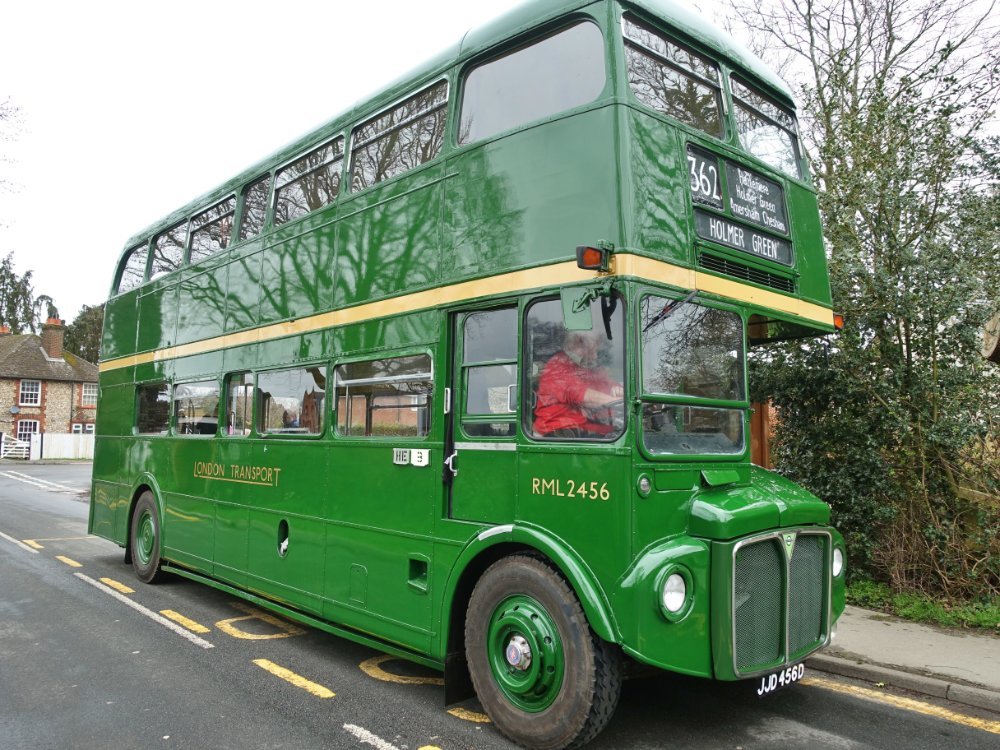


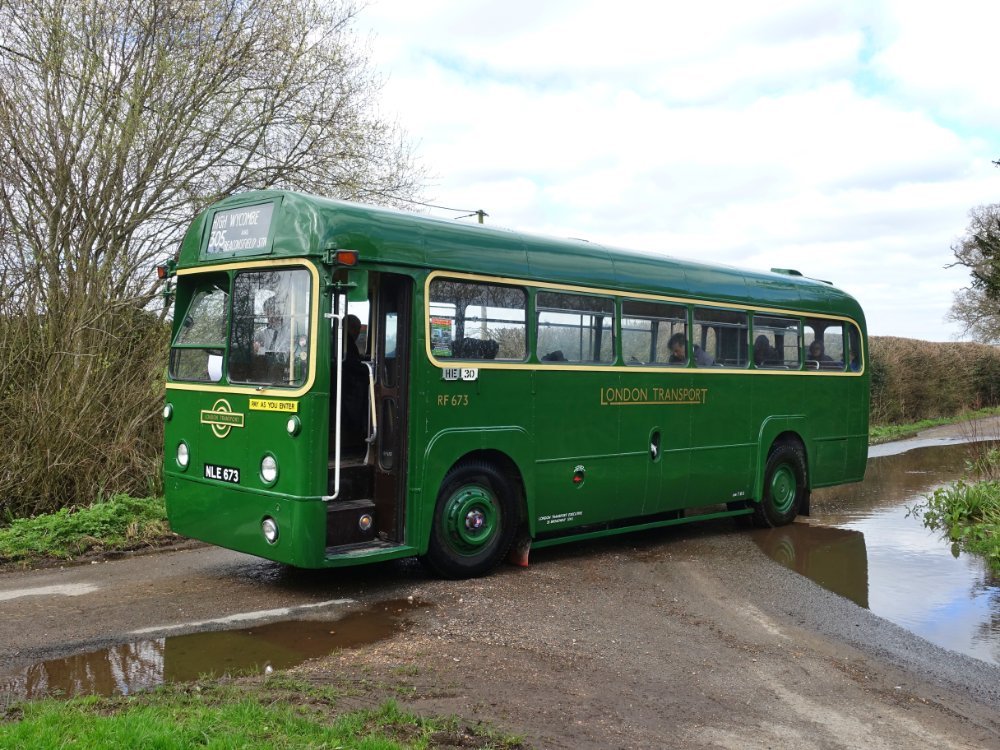

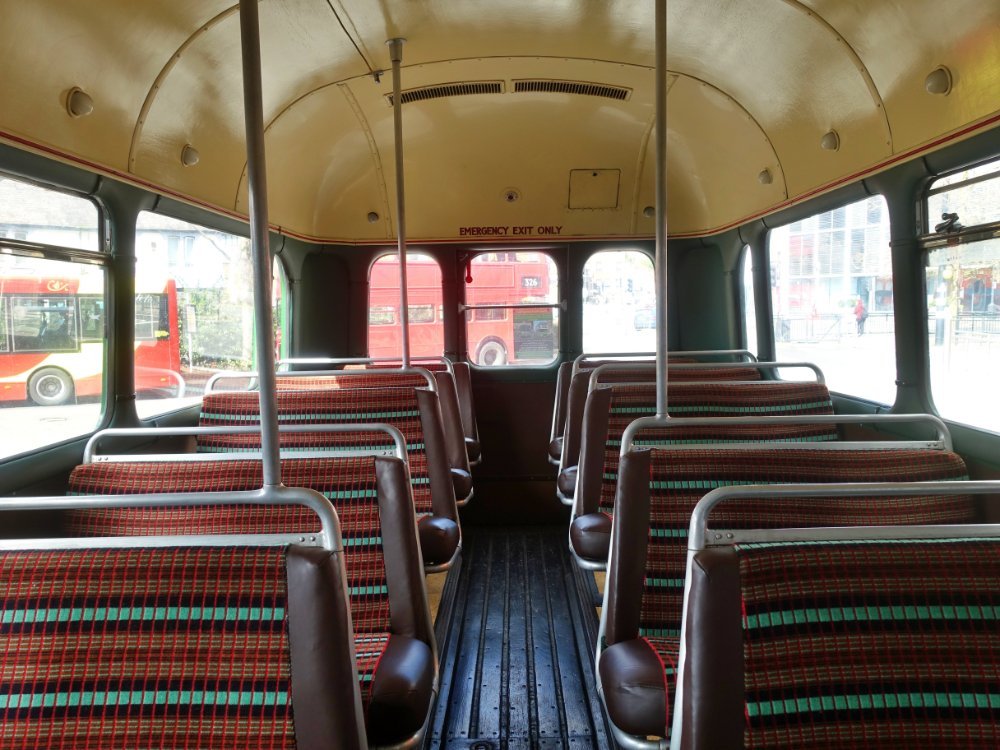
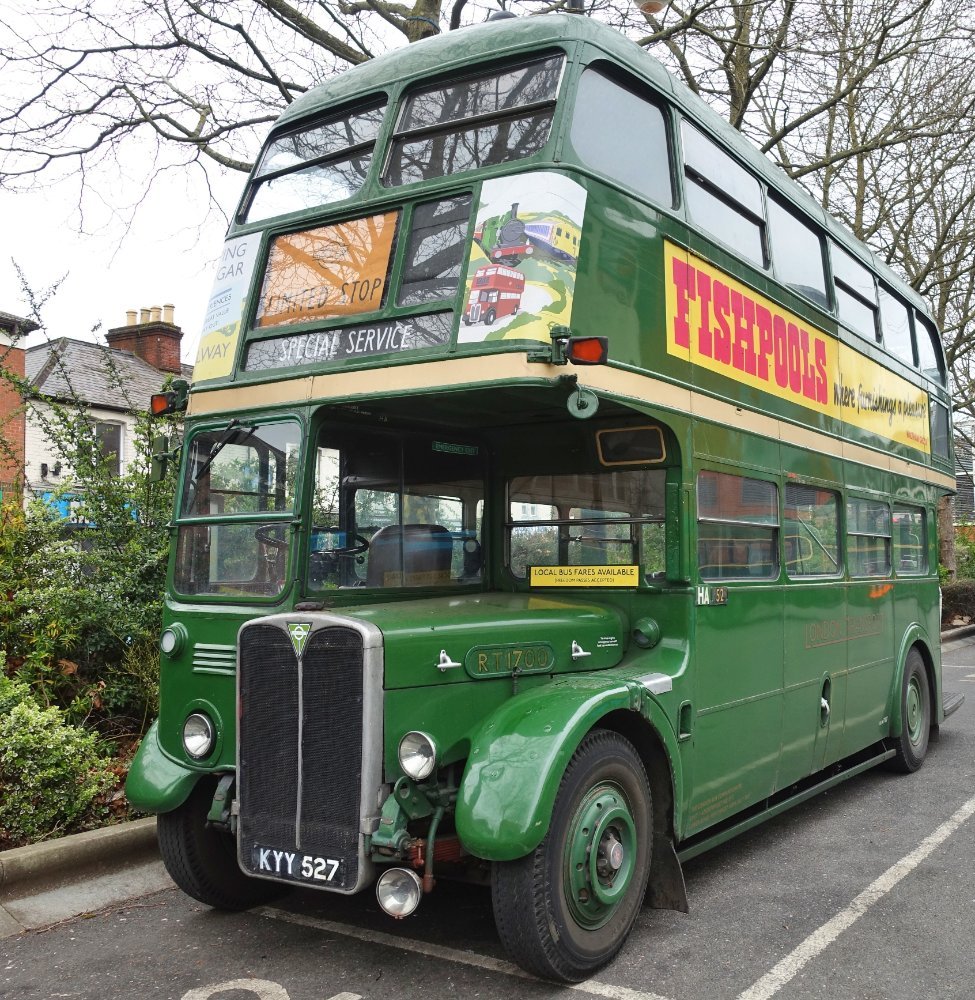
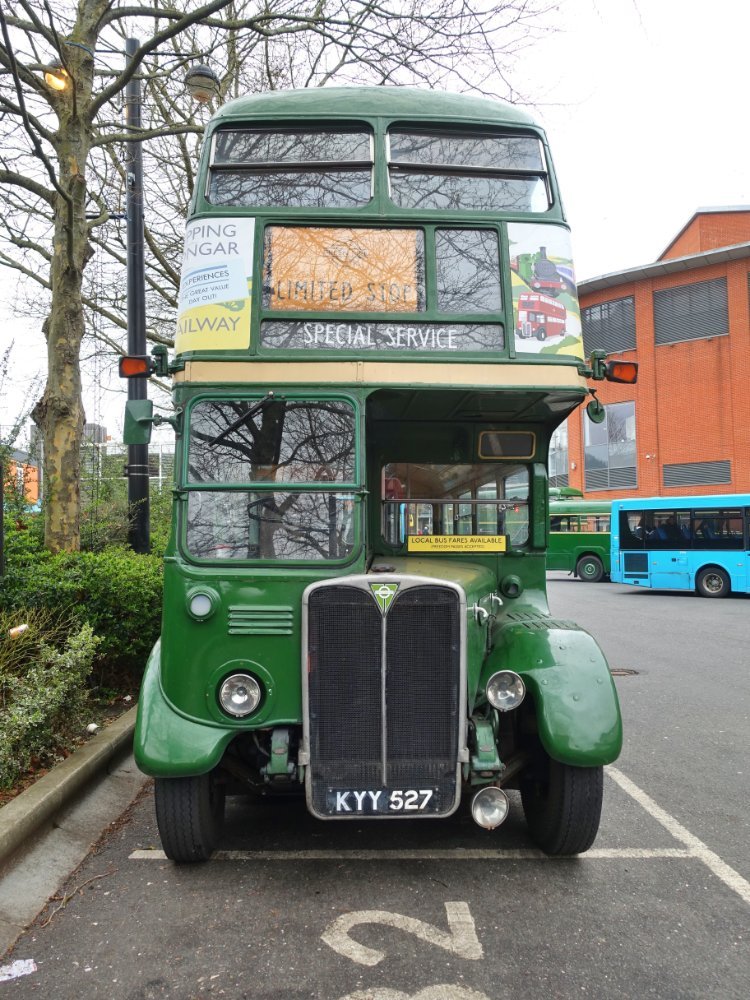
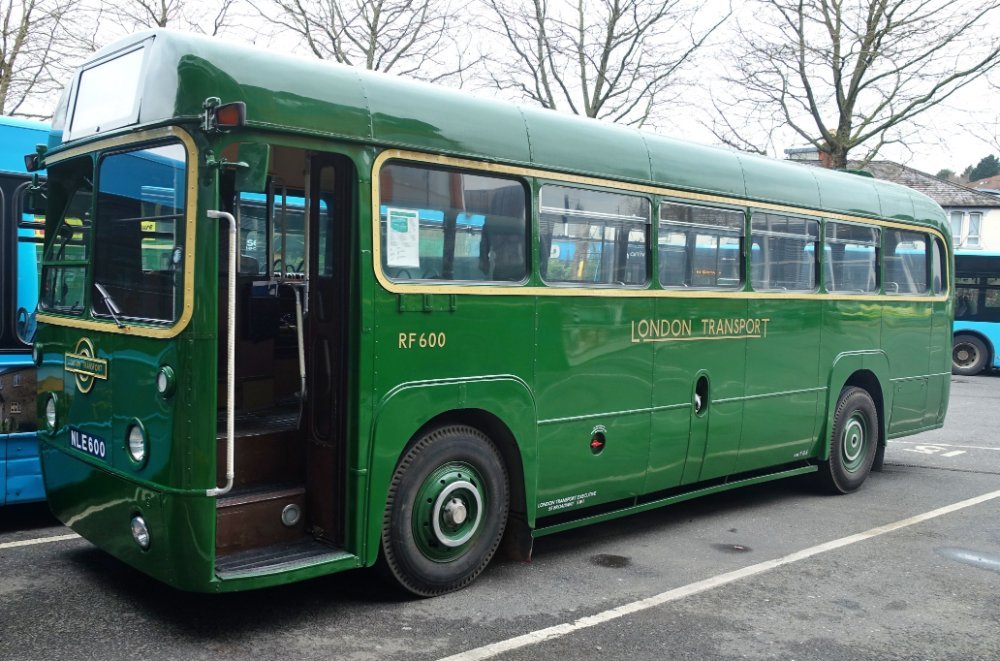
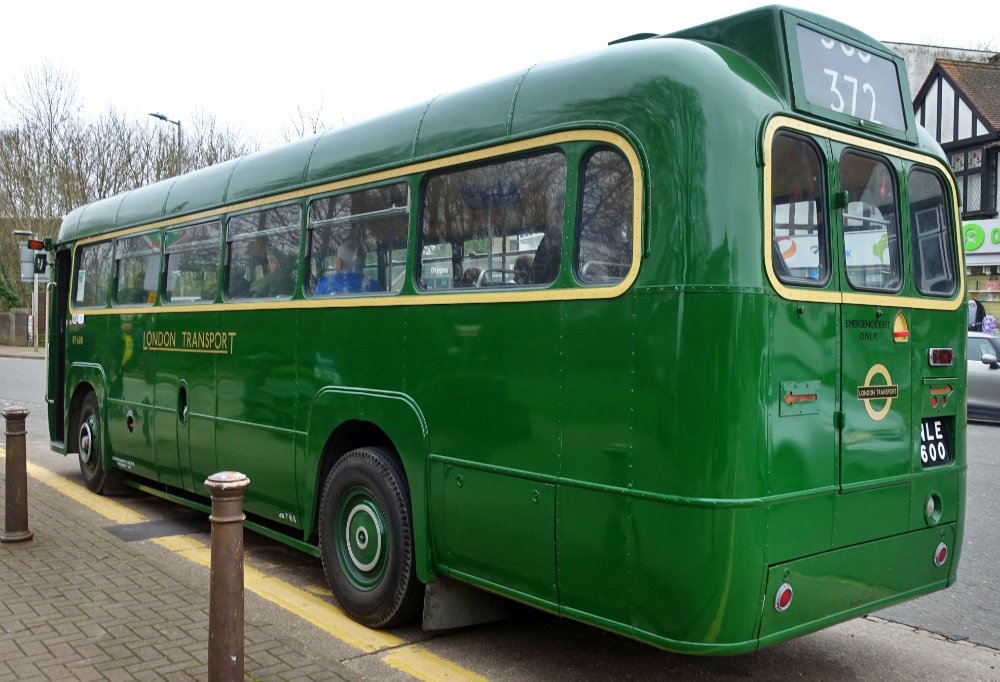
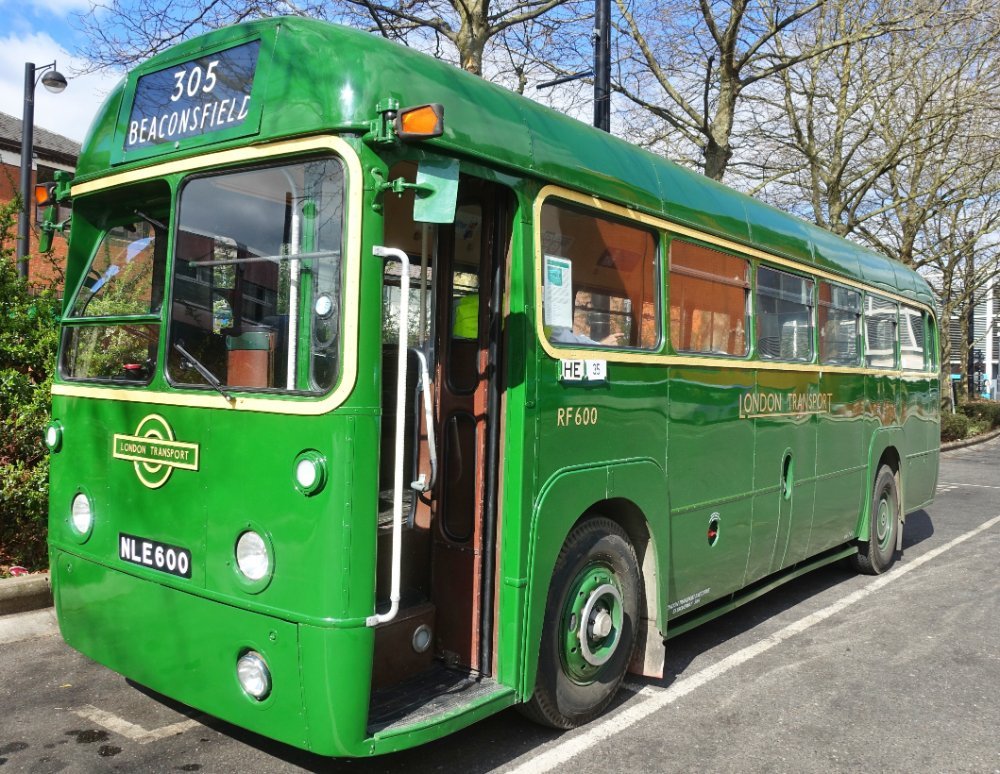
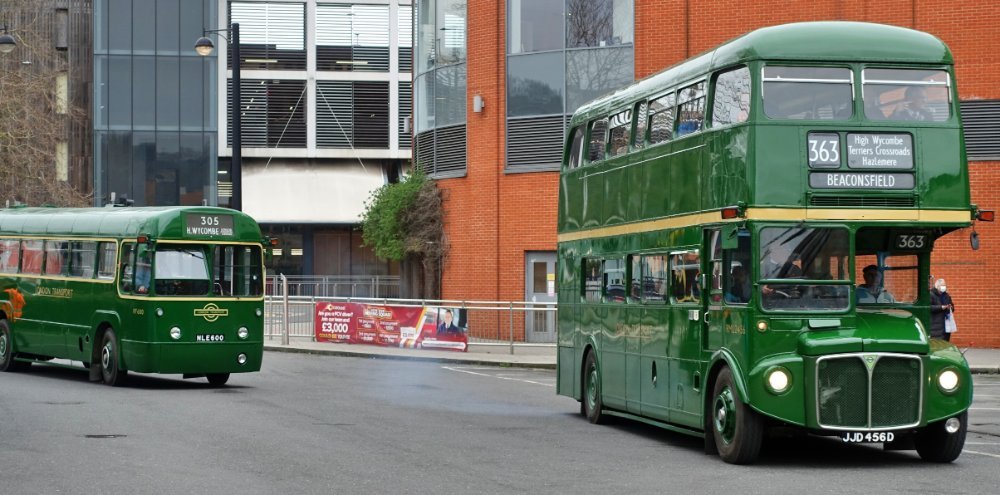
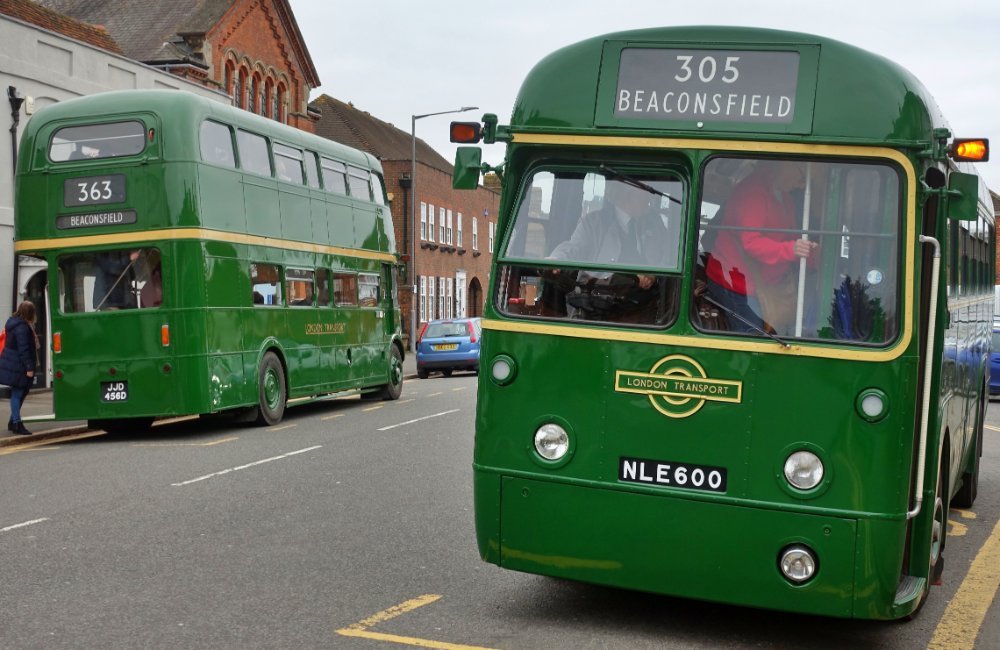

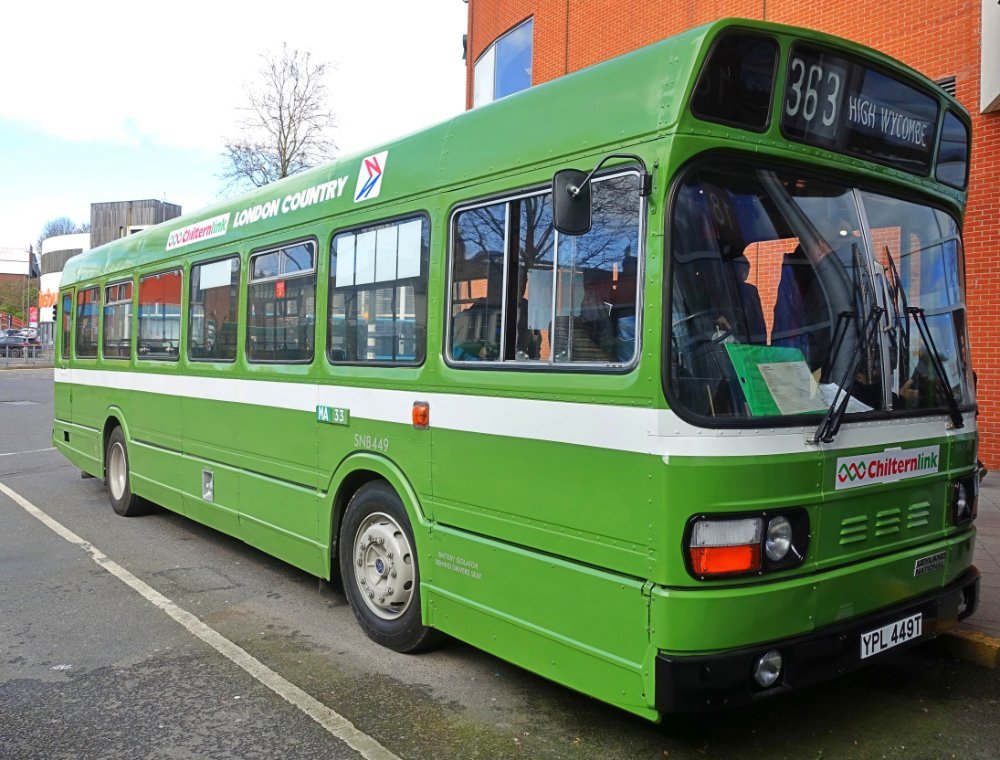
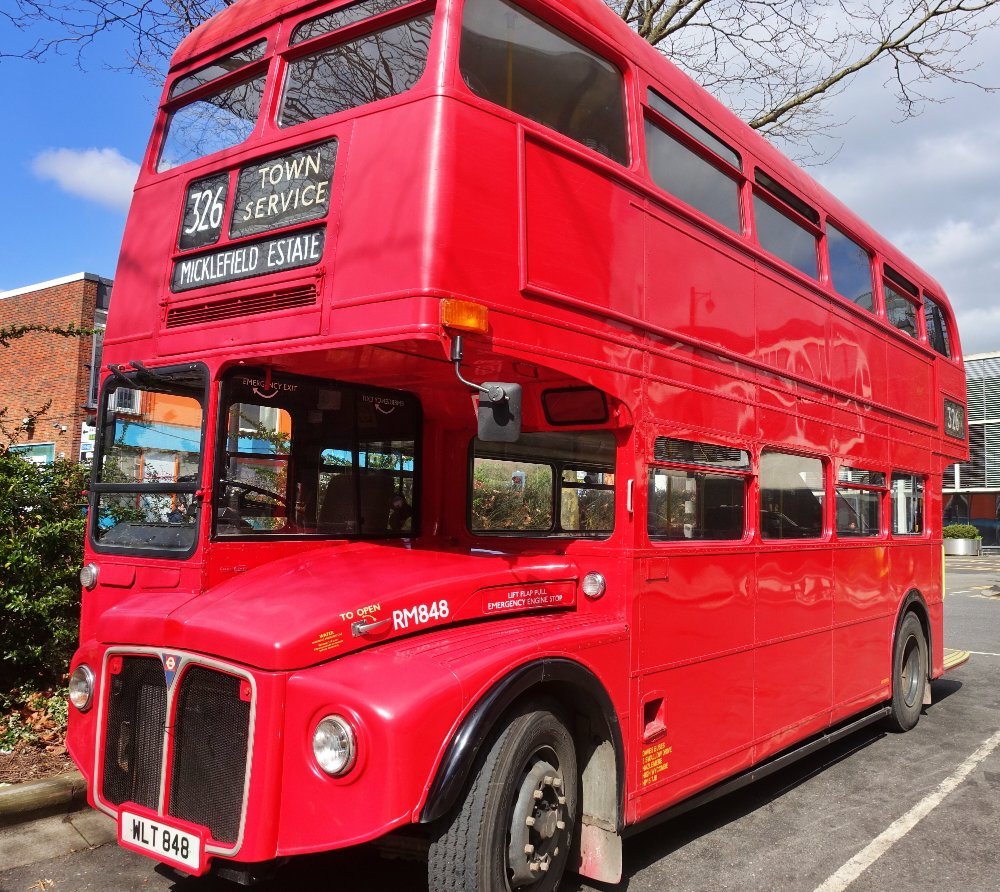


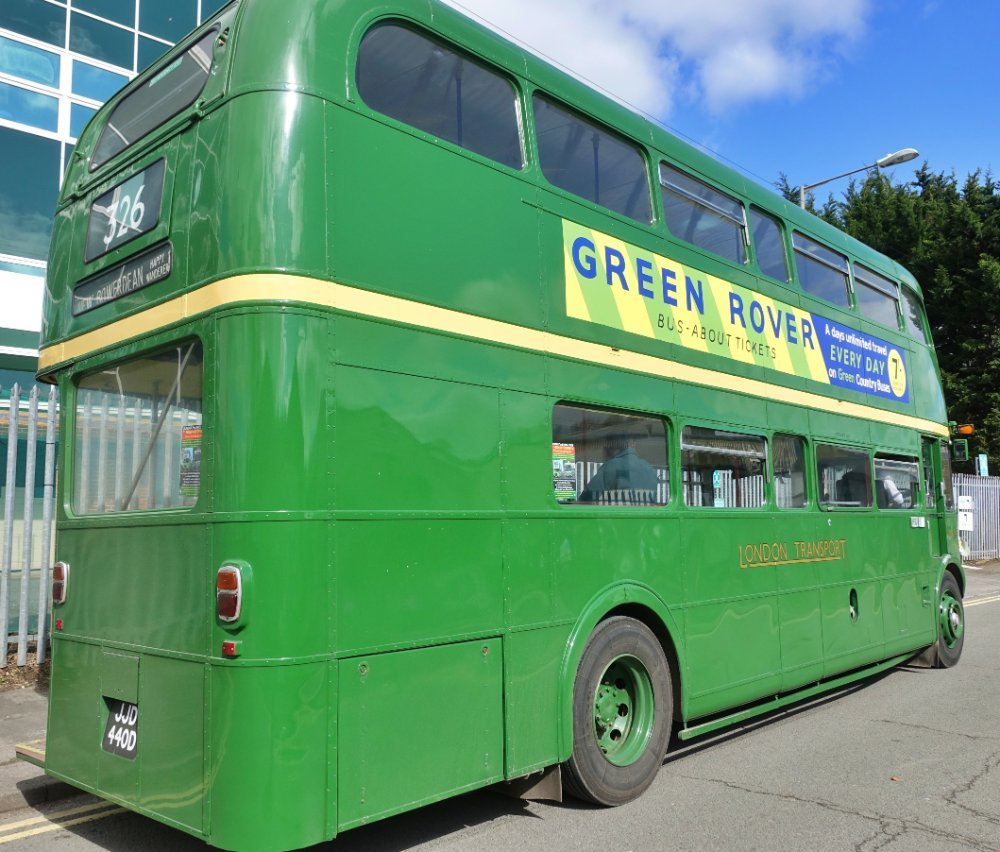

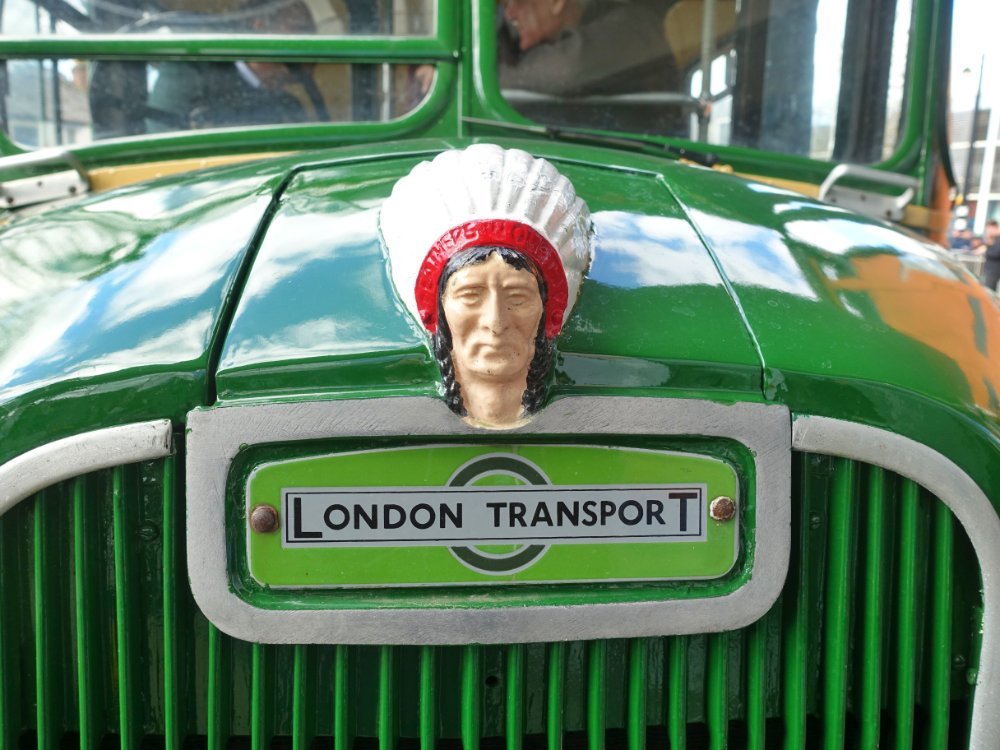
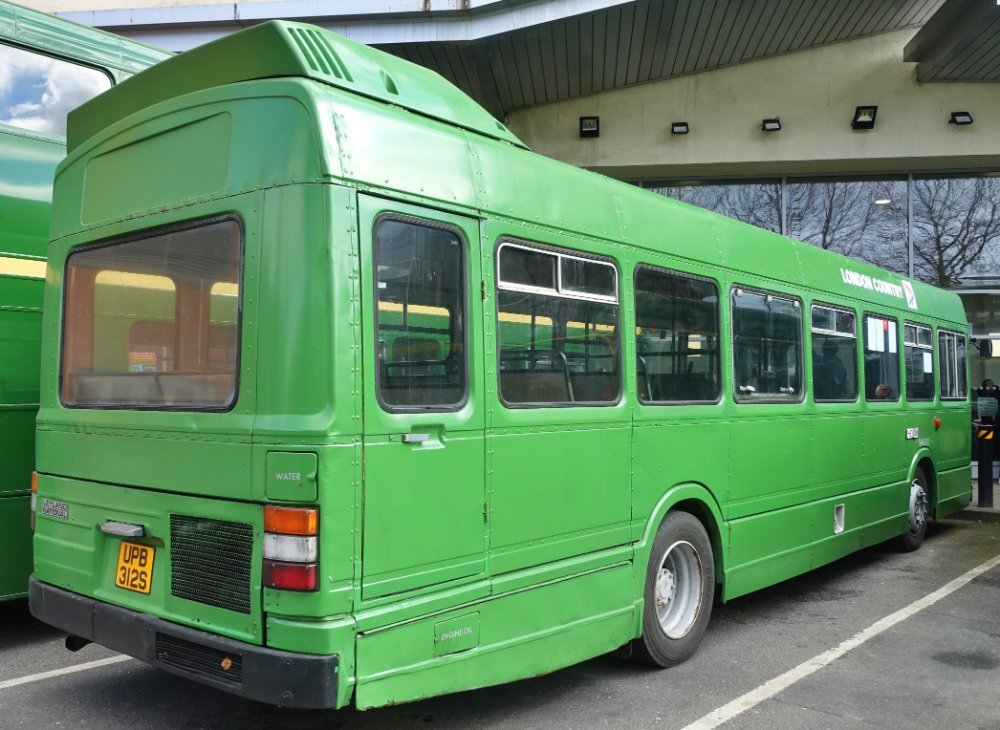
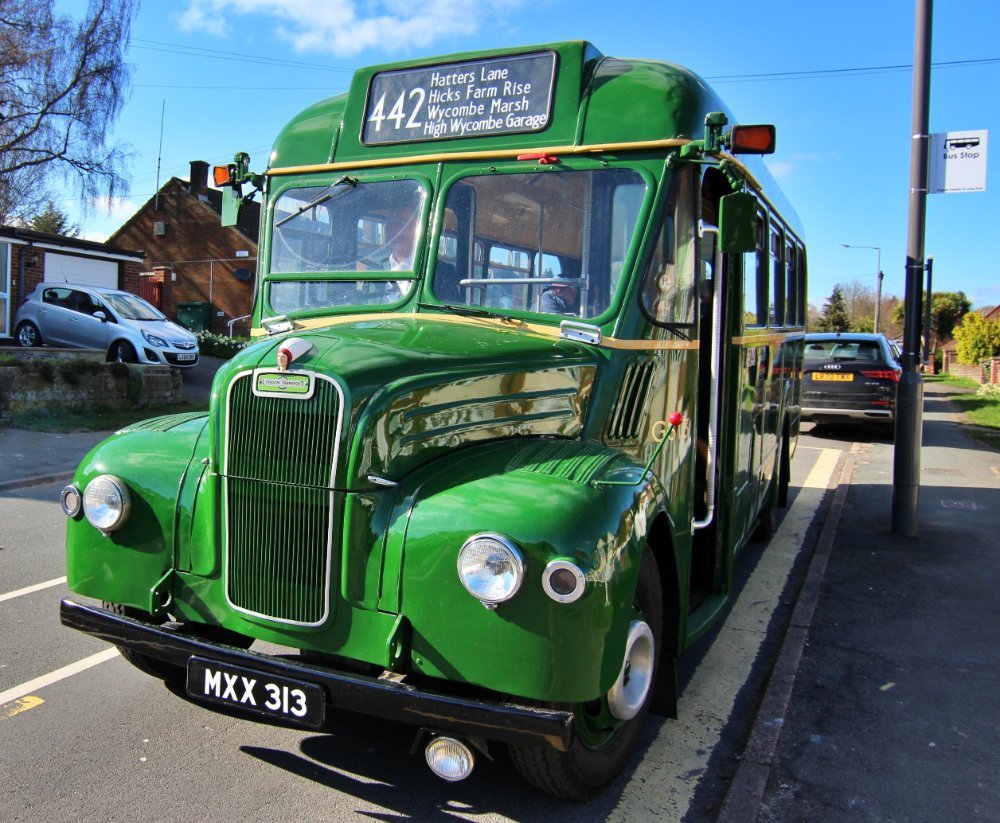
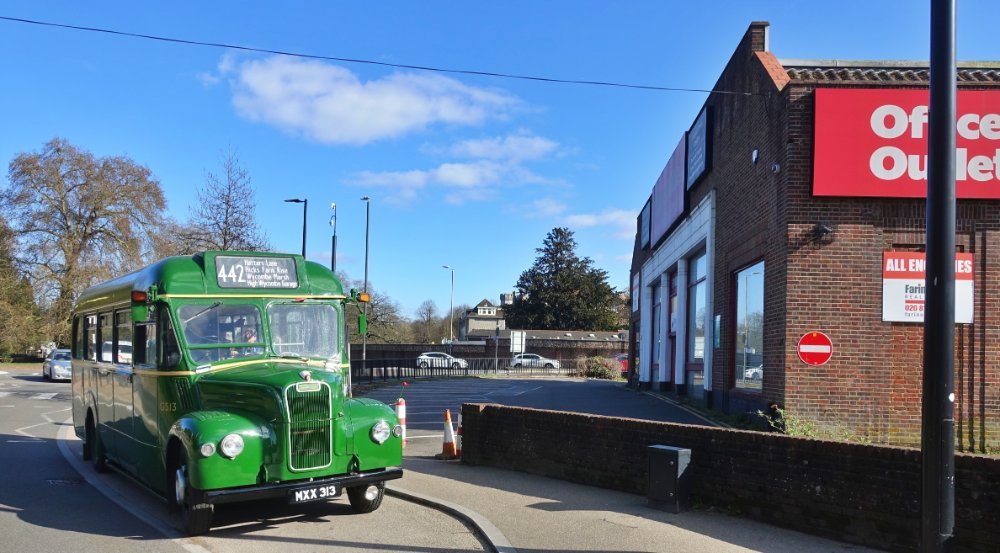

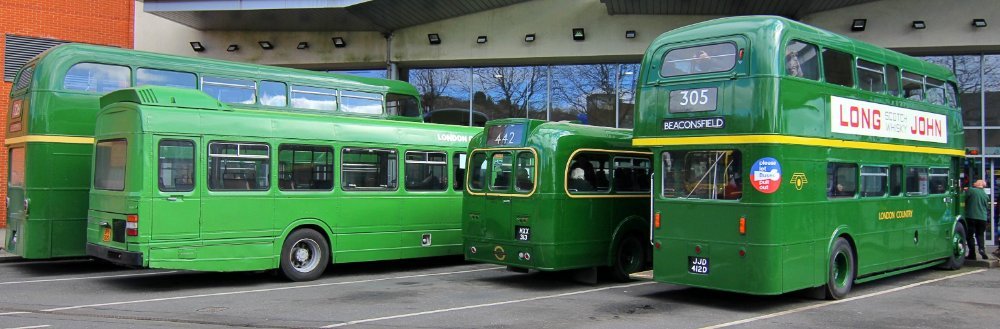
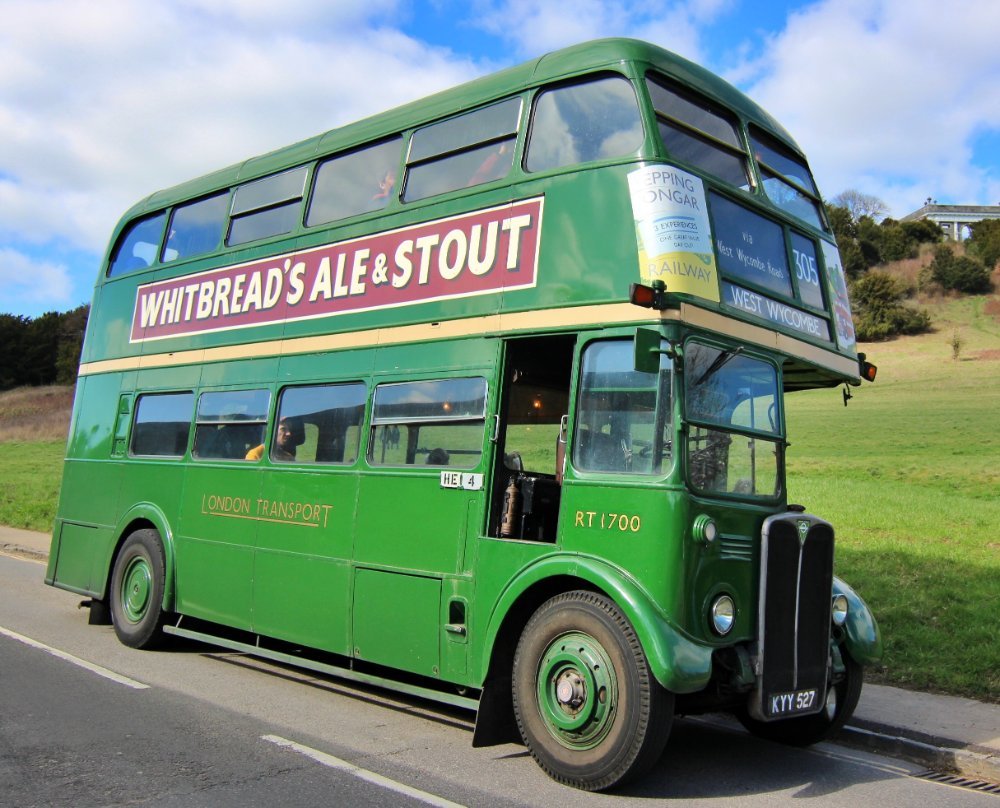


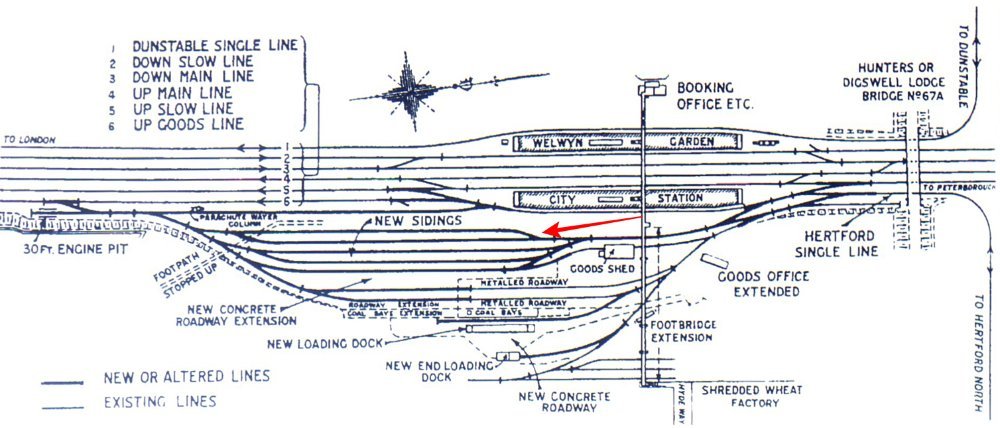
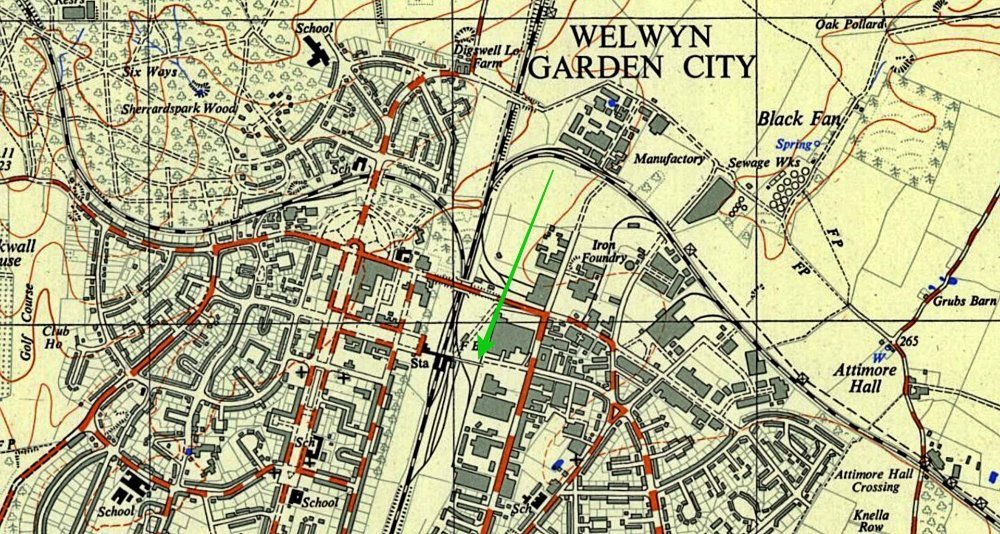


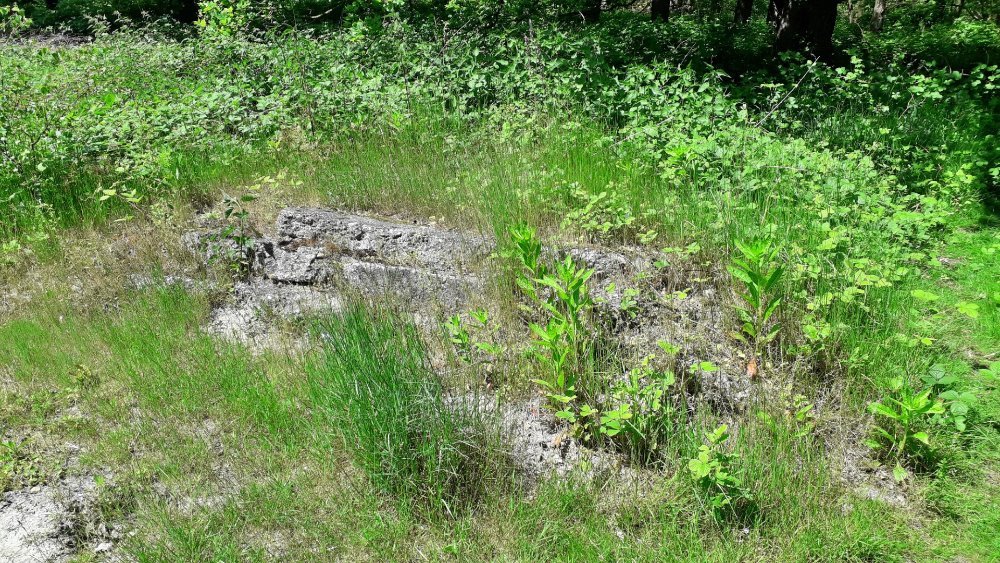


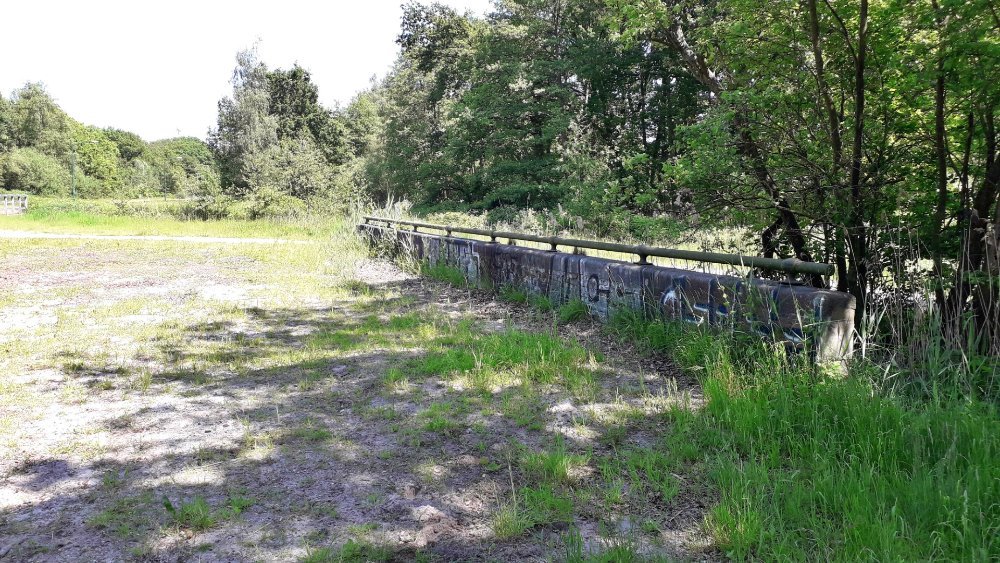


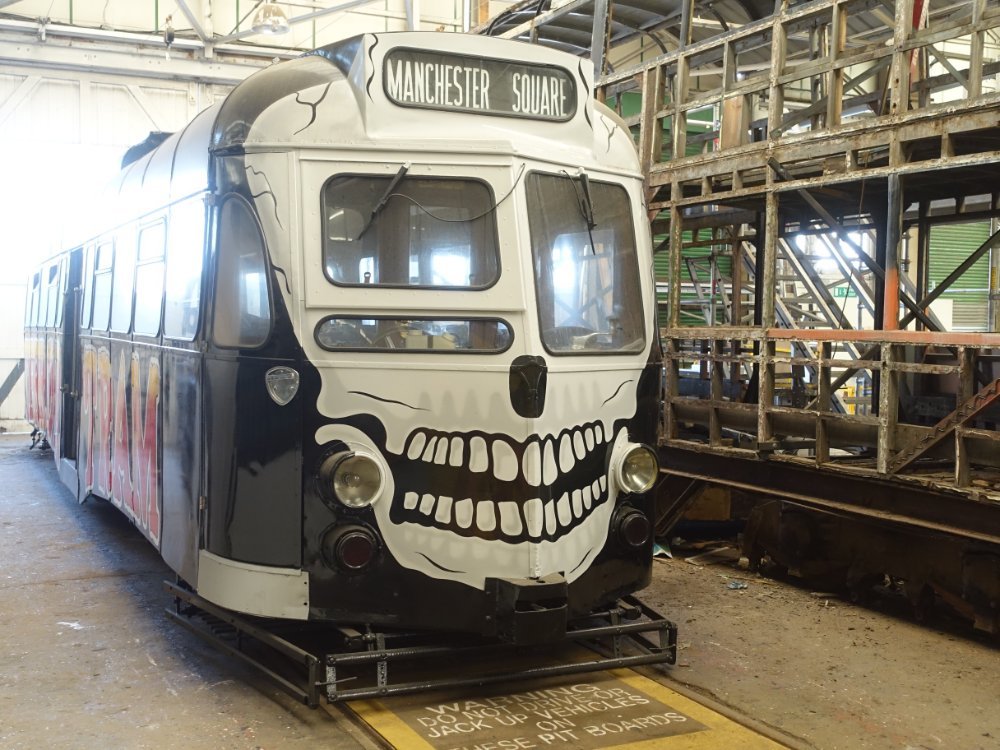

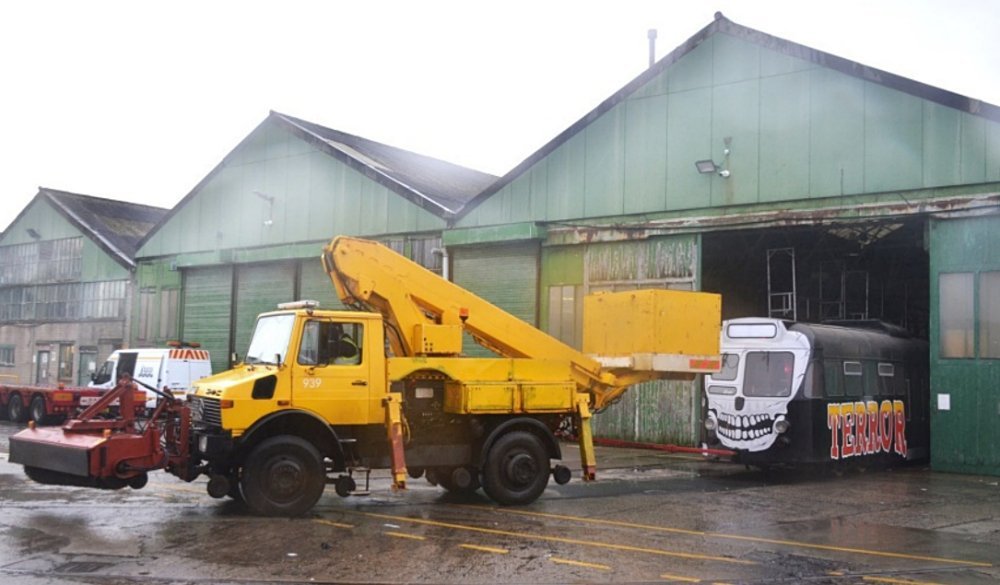
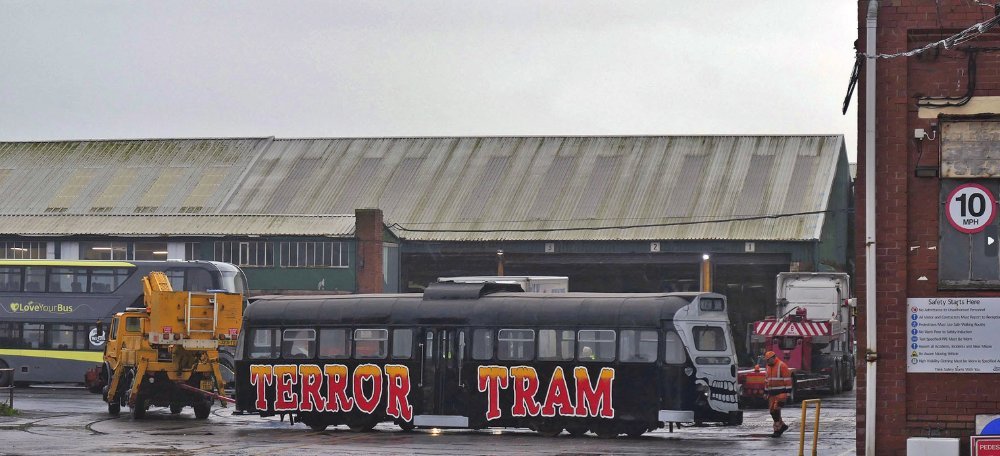
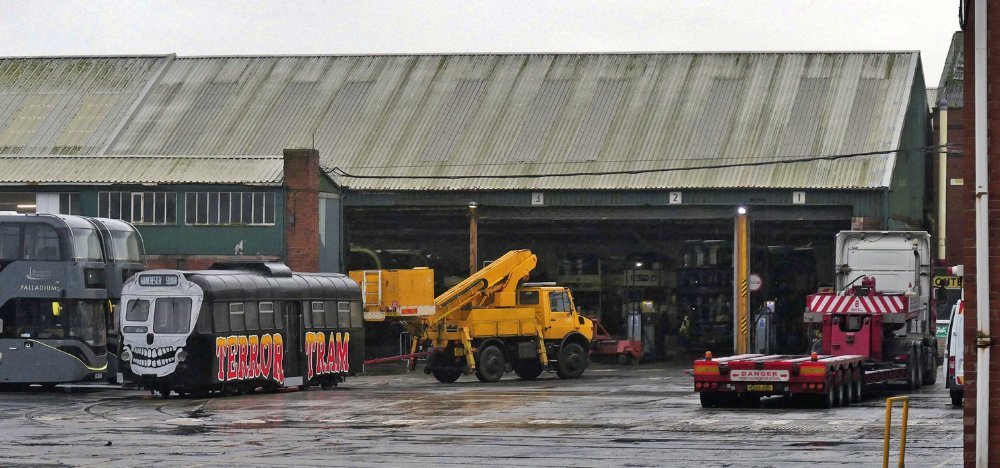

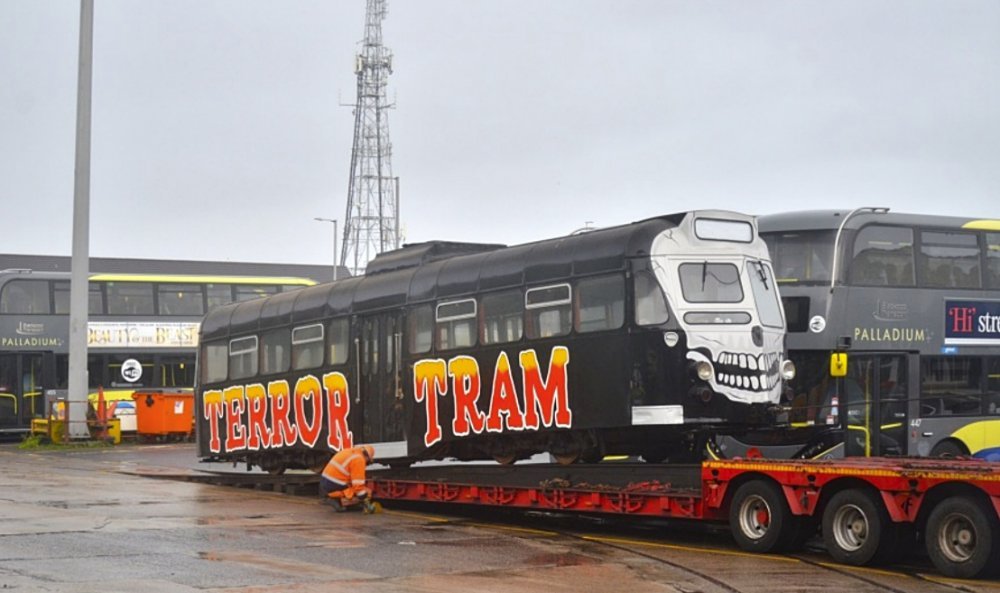
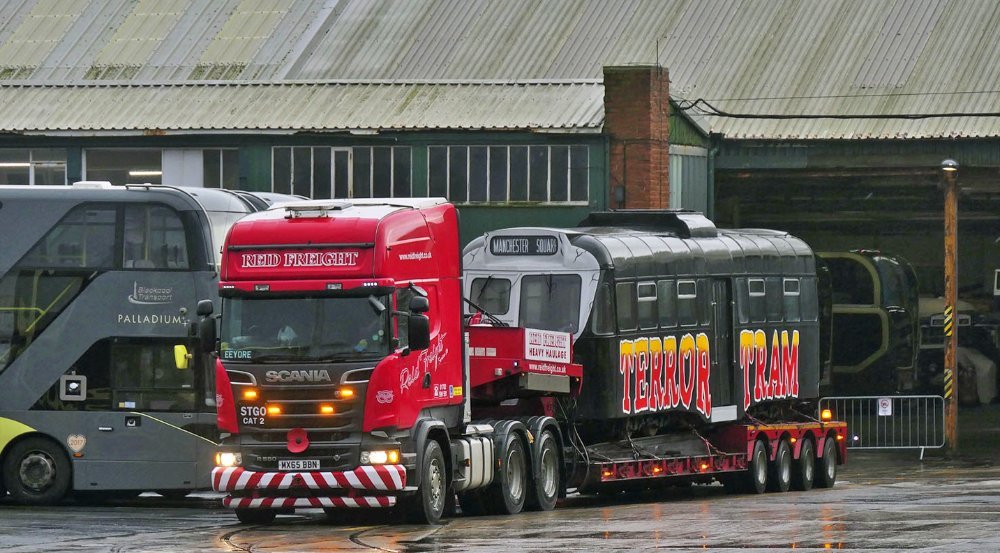


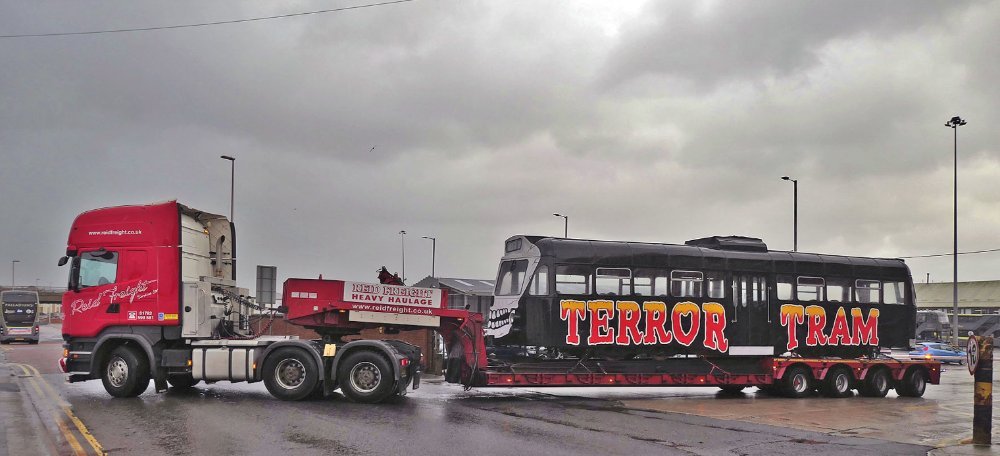
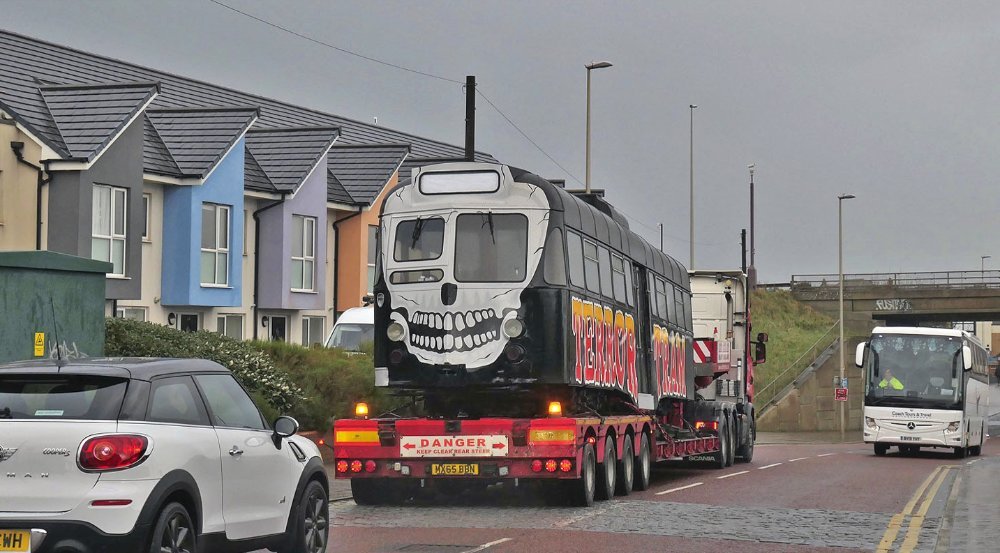
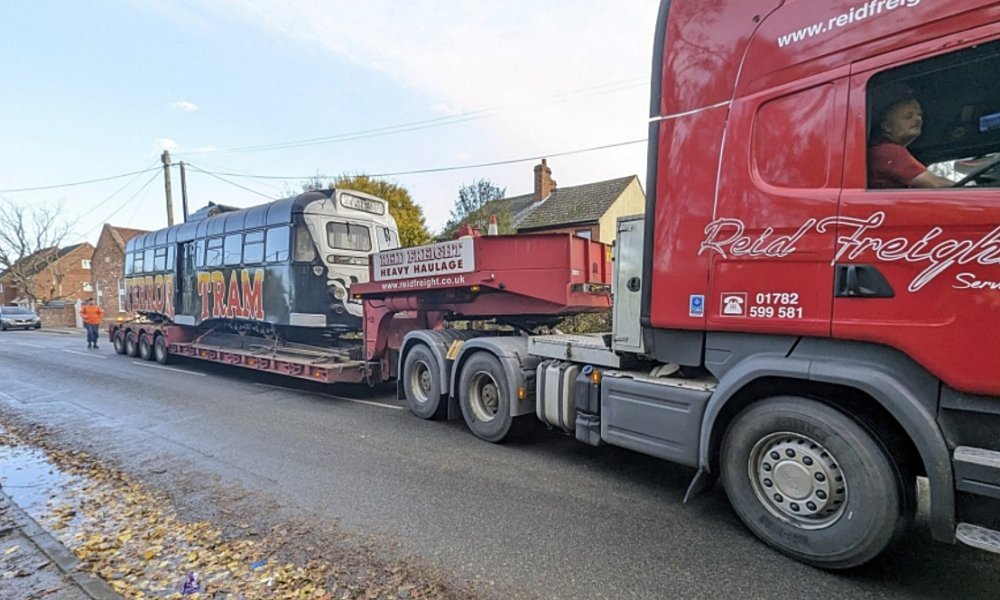
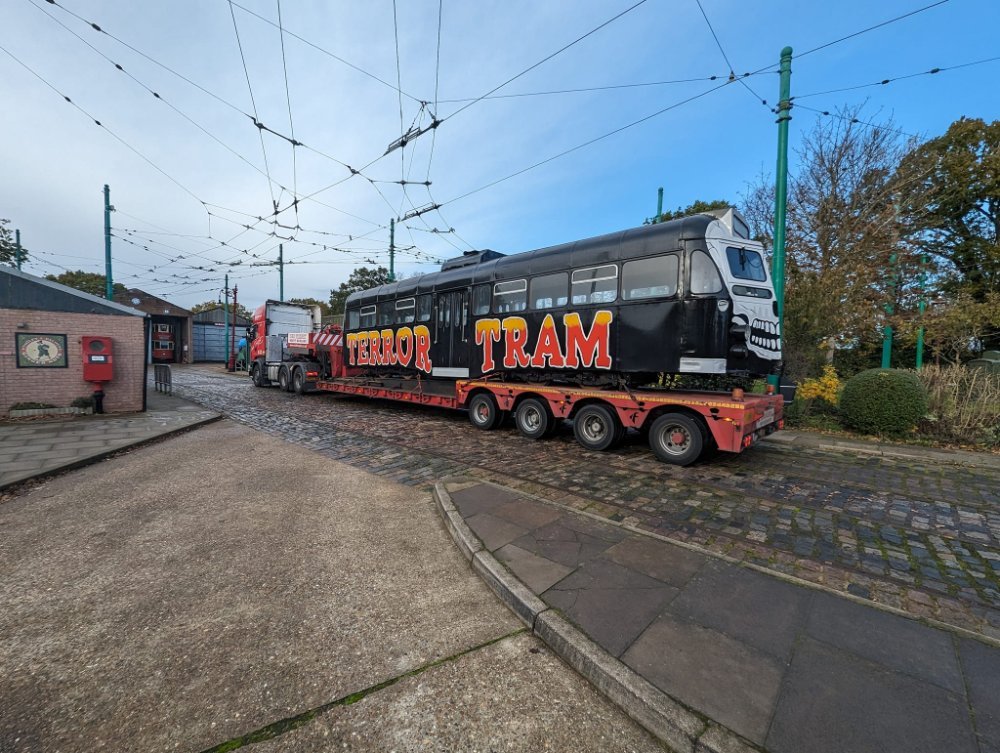

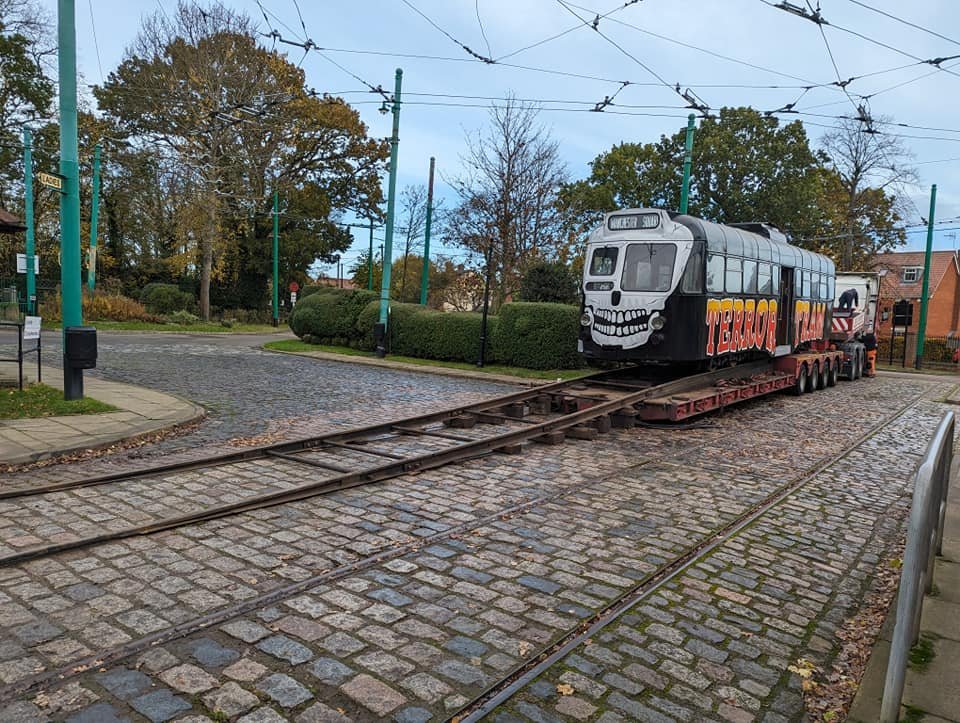
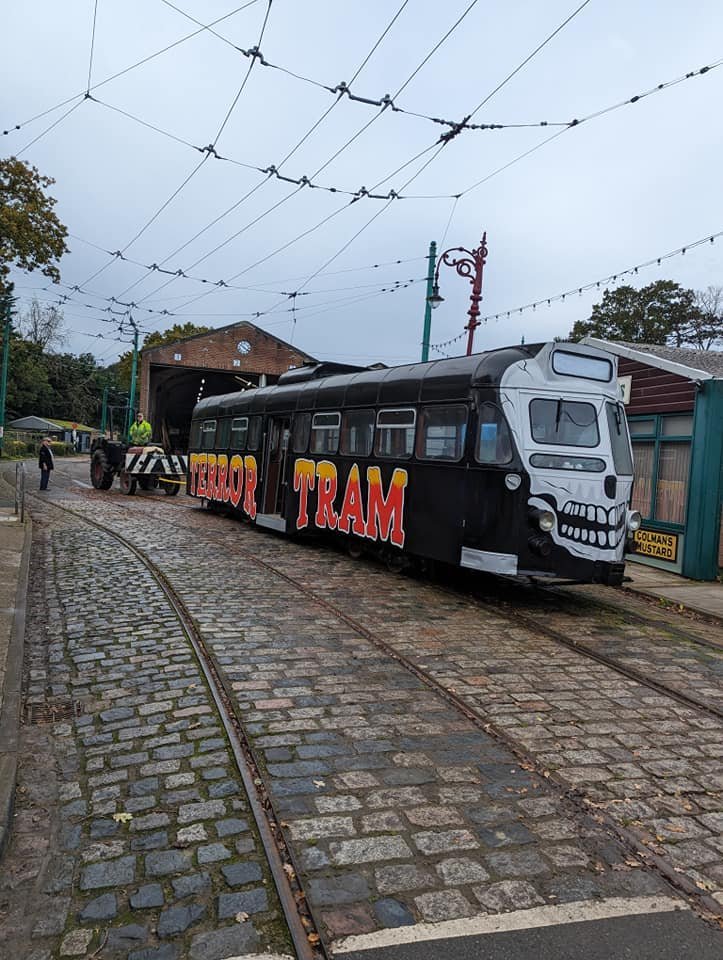


.jpg.41dfbf994427a6d0e6c302919f2390df.jpg)
.jpg.f38cb4ece990db09c378e4138e892dbe.jpg)
.jpg.74ed6df01cfa197c3005913b803049a7.jpg)
.jpg.66d47e50af0a534245eb5104912908bb.jpg)

.jpg.eb38974b3763230b178ca5e8734060f3.jpg)

.jpg.c8ea7ac147ece6f5bd7d7479df60c97c.jpg)
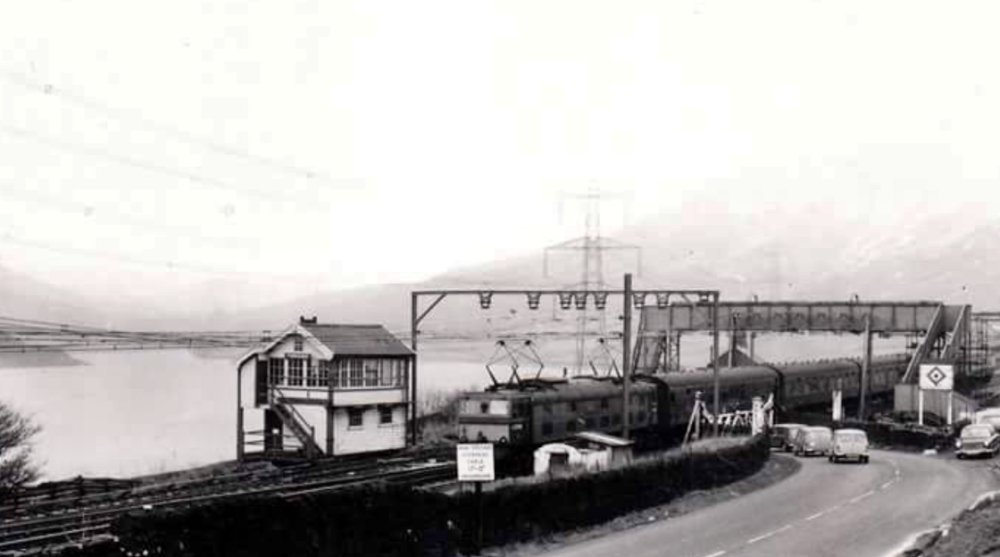
.jpg.9edbd848b6ec57136c5068ca295b2f99.jpg)

.jpg.846022c1f8fa6382edc0ac9a9a453c52.jpg)
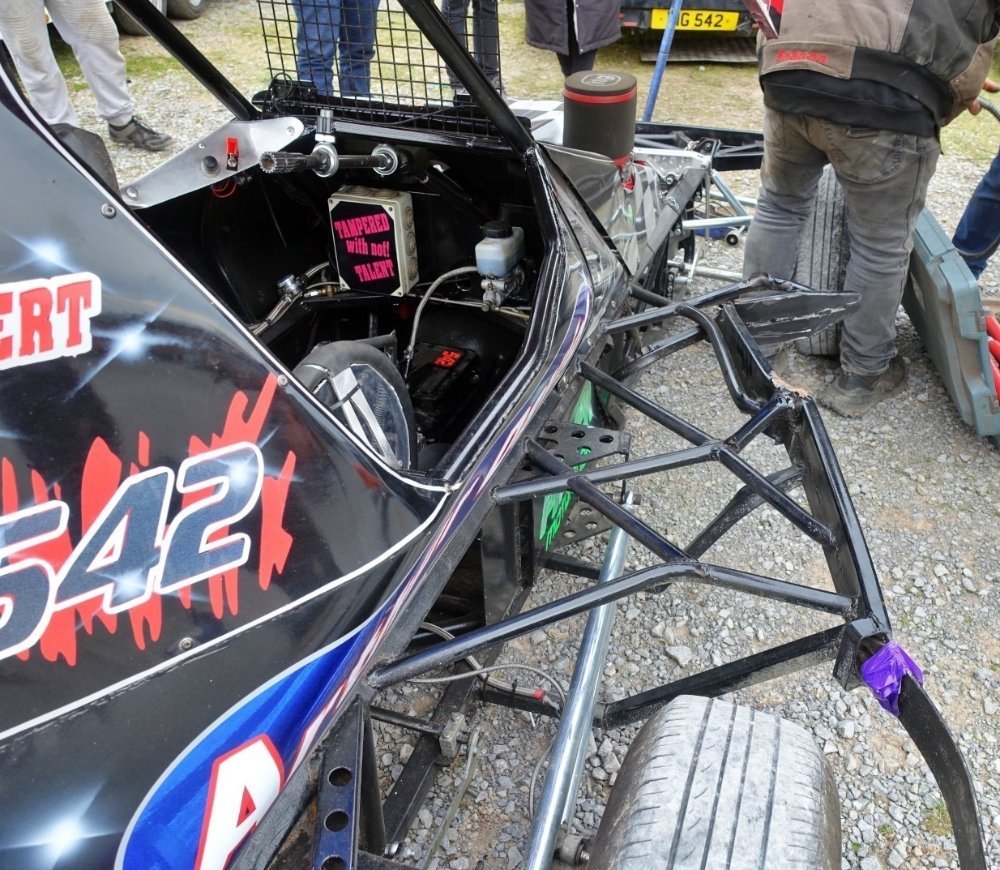
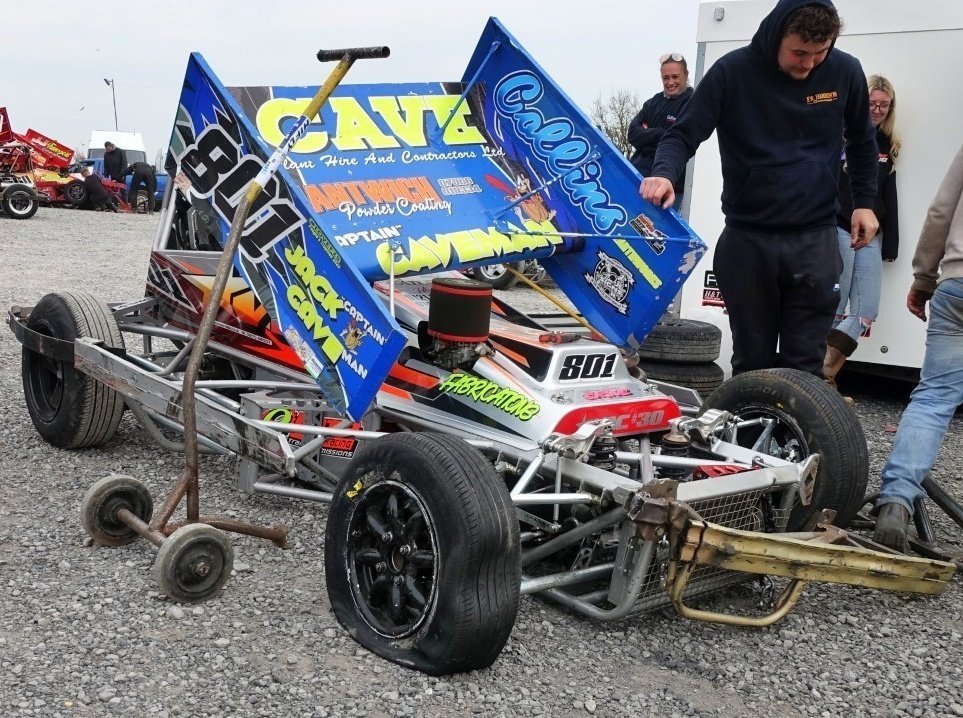
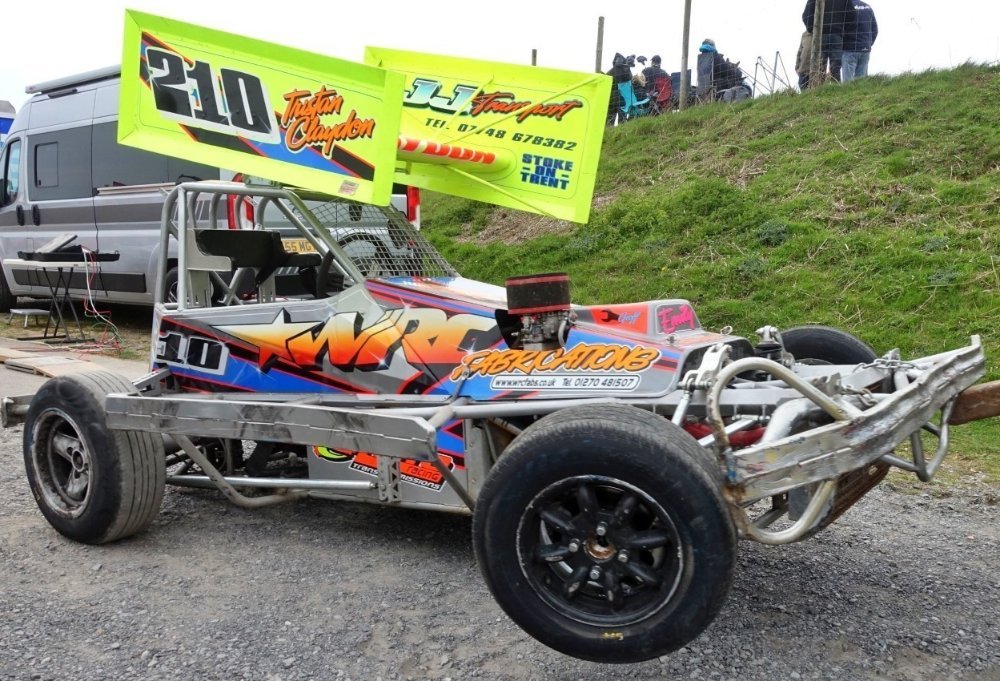

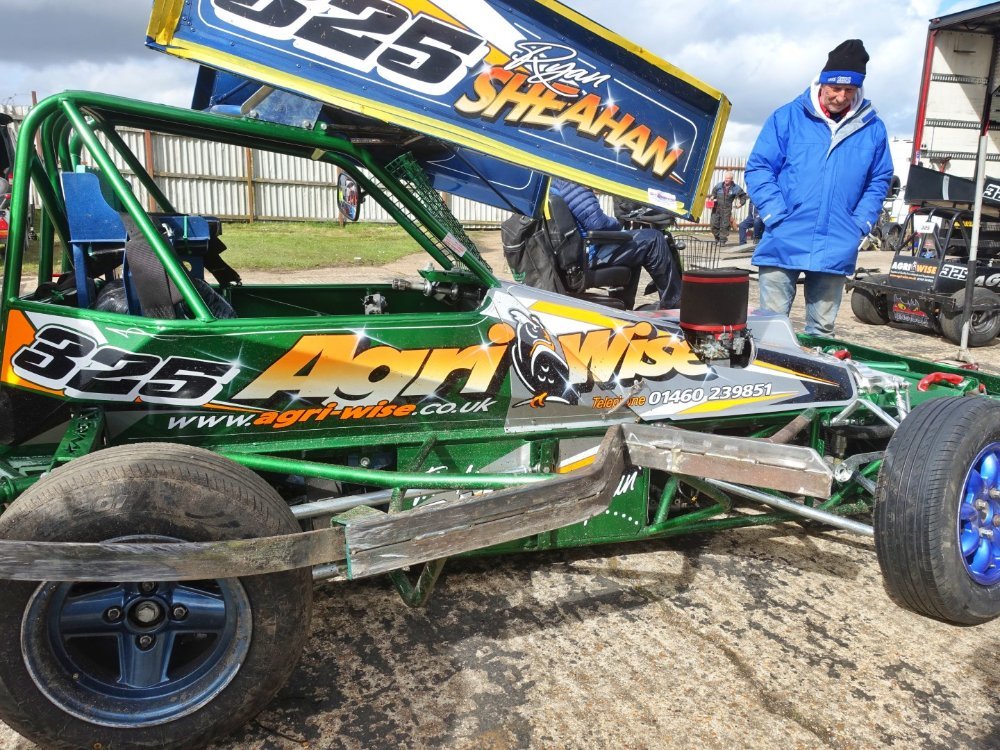
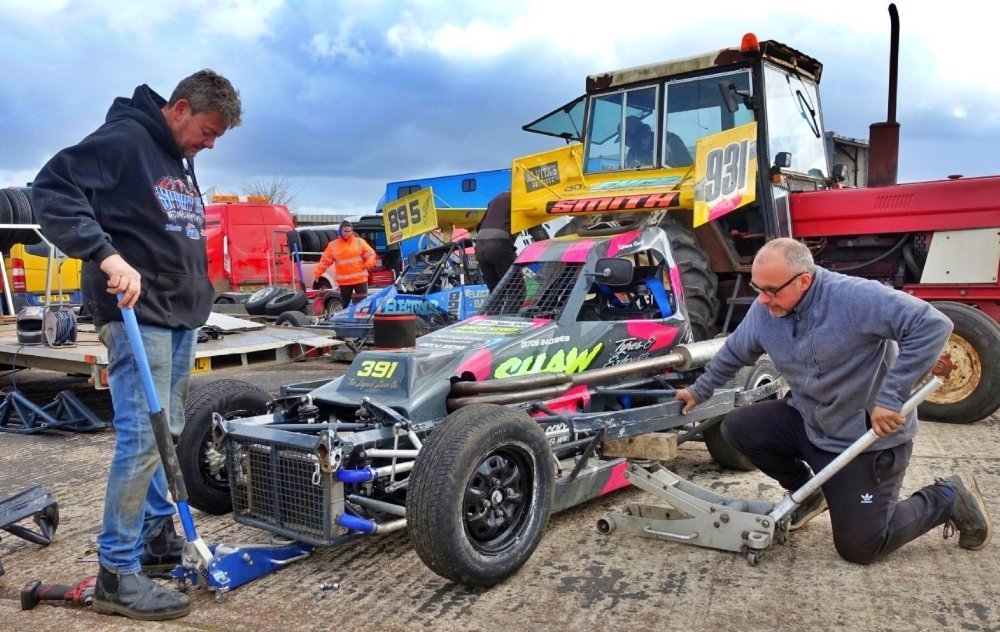
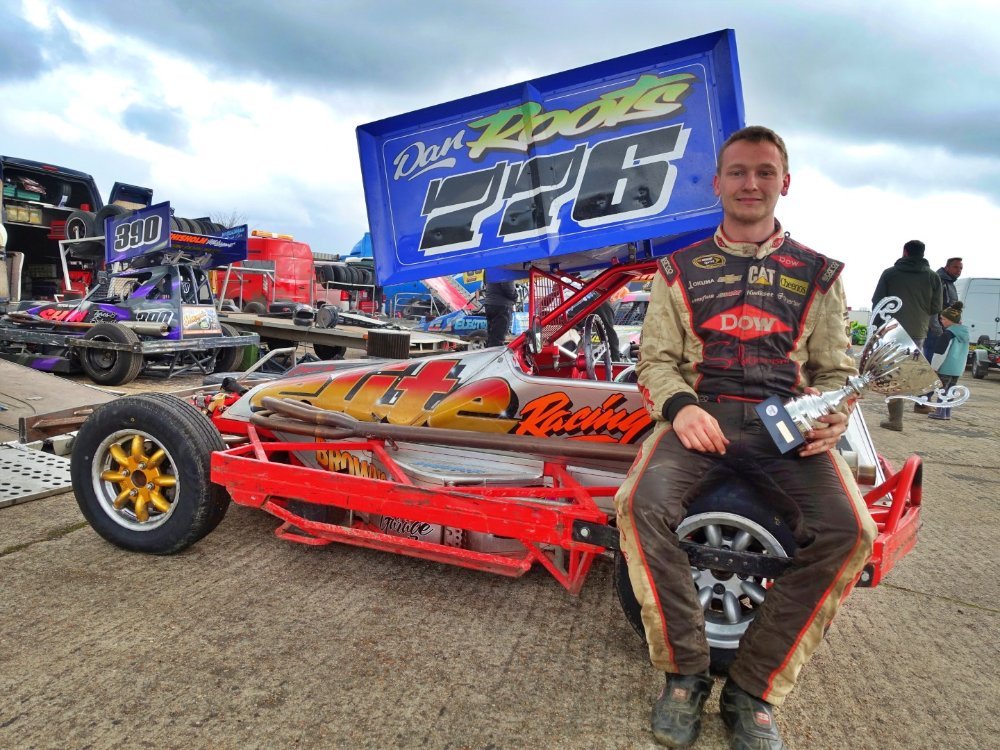

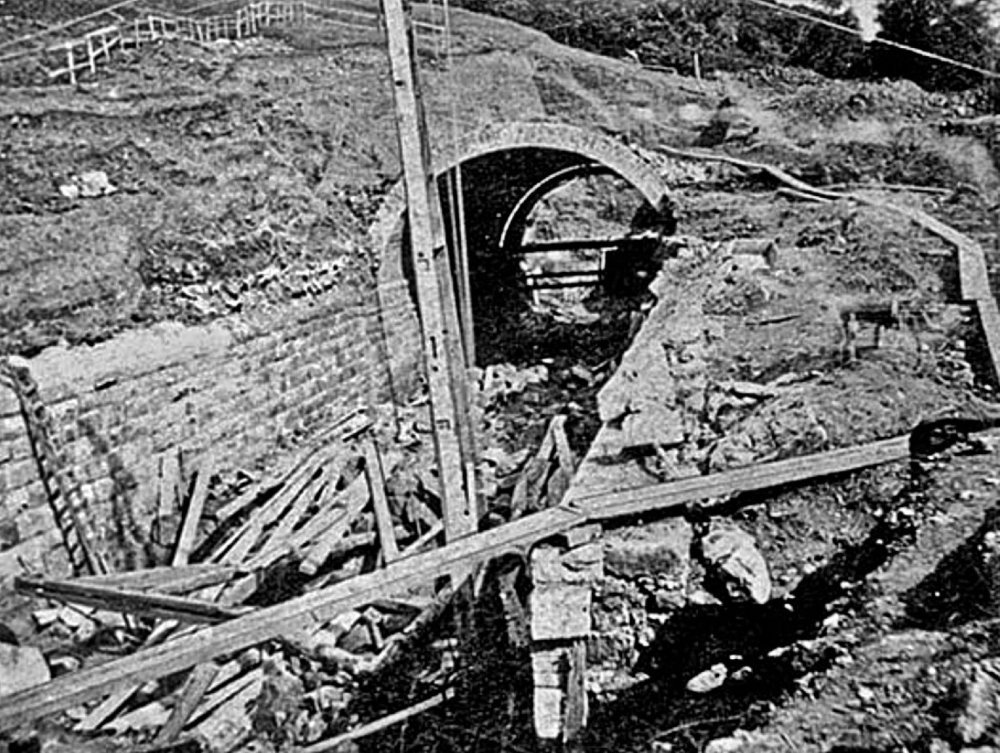

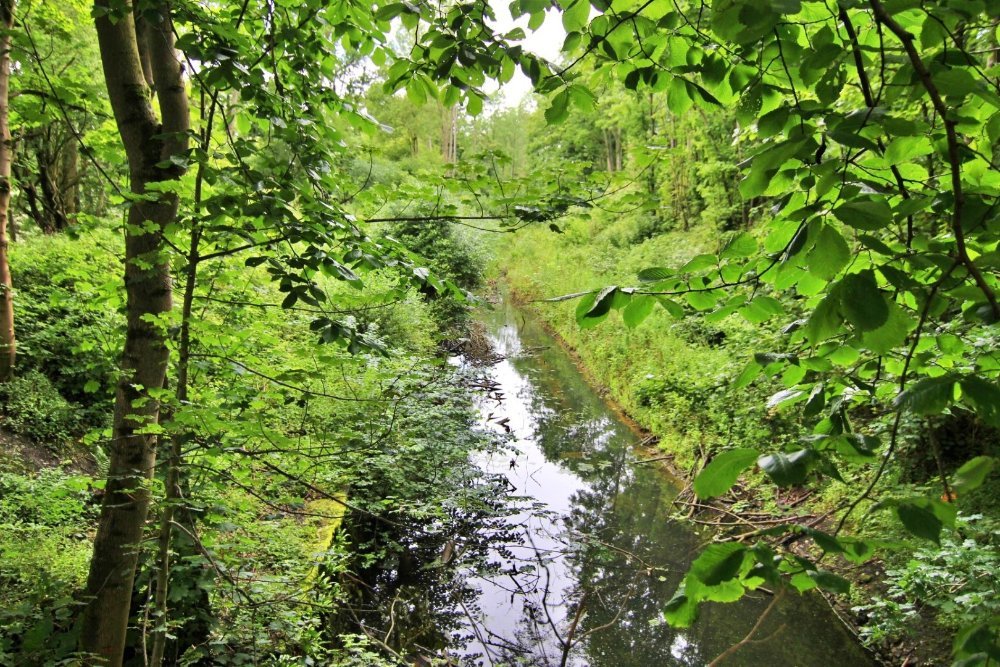

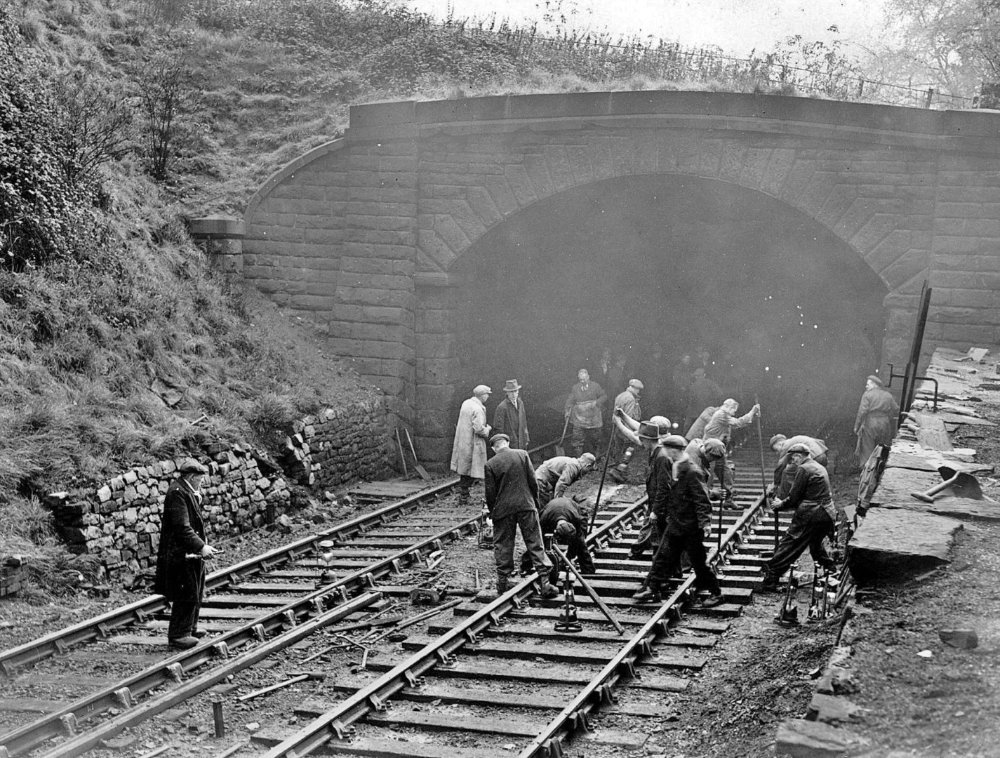
.jpg.7ee8b98f814f64507f108eb7b59edd7d.jpg)
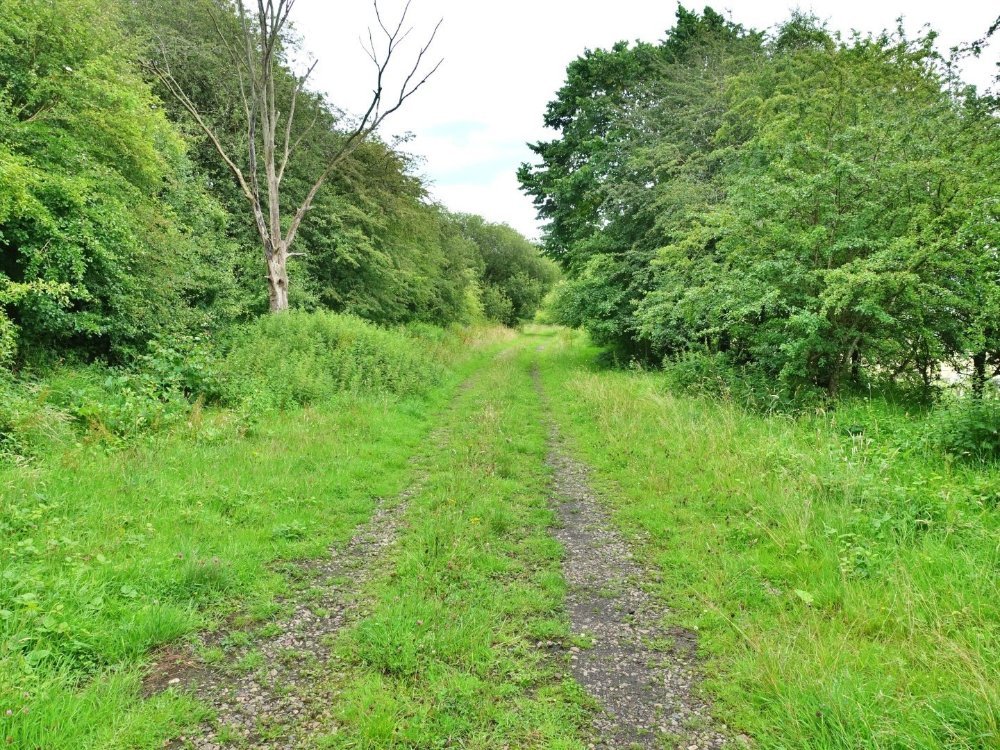

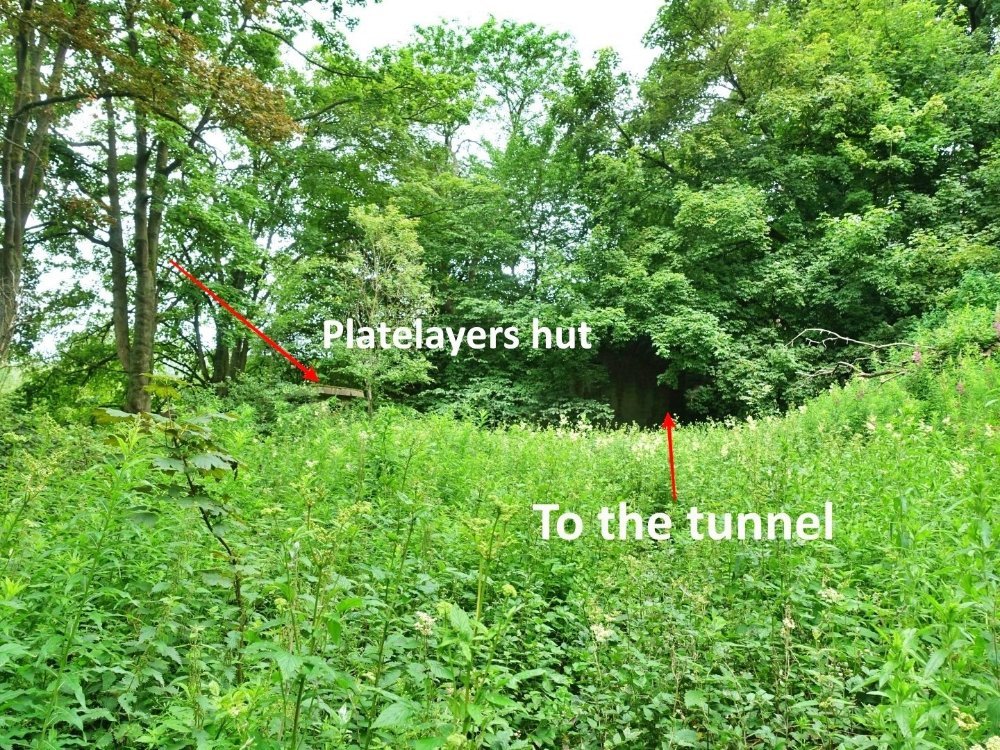

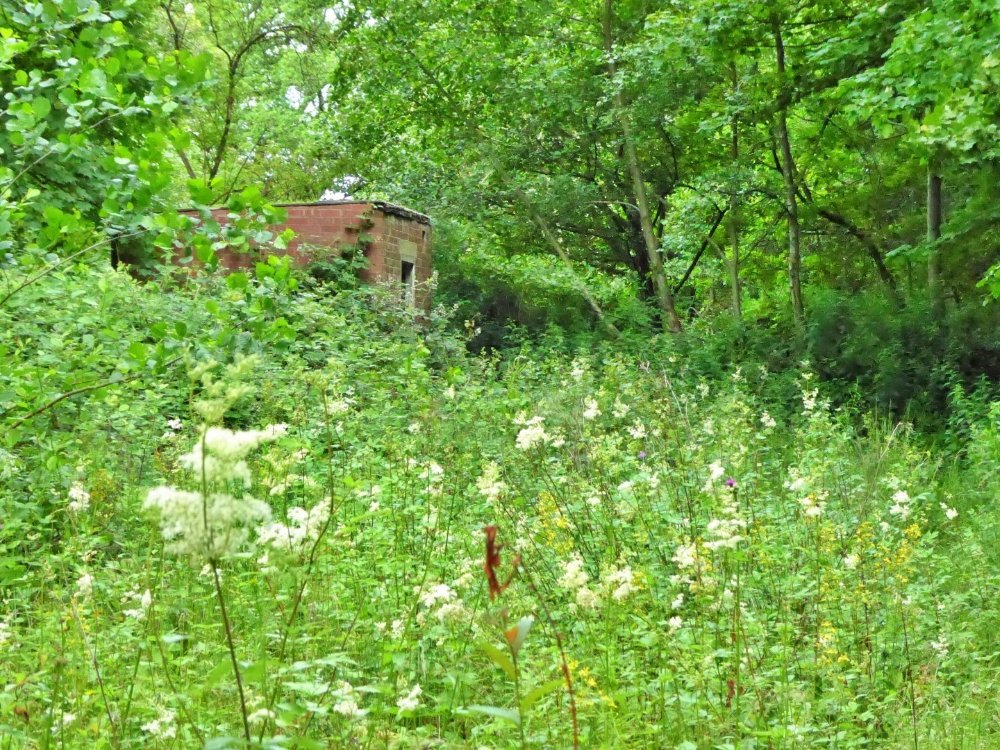
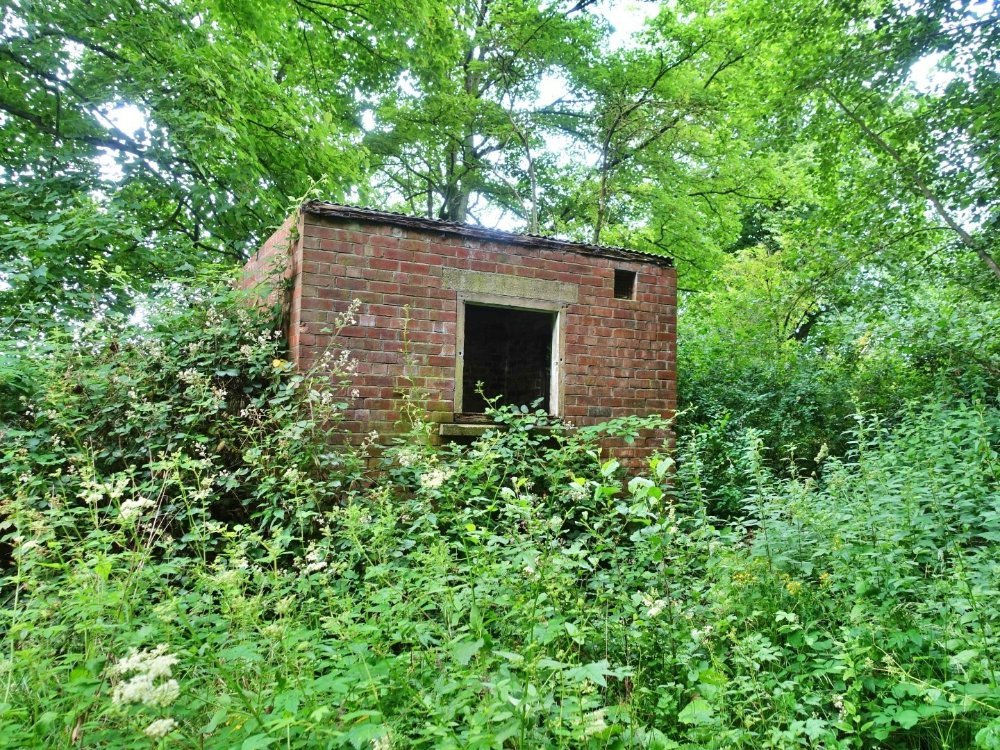
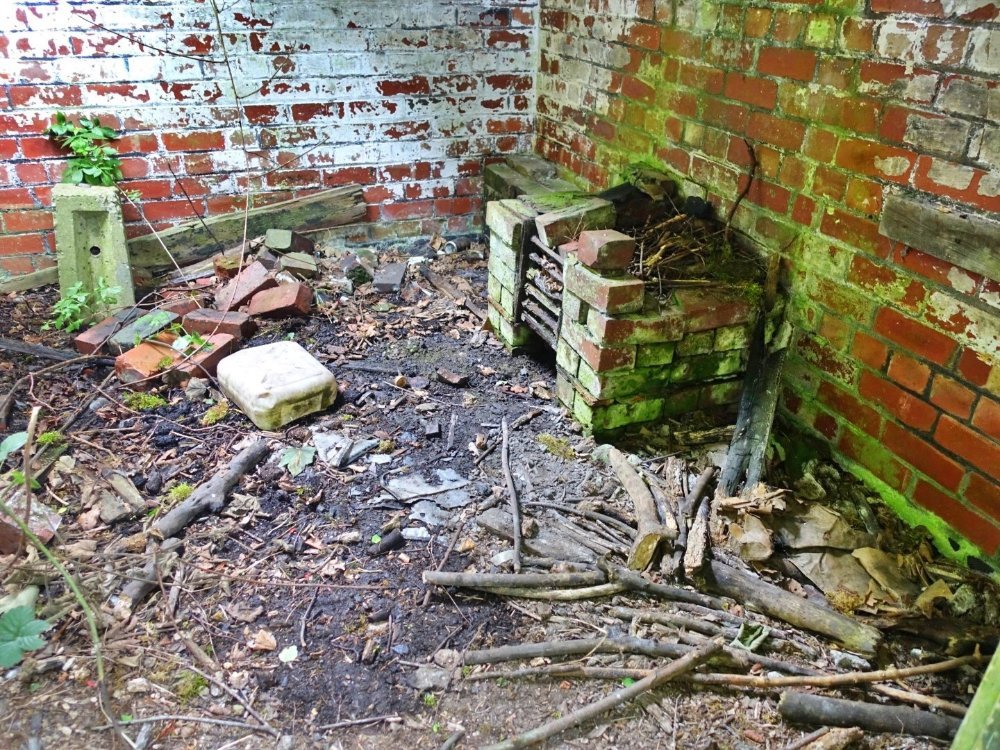
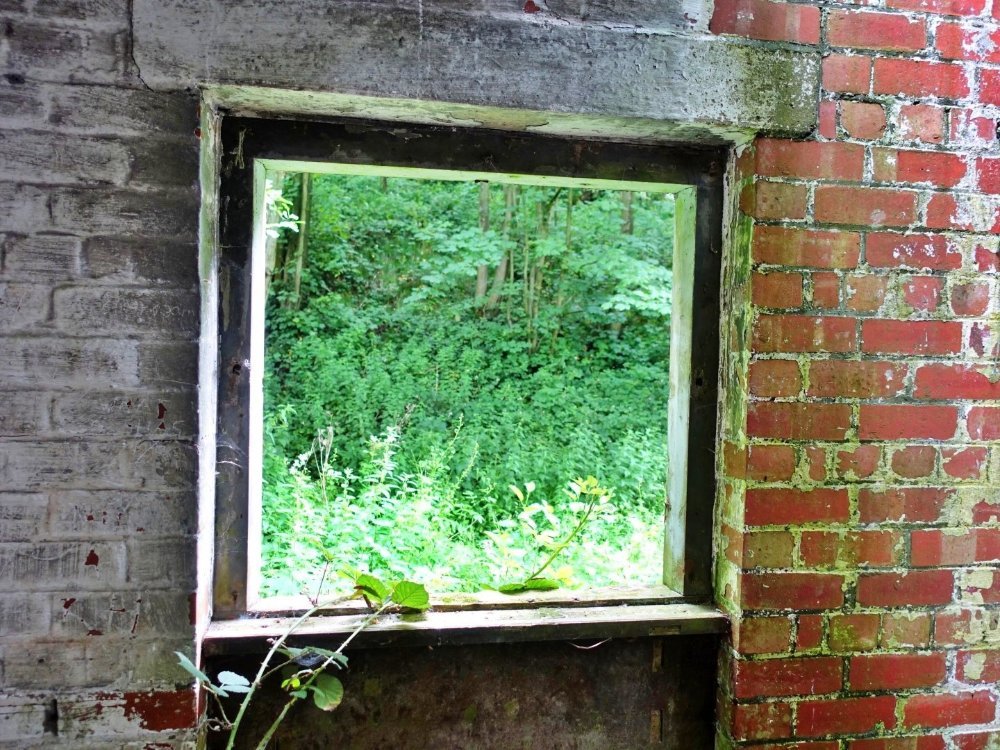
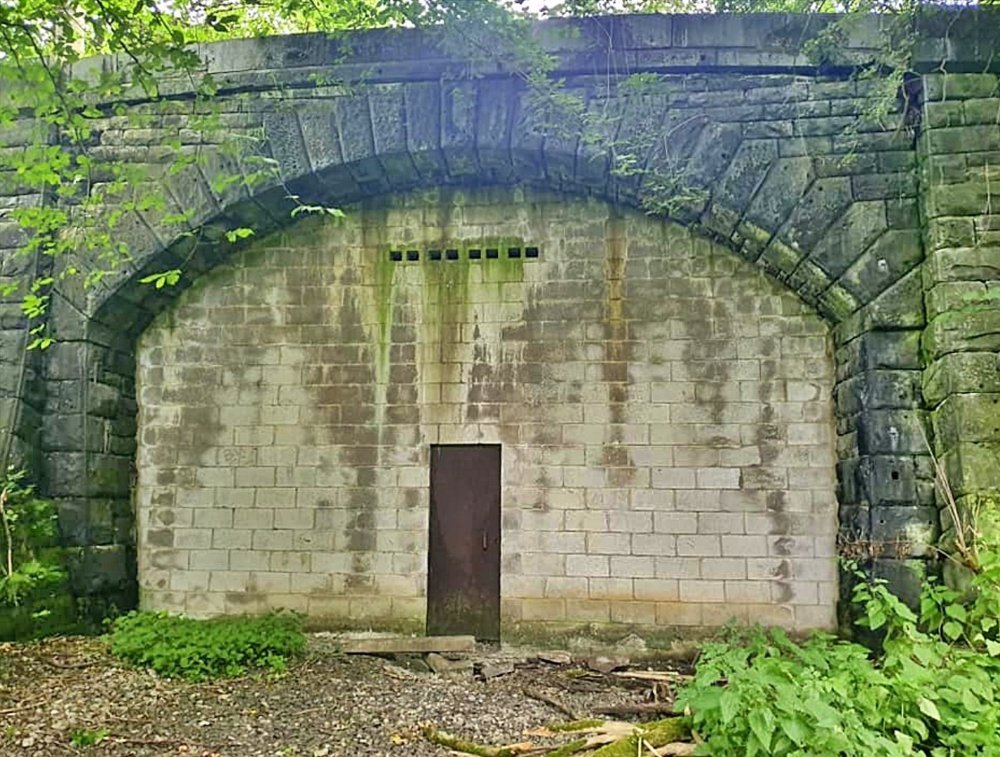
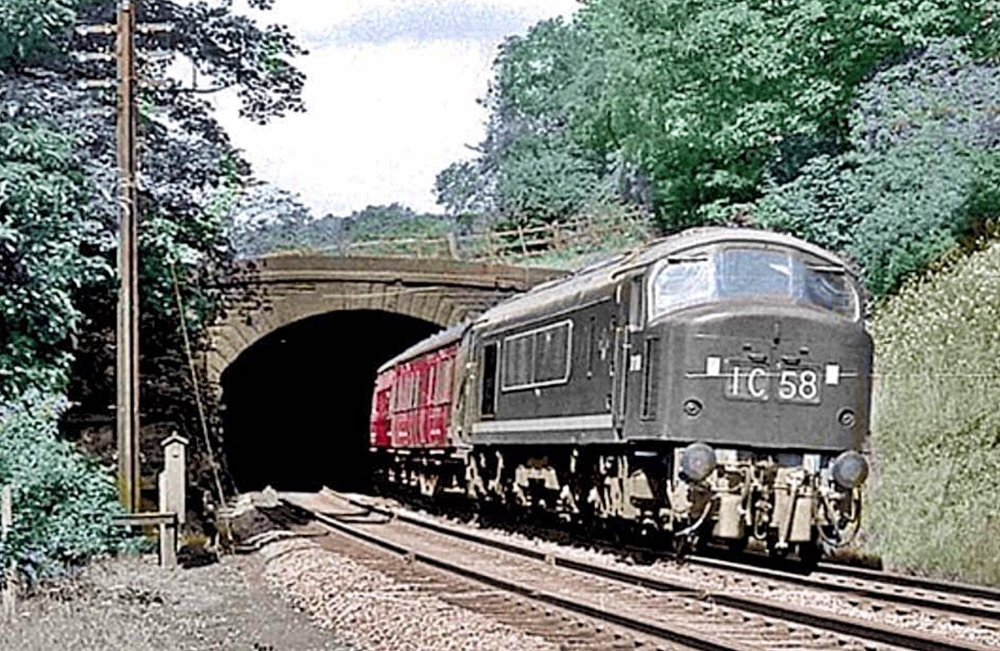

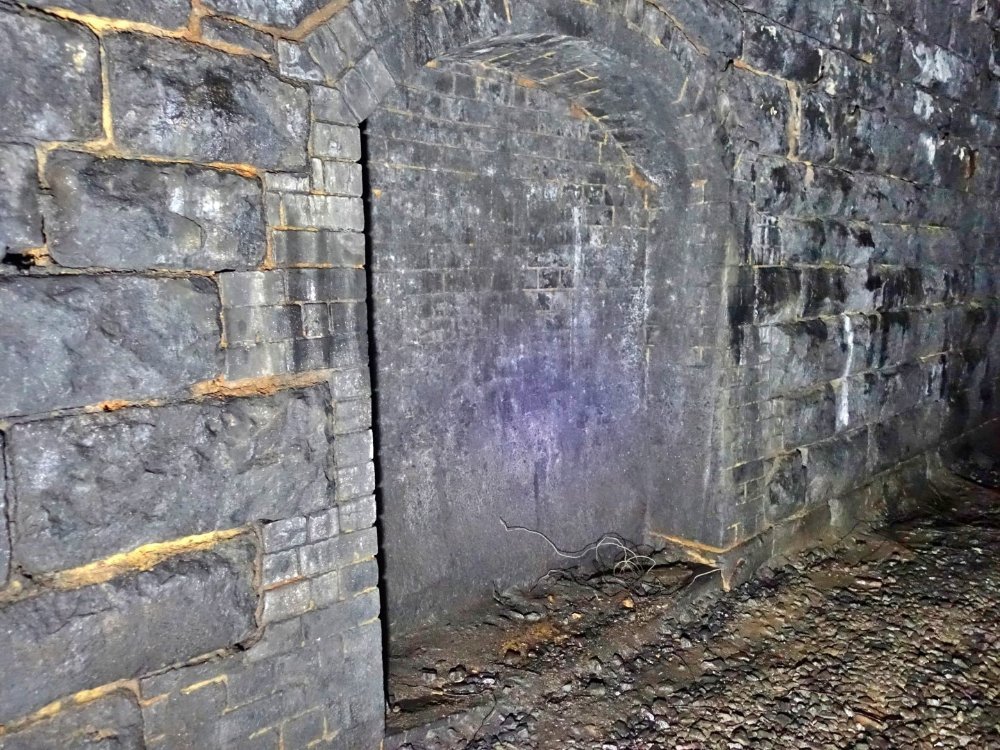


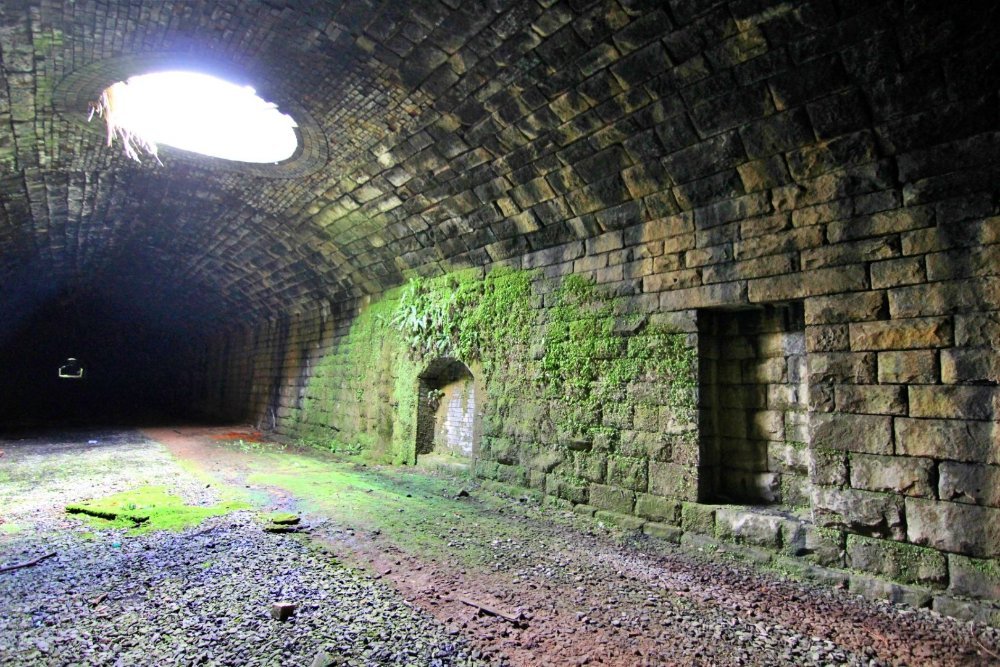

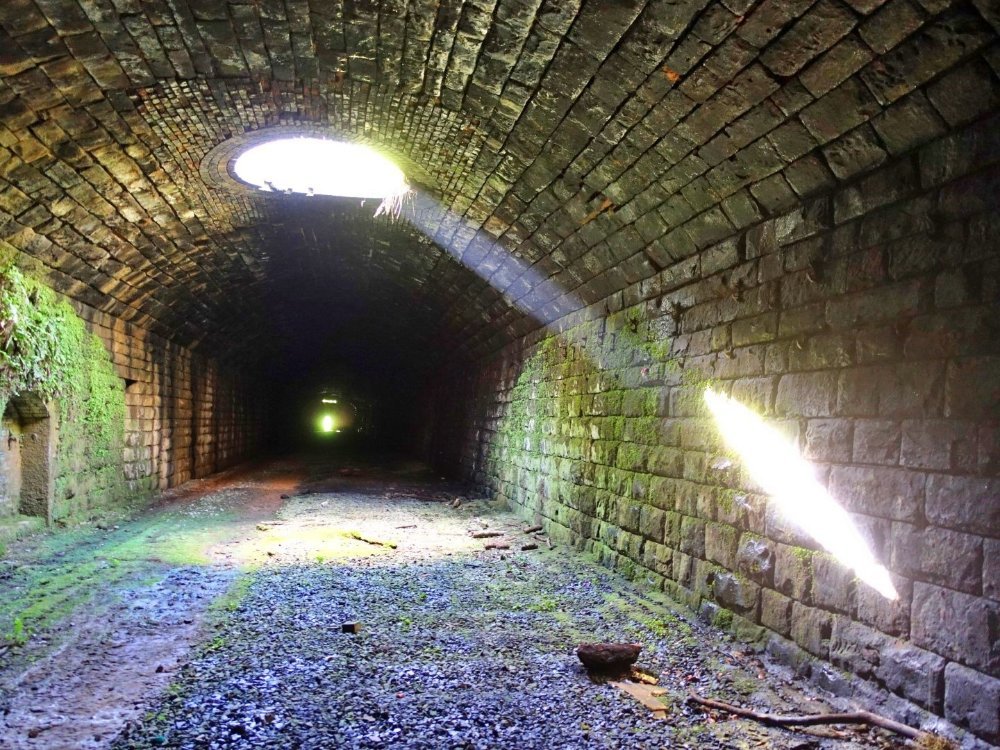


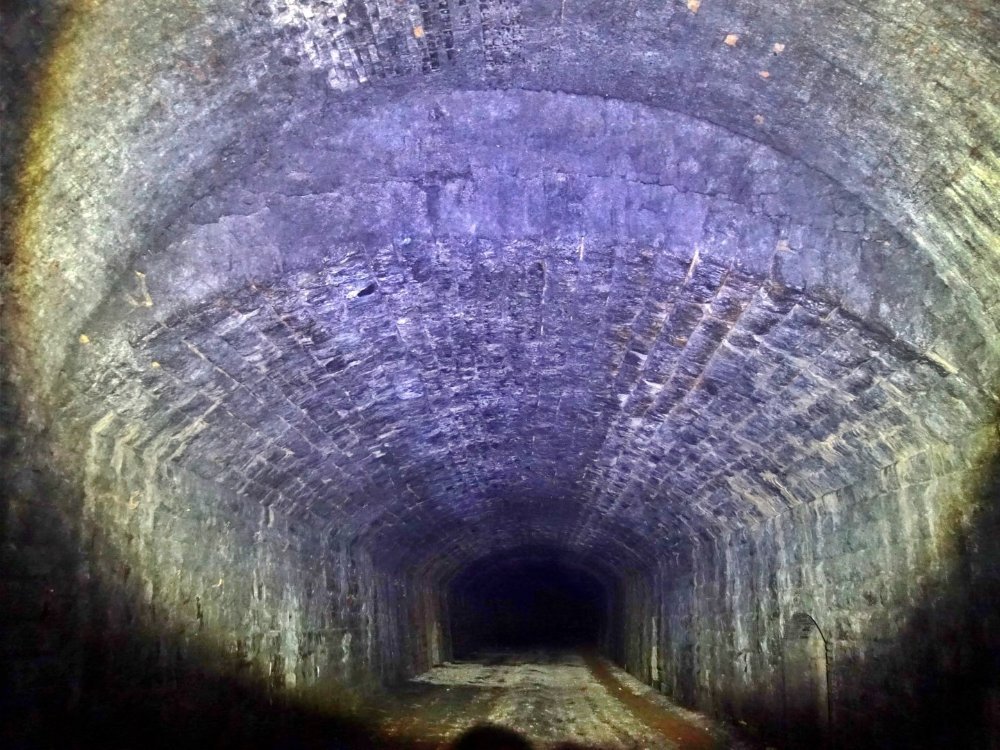
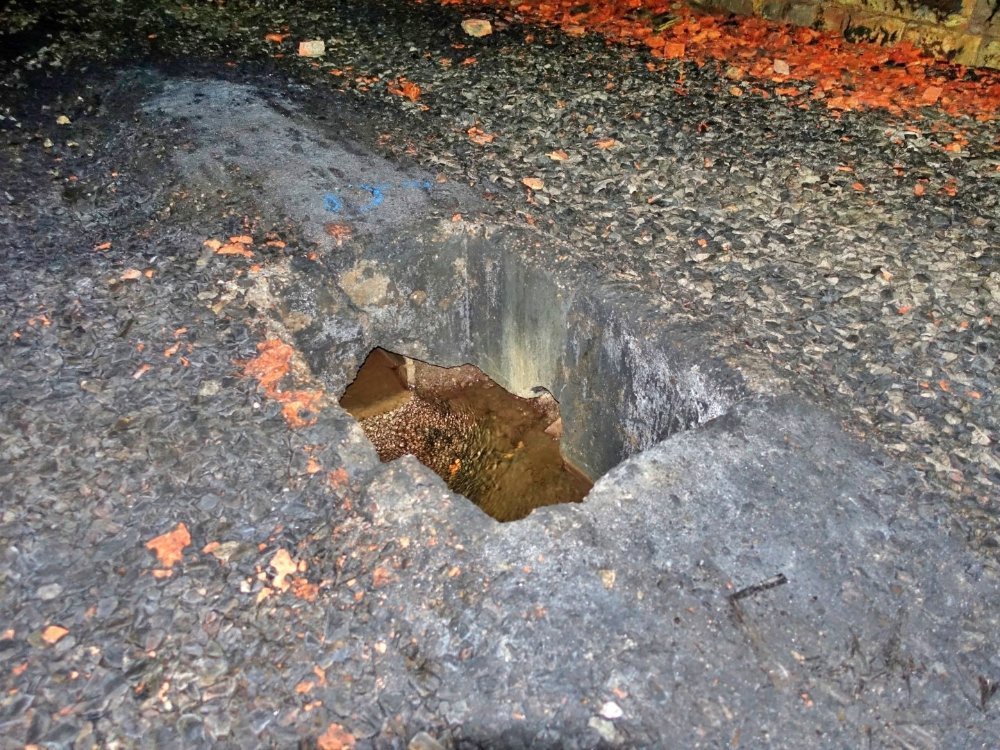
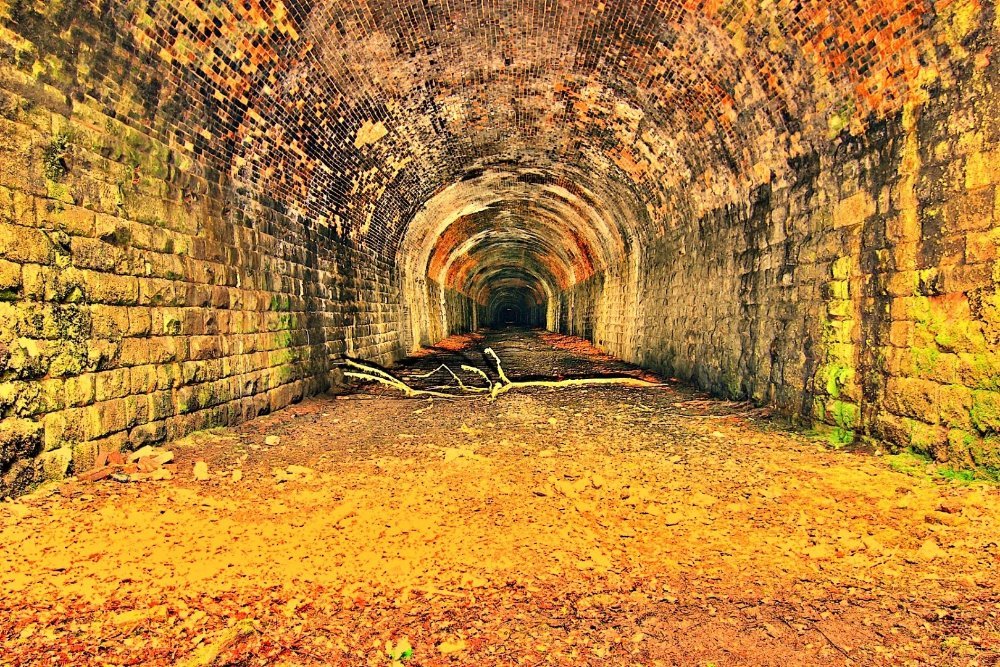
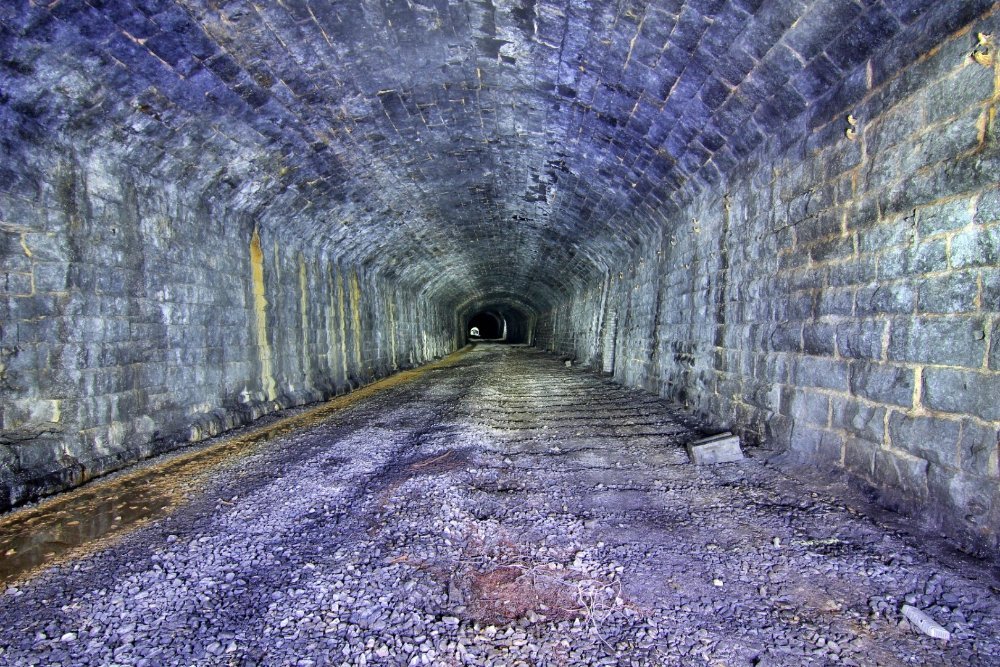
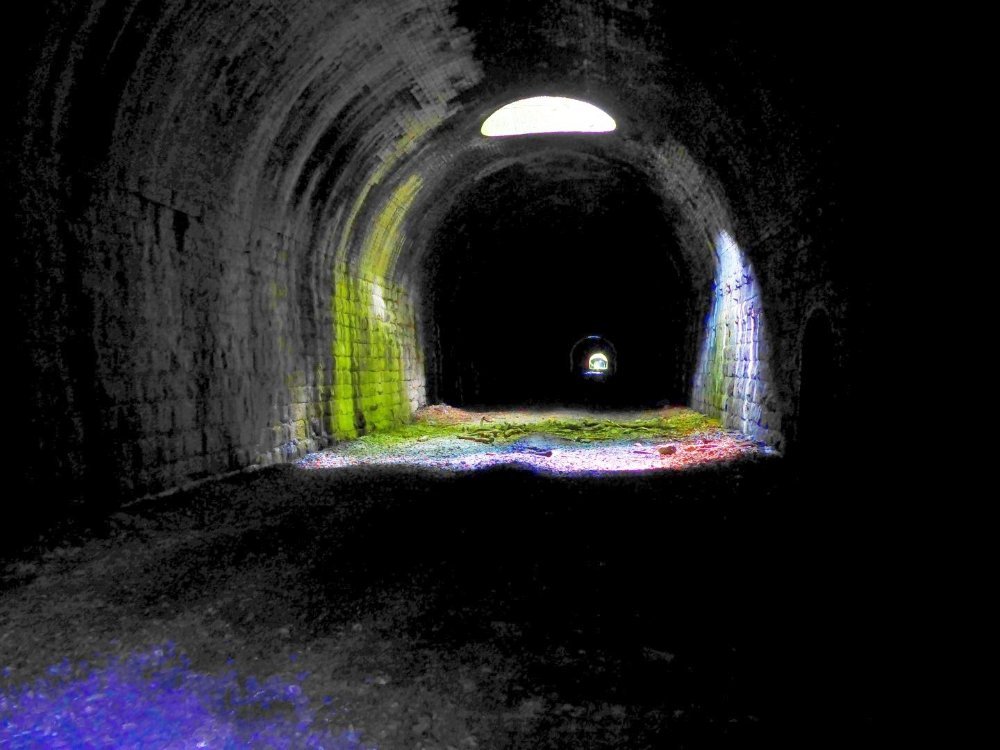
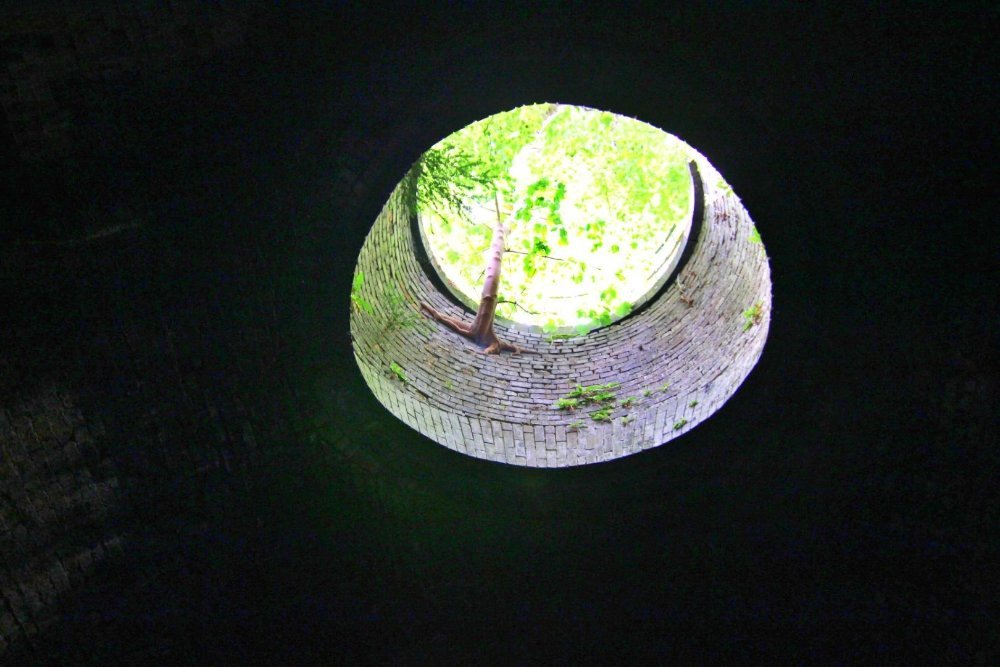


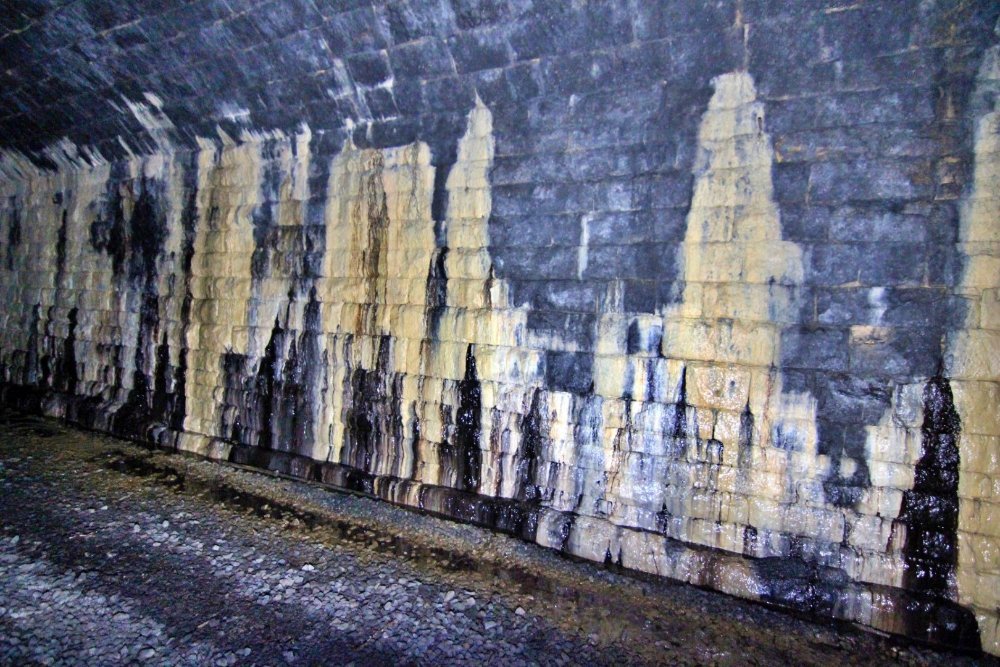

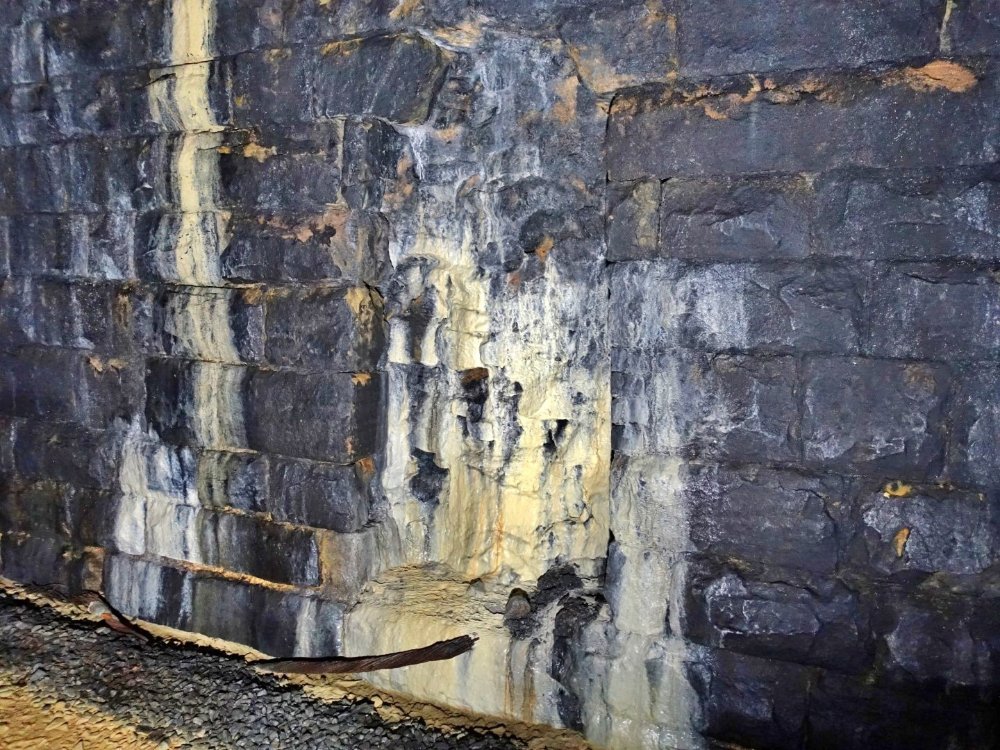


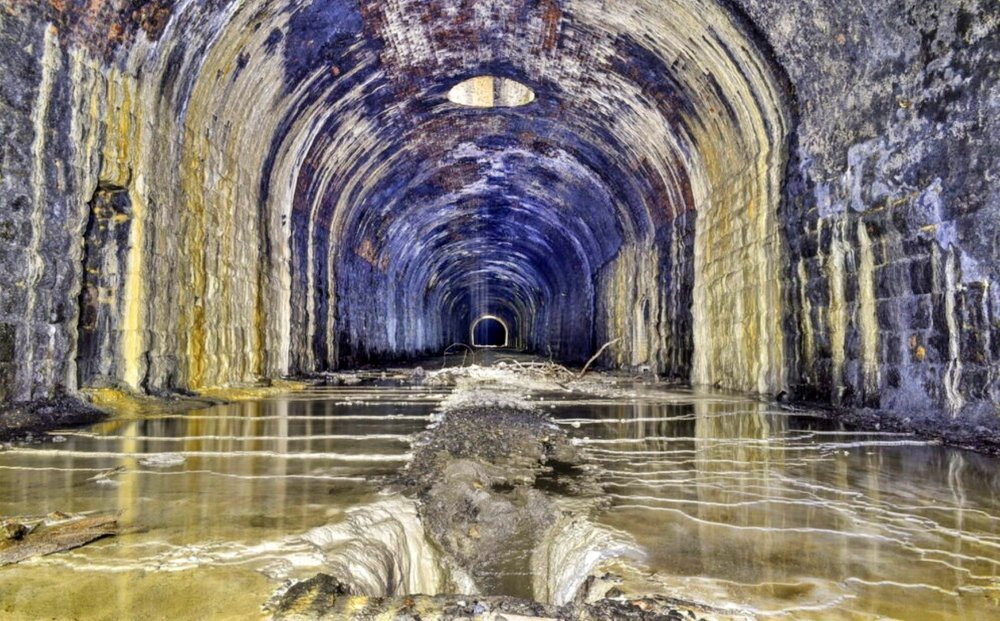
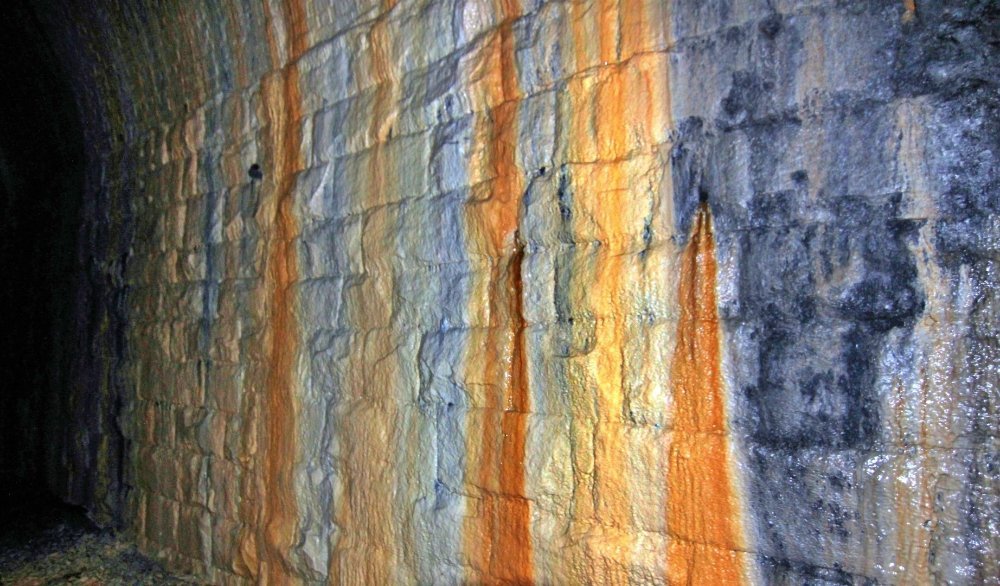
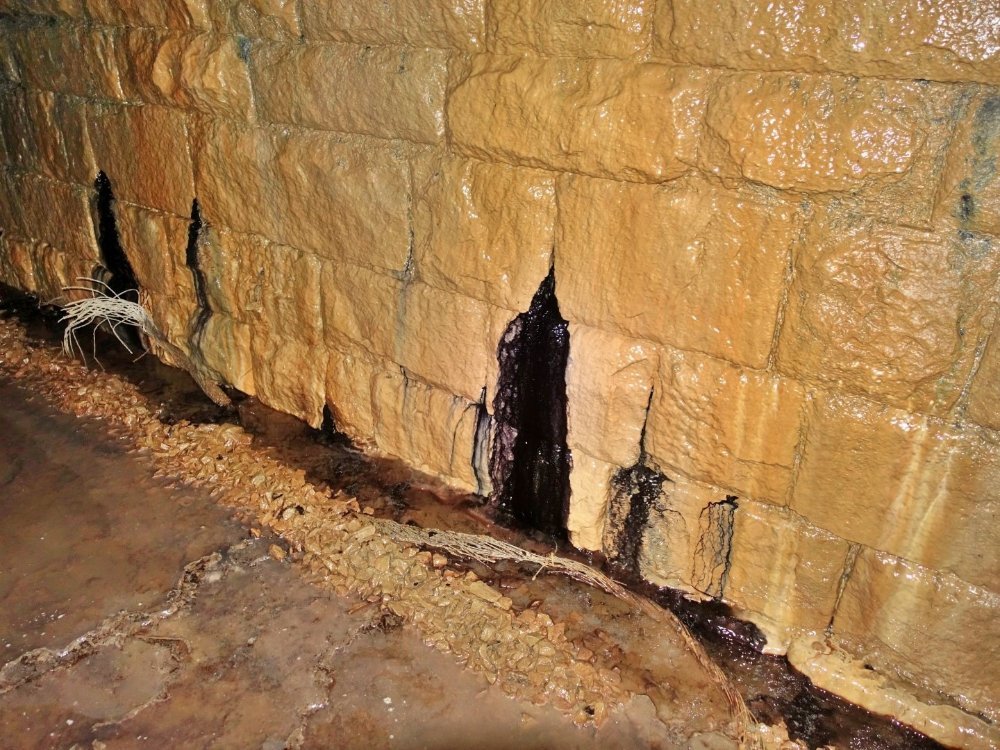

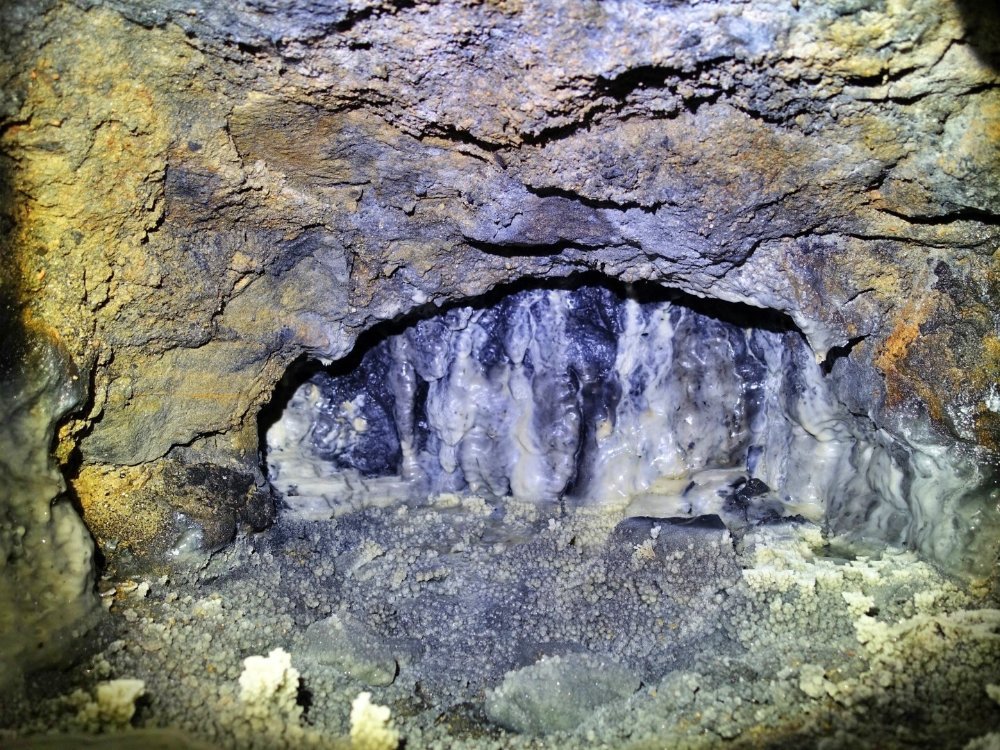

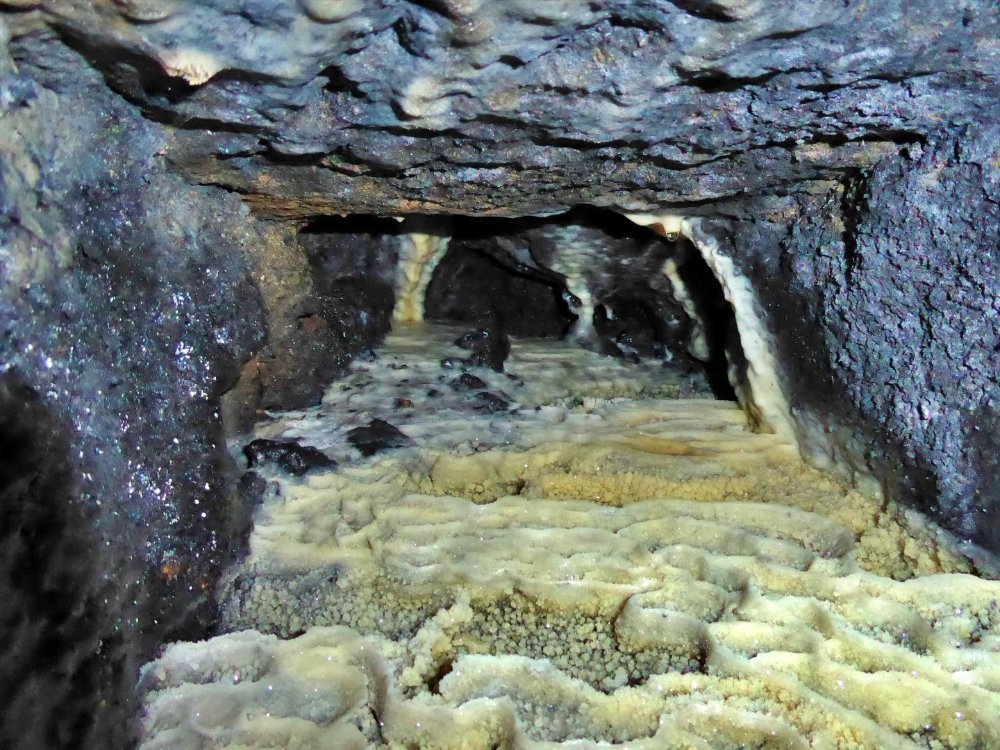

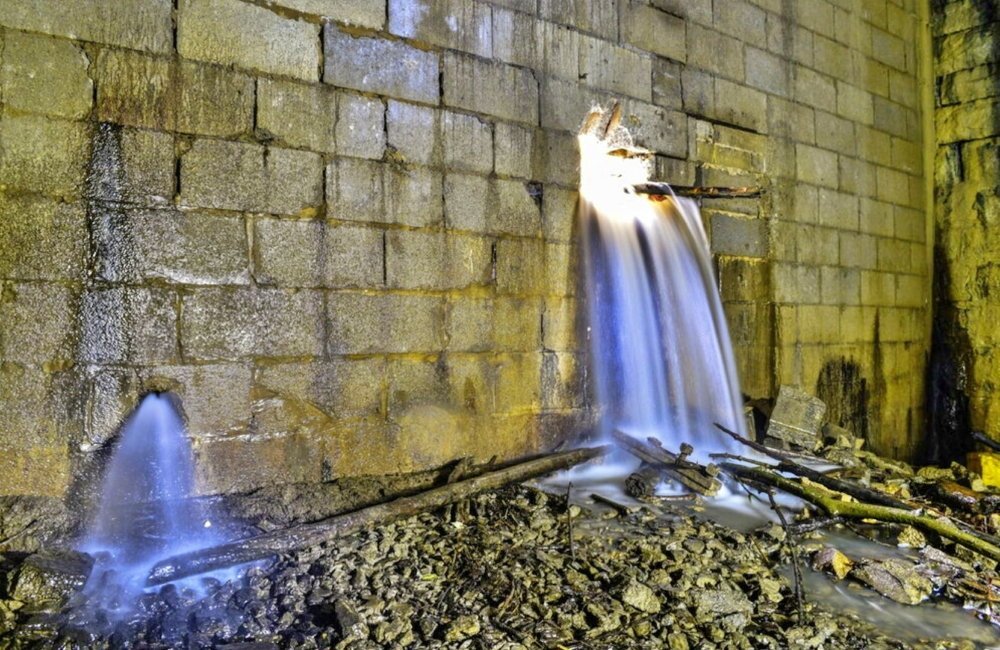
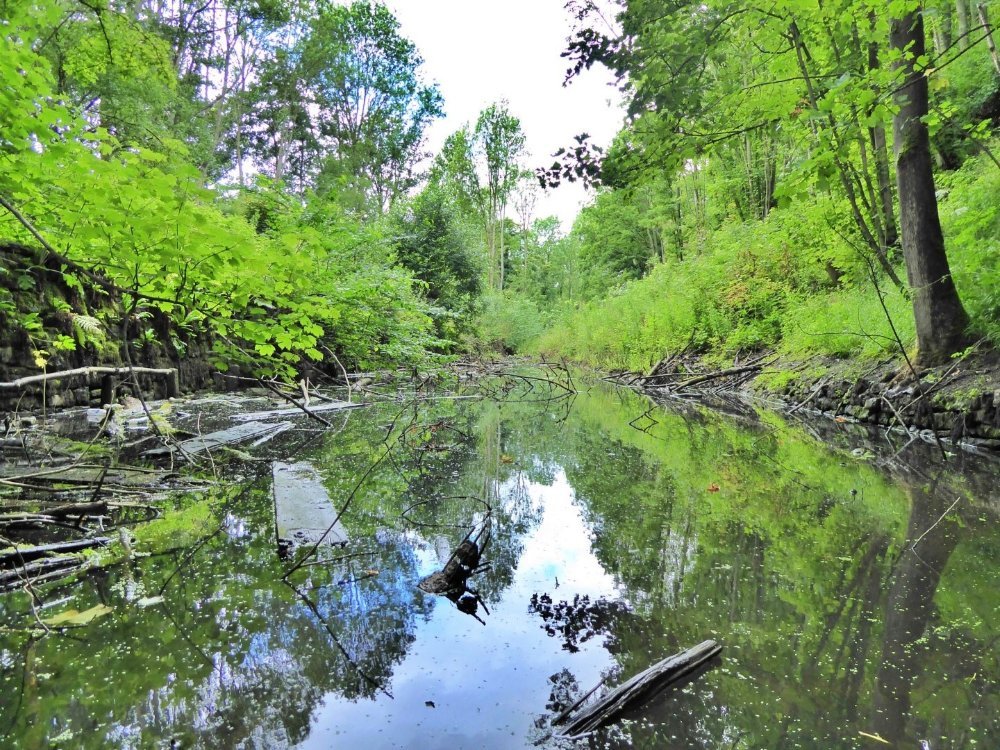

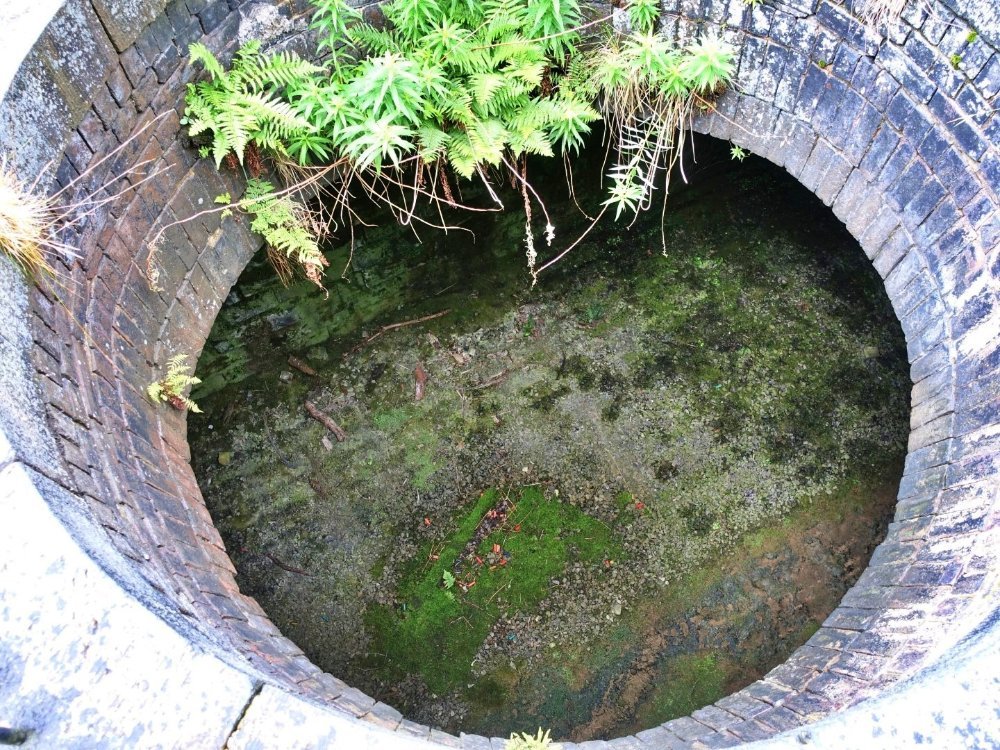
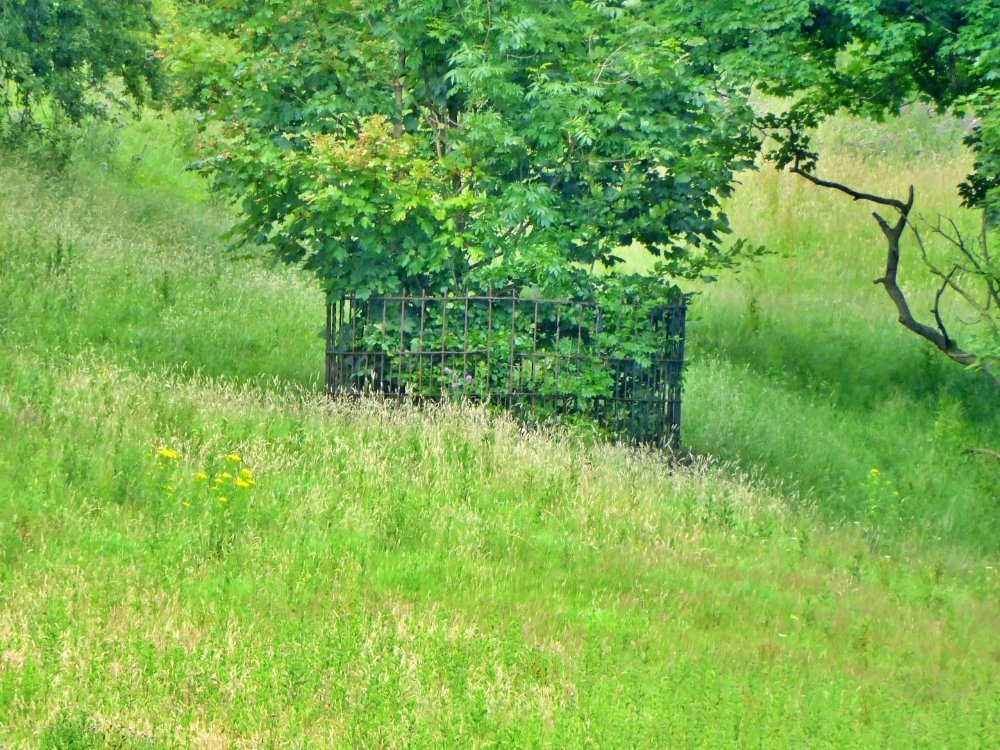
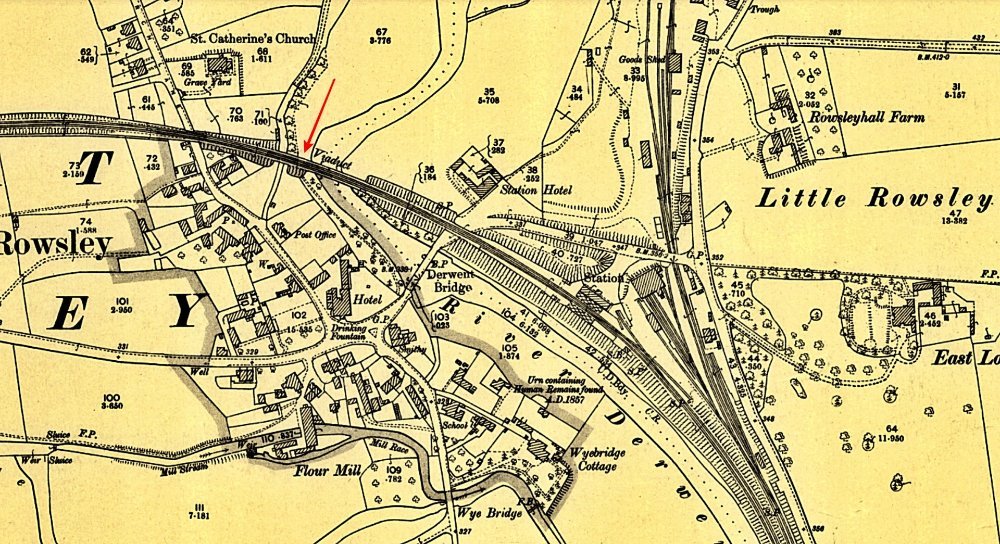
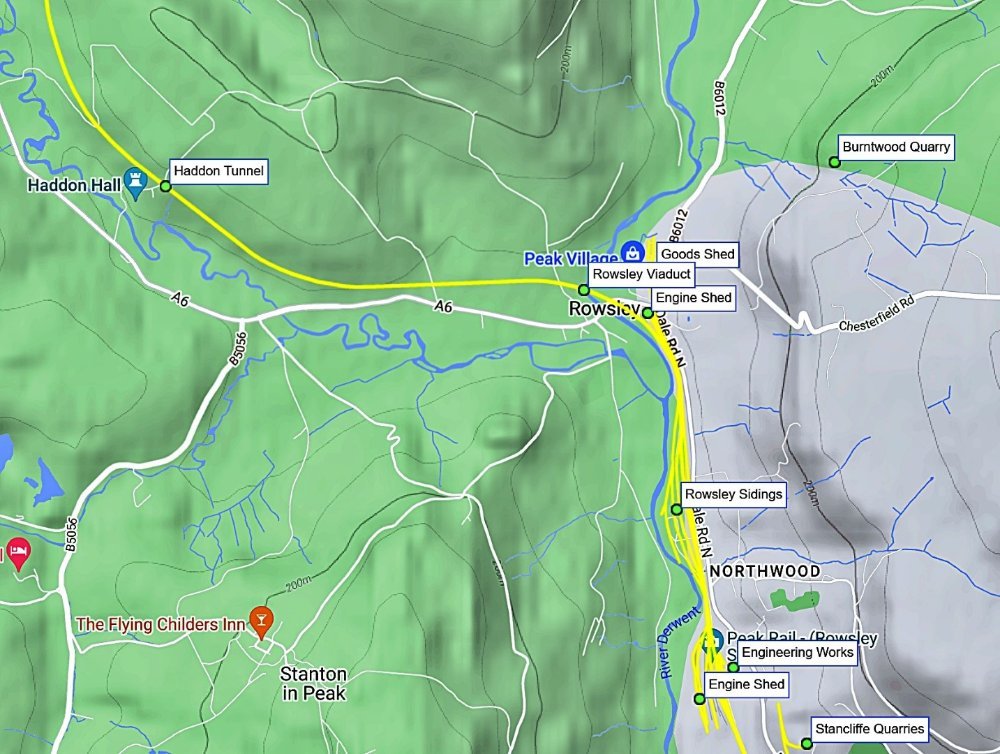
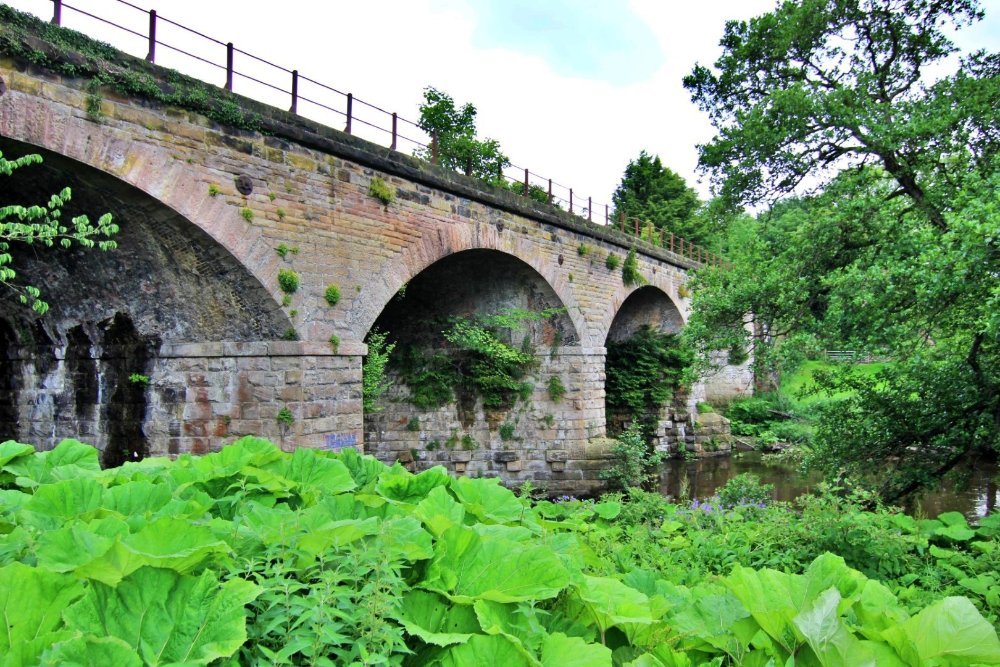
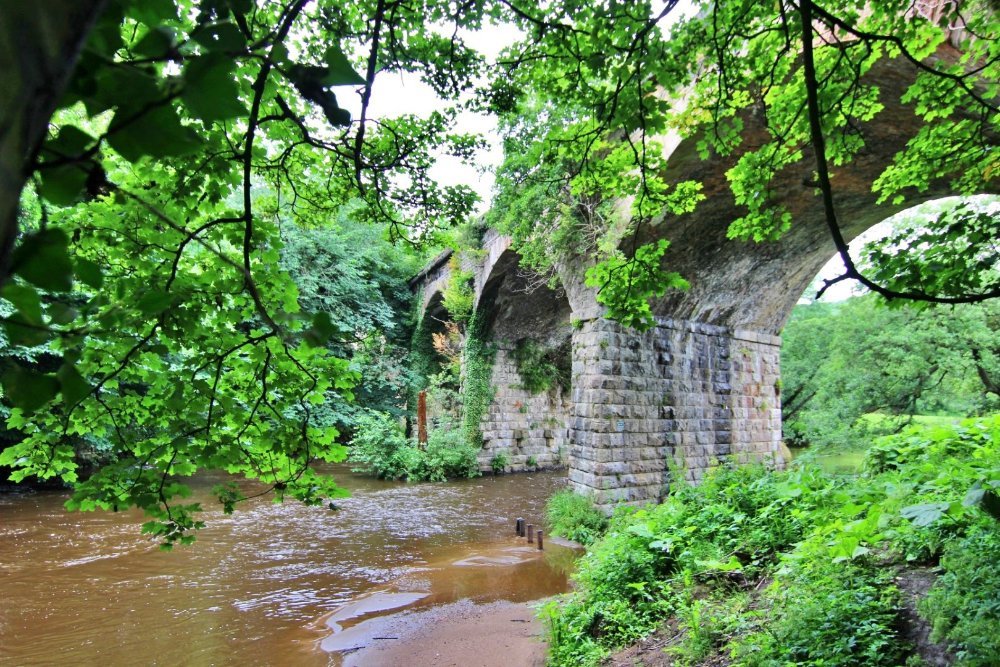

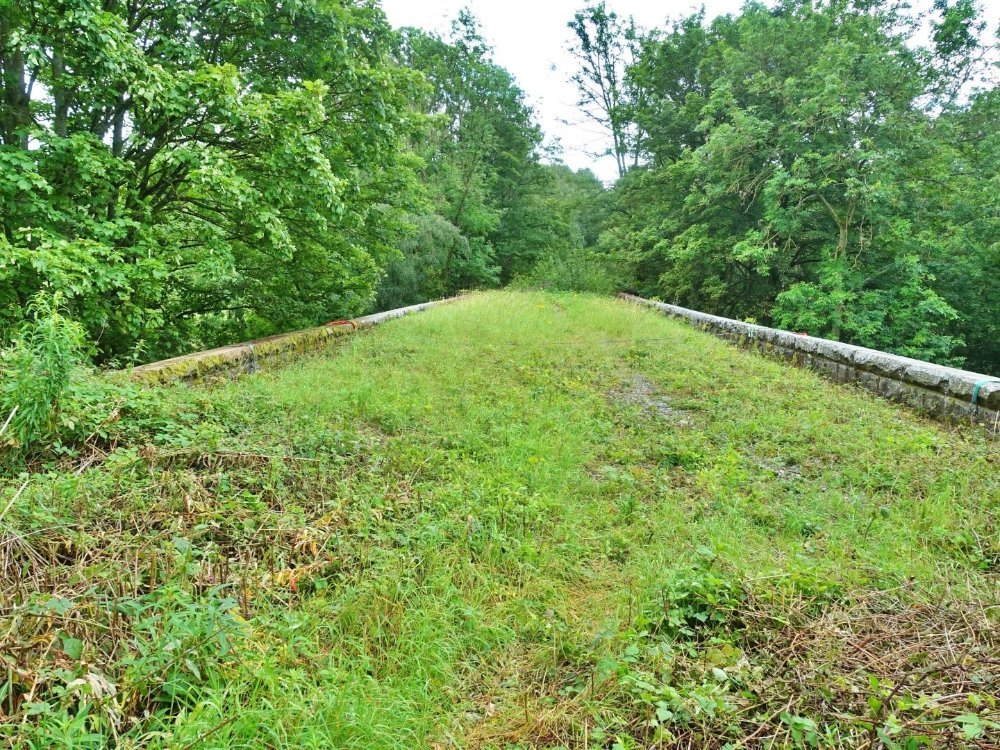

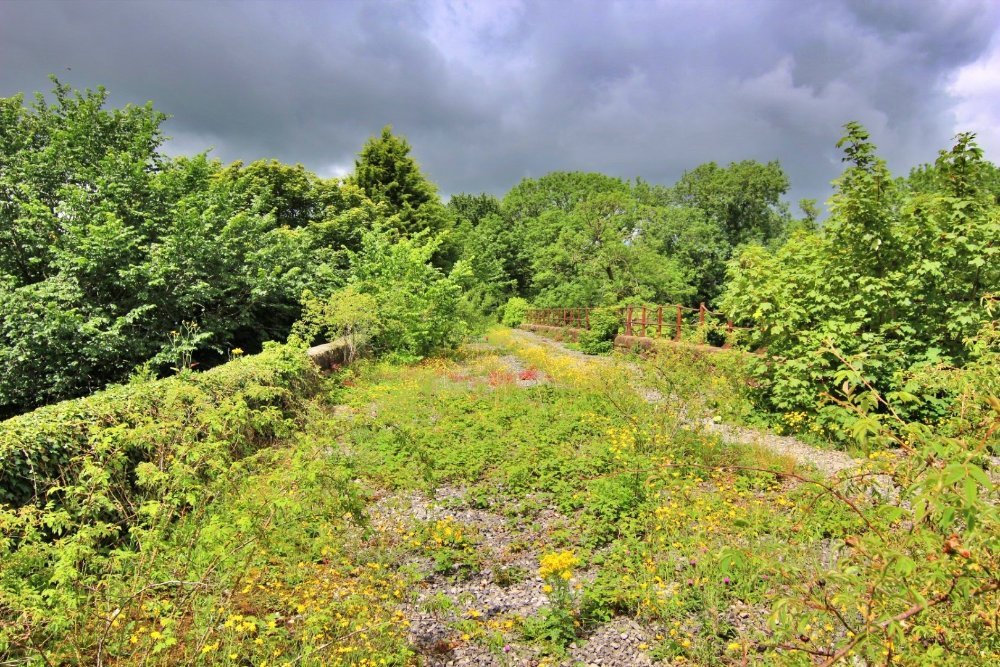


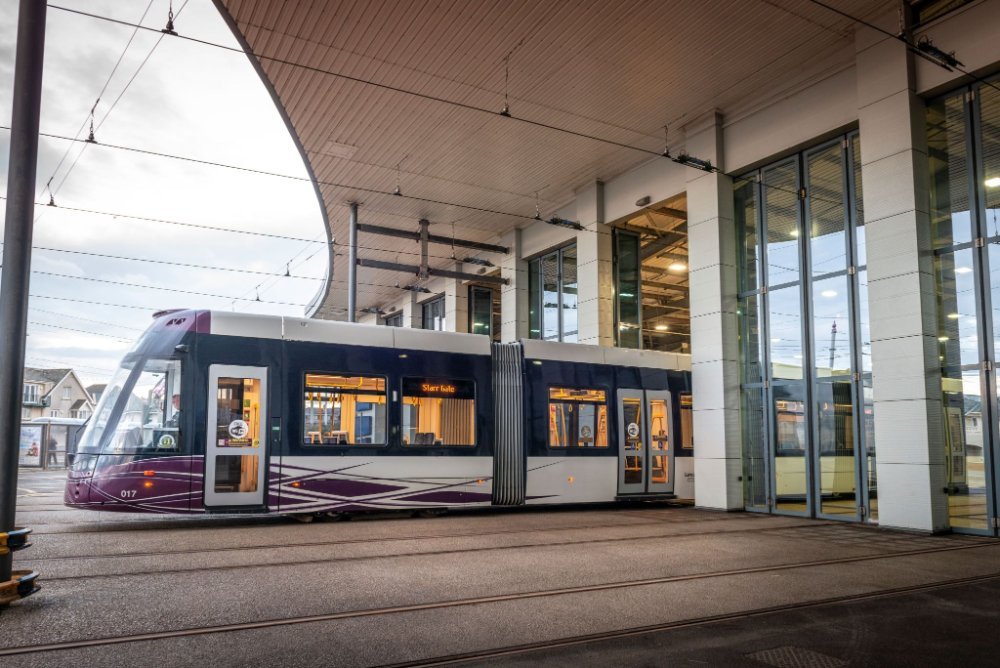
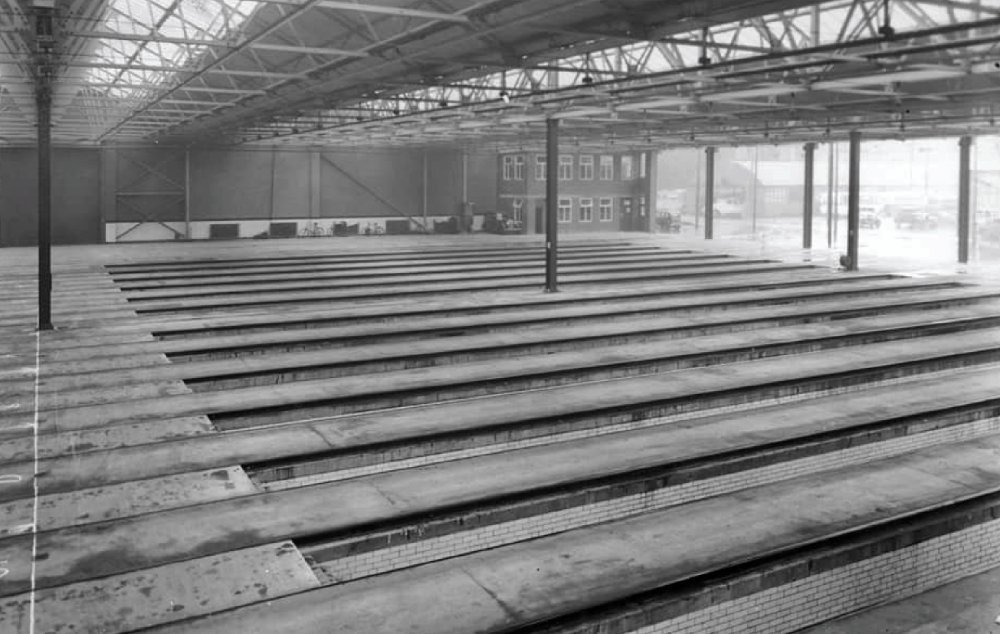
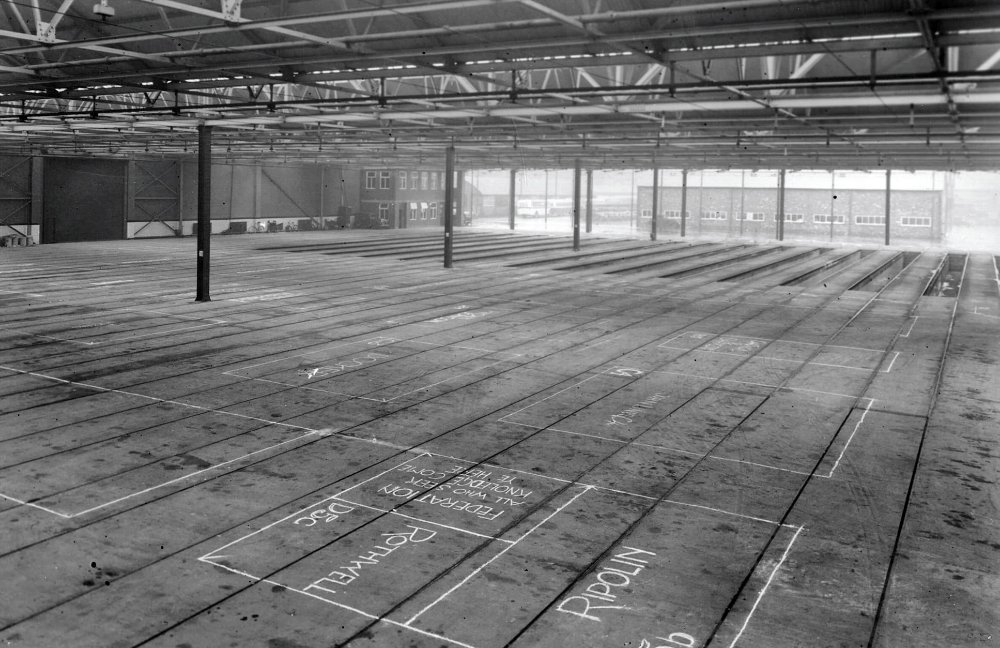

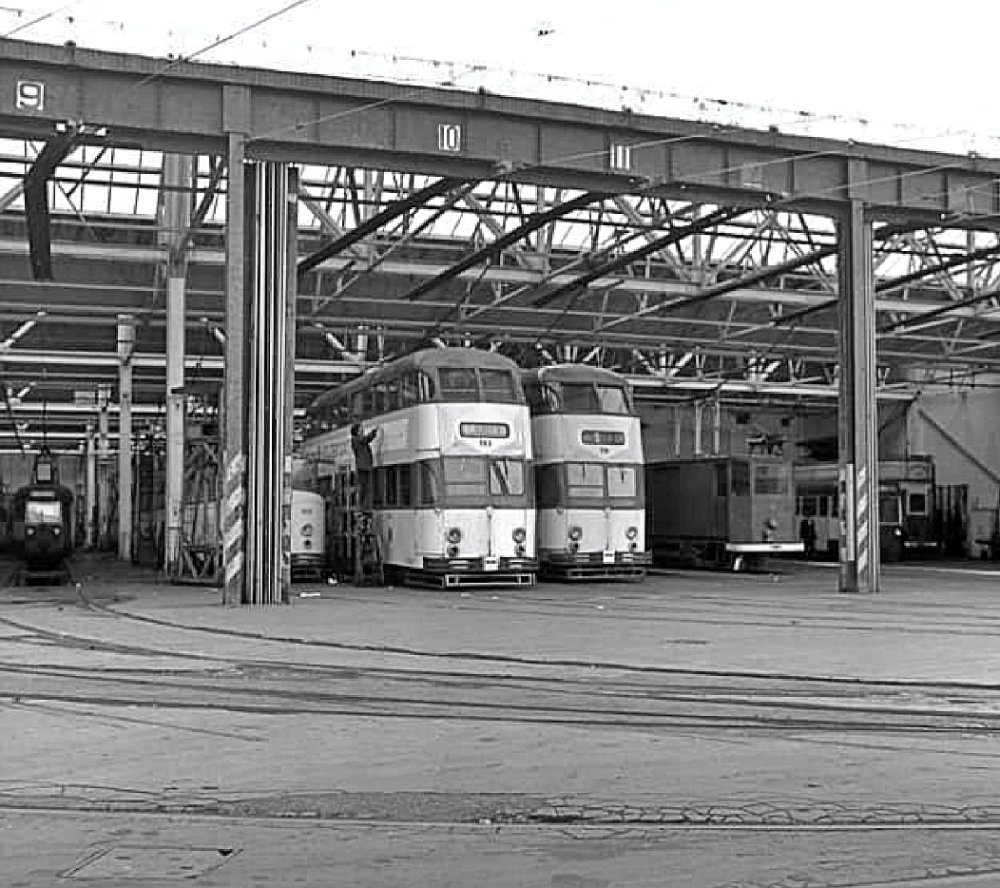


Results - King’s Lynn - Saturday 6th April 2024
in Essential Information
Posted
Pics in the gallery. Many thanks to Nic for taking them 👍